Mike Phillips
Active member
- Dec 5, 2022
- 51,004
- 7
Video: The Flex 3403 Rotary Buffer – How to remove Sanding Marks after Dampsanding Orange Peel
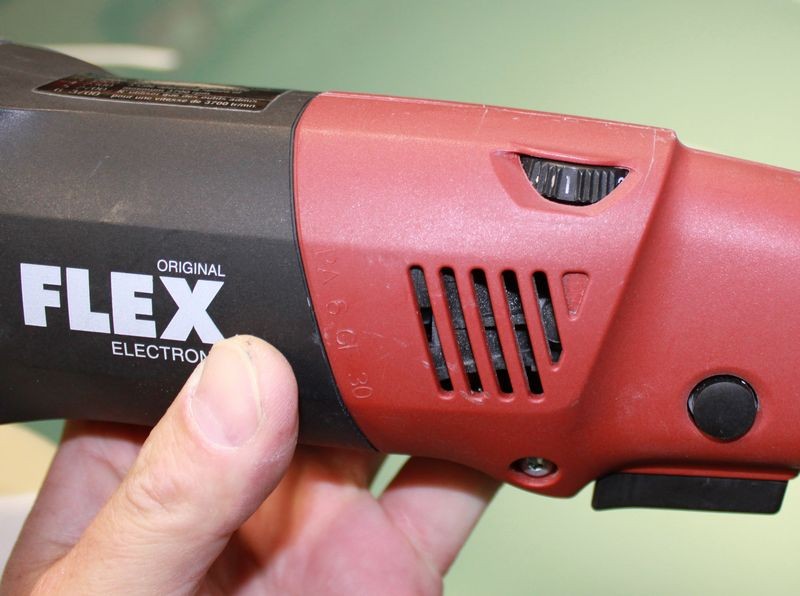
Flex 3403 Lightweight Rotary Buffer
11.5 Amps
1100 to 3700 RPM
5 Pounds
1 Year Limited Warranty
What's in the box?
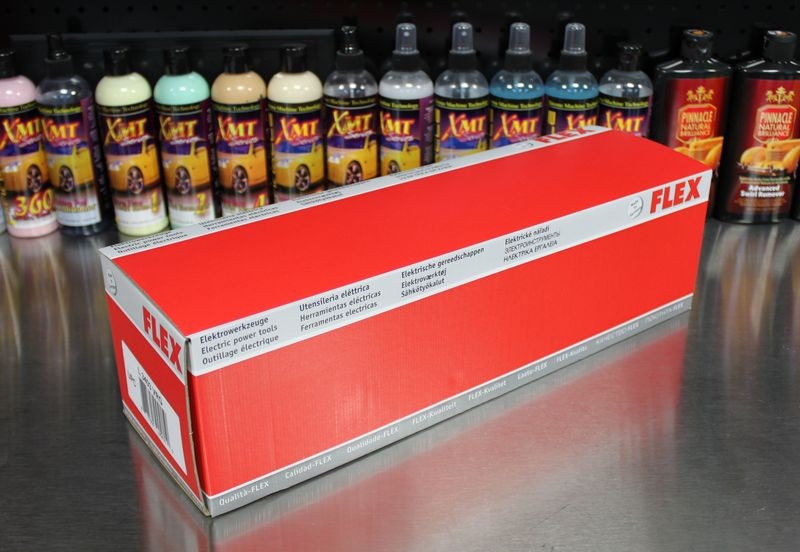
Well packaged and wrapped tool...

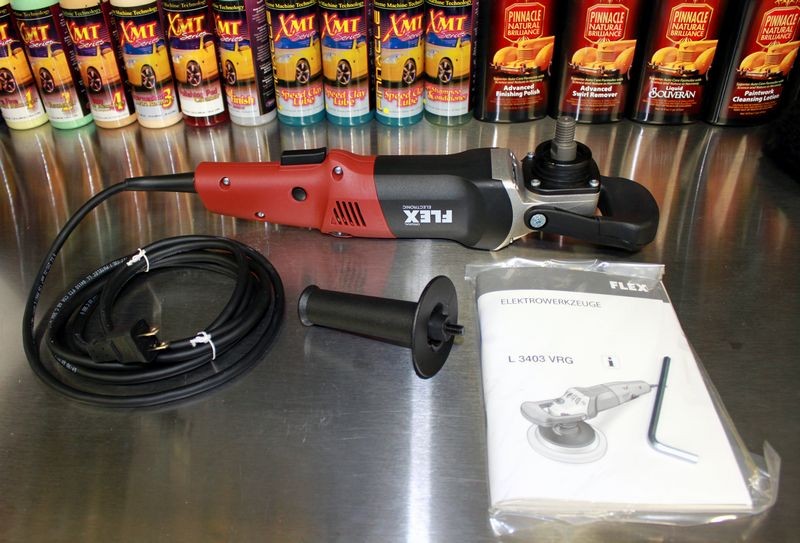
Out of the box you get the Flex 3403 Lightweight Rotary Buffer, two types of handles, a Stick Handle and a forward Bale Handle, owners manual and Allen wrench to remove or replace the forward grip handle.
The forward Bale Handle has an ergonomic design and give you excellent control and leverage over the Flex 3403 Lightweight Rotary Buffer.
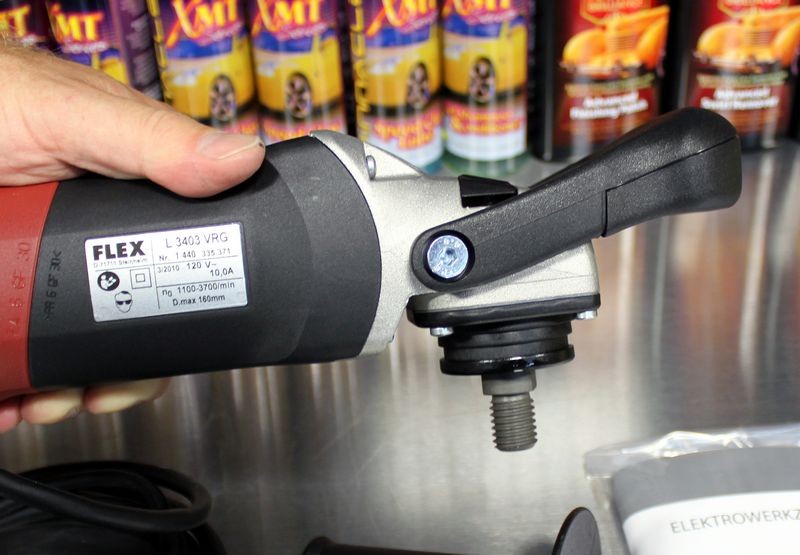
The black button you see in the head housing is a gear lock button to lock-up the gears to keep the spindle from rotating so you can remove or install backing plates or attachments without the spindle rotating.
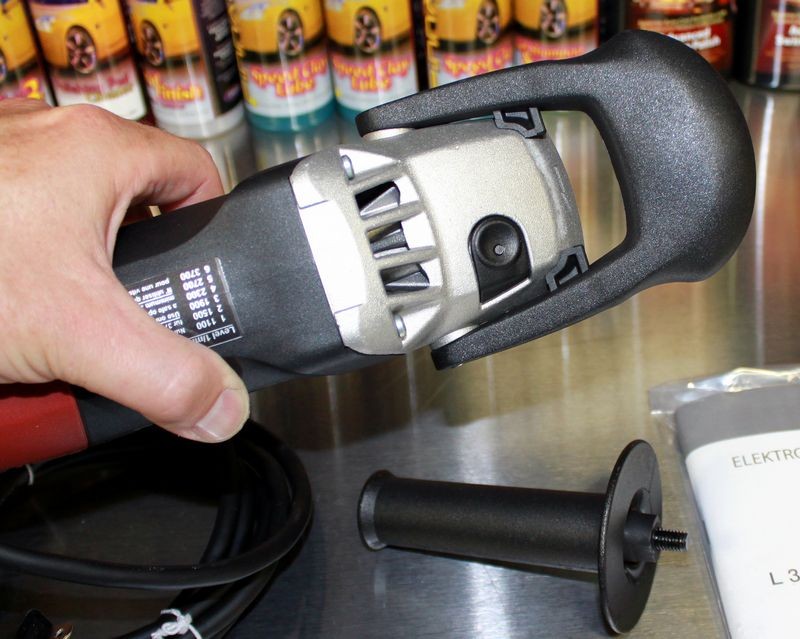
Comfortable Forward Bale Handle comes pre-installed.
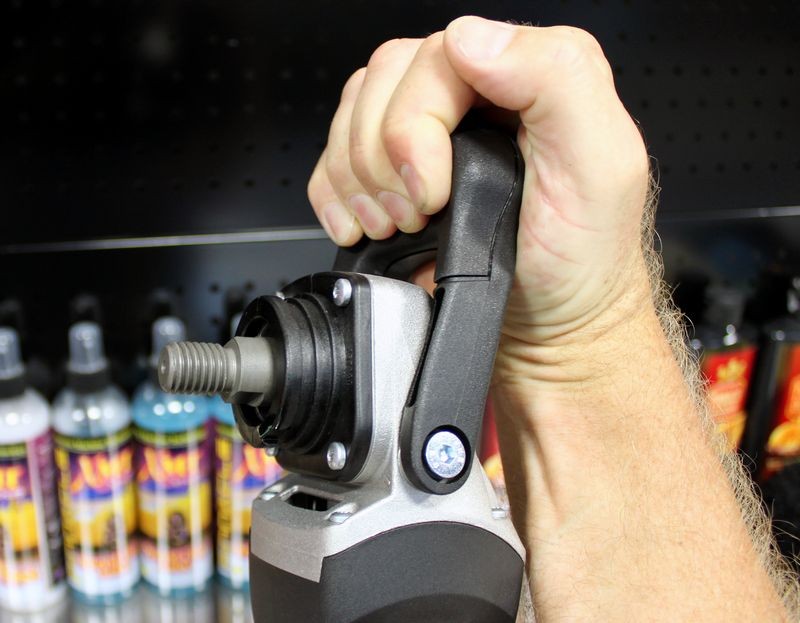
Industry standard 5/8" Course Thread Spindle accepts most professional grade backing plates.

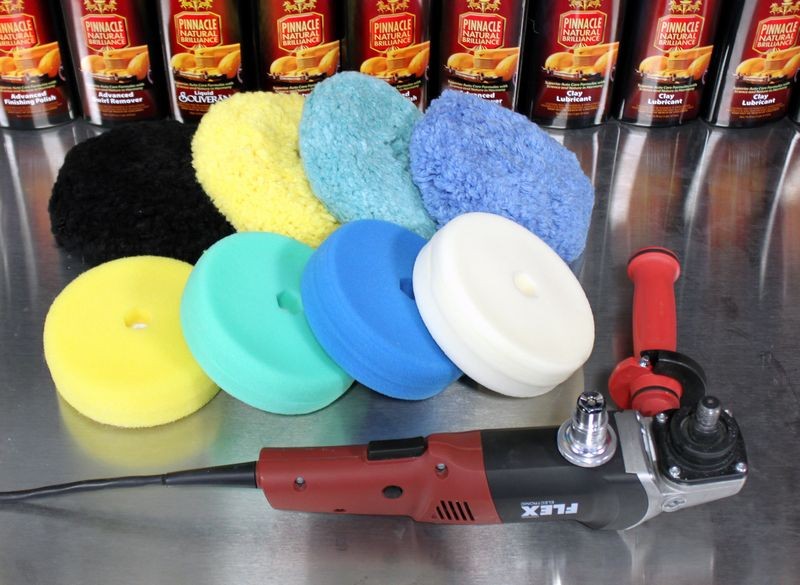
Here's the Flex 3403 with the Forward Bale Handle removed and the factory Stick Handle installed.

It can be used on either side of the rotary buffer depending upon your personal preference or the design of the body panels.

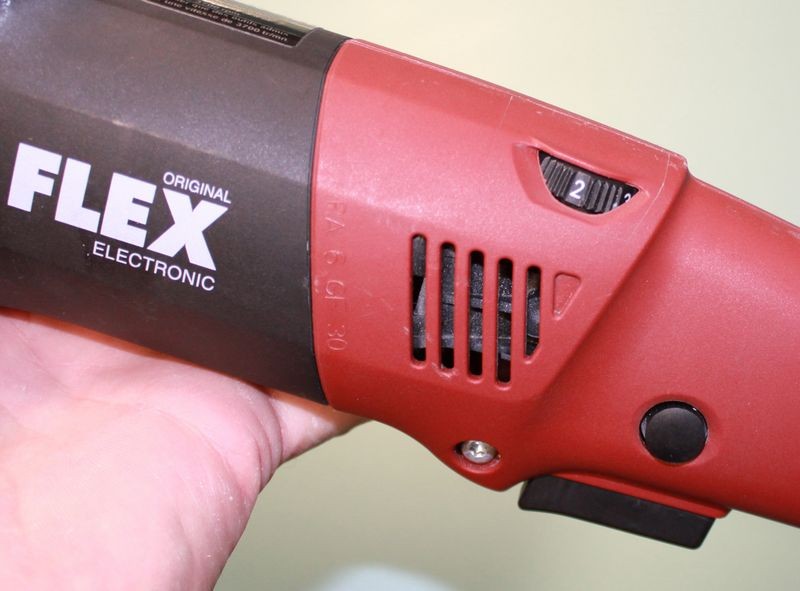
There's an optionalThe FLEX Grip Side Handle which reduces vibration during operation.

The Flex Grip Handle is a few inches longer than the factory plastic stick handle.

The Flex Grip Handle appears and acts like a handle inside a handle with a rubber liner to separate the two components and provide the vibration reduction.


The Edge 2000 6" Wool Buffing Pads and the Edge 2000 Foam Buffing Pads are about as large in diameter as you want to go with the Flex Lightweight Rotary Buffer.
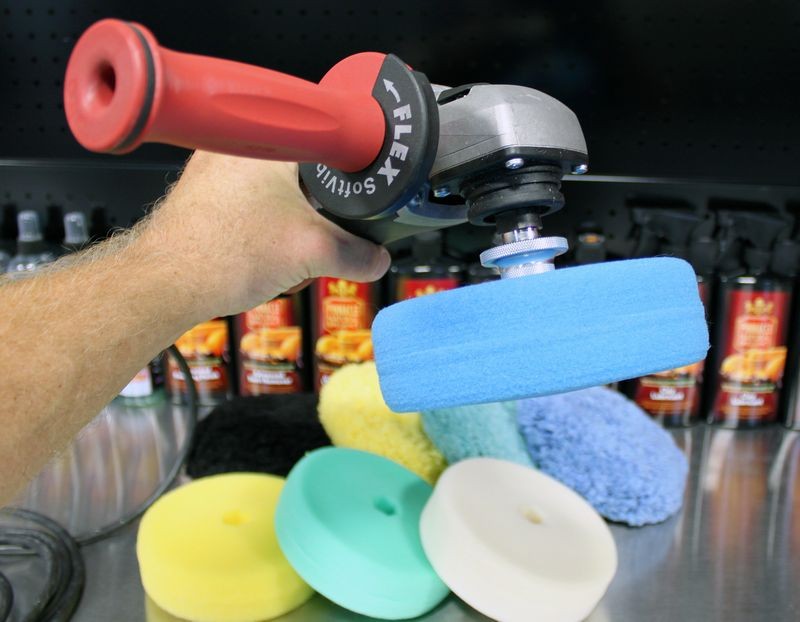
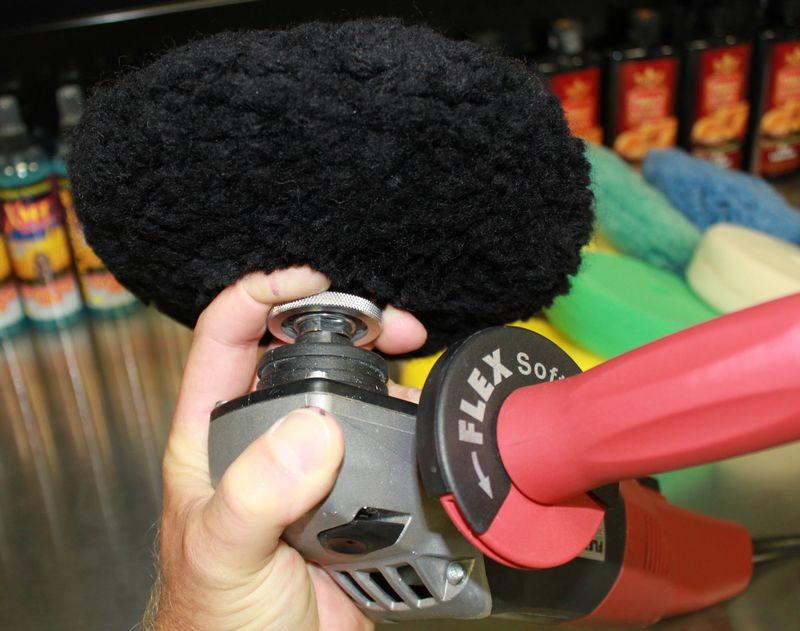
The Edge 2000 6" series buffing pads require the 3M Quick Release Adaptor to attach to the 5/8" Spindle.

One side of the adaptor threads on to the spindle and then the internal backing plate snaps onto the other end and one of the benefits is a perfectly aligned and thus balanced pad.

Here's the Edge 2000 Blue Finishing Pad attached to the 3M Adapter to give you a size reference and general all over view.


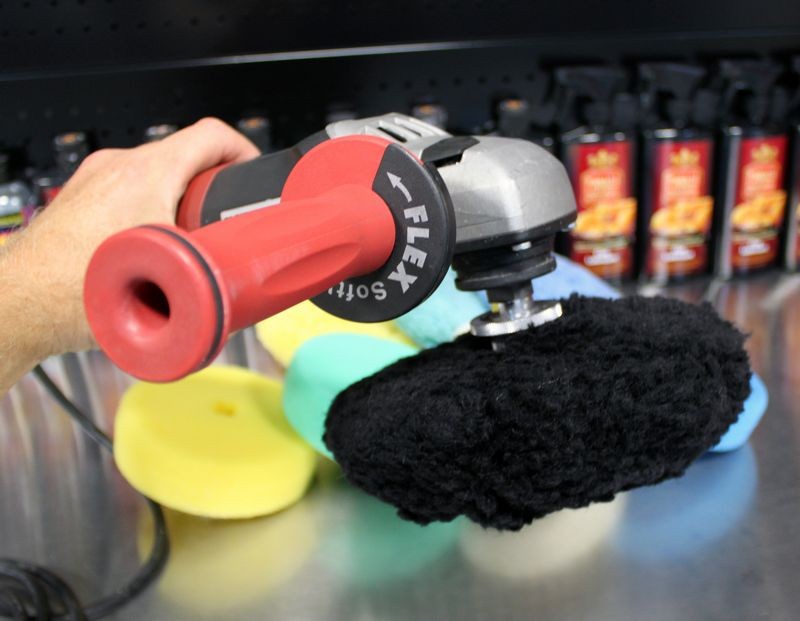
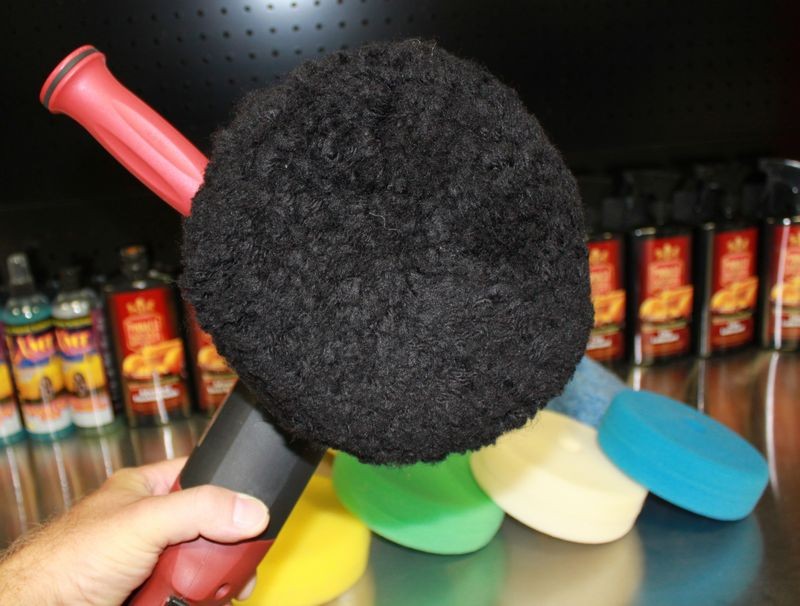
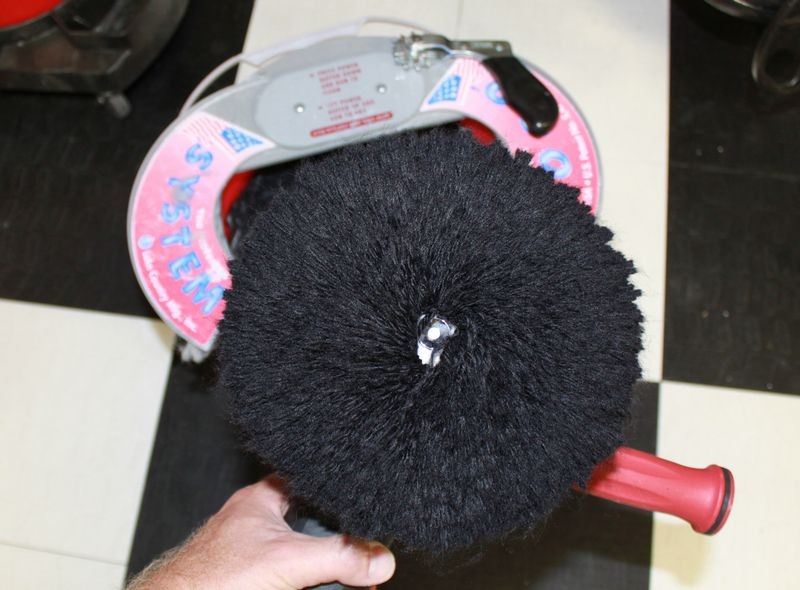
Here's the Edge 2000 Black Heavy Cut Wool Cutting Pad.

To remove a pad simply pull back on the release lever and the buffing pad will pop-off...
To clean wool pads you can use a Spur...

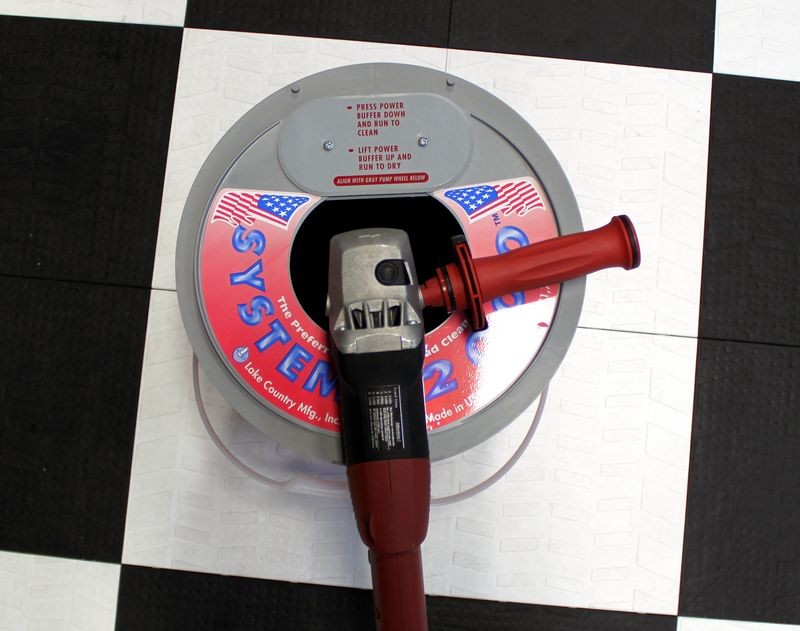
Or a Pad Washer like the Autogeek System 2000 Pad Washer
To clean a foam buffing pad you can use a Foam Pad Conditioning Brush

You can also use a Grit Guard Universal Pad Washer

In my article, "How to choose the right polisher for your detailing project" I gave the Flex 3403 and "Ease of Use Ranking" of 4, see the blue portion in the excerpt below from that article for the reason why...
Some other pads that work well with the 3403 are the,
Meguiar's W-7006, W-8006 and W-9006
Lake Country 5.5" foam flat pads
The 6" Kompressor Pads
Lake Country Hydro-Tech Low Profile 5 1/2 x 7/8 Inch Foam Pads
Griot's Garage 3 Inch Orange Polishing Foam Pad
Pads smaller in diameter allows the tool to work easier...
The Edge Wool and Foam Pads actually buff real nice on the 3403 plus they are perfectly centered.
")
Flex 3403 Lightweight Rotary Buffer
11.5 Amps
1100 to 3700 RPM
5 Pounds
1 Year Limited Warranty
The Flex 3403 Lightweight Rotary Buffer
[ame=http://www.youtube.com/watch?v=hVm_IJuXNc0]YouTube - Mike Phillips Showcases the Flex 3403 Lightweight Rotary Buffer[/video]What's in the box?
Well packaged and wrapped tool...
Out of the box you get the Flex 3403 Lightweight Rotary Buffer, two types of handles, a Stick Handle and a forward Bale Handle, owners manual and Allen wrench to remove or replace the forward grip handle.
The forward Bale Handle has an ergonomic design and give you excellent control and leverage over the Flex 3403 Lightweight Rotary Buffer.
The black button you see in the head housing is a gear lock button to lock-up the gears to keep the spindle from rotating so you can remove or install backing plates or attachments without the spindle rotating.
Comfortable Forward Bale Handle comes pre-installed.
Industry standard 5/8" Course Thread Spindle accepts most professional grade backing plates.
Here's the Flex 3403 with the Forward Bale Handle removed and the factory Stick Handle installed.
It can be used on either side of the rotary buffer depending upon your personal preference or the design of the body panels.
There's an optionalThe FLEX Grip Side Handle which reduces vibration during operation.
The Flex Grip Handle is a few inches longer than the factory plastic stick handle.
The Flex Grip Handle appears and acts like a handle inside a handle with a rubber liner to separate the two components and provide the vibration reduction.
The Edge 2000 6" Wool Buffing Pads and the Edge 2000 Foam Buffing Pads are about as large in diameter as you want to go with the Flex Lightweight Rotary Buffer.
The Edge 2000 6" series buffing pads require the 3M Quick Release Adaptor to attach to the 5/8" Spindle.
One side of the adaptor threads on to the spindle and then the internal backing plate snaps onto the other end and one of the benefits is a perfectly aligned and thus balanced pad.
Here's the Edge 2000 Blue Finishing Pad attached to the 3M Adapter to give you a size reference and general all over view.
Here's the Edge 2000 Black Heavy Cut Wool Cutting Pad.
To remove a pad simply pull back on the release lever and the buffing pad will pop-off...
To clean wool pads you can use a Spur...
Or a Pad Washer like the Autogeek System 2000 Pad Washer
To clean a foam buffing pad you can use a Foam Pad Conditioning Brush
You can also use a Grit Guard Universal Pad Washer
In my article, "How to choose the right polisher for your detailing project" I gave the Flex 3403 and "Ease of Use Ranking" of 4, see the blue portion in the excerpt below from that article for the reason why...
Mike Phillips said:How to choose the right polisher for your detailing project
Rotary Buffers are the tool of choice for professionals in the refinishing industry, (body shops where new paint is sprayed), and the reconditioning industry, (car detailing both mobile detailers and fixed locations.
Rotary Buffers, also referred to as Circular Polishers use powerful electric motors to power direct drive gear systems that force a spindle to rotate in one circular direction. When you place a backing plate and a buffing pad onto the spindle you now have a tool that offers the most correction ability out of all the tools listed here. Another way of saying this is a rotary buffer has the ability to remove a lot of paint fast.
Now I know that never sounds good but remember the industries this tool is targeted at and designed for and that's body shops and detail shops.
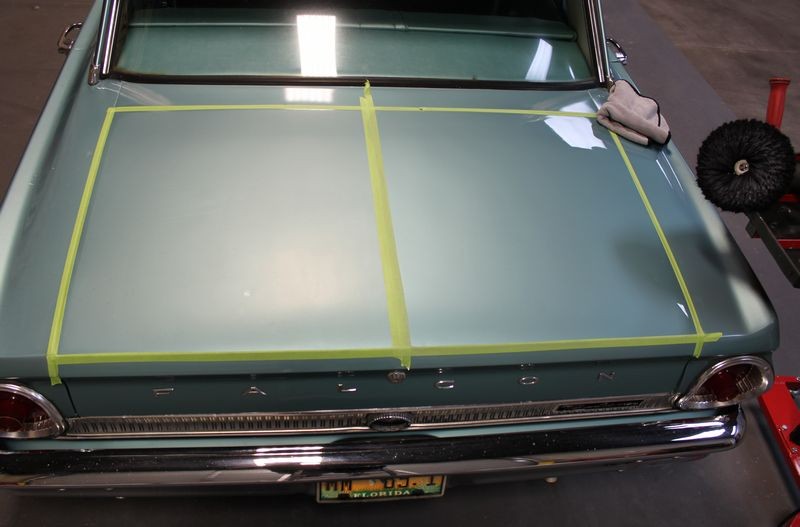
In a body shop situation, often times after a car is sprayed with fresh paint, after the paint dries it may be wet-sanded or color sanded to remove Orange Peel by sanding the textured surface flat. After the finish is sanded flat the next step is to remove the sanding marks which is requires a polisher that has a lot of power to cut into the paint and level it thus removing the sanding marks or sanding scratches.
In the detailing industry, a lot of seasoned professional detailers will want to use a rotary buffer for the same reason, that is they want to use a tool to remove a lot of paint quickly only instead of removing a controlled pattern of sanding marks they want to remove uncontrolled or random deeper defects like swirls, scratches, etching and water spots.
The other tools listed above like the dual action polishers, the Cyclo Polisher and the Hybrid Flex 3401 can all remove these types of deeper, serious defects but just not as quickly as they don't have the same type of power.
This power is a double-edged sword as it enables the user to quickly remove serous paint defects but if the user is not careful they can also heat up the paint on a high point or body line and actually burn or grind through the paint to expose the underlying layer of paint and in some cases the actual metal that makes up a panel.
So with greater power comes the responsibility to master the tool so you don't make mistakes.
Now listed this category as having both an Ease of Use Ranking of 4 and 5 because in this category there is a smaller, lightweight rotary buffer and its small size and lightweight make it dramatically easier to control and mastering a rotary buffer is matter of learning to control a rotary buffer.
The full size traditional models weigh more and their physically larger size just makes them a couple ticks more difficult to learn to control and to actually control when buffing out complete cars.
The learning curve of mastering a rotary buffer is the steepest and longest of all these tools and the tired and true way to learn the way of the rotary buffer is with a combination of education, hands-on training and real-world experience, lots of real-world experience.
Some other pads that work well with the 3403 are the,
Meguiar's W-7006, W-8006 and W-9006
Lake Country 5.5" foam flat pads
The 6" Kompressor Pads
Lake Country Hydro-Tech Low Profile 5 1/2 x 7/8 Inch Foam Pads
Griot's Garage 3 Inch Orange Polishing Foam Pad
Pads smaller in diameter allows the tool to work easier...
The Edge Wool and Foam Pads actually buff real nice on the 3403 plus they are perfectly centered.


 rops:
rops: