 Thanks: 0
 Likes: 0
 Dislikes: 0
-
Super Member

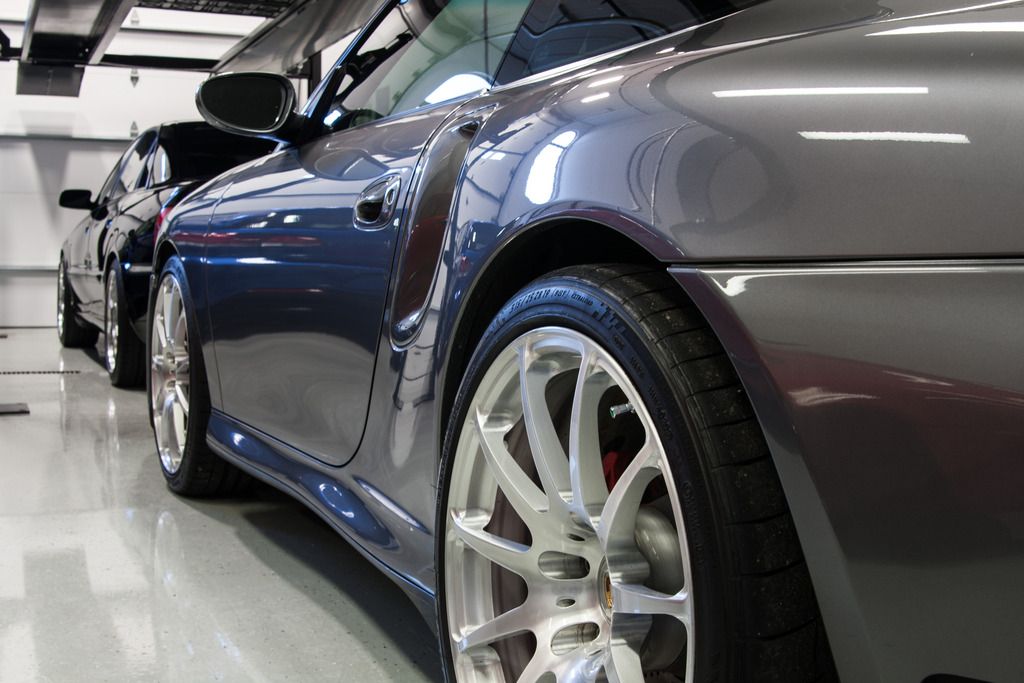
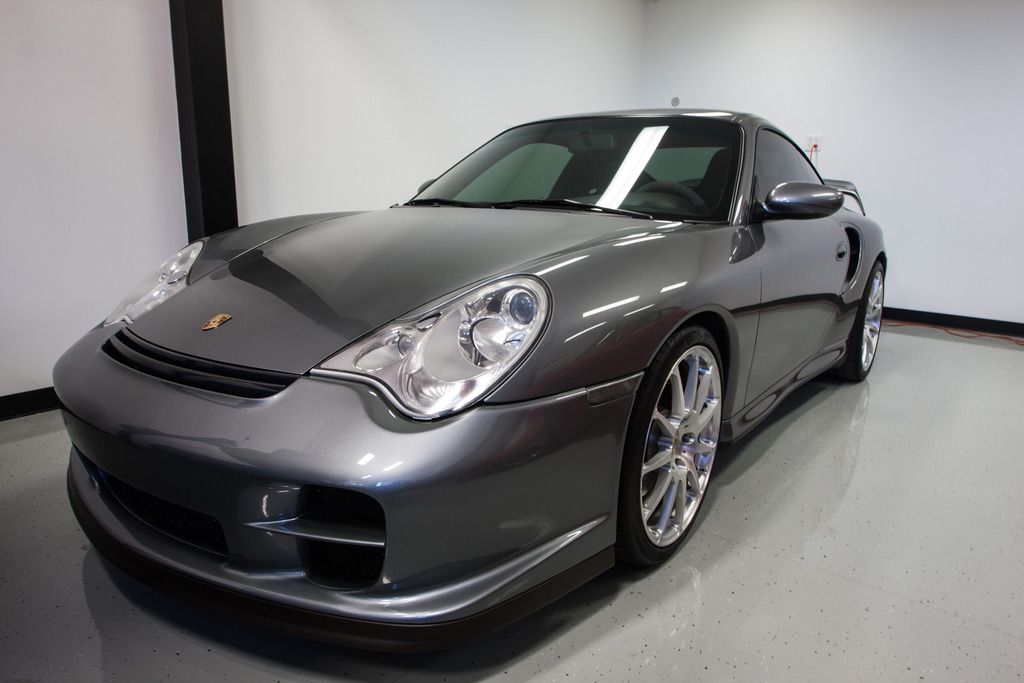
2001 Porsche 996 Turbo Correction & Coating
I've done a few cars for this owner now. I'd never really taken a close look at it, except to avoid brushing up against it while working on another vehicle or moving gear in and out. Always looked decent under fluorescent lights when I'm hustling around it, closer inspection revealed otherwise.
The owner said the entire car had been resprayed, and based on the varying thickness, hardness, colors and sanding marks I don't think it was all at the same time. rear clip was mostly soft , except the bumper, Hood was rock hard, drivers side was pretty hard, passenger side was moderate, roof was moderate (did not want to correct with the rotary, but the 21 removed defects with typical effort)
Process
ONR wash
ONR and wheel woolies on the wheels
Minimal contamination so a very quick traditional clay with ONR lube
A few paint runs got wetsanded with 3000 grit
Hood got D300 with MF on the 21 (didn't cut it, literally) so stepped up to Menz PG1000 with wool on the rotary then D300 with MF on the 21 then Essence with LC white on the 21. Approximately 25 microns removed in total and still some pigtails and tracers.
Rest got D300 with MF on the 21 and Essence with LC white on the 21.
Finished with PBL Diamond paint coating V2.
Trim was cleaned with Mother's black to black cleaner and then dressing the UTTG v1
Tires for PERL 3:1
Exhaust got Pinnacle exhaust cleaner and brightener
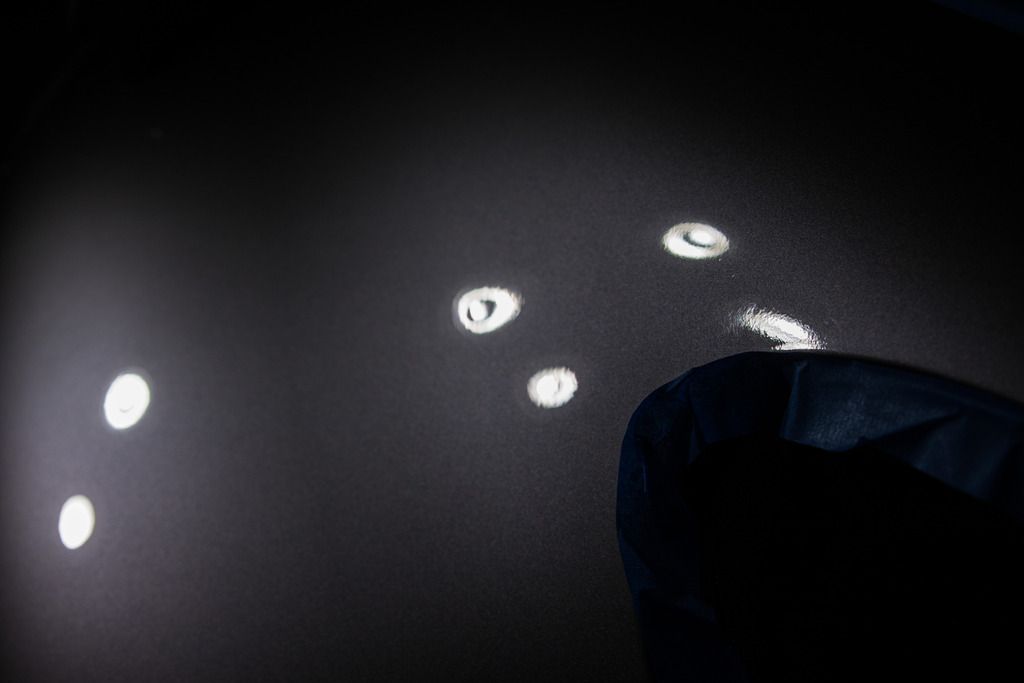
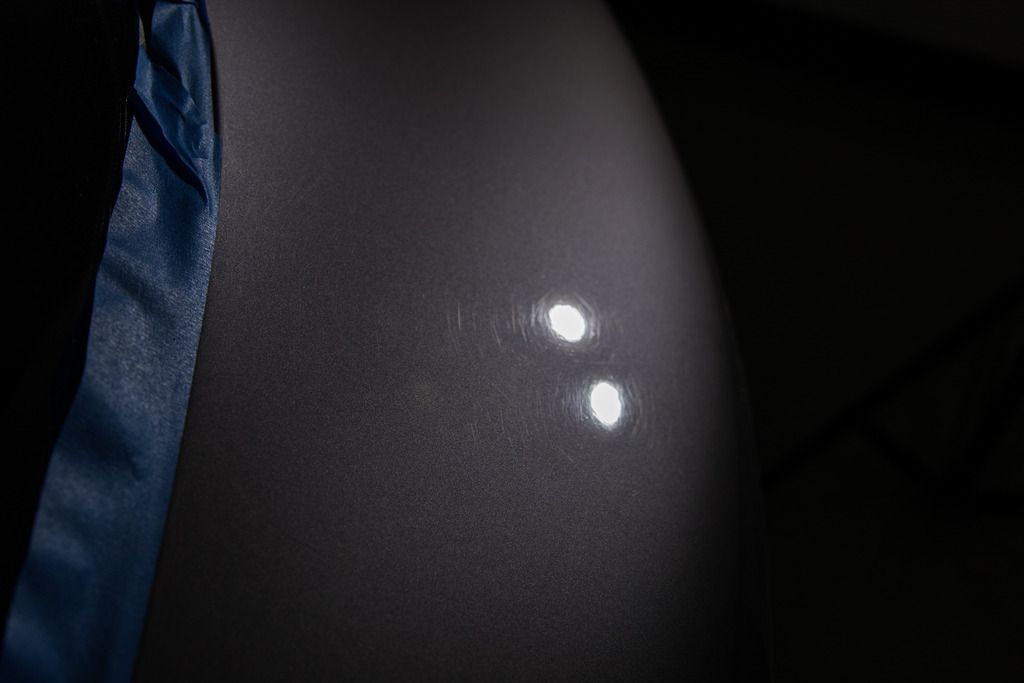
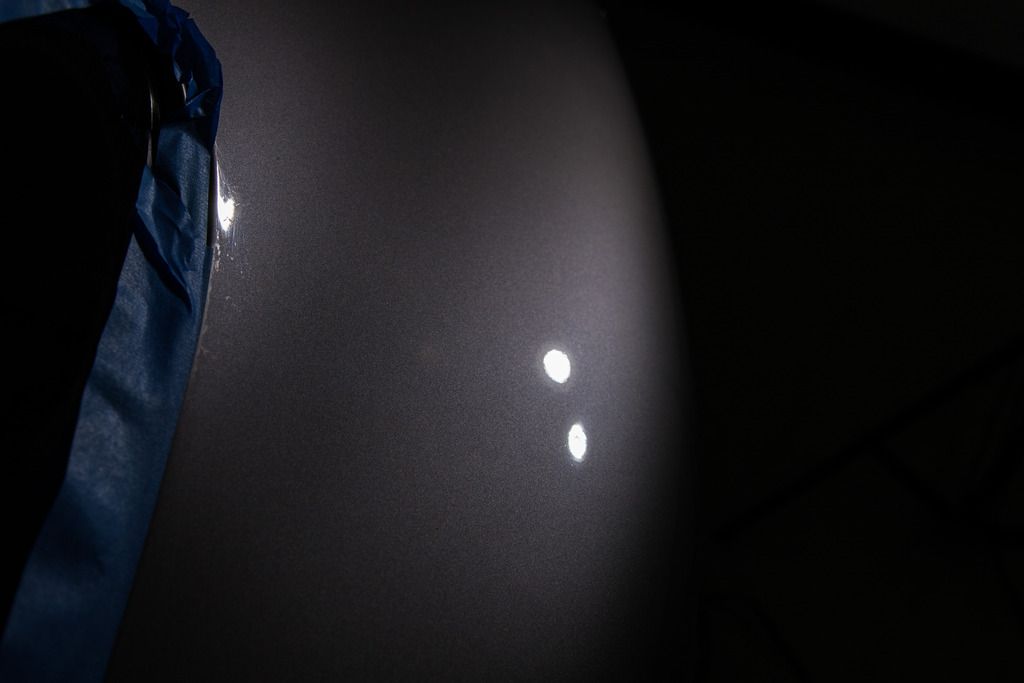
Sanding marks on hood (I'm guessing a backing plate was making contact here)
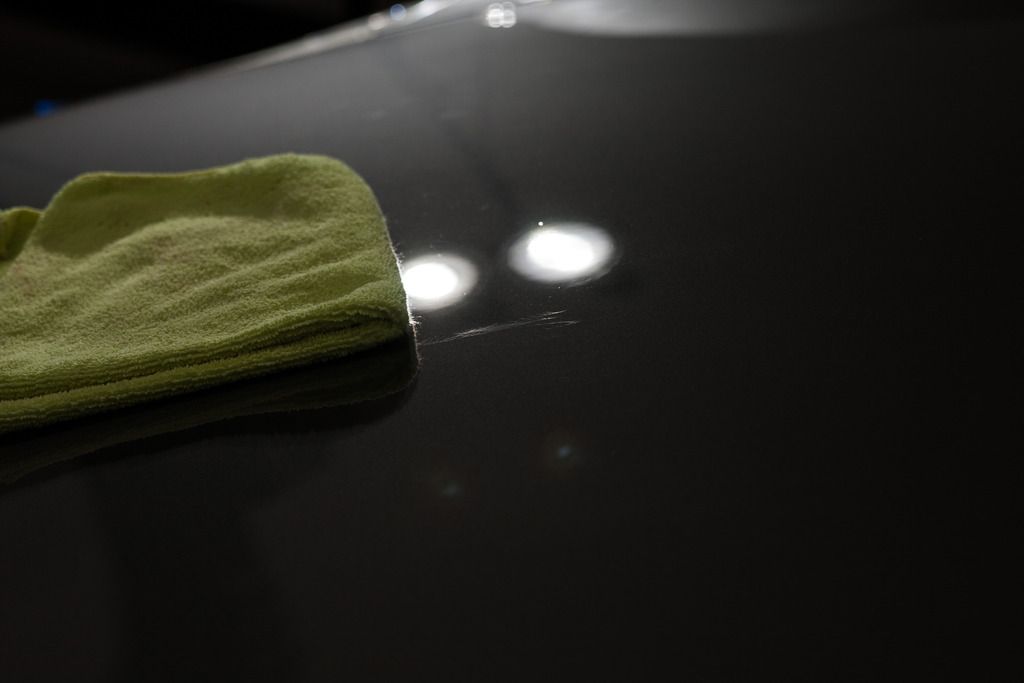
After the full hood correction plus some extra effort with the Flex Kompakt and there was still half left. I'm estimating 35+ microns were removed here and I wasn't comfortable going any further.
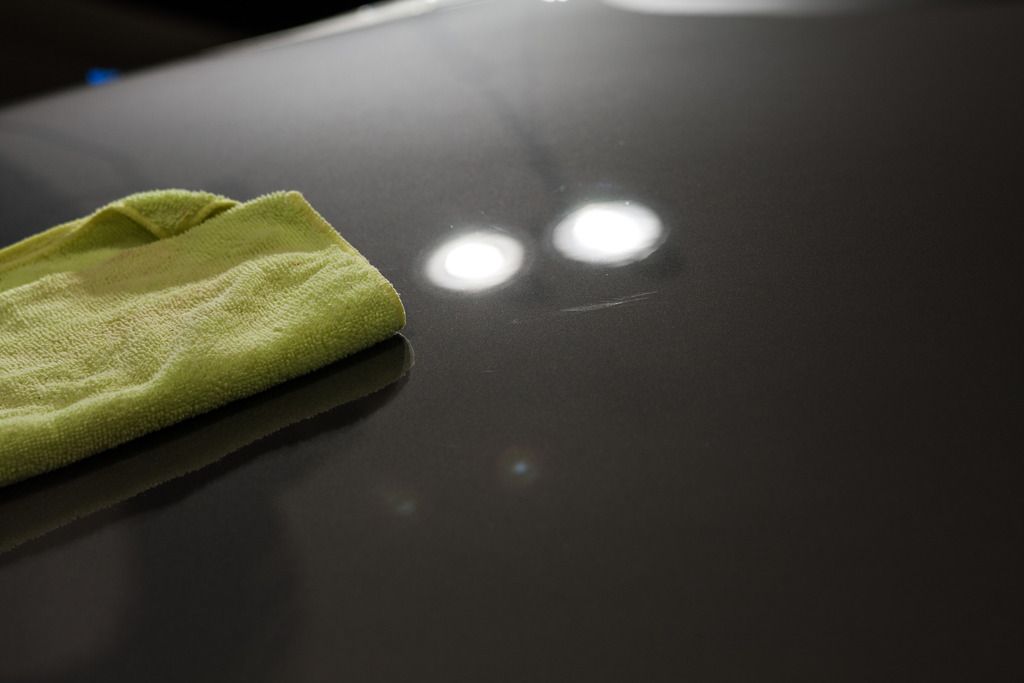
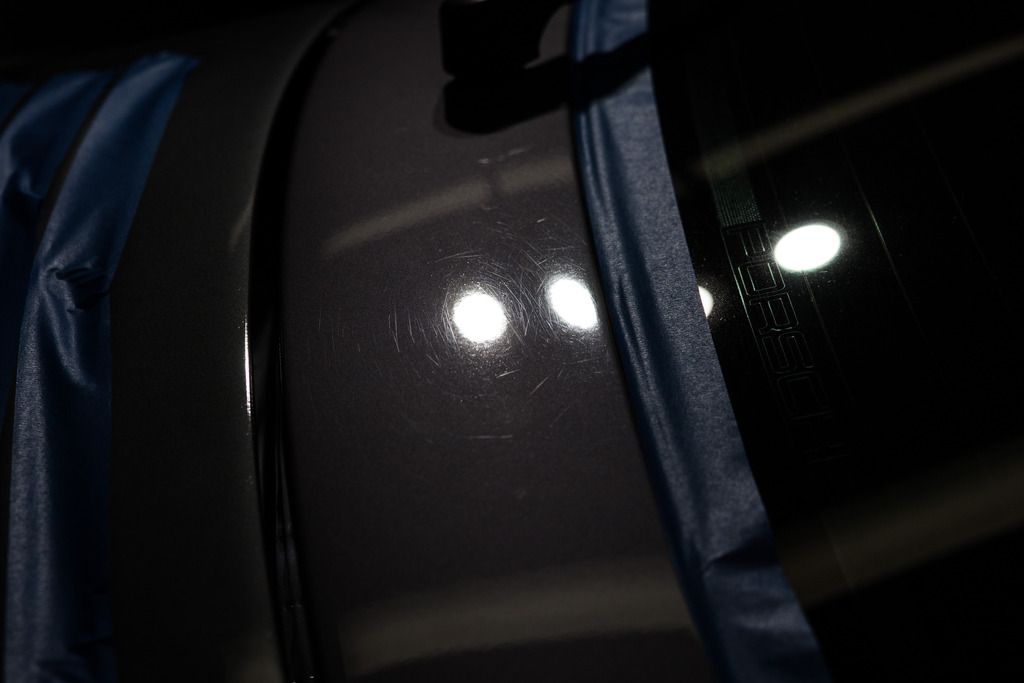
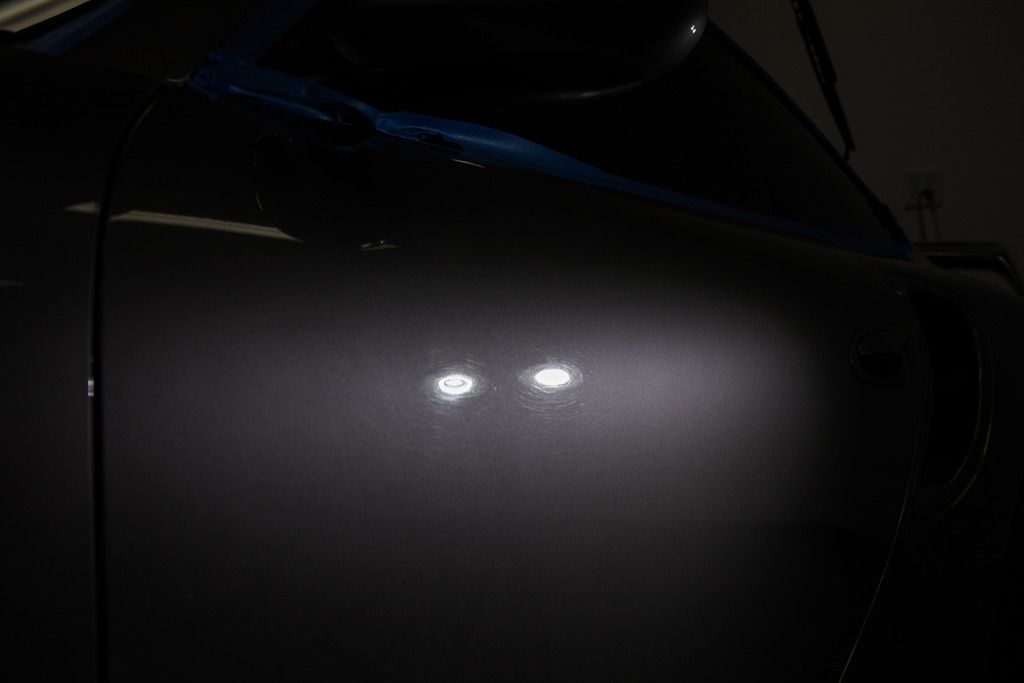
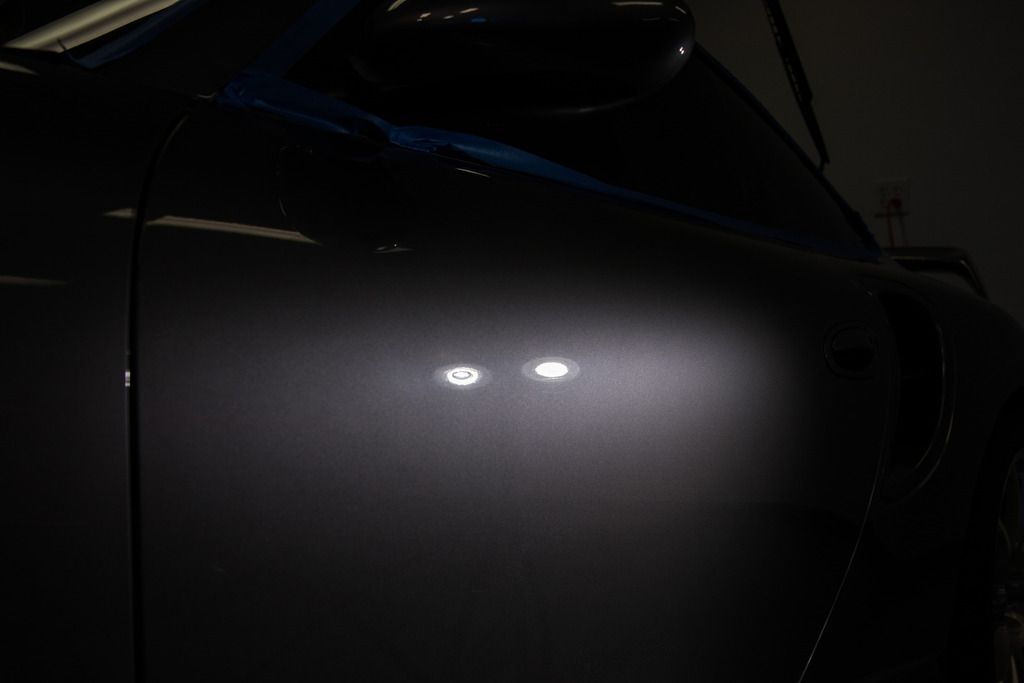
Pigtails remaining on the hood after a similar process.
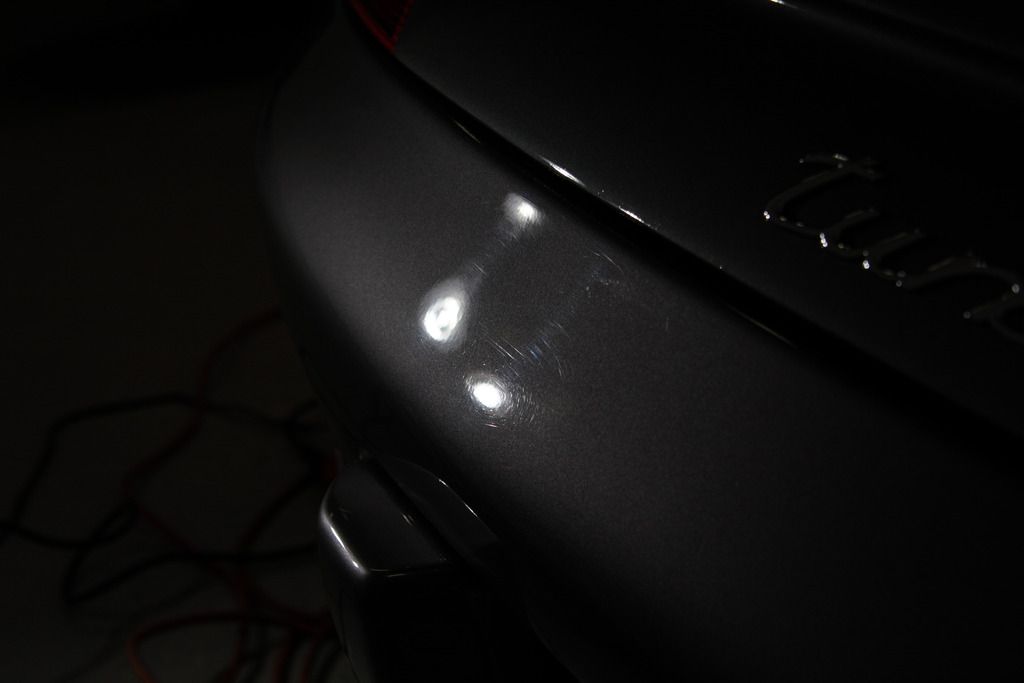
Wetsanding a run right on the edge 

All done, no color on the pads 
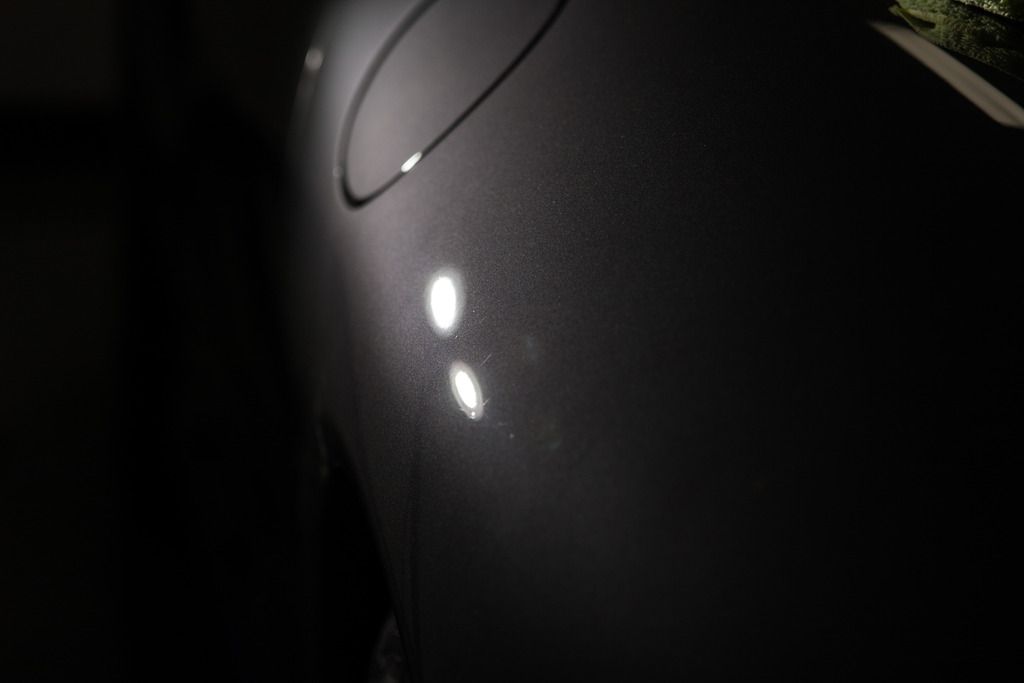
Passenger fender before
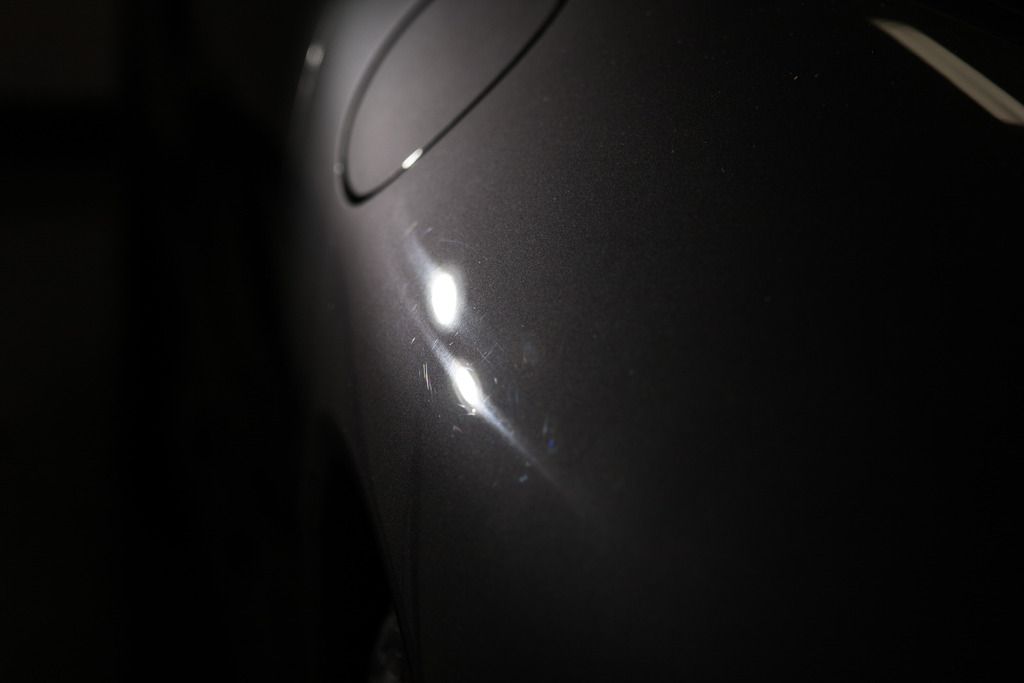
After
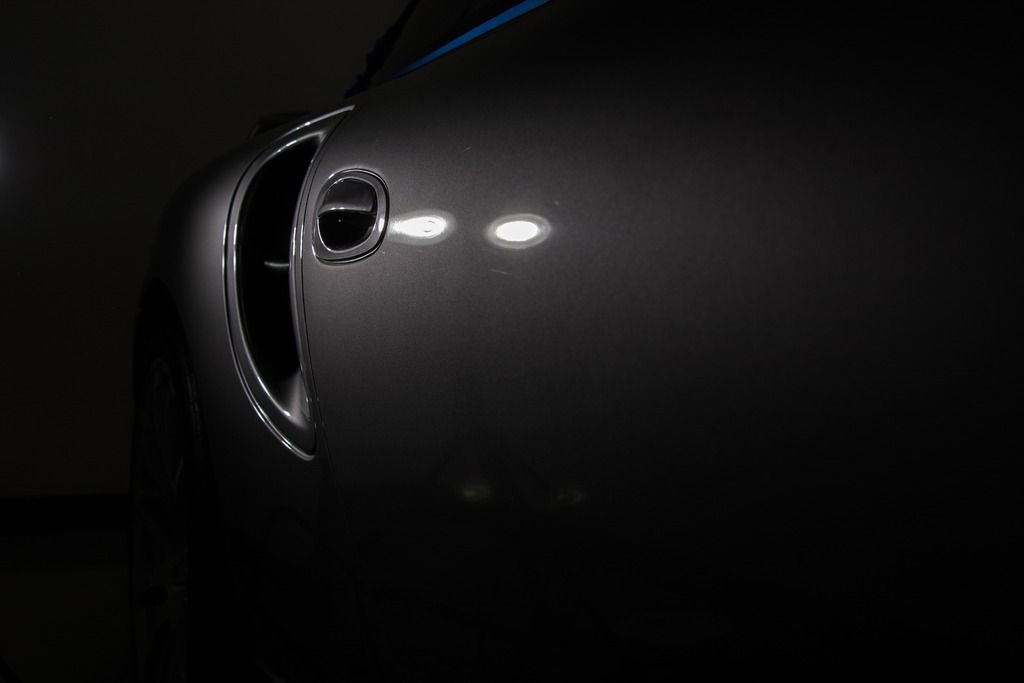
Passenger door before

After
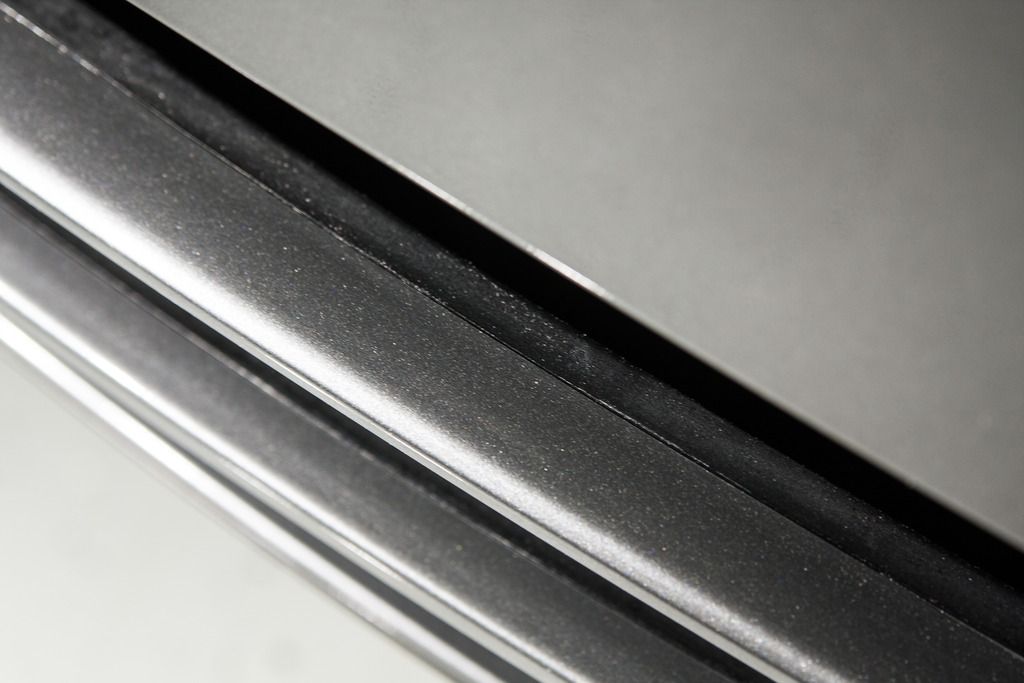
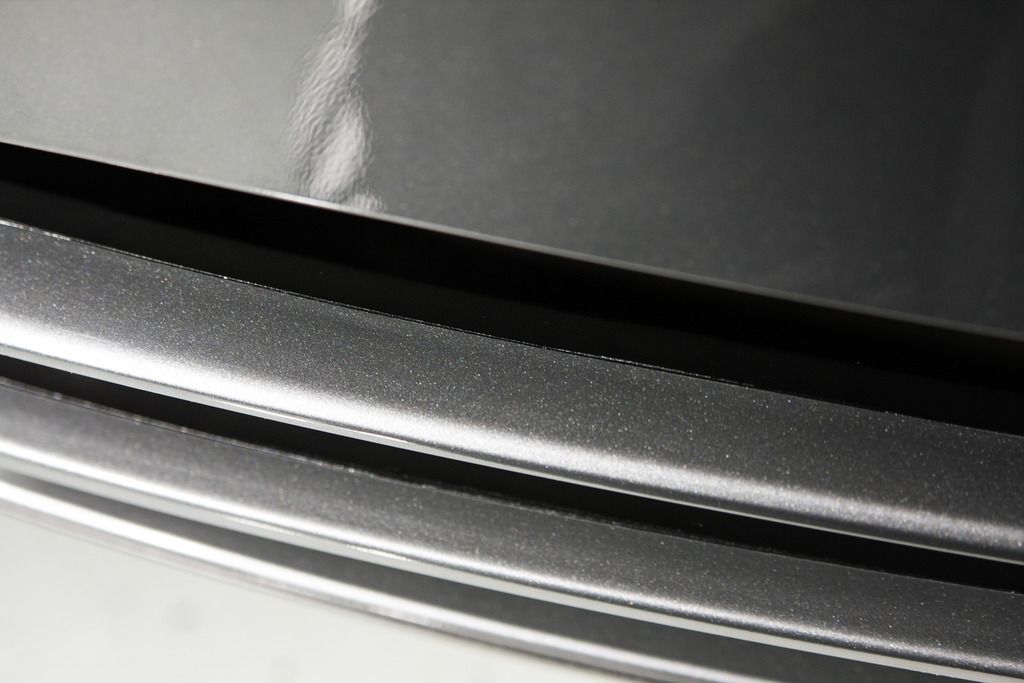
C-pillar sanding marks
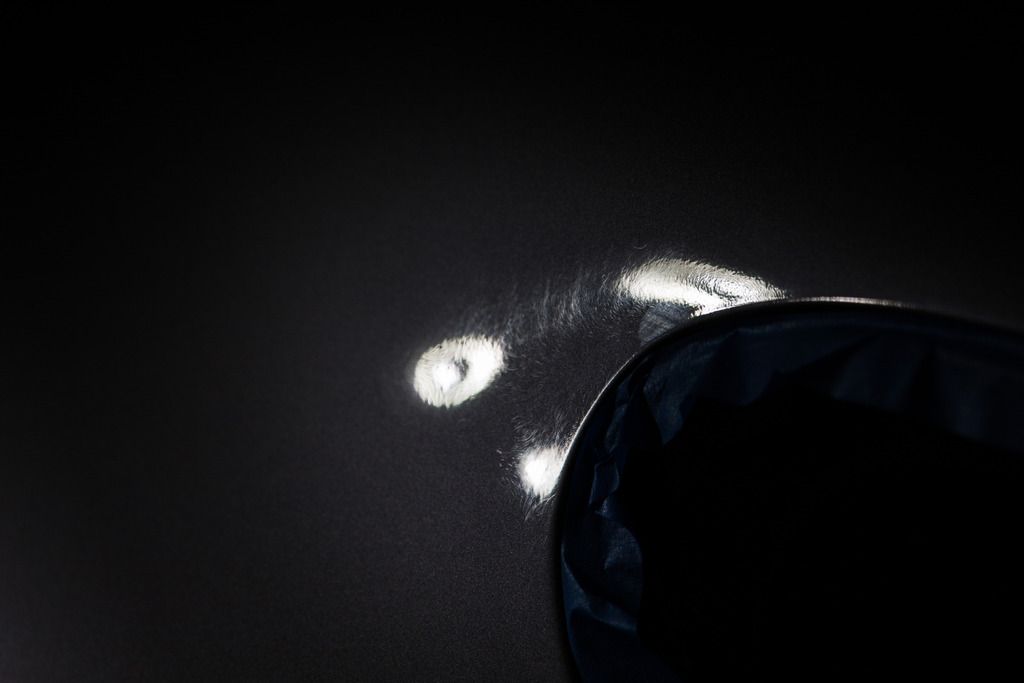
Fixed
Behind rear glass
After compound only via Flex Kompakt

Rear bumper before
After
Driver rear before
After
Driver door before
After compound only
Trim before
After, what looks like remaining residue on the edge is actually paint from the respray I tried everything short of a magic eraser and the owner said stop there.
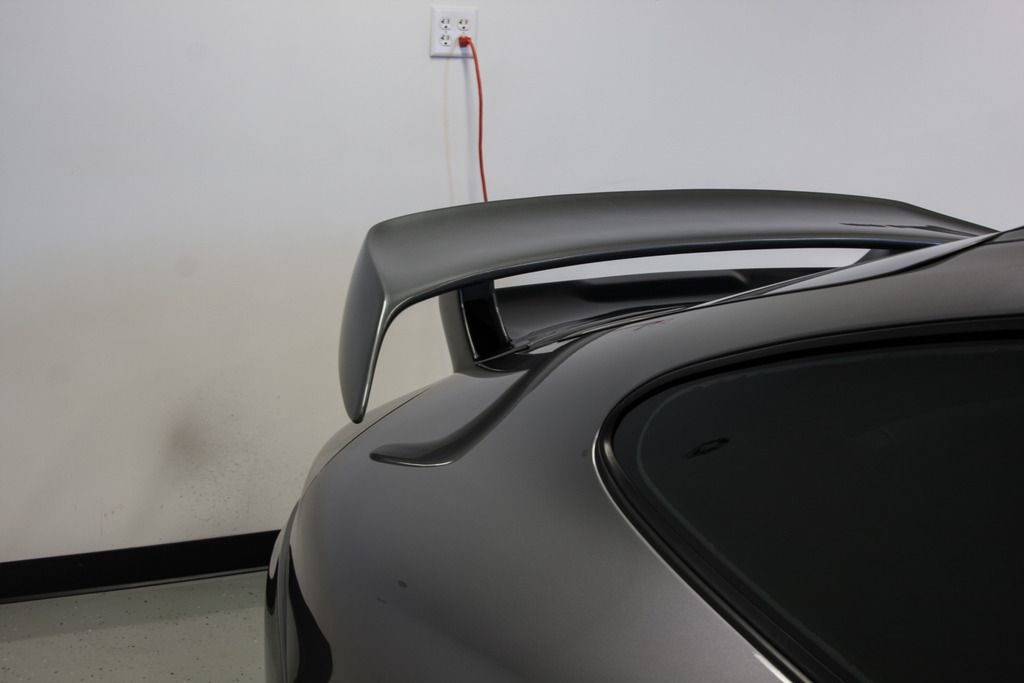
Gotta clean the underside of the spoiler now, or someone is going to see it's dirty
Few final shots

One thing of note, the bottom plastic of the front lip has turned brown. I tried solution finish and TW trim restorer coating, both just left some black streaks and darkened it slightly, but it was still brown. I advised the owner he'd likely need to paint it. Anyone had this issue and any success short of painting?
-
Re: 2001 Porsche 996 Turbo Correction & Coating
Outstanding work! That looks incredible.
Good call on calling it quits in a few areas after removing a good bit of material.
Thanks for sharing.
-
Super Member

Re: 2001 Porsche 996 Turbo Correction & Coating
Great job! Sounds like a real tricky car to work with
Currently: 2014 Jet Black Mica Mazda 6
Previously: 2004 Milano Red Acura TSX
-
Super Member

Re: 2001 Porsche 996 Turbo Correction & Coating
Very nice write up and work!!!
Scott Harle
Autodermatology
#autodermatology
-
Super Member
Re: 2001 Porsche 996 Turbo Correction & Coating
 Originally Posted by Mike@DedicatedPerfection

Outstanding work! That looks incredible.
Good call on calling it quits in a few areas after removing a good bit of material.
Thanks for sharing.
Thanks Mike. As you know, it's always tough to leave defects behind. The owner was very pleased, but it diminishes my satisfaction. I certainly won't be losing any sleep over it though.
Originally Posted by ViperGuy21
Great job! Sounds like a real tricky car to work with
It was tricky, but I'd say it demanded my attention and patience the most. I think using D300 and Essence for the majority of the work made things a lot easier, along with accepting this would take two+ steps.
D300 allowed me to work a section as long or short as necessary, only having to adjust my arm speed, pressure and passes based on the paint reaction; not changing the whole system 4 times. Accepting the two step meant I only needed to focus on getting the defects out, not any haze left. Essence was exceptionally consistent with all the paint variation, so I wasn't killing myself with adjustments here either.
This is a perfect example of product choice making all the difference.
Originally Posted by Sizzle Chest
Very nice write up and work!!!
Thank Buddy! I actually chose PBL over Essence for this job primarily based on few of your recent details with Essence where you used PBL interior cleaner (just triggered me to think of V2 with Essence). The other reason being I think PBL looks awesome on medium shade vehicles.
-
Super Member

Re: 2001 Porsche 996 Turbo Correction & Coating
Great job and write up. That did take a lot of skill and patience to accomplish.
-
Regular Member

Re: 2001 Porsche 996 Turbo Correction & Coating
Beautiful job! Lovely color on that Porsche.
Yeah we all shine on, like the moon, and the stars, and the sun - John Lennon
-
Re: 2001 Porsche 996 Turbo Correction & Coating
Originally Posted by Audios S6
Accepting the two step meant I only needed to focus on getting the defects out, not any haze left.
Great Strategy!
Crush the defects and deal with haze as part of the process.
.
Similar Threads
-
By gofast908z in forum Show N' Shine
Replies: 13
Last Post: 06-04-2013, 09:17 PM
-
By gofast908z in forum Show N' Shine
Replies: 1
Last Post: 05-08-2013, 01:34 AM
-
By zmcgovern45 in forum Show N' Shine
Replies: 40
Last Post: 04-09-2013, 07:39 PM
-
By Dust2Glory in forum Show N' Shine
Replies: 14
Last Post: 05-30-2007, 10:14 AM
-
By Strokin04 in forum Show N' Shine
Replies: 15
Last Post: 04-02-2007, 07:57 PM
 Members who have read this thread: 0
There are no members to list at the moment.
Posting Permissions
- You may not post new threads
- You may not post replies
- You may not post attachments
- You may not edit your posts
-
Forum Rules
|
| S |
M |
T |
W |
T |
F |
S |
| 26 | 27 | 28 | 29 | 30 | 31 |
1
|
|
2
|
3
|
4
|
5
|
6
|
7
|
8
|
|
9
|
10
|
11
|
12
|
13
|
14
|
15
|
|
16
|
17
|
18
|
19
|
20
|
21
|
22
|
|
23
|
24
|
25
|
26
|
27
|
28
|
29
|
|
30
| 1 | 2 | 3 | 4 | 5 | 6 |
|


 Reply With Quote
Bookmarks