 Thanks: 0
 Likes: 0
 Dislikes: 0
-
Junior Member

Wetsanding Touch-up Paint
Hi everyone,
I have applied 6 layers of basecoat touch up paint to a 1 inch long by 1/8 inch wide gash that is down to the primer. The layering is finally above the original OEM paint. Since it's bumpy and uneven, would you guys recommend I wetsand the basecoat to level it before I apply the clearcoat provided in the touch-up kit?
Any and all feedback is appreciated.
Thanks,
Michael

Last edited by leahcimp; 09-25-2012 at 07:54 PM.
Reason: duplicate word
-
Super Member

Re: Wetsanding Touch-up Paint
 Originally Posted by leahcimp

Hi everyone,
I have applied 6 layers of basecoat touch up paint to a 1 inch long by 1/8 inch wide gash that is down to the primer. The layering is finally above the original OEM paint. Since it's bumpy and uneven, would you guys recommend I wetsand the basecoat to level it before I apply the provided clearcoat provided in the touch-up kit?
Any and all feedback is appreciated.
Thanks,
Michael
I never apply the clearcoat on touchups. The clearcoats they provide will mess up your colormatch 99% of the time IMO
Hard times create strong men, strong men create good times, good times create weak men, and weak men create hard times.
-
Re: Wetsanding Touch-up Paint
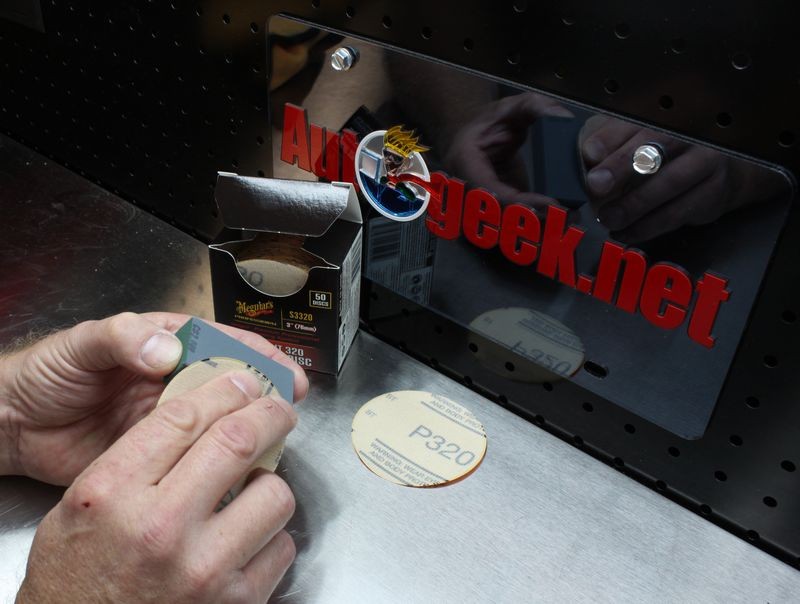
Keep your sanding surface flat and small, like putting a small round piece of sandpaper onto the end of a wine cork. This will keep your sandpaper from going over too much onto the original paint.
Yes, get it down level as best you can, use finer and finer grit up to at least 3000, then remove the remaining fine sanding marks with buffing/compounding.
As noted above, see how this is before any clear coating - Touch-ups are not for concourse show cars anyway, so you really want it to A) protect the metal underneath, and B) be as "invisible" as possible. If you can accomplish that with your touch-up and without clear coating, it should be good enough.
Take some pix along the way and share your results.
-
Re: Wetsanding Touch-up Paint
Originally Posted by leahcimp
Since it's bumpy and uneven, would you guys recommend I wetsand the basecoat to level it before I apply the clearcoat provided in the touch-up kit?
Here's one way...
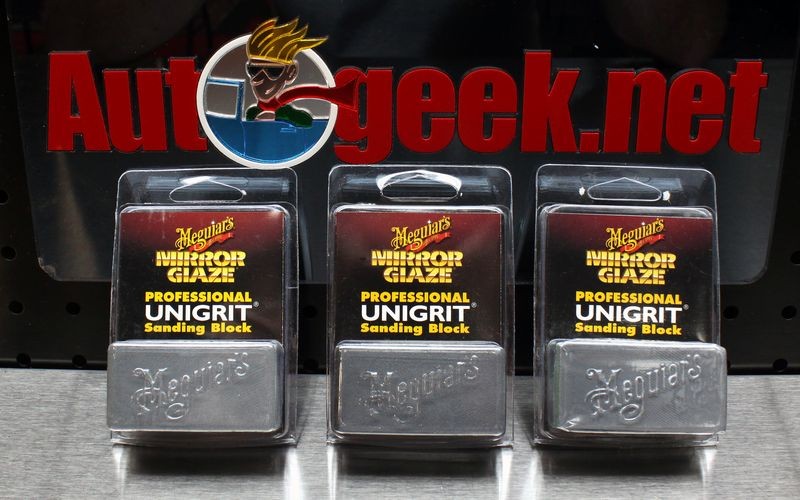
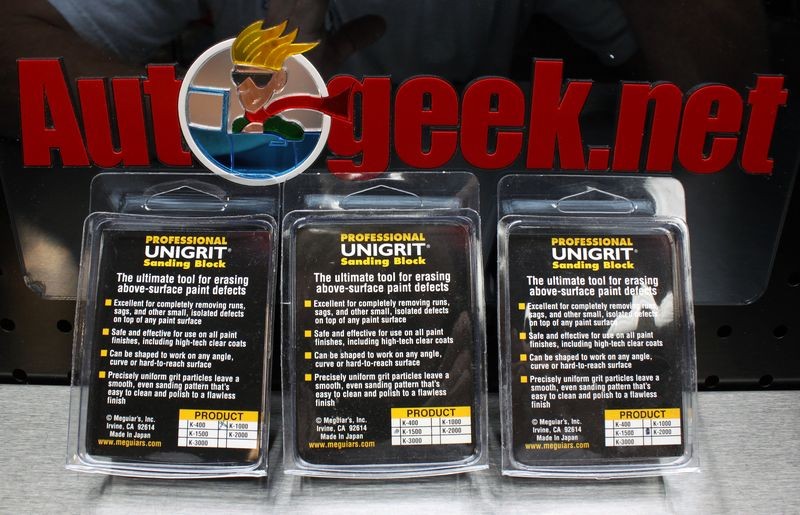
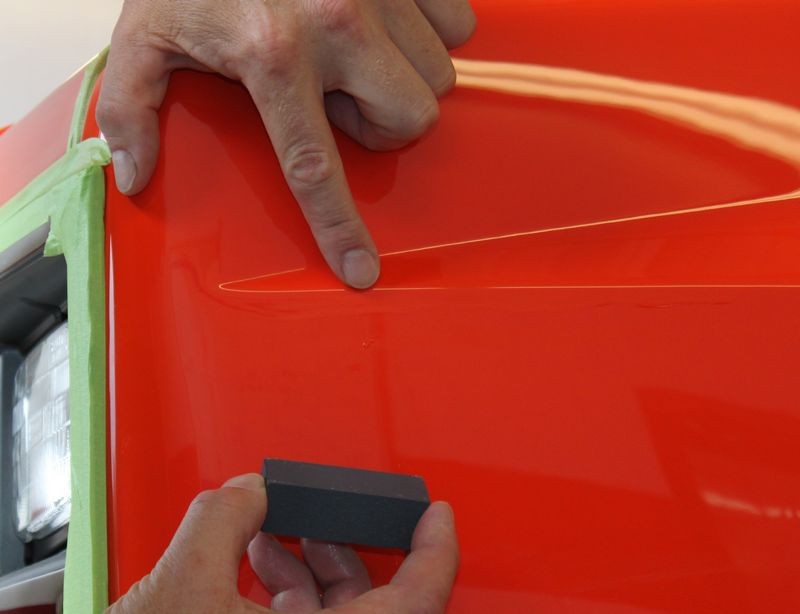
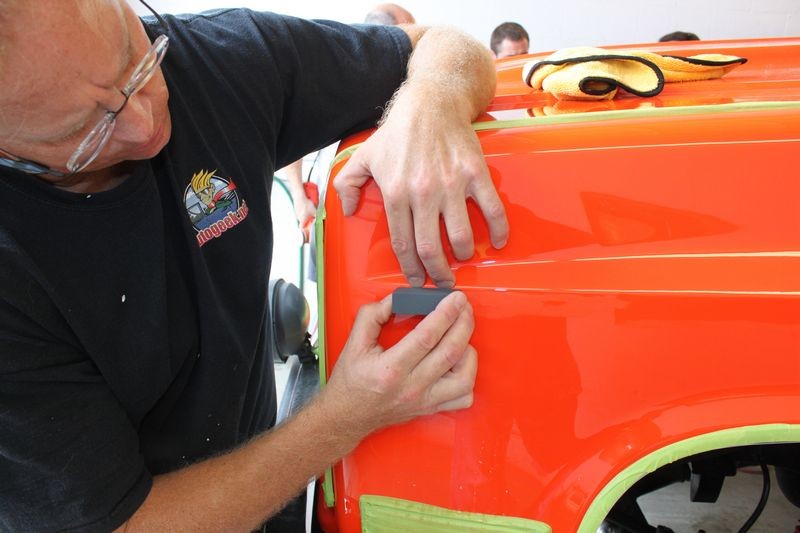
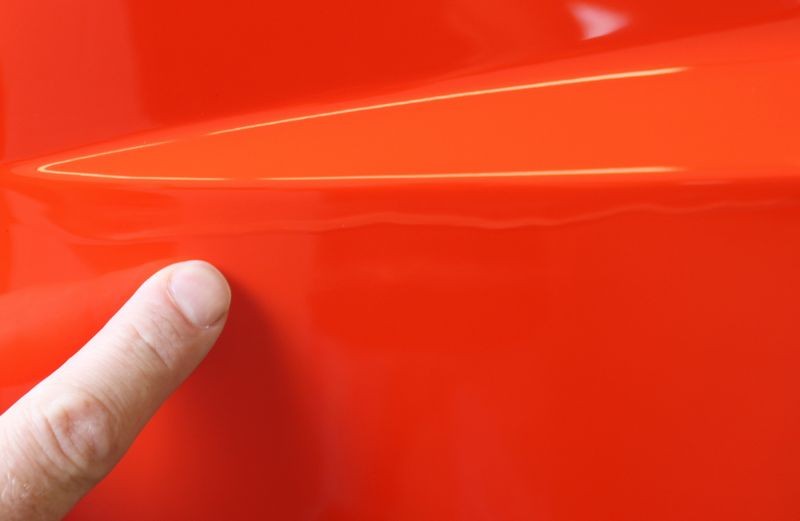
How to use Meguiar's Unigrit Sanding Blocks to remove runs and dirt nibs in paint
Meguiar's Unigrit Sanding blocks are solid blocks of precise, uniform grit particles that can be used to remove above surface paint defects like runs, sags and dirt nibs protruding out of the paint.
Dirt nibs = dirt particles or other contaminants that land or lodge into fresh paint before it hardens to dust free or tack free.
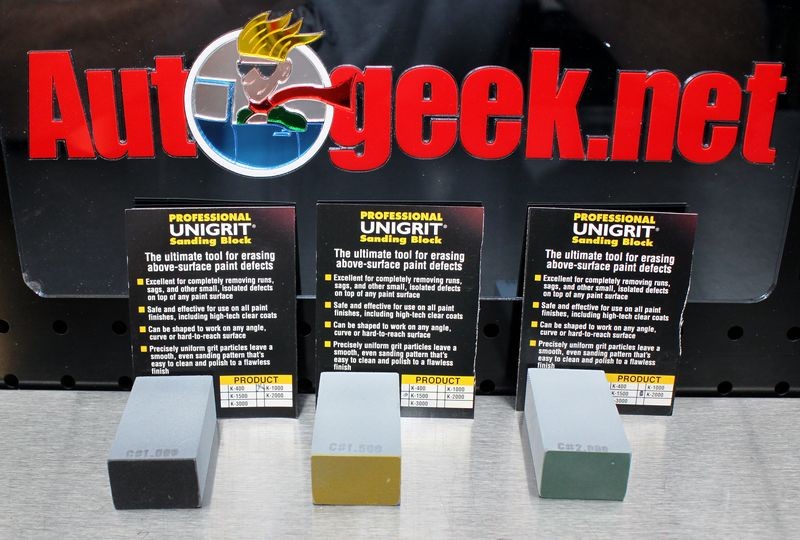
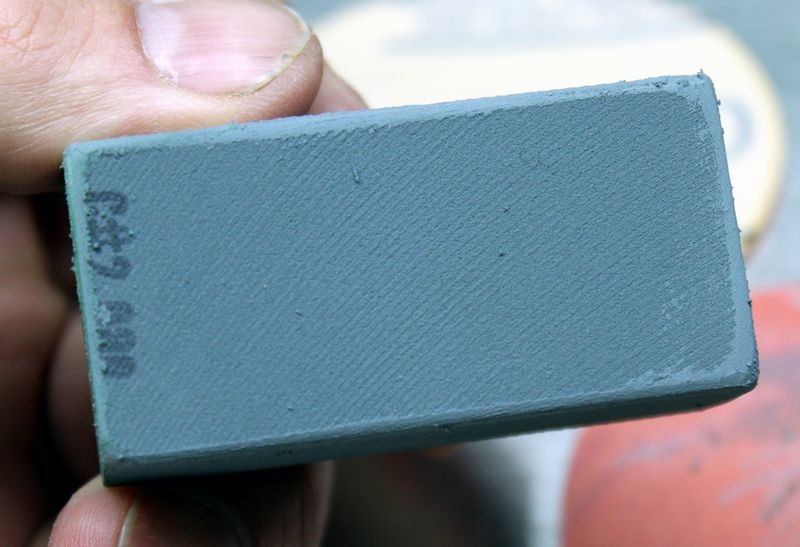
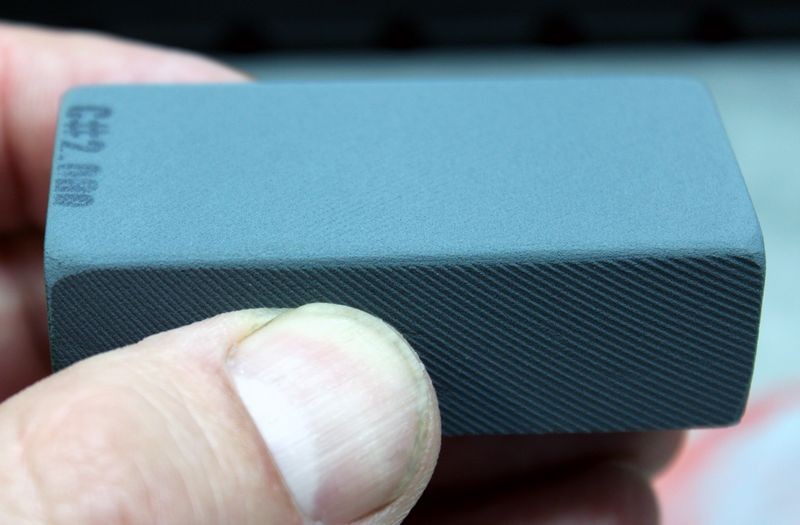
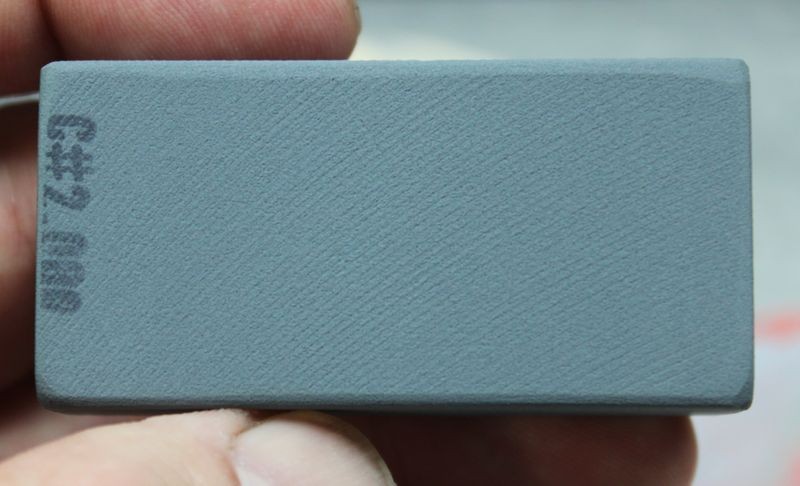
Meguiar's Unigrit Sanding Blocks are available in 3 different levels of aggressiveness.
#1000
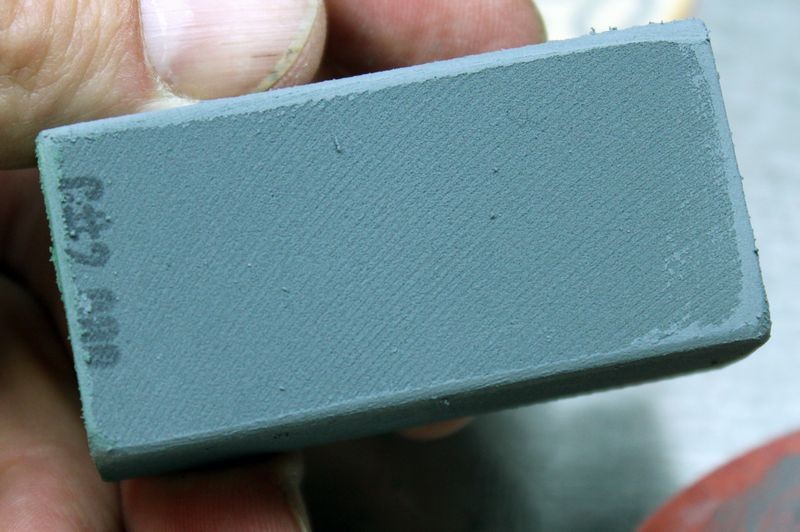
#1500
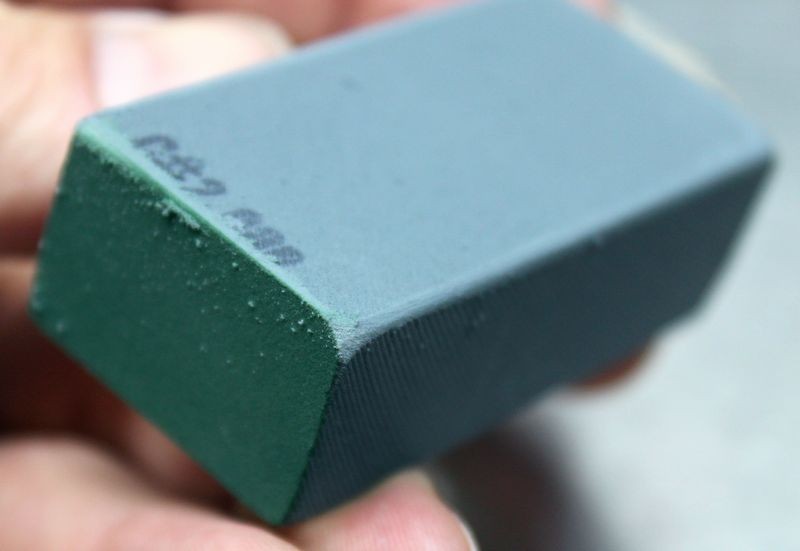
#2000

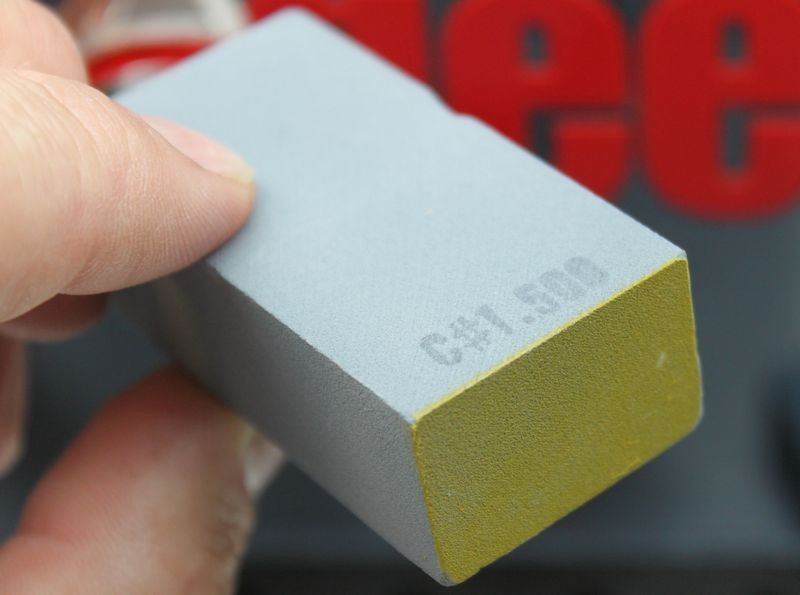

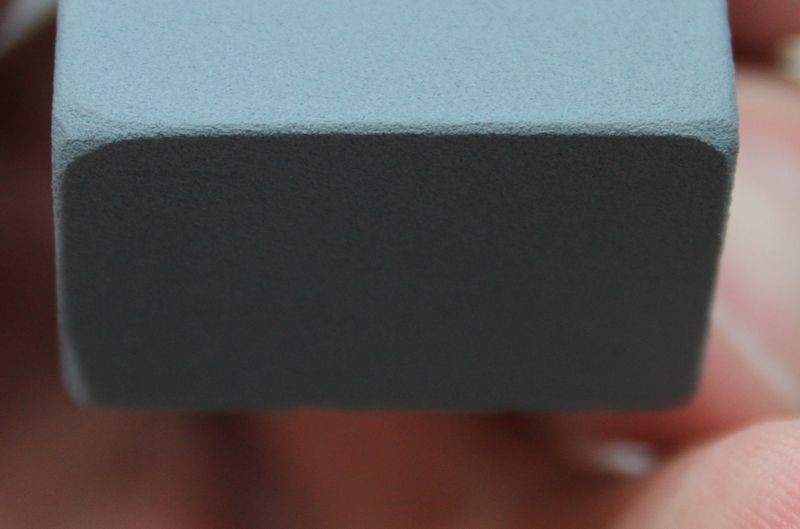
Dressing or shaping Unigrit Sanding Blocks
Before using a Unigrit Sanding Block, knock down the sharp edges by rounding them off this will prevent you from gouging or scratching the paint. Remember, if you're working on fresh paint, (whee these sanding blocks are normally used), the paint will tend to still be soft as it hasn't fully dried and hardened.
To dress your Unigrit Sanding Blocks you can use a more aggressive sheet of sanding paper to round the edges.


Rinse off grit particles
After dressing your Unigrit Sanding Blocks, it's a good idea to rinse them off before placing them in your bucket of water to prevent contaminating your water source.

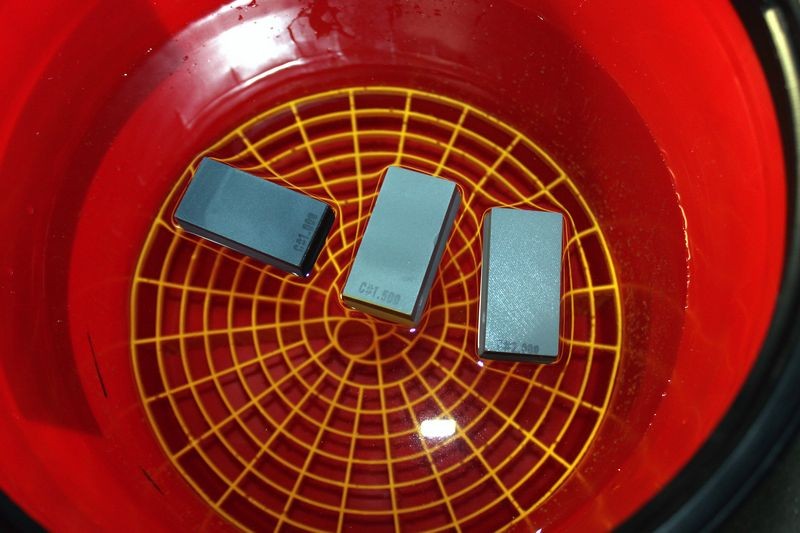
Soak before use
Before using Meguiar's Unigrit Sanding blocks first soak them in clean water until they sink. This is a sign that the blocks have completely saturated throughout with water.
Keep your Unigrit Sanding Blocks in a bucket of water when using them so you can quickly and easily dunk the blocks into the water and rinse any particles off as you're using them. When not in use, Meguiar's Unigrit Sanding Blocks can stored in water to keep them saturated with water and ready to use. Change your water often to help prevent contamination.
Lubrication
You can add a few drops of soap to increase lubricity in the water. If working in a body shop (fresh paint environment), be sure to use a body shop safe soap.

Grit Guard Inserts
To trap any loosened particles of paint or grit particles that wear off the Unigrit Sanding Blocks you can place a Grit Guard Insert in the bottom of your bucket. Some people even use two Grit Guard Inserts to help ensure any abrasive particles on the bottom of the bucket don't migrate.

-
-
-
Re: Wetsanding Touch-up Paint
Here's my comments on this topic...
Couple of comments to anyone ever attempting to do this kind of repair...
1. When possible, let the paint dry longer. You want the touch up paint as dry and hard as possible before you start sanding and buffing on it.
The problem you can run into when you start buffing on touch-up paint is when you warm it up, especially when using a rotary buffer, you can actually pull the touch-up paint right out of the scratch or rock chip if you're attempting to do this to a rock chip. Then you're back to where you started only now you've got sanding marks in the surrounding paint.
2. Touch-up paint will always be softer than the factory paint surrounding the repair, here's how this affects the buffing process. When you go to buff out your sanding marks, they will buff out quickly and easily out of the touch-up paint because this paint is softer, especially if it's only dried a short time. The surrounding paint will be harder and thus it will be harder or more difficult to remove your sanding marks out 100%
It's easy to sand paint as at it's core that's putting scratches into the paint... the tricky part is getting the ALL out...
When doing touch-up repair work on clear coat paints, what I've seen and experienced is the sanding marks come out of the touch-up paint quickly and easily but not so with the factory clear.
So what a person does is continue buffing the sanding marks in the surrounding clear paint and what happens is you heat the panel up and your buffing pad will literally pull the touch-up paint out of the scratch or chip.
3. You really need a rotary buffer to remove sanding marks 100%
Can you do it with a DA or Flex or even Cyclo? Sure but it will take longer. Again the sanding marks will come out of the touch-up paint quickly and easily, it's the surrounding factory baked-on clear coat that you'll need to be concerned with.
Try to finish sand with #3000 or higher before buffing.
-
Super Member
Re: Wetsanding Touch-up Paint
Originally Posted by Mike.Phillips@Autogeek
Here's my comments on this topic...
Couple of comments to anyone ever attempting to do this kind of repair...
1. When possible, let the paint dry longer. You want the touch up paint as dry and hard as possible before you start sanding and buffing on it.
The problem you can run into when you start buffing on touch-up paint is when you warm it up, especially when using a rotary buffer, you can actually pull the touch-up paint right out of the scratch or rock chip if you're attempting to do this to a rock chip. Then you're back to where you started only now you've got sanding marks in the surrounding paint.
2. Touch-up paint will always be softer than the factory paint surrounding the repair, here's how this affects the buffing process. When you go to buff out your sanding marks, they will buff out quickly and easily out of the touch-up paint because this paint is softer, especially if it's only dried a short time. The surrounding paint will be harder and thus it will be harder or more difficult to remove your sanding marks out 100%
It's easy to sand paint as at it's core that's putting scratches into the paint... the tricky part is getting the ALL out...
When doing touch-up repair work on clear coat paints, what I've seen and experienced is the sanding marks come out of the touch-up paint quickly and easily but not so with the factory clear.
So what a person does is continue buffing the sanding marks in the surrounding clear paint and what happens is you heat the panel up and your buffing pad will literally pull the touch-up paint out of the scratch or chip.
3. You really need a rotary buffer to remove sanding marks 100%
Can you do it with a DA or Flex or even Cyclo? Sure but it will take longer. Again the sanding marks will come out of the touch-up paint quickly and easily, it's the surrounding factory baked-on clear coat that you'll need to be concerned with.
Try to finish sand with #3000 or higher before buffing.
To add to this great information ^
Be sure and clean the scratch with IPA before applying the paint
Hard times create strong men, strong men create good times, good times create weak men, and weak men create hard times.
-
Super Member

Re: Wetsanding Touch-up Paint
just to add to Flash's advice
once the paint is on though, keep IPA or any other solvent away from the touchup paint, lest you soften and mess it up.
I told my wife that a husband is like a fine wine; he gets better with age. The next day, she locked me in the cellar.
~Tim
-
Junior Member
Re: Wetsanding Touch-up Paint
Gentlemen,
Thanks for all the great insight.
I was hit by what looked like a cinder block or two or something similar that ran through the undercarriage of an SUV I was following on the highway at ~65 mph. Shot up, deflected off the hood, quarter panel, windshield, side mirror, and rooftop! My life flashed before my eyes as it flew directly towards my head. So I actually have about 5 gashes, but just mentioned the largest gash in the OP. Polished out the windshield and superficial scratches on the painted panels. Funny thing is, I was on my way to the Chemical Guys warehouse to pick up some supplies. I told them what happened and the counter guy gave me a free bottle of M-Seal. Great company.
It's a 2008 Hyundai Sonata in Silver Metallic. The problem with metallic touch up paint is the metallics in the paint prevents uniform coloration and probably won't be an invisible repair. But I can live with that.
My question to any and all of you is, is clearcoat unnecessary on touch-up repair? I was provided with some clearcoat in the touch-up kit, but from reading other threads on the forum, including the links provided by Mike, people who have done touch-up repairs have bypassed clearcoating the repair. I guess it's not essential protection on such a tiny section of paint? Flash mentioned that he bypasses the clearcoat step.
In order to minimize the risk of oversanding the OEM paint level and just knocking down the repaired area, I plan on taping off the surrounding area of the touch-up, exposing only 1/4" borders around the scratch. You think this is a good technique? Or should I make the exposed area larger?
I have on hand, #1200, #2000 and #2500 sandpaper with a rubber 3M sanding block about 2" x 3" x 1/4" in size. Since I don't have a rotary, I plan on compounding with a PCXP, Meg's UC with a OPT MF Cutting Pad or Meg's 7207 Maroon Cutting Foam Pad. Then, OPT Hyper Polish, etc.
I will try to take pics of my process.
All of your past and future input is greatly appreciated.
Thanks,
Michael
Similar Threads
-
By Mike Phillips in forum How to articles
Replies: 1
Last Post: 12-24-2020, 11:16 PM
-
By Mike Phillips in forum PICTURES: Wednesday Night Detailing Classes
Replies: 29
Last Post: 07-12-2019, 03:11 PM
-
By Mike Phillips in forum How to articles
Replies: 18
Last Post: 10-26-2016, 07:20 AM
-
By Mike Phillips in forum Ask your detailing questions!
Replies: 0
Last Post: 03-05-2014, 02:07 PM
-
By Shinystang in forum Wet-Sanding, Cutting & Buffing
Replies: 3
Last Post: 06-14-2010, 08:51 PM
 Members who have read this thread: 1
Posting Permissions
- You may not post new threads
- You may not post replies
- You may not post attachments
- You may not edit your posts
-
Forum Rules
|
| S |
M |
T |
W |
T |
F |
S |
| 31 |
1
|
2
|
3
|
4
|
5
|
6
|
|
7
|
8
|
9
|
10
|
11
|
12
|
13
|
|
14
|
15
|
16
|
17
|
18
|
19
|
20
|
|
21
|
22
|
23
|
24
|
25
|
26
|
27
|
|
28
|
29
|
30
| 1 | 2 | 3 | 4 |
|


 Reply With Quote
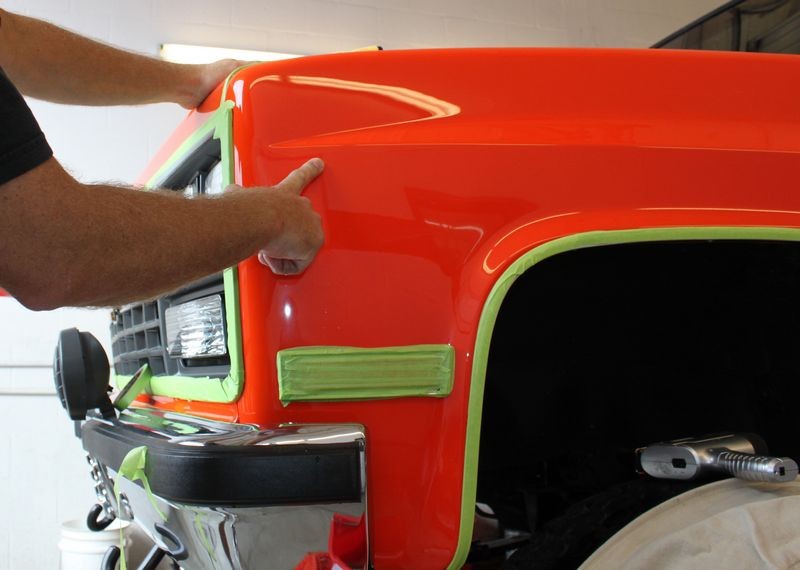


Bookmarks