 Thanks: 0
 Likes: 0
 Dislikes: 0
-
Newbie Member

-
Newbie Member
Re: Best way to fix this?
-
Super Member

Looks like extreme solvent pop

(Image stolen from Google)
I don't know if you can wet sand it, my guess is it will help, but may not remove.
-
Super Member

This happened after it was repainted? If so then it might be bad prep from the painter/body shop (don't quote me though) lol
-
Super Member
-
Re: Best way to fix this?
 Originally Posted by swanicyouth

Looks like extreme solvent pop
(Image stolen from Google)
I don't know if you can wet sand it, my guess is it will help, but may not remove.
Ha Ha...
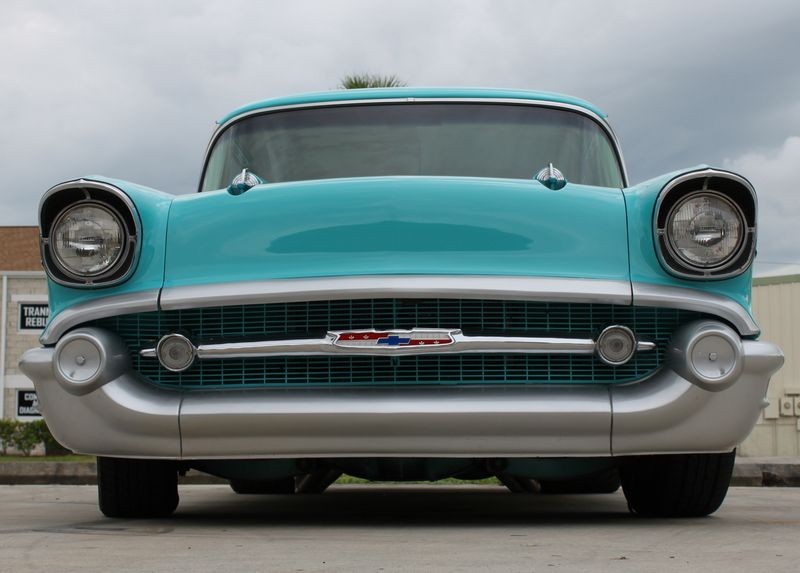
Image from Mike Phillips...
Notice the color of the 1957 Chevy and the Jimmy in the background... 
1957 Chevrolet Belair Extreme Makeover - Flex 3401 & Wolfgang Smackdown!
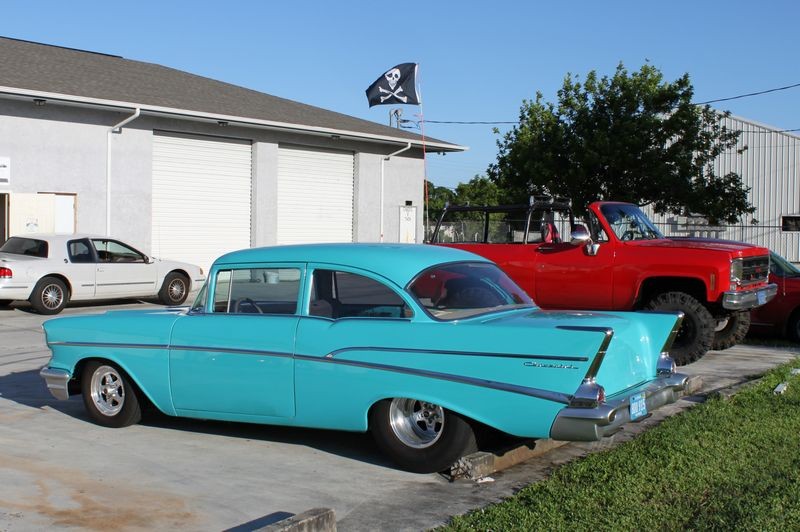
I put up a LOT of pictures to multiple forums and I add key words to EVERY picture I put on this thing we call the Internet...

-
Re: Best way to fix this?
Originally Posted by BellyUpFish
The following pictures are on the headlight bucket of my 2000 Trans Am. This has not always been here. Hit a deer about 10 years ago and had the front end worked on.
The car needs a wash, so please look past that. 
Can I wet sand this out or am I ready for a new paint job?
It feels almost like salt or sand on the paint..
If the defects are above the surface, you could try abrading the area till the surface is flat and then machine polish the area to remove any marring or scratching that takes place.
Things you could try,
- Aggressive Clay and some firm pressure
- Nanosking Speedy Prep Towel
- Nanoskin Autoscrub Pad
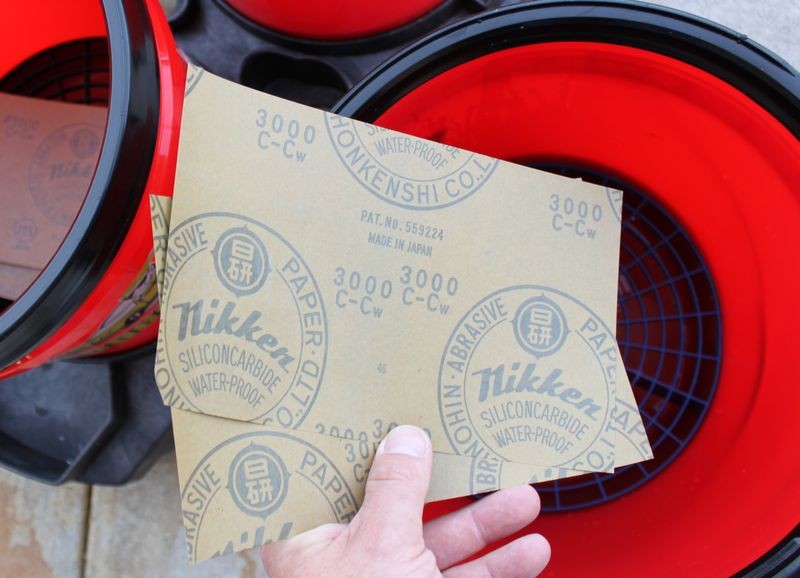
- #2500 or #3000 grit sandpaper, a finishing paper from Nikken would be better/safer/easier
Basic Hand Sanding Techniques
Final sanding should be done with the highest quality grit particle size paper you can obtain. At this time with Nikken that's #3000 grit.
If these are in fact pin holes or solvent pop, then the holes go INTO the paint and abrading the paint will just remove good paint and reveal more of the holes.
I'd try one of the above abrading options and then compound and polish the area, apply some wax and live with what's left.
You could also try one of these...
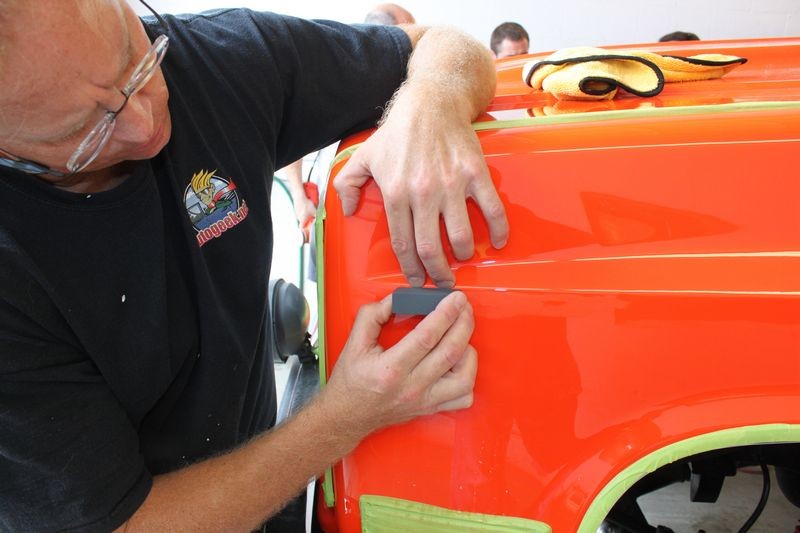
How to use Meguiar's Unigrit Sanding Blocks to remove runs and dirt nibs in paint
Back and forth direction
Holding the Unigrit Sanding Block firmly, use a fast back and forth motion to sand the run down flat.

Use fingers as a guide
On the panel below, the run was just below a raised body line. The run was too close to the raised body line to use tape to cover the body line so instead I placed my fingers on the raised body line and used my fingernails as a guide or bumper to prevent my hand motion from running the sanding block over the paint on the raised body line.

 Members who have read this thread: 0
There are no members to list at the moment.
Posting Permissions
- You may not post new threads
- You may not post replies
- You may not post attachments
- You may not edit your posts
-
Forum Rules
|
| S |
M |
T |
W |
T |
F |
S |
| 31 |
1
|
2
|
3
|
4
|
5
|
6
|
|
7
|
8
|
9
|
10
|
11
|
12
|
13
|
|
14
|
15
|
16
|
17
|
18
|
19
|
20
|
|
21
|
22
|
23
|
24
|
25
|
26
|
27
|
|
28
|
29
|
30
| 1 | 2 | 3 | 4 |
|


 Reply With Quote
Bookmarks