Continued....
Surface Evaluation for contamination
Next I clayed the paint as there were some form of above surface bonded contaminants on the paint and the glass. I find the paint on these Maserati's to scratch easily so I used the Pinnacle Ultra Fine Poly Clay.
Sorry no pictures, but this step is simply following basic claying protocols. Do the Baggie Test, knead you clay into a patty the size of a pancake, spray down lots of clay lube and then rub the clay patty over a panel or section of a panel at a time. Wipe off the clay lube residue and move onto a new section until you've clayed all of the paint and the glass.
Visual inspection of the paint
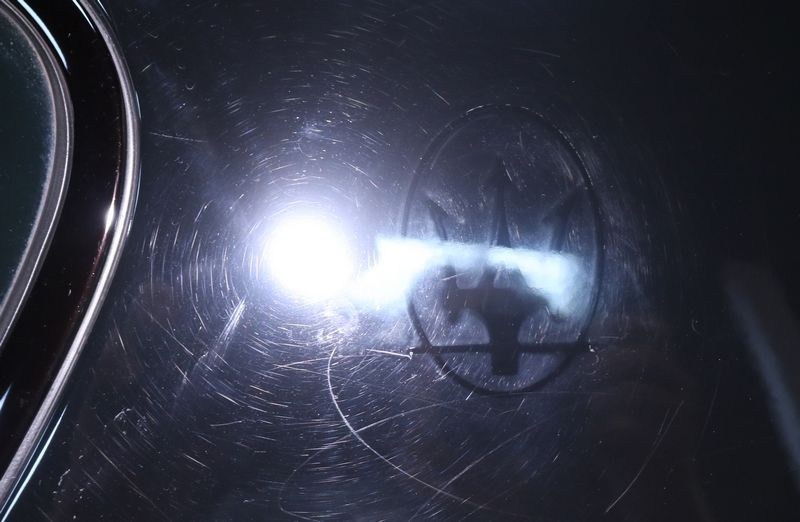
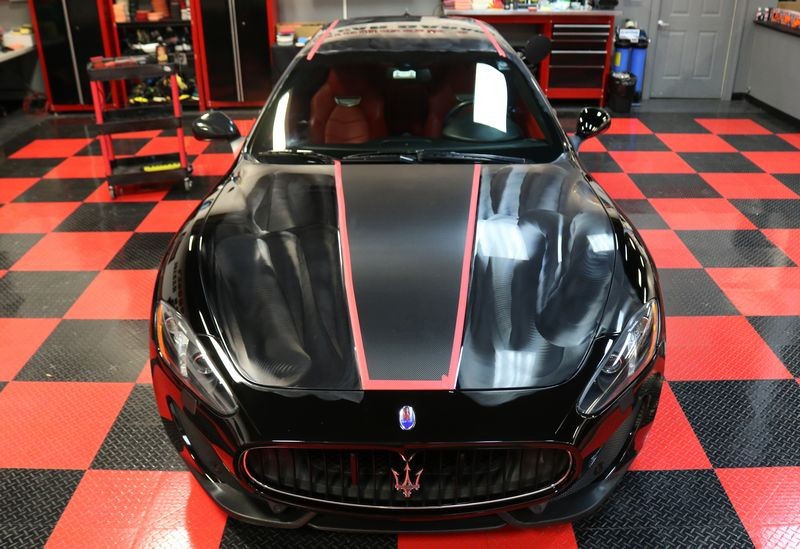
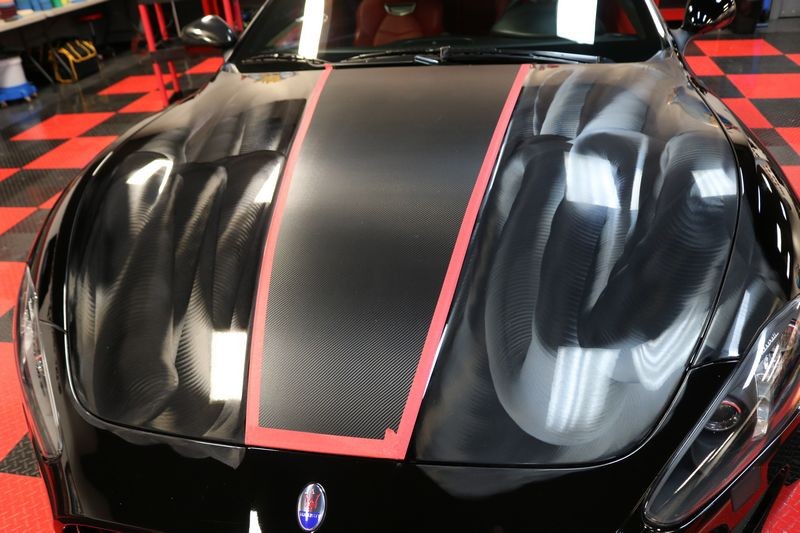
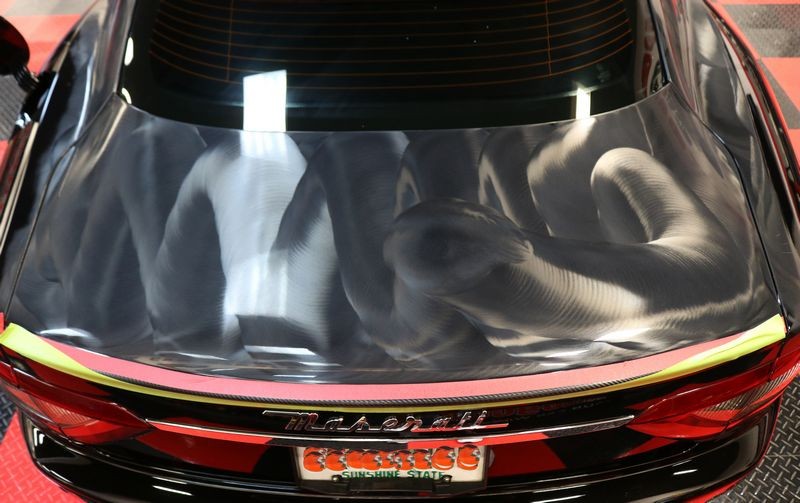
The paint on this Maserati was in really bad condition. Outside under a cloudy sky, you couldn't really see the swirls and scratches. But now under the florescent lights and using the SCANGRIP Sunmatch Swirl Finder Light it was easy to see the paint was really in bad condition. So bad in fact that it really needs to be corrected using a traditional compound and cutting pad.
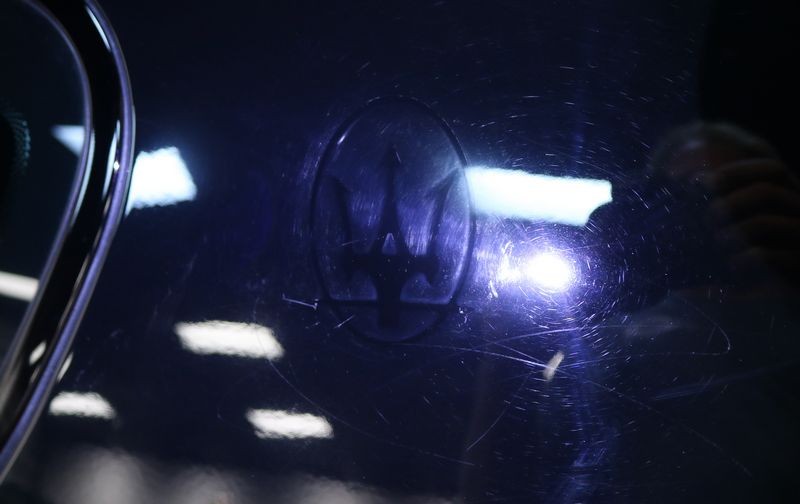
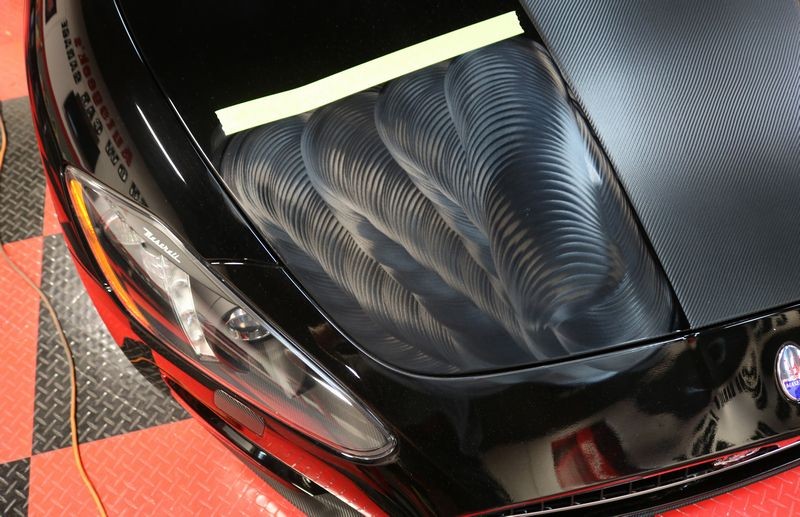
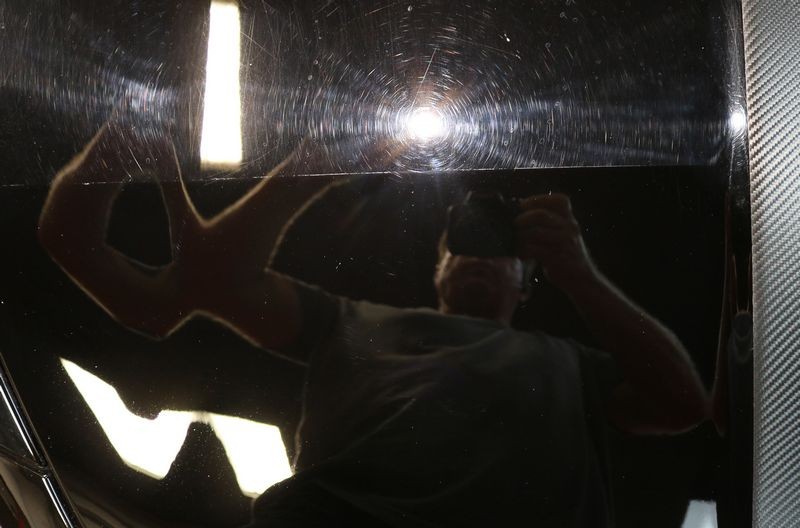
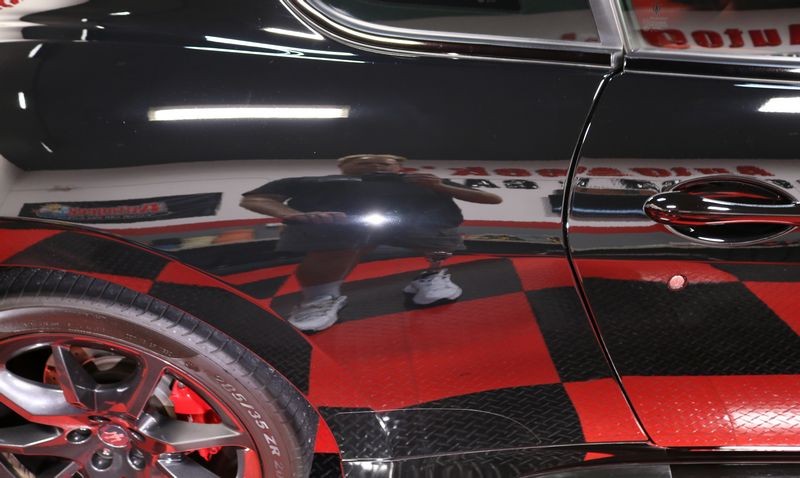
Here's the front passenger side of the hood under the overhead florescent lights...
You can see me, Frank and also my swirl finder light next to my camera...
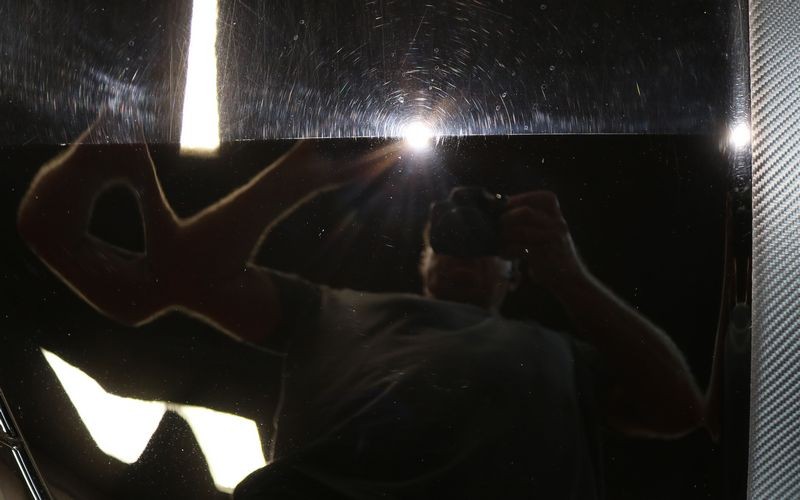
Now I've turned on the swirl finder light and taken this pictures and a few more....
Driver's side front of hood...
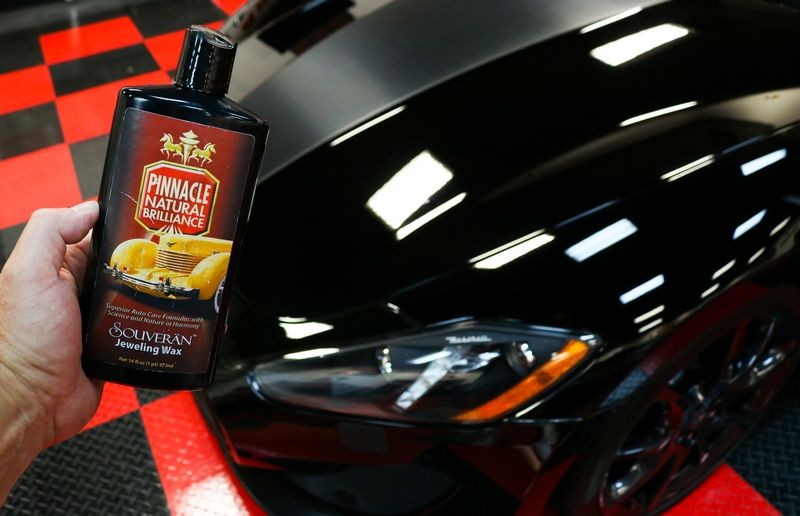
Testing the new Pinnacle Jewelling Wax
Normally, a jeweling wax is for cars in which the paint is in good, excellent or show car condition. How do I know? I coined the term Jewelling Wax and also wrote the definition for this new product category. Below is the link to my article dated March, 5th, 2016, about 2 years ago and I've also copied and pasted the original article below.
PLEASE PLEASE PLEASE
Please take a moment to read the article because in it I state that a jewelling wax is
NOT for paint in the condition we find the paint on this Maserati. That said -
I'm going to push this new jewelling wax to the limit and buff out this car -
whatever it takes.
Here's the article,
Jeweling Wax - Definition
New industry term
I'm not sure there are any laws or regulations in our industry that prevents anyone from coming up with a new term, if anyone else knows of any authority that regulates this type of thing feel free to share a link.
Thus I Mike Phillips on March 5th of 2016 hereby create a new term and a new category for products for using in the car detailing industry called,
Jeweling Wax
Definition: An ultra fine cutting polish and wax combination that when used with a soft foam finishing or jewelling foam pad will maximize paint gloss, shine, depth and clarity while leaving behind a layer of protection.
Questions and Answers
Question: What's the difference between a jeweling wax and an AIO or cleaner/wax?
Answer: A jeweling wax is a category of products that offers the same high quality finishing ability famous to high quality fine cut or ultra fine cut polishes except that because it also contains protection ingredients, unlike a dedicated polish the surface is left both polished and protected.
Cleaner/waxes are normally and historically products used to
undo damage like swirls, water spots, oxidation out of the paint on cars that have been neglected. They don't however tend to create super high gloss results like a jeweling wax.
On the flipside, because a jewelling wax offers very limited correction ability it cannot compete with or be compared to most cleaner/waxes on the market (also called AIO's), which offer more correction ability but don't and won't finish out like a true jeweling wax.
I love cleaner/waxes and use them when appropriate and even have a number of articles encouraging detailers to use cleaner/waxes when doing production detail work. I would not however consider the majority of cleaner/waxes I've used in my life to be the type of product I would use like a jewelling wax as they don't finish out as well as a true jewelling wax.
A high quality jeweling wax is too good to be lumped into the
cleaner/wax category already populated with hundreds of cleaner/wax options ranging from the extreme spectrum of
mediocre to
very good.
A jeweling wax can be used in place of your last machine polishing step to refine the results of the previous correction steps and/or correction and polishing steps to maximize the gloss, clarity, depth and shine while also leaving the finish protected, something a dedicated polish will not do.
Question: What's the difference between a cleaner/wax and an AIO or All-in-One product for car paint?
Answer: There is no difference. The terms cleaner/wax and AIO are interchangeable and are used to describe products that are used on car paint to,
- Clean
- Polish
- Protect
Question: What else separates a jeweling wax from traditional cleaner/wax or AIO?
Answer: Because a jeweling wax only offers very light correction and seals the paint surface at the same time a jeweling wax is perfect for regularly maintaining paint already in one of these three categories,
Category #1: Show Car Quality
Category #2: Excellent Condition
Category #3: Good Condition
See definitions and complete list of paint condition categories here,
Book: The Complete Guide to a Show Car Shine - Pages 37, 38 & 39
Book: The Art of Detailing - Pages 37, 38 & 39
Article: Paint Condition Categories
Question: Can a jeweling wax replace a cleaner/wax or AIO?
Answer: Yes if the amount of correction needed is light or when doing production detailing where the goal is to restore a shiny paint finish not undo years of damage and neglect.
The least aggressive approach
Because the factory clearcoat on a modern car is approximately 2 mils thin (a post-it note is approximately 3 mils thin), a jeweling wax is the perfect choice for removing minor imperfections like marring caused by washing or wiping with drying chamois or microfiber towels.
Educated car owners understand their car's paint is thin, they also understand that over time and with use defects accumulate in and on the paint reducing the shine, gloss and smoothness previously present or attained by a professional detailing session.
Thus a method is needed to remove any accumulated defects, staining or oxidation that is also the least evasive to the paint, that is a method that is very non-aggressive so as to remove only the minimum measure of paint to re-level the surface and restore the paint to maximum shine, gloss, clarity and smoothness.
A jewelling wax is the perfect choice since it is less aggressive than most cleaner/waxes and AIO's on the market and also because it has the ability to create the same high quality finish a fine cut or ultra fine cut polish is able to create.
Thus you can correct and protect while preserving as much as is possible the original film build of clear paint on a vehicle.
Perfect for regular maintenance of daily drivers
Vehicles that are used as daily drivers are exposed to all sorts of attack to the exterior finish. This is especially true for vehicles in geographical areas where it rains.
When it rains, the cars driving in front of your car spray water from the road onto your car. The water spray contains oily fluids dripped onto the road by the hundreds and even thousands of cars that drive over the road each day. This oily water spray also contain dirt and the effect is this oily, dirty water accumulates to form road film on your car's paint.
A jeweling wax is powerful enough to remove road film to restore a clean paint surface without removing measurable amounts of paint like compounds, medium cut polishes and medium cleaning cleaner/waxes or AIO's.
Perfect product for high quality production detailing
Production detailing usually has a negative connotation associated with it and sad to say all to often when a car is machine buffed using a one-step product by machine the results are either hologram scratches, buffer trails or micro-marring that leaves the clearcoat hazy looking.
The culprit for mediocre results when doing a one-step process to the paint by machine using a one-step product is either the product, the pad or the tool and in some cases all three factors.
With a true jeweling wax you can restore a shiny finish using only a foam polishing or finishing pad with just about any machine polisher for customer pleasing results. A true jeweling wax will remove the risk of mediocre results which are common in the production detailing world while providing technicians with a simple and easy to use product. The key to doing high quality production detailing always starts with setting the expectation of your customers and that's means educating them with a minimal understanding of the paint on their cars and the paint restoration process.
Summary
There's a time and place for all categories of products in the paint care spectrum of car detailing. For severely neglected cars the best product might be an aggressive compound or medium cleaning cleaner/wax. A jeweling wax by definition is a very non-aggressive cleaner/wax or AIO except that it has the ability to finish out better like a high end fine cut or ultra fine cut polish while leaving the finish protected.
")
Now that you've read what a jewelling wax is and what it isn't, next I'll do my Test Spot.
Test Spot
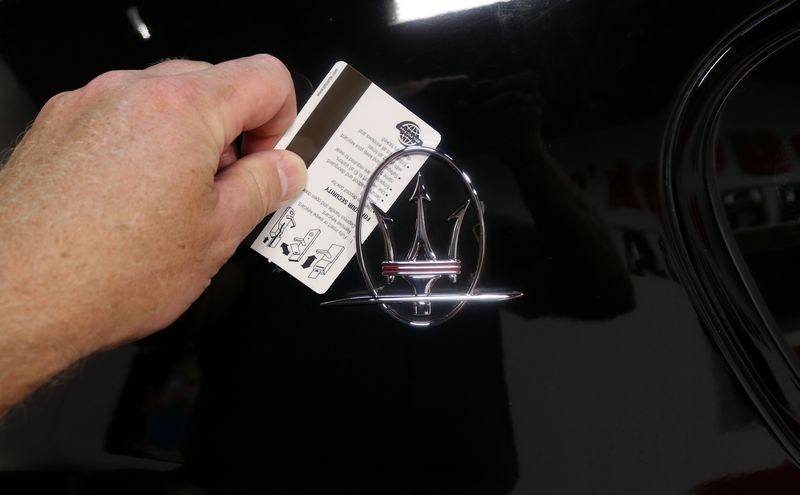
I've placed some green 3M Painter's Tape to a section of the hood.
Here's the swirl finder light on the paint on top of the tape-line
Here's the swirl finder light under the tape line....
Here's 10 solid section passes using a Lake Country 6.5" white foam Force Hybrid Pad on a FLEX 3401 on speed setting 6 with firm downward pressure for the first 8 section passes and the reduced pressure and speed for the last remaining 2 section passes.
Before
Swirl Finder Light on the demarcation line
After
With just the jewelling wax, a foam polishing pad, a 8mm gear-driven orbital polisher and good technique, (I've buffed out a car or two), I was able to get darn near 100% correction. Most people would look at the results and be more than satisfied. And while I could have repeated this process over the rest of the car, I found the paint to be a tick on the soft side. Not super soft but on the soft side of medium for paint hardness. This means, an aggressive cutting pad will work faster but the pad itself will tend to leave micro-marring in the paint. If this were a mundane daily driver I would have buffed the car out with the white foam pad and the jewelling wax without giving it a second thought.
But this is a Maserati and it belongs to a friend that owns this cool car and a few more like it. The professional inside of me and my passion for perfection when it comes to the art of polishing paint could not do subpar work on this car. Yet I needed to use this product, take pictures and write a review from my experience. So I opted to tackle this car in two step. I would use the same product and tool but use two very different pads to do the job right.
First step - I used a Lake Country 6.5" Orange Force Hybrid Foam Cutting Pad. This made quick work of removing about 97% of the swirls and scratches barring the RIDS. The issue is this foam is very SHARP and I needed this sharp factor to leverage the ultra fine abrasives in the Pinnacle Jewelling Wax to cut the paint and level it fast and effectively.
Second step - I did some pad testing and went outside the box and chose for my finishing pad the RUPES 7" ultra soft white foam finishing pad. This foam texture is very soft and pliable but together with the ultra fine abrasives in the Pinnacle Jewelling Wax it removed the micro-marring left by the aggressive foam cutting pad and left the paint looking deep, dark, clear and wet.
Because I did this after everyone else had gone home I don't have any pictures showing me doing the work but a lot of it, the sides, the back and the front I was on my butt doing what I call the grunt work.
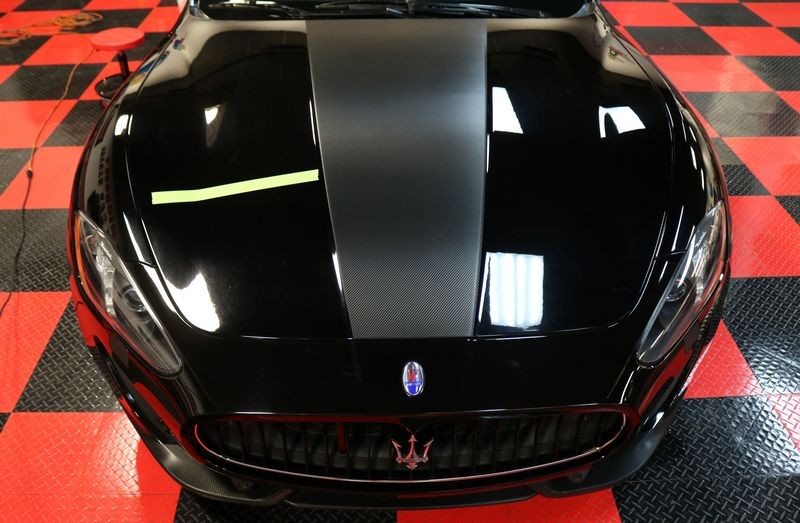
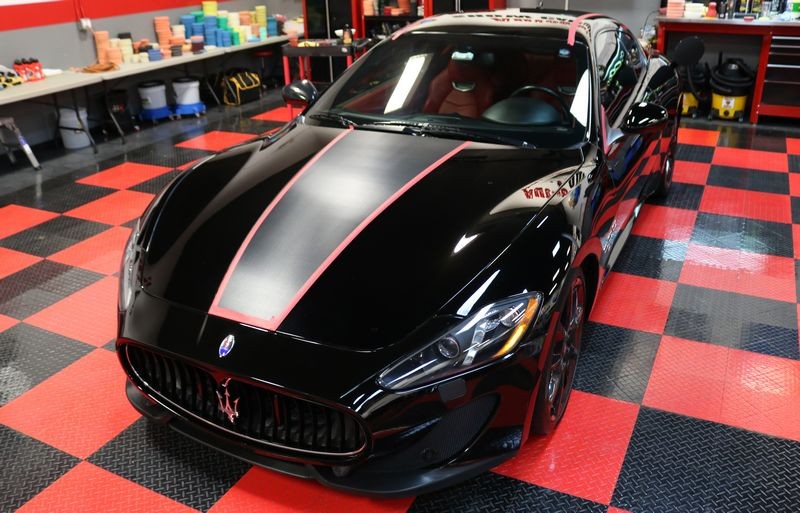
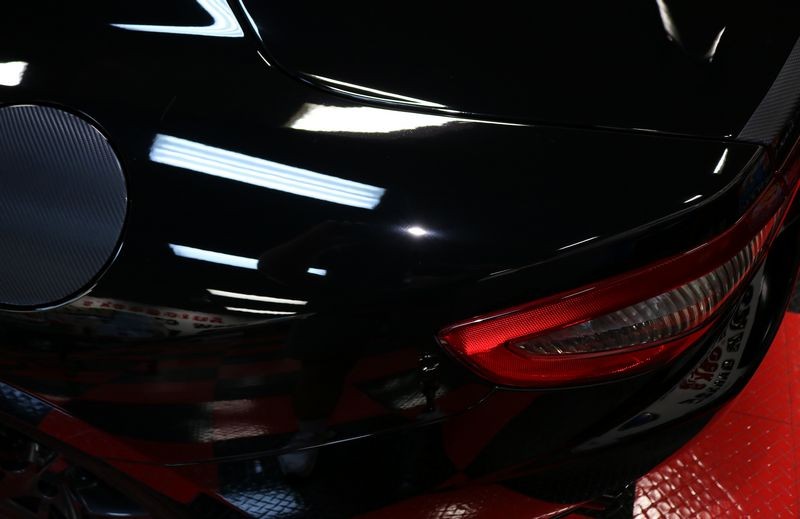
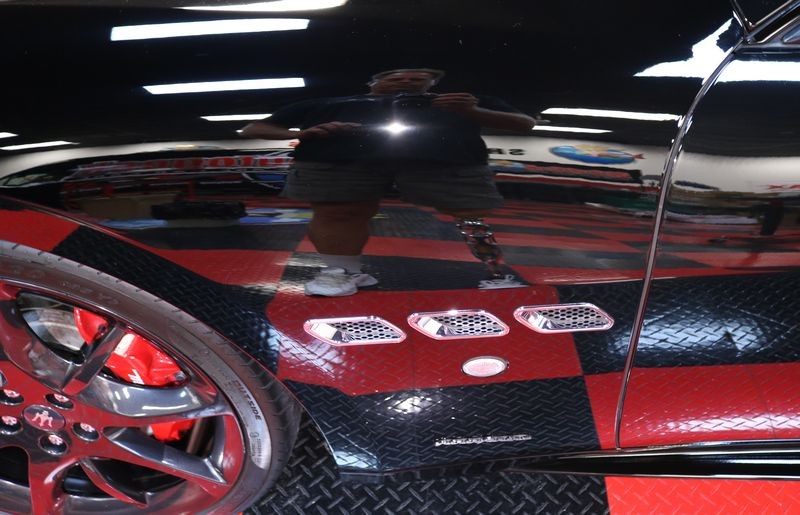
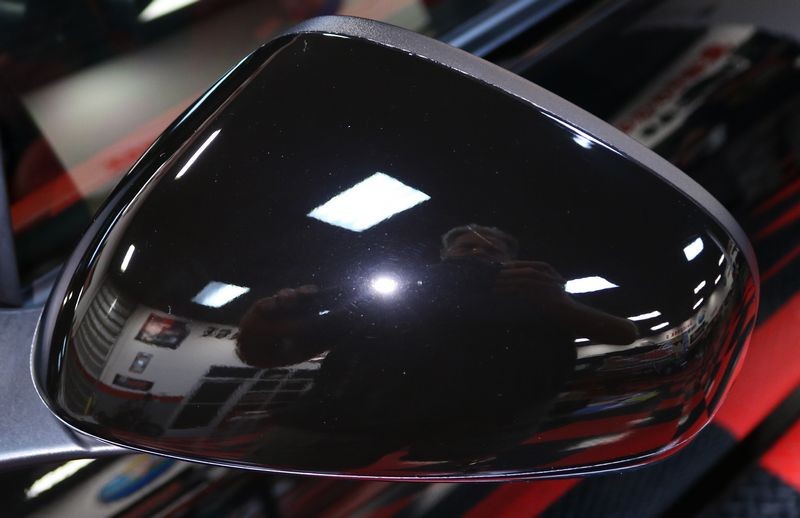
Here's the pictures I took after the second step and of the results.... note in these first few pictures the CarPro protective tape is still on the car. This Maserati has vinyl graphics that look like carbon fiber but it's not, it's vinyl and if I were to get any of the jewelling wax on the vinyl it will embed into the texture on the surface and stain it. So I taped it offer very carefully right down the edges of the graphics in order to polish as much of the paint as safely possible right up to the edge of the vinyl graphics. (kind of a pain in the behind)
After wiping off the Jewelling Wax but before removing the tape...
After removing the tape and then CAREFULLY rubbing away the white residue line where the protective tape was. For you guys that have buffed out a few cars, you now what I'm talking about.
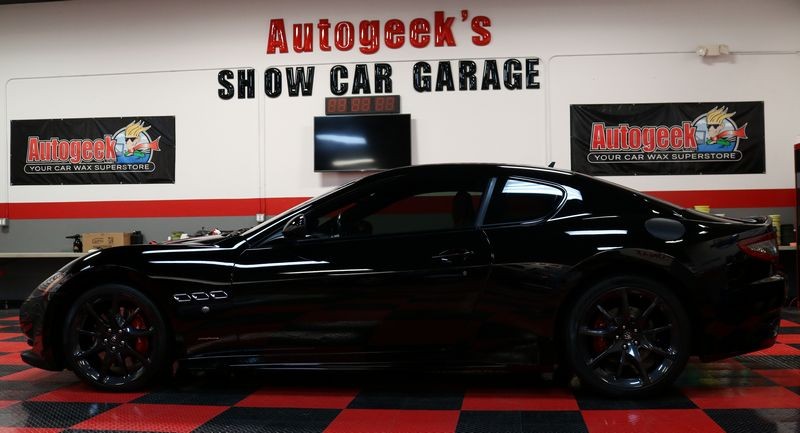
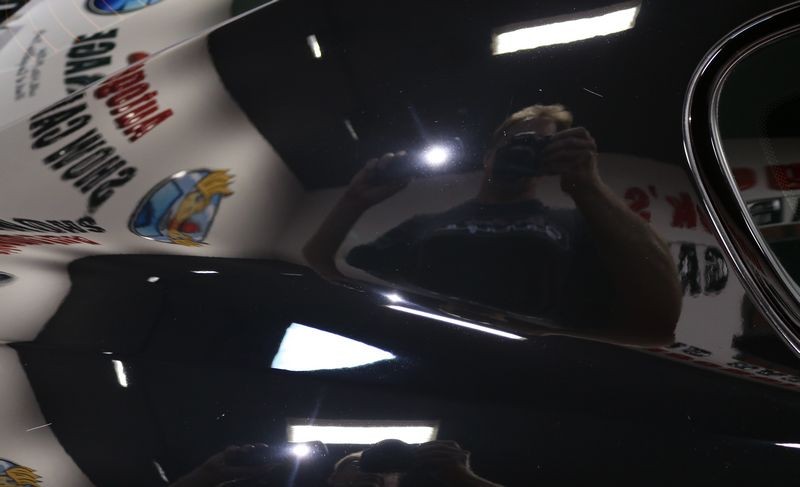
Final results
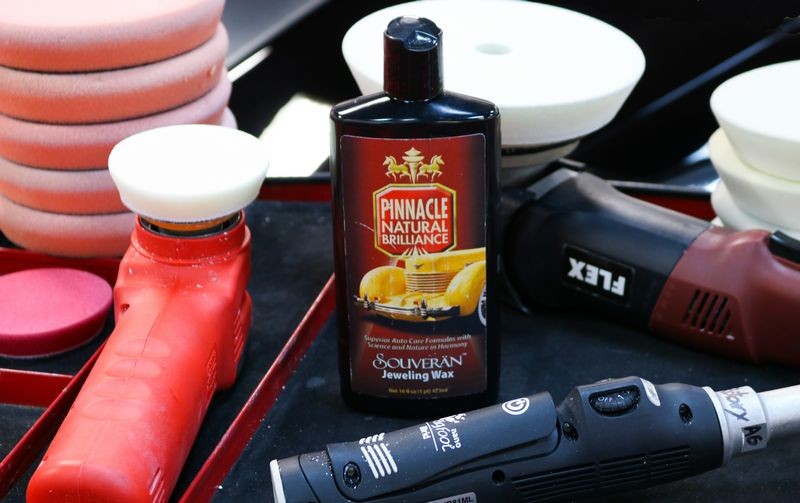
And here's everything I used... and note the amount of pads I used. I'd say most people don't know how may pads it takes to do the job right. As you work around a car your pads become wet as they saturate with the product you're using. The performance of the pad dimishes or falls off as the pad becomes wet. The right thing to do is to switch to a clean DRY pad, which is what I did of course.
Tools used
For the major body panels I used the FLEX 3401
For thin panels, around 4" wide I used the Griot's Garage 3" Mini Polisher with some Buff and Shine Pads
For working the back of the car, which has a LOT of very thin panels, I used the RUPES iBrid Nano in Rotary Mode with 1" pads.
But the heart of these results was the new Pinnacle Jewelling Wax.
It's not cheap, cheap doesn't work. It's the best for it's category, a jewelling wax.
My review
This was the wrong product for the condition of the paint on this car. Yet by changing the aggressiveness and also the NON aggressiveness of the pads I chose to use I was able to make this product perform like a compound and a finishing polish as well as leave the paint sealed. A few years ago there were products formulated for body shops that were supposed to be ONE LIQUID systems where at the body shop level the technician would use a single liquid (a compound/polish), and by changing only the pad they would go from compounding to polishing, Meguiar's M86 So1o is one example of these types of products. So1o is gone, the idea was good and the products and pads worked but the Bodyshop industry is an archaic or caveman industry, by this I mean it's hard to change old habits and old systems.
Pinnacle Jewelling Wax is not a one-liquid approach for buffing out severally neglected and swirled-out cars like this Maserati. I was able to make it work because I have years of experience and the patience to dial-in a process depending upon the paint I'm confronted with.
For most of you that live in the real world, if you like to do your own car detailing and you would like a product that I would call 100% Bubba-Proof to Goof-Proof, then this product is for you. Under normal circumstance, and by this I mean for the categories of paint I listed in my original article on Jewelling Wax - Definition, (shared above), this will be a great choice and besides working flawlessly you'll also appreciate these benefits...
- Long working cycle.
- Zero dusting.
- Excellent correction ability within the scope of what it's intended to do.
- Super easy wipe-off.
- Crystal clear results.
- Good protection for its category.
Get some, use it and I'm confident you're going to love it.
As I type this it's 5:30pm Friday, April 13th. Next Monday when I come to work I'm going to send my Dad a couple of bottles to use on his,
1966 Ford Thunderbird Convertible
Ford Fusion
Honda Odyssey
Currently he uses the traditional 3-step approach for all three vehicles, (the Thunderbird is a show winner), that is he uses Pinnacle Compound, Pinnacle Advanced Finishing Polish and Pinnacle Liquid Souveran Wax. That's 3 step and a LOT of buffing and wiping. With this product he can get the results from these three steps in one step and his corral of cars are going to look great!
On Autogeek.com
Pinnacle Jeweling Wax - 16 ounce - $45.99
Pinnacle Souveran Jeweling Wax 128 oz. $ 159.99