 Thanks: 0
 Likes: 0
 Dislikes: 0
-
How To Do a Test Spot
How To Do a Test Spot
A Test Spot

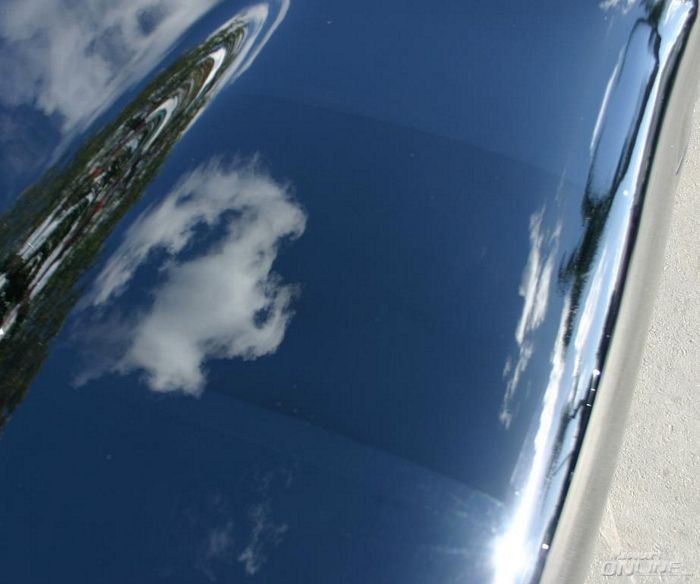
A Test Spot is where you take the products, pads, tools and your best technique and buff one small section, usually on a horizontal panel, to test out these things to see if they'll create the results you want, hope for and dream about in some cases.
If your choice of products, pads, tools and technique works to remove the defects and restore the finish to your expectations, then theoretically you should be able to duplicate the same process to the rest of the vehicle and create the same results.
If your choice of products, pads, tools and your technique doesn't create the results you want, hope for and dream about then you can come to the forum and post what you're seeing and we'll do our best to help you tweak your technique, substitute different products, pads and/or tools to see you through to success.
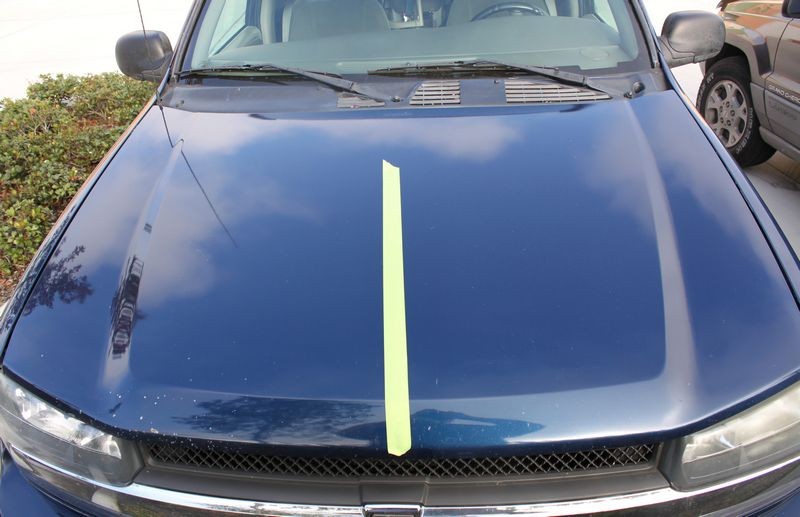
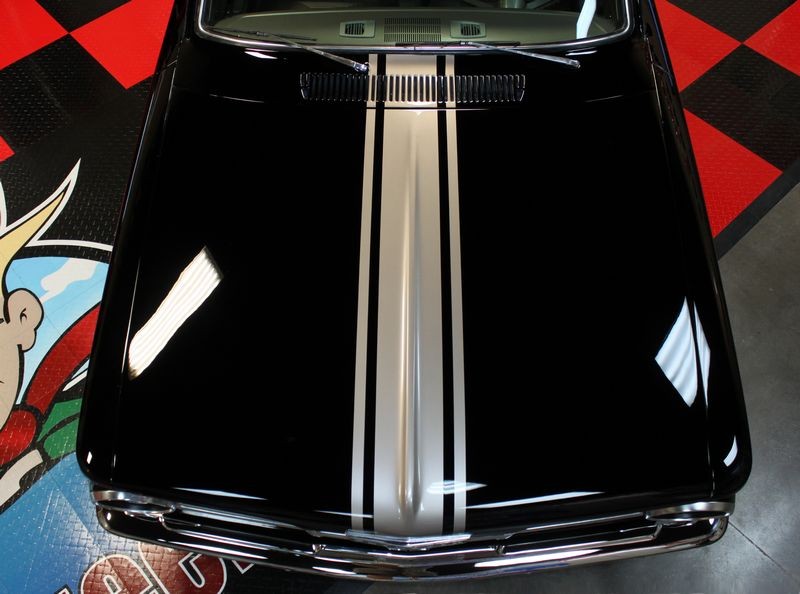
Tape Line
It helps to place a piece of painter's tape on a horizontal surface, usually the hood or trunk lid but if you want to be more discreet you can use the roof. Then only work on one side of the tape line as this will make it very easy for you to see visual changes due to the distinct demarcation line between before and after results.
Tape-line using 3M Green Painter's Tape
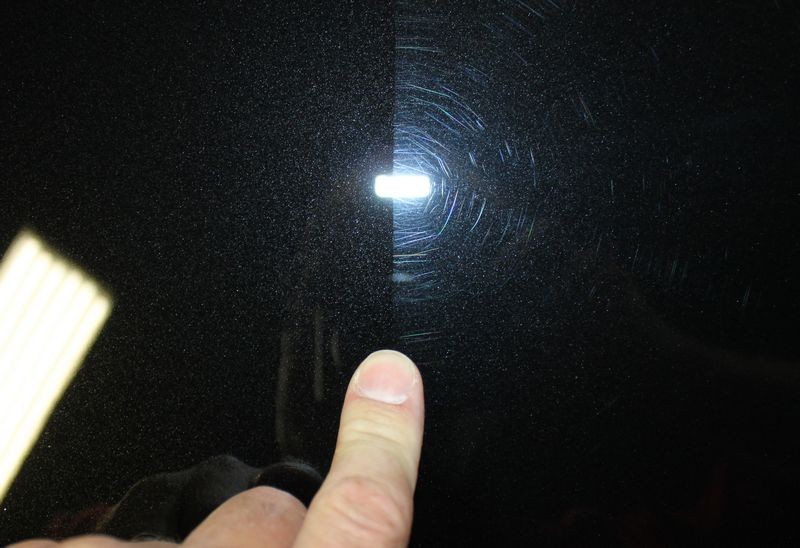
Before and after results along the demarcation line
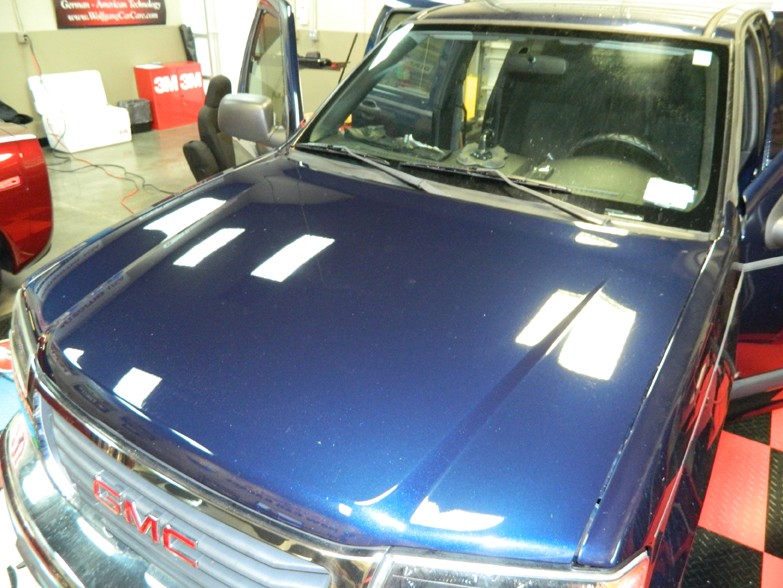
Test Spot performed by Nick Rutter @ Autogeek on a severely oxidized 2006 GMC Canyon
Here's a series of pictures taken by my co-worker Nick from a severely neglected truck he helped another co-worker Jason to buff out. For this project Nicked performed a Test Spot and the pictures really tell the story of what a Test Spot would look like that I've created this article using these pictures and Nick's permission.
The project vehicle is a severely neglected 2006 GMC Canyon with a heavily oxidized clear coat finish. In this case Nick used a one-step cleaner/wax applied by machine but you would buff the paint in the same way with whatever "system" you were planning on using.
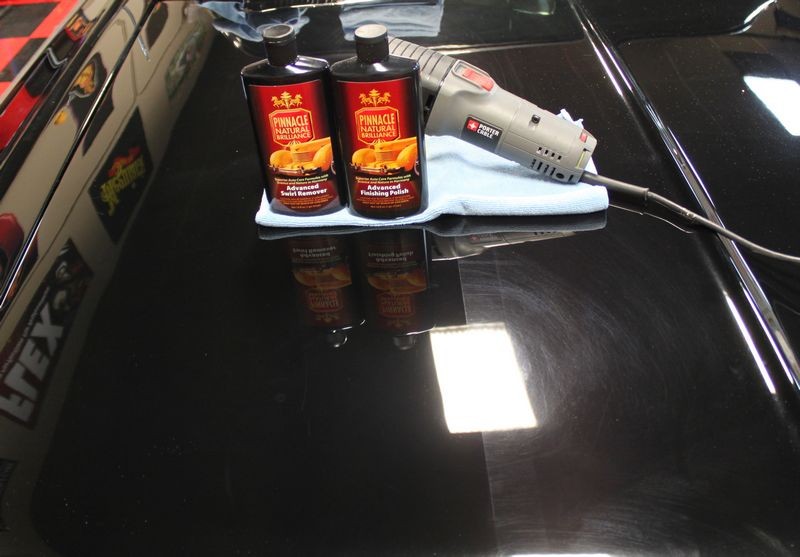
If using a multiple step approach then you would use all the products and do all the steps to your Test Spot because this would be what you would do to the entire vehicle if the results from your Test Spot are good and you want to see what the true end-results are going to be. You can if you want skip applying the LSP or Last Step Product if you're happy with the last prep step as in most cases the application of your LSP will simply either make the paint look even better or maintain the results you've created.
Test Spot

Hood Competed
Truck completed


See the original write-up for this project here,
How To: Maximize Time with a Cleaner Wax/AIO
Test every detailing project that's new to you
If you've never worked on the paint on the project you're currently detailing, the before you buff out the entire car, take a moment to do a Test Spot.
I do a Test Spot on ever car I work on as this give me an idea of,
- How the paint reacts to machine polishing
- How the products and pads are working on this specific type of paint
- A feel for if the paint is hard or soft or somewhere in-between
- A very good idea as to how the paint will and thus how the vehicle will look after the project is finished.
Plus, if you're buffing out the car professionally you can share with your customer how awesome they're car is going to look after you get through with it.
Here's the results from some of the Test Spots we've done to some of the recent projects cars here at AGO
1959 Chevrolet El Camino - Extreme Makeover - Modeled by Christina

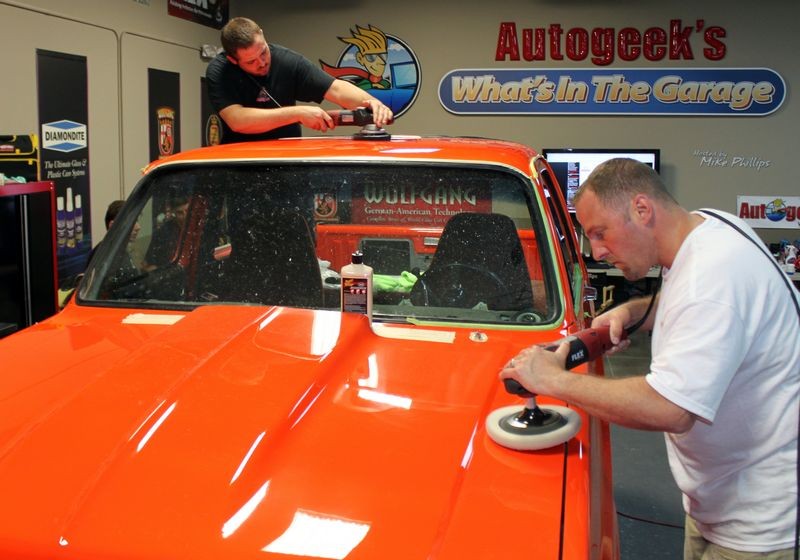
Live Broadcast Video - 1965 Plymouth Valiant - Extreme Makeover
Before

Test Spot

After
Wetsanding Test Spot
Even if you're going to wetsand or dampsand a vehicle it's just as important to do a Test Spot by sanding a section of paint and then testing to see what it's going to take to remove 100% of your sanding marks.
Test Spot

Hood compounded
After
Test, test, test...
Test out the products you're planning on using over the entire vehicle to one small area first. Make sure you're getting the results you want, hope for and dream about before buffing out the entire project.

-
Regular Member

Re: How To Do a Test Spot
Top notch info as usual. I'm new to detailing for profit, and will "profit" from this info!
-
Re: How To Do a Test Spot
After you dial in your Test Spot, try this sometime... there are marketing reasons I list in the full article,
Knock out painted roofs first, then tackle the rest of the car...
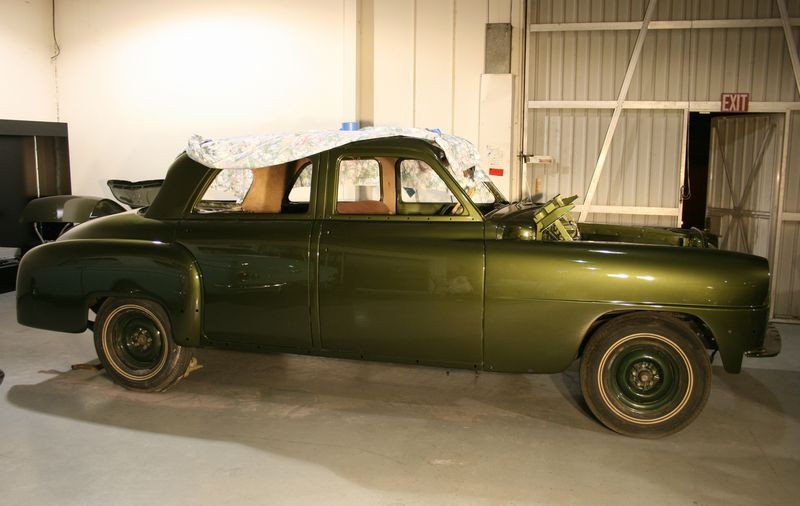
1952 DeSoto - Roof has been sanded, cut, polished and waxed and is now protected with a soft flannel sheet

-
Re: How To Do a Test Spot
 Originally Posted by dwlinc23

Top notch info as usual. I'm new to detailing for profit, and will "profit" from this info!
Doing a Test Spot is all about saving time and saving time is a huge part of increasing profitability.

-
Super Member

Another AMAZING article, Mike do you ever do detailing get togethers In the west?
Sent from my iPhone using AG Online
David 2000 Ford F-350 DRW CCLB BLACK/GOLD
Wish list:
Everything Mike has in his garage for detailing 
-
Super Member

Re: How To Do a Test Spot
Fantastic info Mike! Thank you!
Rule 62: Don't take yourself to d*mn seriously
Cincinnati, OH
Shawn
-
Re: How To Do a Test Spot
Originally Posted by Jomax
Another AMAZING article, Mike do you ever do detailing get togethers In the west?
I did when I lived in SoCal, we called them Detailing 101 and Advanced Detailing 102 and TNOG's or Thursday Night Open Garage all at Meguiar's Corporate Headquarters in Irvine, Californial. Did them from 2002 to 2009 then came to Autogeek.
Originally Posted by shoeless89
Fantastic info Mike! Thank you!
Thank you.
Been teaching people to do a Test Spot officially since around 1993 when I started recommending it on the Usenet Newsgroups in rec.autos.misc
I think I document it here,
Test Spot - The story behind the story...

-
Re: How To Do a Test Spot
-
I'm hoping to start my car this weekend and had a test spot question. I have some bad scratches in my car.
1) Should I start somewhere other than the scratched area since the whole car is not scratched as much as that specific area?
2) I have 105 300 301 looking at picking up some 205 tomorrow. Should I start with the 105 for the test spot or should I just try the MF pads and the 300?
I have the Megs MF pads 5.5 & 3"
I also several colors of the lake country foam pads and a new porter cable xp. I have a Dodge Caliber if that makes a difference. Thanks for everyones help in getting this far. Can't wait to get started.
-
Re: How To Do a Test Spot
Originally Posted by jminrod
I'm hoping to start my car this weekend and had a test spot question. I have some bad scratches in my car.
1) Should I start somewhere other than the scratched area since the whole car is not scratched as much as that specific area?
2) I have 105 300 301 looking at picking up some 205 tomorrow. Should I start with the 105 for the test spot or should I just try the MF pads and the 300?
Do a Test Spot for each of the two types of areas.
Chances are good you're going to have to use a compound for the worst area and compound for the areas that are not so bad and that's because modern clear coats are pretty hard.
Also, M105 and D300 are SMAT product so you can stop at any point during the buffing cycle. With DAT product you're supposed to work the products till the diminishing abrasives have fully broken down, the subtle difference is with SMAT you can stop abrading paint when the defects are gone, with DAT it's possible the defects could be removed but you still need to buff to make sure the diminishing abrasives are not leaving their own scratches behind.
(Deep thoughts, deeper than most people care to get)
The M105 is more aggressive than the D300 so you can try the D300 first and if that isn't getting the job done then switch to the M105, both are very very good compounds.
Originally Posted by jminrod
I have the Megs MF pads 5.5 & 3"
I also several colors of the lake country foam pads and a new porter cable xp. I have a Dodge Caliber if that makes a difference. Thanks for everyones help in getting this far. Can't wait to get started.
Great questions!
Key thing is to do some testing and make sure you're seeing the results you want and expect before buffing out the entire car. If you're not seeing the results you want then start a "new thread" to explain what's happening and our forum community will help you to tweak your technique and see you through to success.
Read this BEFORE starting, then you'll know what not to do and what to do from the very start.
DA Polisher Trouble Shooting Guide
Similar Threads
-
By Carlito12200 in forum Auto Detailing 101
Replies: 3
Last Post: 04-29-2016, 08:43 AM
-
By runrun411 in forum Auto Detailing 101
Replies: 2
Last Post: 08-04-2015, 04:54 PM
-
By BennyHFP in forum Auto Detailing 101
Replies: 3
Last Post: 05-19-2015, 08:22 PM
-
By HUMP DIESEL in forum Auto Detailing 101
Replies: 4
Last Post: 11-20-2014, 02:56 PM
-
By Slava in forum Show N' Shine
Replies: 13
Last Post: 12-23-2009, 12:06 PM
 Members who have read this thread: 1
Posting Permissions
- You may not post new threads
- You may not post replies
- You may not post attachments
- You may not edit your posts
-
Forum Rules
|
| S |
M |
T |
W |
T |
F |
S |
| 31 |
1
|
2
|
3
|
4
|
5
|
6
|
|
7
|
8
|
9
|
10
|
11
|
12
|
13
|
|
14
|
15
|
16
|
17
|
18
|
19
|
20
|
|
21
|
22
|
23
|
24
|
25
|
26
|
27
|
|
28
|
29
|
30
| 1 | 2 | 3 | 4 |
|


 Reply With Quote


Bookmarks