 Thanks: 0
 Likes: 0
 Dislikes: 0
-
04-15-2011, 07:19 PM
#401
Re: Headlight Restoration-new UV sealant idea
Hello,
I just bought some Urethane online (solvent based) to begin coating headlights. I noticed it came in semi-gloss. Am I screwed? I thought I had ordered the high gloss/gloss product. Thanks.
-
04-15-2011, 09:06 PM
#402
Super Member

Re: Headlight Restoration-new UV sealant idea
 Originally Posted by 07 z-oh-6

Would the urethane UV protectant still "bite" on new headlights for extra protection? If not, what's best to use on new headlights to keep them protected?
I would use opti coat or c quartz on new headlights, although I have not tried it yet, it sounds like the best option for lights already in good condition. I have only used the spar urethane on lights that are already in bad condition needing a full restoration, but on lights that don't need sanding down, I just use a paint sealant like BFWD for the time being until I can get opti coat.
-
04-15-2011, 09:08 PM
#403
Super Member
Re: Headlight Restoration-new UV sealant idea
Originally Posted by fishnugget
Hello,
I just bought some Urethane online (solvent based) to begin coating headlights. I noticed it came in semi-gloss. Am I screwed? I thought I had ordered the high gloss/gloss product. Thanks.
I have only used the gloss urethane, not sure how well the semi-gloss would work, probably the same just not as glossy. Maybe someone else will chime in.
-
04-15-2011, 11:24 PM
#404
Re: Headlight Restoration-new UV sealant idea
Yeah, I am pretty bummed about this, thanks however. I will think about keeping it.
-
04-18-2011, 09:30 AM
#405
Junior Member

Re: Headlight Restoration-new UV sealant idea
HotRod, I've got some questions if you don't mind.
1. When sanding the lights, do you wet sand each stage, and if not at what stage do you start wet sanding?
2. What's the roughest sandpaper you've used on a headlight?
3. After the lights are finished, what do you tell the customer to do as far as regular maintenance on them (wax them?)?
Thanks again for all your help on this!!
-
04-18-2011, 11:11 AM
#406
Super Member

Re: Headlight Restoration-new UV sealant idea
Originally Posted by Rewind97
HotRod, I've got some questions if you don't mind.
1. When sanding the lights, do you wet sand each stage, and if not at what stage do you start wet sanding?
2. What's the roughest sandpaper you've used on a headlight?
3. After the lights are finished, what do you tell the customer to do as far as regular maintenance on them (wax them?)?
Thanks again for all your help on this!!
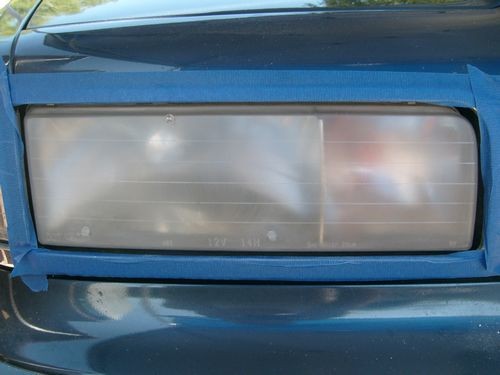
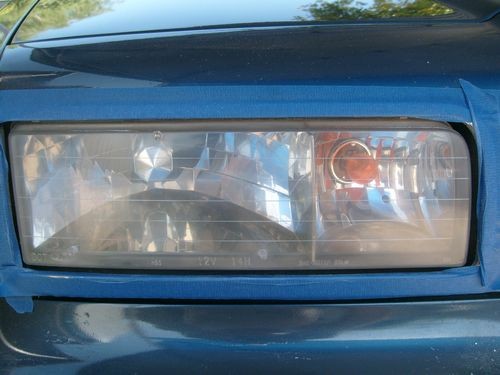
I just did a pair yesterday...i started out with 500 dry...it wasn't cuttin it because the old stuff that was on there was pretty thick..so i upped it to hand sanding dry with 320...worked much better...then did 500,800,1500 all dry and did wet 3000 and then compounded.
Ive seen a couple people on here say they stop at 3000...and got good results...and ive seen pics to prove it..but i dont know how...they just wern't clear enough for me to go on and apply the sealant...so i compound after 3000...and actually i think next time i'll skip 3000 and just go straight to compound after 1500 and just wetsand with 1500.
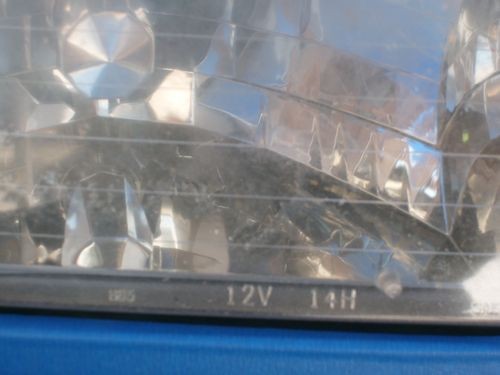
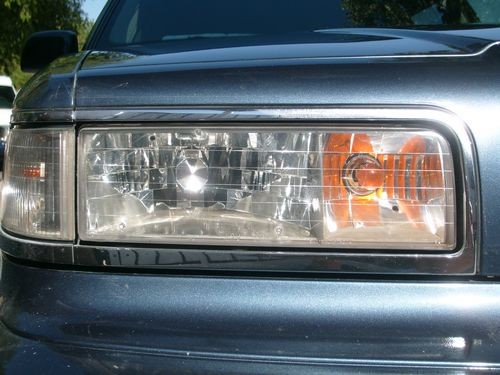
The end product was very very nice...there were a few scratches left if you looked REALLY hard, but that was only because these lights had these stupid little nubs on them that were difficult to sand around. Took me longer than i would have like because getting the initial coating off was really time consuming...after that was done though it was easy breezy.
I'll post pics in a little bit.
-
04-18-2011, 11:26 AM
#407
Junior Member
Re: Headlight Restoration-new UV sealant idea
Thanks Will. I just finished a pair this weekend also, off of a Grand Am. The roughtest I had was 500 and it was a PITA to get the old stuff off. I'm going to get some 320 to have on hand.
It had the nubs also so I know what you mean.
I sanded 500, 800, 1000, (dry) then 1500 wet and they definitely needed compound after that. Used some Megs Plast X and came out great.
Ps.....I need a new 3" orange pad for my 3M backing plate do they sell those here?
-
04-18-2011, 11:43 AM
#408
Super Member
Re: Headlight Restoration-new UV sealant idea
I usually start out with 400, then go to 600, 800, 1000, 1500, 2000, and now 3000, skip the polishing step and apply the sealant. You don't always need 400, it just depends on how bad the lights are.
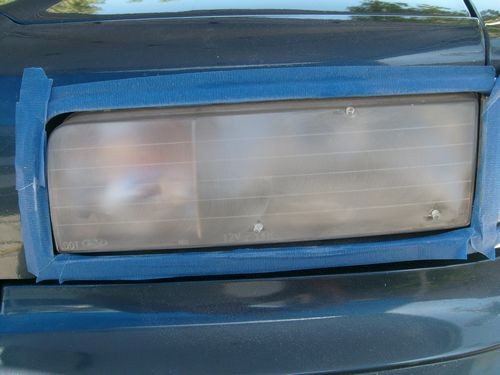
I think I am going to continue skipping the polishing step and just finish with whatever grit sandpaper works. You can test this with just applying mineral spirits with a rag on the sanded lights, it will show you how the lights will look with sealant applied. And it will determine if you need to keep sanding or not. I actually just did some turn signal lenses and finished with 1500 and then applied the sealant, and it looks really good but you still see slight scratches but nothing obvious. The reason for skipping the polishing step, is to help the urethane bite and bond to the surface better, hopefully making it last longer, although it still won't be permanent. I was private messaged about this several months ago from a member saying he skipped the polishing step, and finally decided to try it also. Pictures are in this thread, a page or two back from my experiment with some junk headlights.
I still think that using a random orbital for sanding instead of hand sanding may be the quicker and more uniform way of leveling the old clear off. But, for the time being I am just hand sanding, until i get the proper equipment.
-
04-18-2011, 11:57 AM
#409
Super Member
-
04-18-2011, 12:59 PM
#410
Junior Member
Re: Headlight Restoration-new UV sealant idea
Thanks for the sponge/block idea.....that will help. One thing I did was use the 3" 3M backing plate with the sandpaper on it, just not chucked into a drill.
I've done both hand sanding and with a drill. I like going by hand especially if they have the nubs on the lights........you have more control over the sandpaper than you do with a drill.
The set I did this weekend still had a slight haze on them after the 1500, then looked fine after the buffing with the Plast X. The next set I do I will go on to 2000 and 3000 and see how they look. If I had done that with these I did, I may not have had to use the compound.
Similar Threads
-
By geoguy in forum Show N' Shine
Replies: 9
Last Post: 08-11-2016, 12:55 PM
-
By RobertJ34 in forum Auto Detailing 101
Replies: 9
Last Post: 05-30-2014, 09:02 AM
-
By ShineTimeDetail in forum Show N' Shine
Replies: 19
Last Post: 06-08-2012, 09:47 AM
-
By websdown in forum Auto Detailing 101
Replies: 6
Last Post: 02-03-2012, 02:19 PM
-
By truckbutt in forum Auto Detailing 101
Replies: 6
Last Post: 08-21-2011, 08:57 PM
 Members who have read this thread: 3
Posting Permissions
- You may not post new threads
- You may not post replies
- You may not post attachments
- You may not edit your posts
-
Forum Rules
|
| S |
M |
T |
W |
T |
F |
S |
| 31 |
1
|
2
|
3
|
4
|
5
|
6
|
|
7
|
8
|
9
|
10
|
11
|
12
|
13
|
|
14
|
15
|
16
|
17
|
18
|
19
|
20
|
|
21
|
22
|
23
|
24
|
25
|
26
|
27
|
|
28
|
29
|
30
| 1 | 2 | 3 | 4 |
|


 Reply With Quote


Bookmarks