 Thanks: 0
 Likes: 0
 Dislikes: 0
-
Super Member

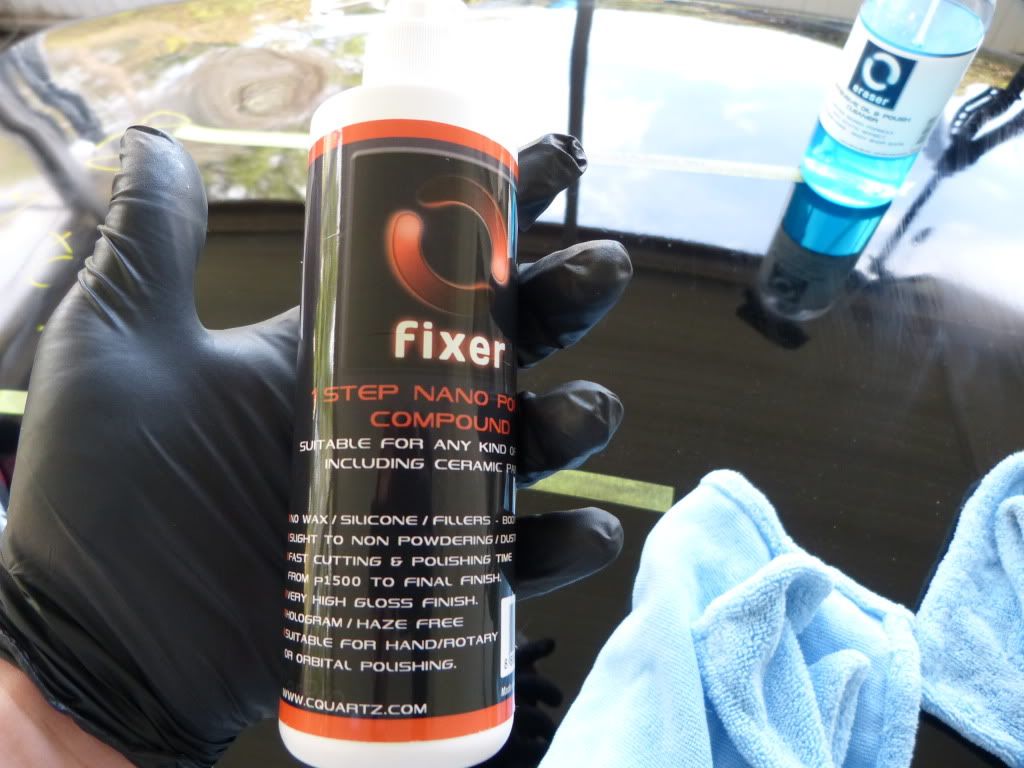
Review: CarPro Fixer
Review: CarPro Fixer
Product Description From AG:
CarPro Fixer is a one step polishing compound made for any kind of paint surface: freshly painted, soft, hard and new ceramic scratch resistant paint. All can be polished quickly and easily without leaving holograms or swirl marks. CarPro Fixer is the finest yet fastest one step polish that leaves the surface glowing with a perfect shine.
Fixer - A skilled worker who mends or repairs
Fix To repair, mend, or restore - To put right or in order
What a fitting name for a polish designed and marketed to correct paint from start to finish. When I first heard the name I thought it a little odd/interesting but after thinking about it what name could be better? P073ZD? M1525? No, "Fixer" actually makes perfect sense but does it live up to its lofty claims? As with most things actions speak louder than words or a name. So what actions is Fixer capable of? Well, it certainly has a few tricks up its sleeve but let's start with a brief intro and then the details.
Introduction:
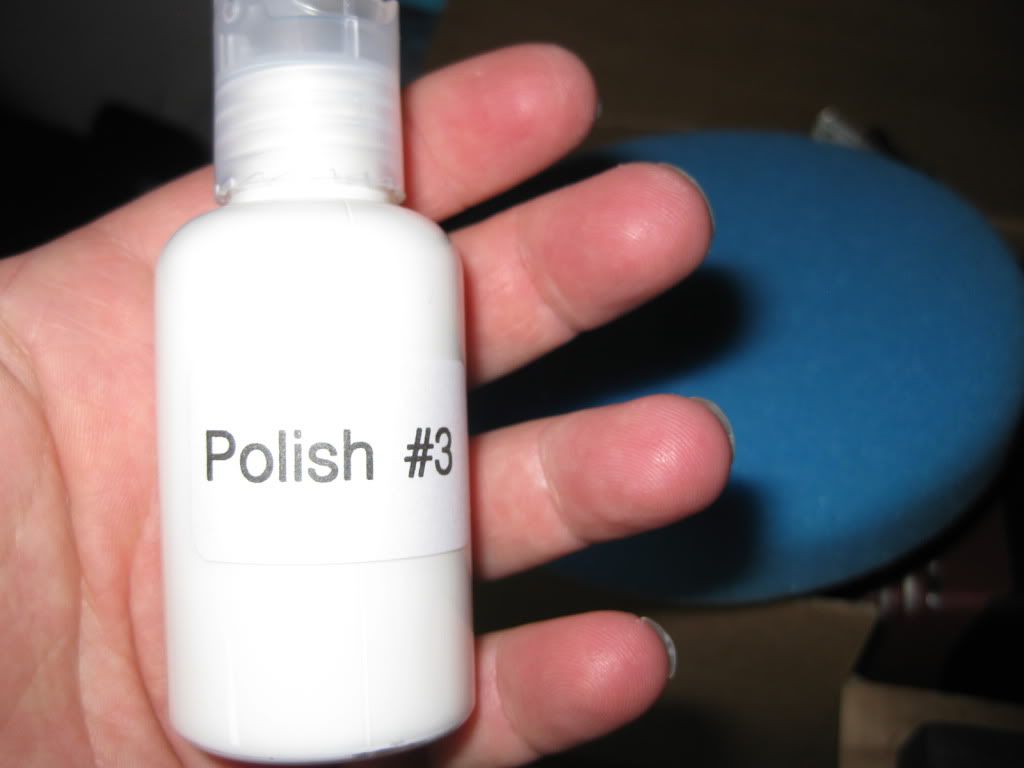
When I write a review I don't often have the luxury of months of experience with the product. With Fixer however I've been using it since it was just a baby. Along with other detailers and enthusiasts I was using a product called Polish #3 sometime last year. Polish #3 was a beta version during the development cycle. I know your time is valuable so I'll skip that whole story but I do want to show you what the product was capable of even during development.

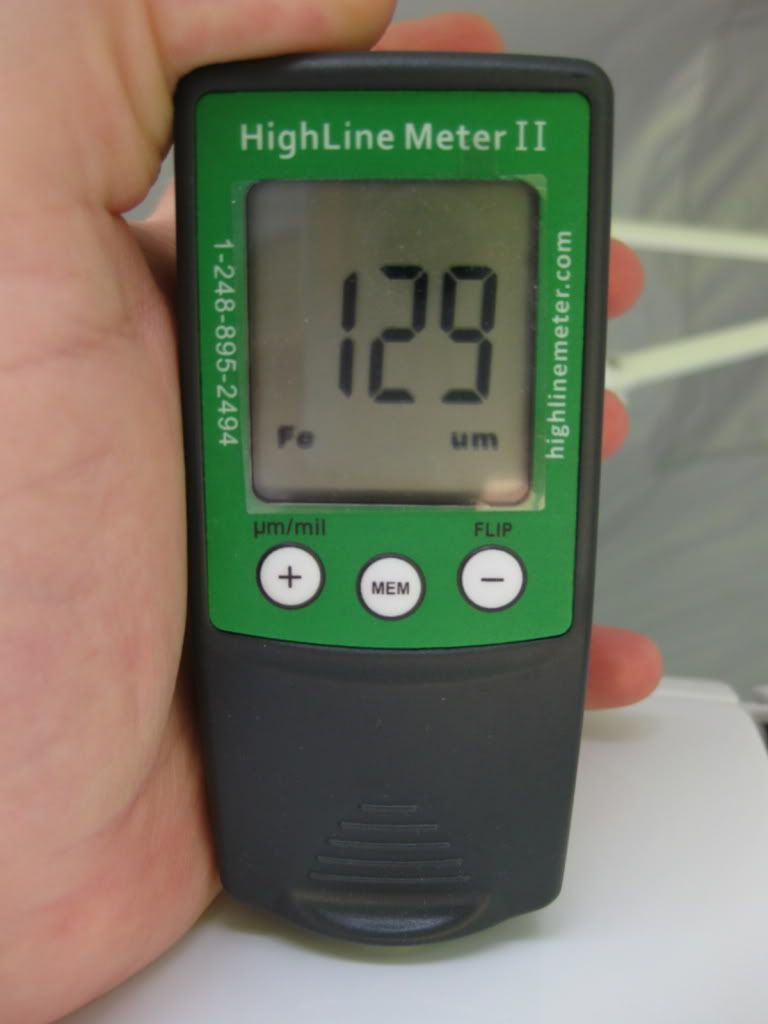

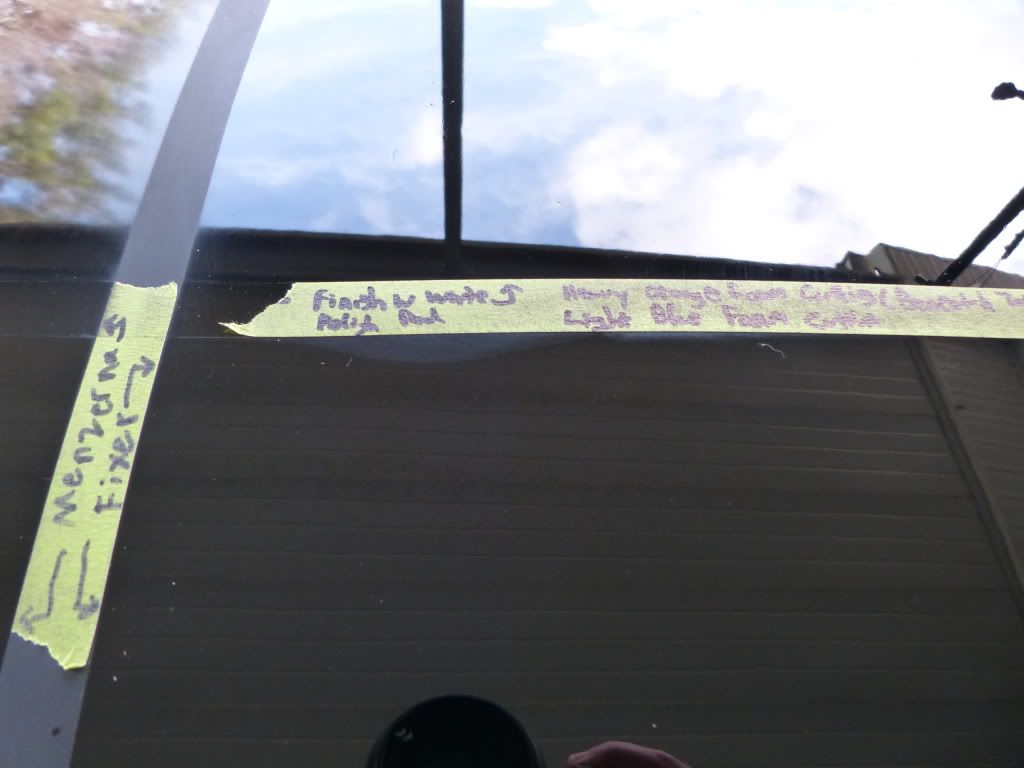
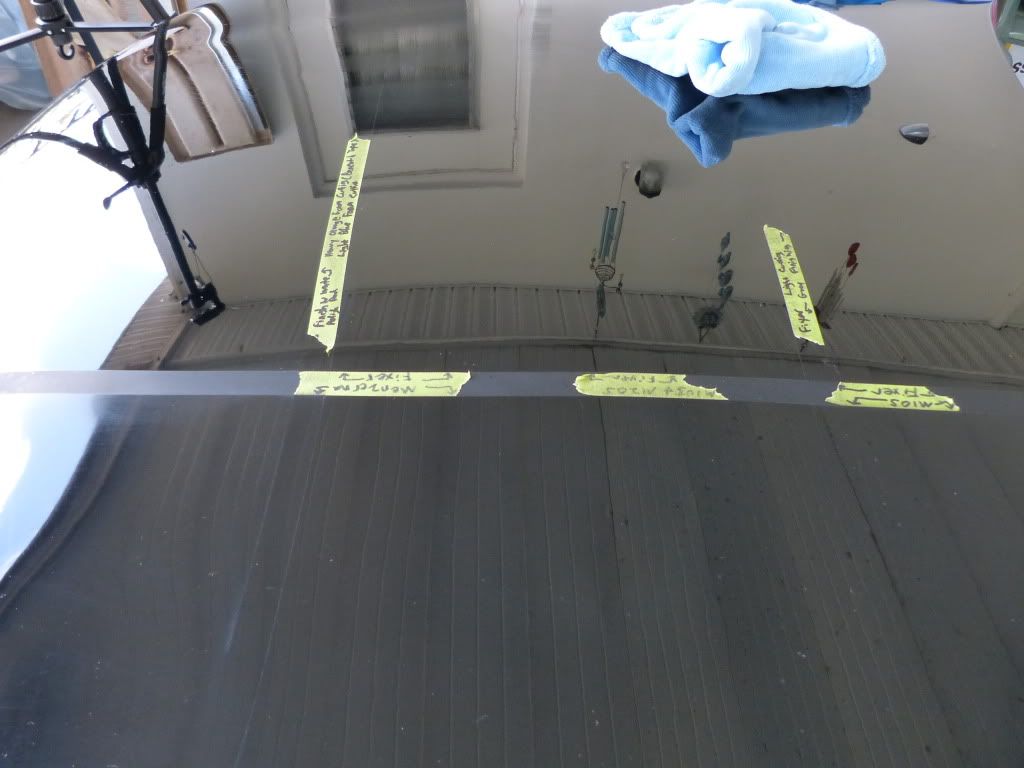
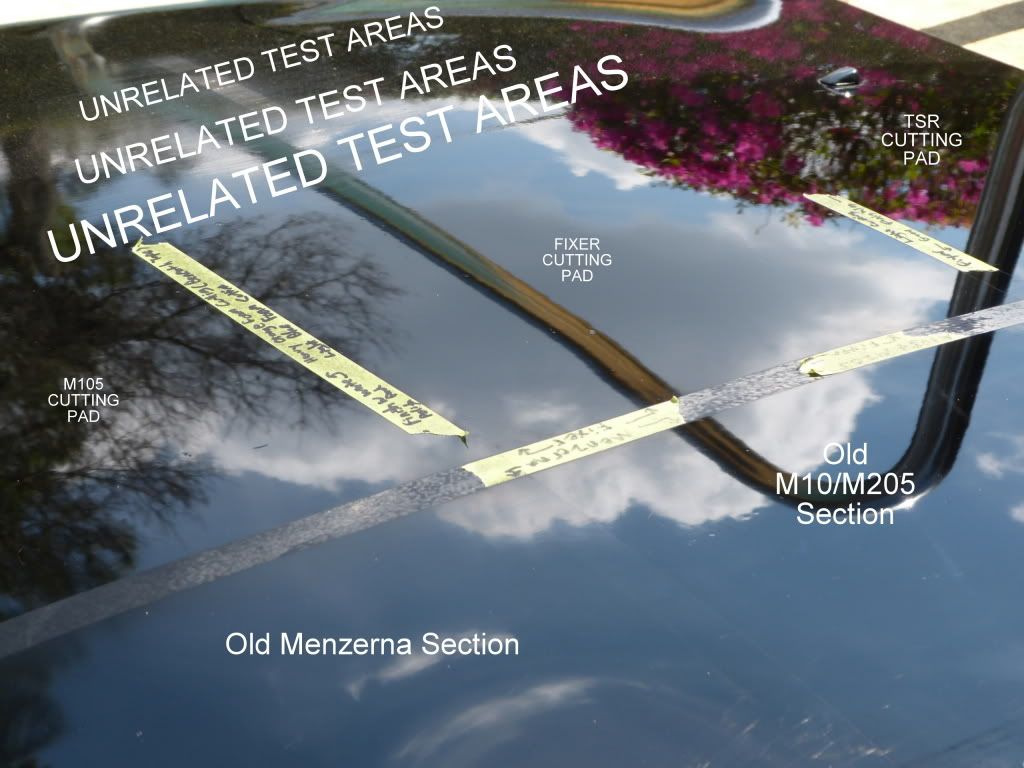
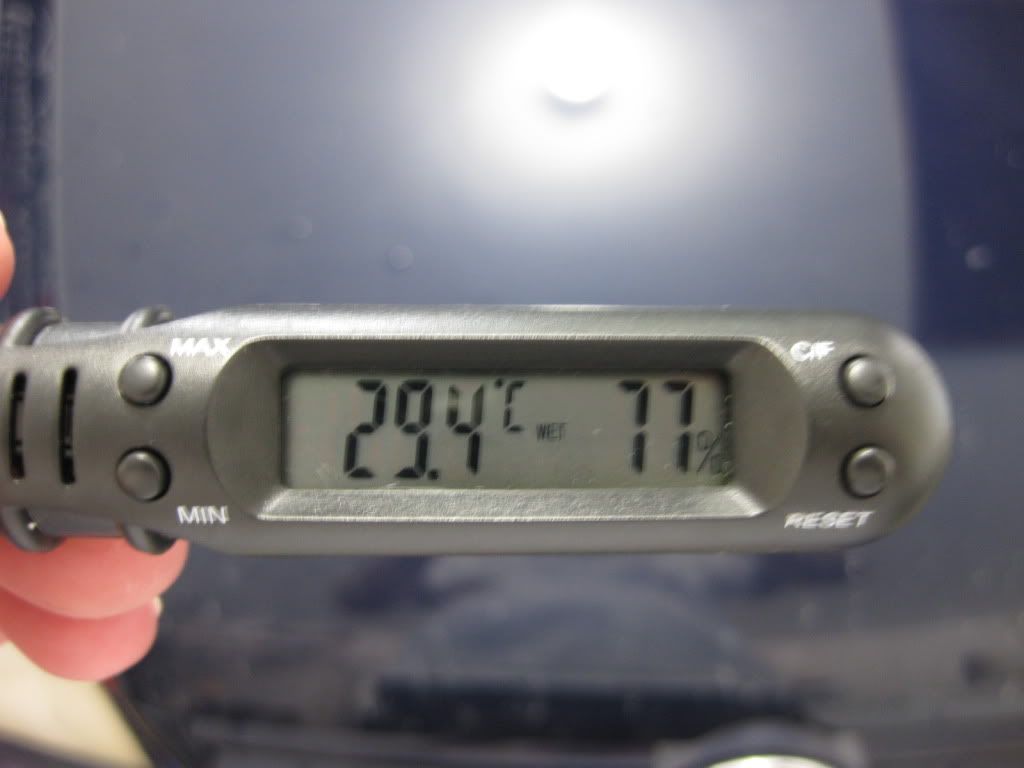
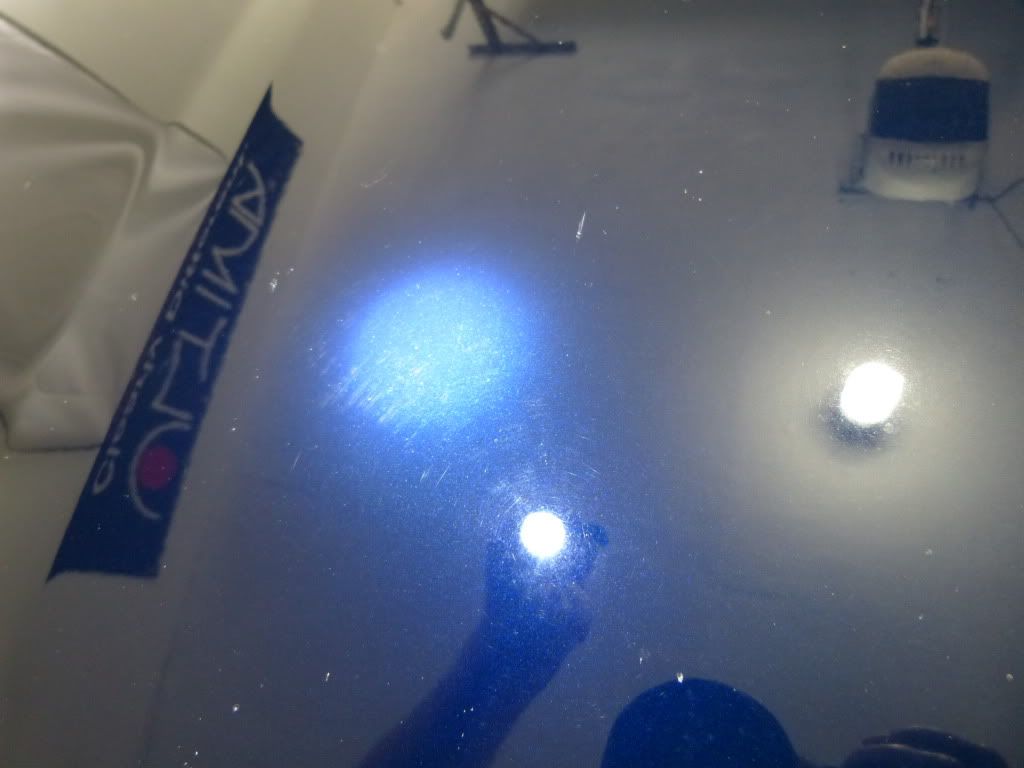
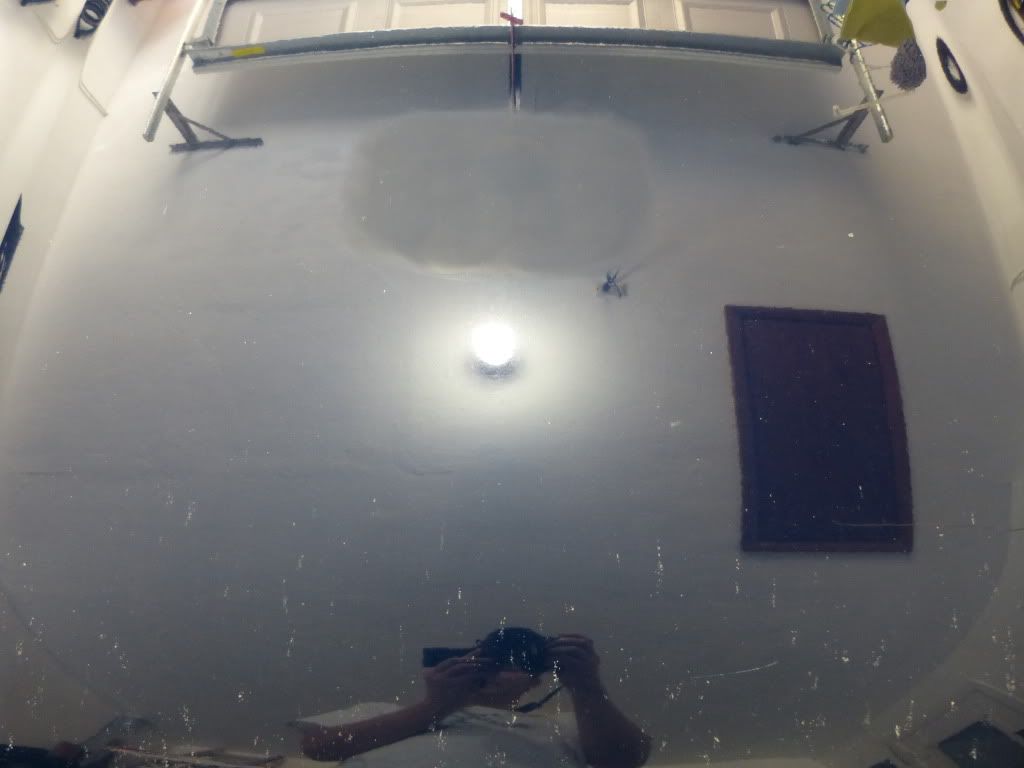
Dont mind the dirt from the lawn guy (Picture taken the following)
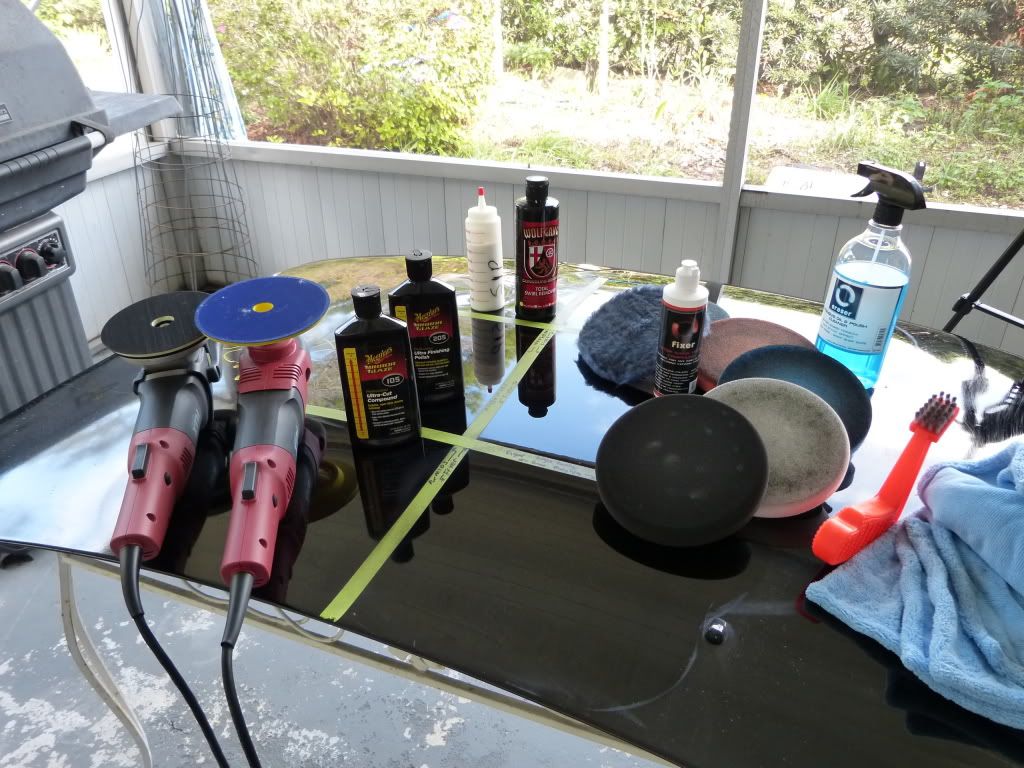
Details:
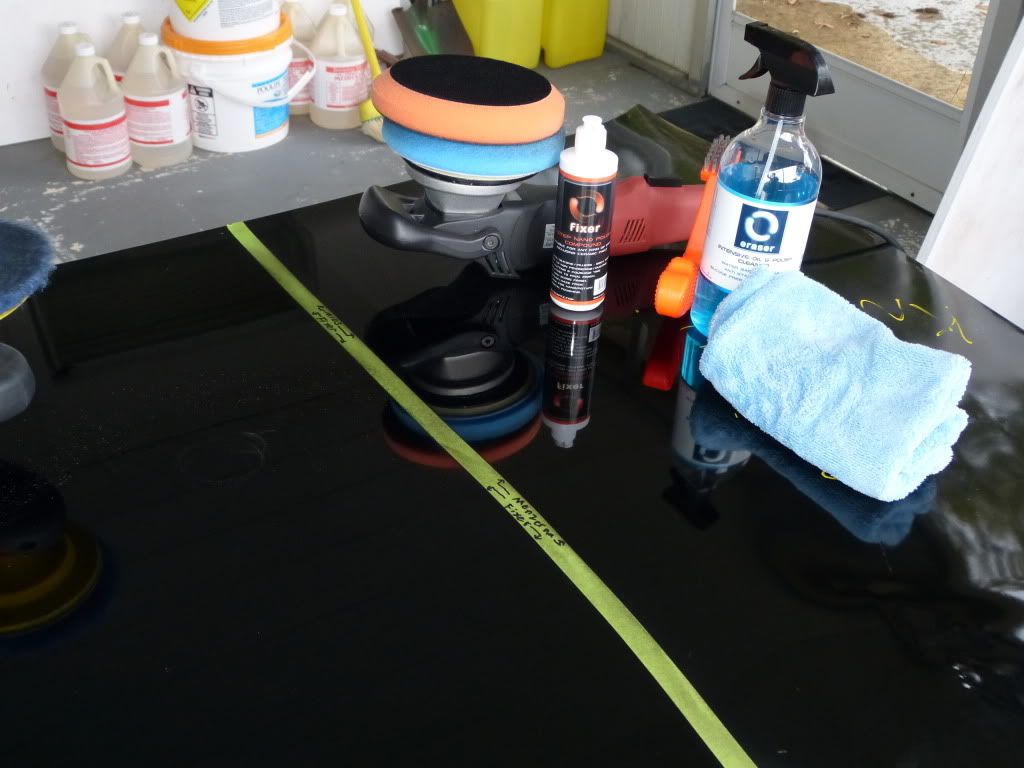
1.- Packaging: Plastic Bottle
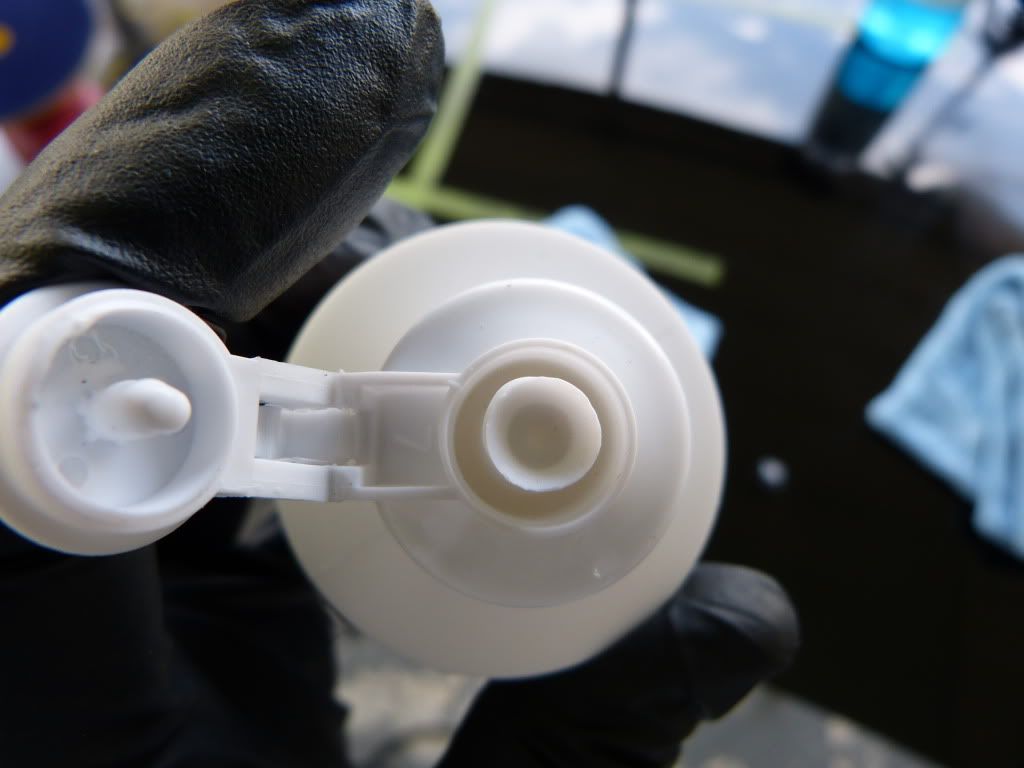
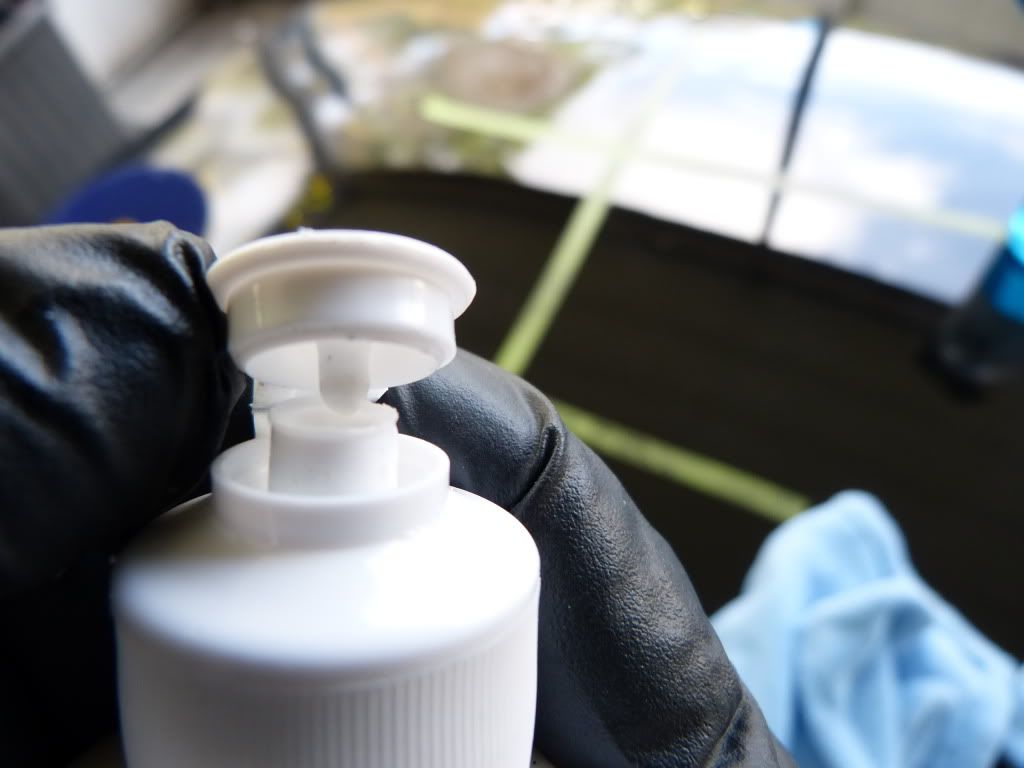
2.- Nozzle: Self-Cleaning nozzle/lid
3.- Color: White
4.- Consistency: Lotion
5.- Price at time of review: 8.45oz. (250ml) = $12.99
6.- Price at time of review: 16.00z. (500ml) = $18.99
7.- Price at time of review: 33.81oz. (1000ml) = $31.99 (Regular $37.99)
8.-Manufacturer: CarPro
9.-Made in: Korea
Product
Self-Cleaning nozzle/lid
Tips:
The following is kind of my generalization of how I use Fixer. Depending on the many combinations of controlling factors never be afraid to tweak things and see what actually works at a given time. Im no master of the rotary but this is what works for me with Fixer.
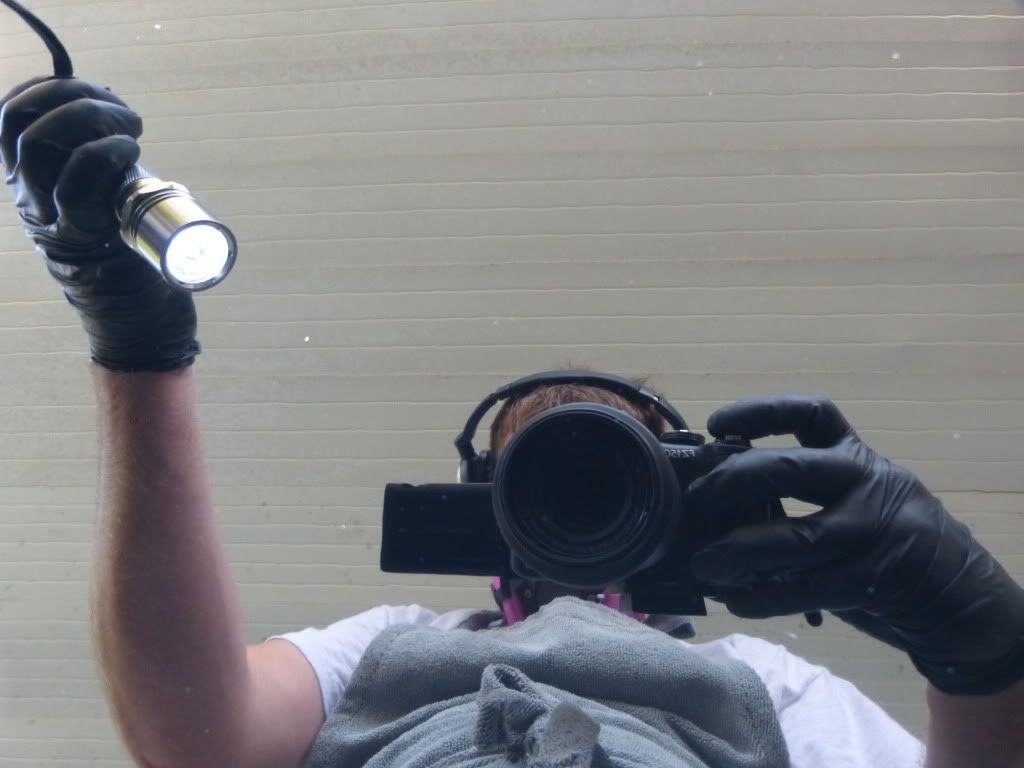
Note: Just after the following Rotary paragraph my friend Maesal gives a great video demonstration of Fixer in action.
Rotary:
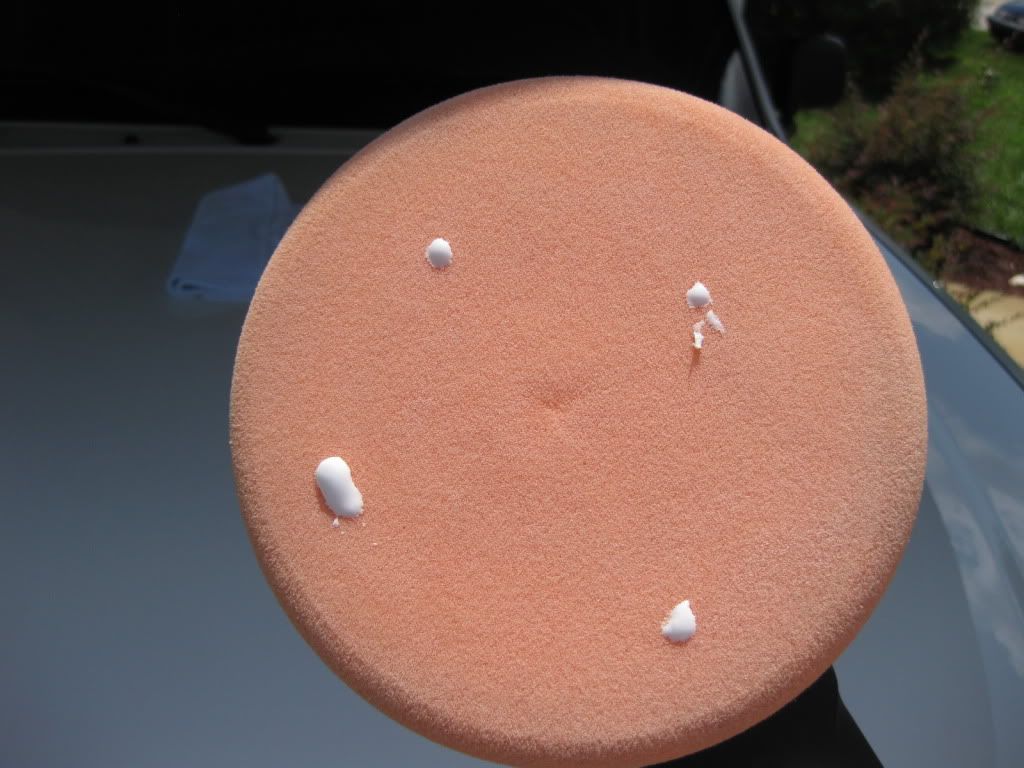
1.-Apply a small amount of product to the pad (even less than with many polishes)
2.-Start on the slowest setting and spread the product.
3.-Turn the speed up a little and go across your section a couple times allowing the lubricants to become fully effective.
4.-Turn the dial up further as you settle in for correction of the paint. 1200 rpm is the max speed I would use with Fixer but as usually find exactly what works for your conditions and style. For what its worth Fixer definitely seems to like slower speeds.
5.-For a diminishing abrasive polish working time happens a little faster than you might expect. As you see correction taking place, and the swirls and/or oxidation leaving the section you are ready to begin finishing down.
6.-Dial down the speed a little and continue. At this point the opacity should be turning. As you make your last few passes continue to lower the rpm down to 600-700 rpm and finish using the minimal amount of pressure needed to keep the pad flush with the paint surface.
Tips:
1.-Extending the working time
If you need to extend the working time or finishing time simply spray a fine mist of water onto the pad and then continue working the polish, finishing down as described above.
2.-Soft paint
When dealing with softer paint I've found I need to let up on the pressure a little sooner in the cycle extending the finishing phase as described but earlier on in the process or by using a mist of distilled water in the way I mentioned.
3.-Finishing
When finishing dont allow yourself to go all the way to the edge of your section where some polish may not be broken down to the same level as the rest.
The abrasives in play are diminishing therefore finishing down is a very important step. The reason for this is that as you are polishing the abrasives become smaller and smaller as they are rubbed against themselves and the paint. To finish properly with any diminishing abrasive polish requires that you do not stop polishing until the abrasives are fully broken down. Of course you do NOT want to dry buff the paint so you must stop when the polish tells you to or add a fine mist of water to the pad to reactivate the lubricants and continue to finish.
I made that sound entirely more complex than it has to be so lets see if we can show how simple it can be. Id like to say thanks to my friend Maesal who posted the following video awhile back. I saw this a couple months ago and enjoyed it so much I thought I would ask Maesal if I could post it here. Maesal, thanks again for the excellent videos and for generously allowing me to use this one in my review! Looks great mate!
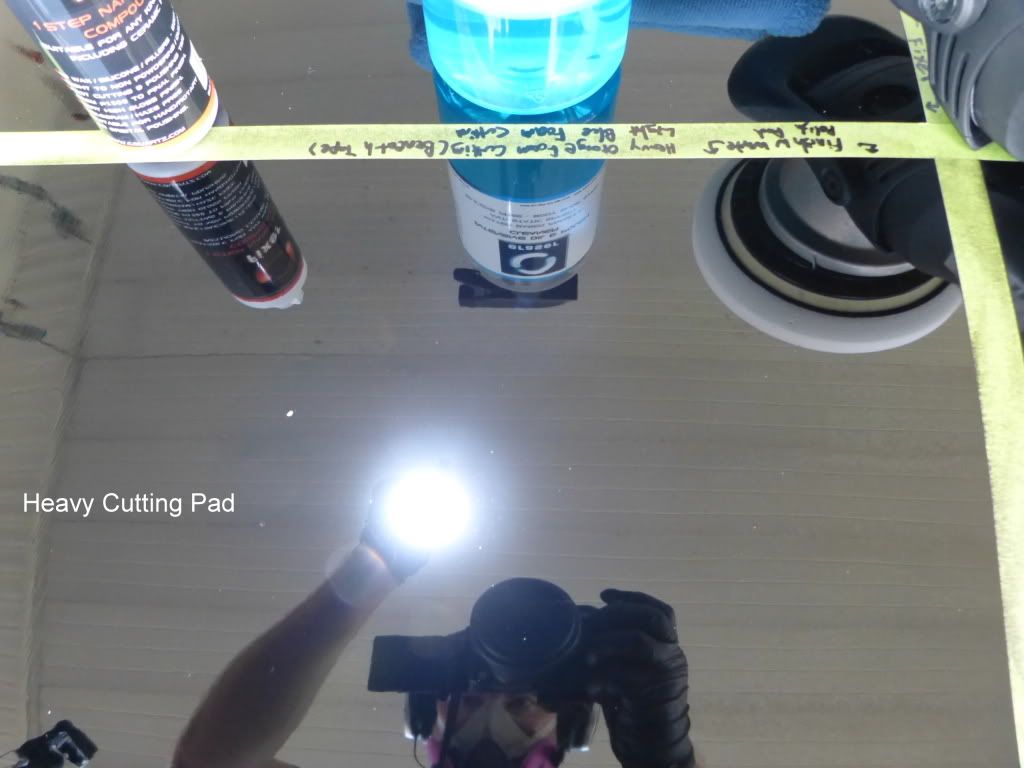
Rotary Application: 2000 Grit removed with Fixer and Orange Pad on 700 RPM
Dual Action:
1.-Apply a small amount of product to a new pad or even less (2-3 pea sized drops) to the pad if its already primed or used on a previous section.
2.-Start on low and spread the product across the section.
3.-After allowing the lubricants to begin working, turn it up to correction speed and apply downward force on the pad. The exact number that you consider correction speed will hinge on your machine, the paint, your arm movement, and the pad you have selected.
4.-As the defects are removed and polish turns opacity dial the speed back a bit for the final passes.
With foam pads on the Flex 3401 Ive been using around 5-6 for correction and 4-5 for the last few passes. With MF pads I used speed 5 1/2 for the majority of correction and finished on 4. Im new to the mf pads but youll see my results a little later.
One of the great things about Fixer is how dust free it is. I mean really dust is almost non-existent and often entirely non-existent. This does not however come at a small cost in my opinion. I am only theorizing but I believe there's a correlation. While it doesnt dust the pad will lose a lot of cut if not cleaned on the fly after each section. Depending on the paint the amazing cut you found on one section you will not find on the next if you don't clean it on the fly in between. Of course most of us clean the pad often anyway so this should not be an issue.
:dancebanana:
Sky's the Limit Car Care
-
Super Member
-
Super Member
-
Super Member
-
Super Member
Re: Review: CarPro Fixer
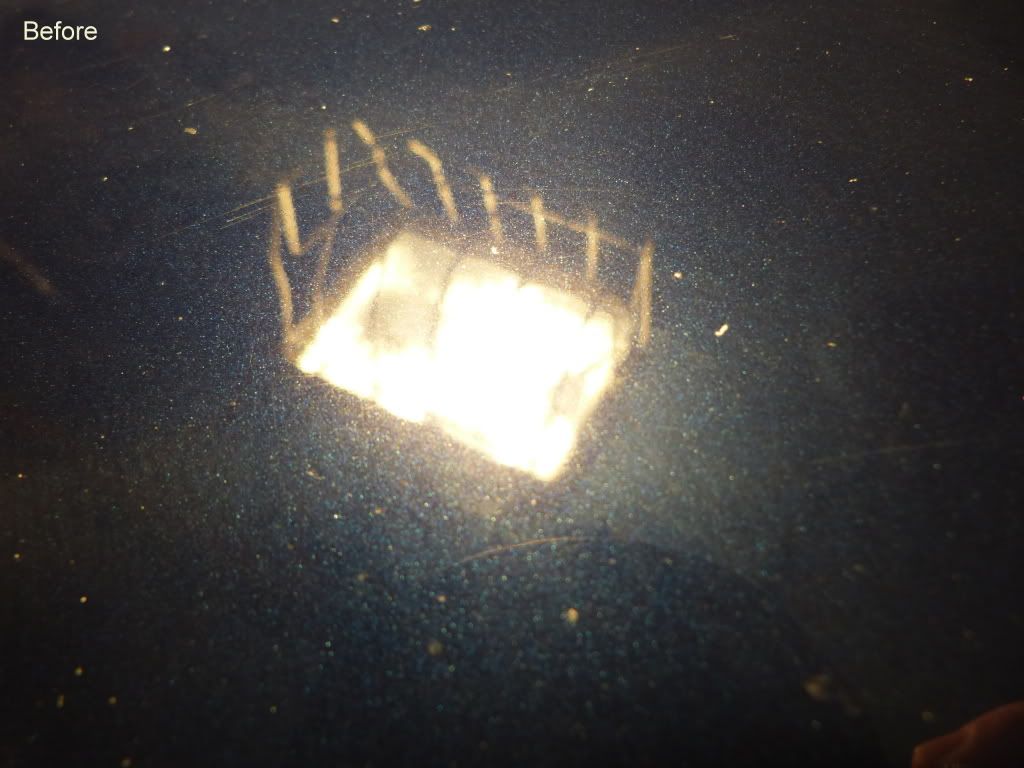
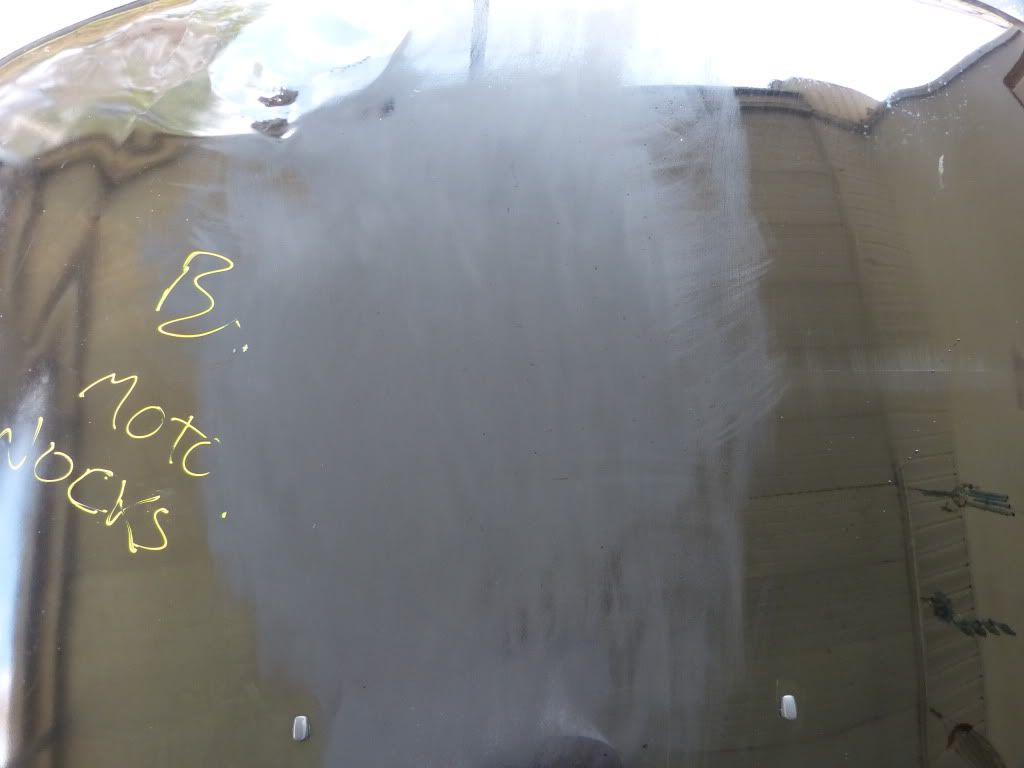
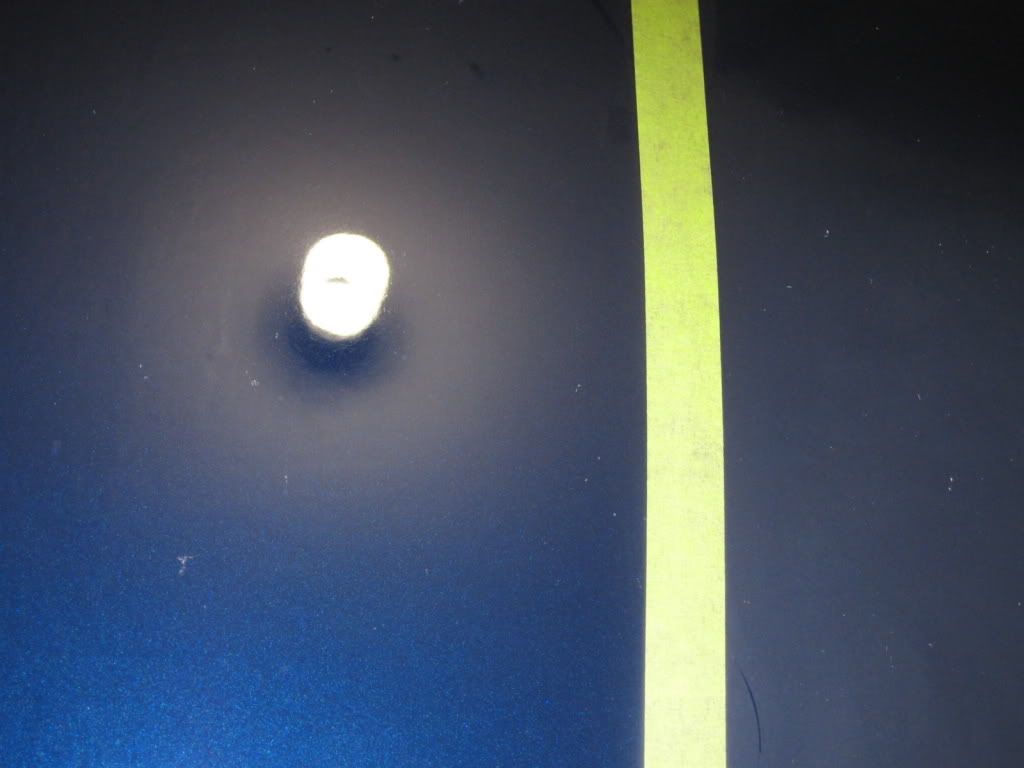
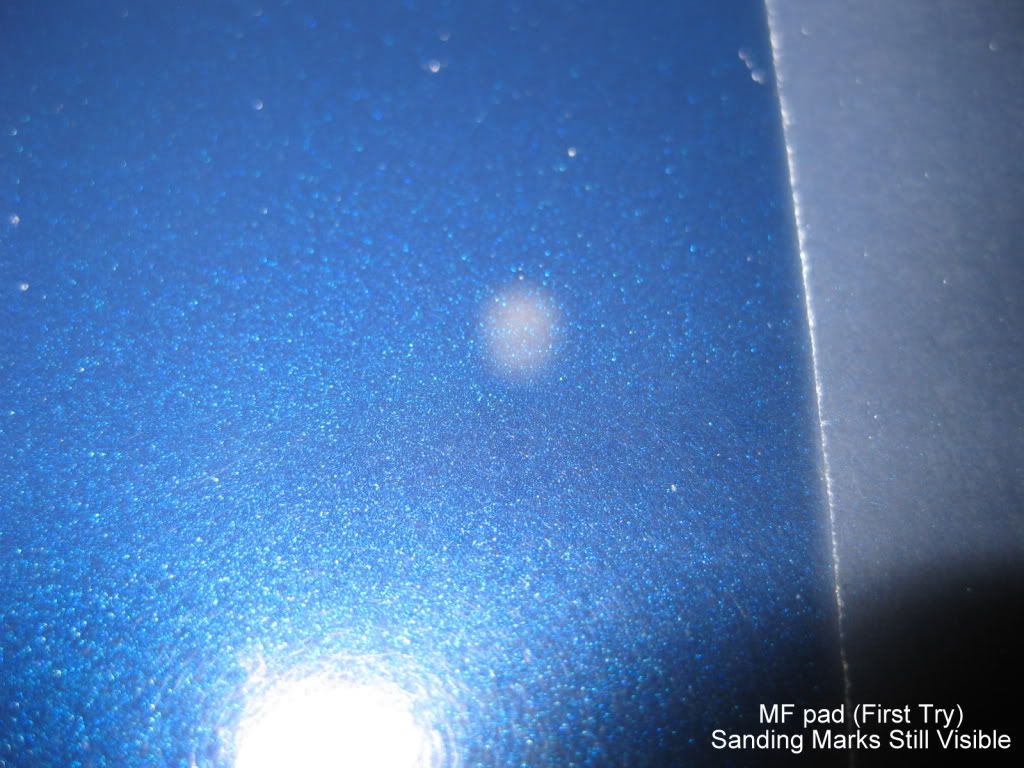
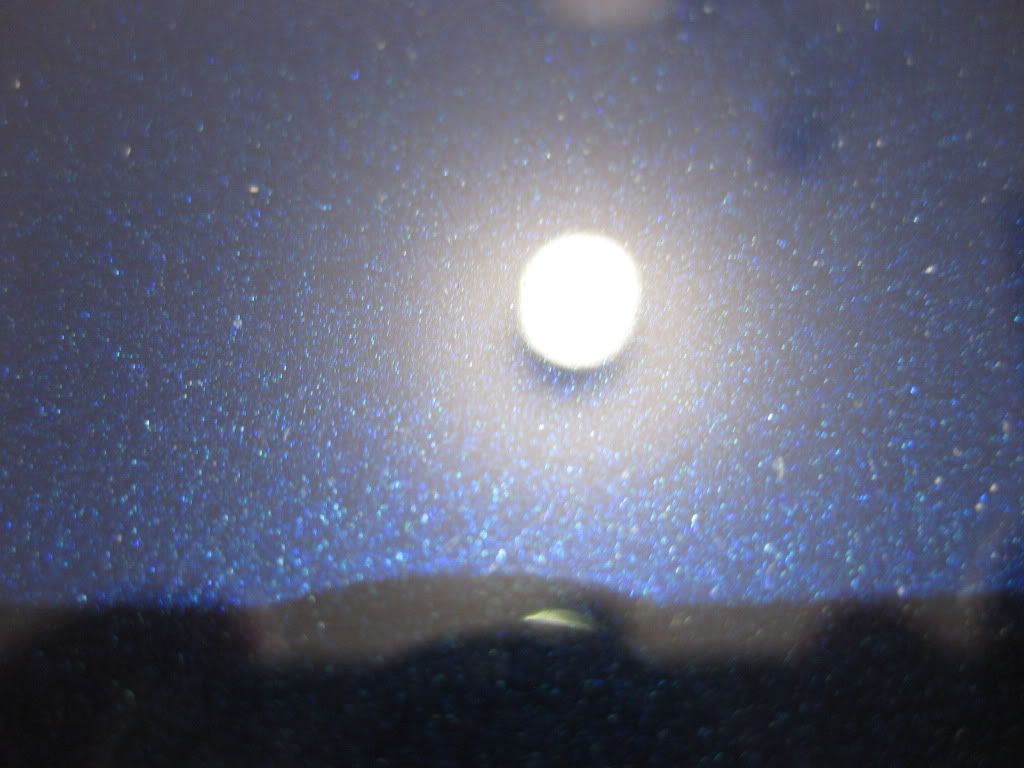
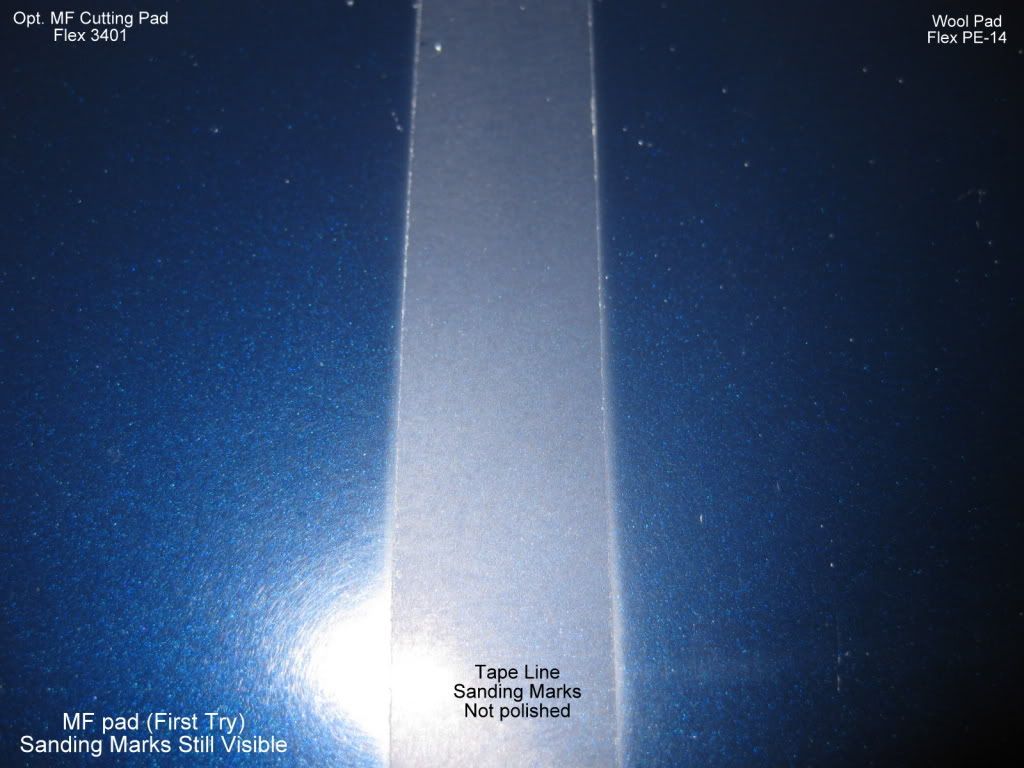
With the sanding marks gone on one side but not entirely gone on the mf test side I decided to move to the yellow B&S pad via 3401. Thanks to Mark for the pad!
Using Fixer on the B&S pad I spread the product on low and as I turned up the speed I applied considerable pressure for the majority of the passes. Towards the end I dialed down to 4 and did end up using a mist of water to extend my finishing phase a bit. I found great results and was impressed with how well it finished out considering the cut I had obtained.
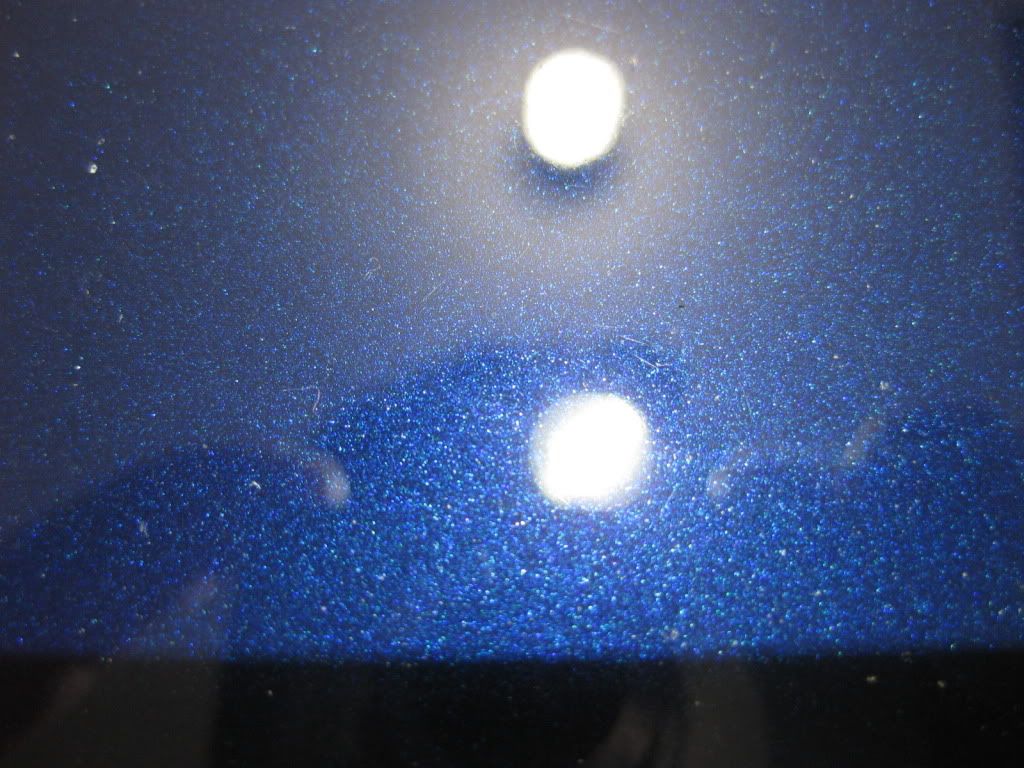
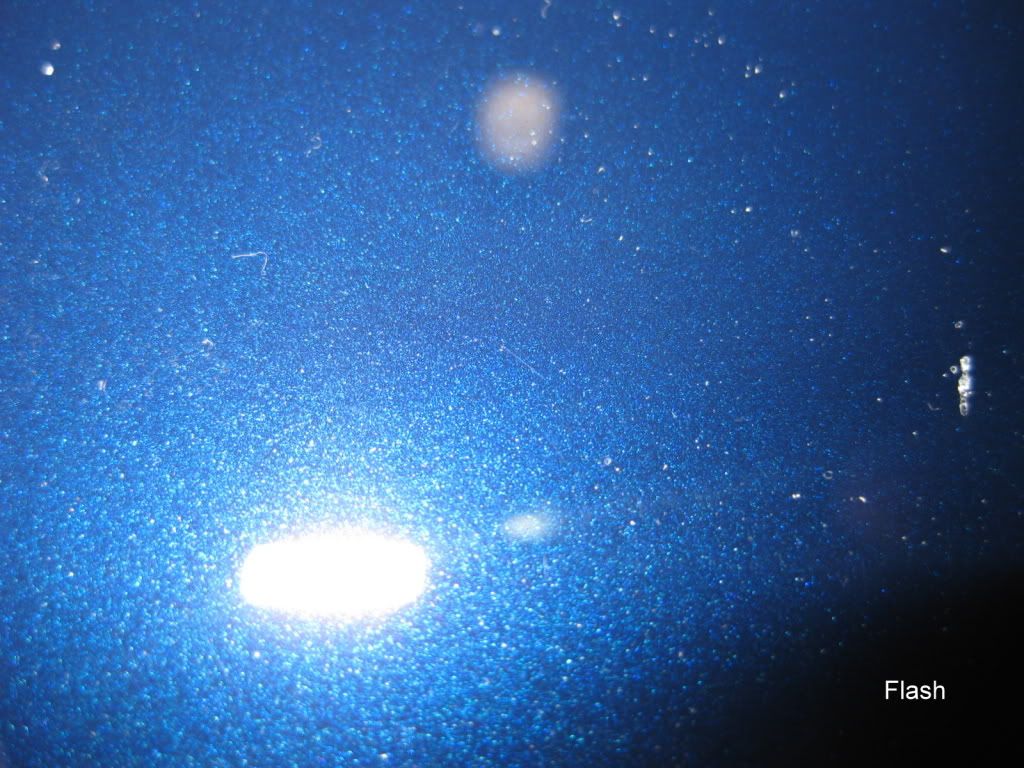
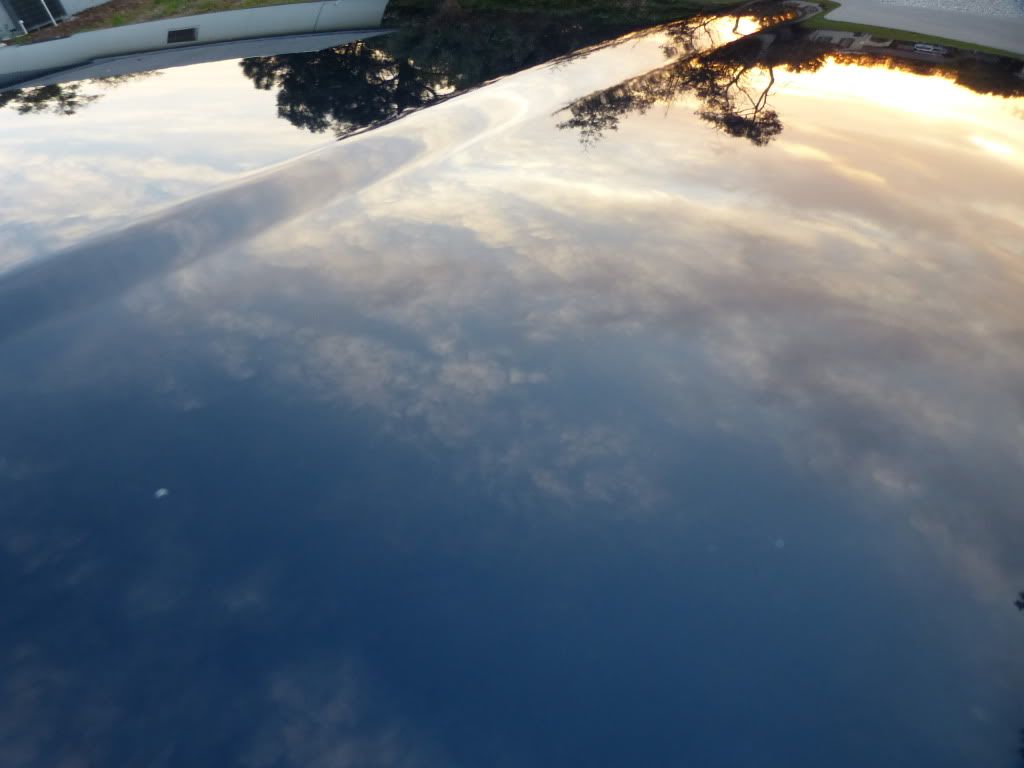
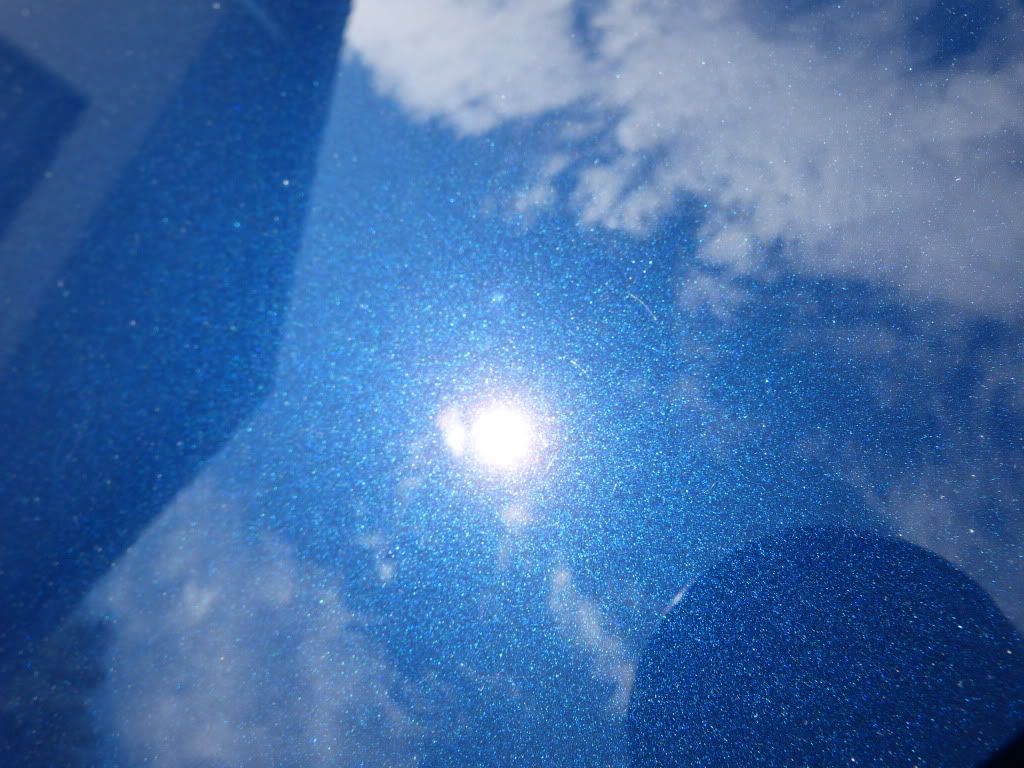
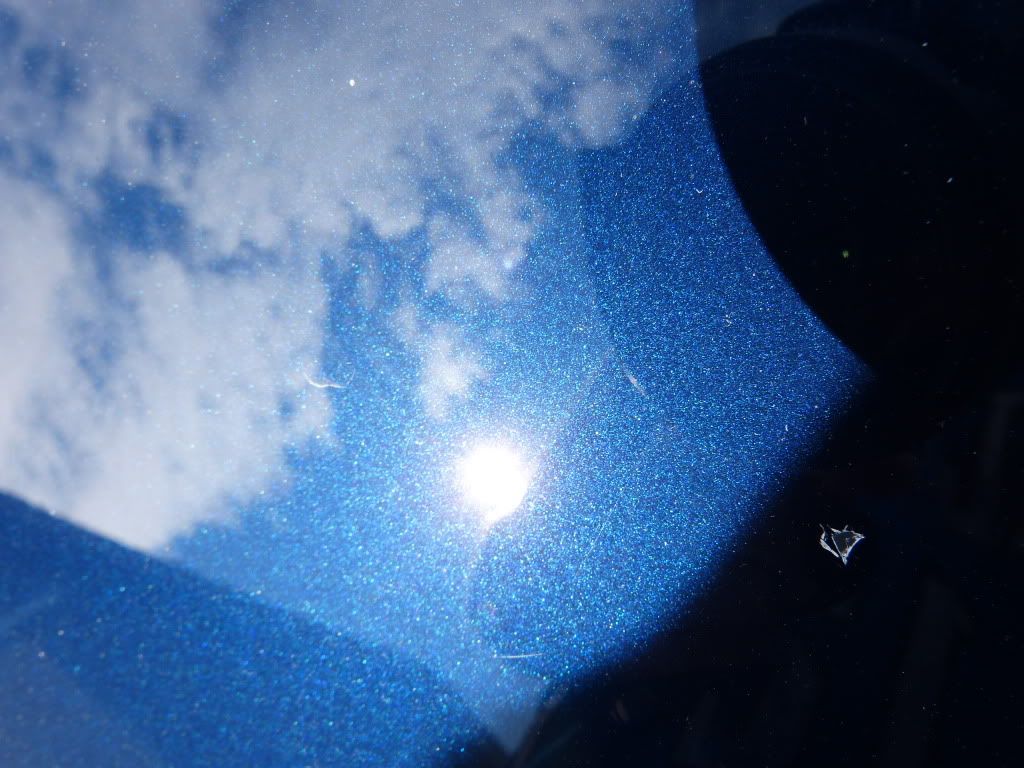
This looked to be a great one step combo for this paint. The difference was incredible and asking for any more than what I had received from a one step on this paint in this condition would be ridiculous in my opinion. At this point I had completed most of the passenger side half of the hood and a bit pas the center in one area.
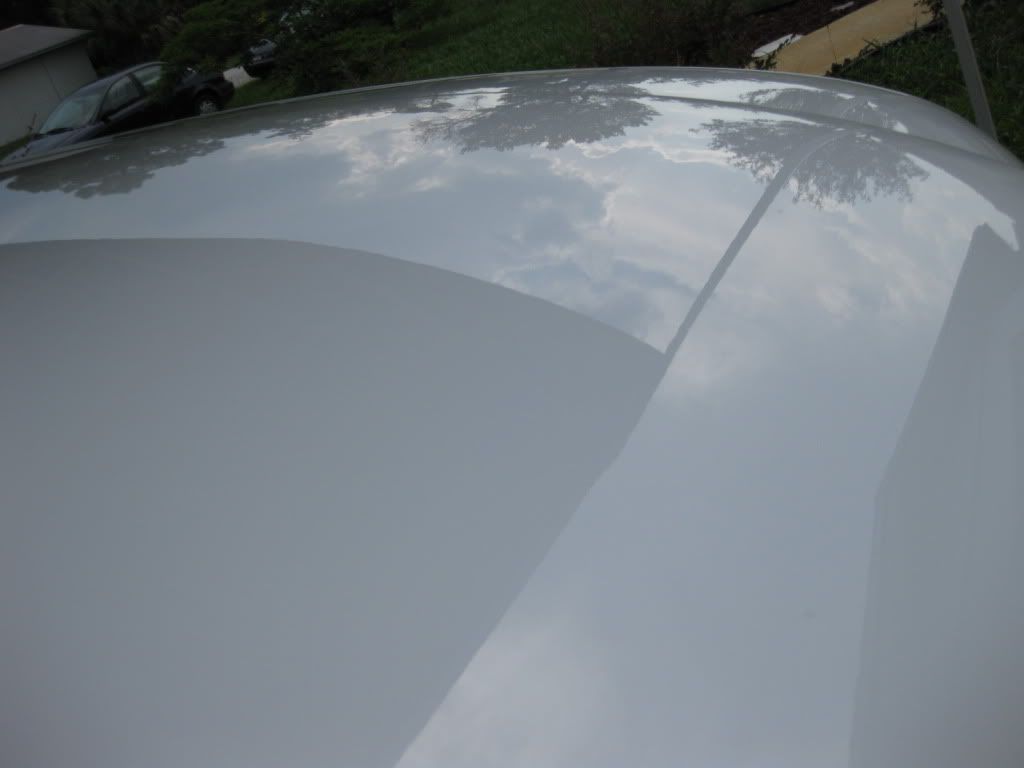
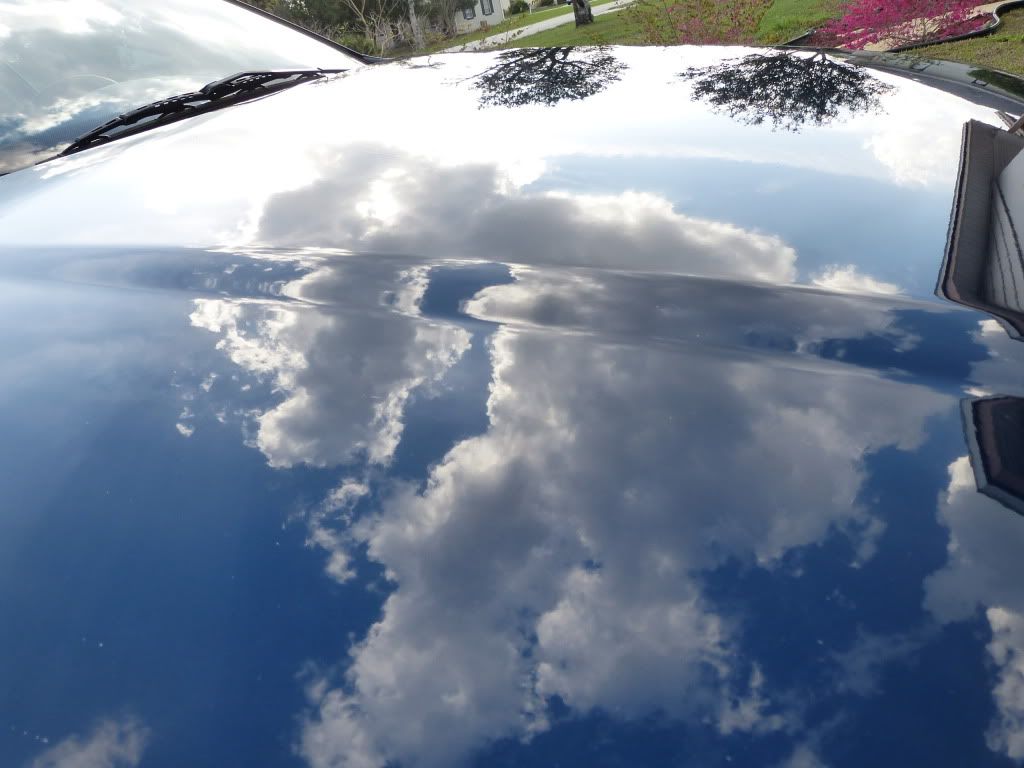
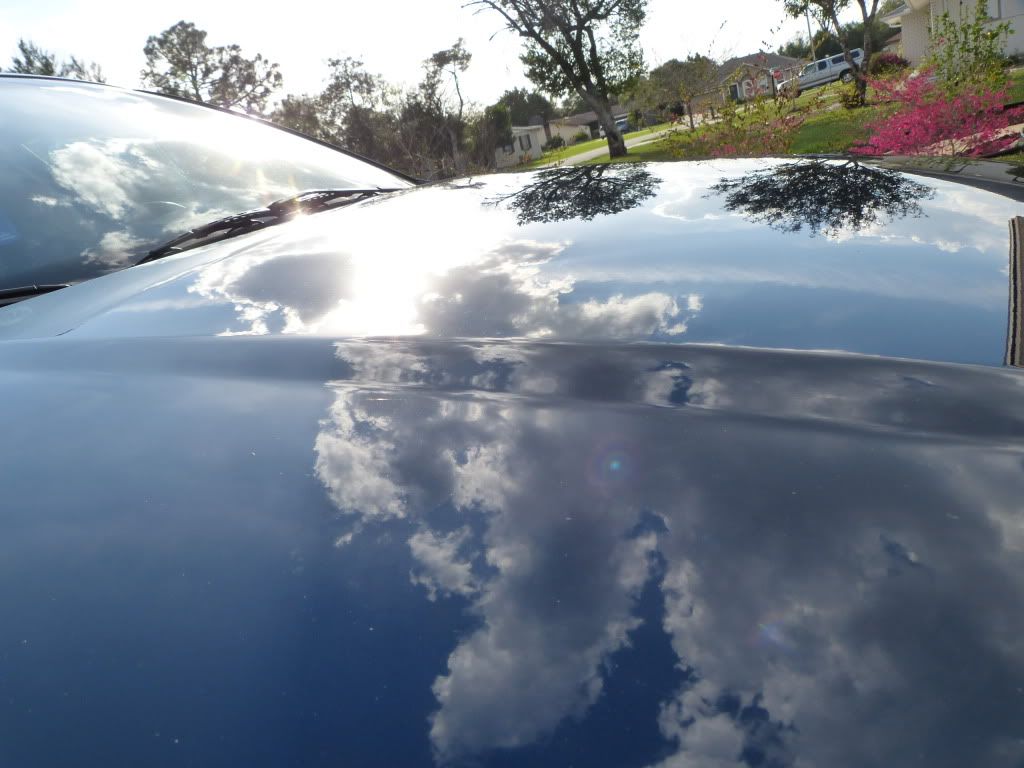
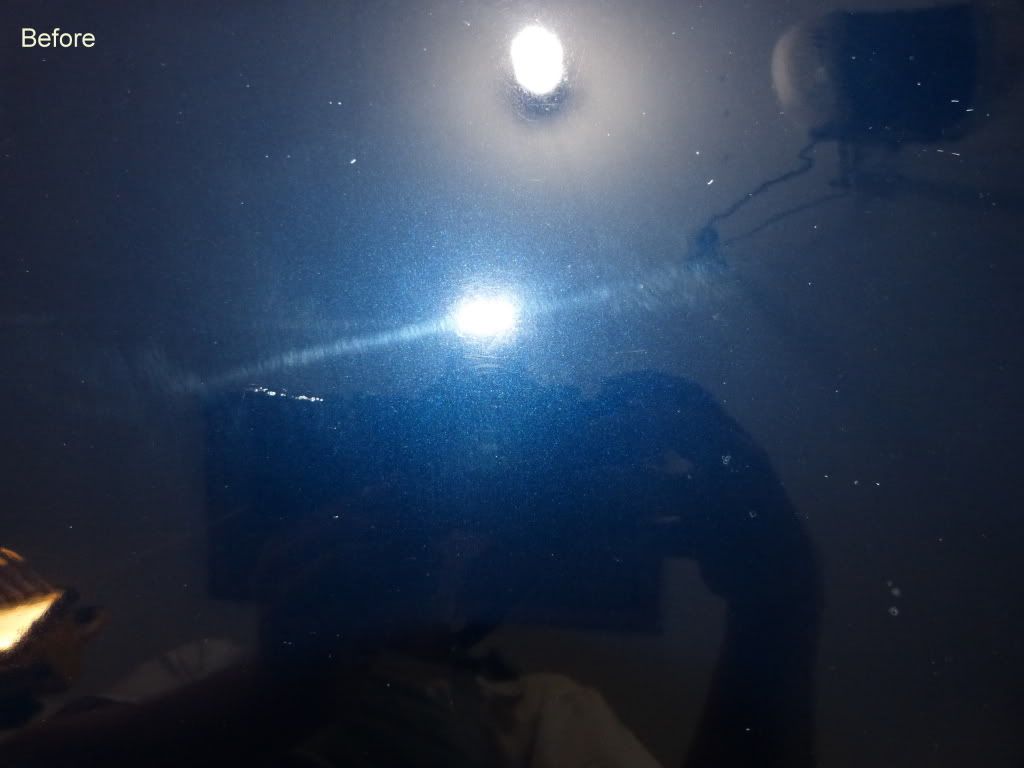
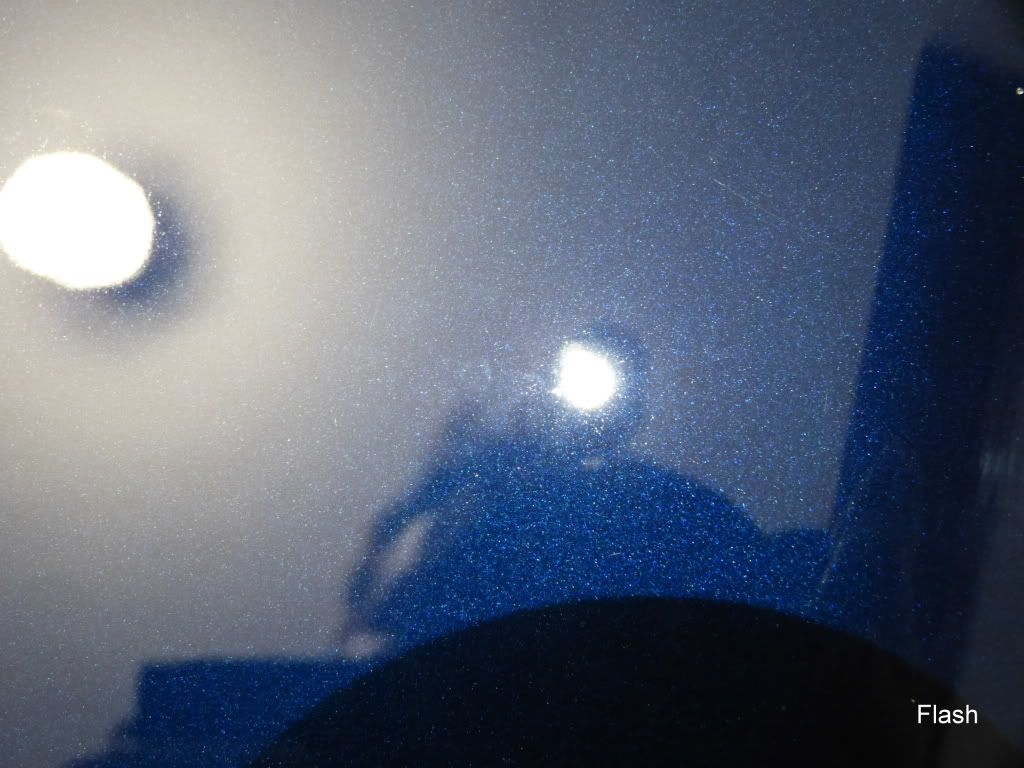
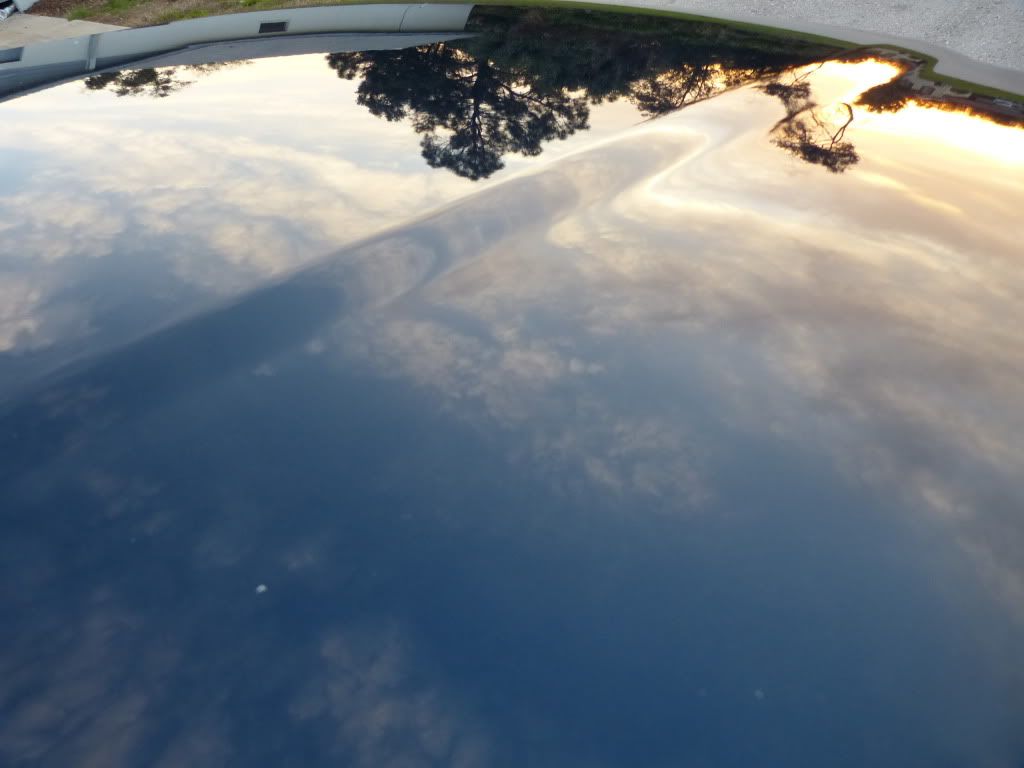
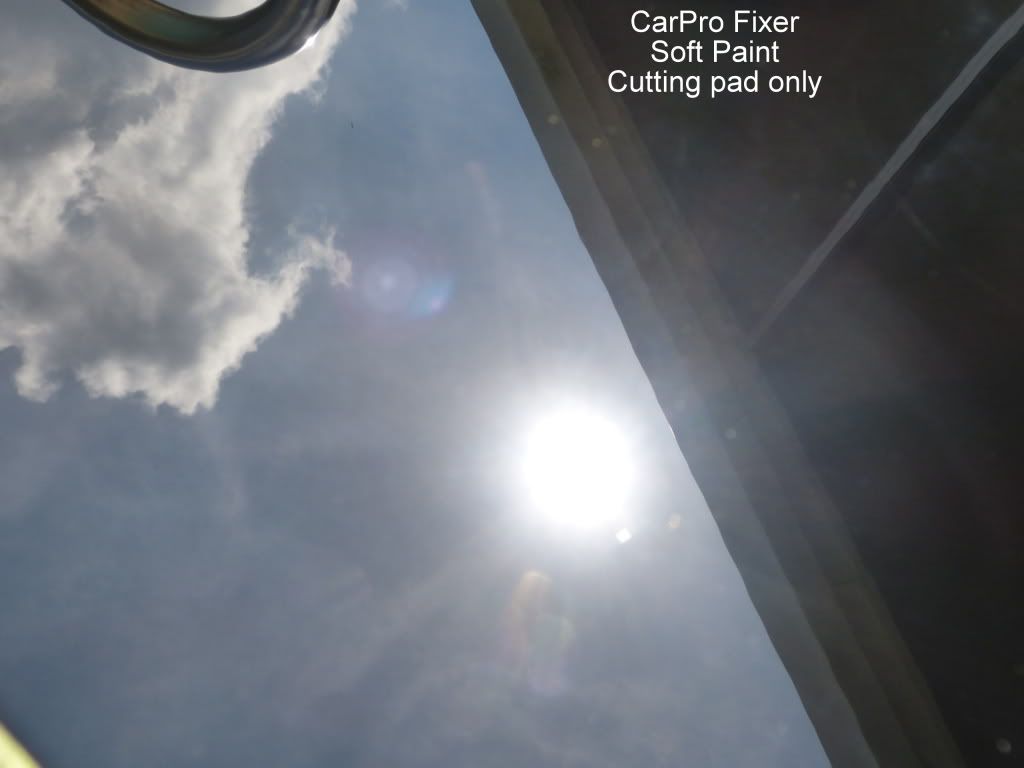
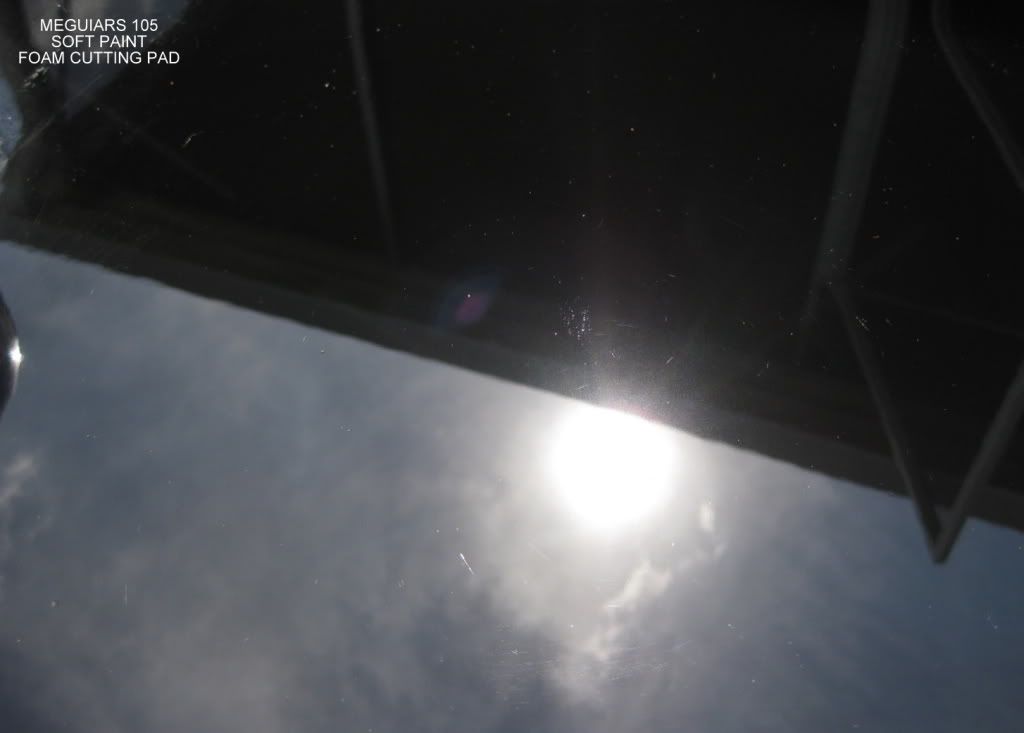
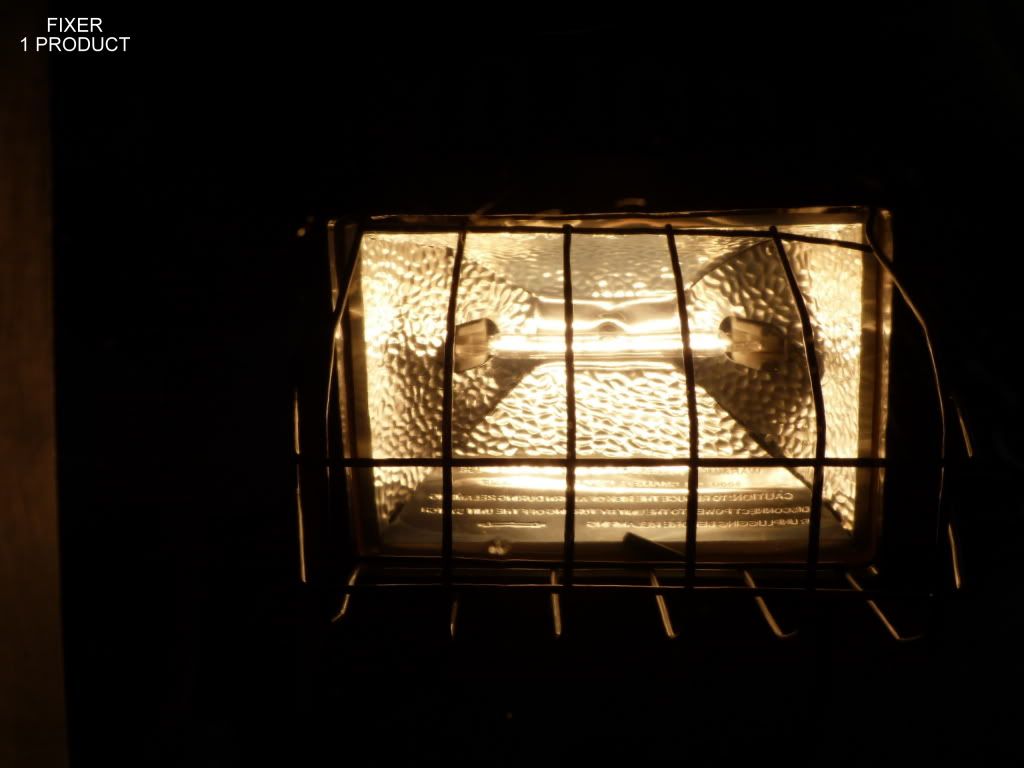
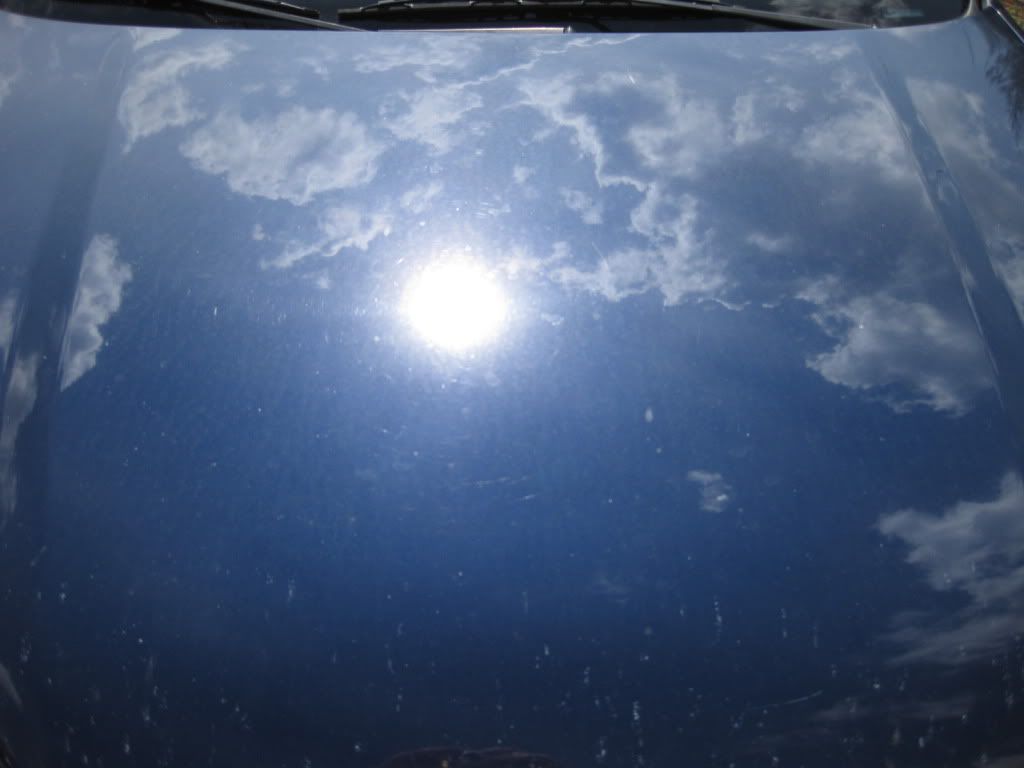
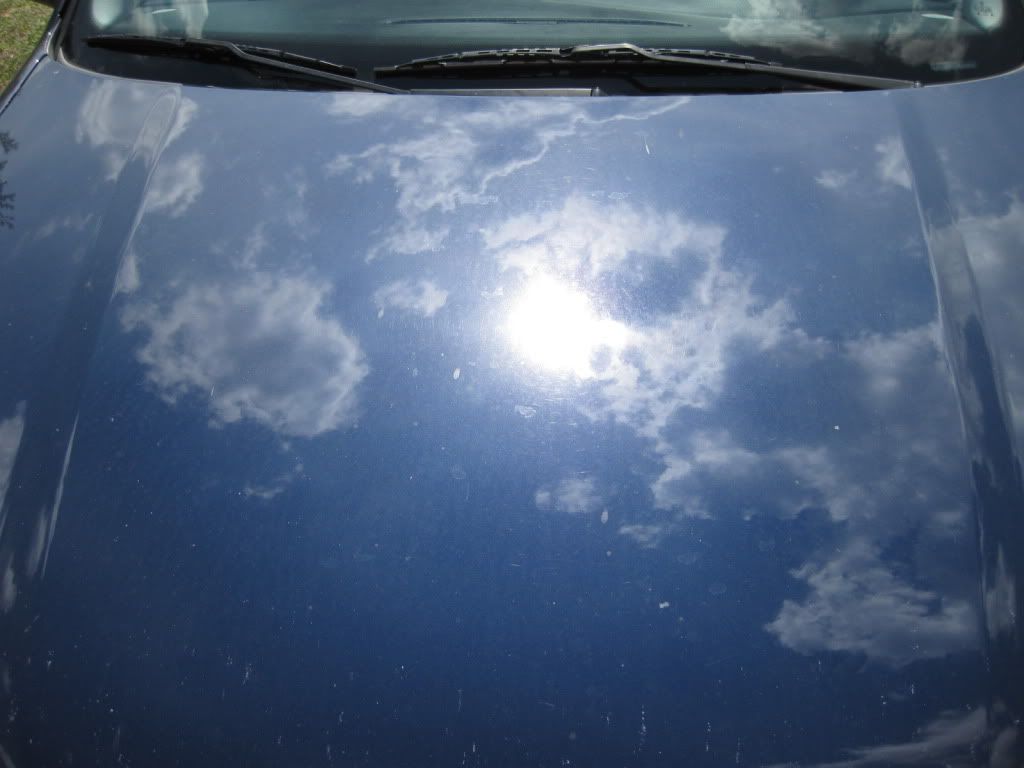
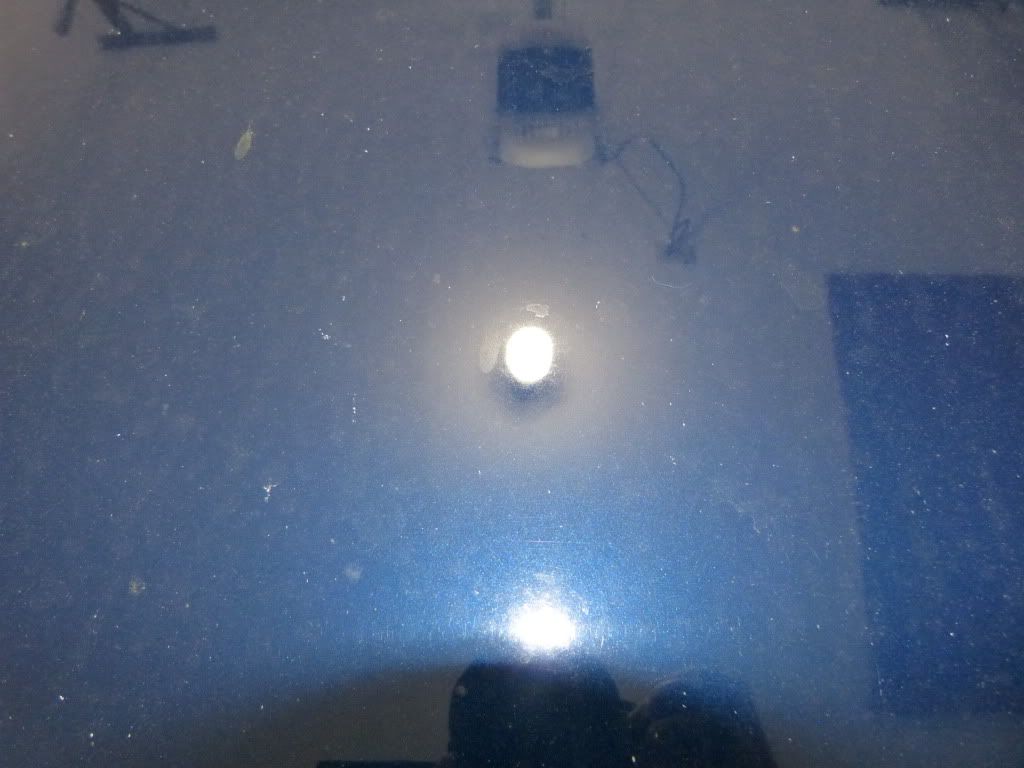
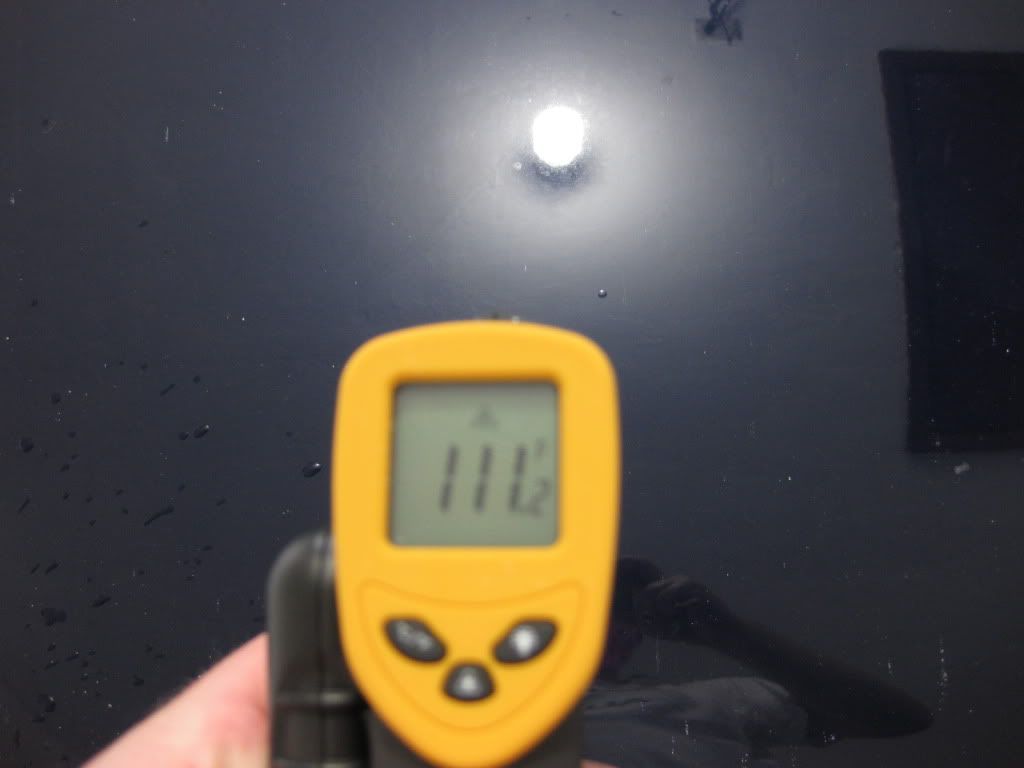
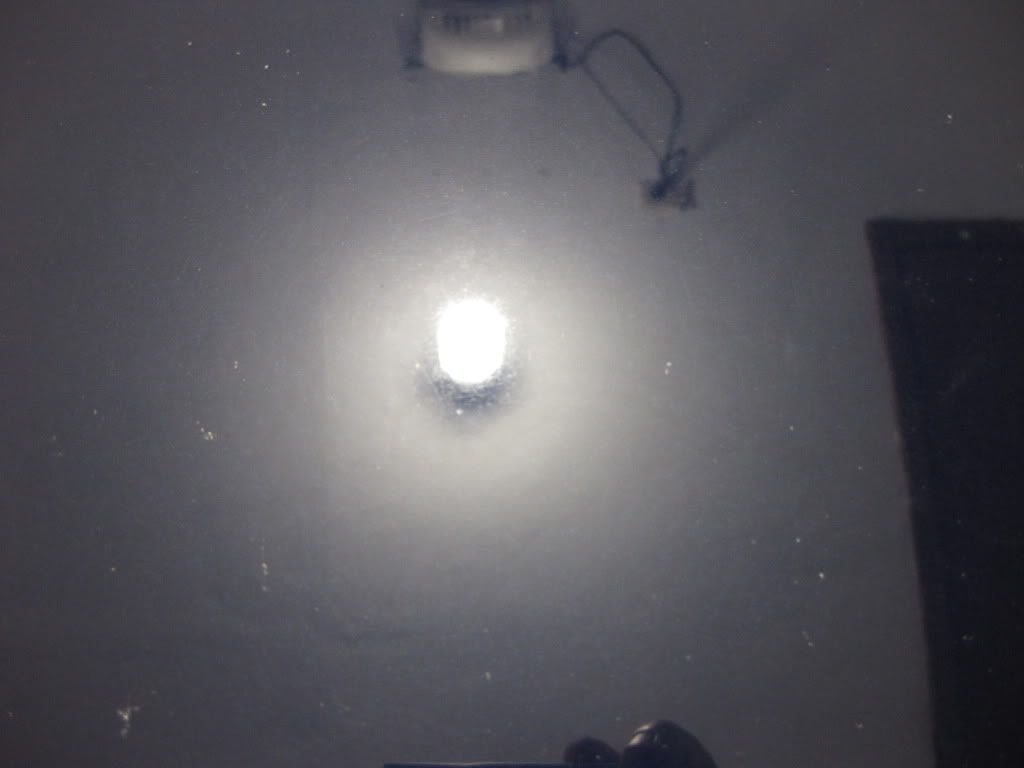
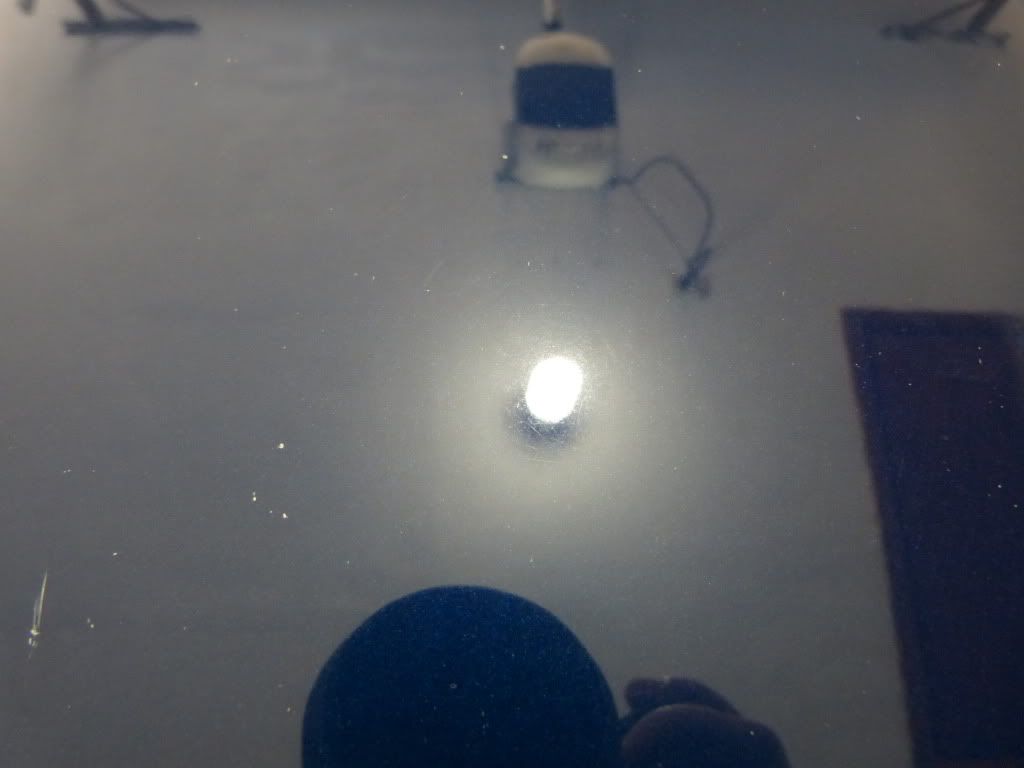
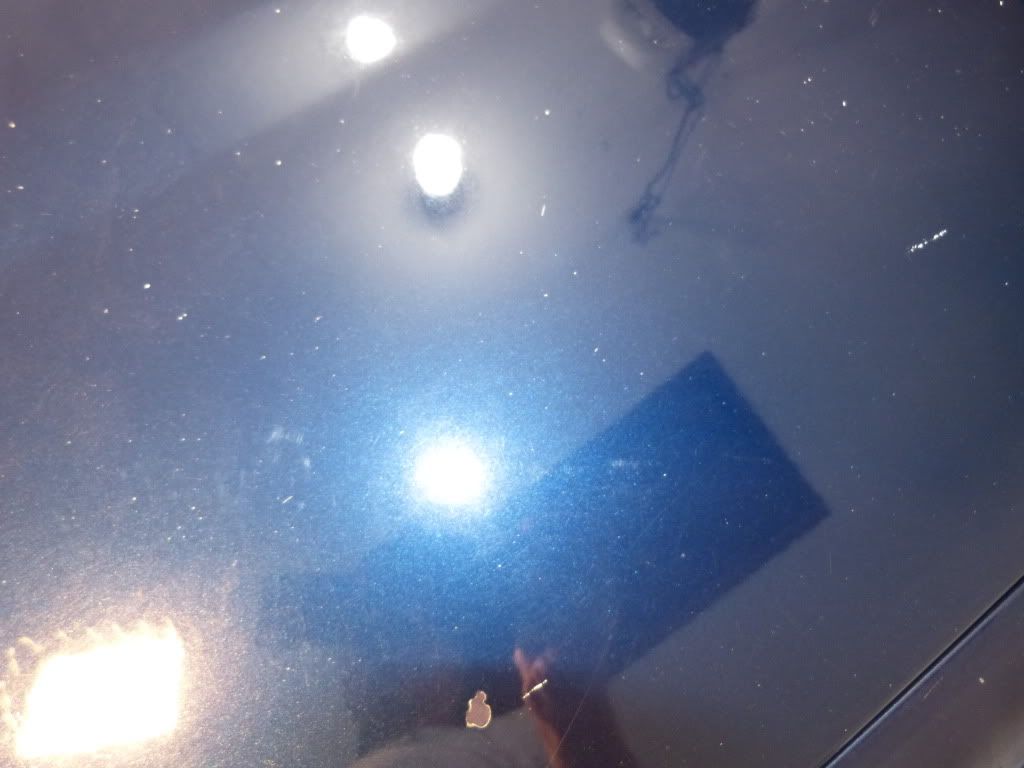
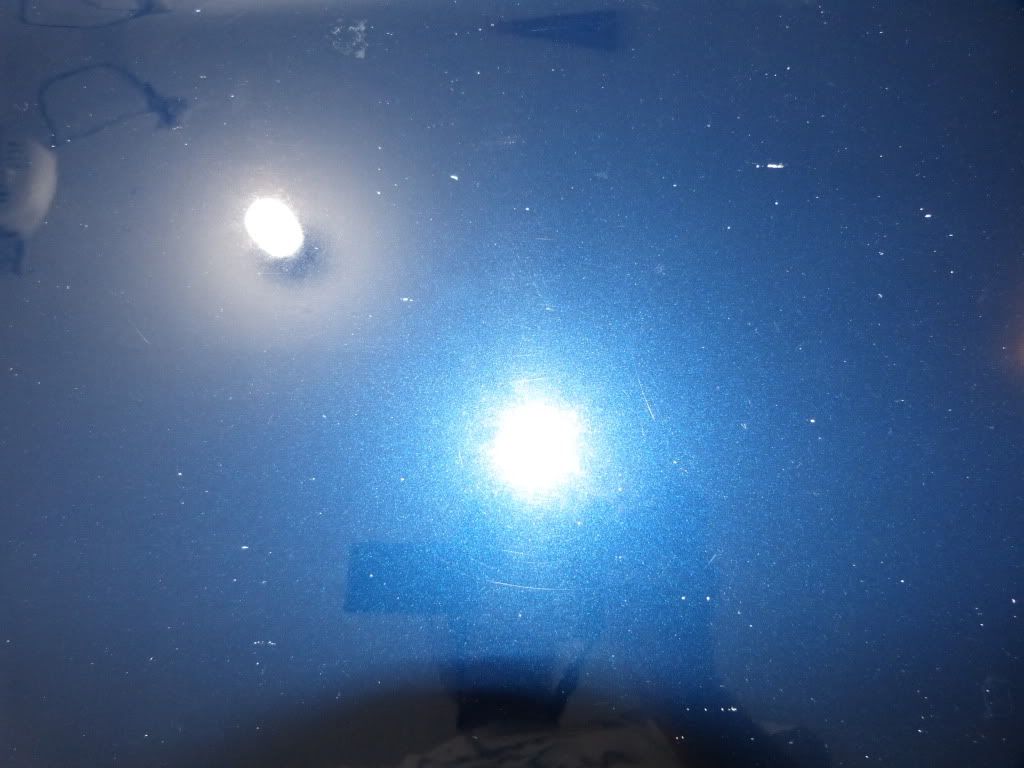
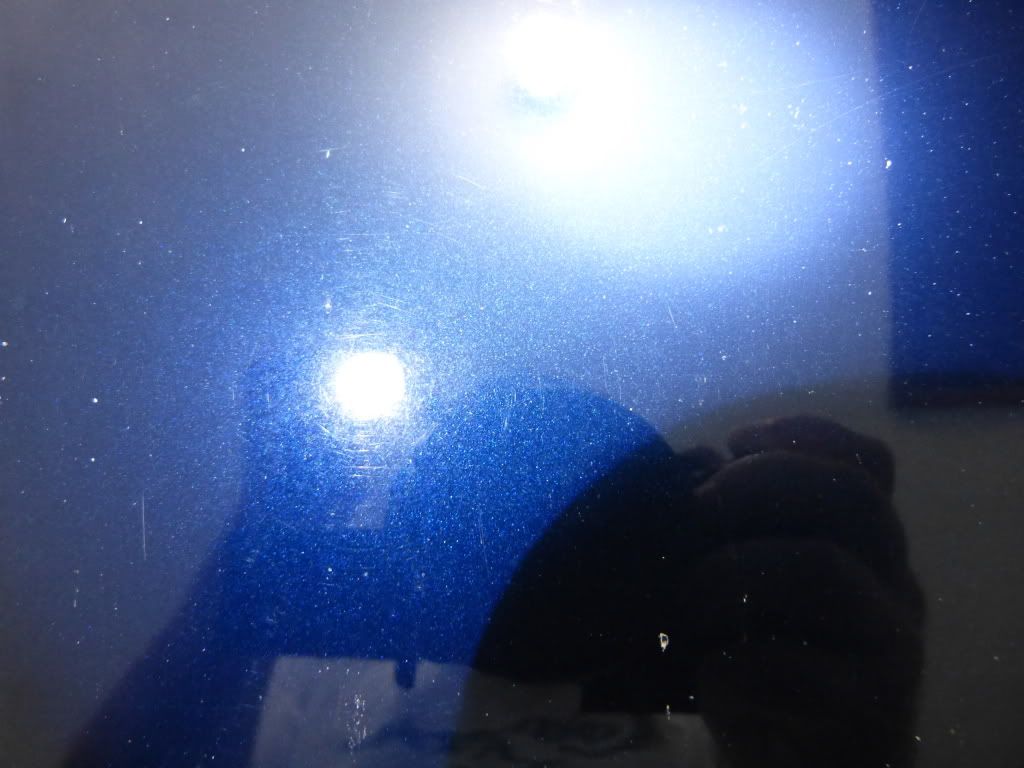
I was of course curious to see if the sun would show the same thing I saw beneath LED, Halogen, and CFL so I pulled it out of the garage to take a look and snap some pictures. This proved to be difficult with the angle of sun and the clouds. Waiting a few minutes allowed enough sun to peak through and I remained satisfied with my results on the polished sections. The angle was still difficult to place the sun on the polished sections but I was able to snap these.

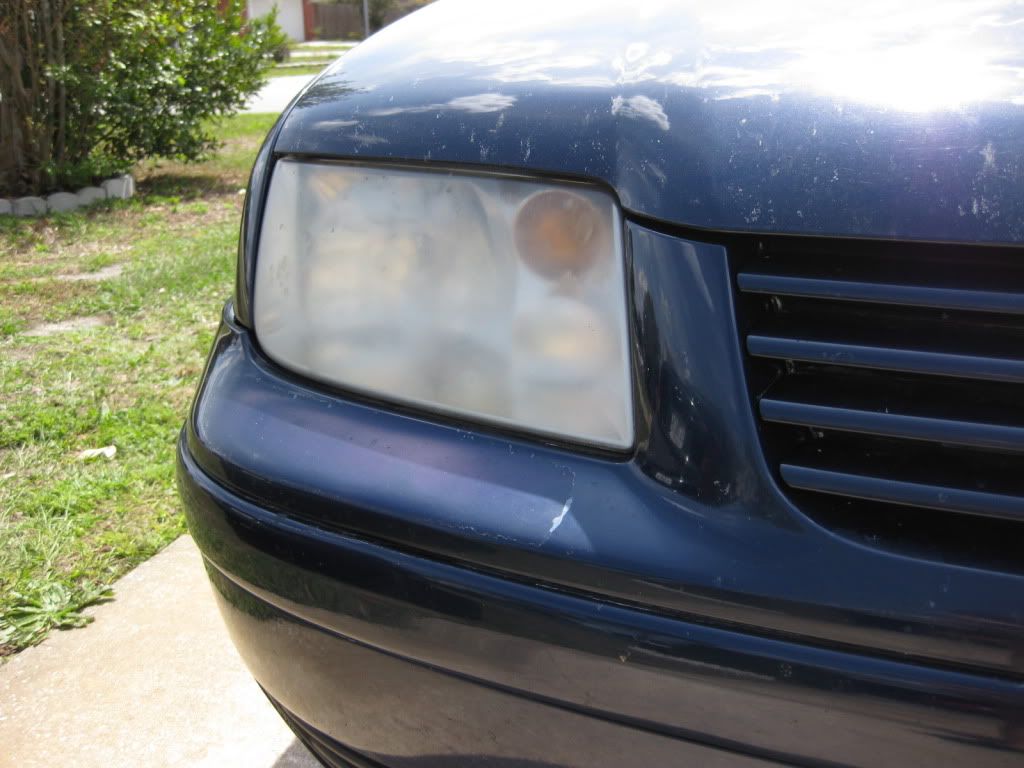
Back in the garage I began to attempt polishing the very front of the hood where those NASTY bug etchings were rampant. Of course it was impossible to make those look any better as they are quite literally holes through the paint. You can't polish what's not there eh? I'll be purchasing some touchup paint for when the vehicle comes back but it's going to be a long process...
Anyway, the B&S pad was now the one giving me trouble and although I had cleaned it between sections it just didn't seem to be providing much cut anymore. It felt like less than 50% of what I had been getting previously! It seemed it was cloggy and time for a new pad but with no other B&S pads I weighed my options on which pad I would go with.
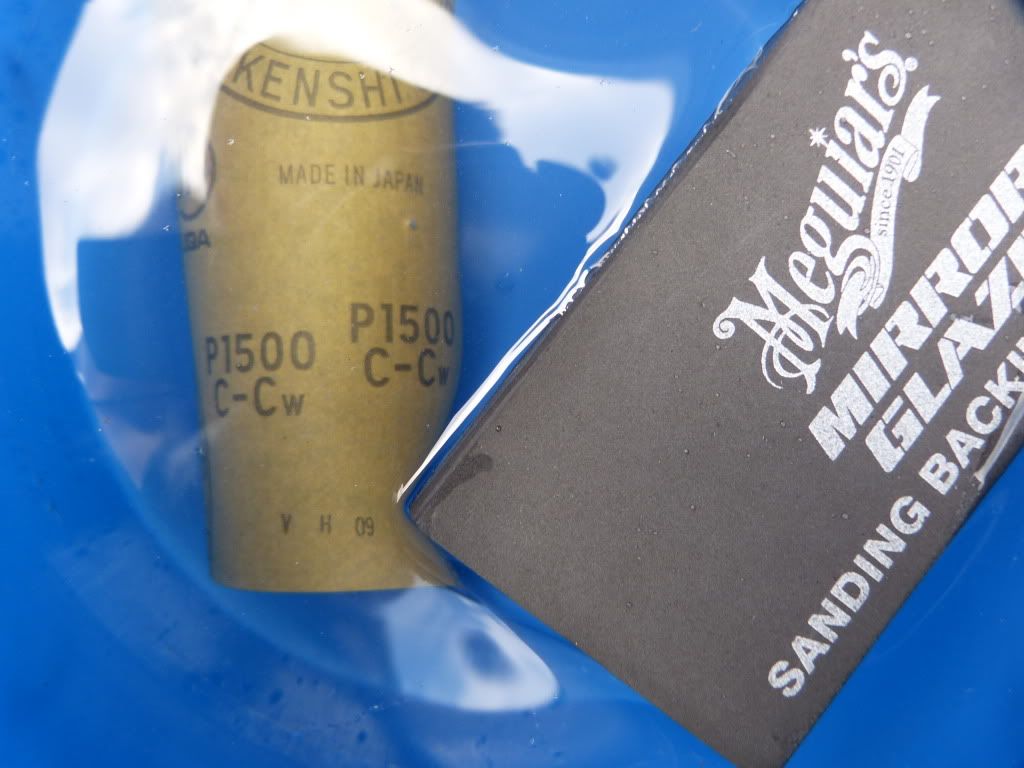
The obvious choice was my HT pads however I've used those plenty and having heard Avi mention that open cell pads work best with Fixer I wanted to have more experiences for this review using something other than my usual suspect.
Little did I know the answer was staring me in the face. I plucked an Optimum mf pad from its restful state and placed it onto my 3401. Then I turned on my air compressor and hooked the trigger to the back of my apron.
With one spray of water and a few drops of fixer placed on the pad I set out to give the mf pads another shot. After spreading the product and basically priming the pad on the paint I cranked the speed up to about 5 and applied pressure. This time I slowed my arm movement down further and after only a couple passes I could see a difference. I needed to mix it up from my previous method so I let off the trigger and quickly hit the mf pad with the air compressor to keep the fibers fluffed and placed it back on the paint. After about 3 more passes a quick finger swipe revealed that the most of the defects were gone. I continued to work the product. Before the section was complete I would hit the pad with my a/c nozzle once more about half way through the polishes change in opacity.
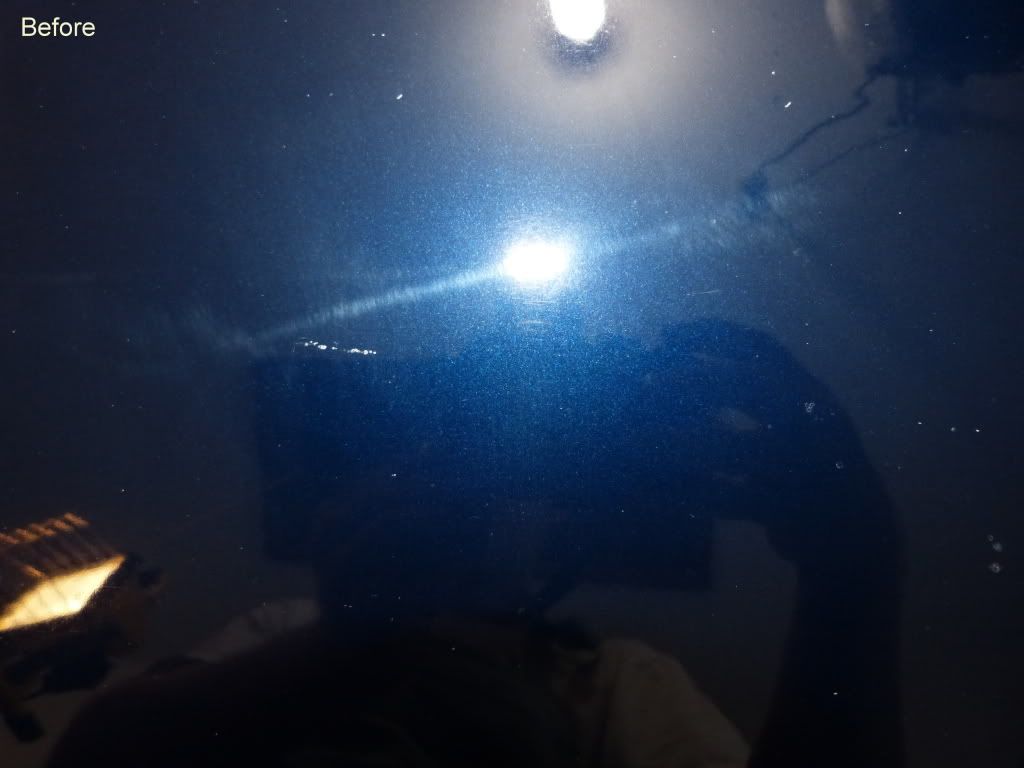
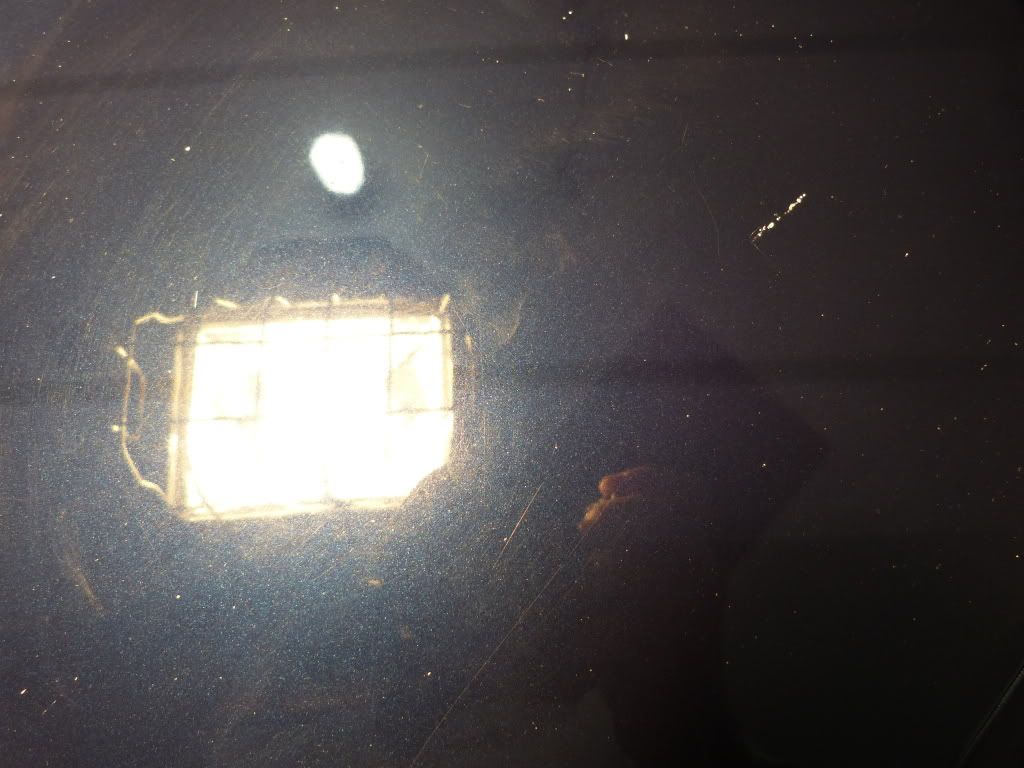
After finishing down I used Eraser via rolled edge mf towel to check my results. What a difference!! The mf pad combined with Fixer was a match made in heaven!
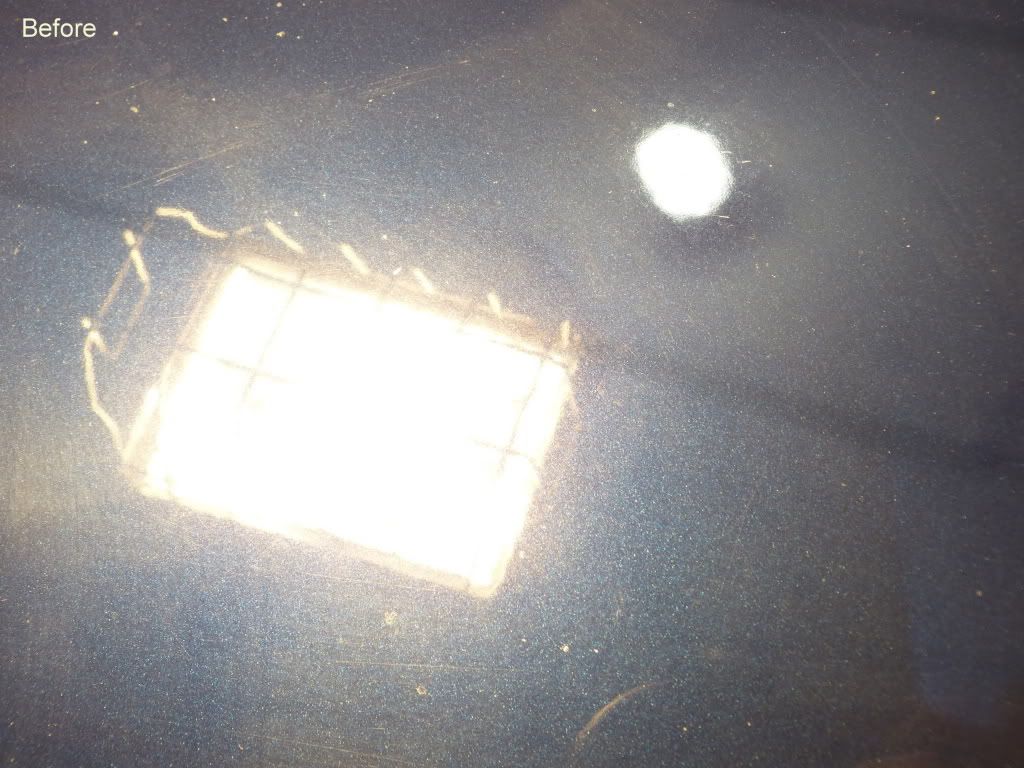
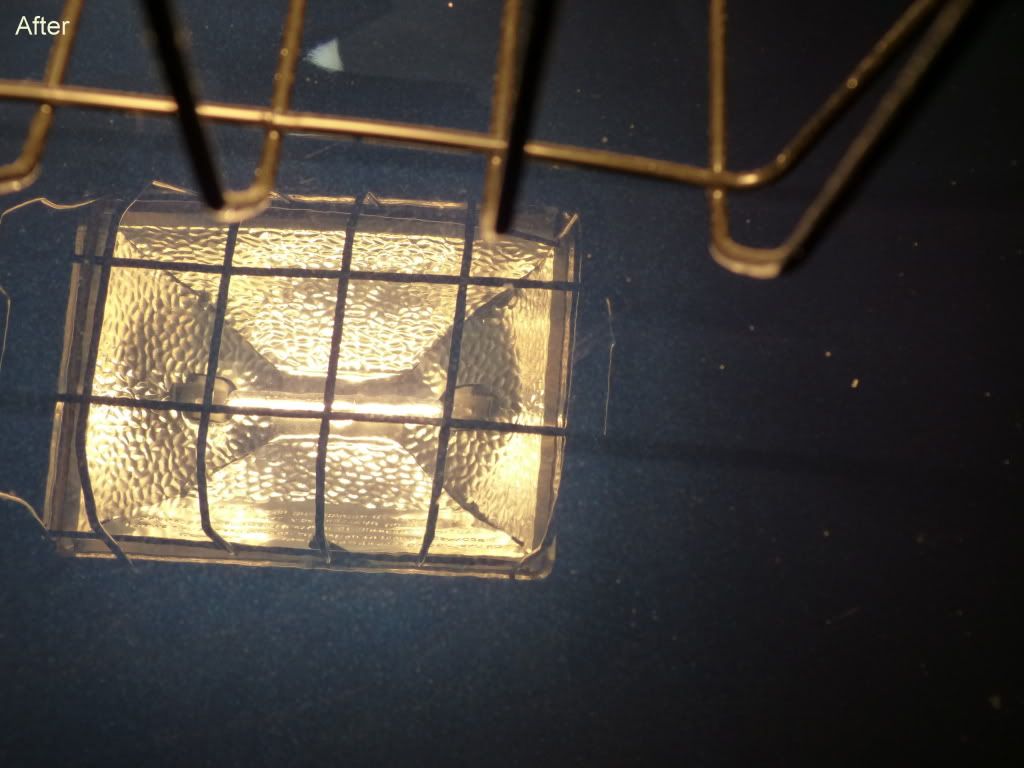

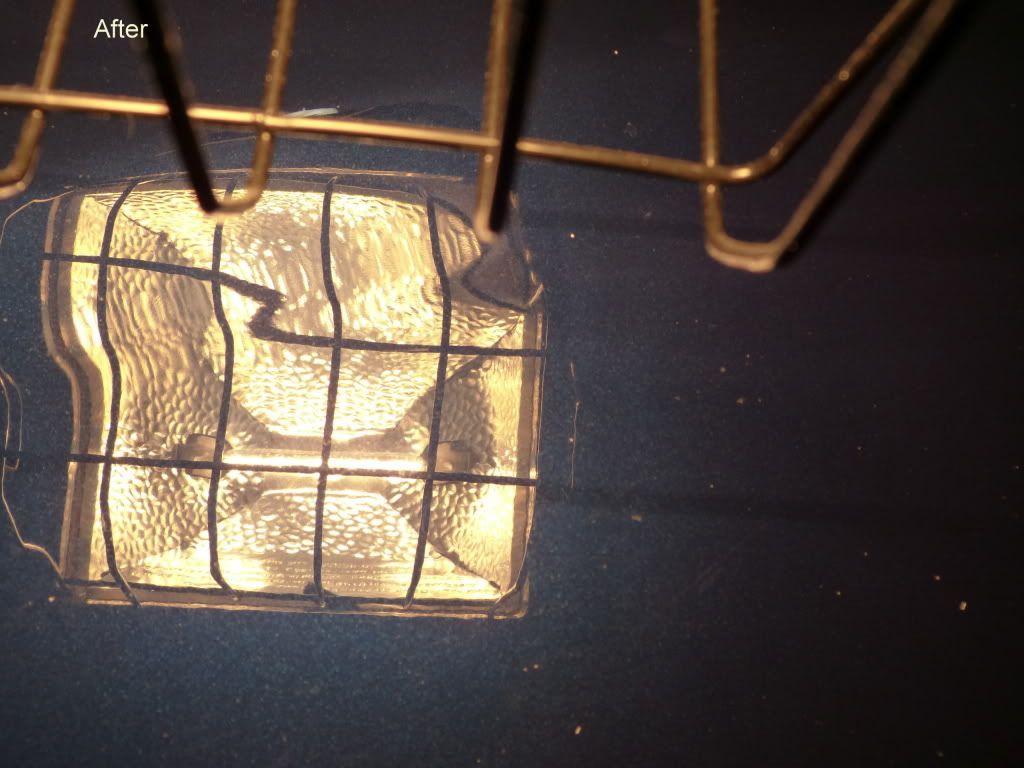
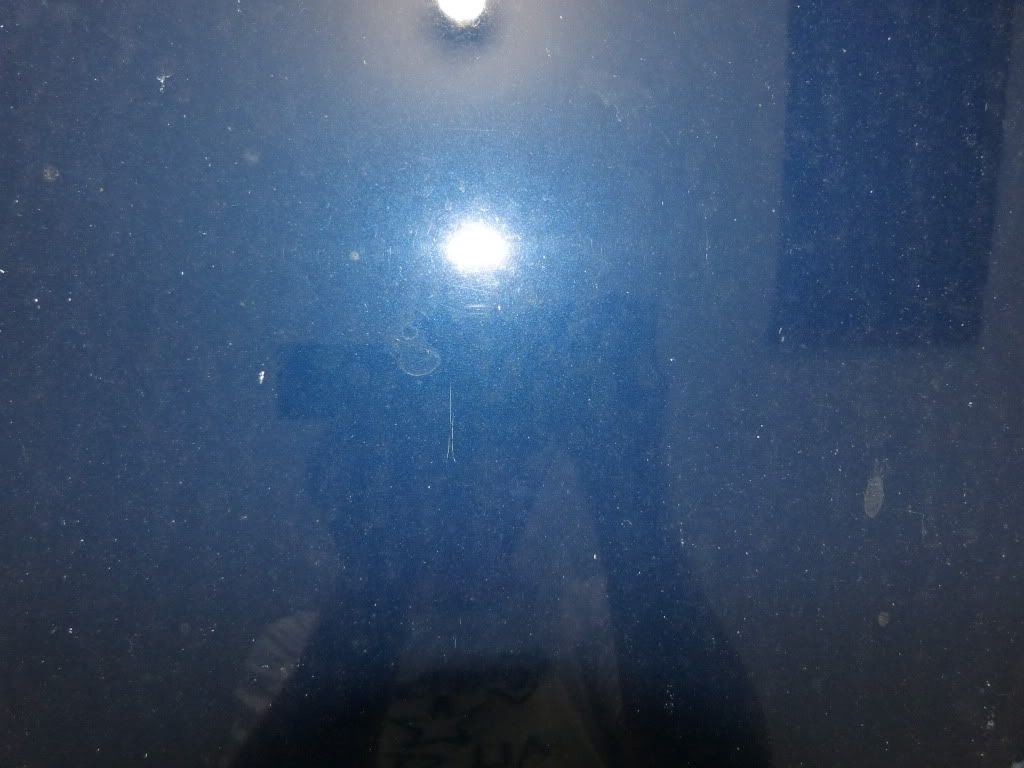
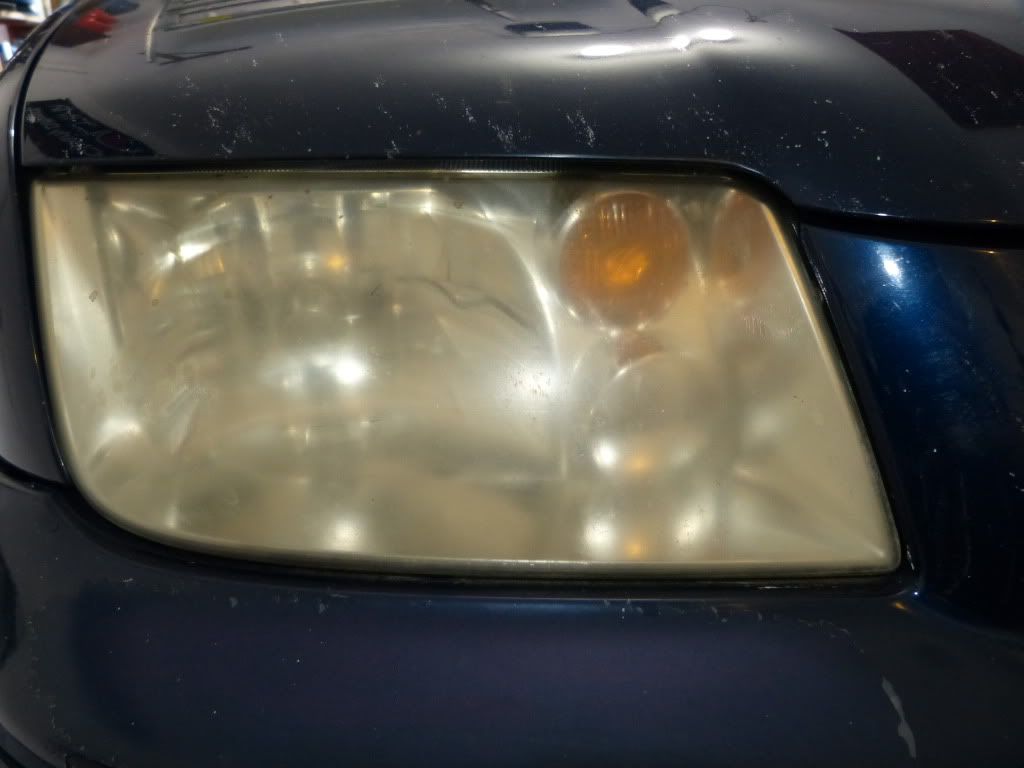
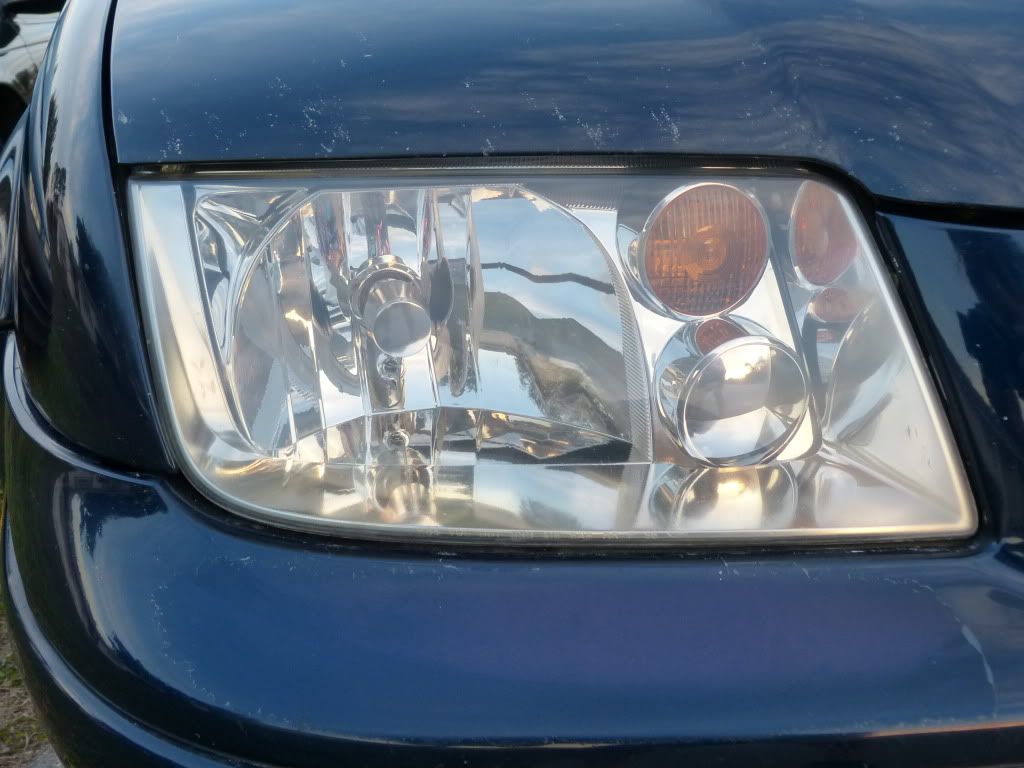
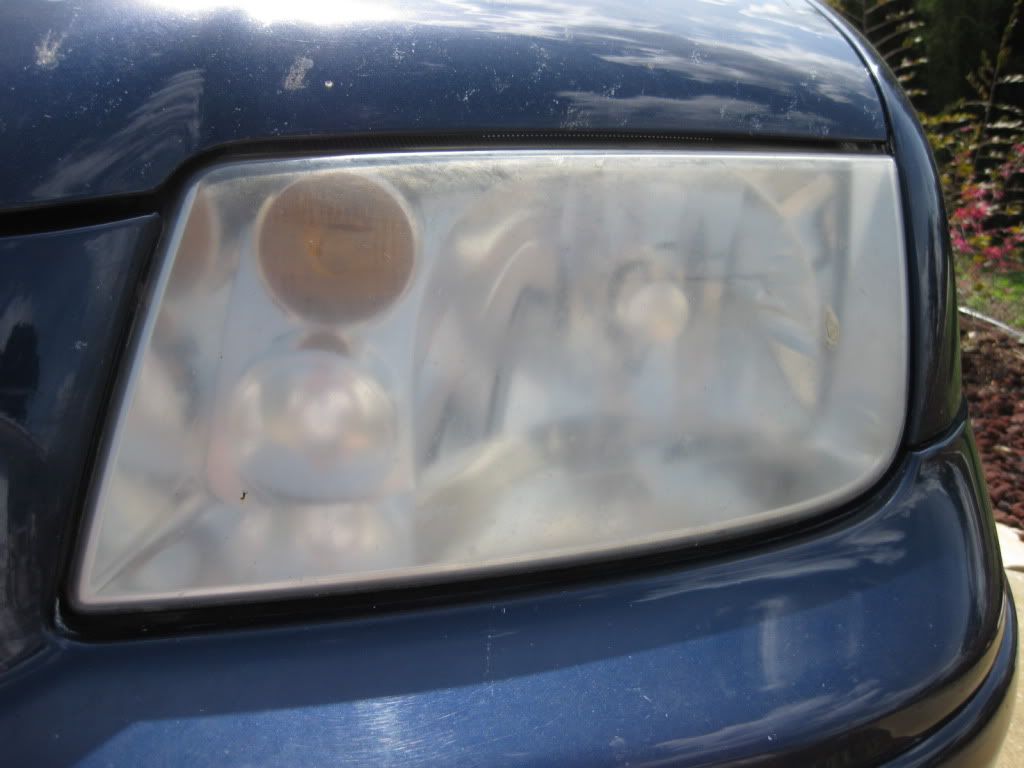
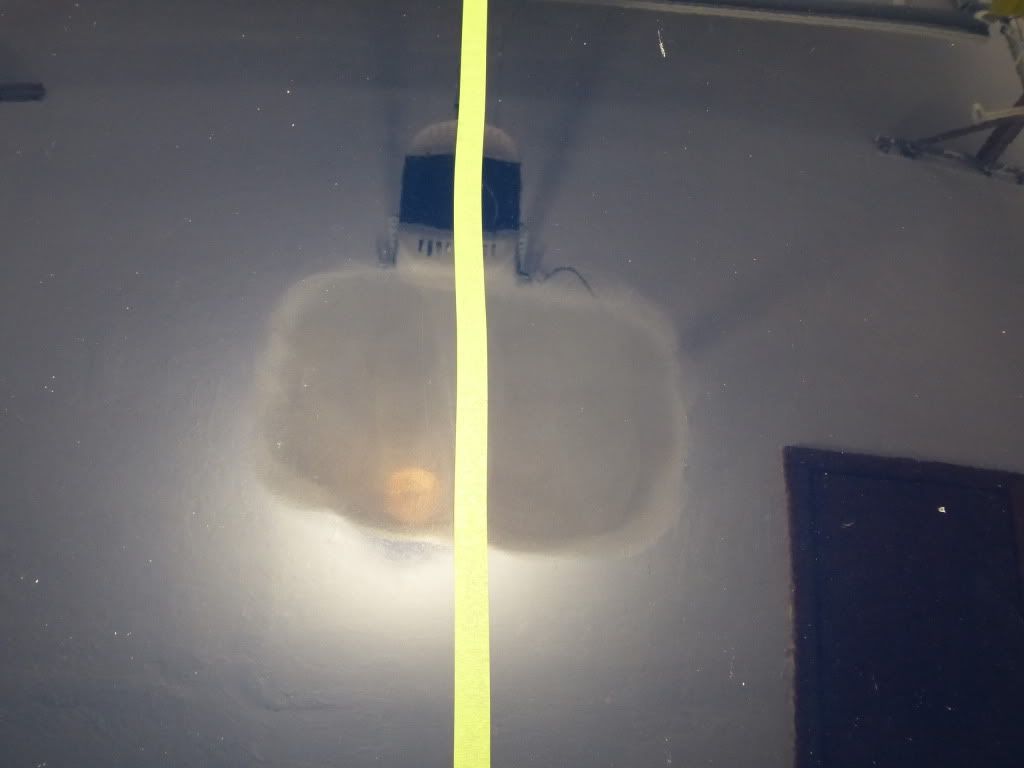
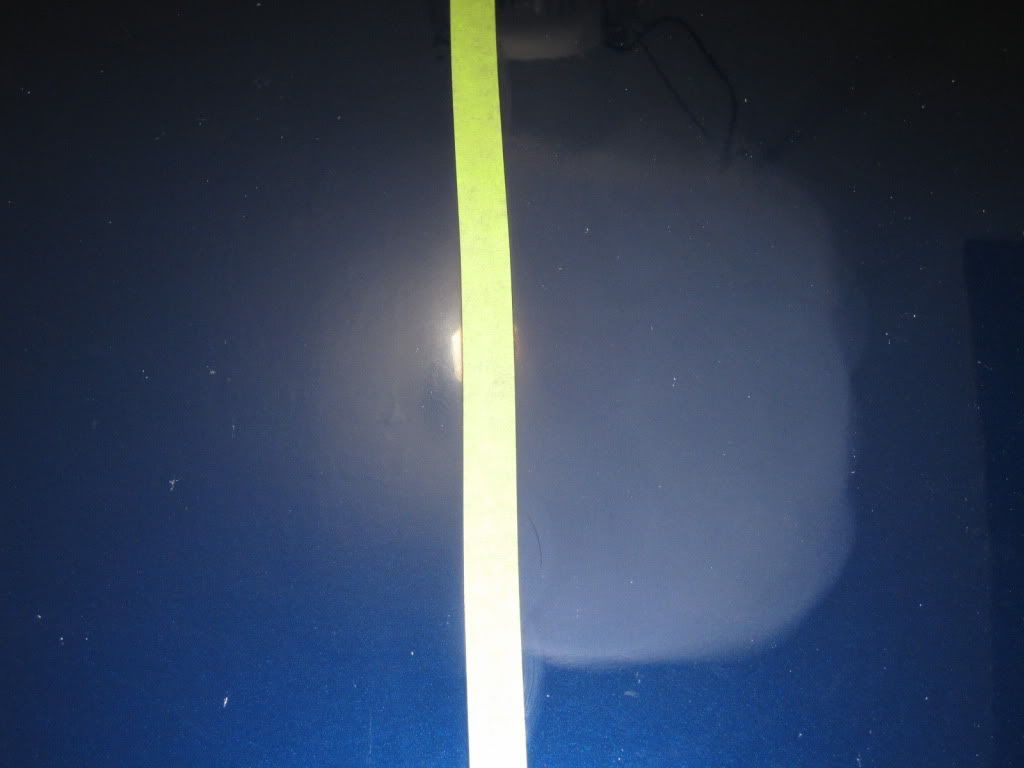
AFTER
BEFORE
AFTER

As I blew the pad out again (takes about 5-10 seconds) and placed a few tiny dots off polish across the pad for my next section I began thinking about why and how they worked so well together and came to the following conclusion.
To start with Fixer just doesn't dust in comparison with anything else I've used that has this kind of cut. Even with the mf pads I received no dust. However it does seem to take a big hit in performance if you dont keep it clean and allow it to clog a foam pad. Therefore it's vitally important that you keep pads clean. So, we know Fixer has plenty of cut and we know the thousands of tiny particles of paint it's shaving don't simply disappear. So they must move into the foam until it is cleaned after each section. This is part of the reason I believe it matched up so well with the mf pad. The fibers on the mf can be completely spread and allow the residue to escape in a matter of seconds with the air compressor.
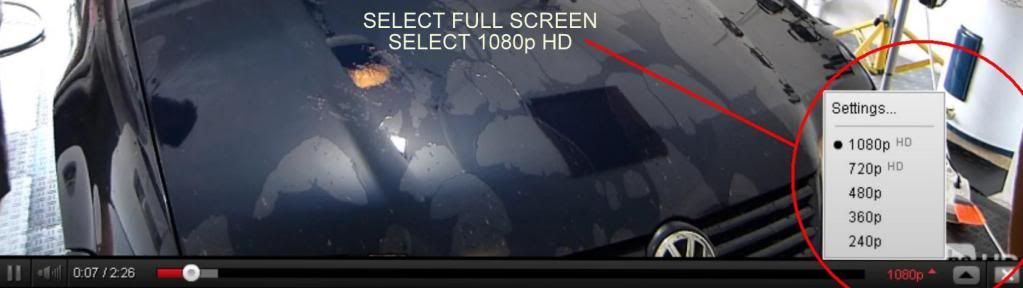
Video: Fixer via MF cutting pad on Flex 3401 D/A
1.-Push Play
2.-Select Full Screen
3.-Select 1080p
4.-When video is finished press escape to return to the review
I completed the hood using Fixer via mf pad and took the following pictures before applying a quick spray wax and handing the keys back to the owner. The direct sun shots were taken the following day.


Pros:
1.- Excellent one-step polish
2.- Removes defects like a compound but finishes much better
3.- Zero to little dusting
4.- Versatility
5.- Applicator Nozzle doesnt allow polish to dry inside it and clog
6.- No Fillers, Silicones, waxes, or polymers
Cons:
1.- Cleaning your pad after each section is more important than ever. I do this with any polish so not an issue for me but I know some people like to stretch it. If thats you it wont be a good look.
Final Observations & Summary:
Carpro Fixer is an excellent product that is indeed capable of removing serious defects and finishing nicely. As a one-step it truly shines. I have never used another polish that removes defects as deep as Fixer and is still capable of finishing this well. Previously I used mostly Menzerna/Wolfgang Total Swirl Remover or Meguiars 205 for one step options. Fixer adds another tool to the arsenal capable of removing defects I couldn't previously get to with my one step products and finishes down nicely as well.
When doing more than a one step Fixer is still a great option and you can use it for a two-step by simply changing the pad. With it's wide range of both cutting and finishing abilities it would be a rare case where you would need it for more than 2 steps. For a multiple step best of the best type finish I think I can get more gloss finishing with PO 85RD. Even then Fixer sets me up well with the first step for that scenario with a great cut and finish allowing me to do in two steps what I would have done in three.
Its lack of dusting is truly remarkable in my experience and makes it easy to clean up after. Personally I prefer not to wash a car after polishing and usually I simply wipe-down with Eraser during the polishing process or occasionally use a paint cleaner depending on what my lsp will be. The fact I don't have to tape as many areas, or blow polish dust out of any seams is another time saver.
I suppose if I tried to sum it up I would say Fixer is an excellent time saver and anything that saves me time and/or enriches my experience is a winner in my book.
In my Q&A with Avi he tells me the size of the finishing powders are 100 nanometer. To put that in context this is about the size of a particle that can fit through a surgical mask! I just thought that was pretty neat so I wanted to put the size in context for you guys.
Thanks for your time! Please share any questions, thoughts, and/or experiences you may have.
Q&A with Avi of CarPro:
1Q.-The description of Fixer states Nano-fine finishing powders. What exactly is the size of these abrasives if I may ask?
1A.-Yes its ok not big secret, we use 100nm size particles among other abrasive powders
2Q.-Is Fixer a completely water based polish?
2A.- No, Fixer is not only water base, It has solvents as well to prevent the polish from drying so quickly and not break down completely.
3Q.-Hypothetically speaking, if I was to wipe Fixer off with a mf towel and move straight to Cquartz would the CQ bond as well as if I used Eraser between? I know CQ needs a completely clean surface and Eraser is what I use first but I'm curious because both products dome from CarPro if the Fixer and CQuartz are synergistic and compatible with no intermediary cleaner.
3A.-No! You must clean the surface after polishing. As stated before we use solvents inside as well.
4Q.-Does Carpro recommend either open or closed cell foam more one than the other with Fixer?
4A.-Open cell foam works better than closed with Fixer.
5.-Btw, if you guys haven't already tested it with the Optimum mf pads Fixer works incredibly with them!
OK, good to know! We are soon showing our pads as well, which we tested and also work the best with Fixer.
Avi, as always thanks for your time in answering my questions and for the opportunity to test and review another useful product.
Thank you, Im very glad you like our products. If theres anything else you need let me know.
:dancebanana:
Sky's the Limit Car Care
-
Re: Review: CarPro Fixer
incredibly well done review ! wow. The format and extensive testing with each application is awesome. I like the fact that its split up so you can just go to the section of which tool you normally use and read from there, not having to go through the rotary stuff or vice versa (reading the DA tests).
nice job !
-
Super Member

Re: Review: CarPro Fixer
Very well done as always Cory, I tried Fixer last month on my DD truck. I liked it very much, I used more than you did and on a white pad, was very pleased with the outcome. Topped it with a double dip of Fuzion. 
'Cause there's just something women like about a pickup man.
Rich
-
Super Member

-
Super Member

Re: Review: CarPro Fixer
Corey, do you ever take a break from being awesome?! I love Fixer and use it pretty often. It's pretty versatile, especially with it's cutting ability varying with the pad choice. Did you do multiple passes with the MF pad after that one pass over the sanding marks? And did you, by chance, use Meguiar's MF cutting pad or Finishing pad at any point for jeweling?
Can't ever say it enough, but fantastic, fantastic job. I know the amount of effort you put into these, and it certainly shows. Thank you Corey!
Thank you CarPro for making another great product! I will certainly be buying more when mine runs out
-
Super Member
Re: Review: CarPro Fixer
 Originally Posted by mg6045

incredibly well done review ! wow. The format and extensive testing with each application is awesome. I like the fact that its split up so you can just go to the section of which tool you normally use and read from there, not having to go through the rotary stuff or vice versa (reading the DA tests).
nice job !
Thank you Mike! I appreciate the feedback on sectioning it up also!  That helps me know what people do and don't like. That helps me know what people do and don't like.
Originally Posted by Finemess
Very well done as always Cory, I tried Fixer last month on my DD truck. I liked it very much, I used more than you did and on a white pad, was very pleased with the outcome. Topped it with a double dip of Fuzion.
Excellent! Thank you my friend and I appreciate your experiences with the product also! It's great to get multiple points of feedback of products.
Originally Posted by mbkite
Wow 5 stars.....
Thank you!
Originally Posted by TS656577
Corey, do you ever take a break from being awesome?! I love Fixer and use it pretty often. It's pretty versatile, especially with it's cutting ability varying with the pad choice. Did you do multiple passes with the MF pad after that one pass over the sanding marks? And did you, by chance, use Meguiar's MF cutting pad or Finishing pad at any point for jeweling?
Can't ever say it enough, but fantastic, fantastic job. I know the amount of effort you put into these, and it certainly shows. Thank you Corey!
Thank you CarPro for making another great product! I will certainly be buying more when mine runs out
You are too kind Trent! 
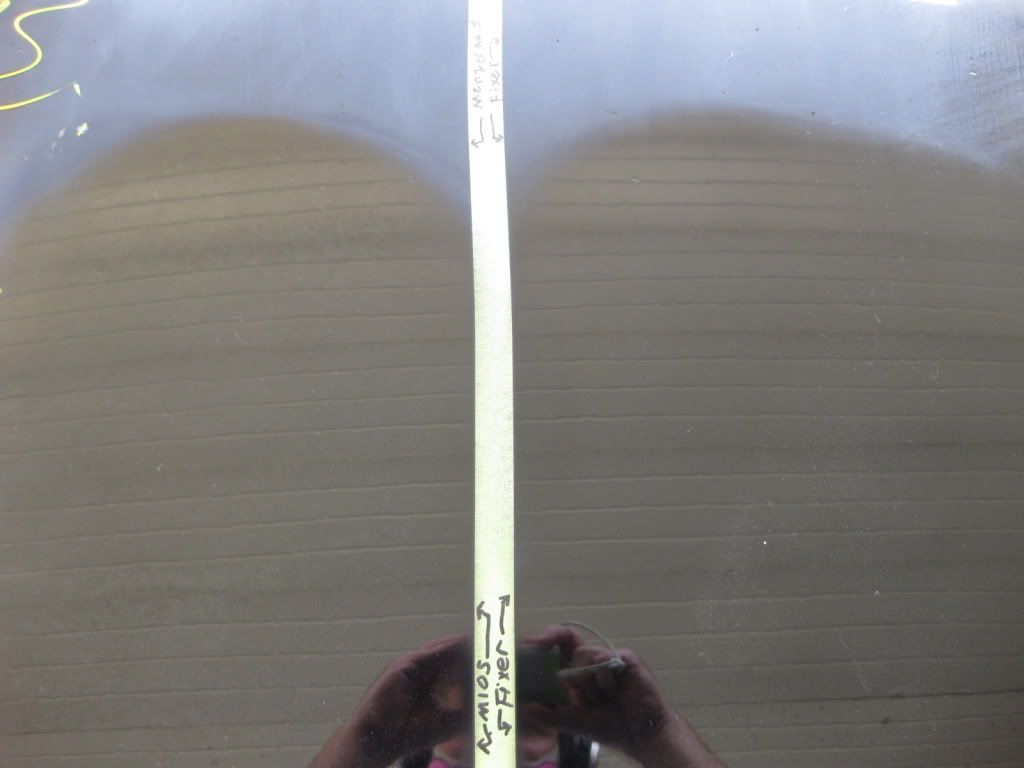
Yes the sanding mark area received more than just the mf cutting disc. As shown in that pic I didn't know how to use the mf cutting disc right the first time and was not able to remove those scratches. After I removed the other half with wool I switched to the B&S yellow to remove what was left on the mf side.
In my mf video when you see the video switch to a different section half way through its showing a section I did later after I gave the mf pads another shot.
Beyond that sanded area the entire rest of the panel only received 1 step.
Fixer via MF cutting pad on one half and Fixer via yellow B&S on the other half.
Megs pads were not tried. I do have 1 of each megs pad Jmes sent me a year ago but I have not tried them to this date. I would have on this one if I'd had any more time.
No finishing pad was used at any point on the VW.
:dancebanana:
Sky's the Limit Car Care
Similar Threads
-
By Elwood Blues in forum Auto Detailing 101
Replies: 7
Last Post: 12-14-2015, 03:35 PM
-
By bigmitch in forum Auto Detailing 101
Replies: 3
Last Post: 03-17-2015, 02:27 PM
-
By Success in forum Auto Detailing 101
Replies: 7
Last Post: 04-05-2014, 05:36 PM
-
By andrew b in forum Product Reviews
Replies: 4
Last Post: 01-07-2012, 08:19 PM
-
By shoeless89 in forum Auto Detailing 101
Replies: 6
Last Post: 12-19-2011, 06:36 AM
 Members who have read this thread: 0
There are no members to list at the moment.
Posting Permissions
- You may not post new threads
- You may not post replies
- You may not post attachments
- You may not edit your posts
-
Forum Rules
|
| S |
M |
T |
W |
T |
F |
S |
| 31 |
1
|
2
|
3
|
4
|
5
|
6
|
|
7
|
8
|
9
|
10
|
11
|
12
|
13
|
|
14
|
15
|
16
|
17
|
18
|
19
|
20
|
|
21
|
22
|
23
|
24
|
25
|
26
|
27
|
|
28
|
29
|
30
| 1 | 2 | 3 | 4 |
|


 Reply With Quote
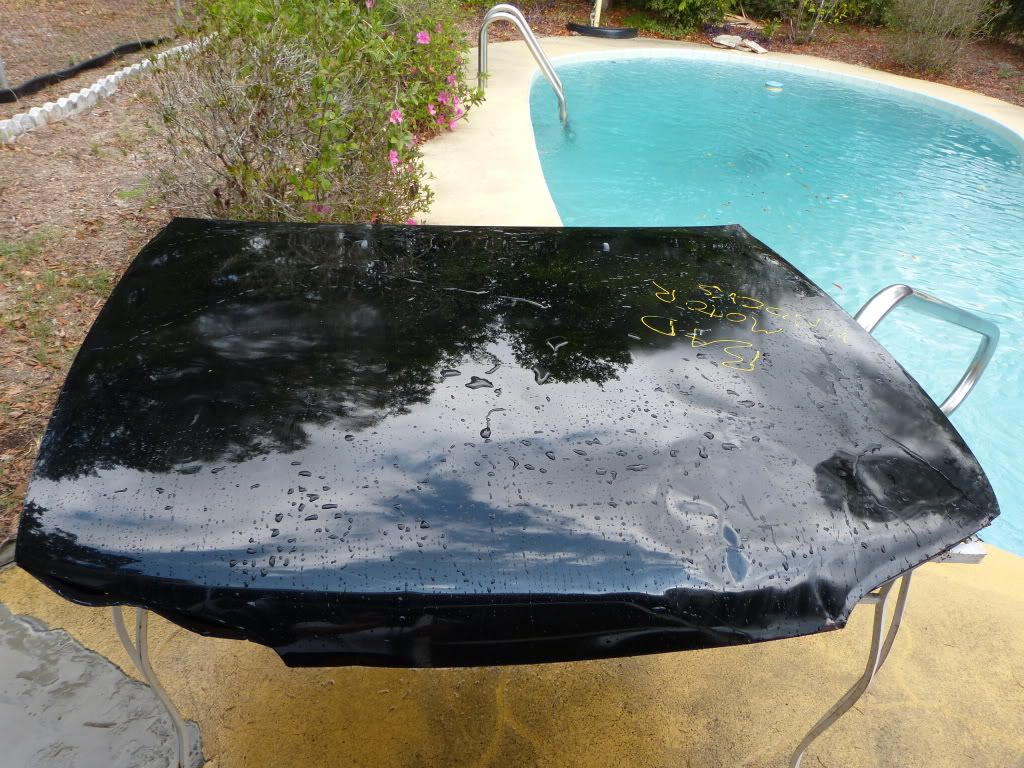


Bookmarks