Re: getting Griots today and need direction
Continued...
How to use a DA Polisher to remove swirls and scratches and create a show car finish!
Note; these techniques apply to your doing your Test Spot as well as all the sections you're going to break the panels of your car up into as you work around it.
Correction work – Using the PC7424XP to remove below surface defects
- Work small sections at a time
- Make overlapping passes as you work the panel
- Use a slow arm speed
- Use the 5.0 to 6.0 Speed setting when removing below surface defects
- Apply firm downward pressure
- Don't over use or under use your choice of compound or polish
- Hold the pad flat to the surface
- Clean your pad often
- Remove spent residue before adding fresh product
Work small sections at a time
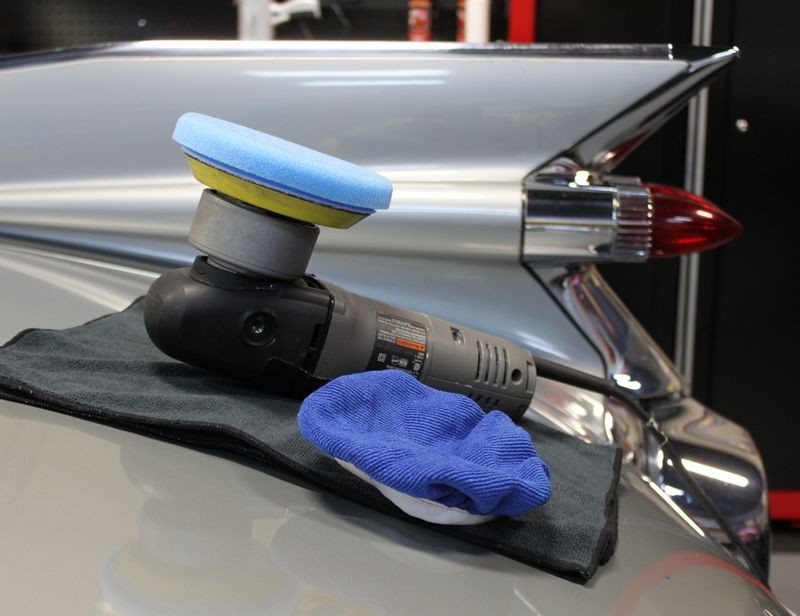
Dual action polishers that use a free floating spindle assembly, like this
PC 7424XP are popular because they're safe. The reason they’re safe is because if you push down too hard on the head of the polisher the buffing pad will
stop rotating. This will prevent you from burning through the paint and/or instilling swirls into the paint. Compared to a
direct drive tool like a
Rotary Buffer, this tool is dramatically safer in its manner of operation.
For this same reason that people love this style of polisher, (It’s safe and easy to use), you'll find out right away that it also limits you to only working small sections at a time in order to remove enough paint to level out the surface and remove the defects. In most cases you're only going to tackle a section about 16" to 18" inches square or so; usually a 2' section is too large and a 1' foot section is too small, so you'll want to find a balance between working too small an area and working too large of an area at one time.
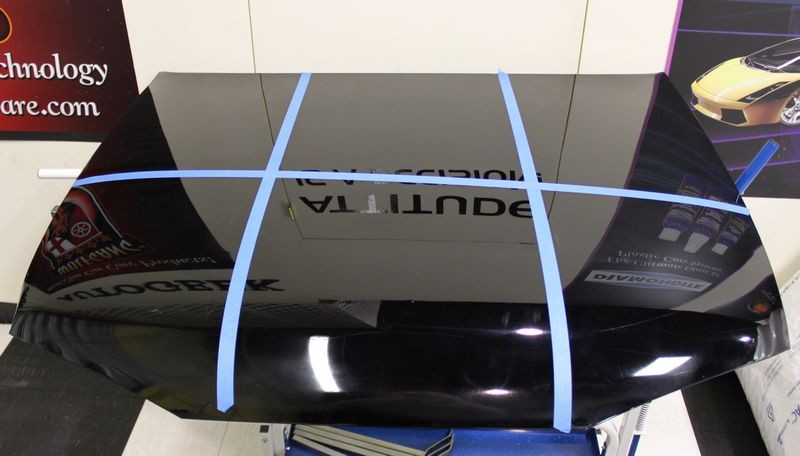
Since you can only work small sections at a time, this means you’ll need to break each panel up into small sections kind of like Checkerboard or Patchwork Quilt.
That is you’ll take each panel of the car, (a panel would be a door or fender or the hood), and in your mind’s eye slice it up into dedicated sections approximately 16" to 18” squarish or so. Because not all panels are perfect squares you’ll need to let the panel be your guide and break-up each panel into these smaller sections no matter what the shape may be. What’s important is to only work a small section at a time while using overlapping passes to work your product.
The average size hood will be broken up into either 4 sections for a small hood, (Mini Cooper), or 6 sections, (Honda Pilot), or 9 sections, (Ford F150).
This isn't a hard and fast rule as softer or more workable a paint means you can tackle a larger section at a time and conversely, with harder paints, or less workable paints you'll want to
shrink the size of your work area down.
The idea being to match the size of the section you're working to the workability of the paint, which you should discover when you do your
Test Spot, which is addressed in this article. Experience helps a lot with judging work size area but the only way to get experience is to put some hours behind the polisher on multiple cars.
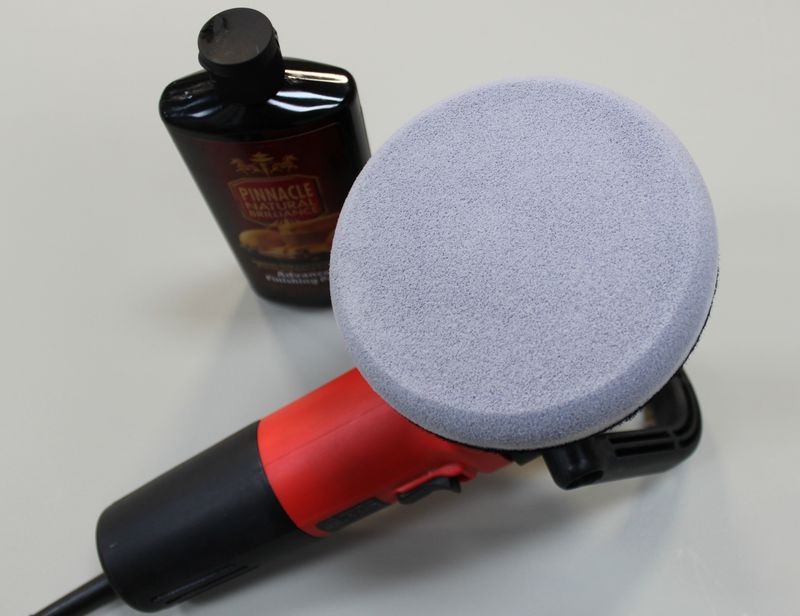
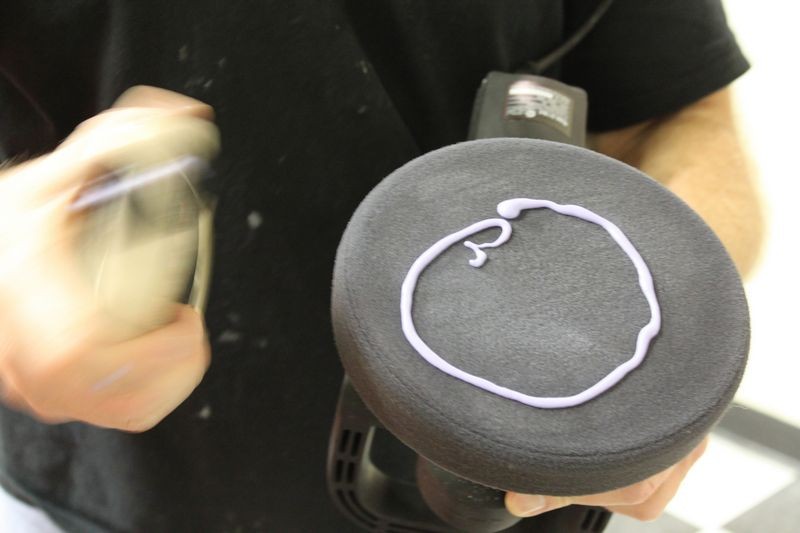
Spread your product out first
To start, place the face of the buffing pad with the product on it, flat against the paint. Then turn the polisher on and quickly spread the product out over the entire section you're going to work. You can do this rather quickly because at this point you're not trying to remove defects; you’re just trying to spread the product out over the paint so that you have a uniform film of product spread out over the section.
Overlap your passes by 50%
After you spread the product out, now it's time to slow your
Arm Speed down and begin making overlapping passes usually in a crosshatch or back and forth, side-to-side pattern.
The goal is
UMR, that is
Uniform Material Removal.
The reason for this is so that you remove an equal amount of paint over each section and in turn over the entire car. In order to do this you need a method that you can control and duplicate and for most people following a back and forth, side-to-side pattern works because it’s easy to remember, easy to do and easy to duplicate.
The definition of a pass
There are two definitions of the word pass as it relates to machine polishing with any type of machine.
Single Pass
A single pass is just that. It's when you move the polisher from one side of the section you're buffing to the other side of the section you're buffing. That's a single pass.
Section Pass
A section pass is when you move the polisher back and forth, or front to back with enough single overlapping passes to cover the entire section
one time. That's a section pass.
In most cases if you're removing any substantial below surface defects you're going to make 6-8 section passes to the section you’re working before you either feel comfortable you've removed the defects or you're at the end of the
buffing cycle for the product you're using.
Buffing Cycle
The buffing cycle is the amount of time you are able to work the product before the abrasives have broken down, (if you’re using a product that uses diminishing abrasives), and/or the product begins to dry and you lose the lubricating features of the product. Different products have different buffing cycles depending upon the type of abrasives used in the formula and the different ingredients used to suspend the abrasives and provide lubrication.
Factors that affect the buffing cycle include,
- Ambient temperature
- Surface temperature
- Size of work area
- Type of machine
- Type of pad material
- Humidity
- Wind or air flow surrounding the car
- Amount of product used
- Technique
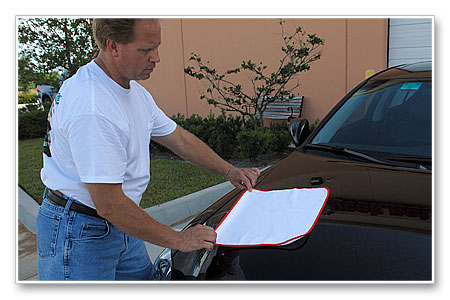
Wet buffing technique
Most compounds and polishes should be used so that there is enough product on the surface to maintain a wet film while the product is being worked. The wetness of the product is lubricating the paint as the abrasives abrade the paint and cushion or buffer the abrading action so the abrasives don’t simply scour the finish leaving behind swirls and scratches.
Dry Buffing Technique - Buffing to a dry buff
There are some products on the market where the manufacture recommends buffing the product until it dries. As the product dries you’ll tend to see some dusting as the product residue becomes a powder and the paint will have a hard, dry shine to it.
Although some manufactures recommend this, it’s important to understand what’s taking place at the surface level as you buff to a dry buff. As the product dries, in essence you are losing the lubricating features of the product and as this happens friction and heat will increase. As friction and heat increases, so does the risk of micro-marring the paint or instilling swirls either by the product residue or the pad material and/or a combination of both.
While we trust that the manufacture knows their products best, when we take a close look at what it means to buff on a delicate surface like an automotive clear coat, it doesn’t make sense to run a buffing pad on top of the paint
without some kind of wet film to lubricate the paint at the same time. We always recommend that you follow the manufacturer's recommendations and use your own judgment.
Everyone new to buffing wants to be told some easily identifiable sign that they can use to tell when it's time to stop buffing and it's not that simple, so here's an indicator I've always used and taught to others,
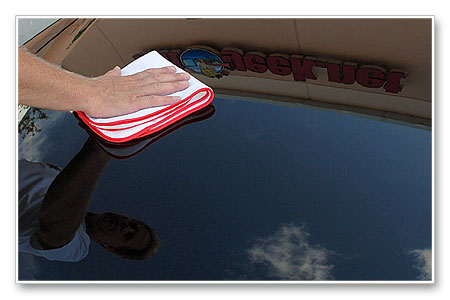
Wet film behind your path-of-travel
As you're making a single pass with the polisher, the paint behind the path of travel of the buffer should have a visible wet film on it. If the paint behind the pad is dry and shiny, you've run out of lubrication and you're dry buffing. Turn the polisher off. Wipe the residue off and inspect using a Swirl Finder Light to make sure you didn't dull or mar the paint, you usually won't cause any harm, but pay attention when your running the polisher and don't buff to a dry buff. If you do, you can quickly re-polish that section by cleaning your pad and adding a little fresh product and making a few new section passes.
Use a slow arm speed
The speed at which you move the polisher over the paint is called your
arm speed, that is how fast or slow you move your arm which is controlling the polisher. When removing below surface defects like swirls and scratches you need to move the polisher slowly over the surface, not quickly. This has to do with the hardness or workability of the paint and when it comes to modern clear coats, generally speaking,
Modern clear coats will tend to be harder than traditional single stage paints.
This isn’t 100% true all the time as I’ve worked on some very soft clear coat paints, but more often than not this is the norm. Another way of saying this would be,
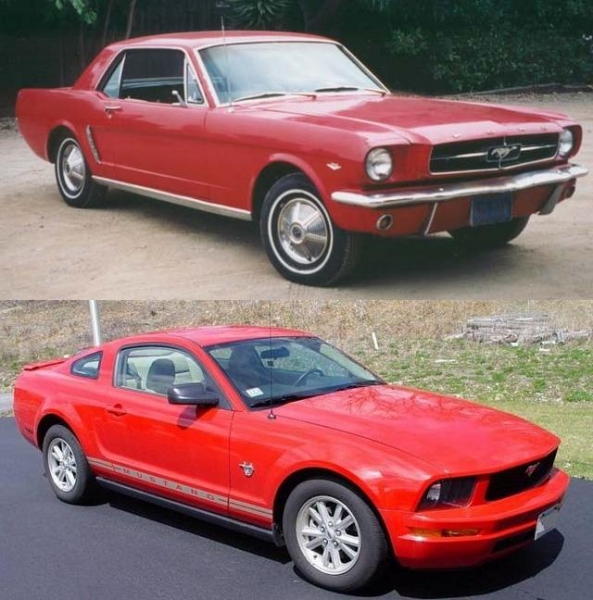
The paint on a brand new Mustang will be harder than the original paint that came on a 1965 Mustang.
This has to do with how modern paints are chemically made, sprayed, baked, and cured onto the car’s panels. Modern paints tend to last a long time as compared to paints from the 1950’s, 1960’s and 1970's and part of the reason they are more durable is because they are physically harder than old style solvent-evaporation paints, thus they resist deterioration better than old style paints. And while everyone wants a paint job that will last a long time, it is this hardness factor that makes it more difficult for you and me to remove defects like swirls and scratches out of the paint because it’s physically harder to remove small particles of paint off the surface both by hand or machine. This is one of the main reasons so many people get so frustrated trying to remove swirls out of the clearcoat paint on their new cars, trucks and s.u.v.s.
It’s for this reason you need to move the polisher slowly over the surface, you need to give the buffing pad, the oscillating/rotating action of the polisher and the abrasives in the product under downward pressure
time to affect the paint in one area before moving it forward to new territory. If you move the buffer too quickly over the paint you won’t remove any defects because you won’t remove any paint.
A personal note, maybe you can relate...
Even though I've been machine buffing cars since the early 1980's, and teaching people how to use machines since 1988, and a part of this is teaching people to move the polisher slowly when removing defects, each time I start a new project I'll find myself instinctively starting out by moving the polisher too fast.
My theory on why I do this and why so many other people do this is for two reasons.
1. When you turn the polisher on at the 5.0 and 6.0 speed setting, it sounds like the motor is spinning really fast, (it is), and this sound has a psychological effect that makes us want to move the polisher fast. I find I have to purposefully slow down how fast I'm moving the polisher over the surface.
2. Buffing out a car from start to finish takes a long time and the biggest chunk of time is the cleaning and polishing step where the defects are being removed. It's easy to think that if you move the polisher faster then you can do the job faster, but this just isn't true. Fact is if you move the polisher fast over the surface you're really not doing anything but wasting time. It's another case of
moving slower in order to go faster. (That's what you want to do)
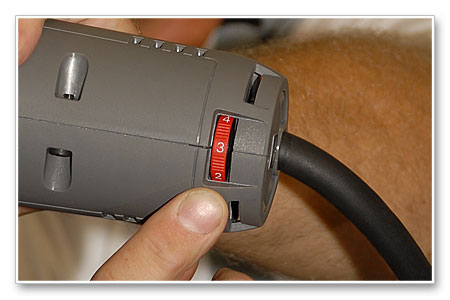
Speed settings for removing below surface defects
The variable speed dial on the PC 7424XP offers 6 speed settings from 1 to 6. For most car detailing projects you’ll use these speeds.
- 5.0 to 6.0 to remove defects
- 3.0 to 4.0 to apply and spread a layer of wax or a paint sealant
- 5.0 to 6.0 to remove dried wax or paint sealant using a microfiber bonnet
5.0 to 6.0 to remove defects
Removing below surface defects means removing a little paint. In order to remove a little paint you need the pad
rotating against the paint under pressure with an abrasive product. In order to do this you need to use the 5.0 to 6.0 speed setting. This applies to any steps where you’re removing paint. This would include a heavy compounding step, a final polishing step, or working a cleaner/wax over a neglected finish.
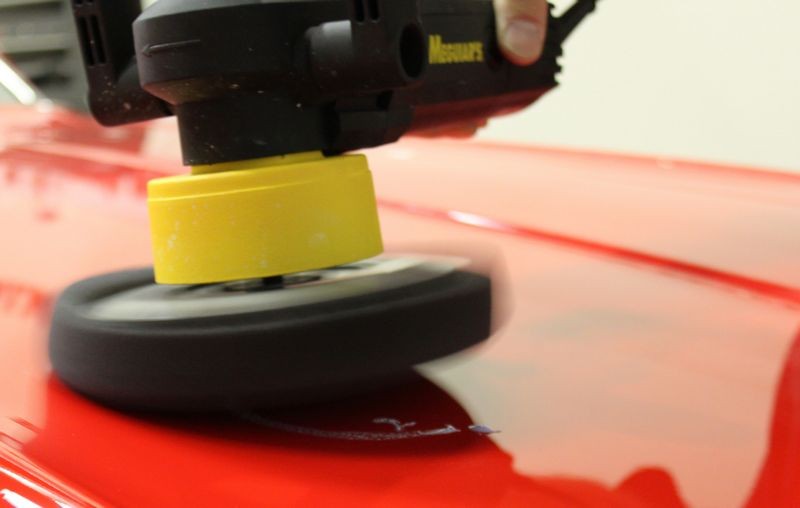
Apply firm downward pressure
For removing below surface defects you need to apply firm downward pressure to the head of the polisher. As we discussed earlier, removing below surface defects means removing some paint off the surface and this requires applying some pressure to the head of the polisher to engage the abrasive particles with the paint so they can take little bites out of it.
15 to 20 pounds of pressure
If you place the face of the polisher on a normal household bathroom scale, it will read around 4-5 pounds, so just the weight of the polisher itself is supplying some downward pressure.
Now follow me, if you apply just LIGHT pressure to the head of the polisher to keep the pad flat
and stable while it’s operating, you’ll be around 7-8 pounds of downward pressure right from the get-go. If you apply even more pressure to really engage the pad and the abrasives against the paint you can easily reach 15 to 20 pounds of downward pressure.
I know when some people read this it sounds excessive but it’s really not when you consider the pressure by just the weight of the machine already is around 7 pounds of pressure, and with just light pressure you’re already at 10 pounds of pressure.
Take my word for it, when trying to remove a little paint from some cars it’s going to take some downward pressure to engage the abrasives into the paint and do any serious correction work. The key is to remember that polishing paint is an
art form and anytime you have to use an aggressive approach to remove a little paint chances are good you’re going to have to do a follow-up step to refine the finish even further using a less aggressive pad and product. So the results from an aggressive product with downward pressures of 15 to 20 pounds won’t always leave a pristine finish but that’s okay, you’re not finished yet. (No pun intended)
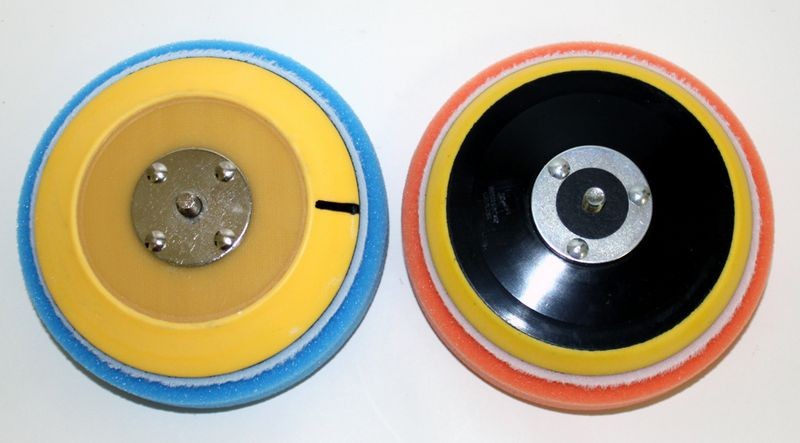
As a general rule of thumb, when working on seriously neglected paint, you'll want to apply firm pressure but never so much that the pad stops rotating. This is the purpose of the black lines on the back of your backing plate and/or foam buffing pads, it’s so you can easily see if your pad is rotating or simply vibrating against the paint. Paint is removed best when the pad is rotating, not simply vibrating.
Keep in mind you need to balance how much pressure you apply to the condition of the paint and what you’re trying to accomplish. If the paint is in good condition and only in need of light correction, (shallow defects), then you won’t need to apply as much pressure. If the paint you're working on looks like it's seen a Destruction Derby, then increase your pressure to anywhere from 15 to 20 pounds of pressure.
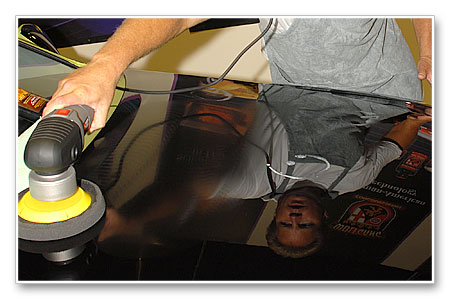
Hold the pad flat to the surface
It's vital that you hold the buffer in such a way as to keep the pad flat against the surface while you're buffing. With a completely flat panel like the hood of most large cars and trucks, for example a 80's era Suburban, it's pretty easy to keep the pad rotating by holding the buffer evenly as you buff.
With panels that slope or curve, you need to rotate or adjust how you hold the body of the polisher to match the curve of the panel as you move it over the paint.
If you hold the polisher in a way that there is more pressure on only an edge of the buffing pad, this increased pressure to one section of the face of the buffing pad is enough to stop the pad from rotating. This will be easy to see from the marks on your backing plate and paying attention to how you’re holding the polisher in relationship to the shape of the panel. Watching your pad will help you to perfect your technique.
It's not as difficult as it sounds and most people new to using a DA Polisher will learn how to hold the polisher while adjusting for the curves and slopes of the car after buffing out just the front clip of their car, (hood and front fenders). The learning curve for a DA Polisher is pretty flat, that means it's pretty easy to learn how to use.
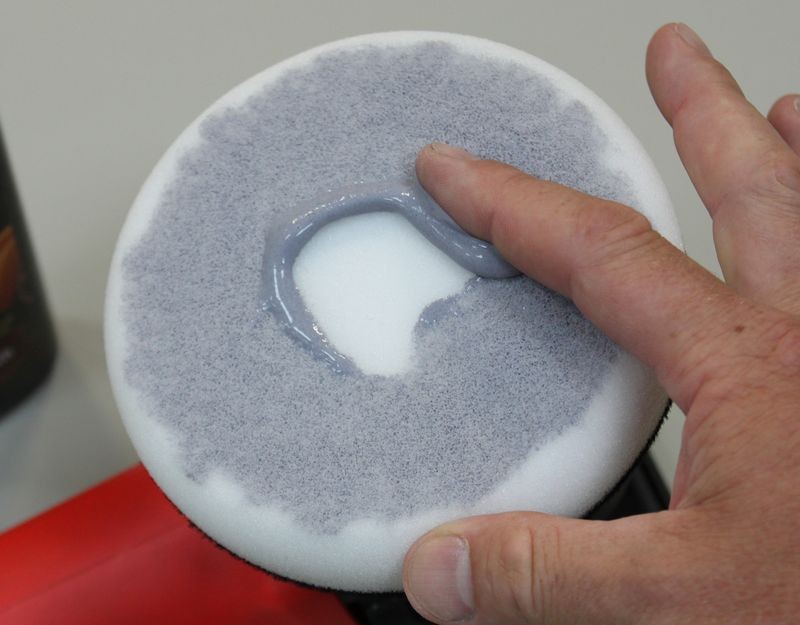
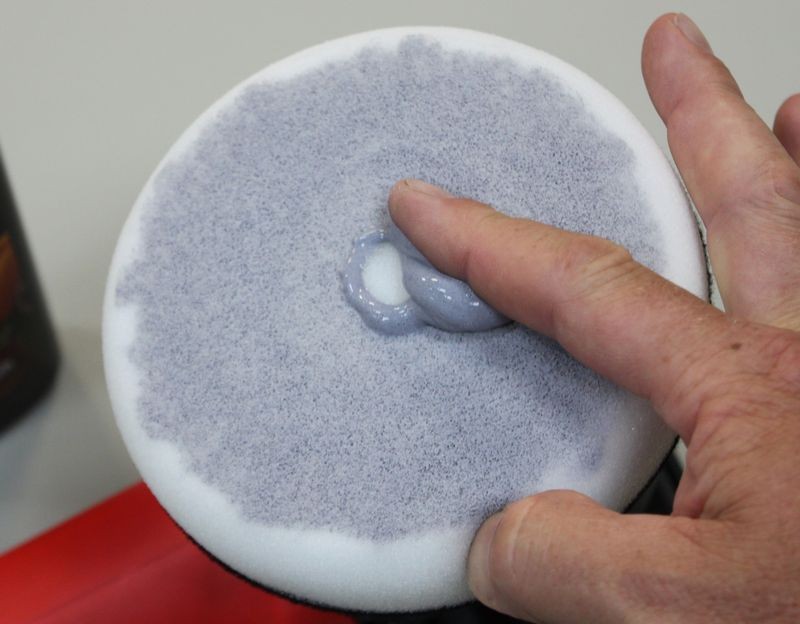
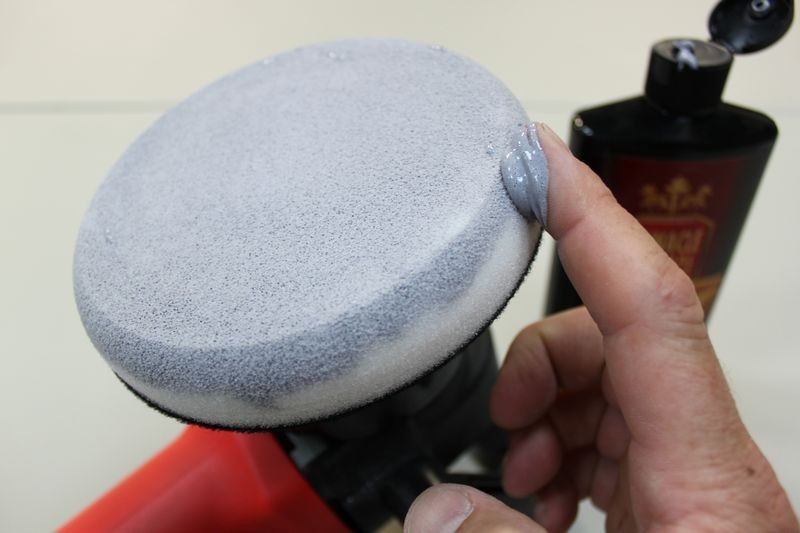
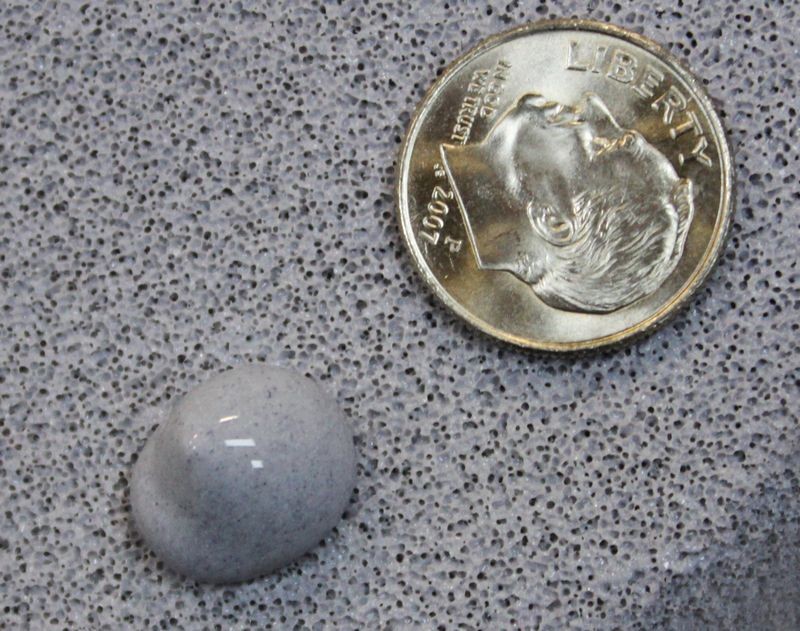
Use an ample amount of product
When we say use an ample amount of product this means don’t use too much product and don’t use to little product.
Too much product
If you use too much you can hyper-lubricate the surface and this will make it more difficult for the abrasives to abrade the surface as they’ll tend to want to glide or slip over the surface instead of bite into the surface.
To little product
If you use too little product there won’t be enough lubrication to enable the buffing pad to rotate and thus engage the abrasives against the surface so they can bite into and remove small particles of paint.
Learning how much product to use varies with manufactures products as there’s a lot of variables involved. The best teacher is experience coupled with any hands-on training you can find. Watching a video or asking questions on a detailing discussion forum like the
Autogeek Online Detailing Forum is a great resource for this kind of information.
Also, when you’re first starting out with a dry pad, (doesn’t matter so much if it’s new or used as long as it’s clean), the pad will tend to absorb some of the initial product applied to it or picked up off the surface. As you continue to buff and the pad becomes more wet or saturated with product a couple of things will take place:
You’ll find you’ll need less product to work a section. As the pad becomes wet with product, the combination of liquid and foam will tend to absorb and dissipate the power provided by the motor. This will show up as a reduction in the ability of the tool to keep the pad rotating under pressure. Then if you apply more pressure the free floating spindle assembly will do it's job and the pad will stop rotating. The fix for this is to clean your pad often, which we will address below and/or switch to a fresh, clean, dry pad and continue switching to clean dry pads as you work around the car and your products become wet with product.
Of course the ability to swap out pads means having a collection of pads in your arsenal to start with depending upon your budget and how much you value your time. Simply put, dry pads rotate against the paint better than wet pads, so it’s faster to buff out an entire car by swapping out wet pads for dry pads versus trying to buff the entire car out with only a few pads.
New generation DA Polishers like the PC 7424XP and the Meguiar’s
G110 offer more power than their predecessors and this is their strong point because it’s this extra power that will keep your pads rotating better even after they become wet with product. This one feature alone makes them worth choosing over earlier dual action polishers and/or upgrading.
Clean your pad often
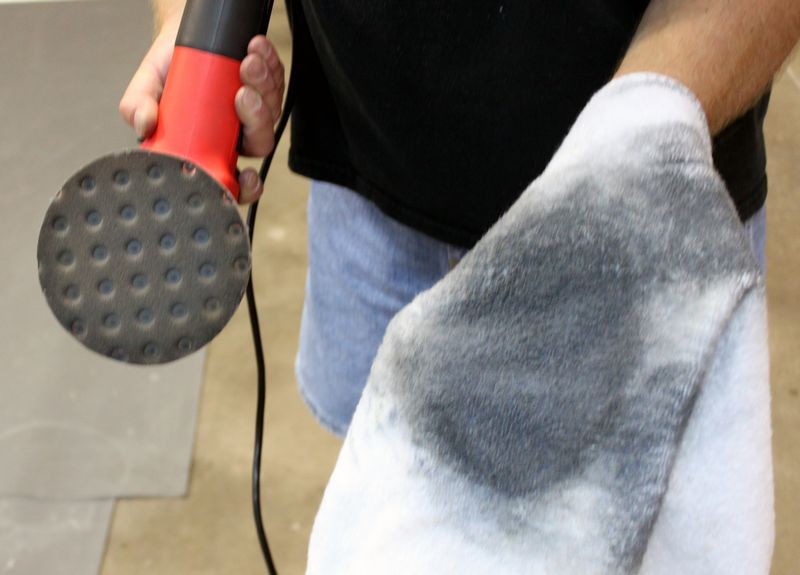
Anytime you’re buffing with an abrasive product, whether an aggressive compound or a light polish, you have two things building up on the face of your buffing pad,
- Spent or used-up product
- Removed paint
You need to remove these residues often by cleaning your pad either with a,
- Pad washer
- Pad cleaning brush
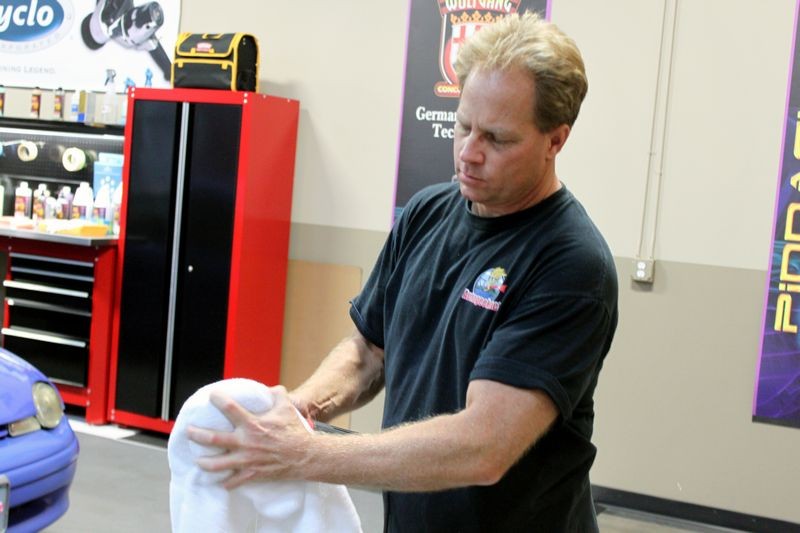
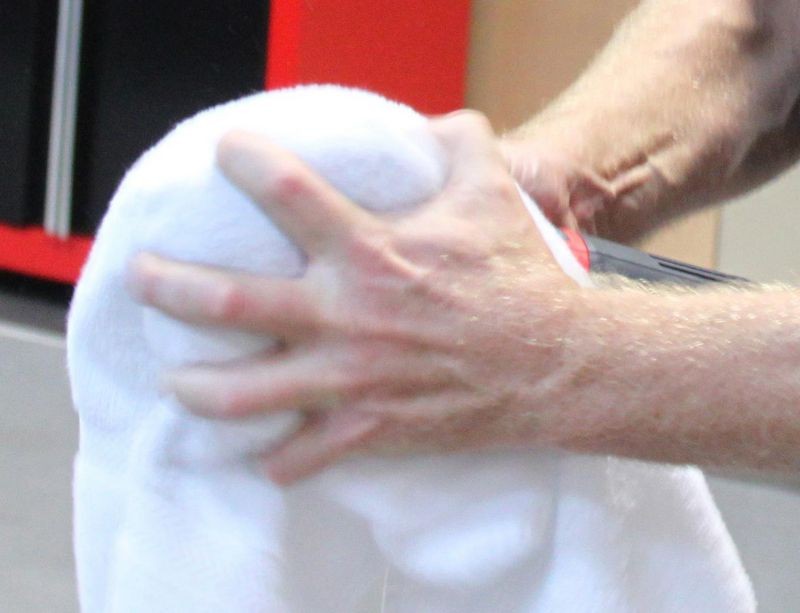
- Terry cloth towel using a technique called cleaning your pad on the fly.
Again, we cannot stress enough the importance of
working clean and in this case it means wiping any spent product off the paint after each section pass and removing any spent product and paint residue off the face of your buffing pad with one of the three methods listed above.
If you don’t clean your pad often then usually you’ll find that your product will become gummy on the surface of the paint and wipe-off will become more difficult. Not only that, but as product residue builds-up on your paint you increase the risk of instilling swirls back into the paint.
Adding fresh product to used-up product dilutes and pollutes the fresh product, making it less effective. So make it a best practice to clean your pad often and always wipe off spent product before adding fresh product.
How often to clean your pads?
Car body panels
At a minimum, wipe all spent product and paint residue off the car after you finish each section and always wipe the paint clean before re-polishing that section a second or third time with fresh product.
Buffing pads
This is personal preference and here’s what I do, for the average condition paint I will tend to
clean my pad on the fly every other application of product. This means if I were buffing out the hood of a car I would apply my product to the face of the pad and buff out a section of paint about 20” square or so. If I’m done with that section I would wipe the residue off and then buff out the next section and be sure to overlap a little into the previous section. Now, after I’ve buffed these two sections I would
clean my pad on the fly and then start on a new section and repeat this method as I work around the car.
If the paint is severely neglected and I have to really get aggressive with the paint then I would clean my pad after each application. Also, if the temperatures are hot then I would clean my pad after each application as this will make buffing easier and more effective with less problems associated to the product trying to dry and/or become gummy on the surface.
If you have a pad washer then you can follow this same routine. The most effective way to clean a pad while working on a car is by placing the pad on a rotary buffer, (even if you’re not using a rotary buffer to do the buffing work), and use the direct drive rotating action the rotary buffer offers to spin the pad in the pad washer at high speed and under pulsating pressure to really get the pad clean. Then lift the pad up a few inches and bring the rpm’s up to the buffer’s highest speed and spin out all the water via inertia. Now your pad will be clean and ready to get back to work.
")