Mike Phillips
Active member
- Dec 5, 2022
- 51,004
- 6
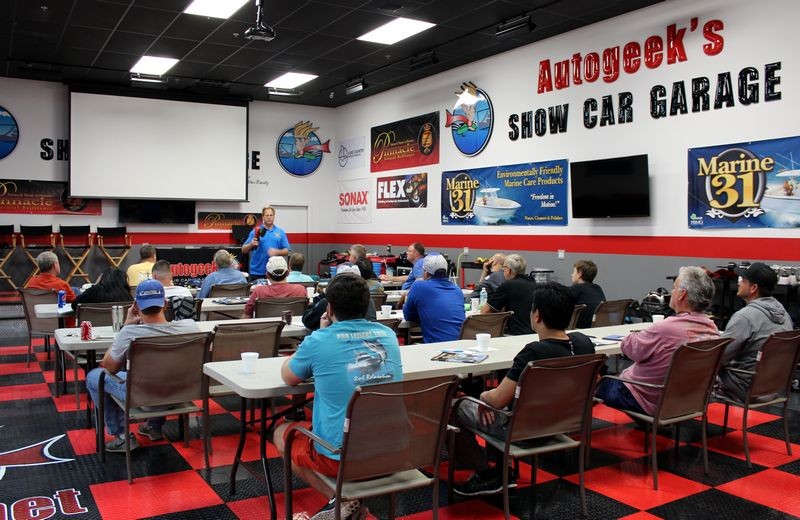
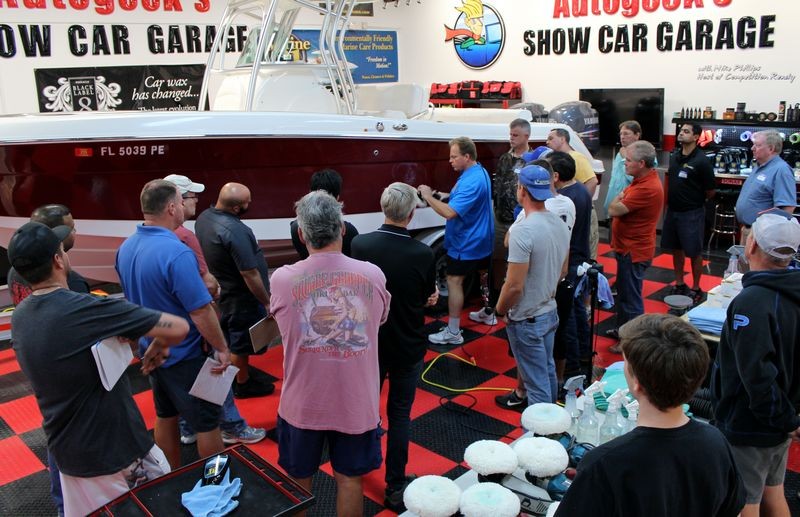
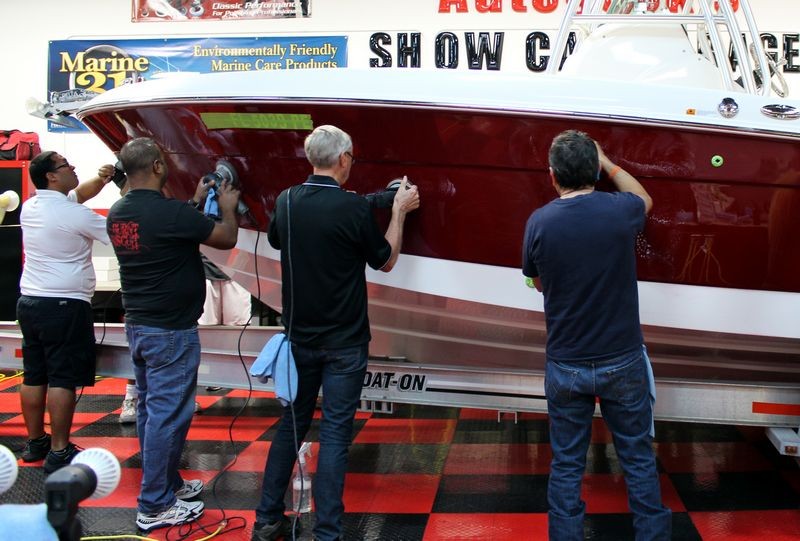
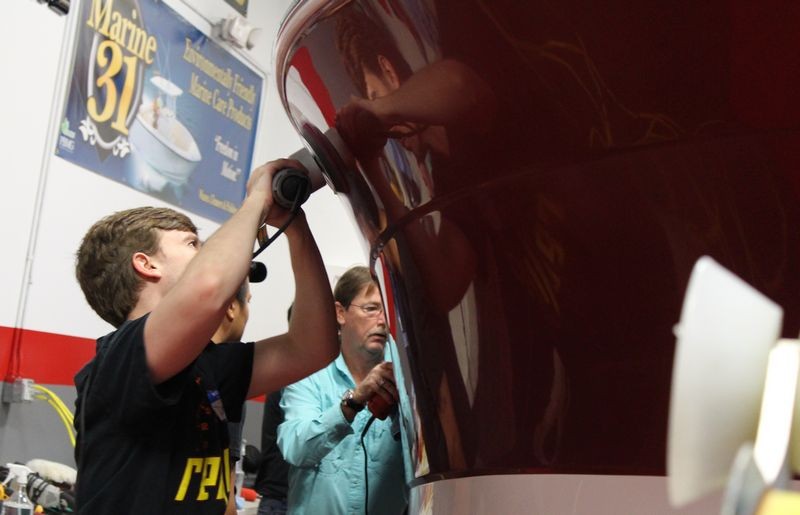
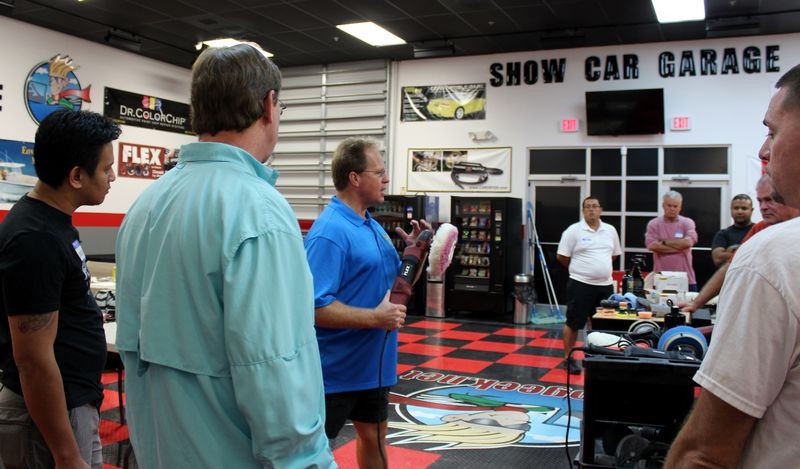
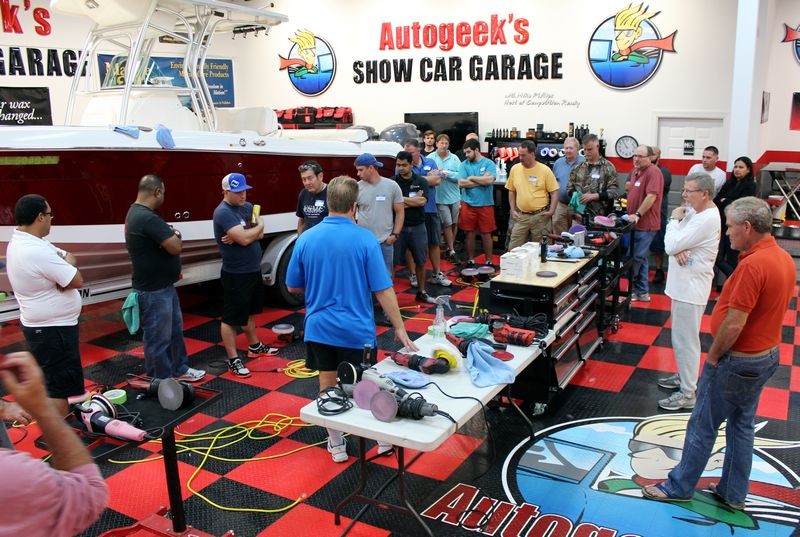
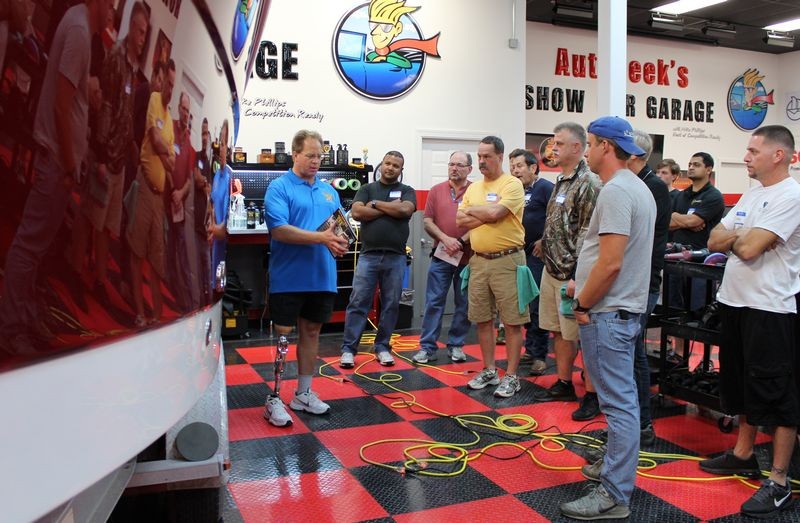
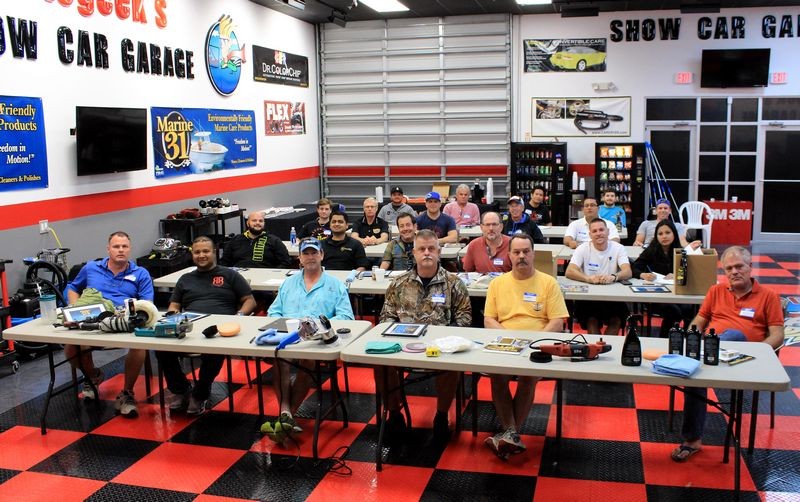
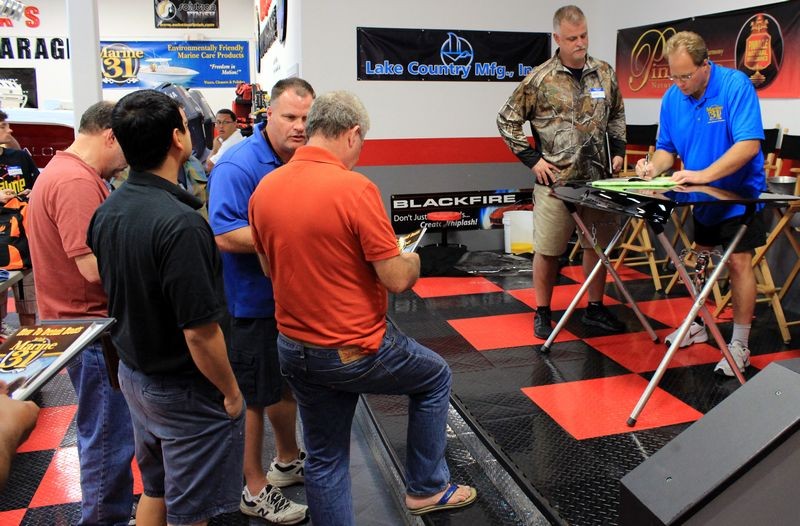
Pictures and comments: Marine 31 Boat Detailing Class - February 6th, 2016
Announcement: The next boat detailing class will be held on Saturday, February 4th, 2017.
We only teach this class ONCE a year.
So reserve your seat and share the link to this thread with your friends that would like to attend.
Marine 31 Boat Detailing Class - Saturday February 4th, 2017
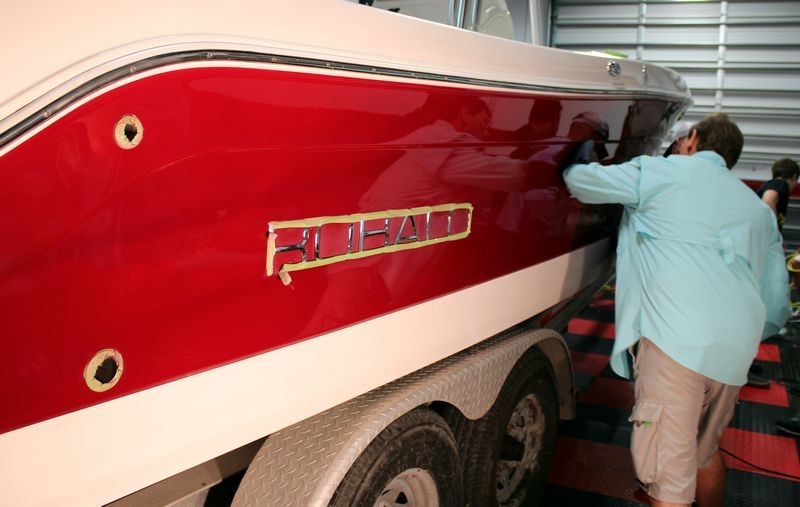
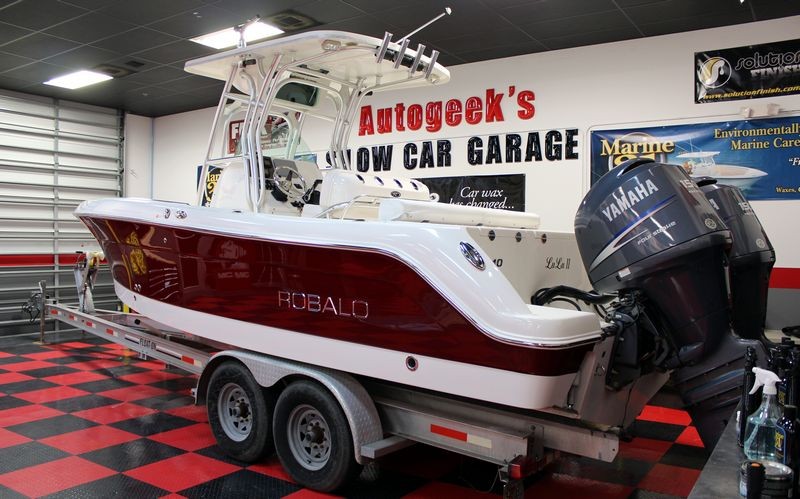
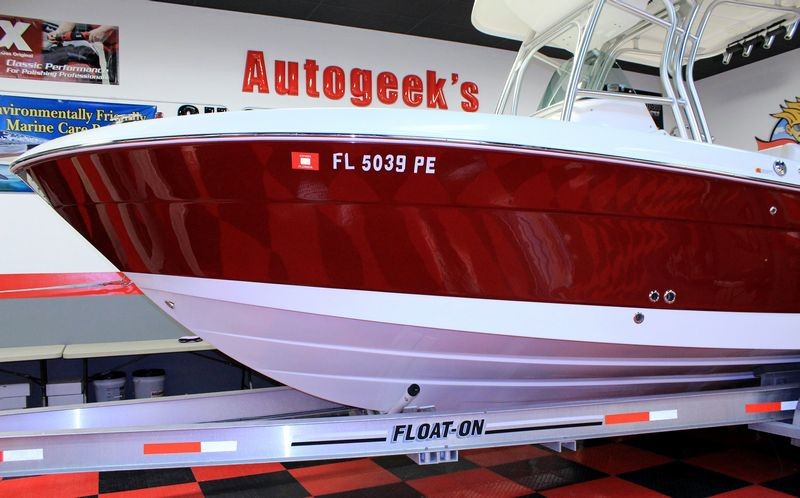
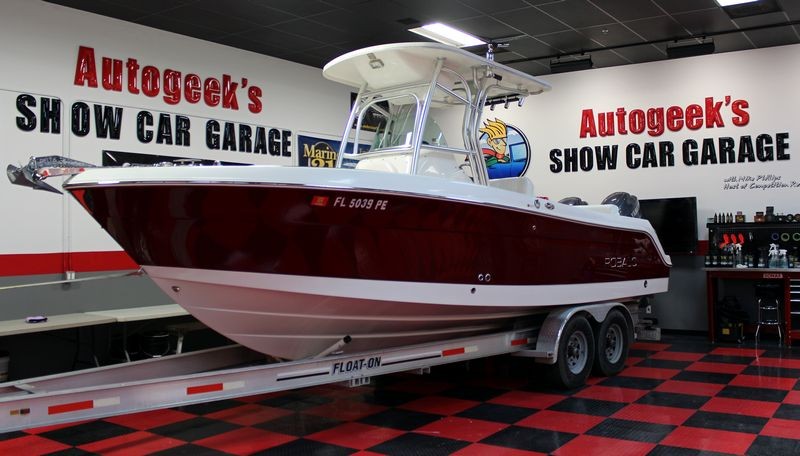
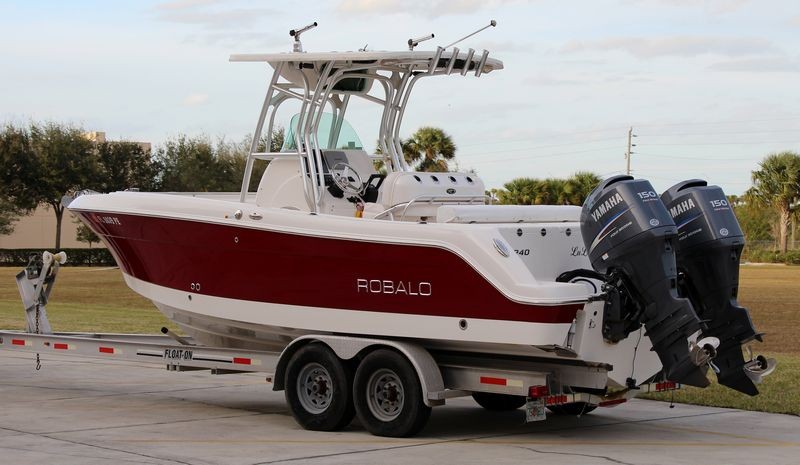
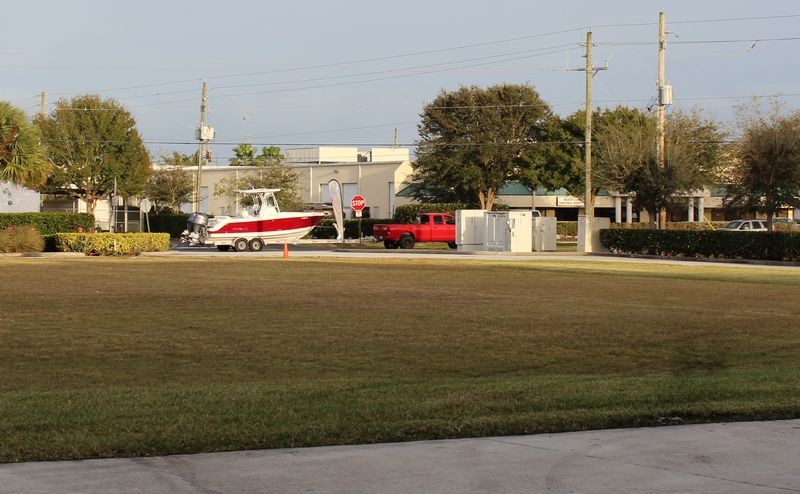
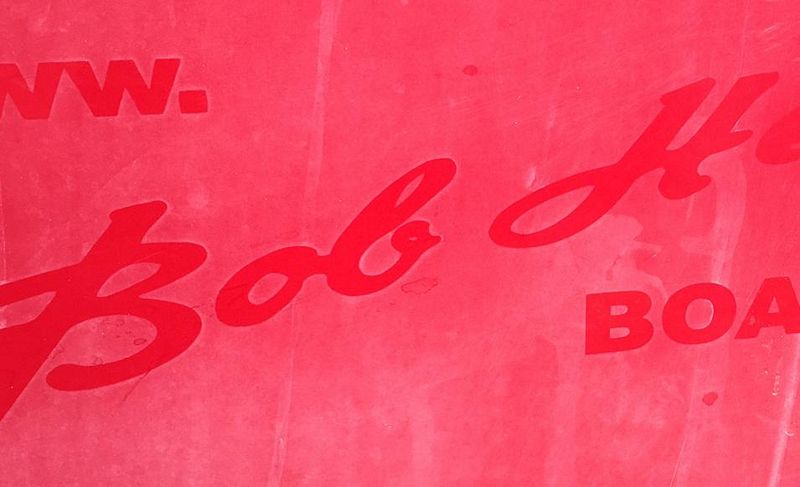
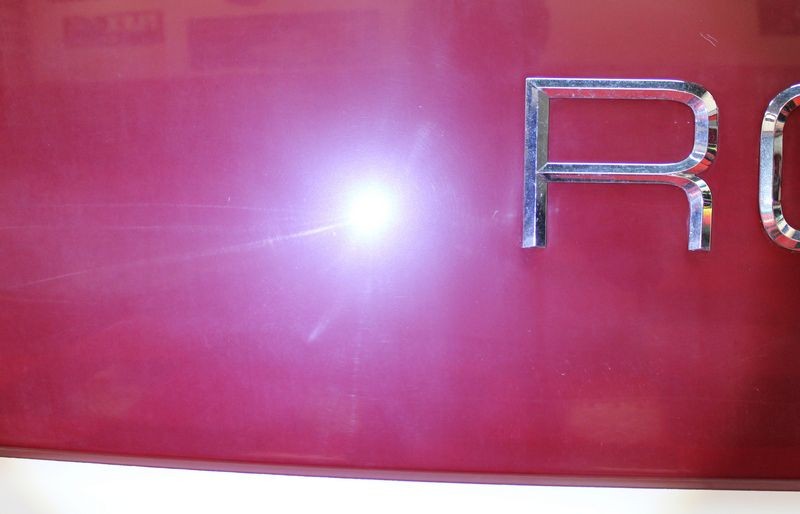
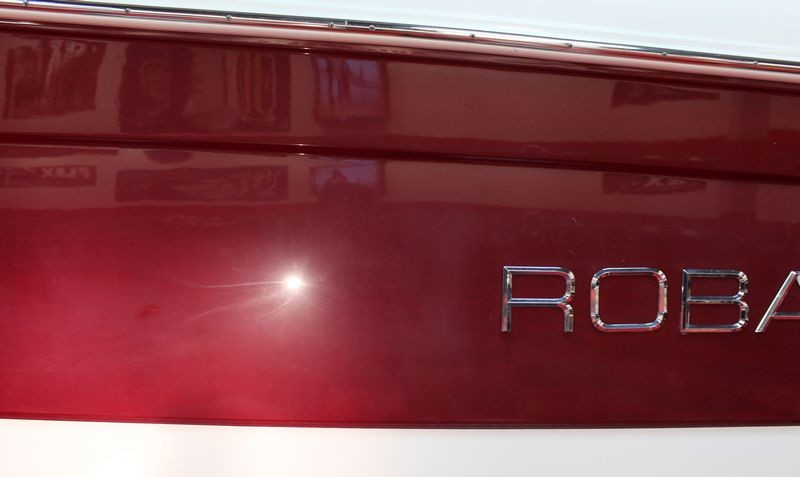
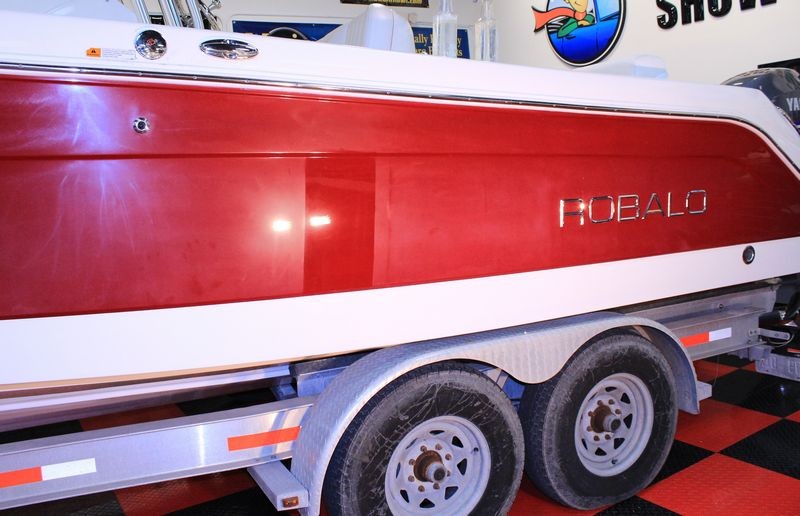
Here's before shots the owner sent me...

Test Spot
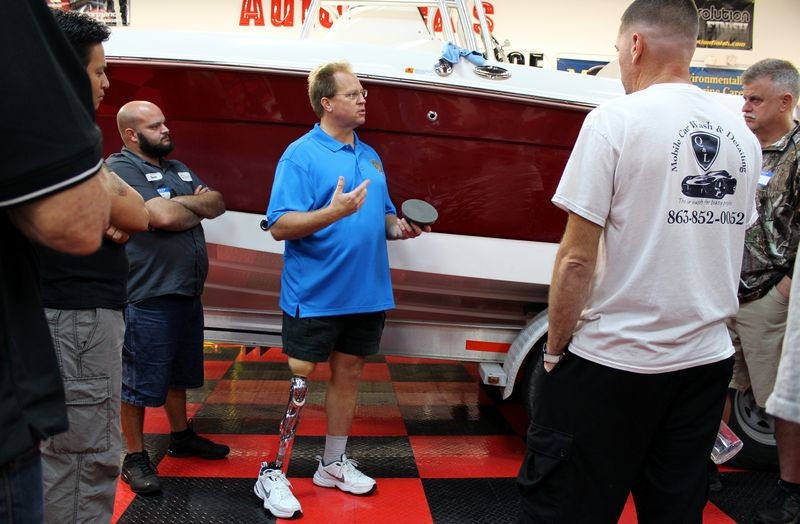
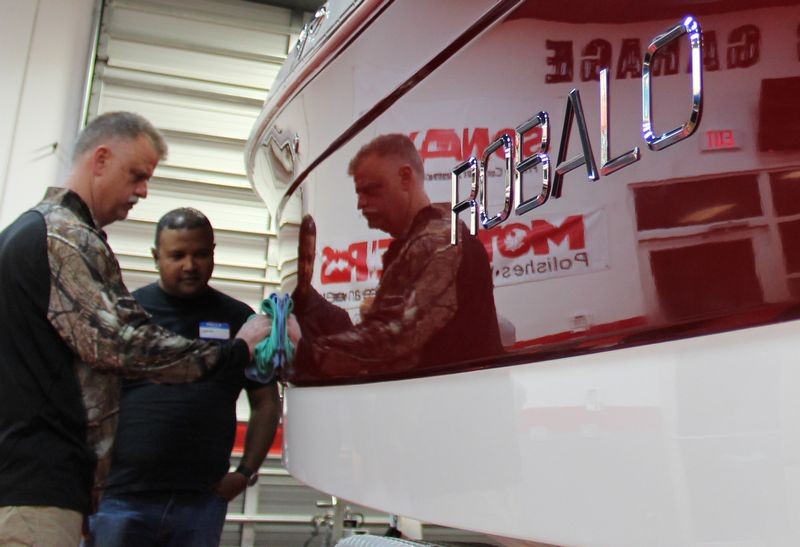
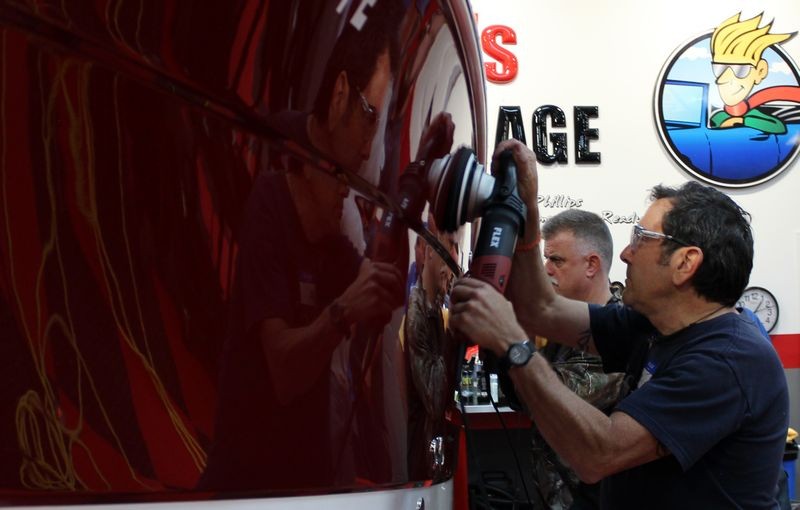
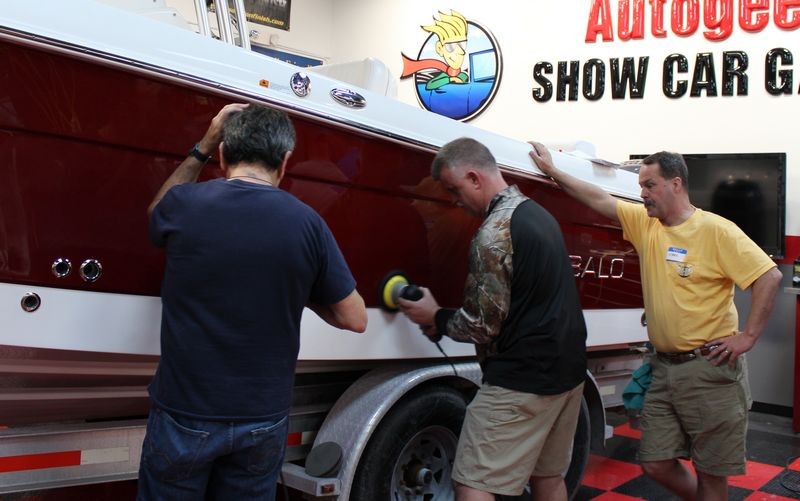
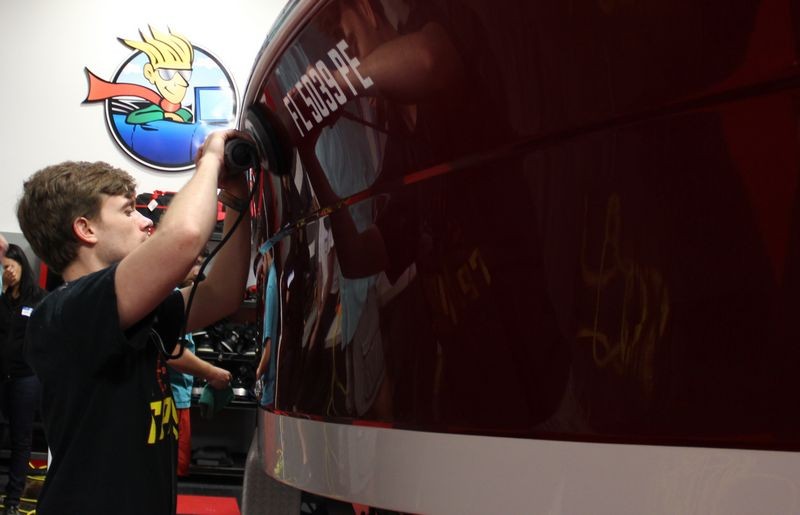
After the boat arrived to Autogeek I did some testing to dial in the process the class would use to restore the gel-coat finish.
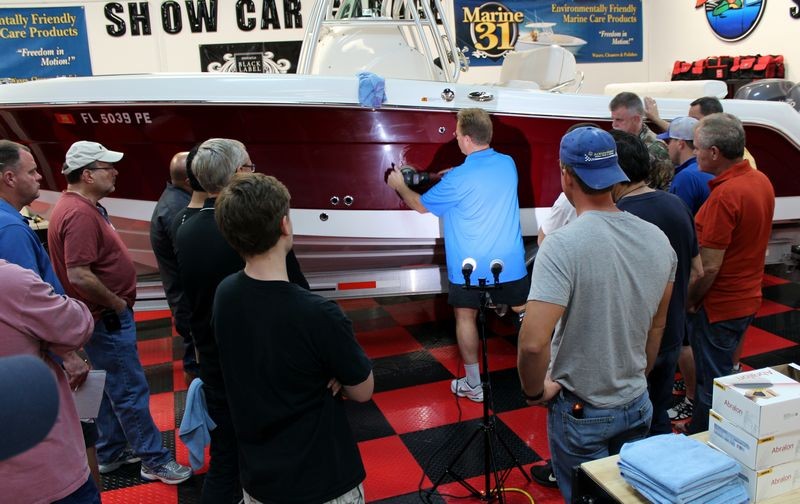
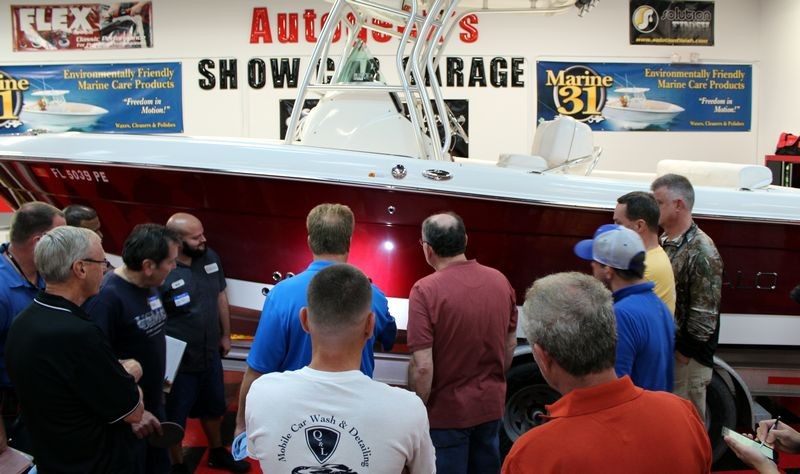
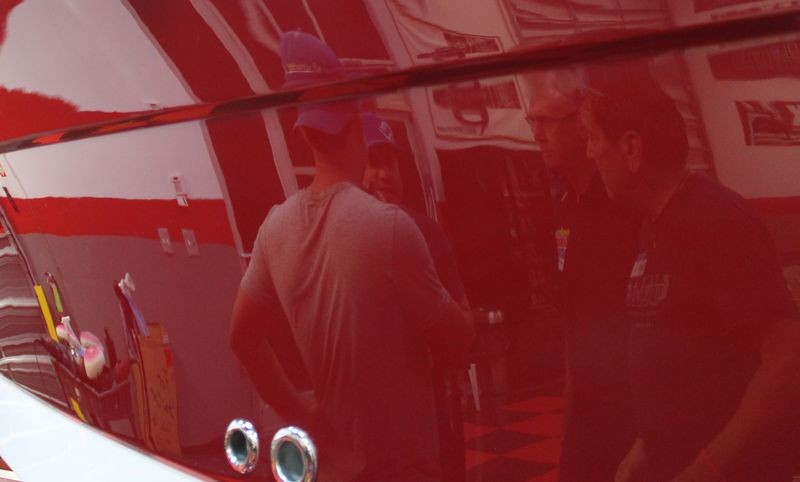
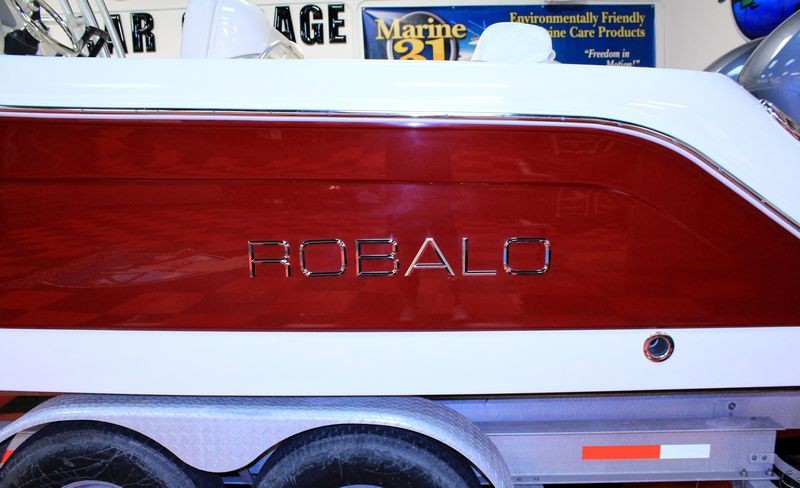
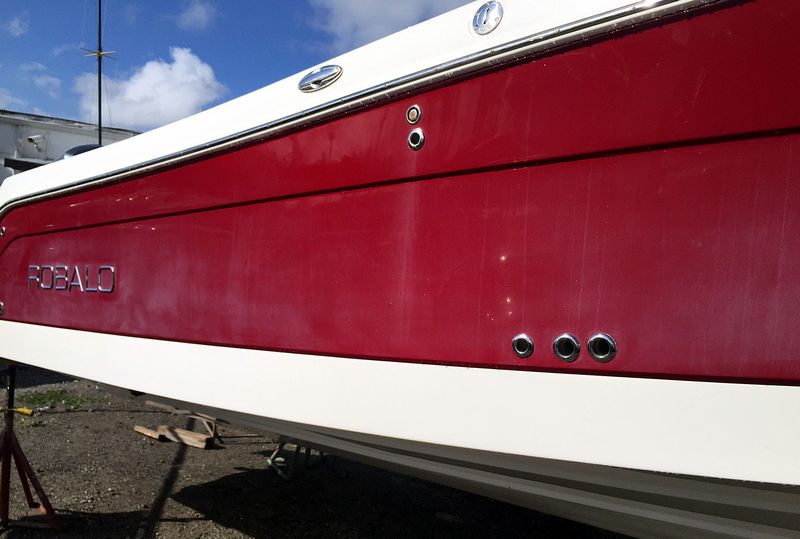
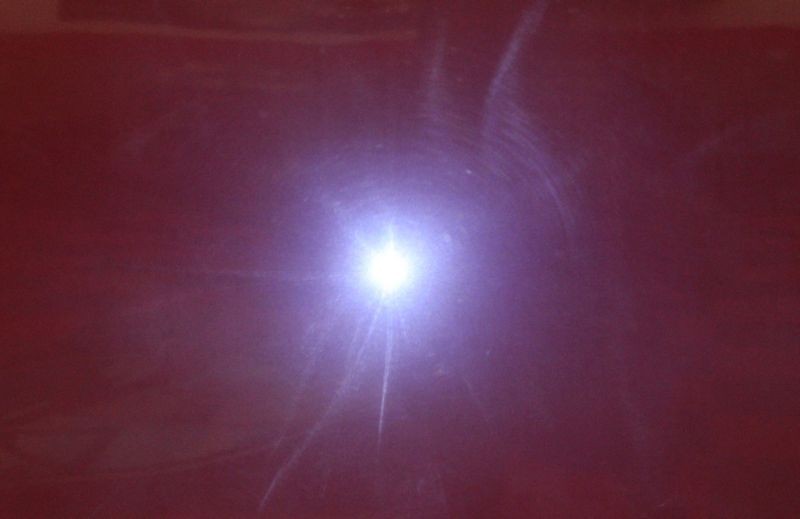
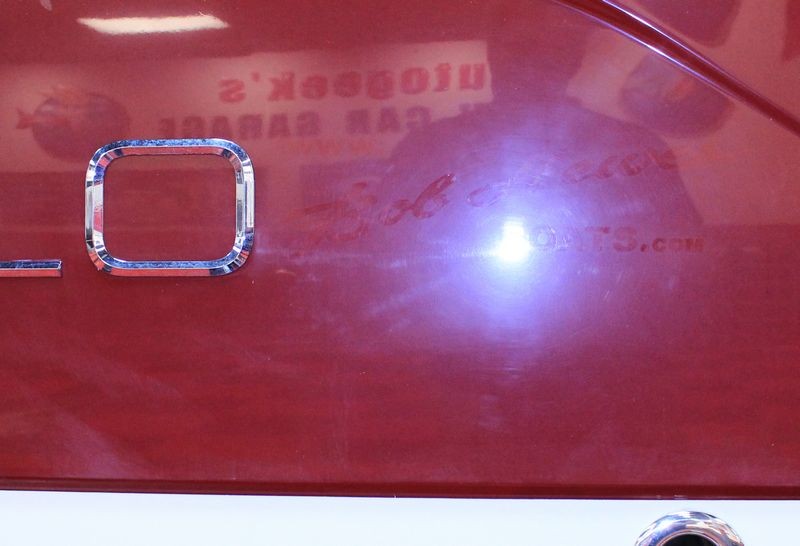
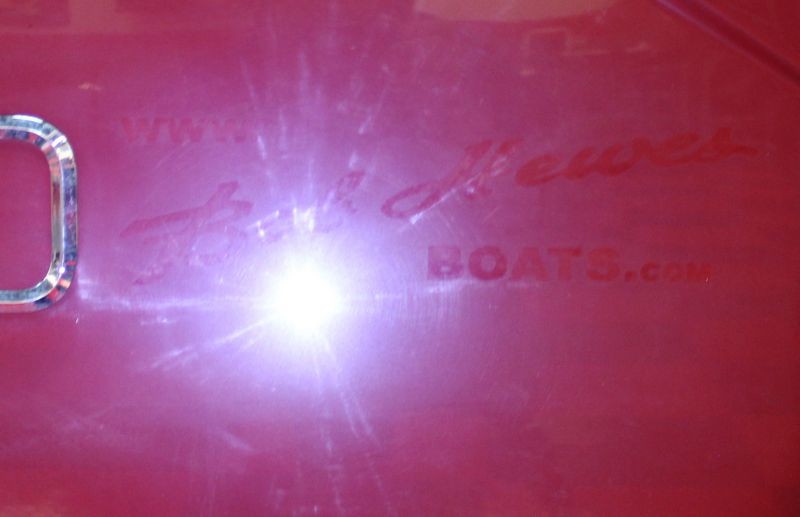
Lighting is crucial to see the true and accurate condition of any type of finish including boats with gel-coat exteriors. This boat has a lot of DEEP oxidation but to the untrained eye, it might not look that bad with overhead florescent lights.

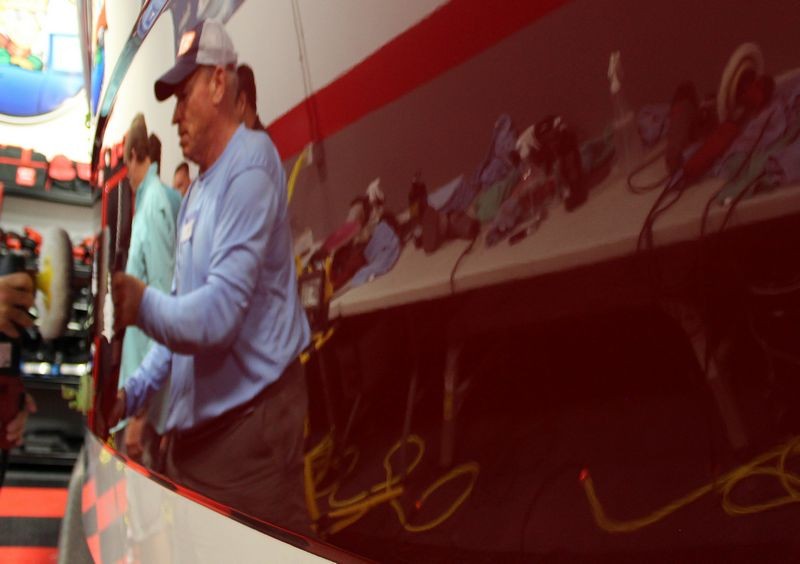
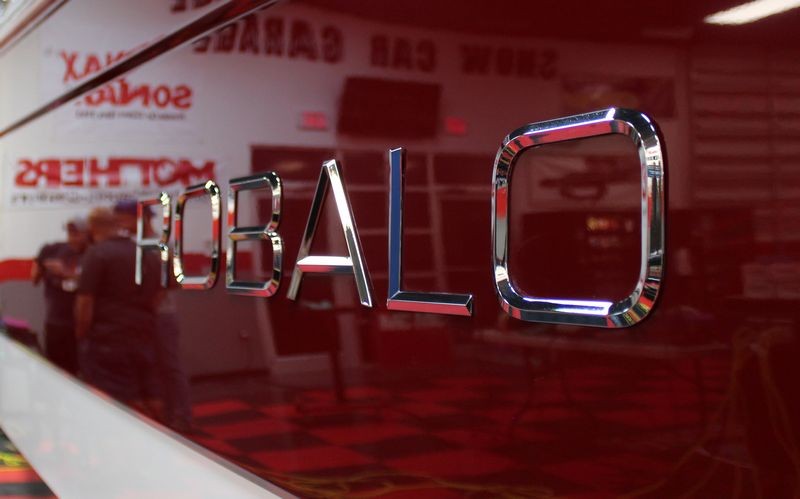
Here's a Swirl Finder Light lighting up the side of the boat. Not only is the gel-coat cloudy looking if you look to the left hand side of the light on the hull you'll see
HOLOGRAMS
Holograms are those wispy lines you see and what these are specifically are a SCRATCH patter instilled by a wool pad on a rotary buffer.
See them?
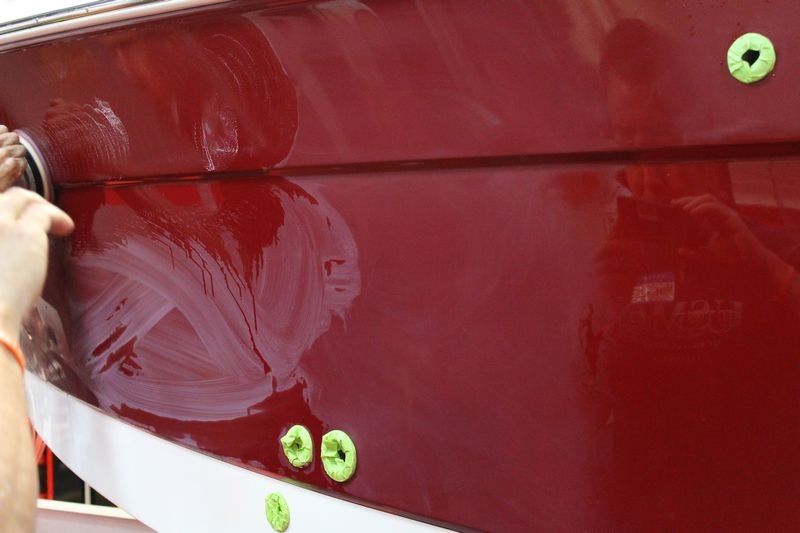
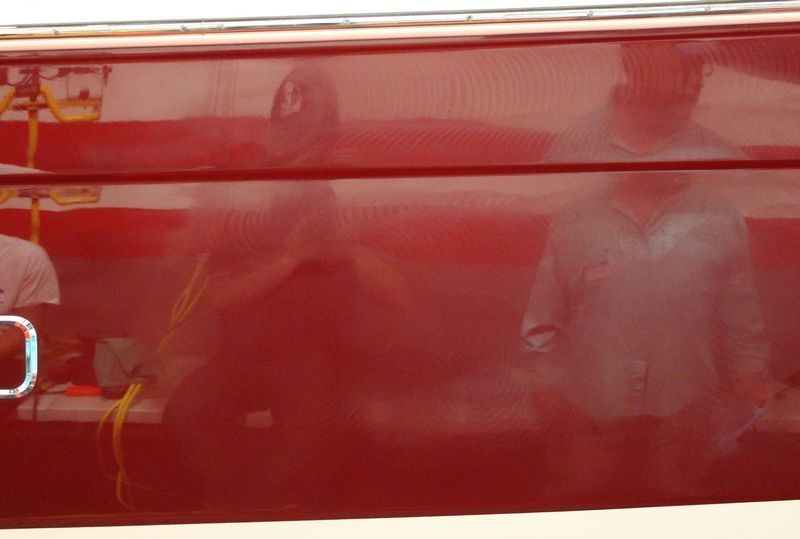
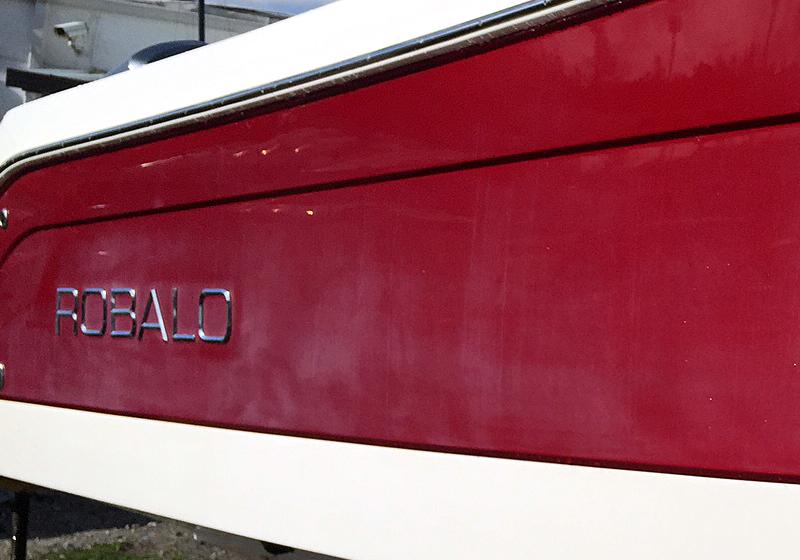
Here I've taped off my test area....
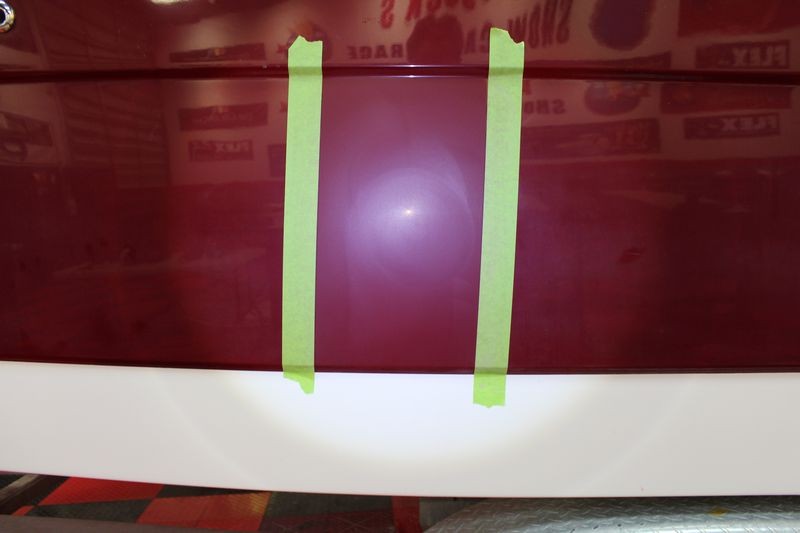
In the center of the taped-off area I've
On the left side you can see holograms and oxidation...
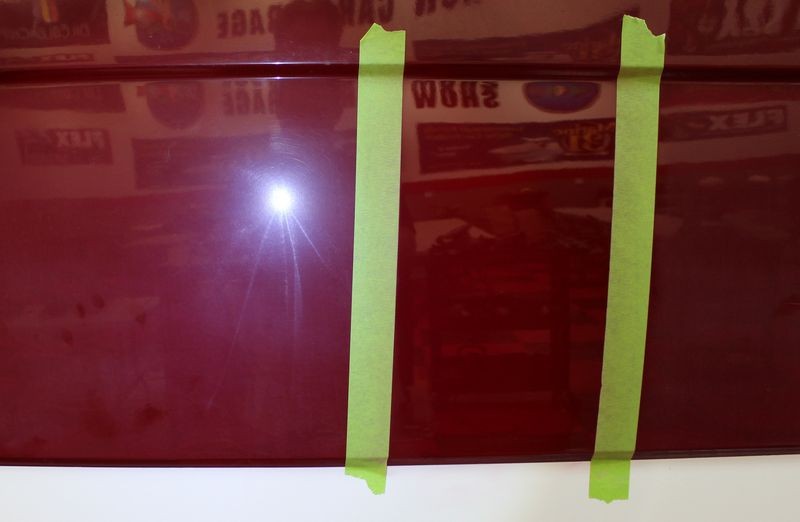
On the right side you can see holograms and oxidation...

And in the center section is what a gel-coat looks like when it's corrected the right way.

At this point, the Test spot has been,
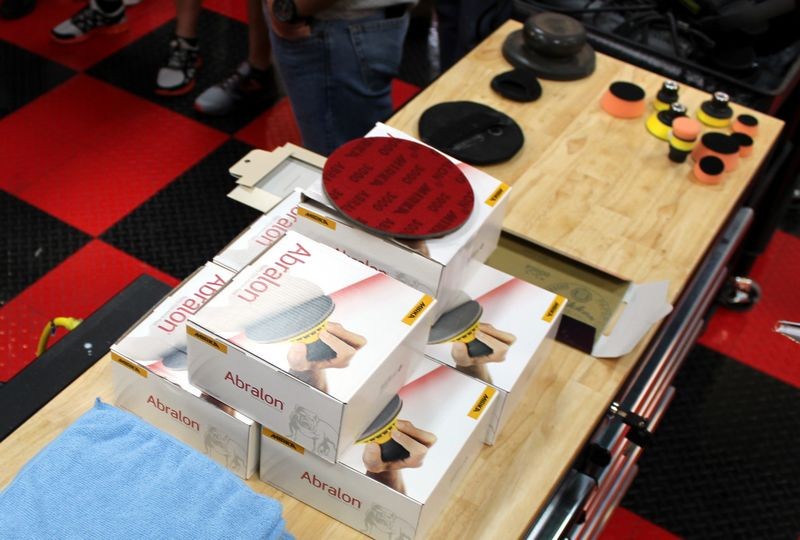
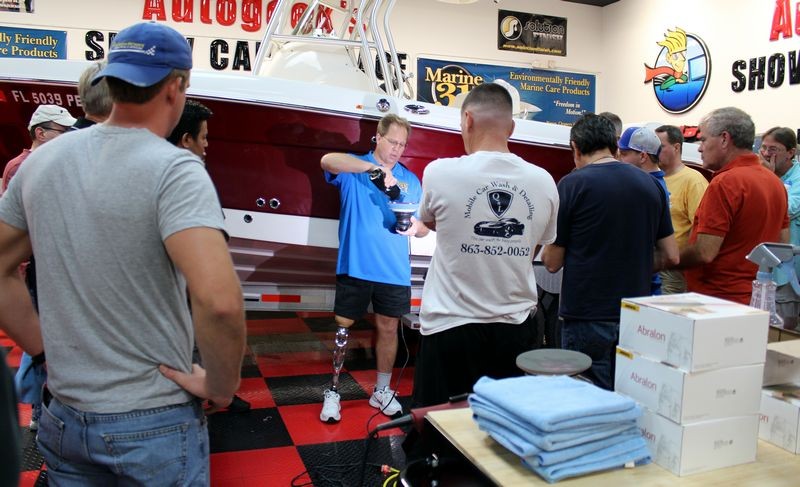
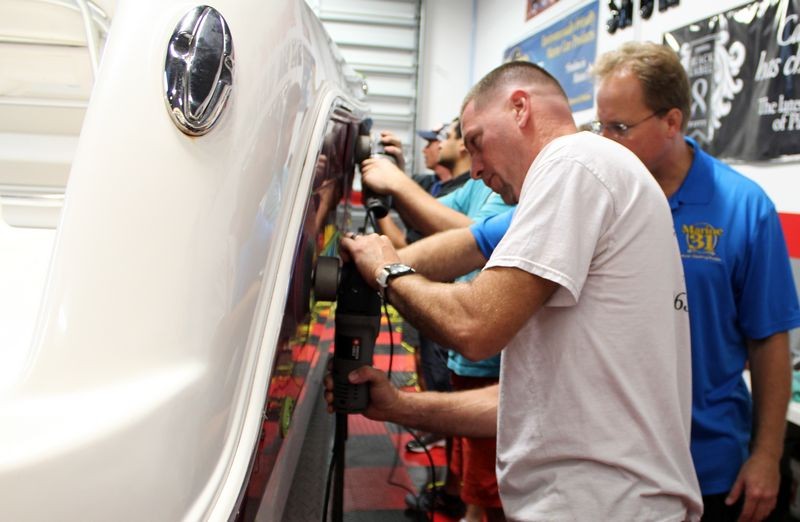
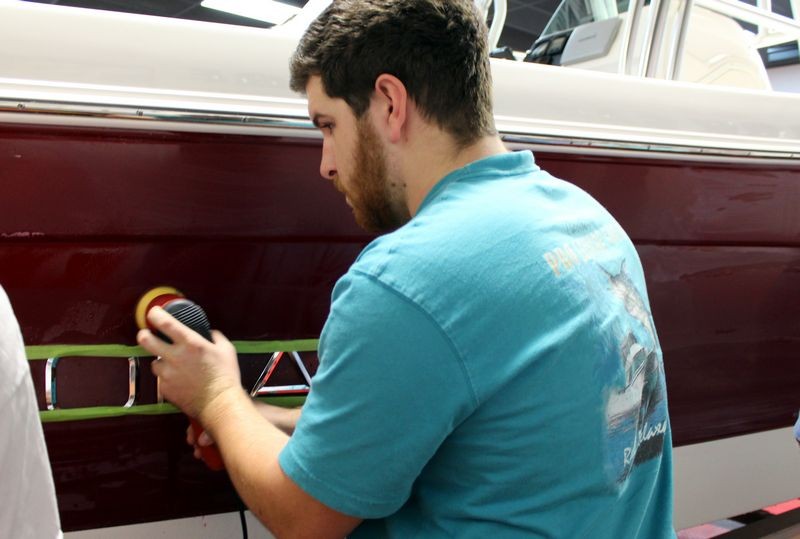
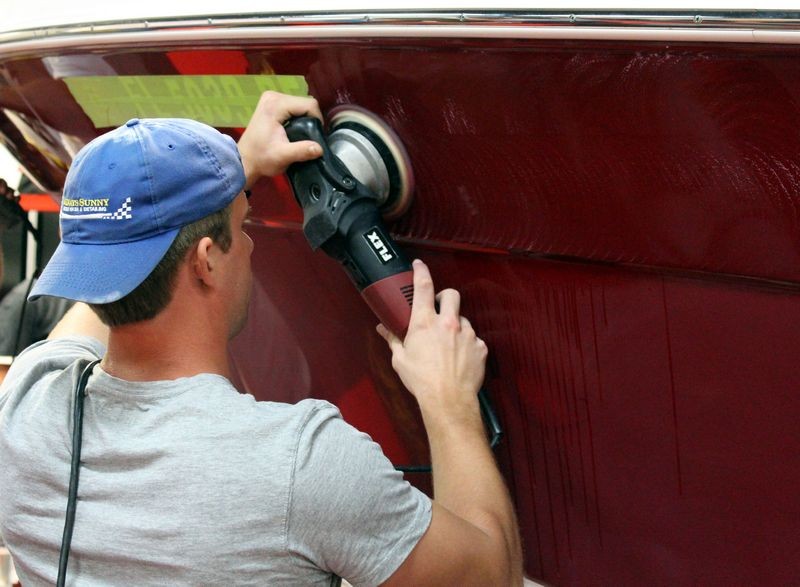
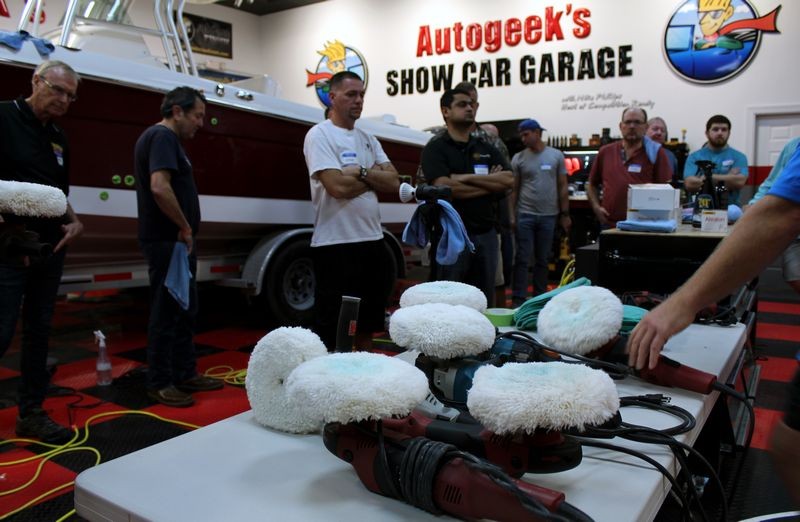
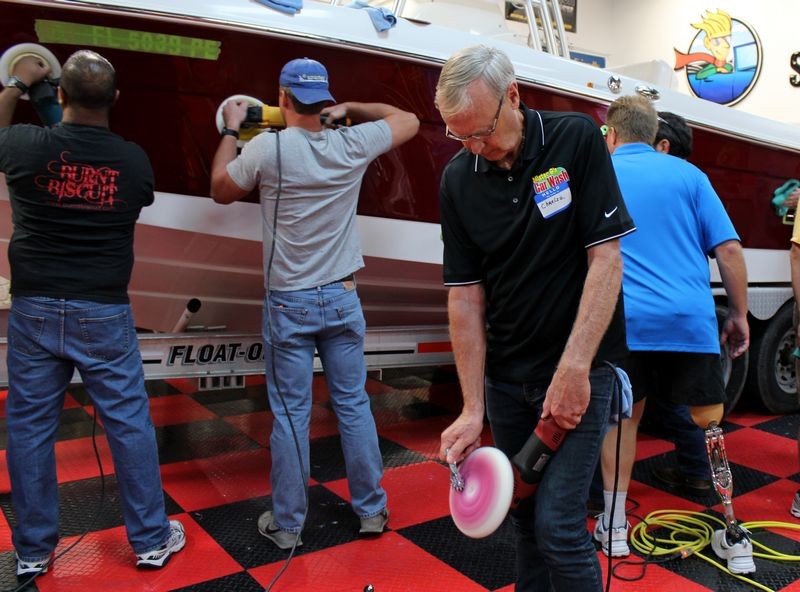
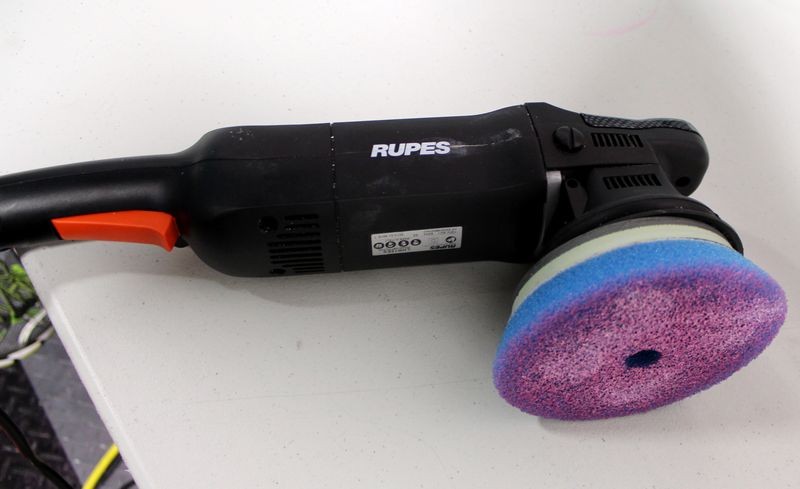
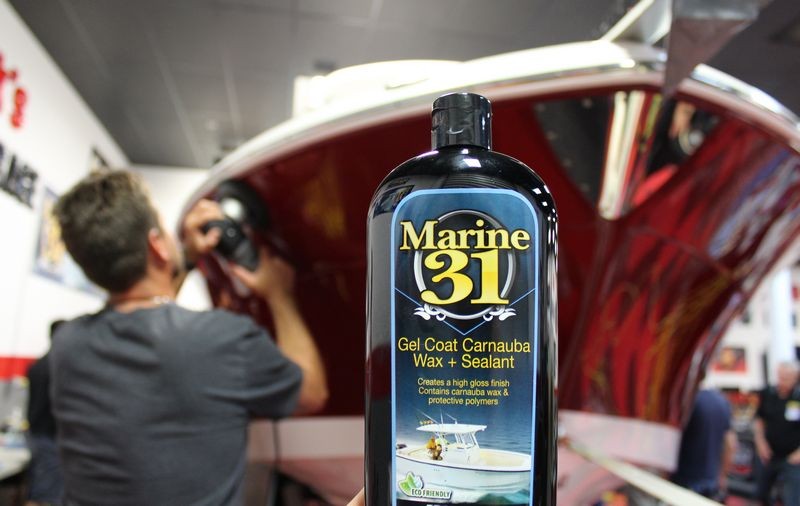
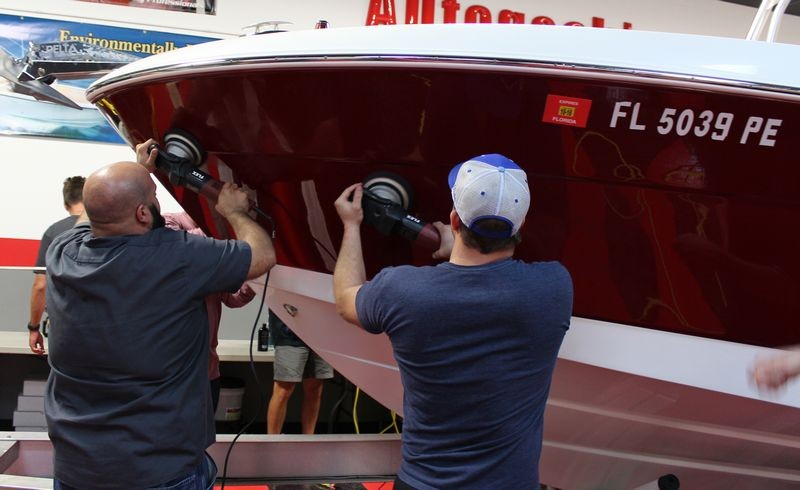
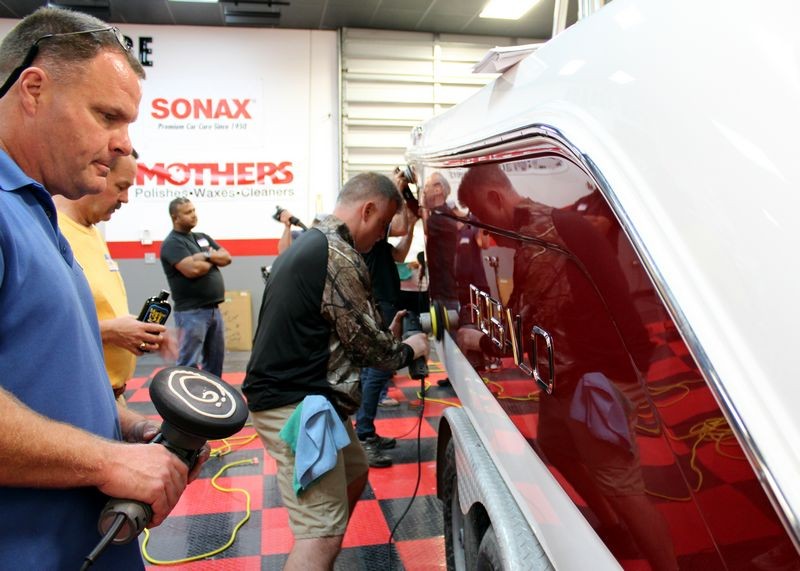
The right tools to do the job correctly job...
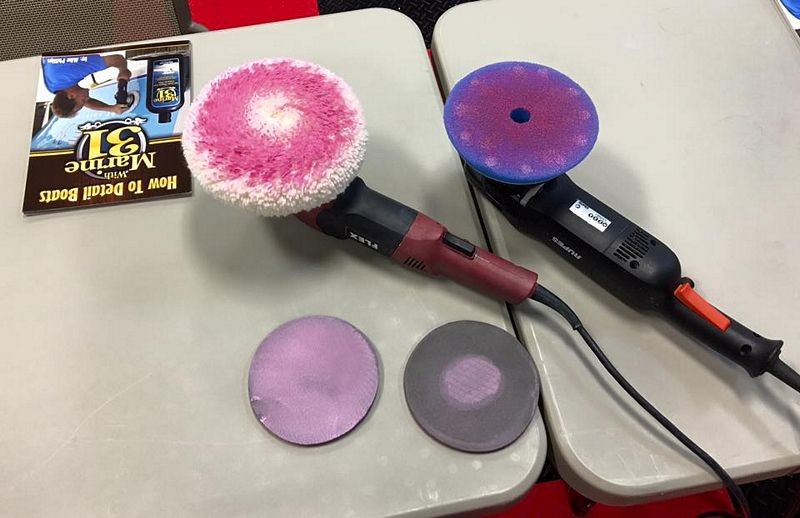
The compound/polish used with both tools shown above is the same product the class used to do the entire boat.

:buffing:
Announcement: The next boat detailing class will be held on Saturday, February 4th, 2017.
We only teach this class ONCE a year.
So reserve your seat and share the link to this thread with your friends that would like to attend.
Marine 31 Boat Detailing Class - Saturday February 4th, 2017
Here's before shots the owner sent me...
Test Spot
After the boat arrived to Autogeek I did some testing to dial in the process the class would use to restore the gel-coat finish.
Lighting is crucial to see the true and accurate condition of any type of finish including boats with gel-coat exteriors. This boat has a lot of DEEP oxidation but to the untrained eye, it might not look that bad with overhead florescent lights.
Here's a Swirl Finder Light lighting up the side of the boat. Not only is the gel-coat cloudy looking if you look to the left hand side of the light on the hull you'll see
HOLOGRAMS
Holograms are those wispy lines you see and what these are specifically are a SCRATCH patter instilled by a wool pad on a rotary buffer.
See them?
Here I've taped off my test area....
In the center of the taped-off area I've
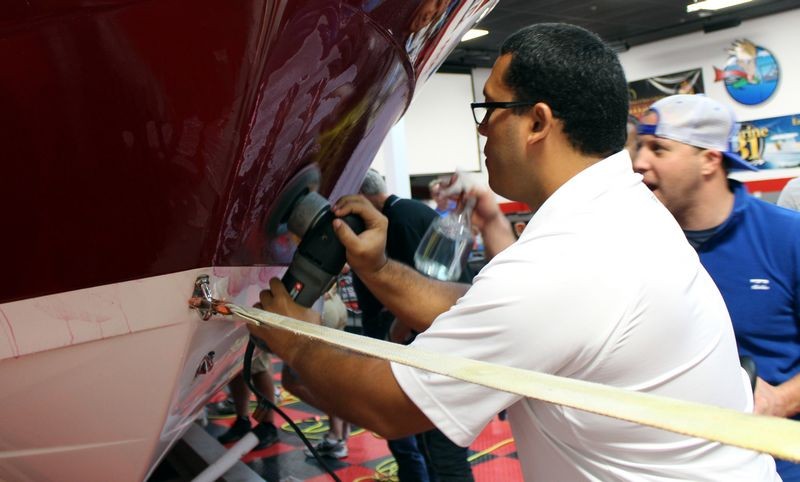
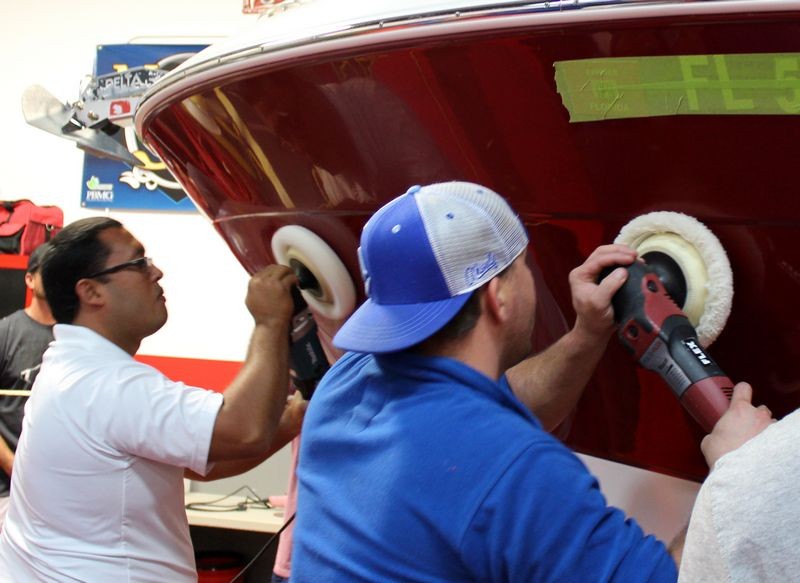
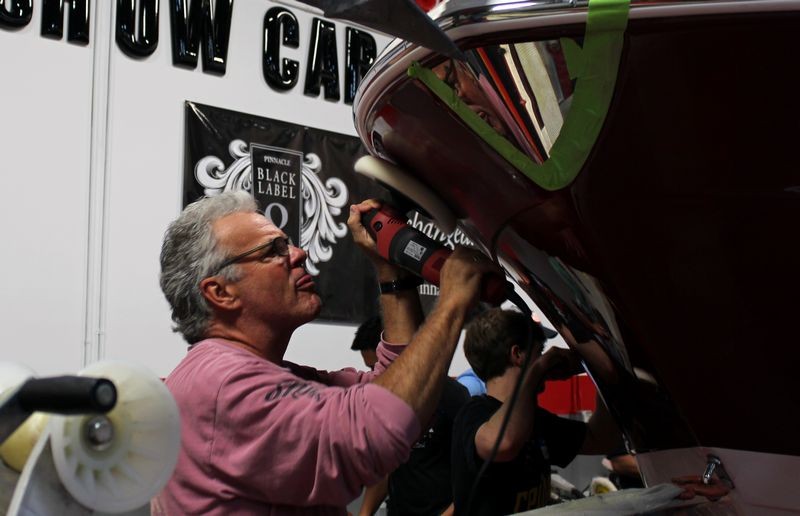
- Machine sanded twice
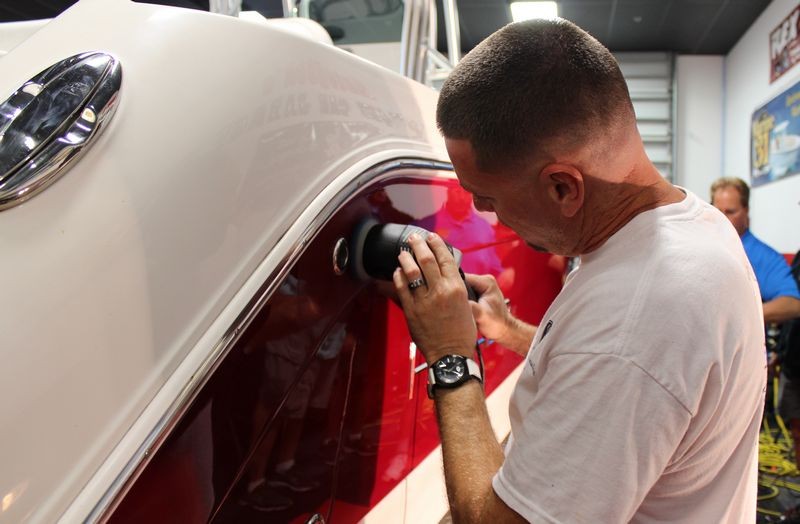
- Compounded with a rotary buffer
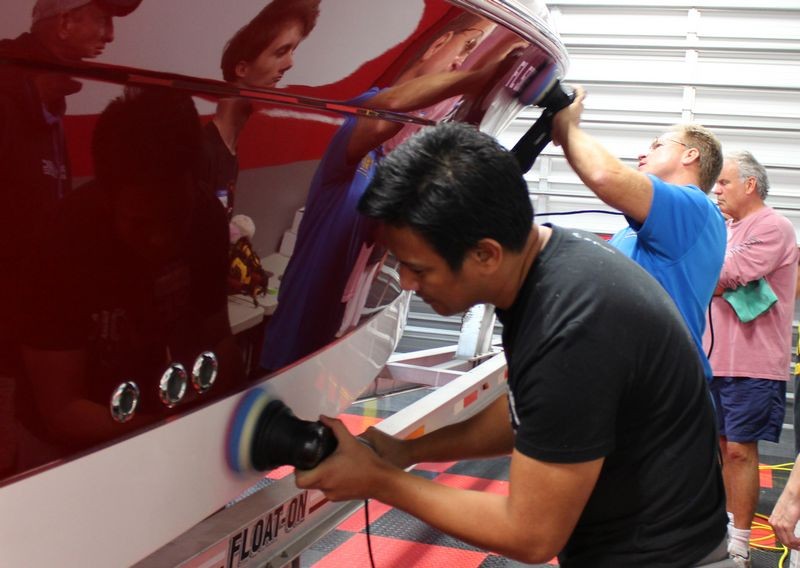
- Polished with an orbital polisher
On the left side you can see holograms and oxidation...
On the right side you can see holograms and oxidation...
And in the center section is what a gel-coat looks like when it's corrected the right way.
At this point, the Test spot has been,
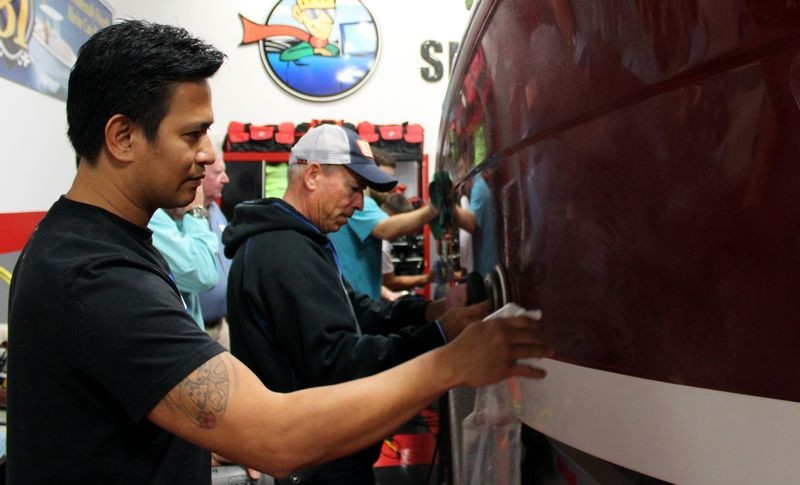
- Chemically strip
- Installed Marine 31 Captain's UV50 Ceramic Coating
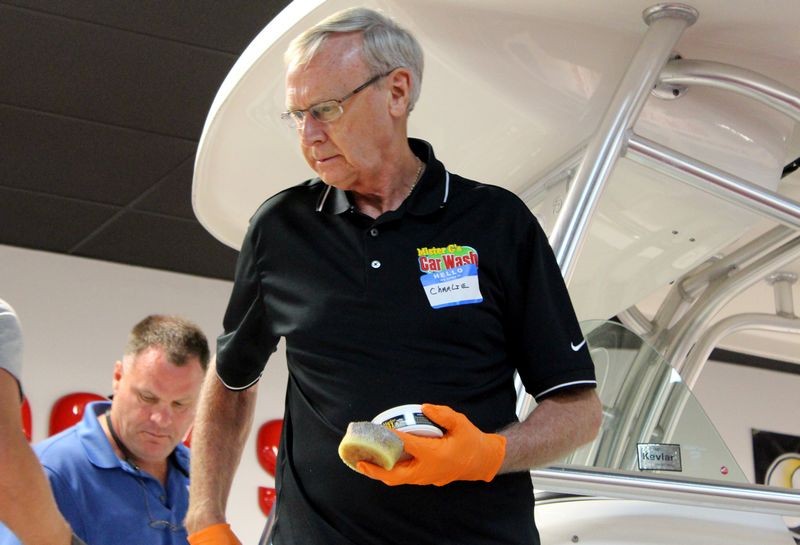
The right tools to do the job correctly job...
The compound/polish used with both tools shown above is the same product the class used to do the entire boat.
:buffing:


")