 Thanks: 0
 Likes: 0
 Dislikes: 0
-
Super Member

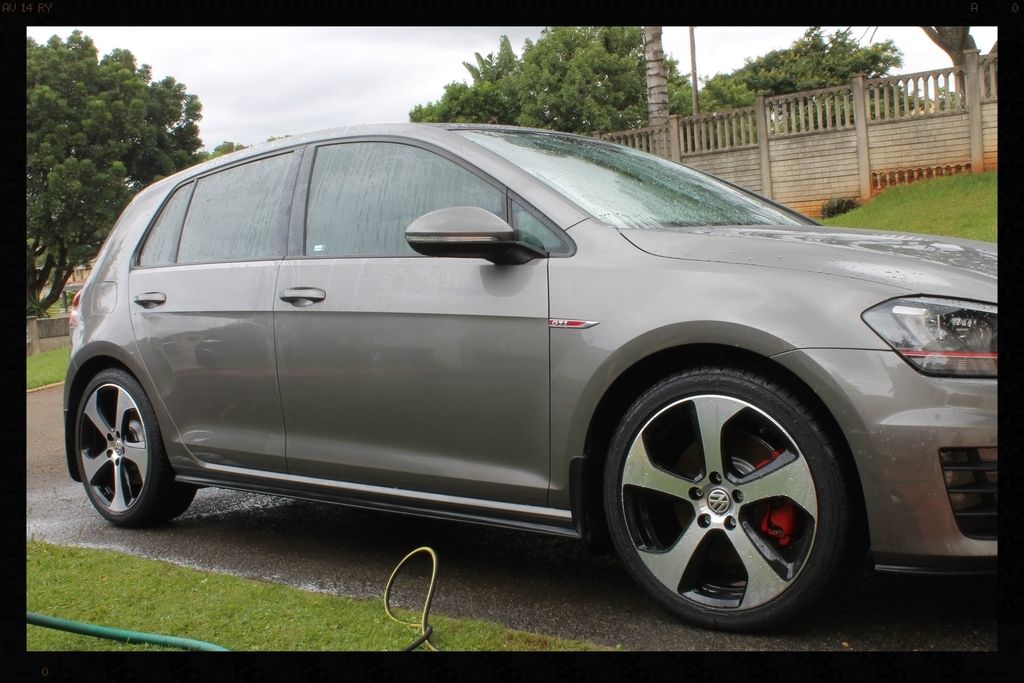
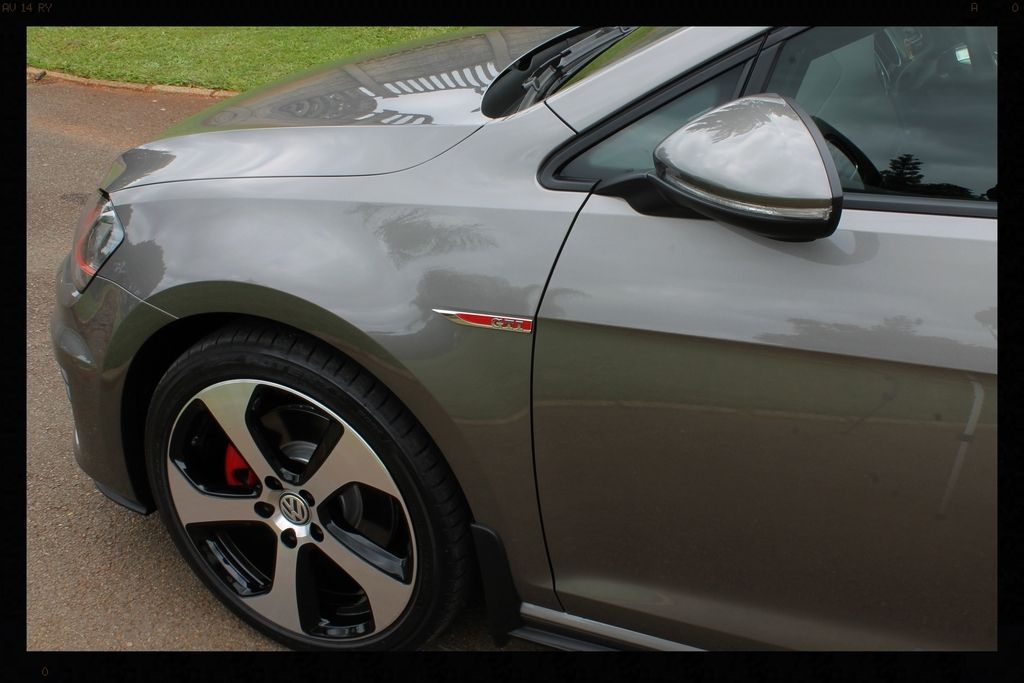
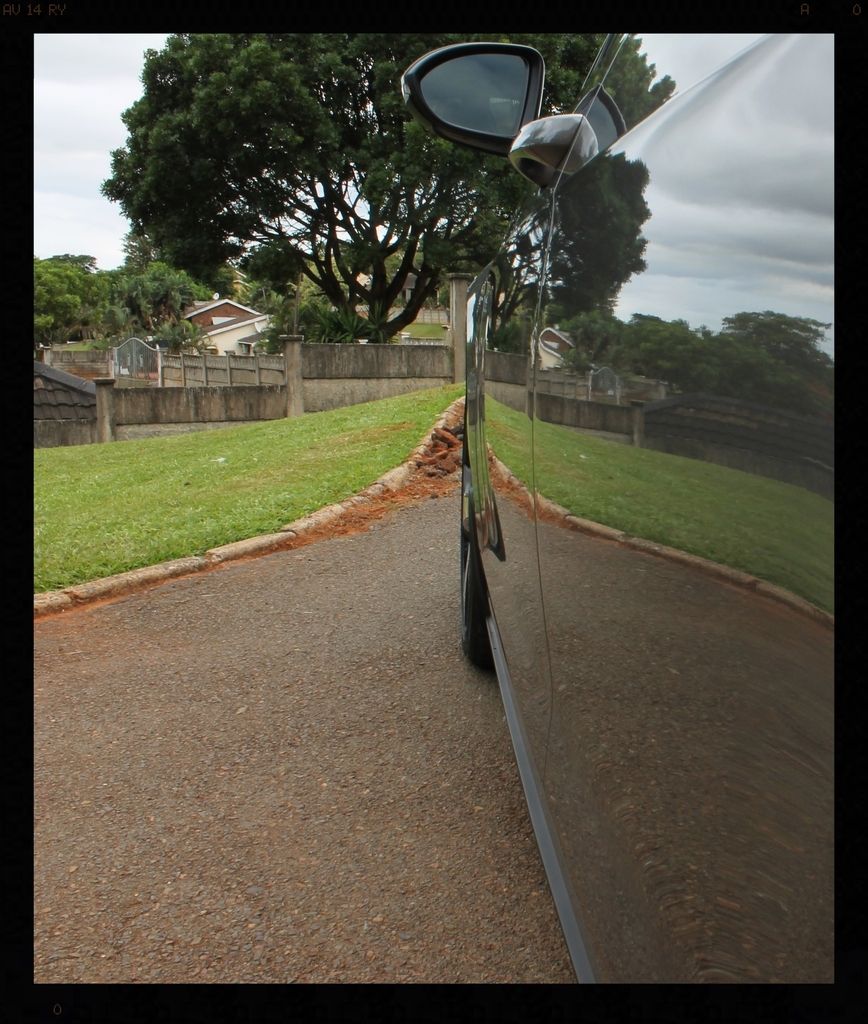
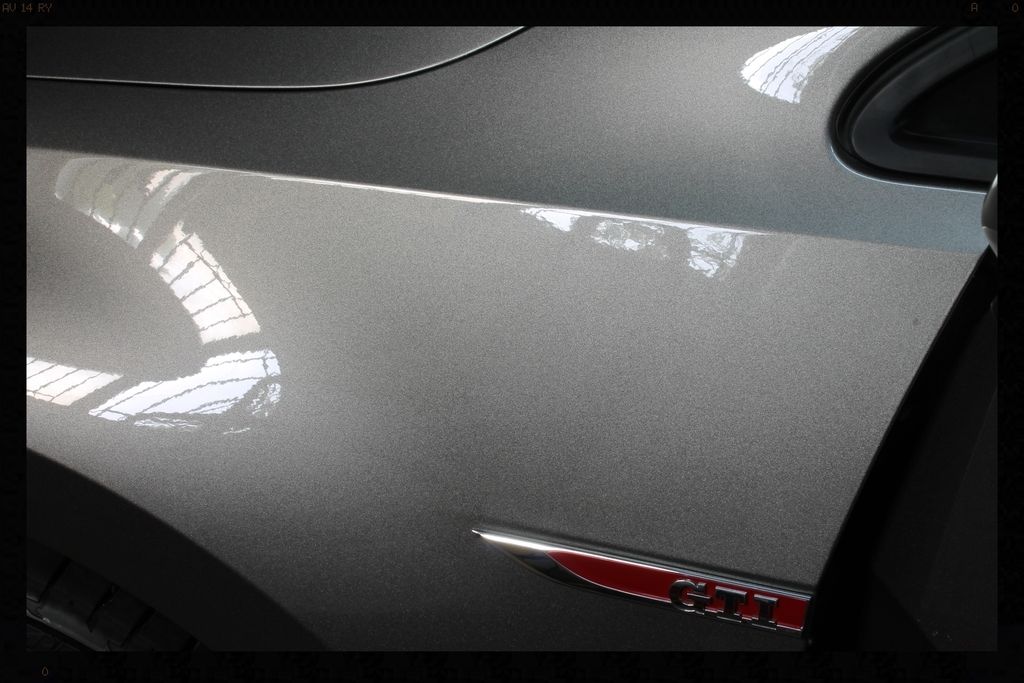
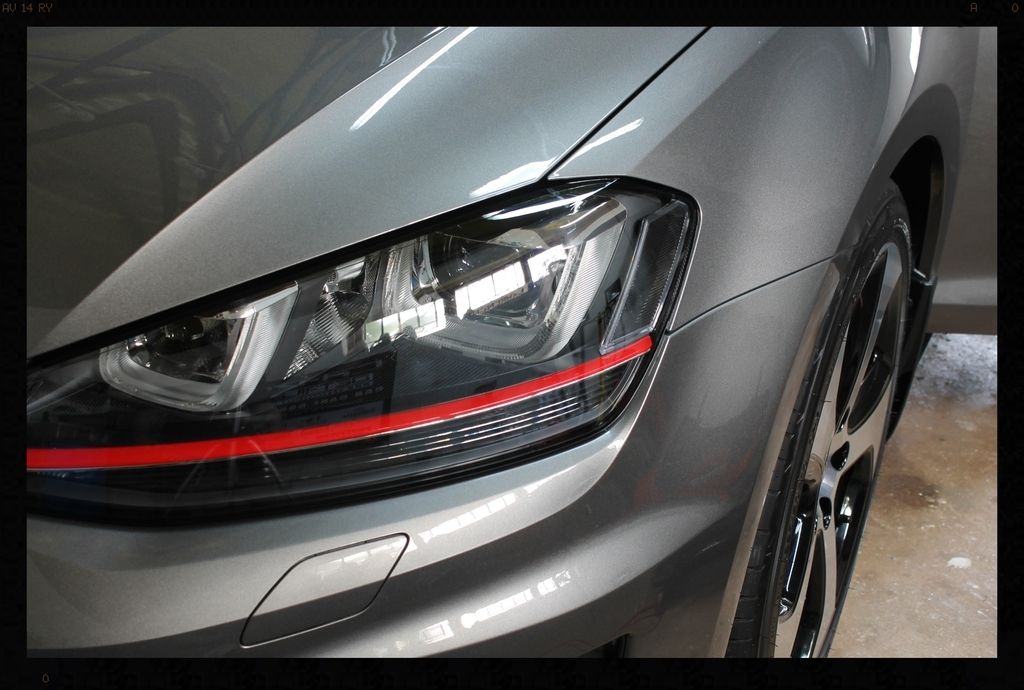
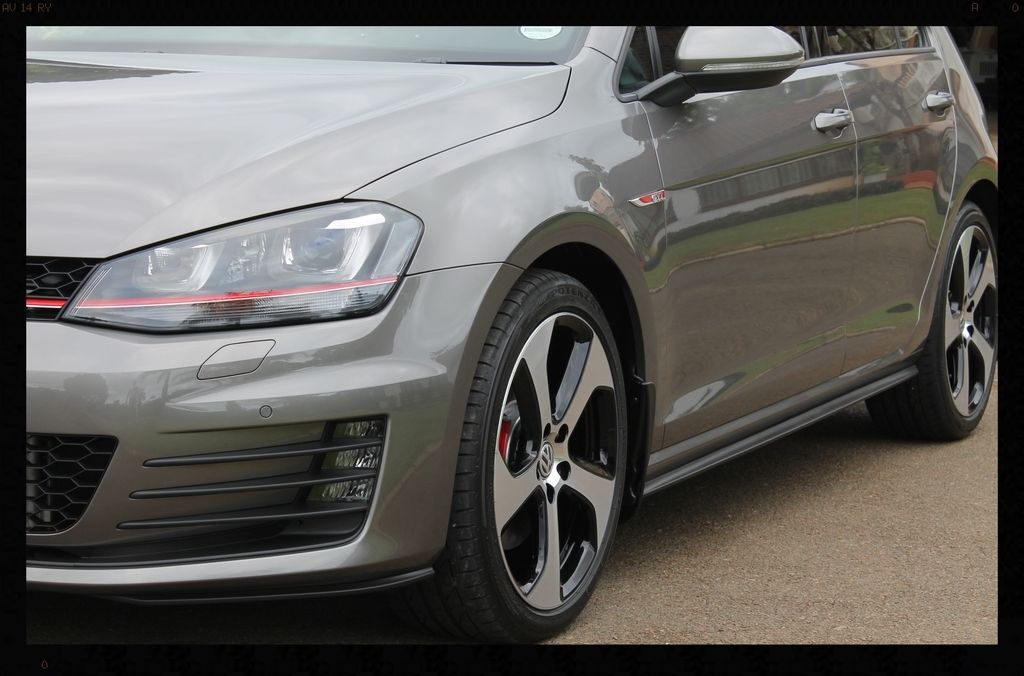
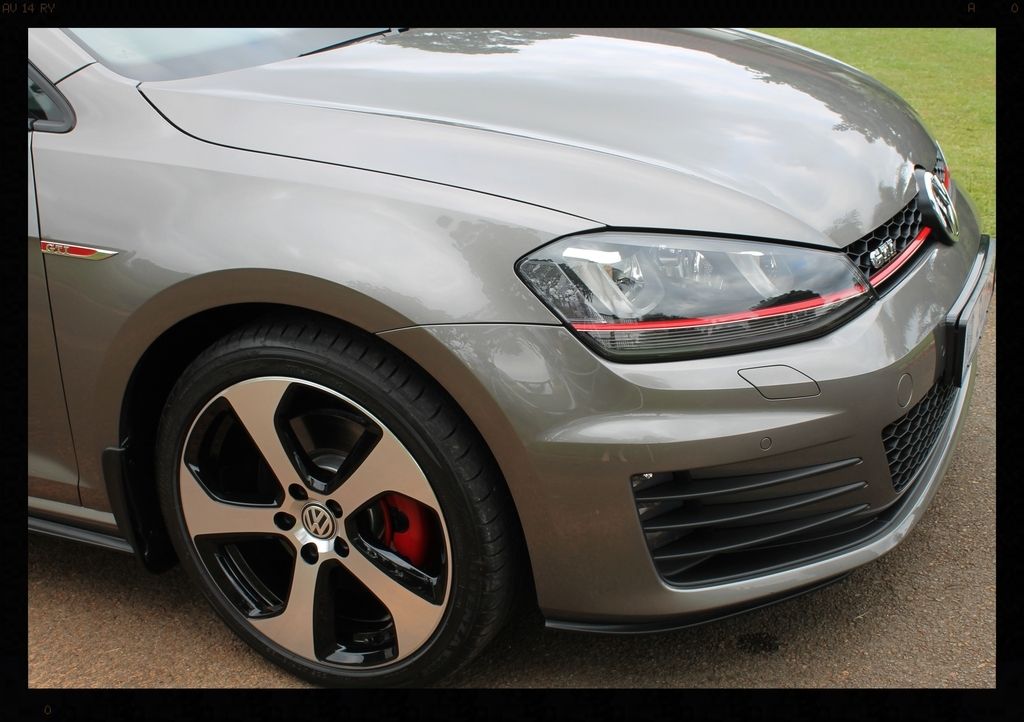
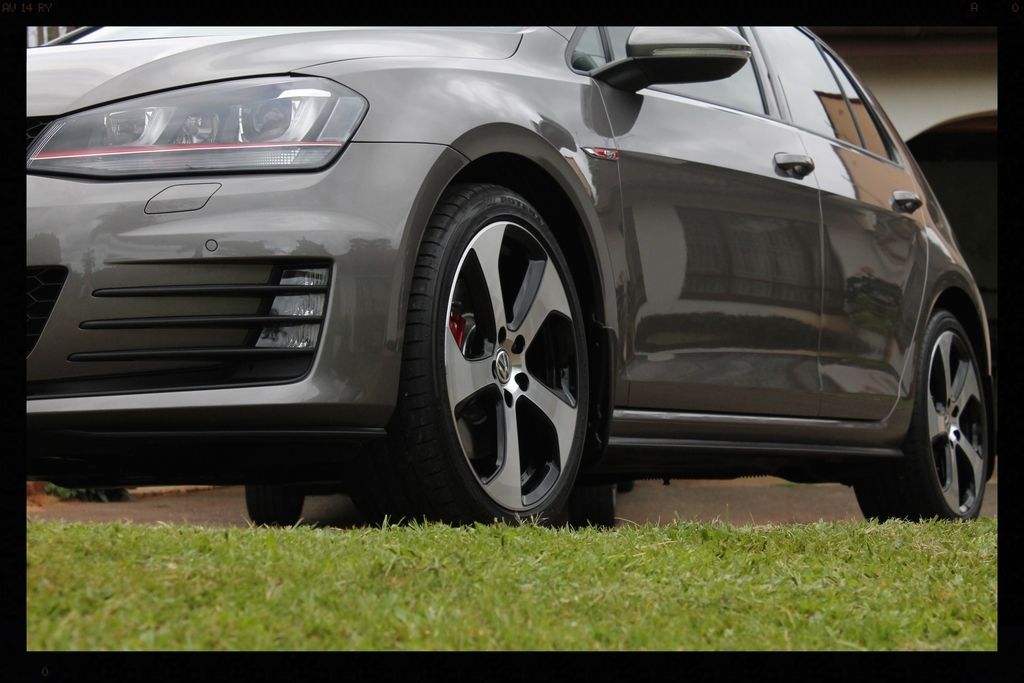
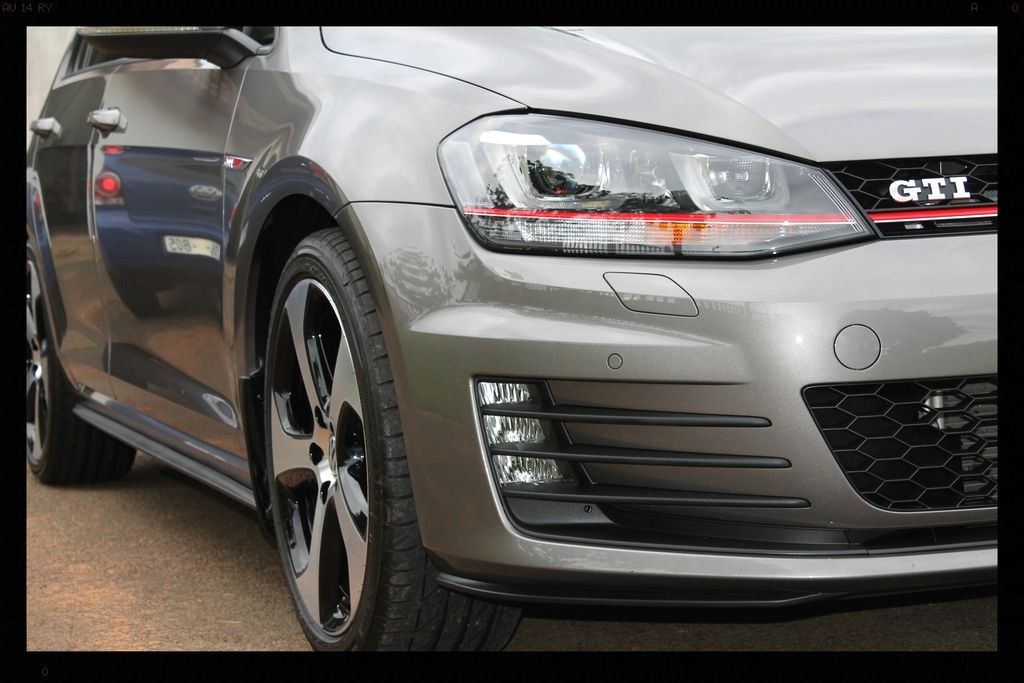
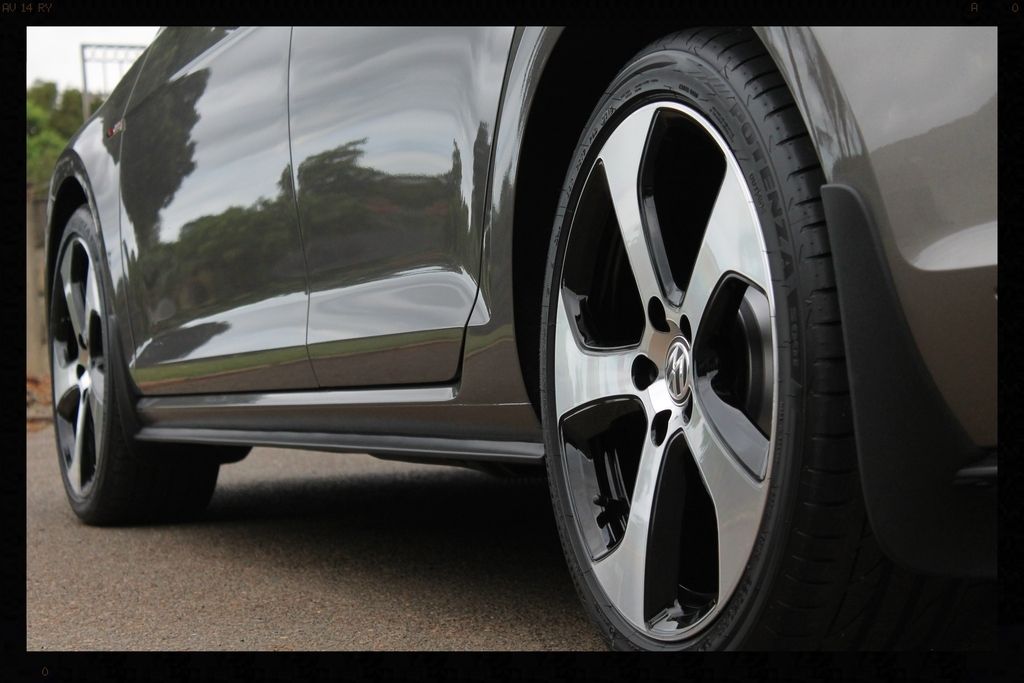
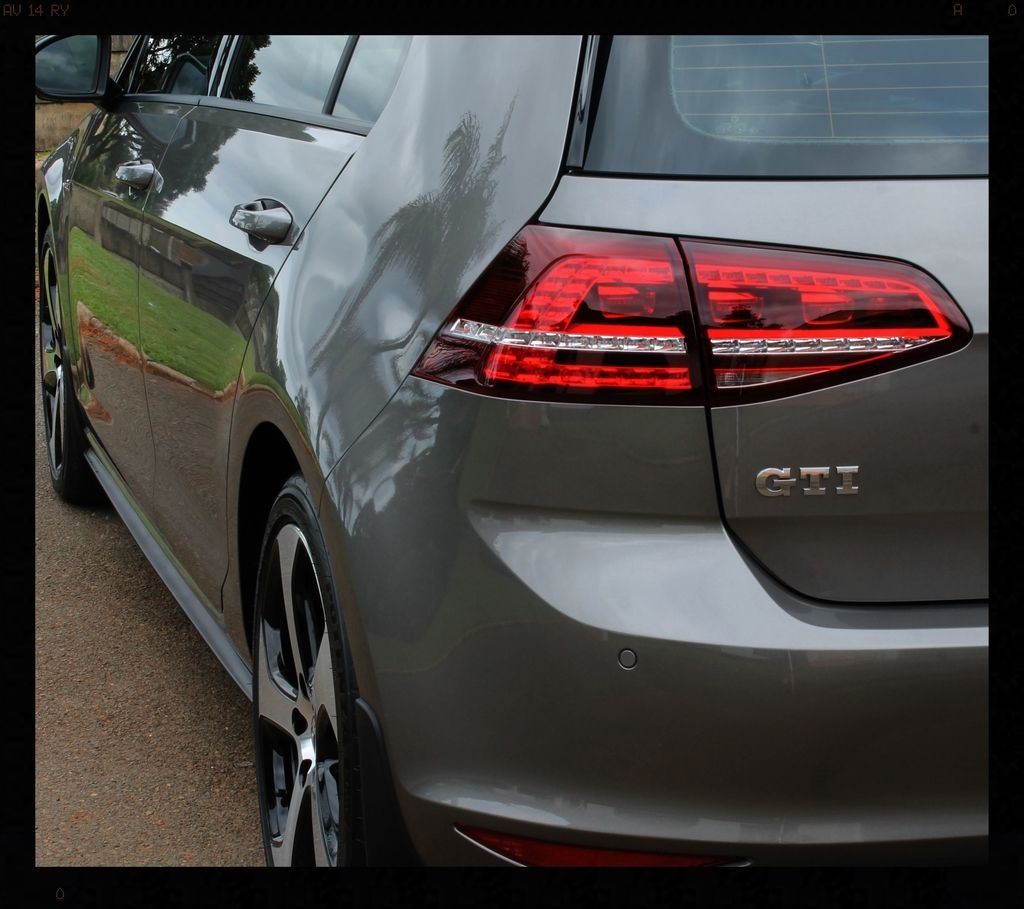
Limestone Grey VW Golf 7 Gti - Detailed by Lawrence
This was a special detail for me.... Not only was it the 100th full detail I have done, but I got to do it on a car I love.
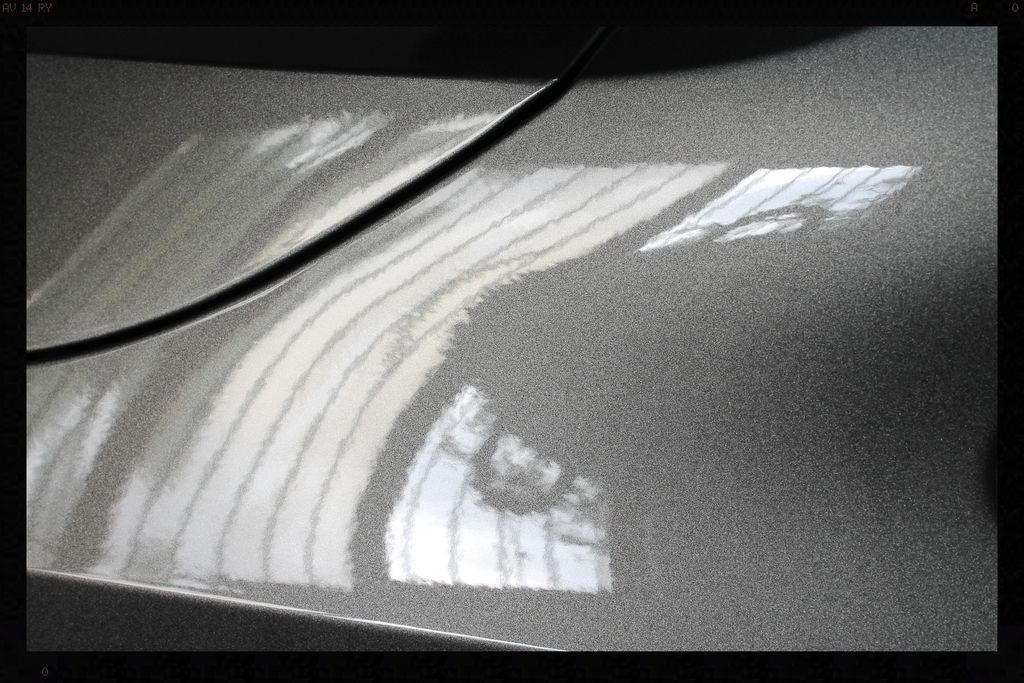
This particular one is still new with less than 6000 km on the clock. The car was dirty when it arrived, but once cleaned the paint was in fairly decent shape, but definitely needed attention. There were not many swirls, but there was some light wash marring, and unfortunately quite a bit of water spots on the bonnet and roof. Contamination was high given the age of the vehicle and the wheels were swirled quite badly, as were the b-pillars.
As always I start with the dirty stuff and progressively work clean....
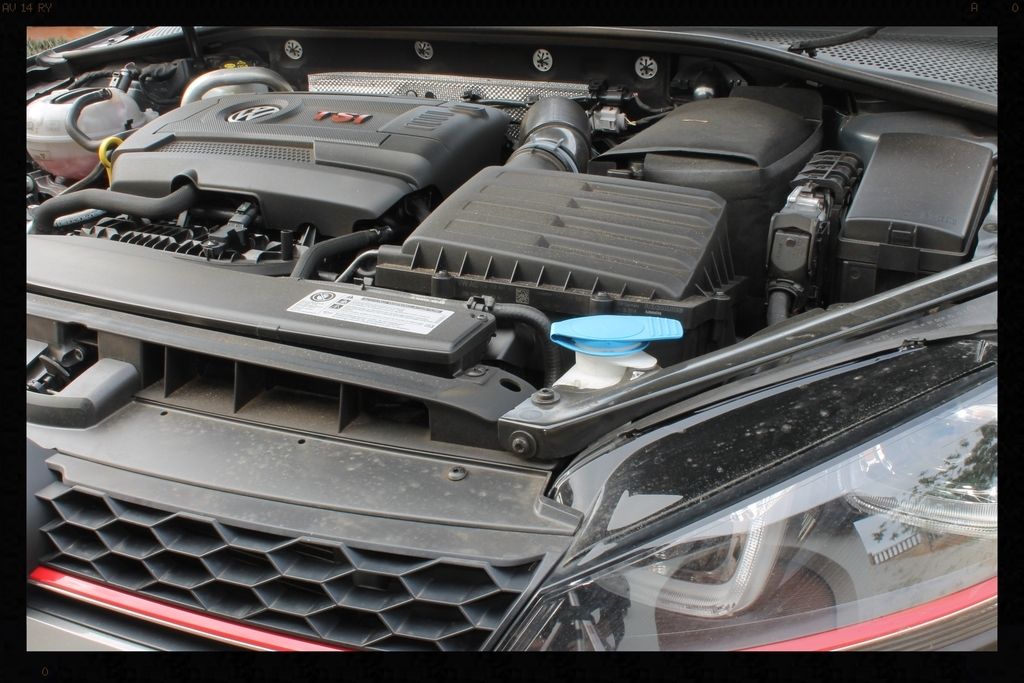
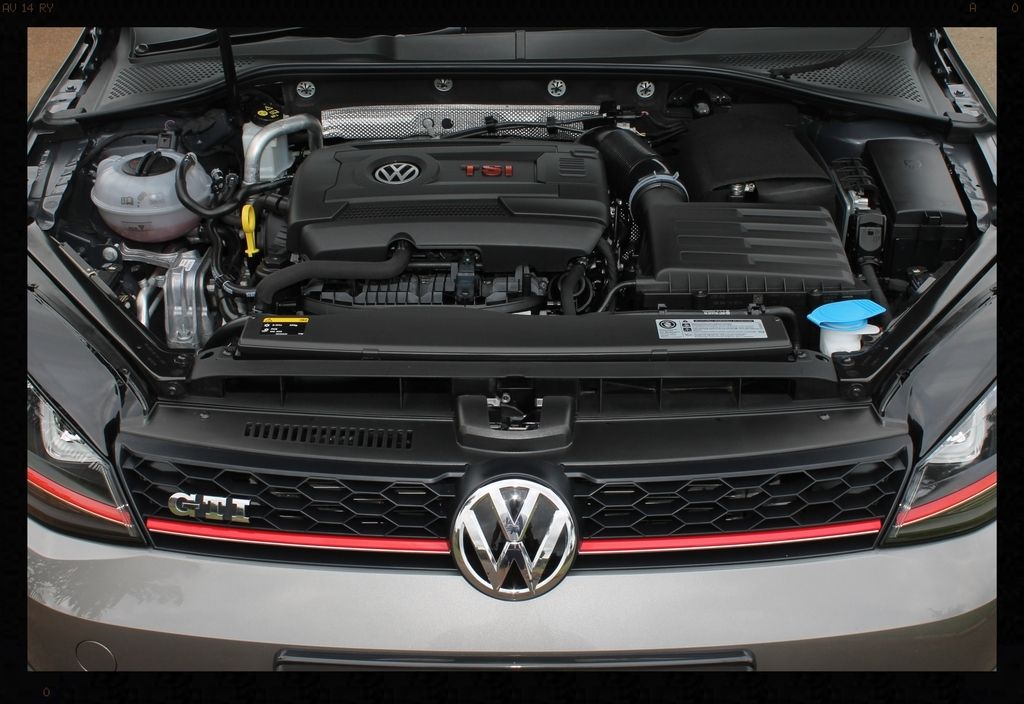
Engine Bay
Clean with Cyclo APC and various brushes and MF towels. Blown dry and protected with Aerospace 303
Before
After
Before
After
Arches
-HP rinse
-Clean with Cyclo APC using a Mothers Fenderwell Brush
-HP rinse
-Dressed with Aerospace 303
Tires
-Clean tires with Valet Pro Billbery Wheel Cleaner @ 1:6 and a Mothers Tire brush.
-HP rinse
-Repeat tire cleaning
-HP rinse
-Dressed with 2 coats of Optimum Tire Sheen 12 hours apart
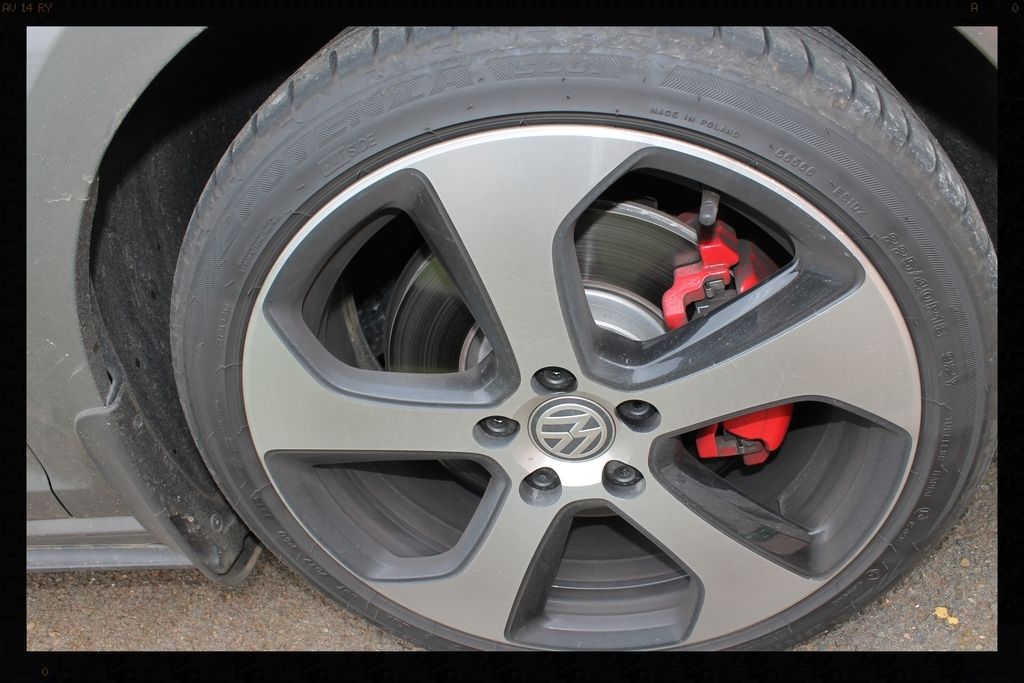
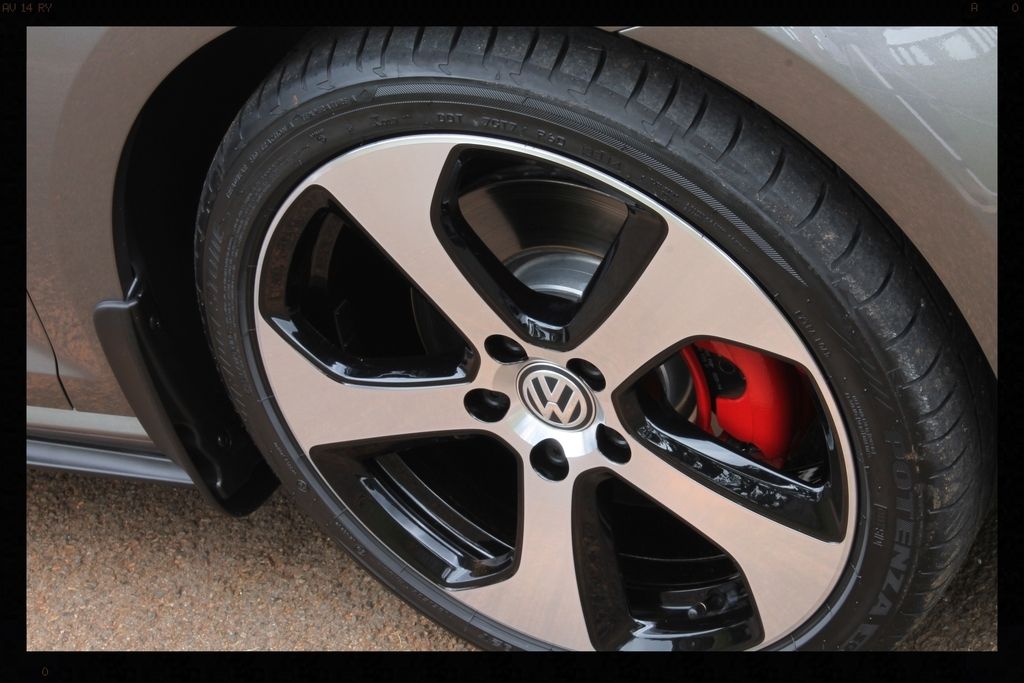
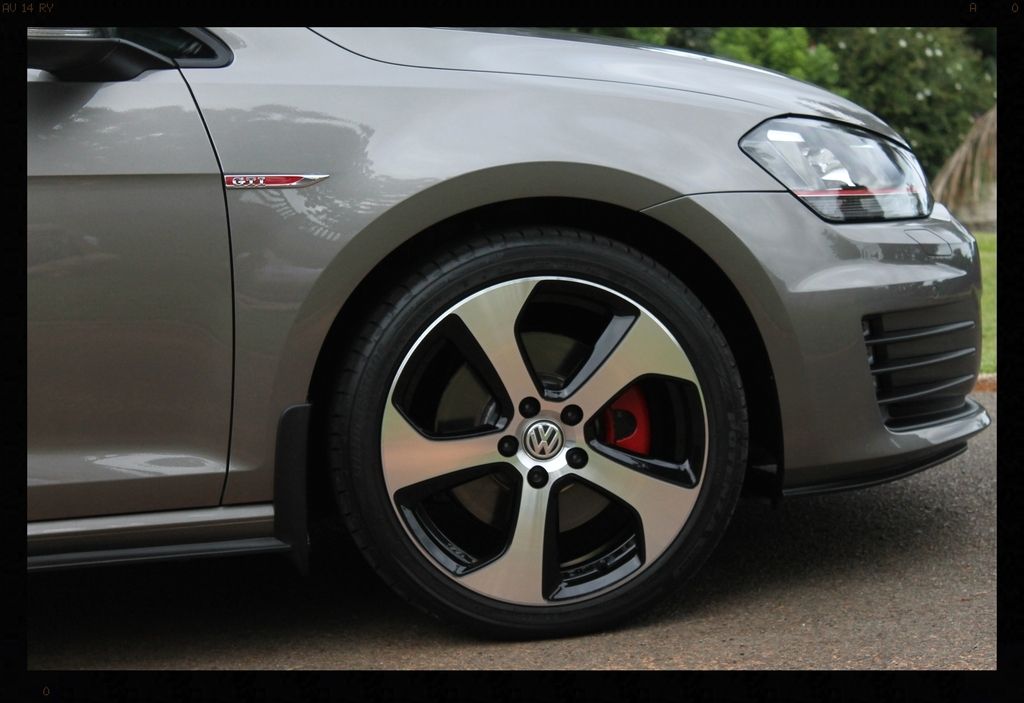
Wheels
-HP rinse
-VP Bilberry Wheel Cleaner @ 1:6, Daytona and Daytona Jnr brushes and Valet Pro Boars Hair Brushes
-HP rinse
-Dry
-Remove tar using VP Citrus Tar Remover
-Spray with APC and HP Rinse
-Dry
-Remove bonded and embedded ferrous contaminants on wheels and brake calipers with Autofinesse Iron Out, Daytona (big and small) brushes and Valet Pro Boars Hair Brushes
-HP Rinse + flood rinse
-Dry
-Polished with Meznerna FG400 and a MF applicator by hand
-Protected with Collinite #845
Before
Before correction
After correction
Completed
Door/Boot Jamb/Petrol Flap
-HP rinse
-Clean with Cyclo APC and Valet Pro Boars Hair Brushes
-HP rinse
-Autofinesse Tripple
How the rest of the car looked
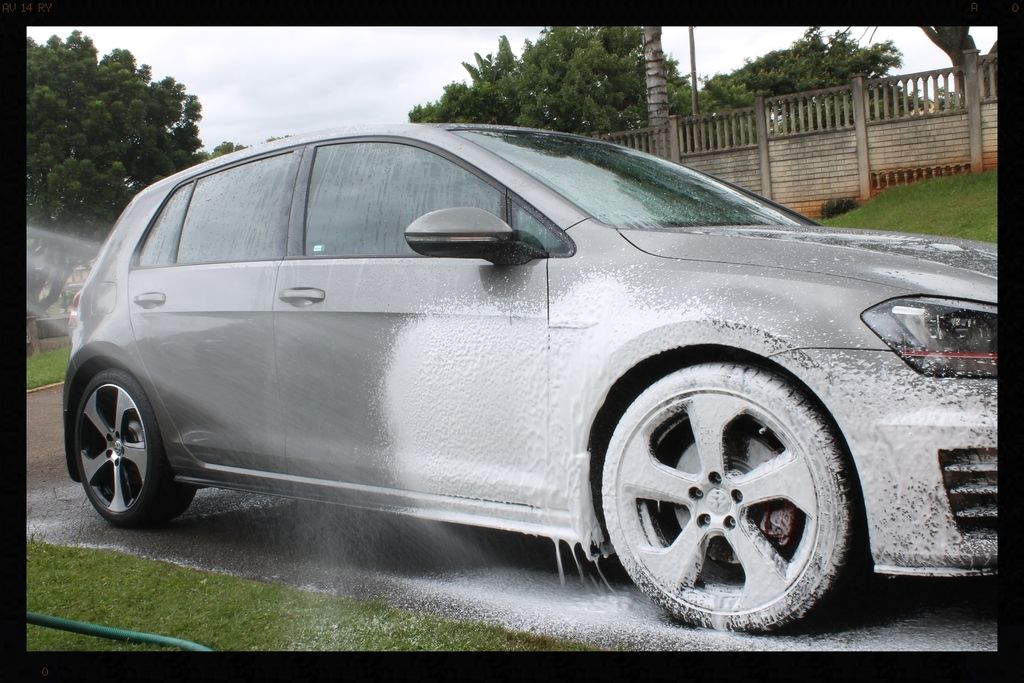
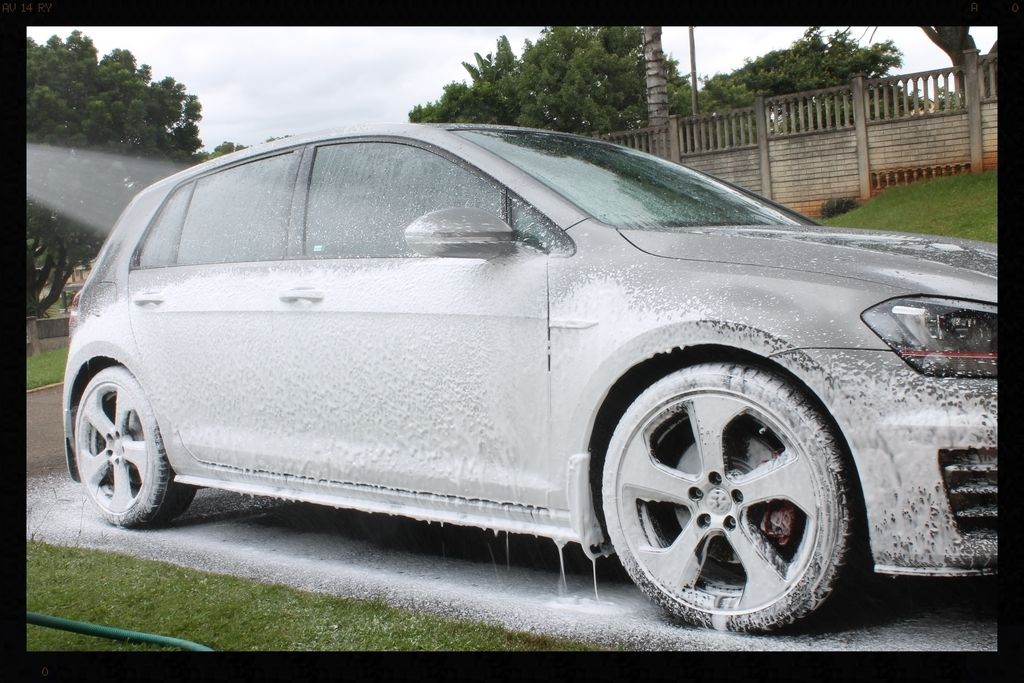
Wash
-HP rinse
-Gyeon Q2M Foam - mixed at 1:5 (1000ml / (5+1) = 167ml foam + 833ml warm water) / MTM Hydro / Karcher K7 .
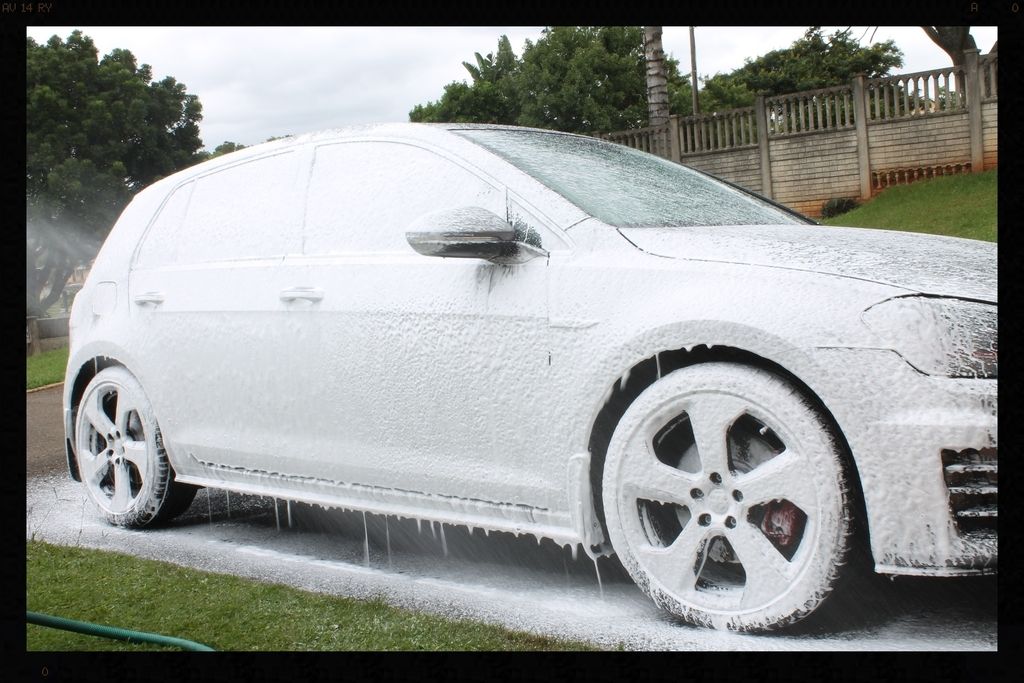
-HP Rinse
-Un-named sample shampoo
-2 Buckets
-Grit Guard
-4 x Lambswool Wash Mitts
-HP rinse
-Flood rinse
-ONR at QD ratio
-Waffle weave drying towels
Decontamination
-Shield Heavy Duty Clay / ONR
Paint correction
Paint Readings
-109µ to 164µ
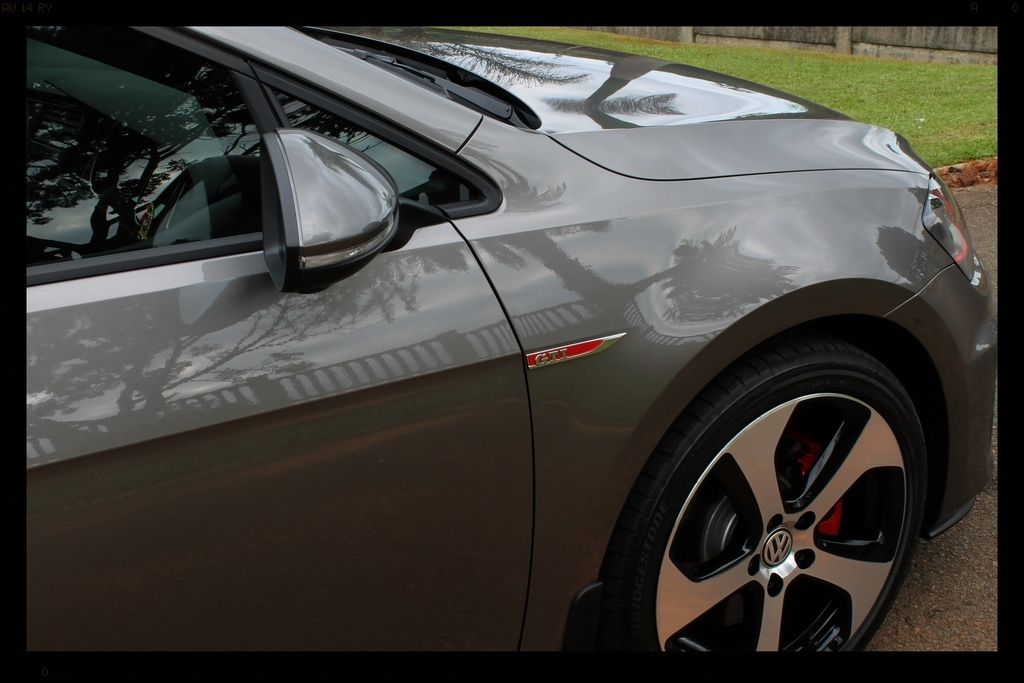
Bumpers
-Flex 3401
-5" Lake Country Hybrid White / Menzerna 3-in-1
Door handles
-Meguiars Ultimate Compound / MF applicator
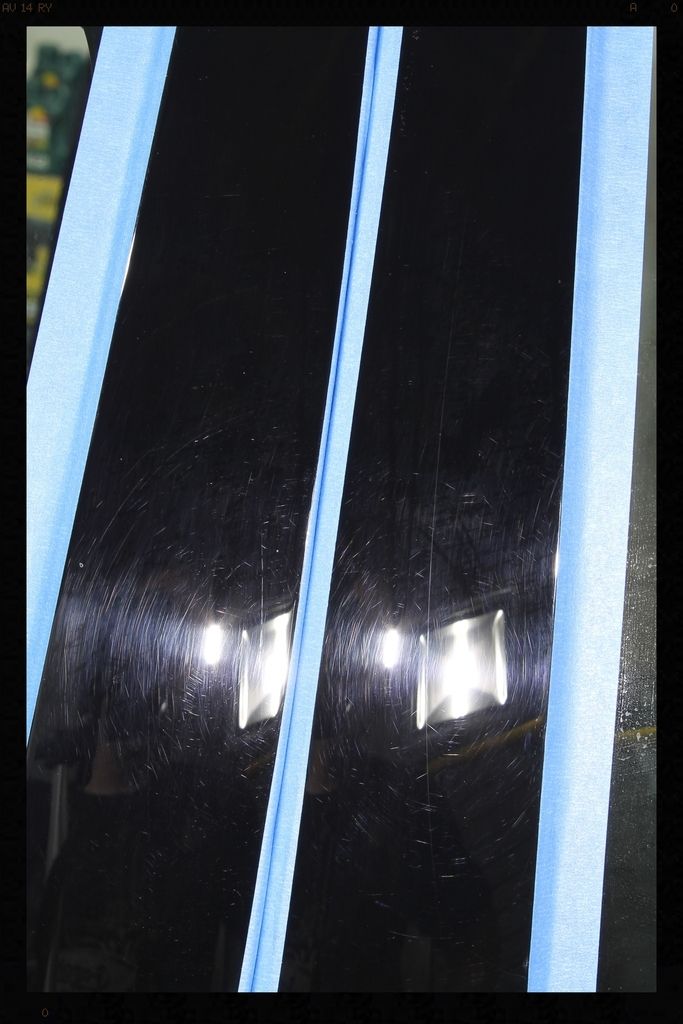
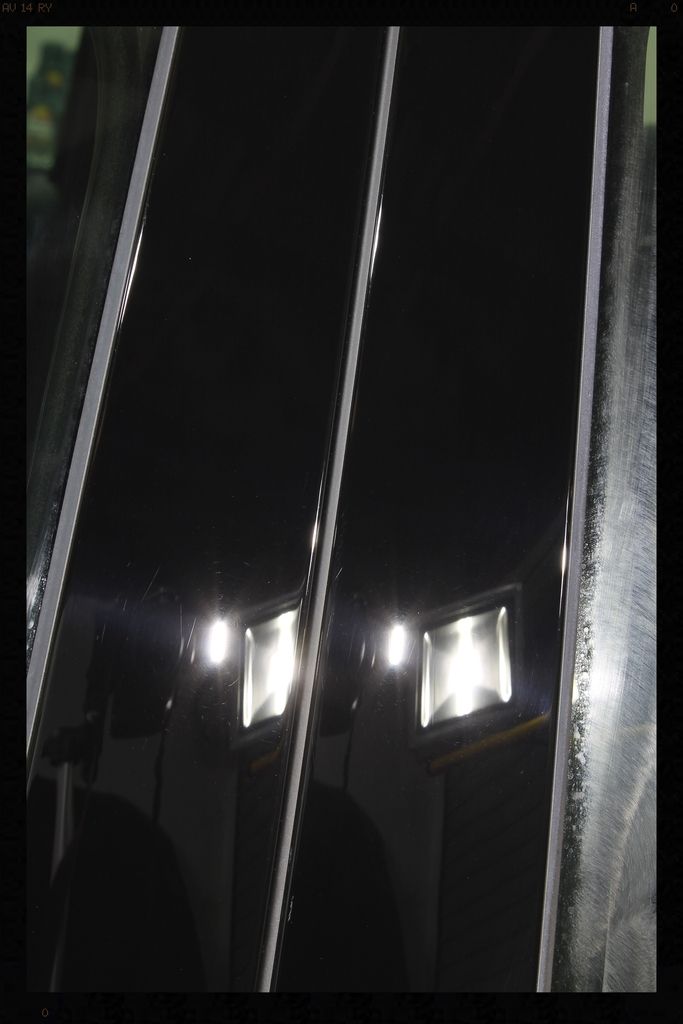
B-pillars
-Shield DA
-Menzerna PF2300
-4.5"Lake Country White
-Menzerna SF4000
-4.5"Lake Country Grey
Before
After
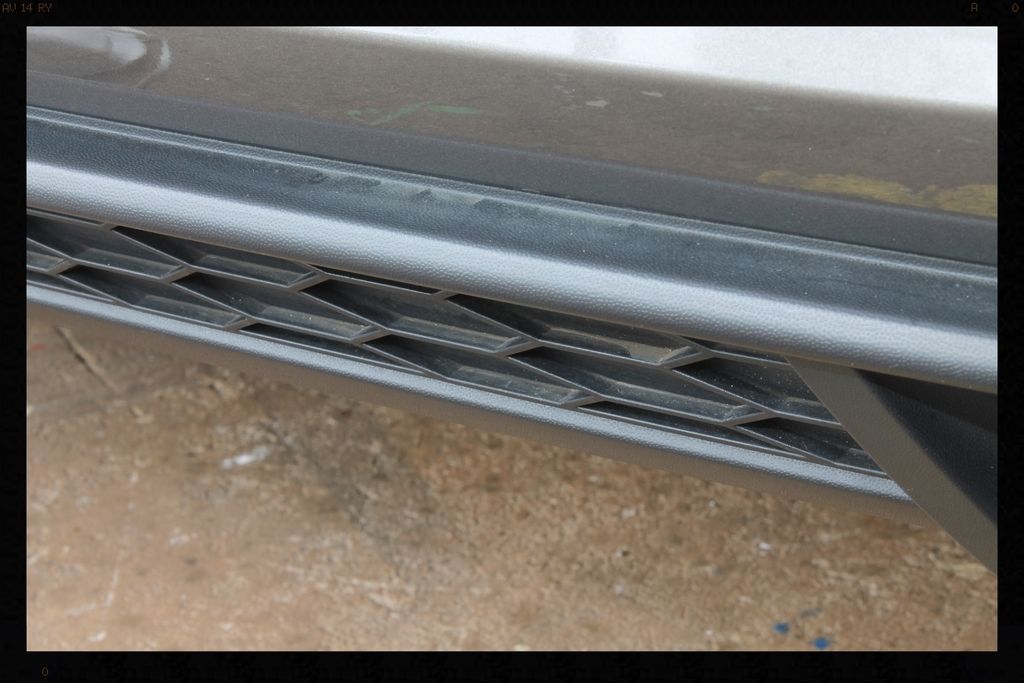
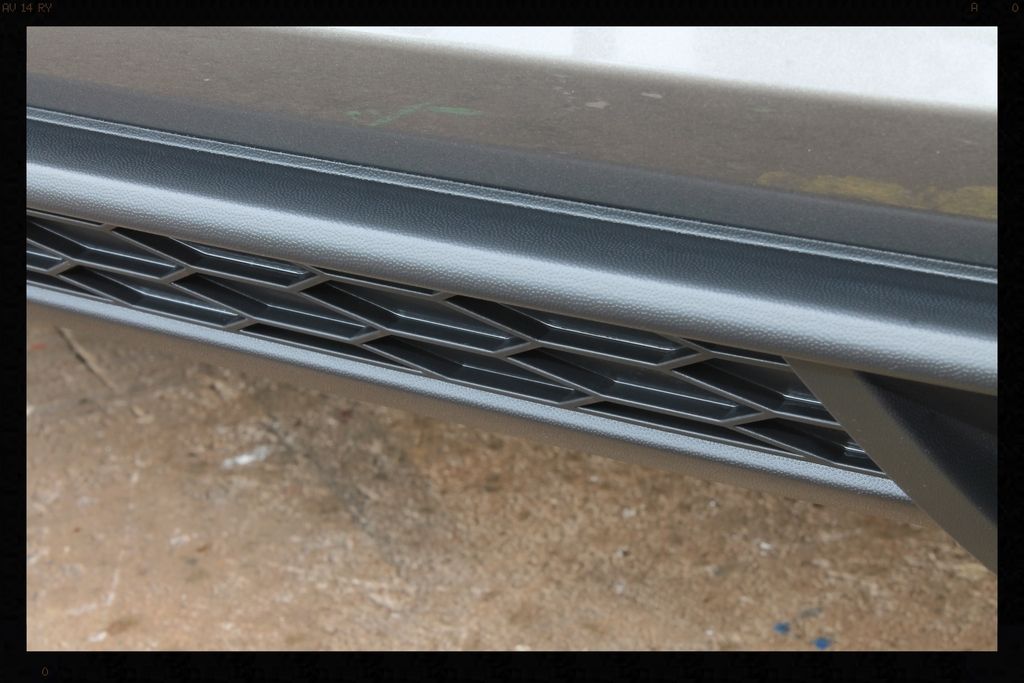
Plastic section around sunroof
-Flex 3401
-5" Lake Country Hybrid White / Menzerna 3-in-1
Remainder of vehicle
-Flex 3401
-6.5" and 5" Lake Country Hybrid White / Menzerna SF4000
Before
After
Before
During
After
Inspection/Pre-Sealant Cleanse
-Gyeon Prep
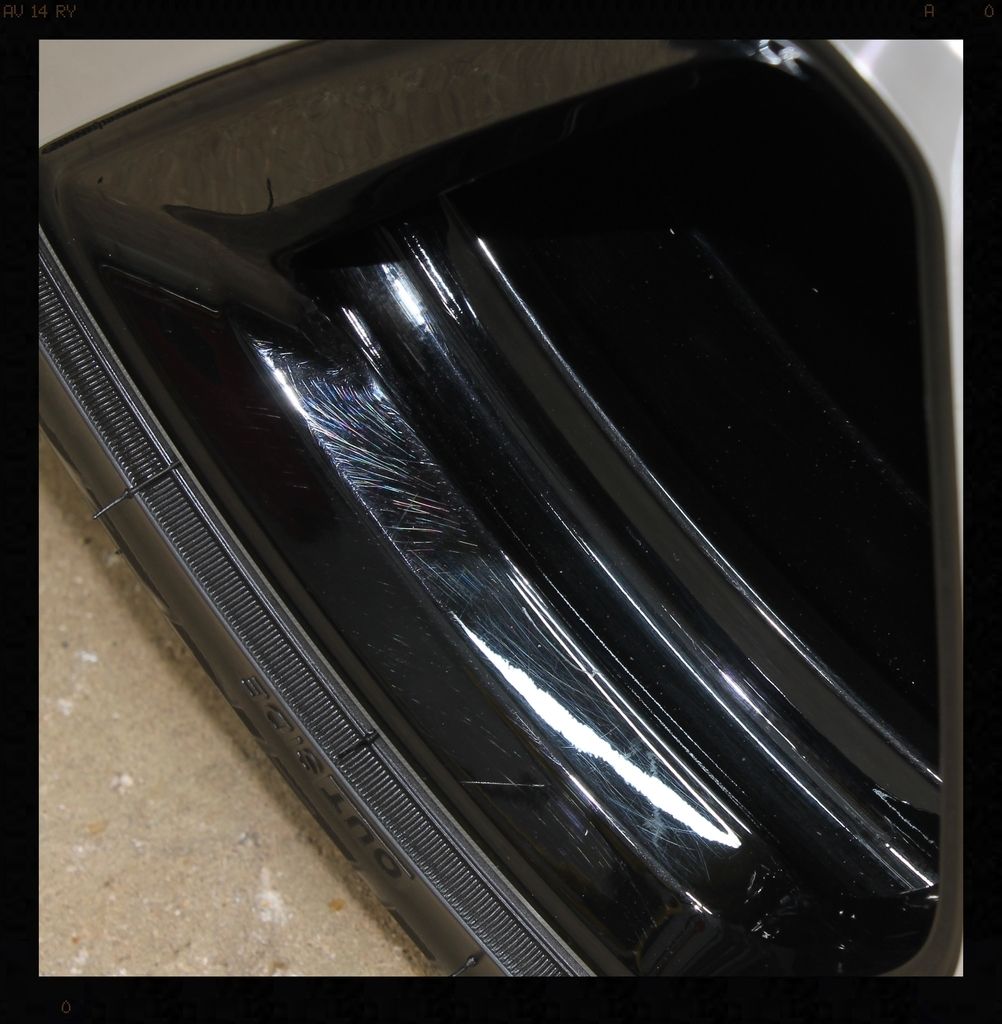
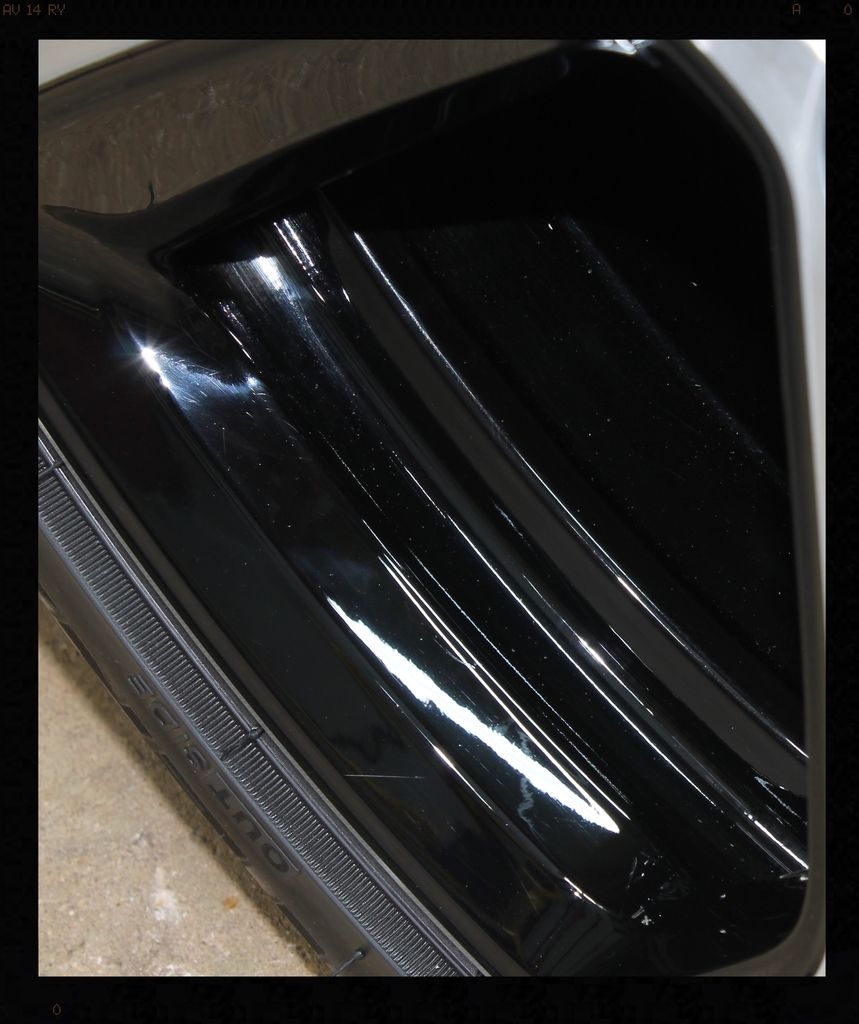
Tailights
-Flex 3401
-Menzerna PF2300
-5"Lake Country Hybrid White
Protection
-Menzerna Powerlock
-2 Coats Chemical Guys Pete's 53
Glass
-Shield Heavy Duty Clay / ONR
-Glossworx Glass Cleaner
-Wynns C-Thru
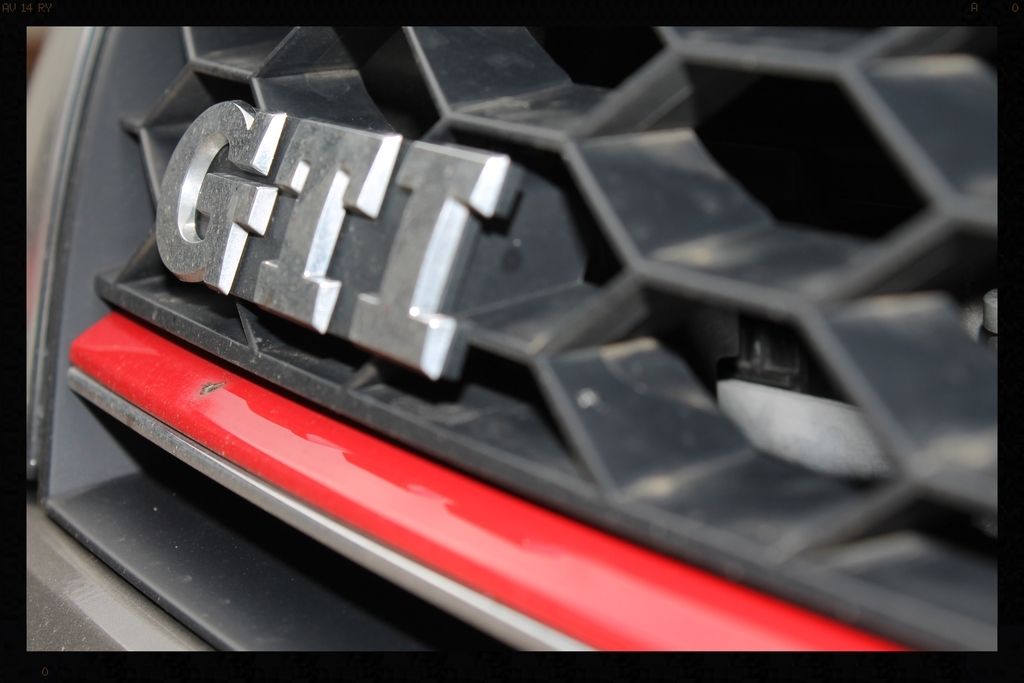
Badges
-Autofinesse Tripple
-Cotton buds
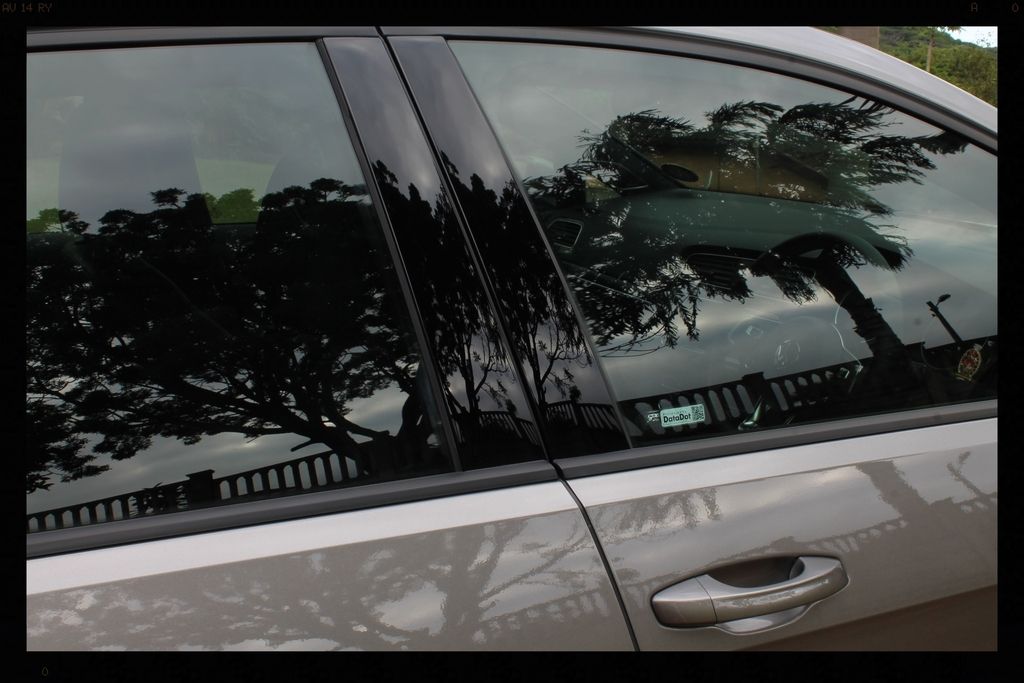
Door rubbers, window rubbers, exterior plastic trim
- Cleaned using Shield Heavy Duty Vinyl and Rubber Cleaner
- Protected using Aerospace 303
Before
After
Interior
-Blower
-Autofinesse Spritz
-Autofinesse Hide
-Collinite #855
-Vacuum (Flex)
Badges
-Autofinesse Tripple
-Cotton buds
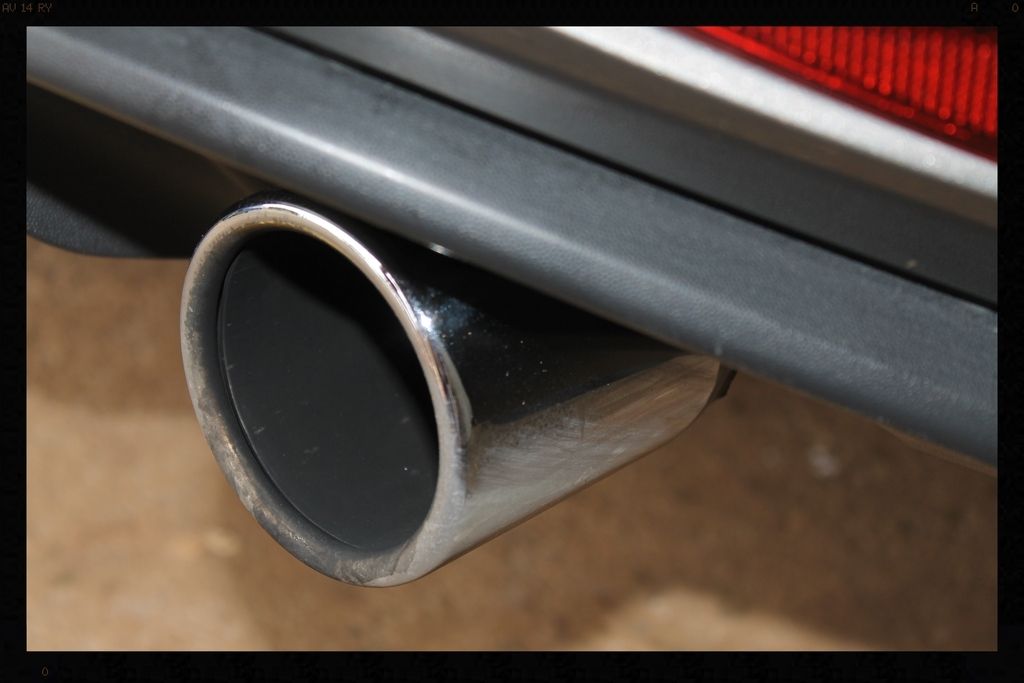
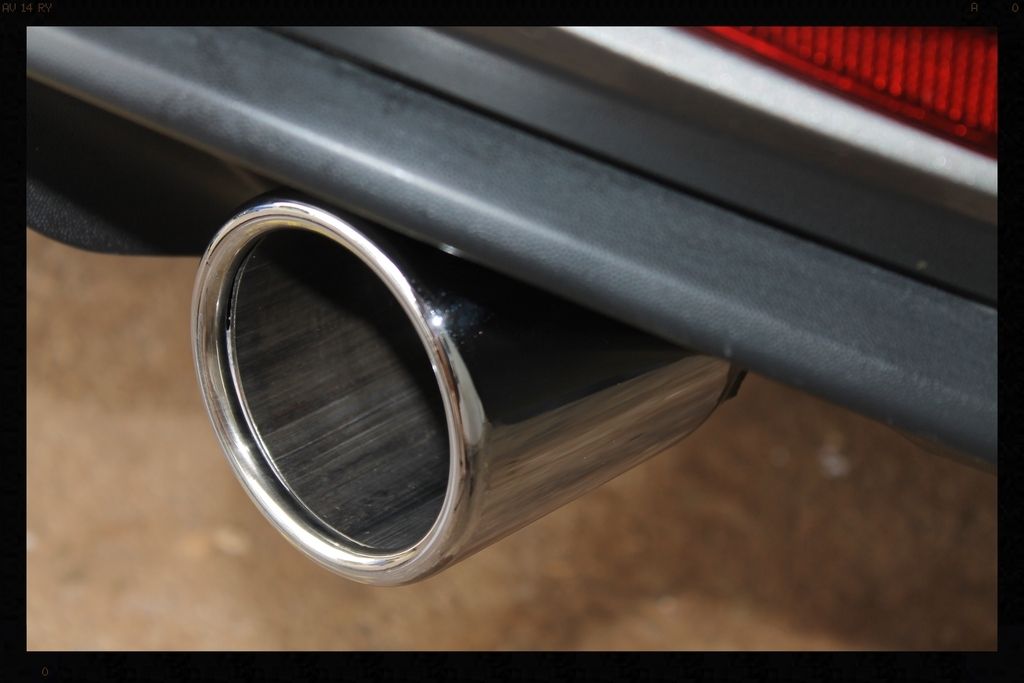
Exhaust Tips
-Menzerna Polishing Cream
Before
After
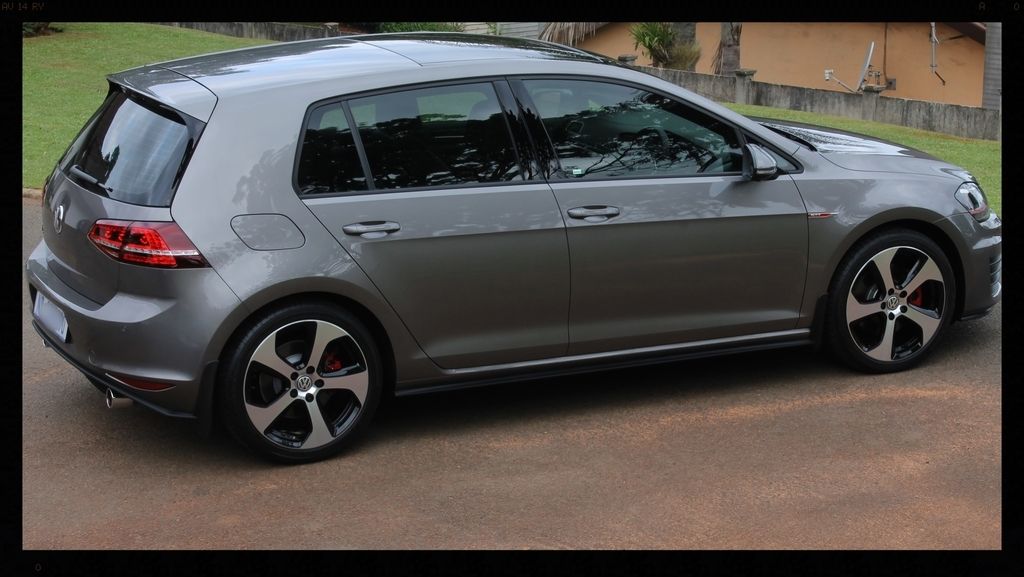
Finished pics

Total time spent = 27 hours
Thanks for looking and as always and comments or questions are welcome.
:hi:
-
Super Member

Re: Limestone Grey VW Golf 7 Gti - Detailed by Lawrence
-
Super Member

Re: Limestone Grey VW Golf 7 Gti - Detailed by Lawrence
Amazing work again Lawrence! Your work and pics are fantastic my friend
-
Re: Limestone Grey VW Golf 7 Gti - Detailed by Lawrence
-
Super Member

Re: Limestone Grey VW Golf 7 Gti - Detailed by Lawrence
Great looking car!!
I love this post as it is the same car that I just did haha. Just beautiful, Limestone was my original order but got delayed.
Why did you tape up the edges on the hood if you don't mind me asking? I guess this is another one of those small areas I mentioned in my post. Did you also tape the panels above the windows?
Once you remove the tape, do you polish the previously taped up areas by hand and a applicator pad?
One last thing, For the exhausts, do you just use a mf applicator and scrub? Including the insides? I was a bit afraid of going into the exhausts, and even the outside would not clean as well. I used meguiars NXT metal polish and white terry cloth applicator pad. 
Apologies for all the questions, as this is the very car I worked on I feel you are the best person to ask
Thanks
-
Super Member
Re: Limestone Grey VW Golf 7 Gti - Detailed by Lawrence
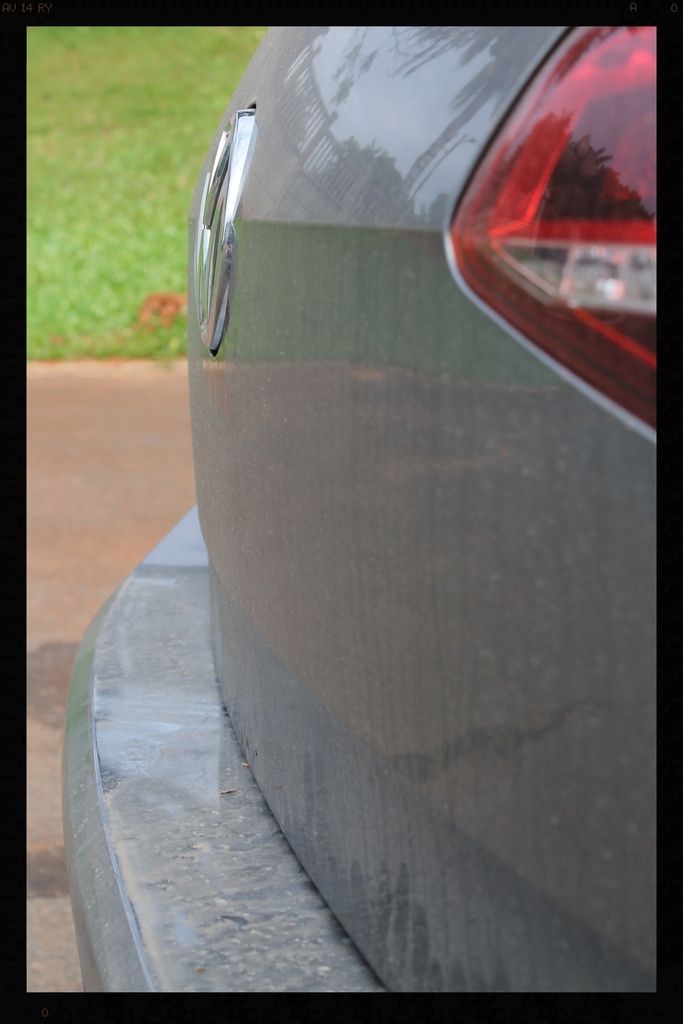
The small thin sections I was talking about in my post, are the 2 inch thin strip on the bottom of the front bumper, 2 inch strip on the rear bumper above the sensors. Did you do this by hand as you suggested?
-
Super Member

Re: Limestone Grey VW Golf 7 Gti - Detailed by Lawrence
-
Super Member
Re: Limestone Grey VW Golf 7 Gti - Detailed by Lawrence
 Originally Posted by FrankS

Nice work Lawrence!
Originally Posted by Sicoupe
Amazing work again Lawrence! Your work and pics are fantastic my friend
Originally Posted by noslef
Great work as usual!
Thank you all very much 
Originally Posted by emmjaygti
Why did you tape up the edges on the hood if you don't mind me asking?
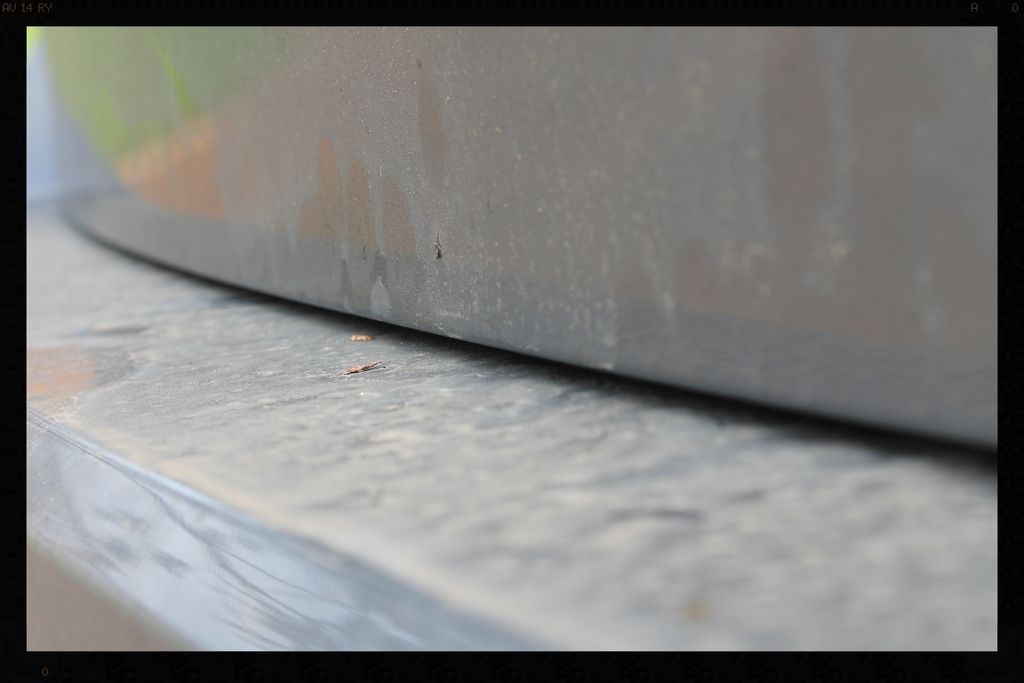
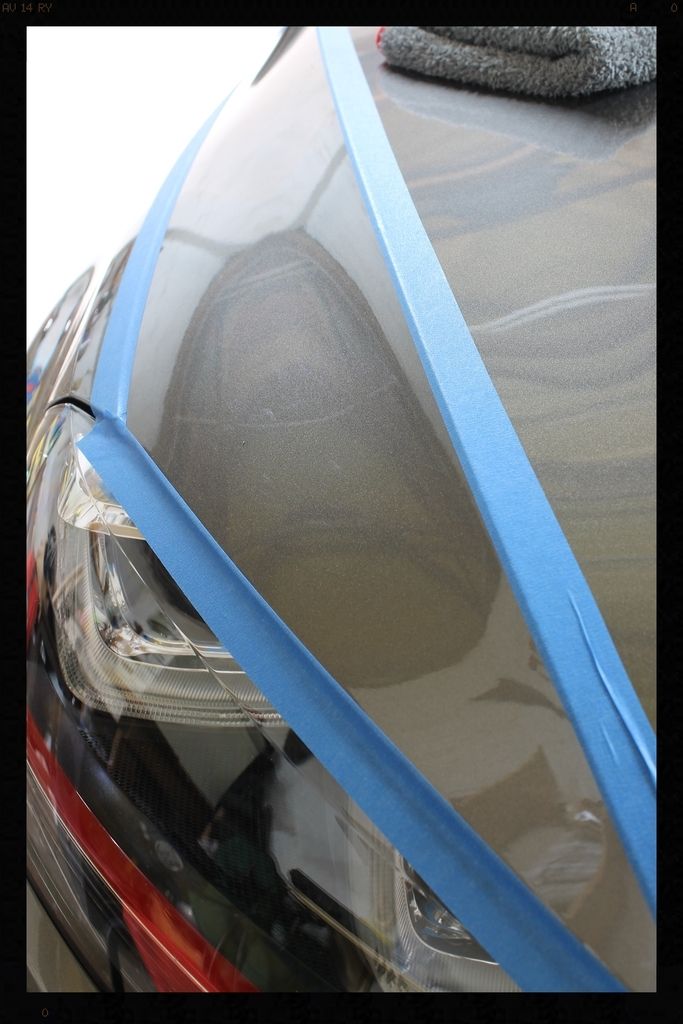
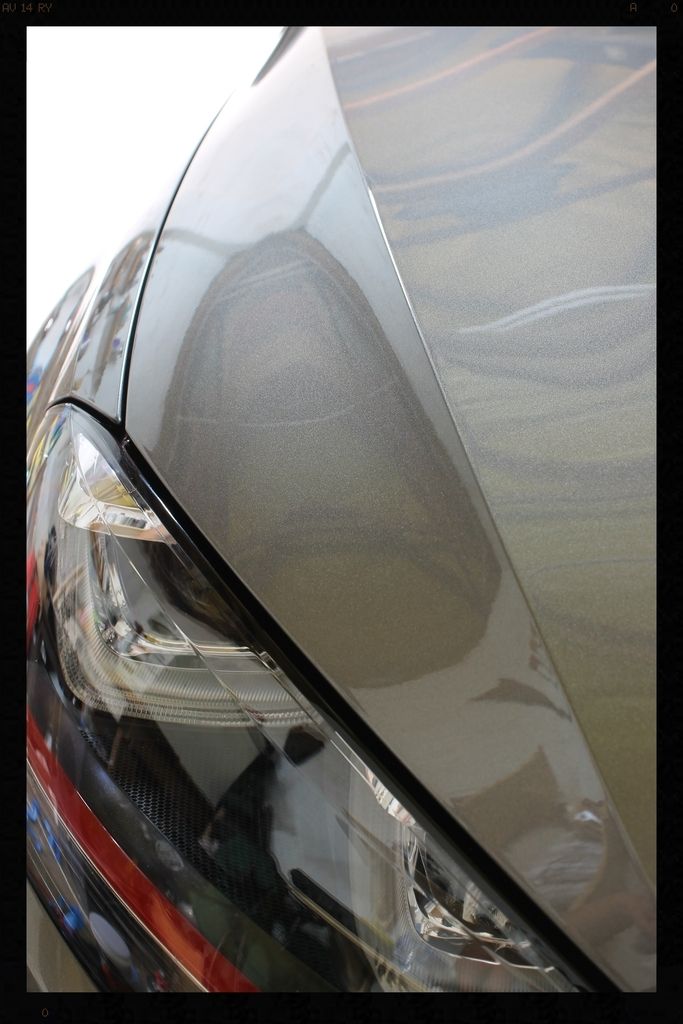
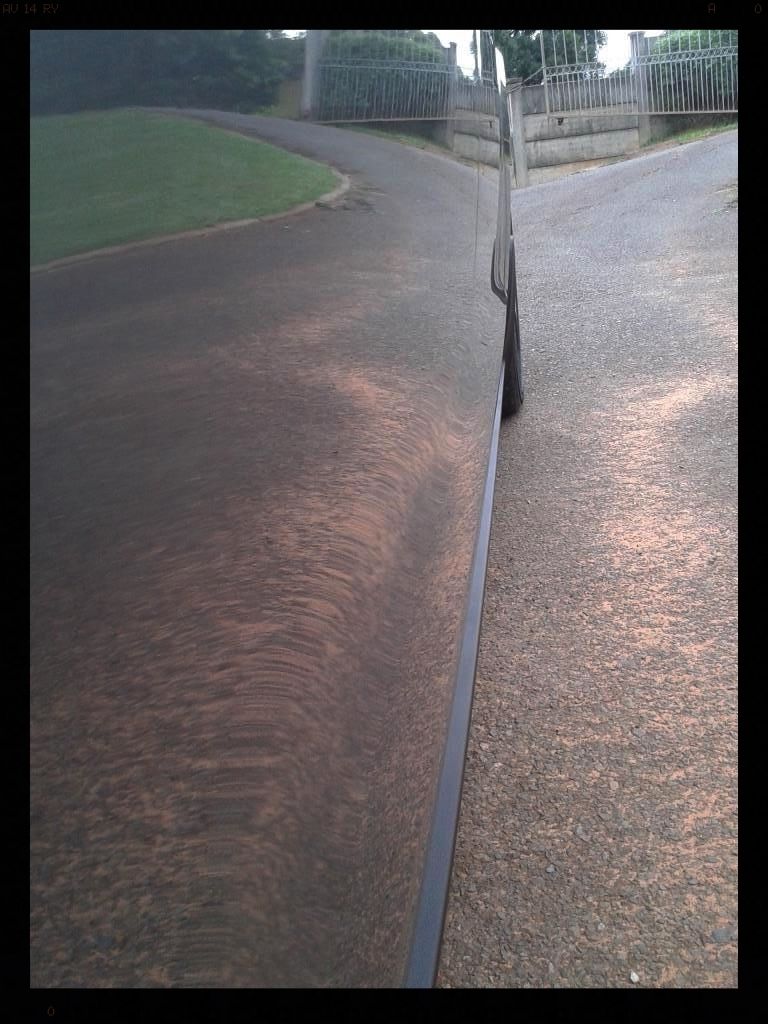
The picture doesn't show it that well, but as you know, the tape running along the right side of this pic is sitting on what is a very sharp body line.
When painted it seems logical to me that the paint would, when still fluid, succumb to gravity and thus run off the ridge, leaving you with less to work with.
Then if you think about the fact that you have x work being done (a combo of machine power, abrasive, pad, pressure being used, machine speed etc) over the whole pad surface area when polishing a flat panel with all the pad face in contact with the paint, then if you had to polish over that raised body line, the working area decreases dramatically, thereby increasing the 'work' being done.
In other words, you will abrade paint off at a quicker rate over that sharp area.recently I held a little demo day for some members of a local car club and used a BMW bonnet to mess around on - it too has a raised body line on the bonnet (hood to you guys)... although not as pronounced. I intentionally tried to burn through the edge to show them what would happen if you spent time running the polisher over such a place...
It happened a lot quicker than I thought it would, using both the Flex 3401 and a normal free floating spindle DA and so I try to avoid polishing over them. I would rather be safe than sorry....
Originally Posted by emmjaygti
Did you also tape the panels above the windows?
Yes. As above, wherever there are sharp edges I tape off. It adds some time to the process, and when using lighter cut polishes, perhaps it borders on the AR side of things.... but that it is the work I do. Try to get the car looking as good as I can while leaving as much paint as I can everywhere.
Originally Posted by emmjaygti
Once you remove the tape, do you polish the previously taped up areas by hand and a applicator pad?
I try to run the tape around 1mm from the edge into the panel I am polishing - at this width I think it becomes very difficult to see any below surface defects as the light tends to shine 'brightly' off the sharp edge, washing out anything you might otherwise have seen.
So generally speaking I think having paint there is more important to me than have 100% perfect paint on a daily driver.
But as with every detail, you have to let the paint guide you. If I was to tape off and noticed a distinct line after polishing that detracted from the look, then I would have to adjust my method to obtain the desired result, and may have to polish that area.
Originally Posted by emmjaygti
One last thing, For the exhausts, do you just use a mf applicator and scrub? Including the insides? I was a bit afraid of going into the exhausts, and even the outside would not clean as well. I used meguiars NXT metal polish and white terry cloth applicator pad.
I should have actually included more detail in that section. What I left out was that I first sprayed some APC onto the outside and inside of the tips, let it dwell a bit, then agitated the inside with an old soft bristled toothbrush. Then I used an old *but clean* MF Towel to wipe out that dirt residue.
Repeat if need be until they are clean. That way when you begin the polishing process, you have reduced the risk of grinding hard stuff back into the exhaust which should also help improve the finish.
Originally Posted by emmjaygti
Apologies for all the questions, as this is the very car I worked on I feel you are the best person to ask
You don't have to apologise for asking questions - it is how we all learn. 
Originally Posted by emmjaygti
The small thin sections I was talking about in my post, are the 2 inch thin strip on the bottom of the front bumper, 2 inch strip on the rear bumper above the sensors. Did you do this by hand as you suggested?
Yes I did these by hand
-
Super Member
Re: Limestone Grey VW Golf 7 Gti - Detailed by Lawrence
Thank you so much for the replies!! I really appreciate it man!
This gives a better idea of what I did wrong and what to avoid in the future.
You're the best
-
Super Member

Similar Threads
-
By lawrenceSA in forum Show N' Shine
Replies: 20
Last Post: 07-24-2016, 06:06 PM
-
By lawrenceSA in forum Show N' Shine
Replies: 16
Last Post: 02-03-2016, 09:17 AM
-
By lawrenceSA in forum Show N' Shine
Replies: 22
Last Post: 07-29-2015, 01:50 PM
-
By lawrenceSA in forum Show N' Shine
Replies: 11
Last Post: 11-26-2013, 01:41 AM
-
By lawrenceSA in forum Show N' Shine
Replies: 13
Last Post: 06-12-2013, 01:23 AM
 Members who have read this thread: 0
There are no members to list at the moment.
Posting Permissions
- You may not post new threads
- You may not post replies
- You may not post attachments
- You may not edit your posts
-
Forum Rules
|
| S |
M |
T |
W |
T |
F |
S |
| 31 |
1
|
2
|
3
|
4
|
5
|
6
|
|
7
|
8
|
9
|
10
|
11
|
12
|
13
|
|
14
|
15
|
16
|
17
|
18
|
19
|
20
|
|
21
|
22
|
23
|
24
|
25
|
26
|
27
|
|
28
|
29
|
30
| 1 | 2 | 3 | 4 |
|


 Reply With Quote
Bookmarks