 Thanks: 0
 Likes: 0
 Dislikes: 0
-
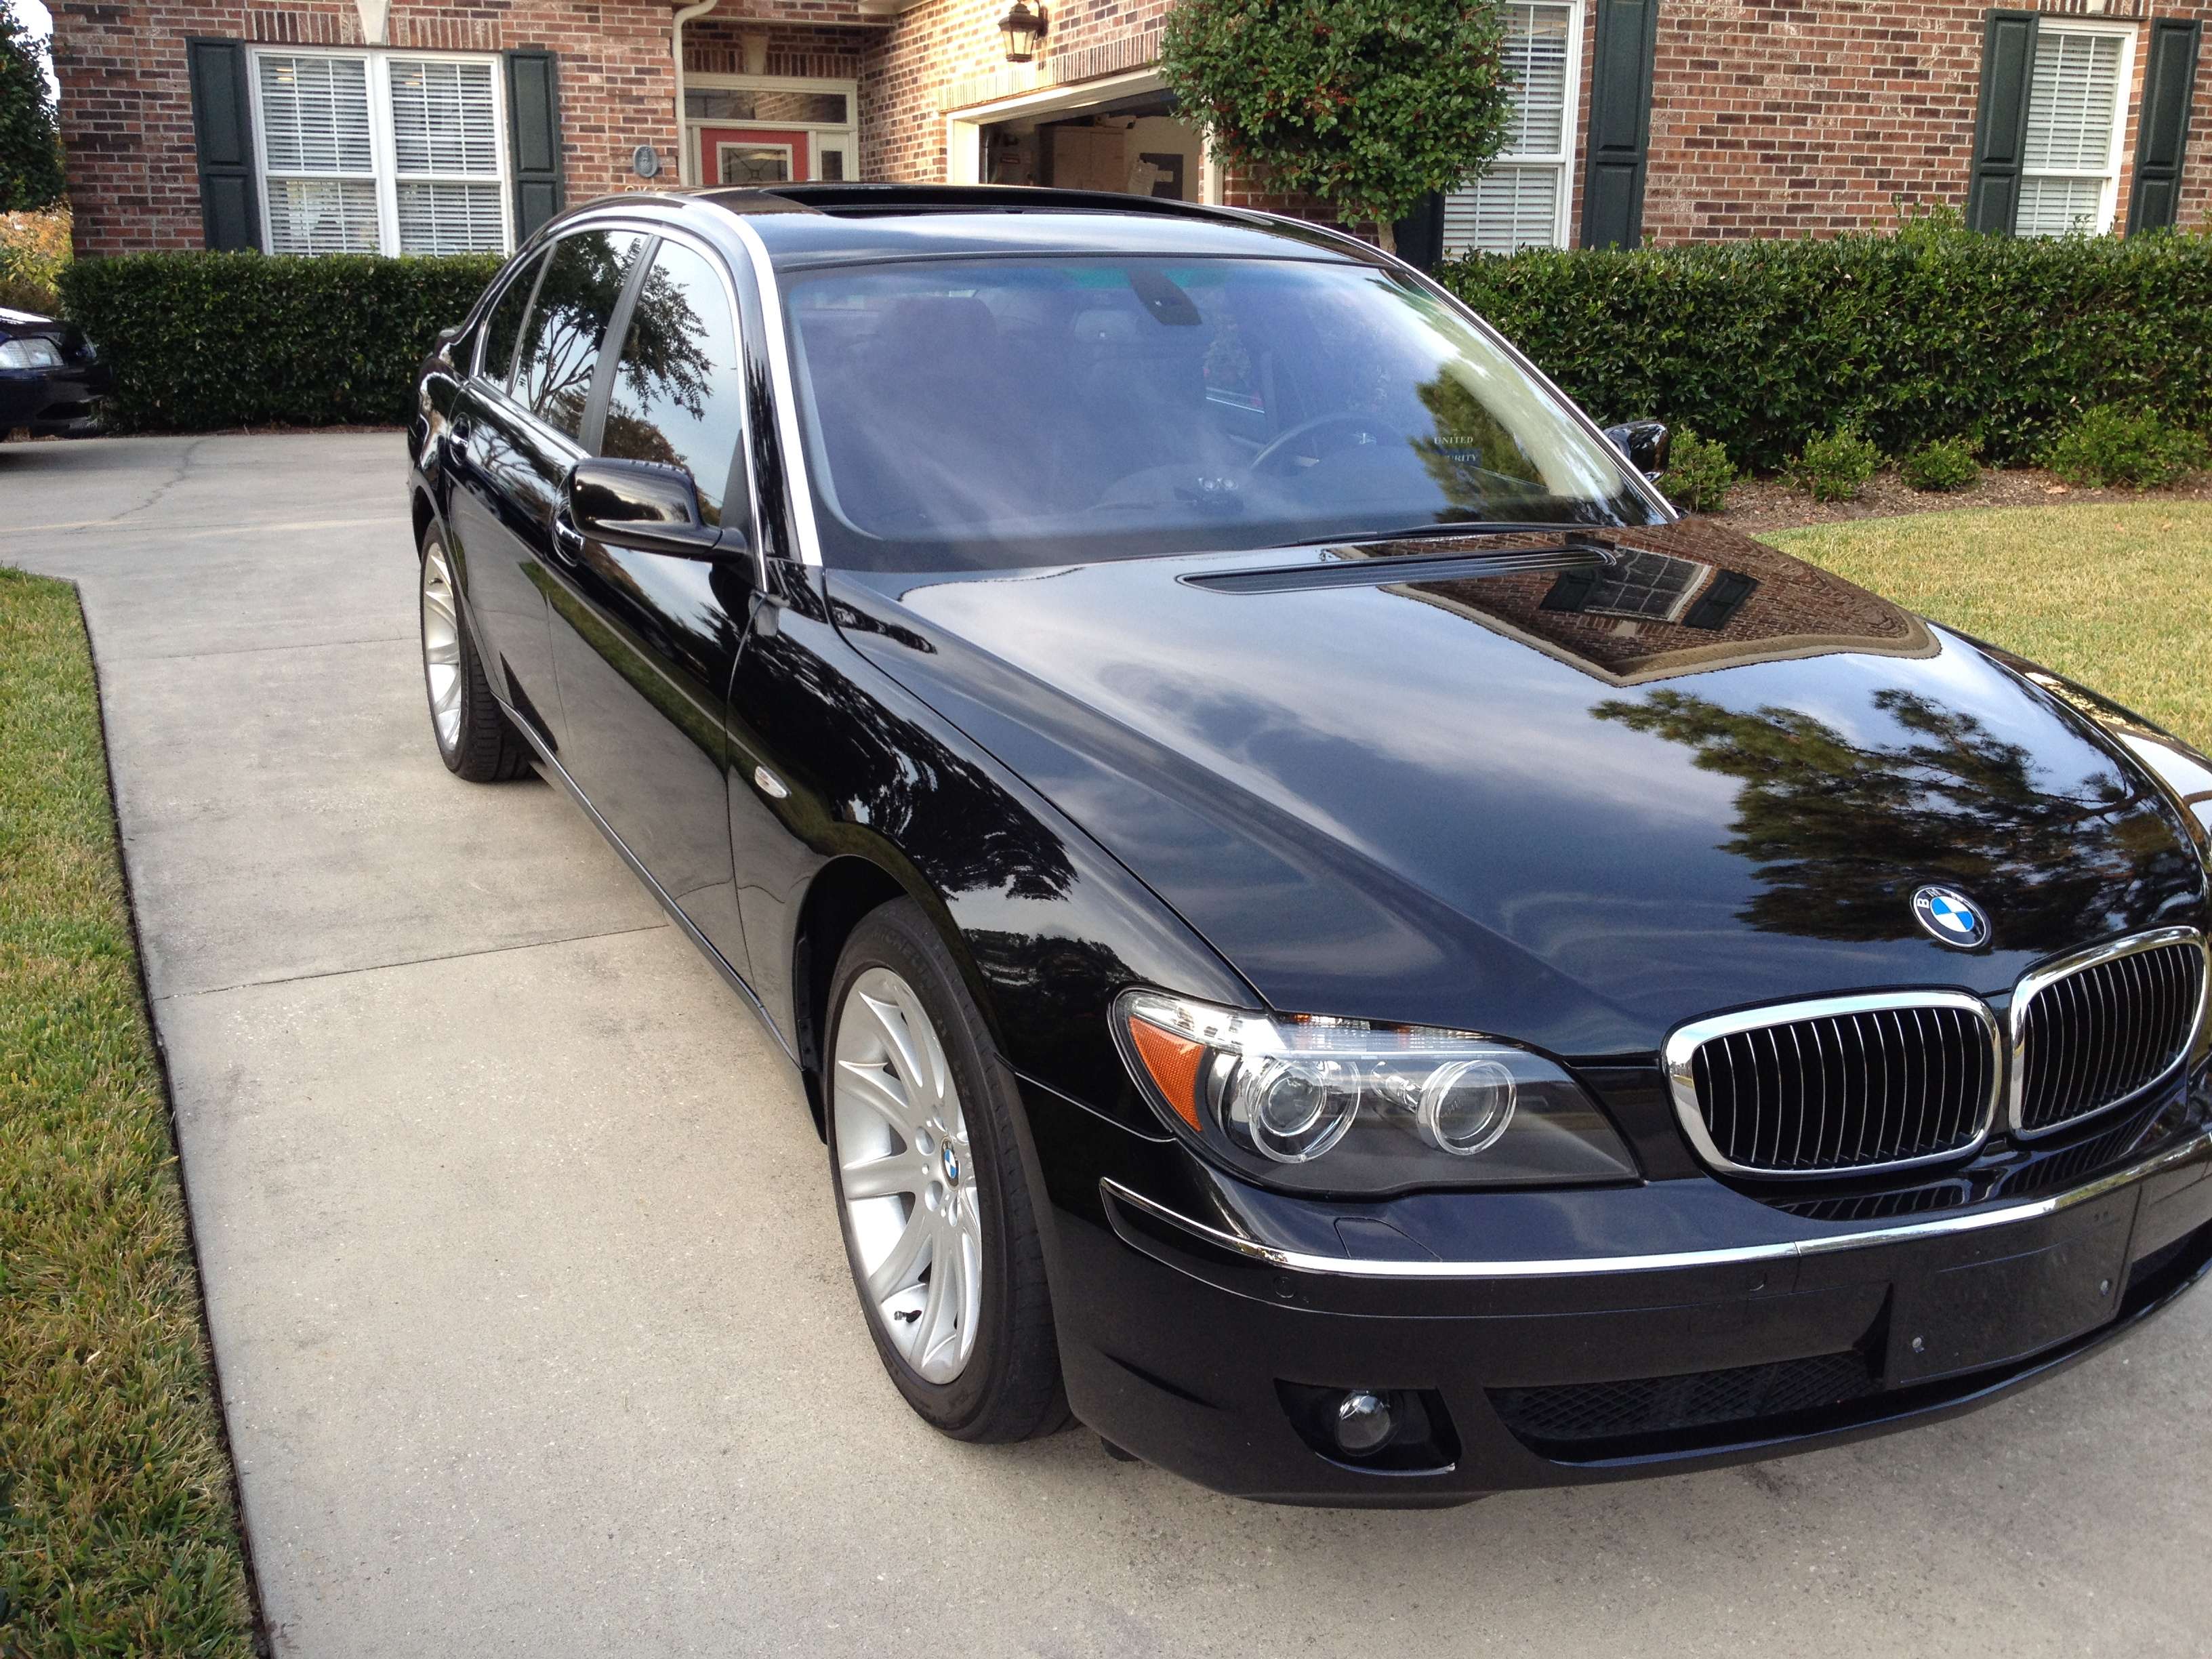
2006 BMW 750LI Full Correction Write Up
BMW 750LI 2006 40k Miles 45 hr Full Paint Correction
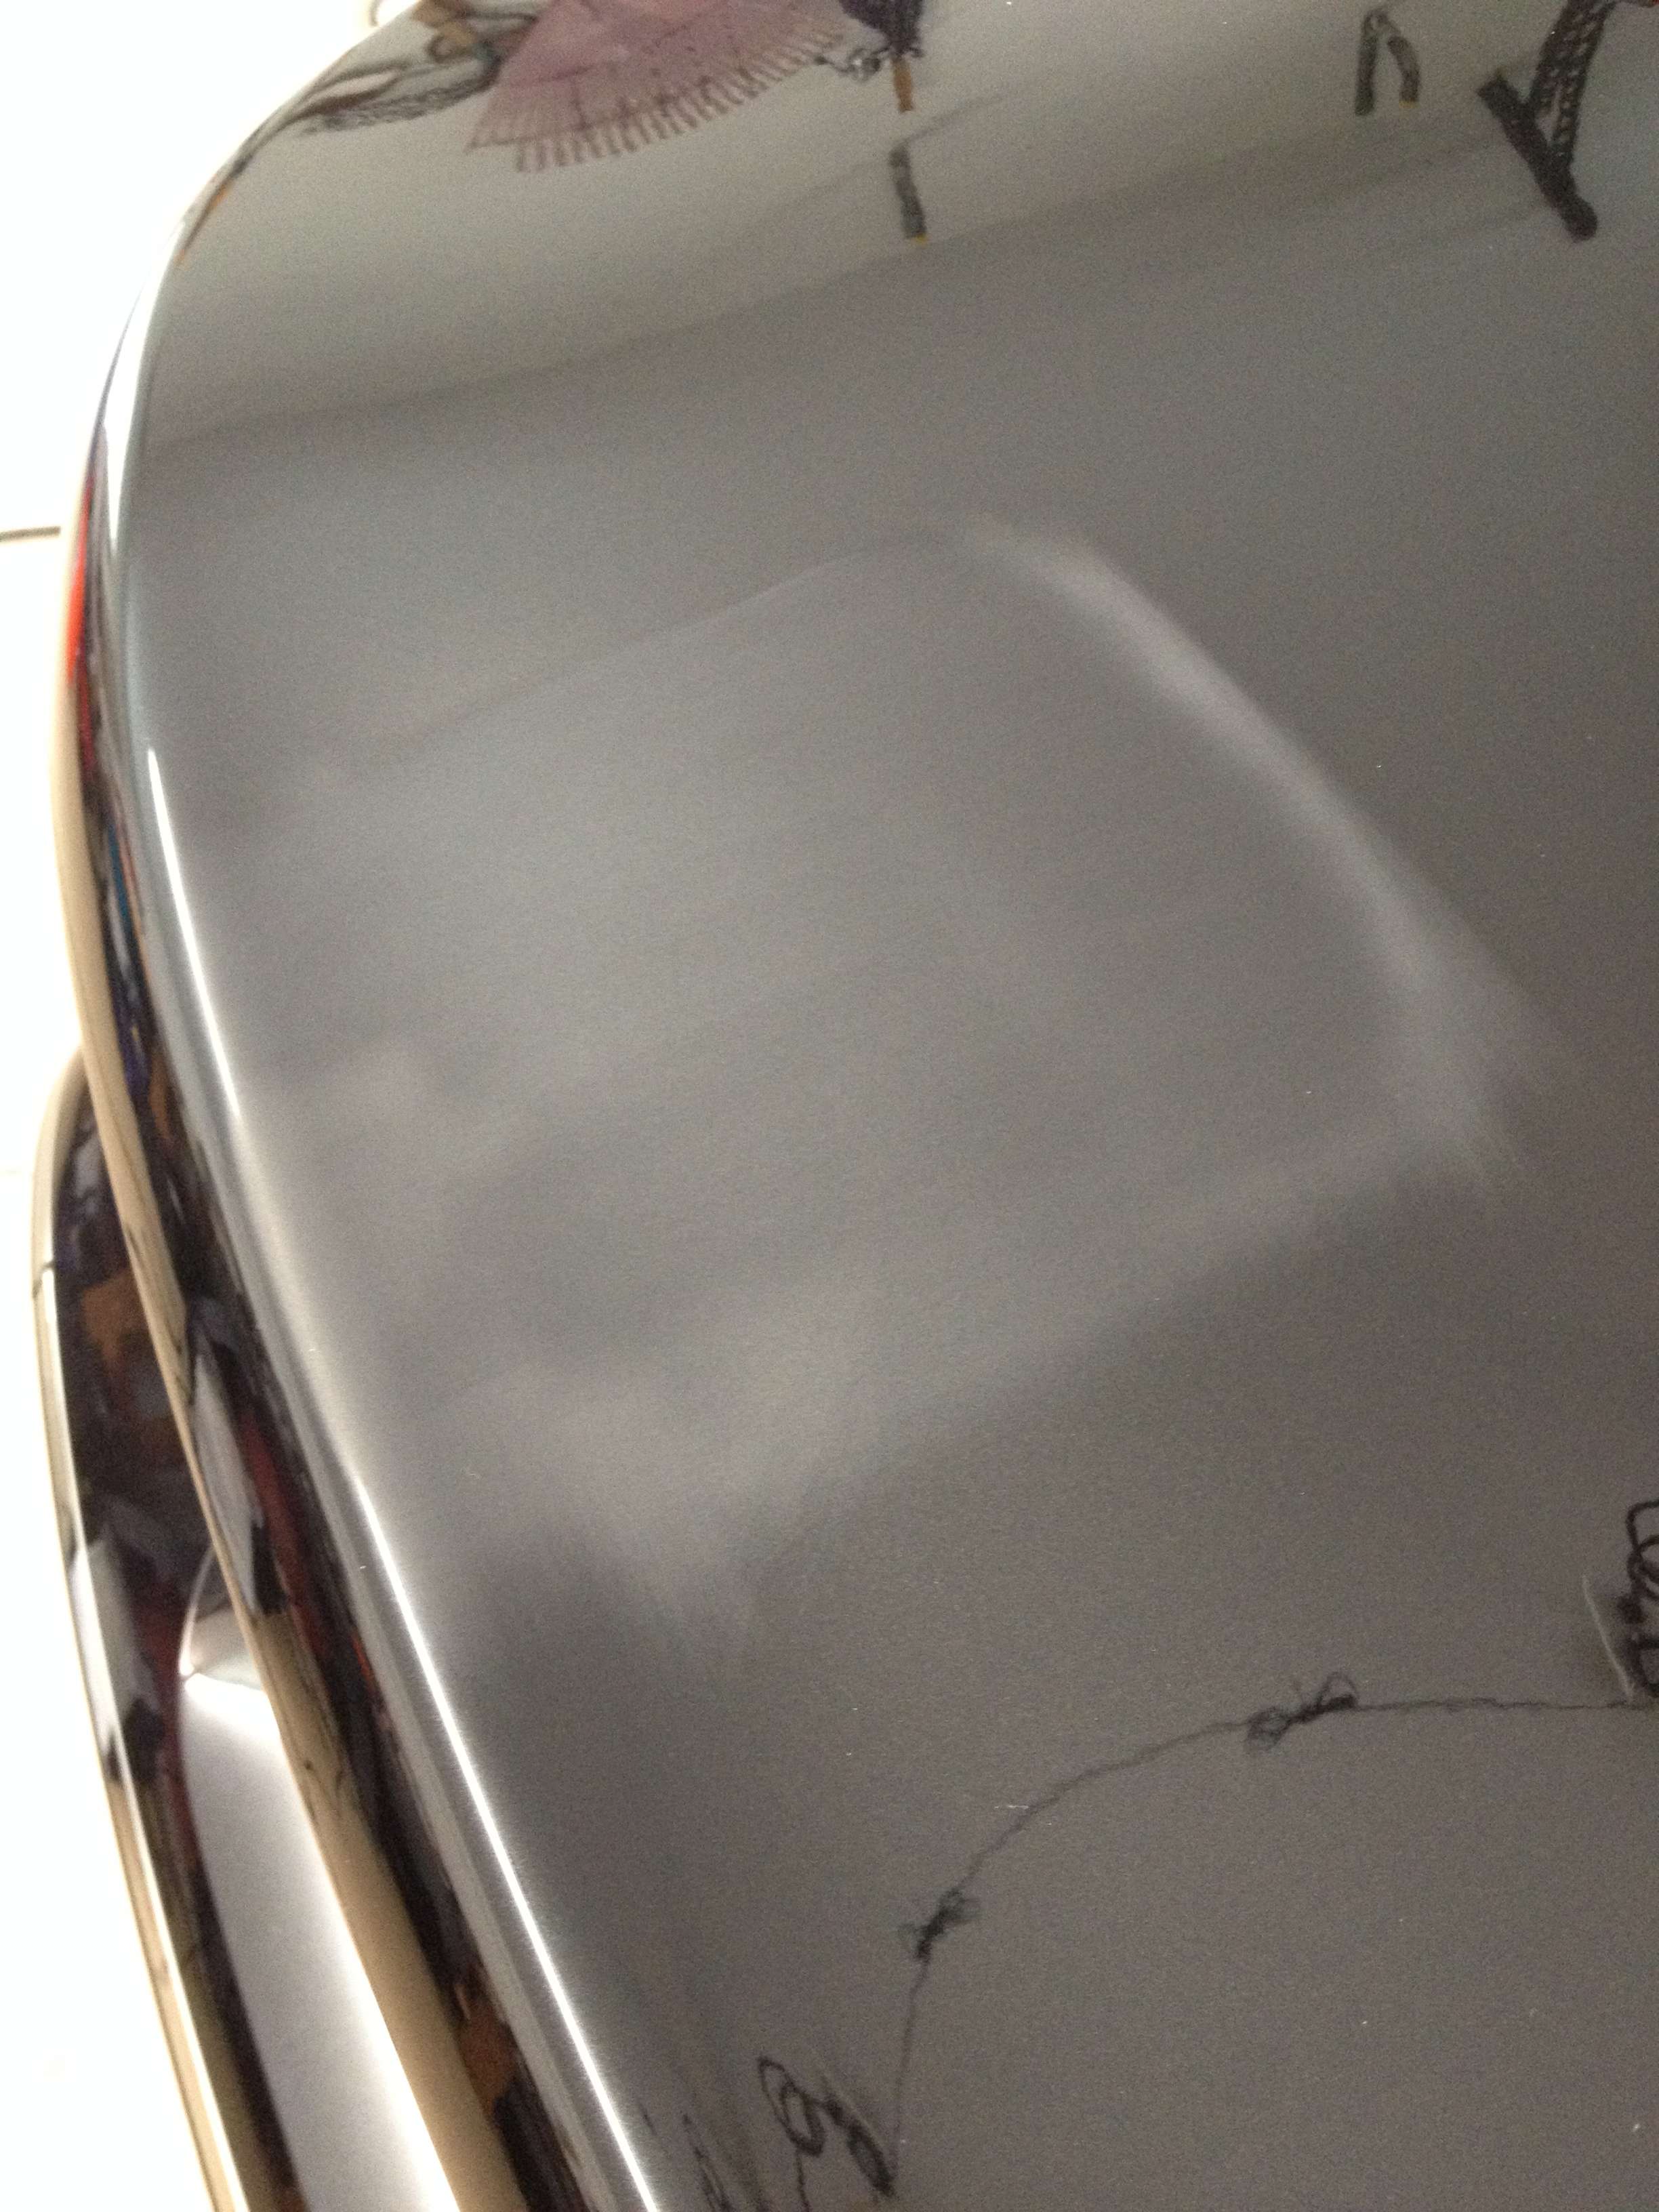
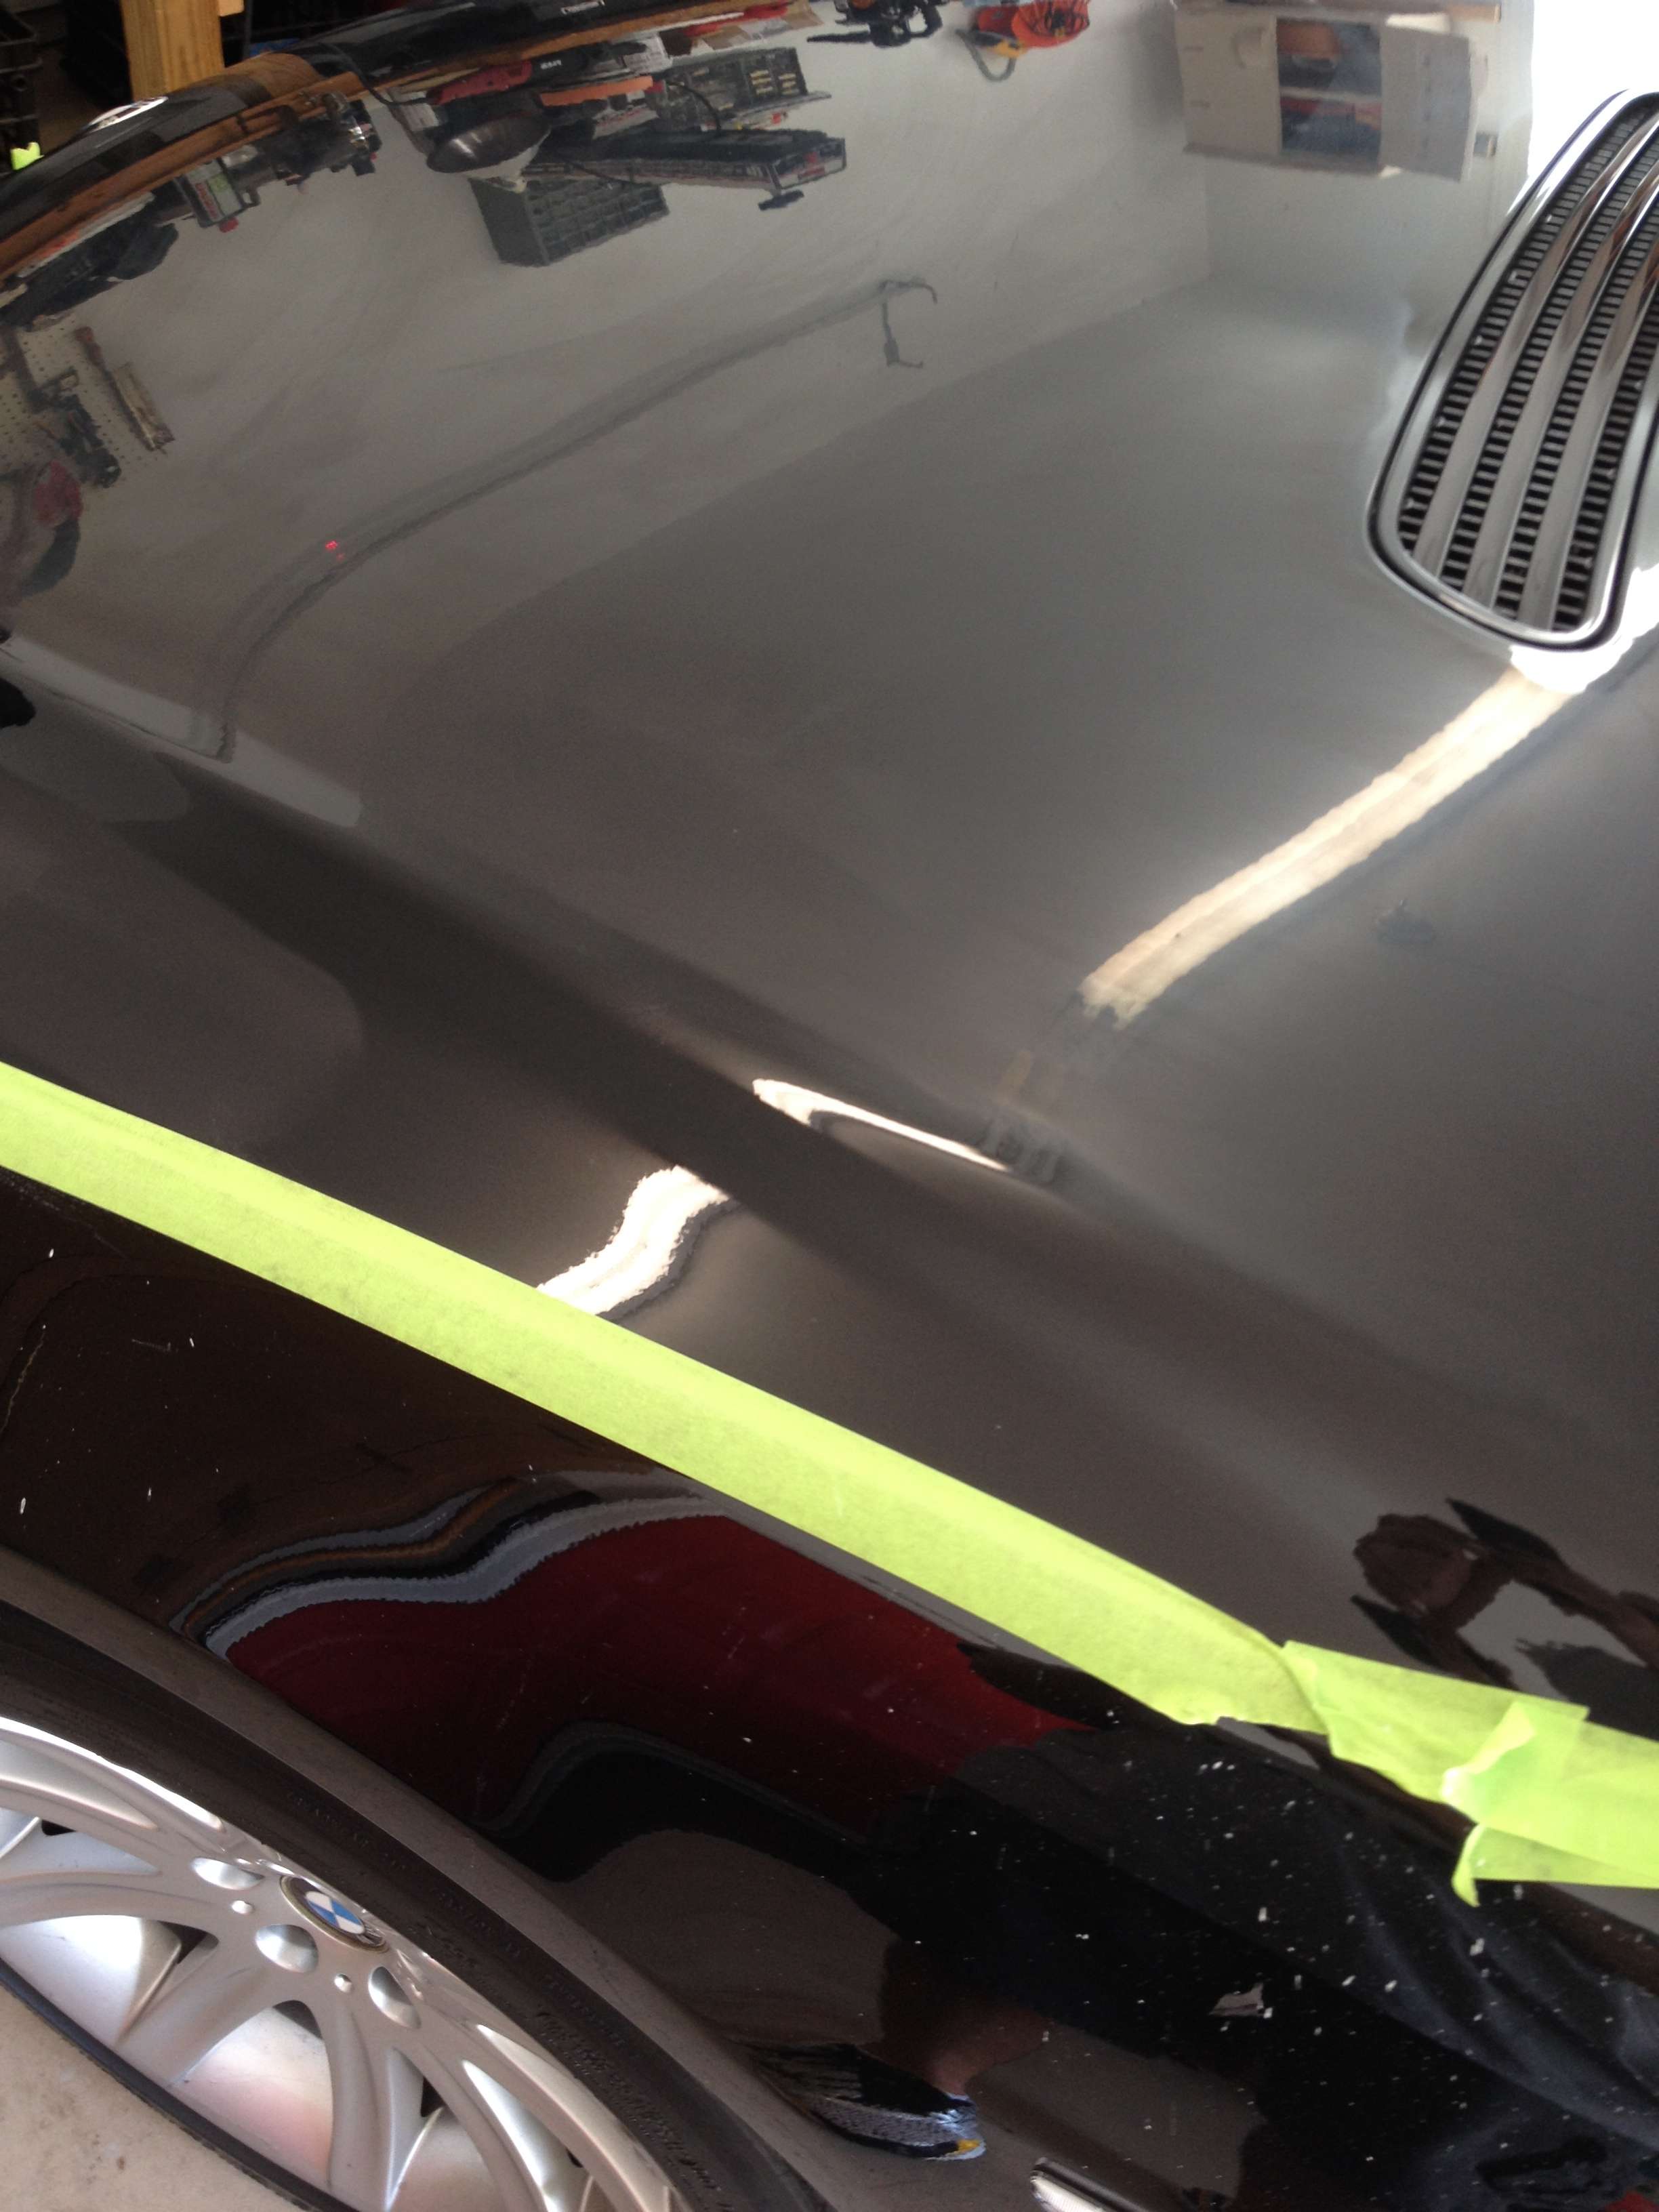
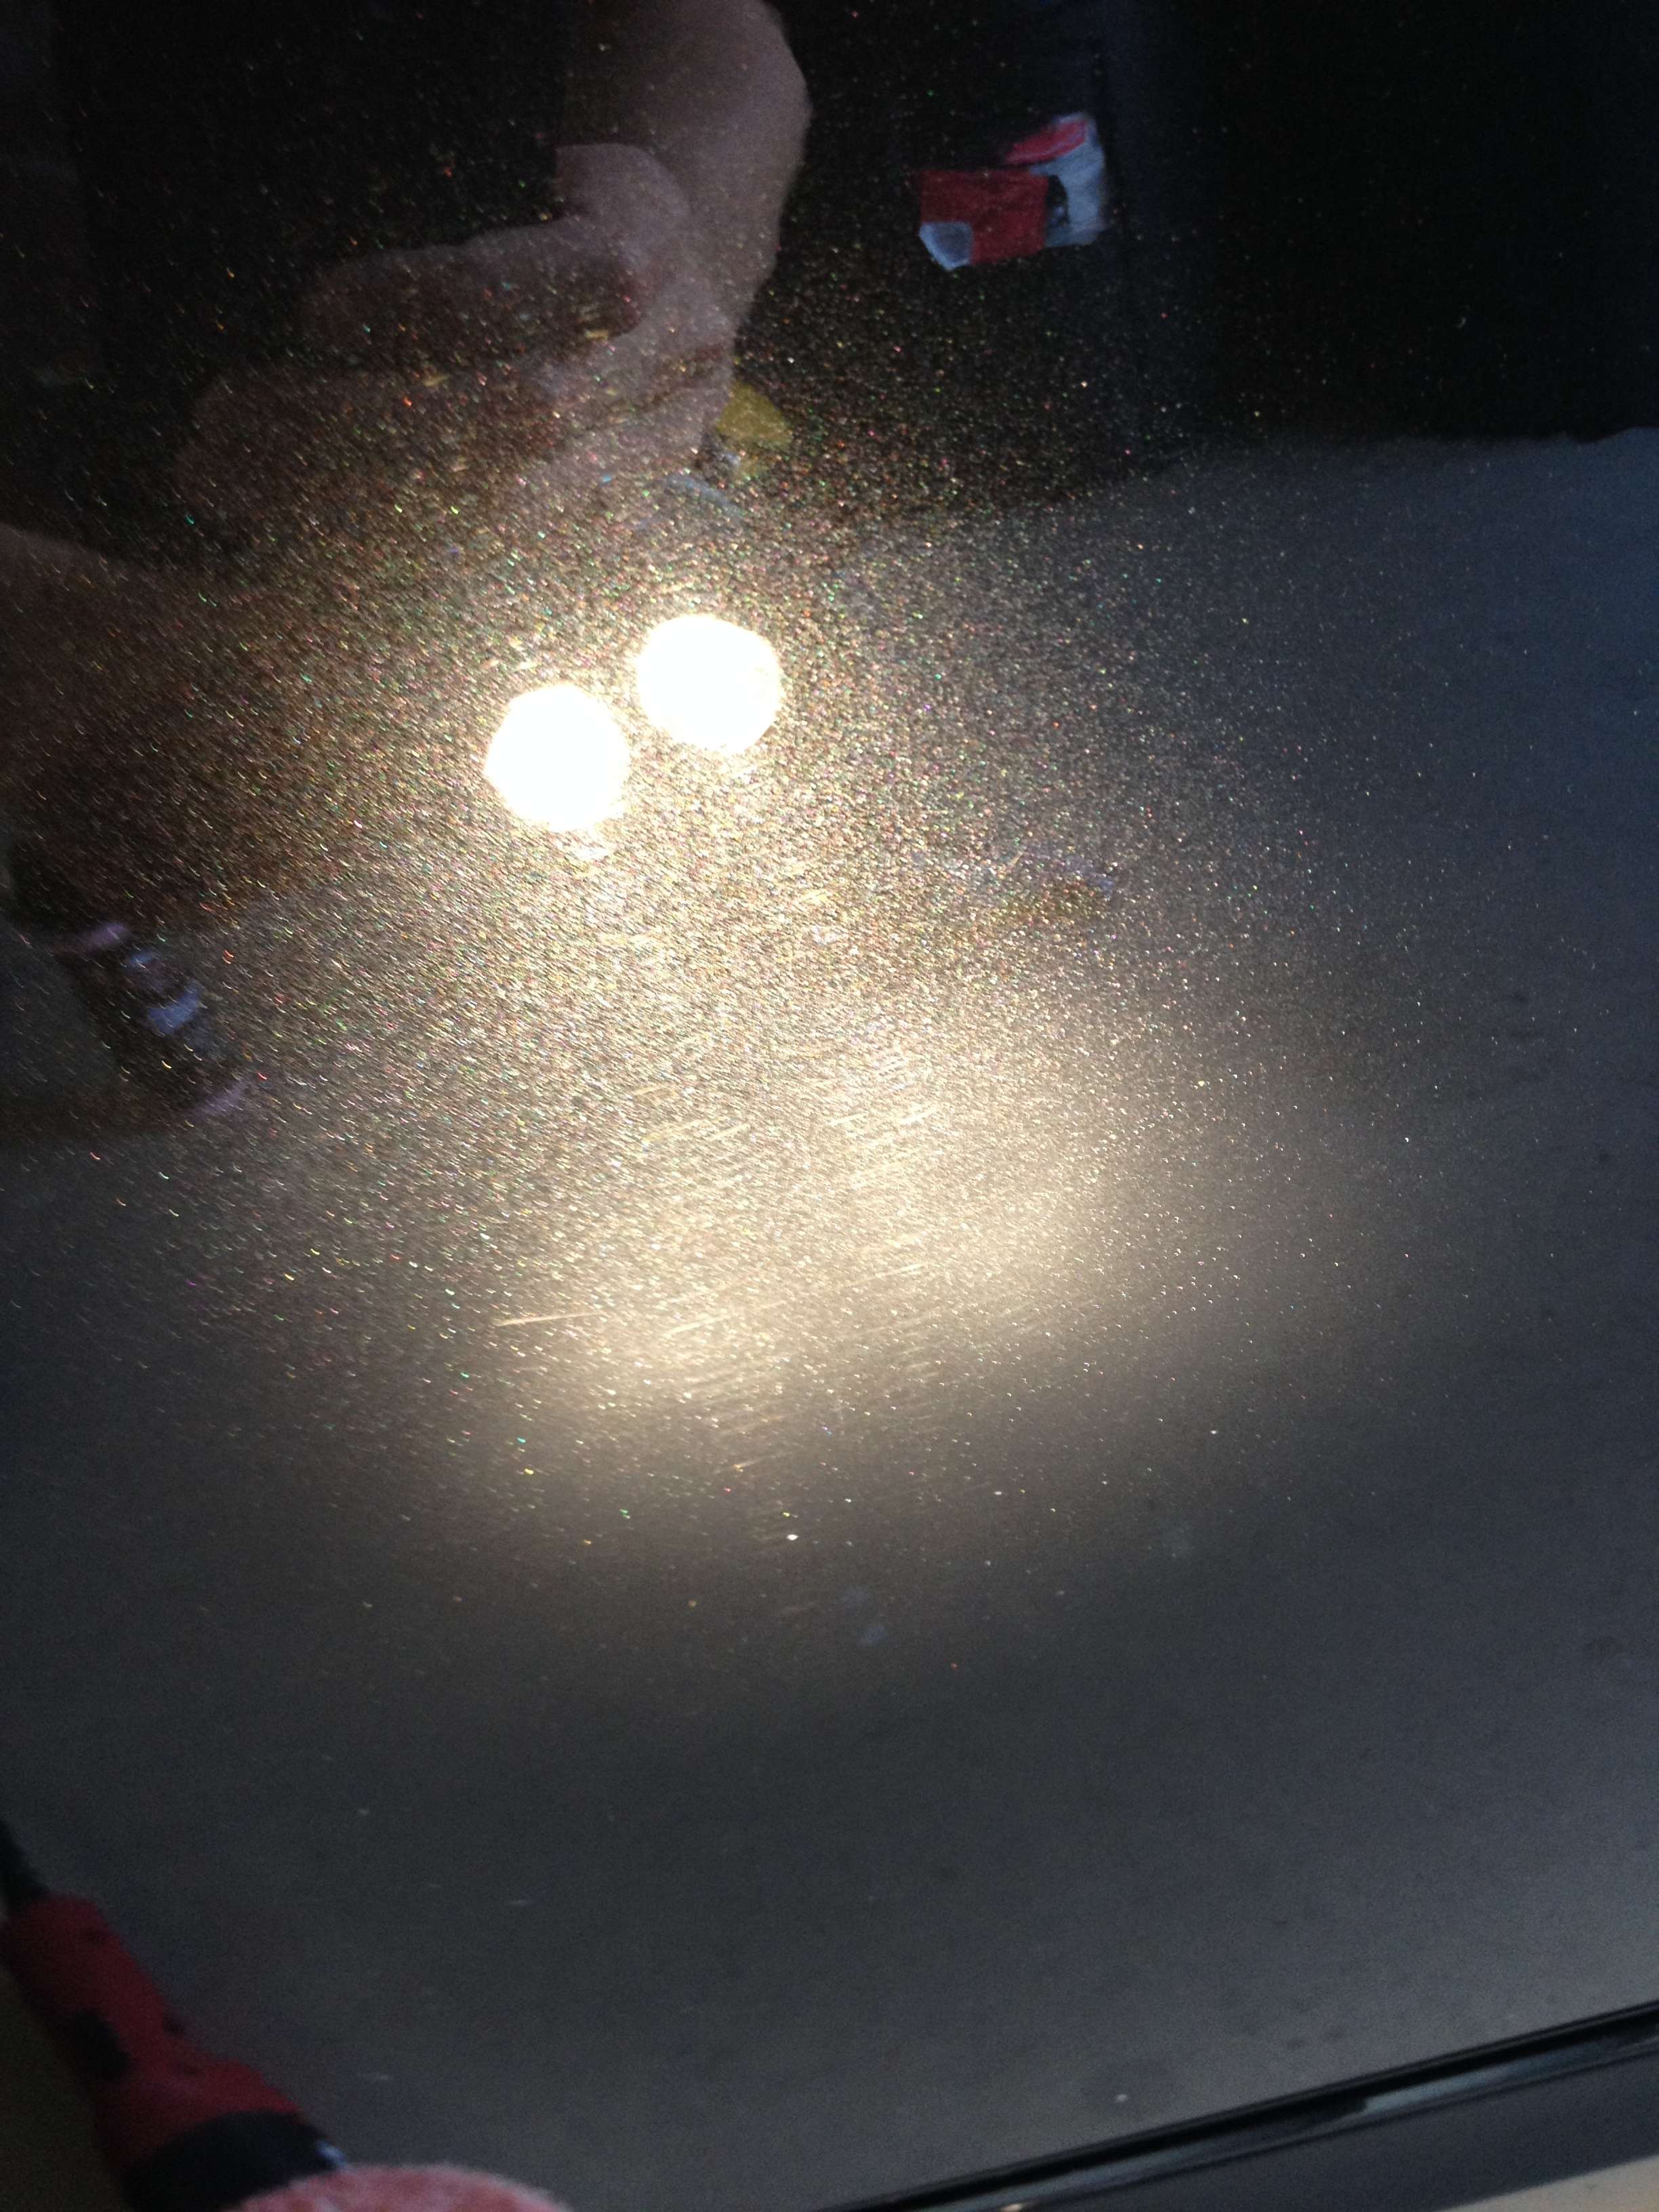
Allow me to fill you in. A good Friend purchased this vehicle from a respectable dealer who informed him the previous owner garage kept it, and obviously from the mileage and age, rarely drove it. The vehicle was 85-90% corrected from typical Black marring and swirls, however at the time the etchings on the hood, roof, and trunk were not touched. From 4 to 6 feet away under the direct sun, you would never be able to tell the etching exists. But getting up close to the car or under the sun or florescent lights of a garage, they became extremely relevant. This much etching is caused mostly from neglect and lack of protection. How it could have possibly gotten this way? It could be from sitting under trees, hard water, acid rain, bird droppings, poor maintenance and UV rays from the sun cooking all these elements into the paint.
I received this car the second time after a 2k-road trip over a two-week period without any washing during that time. (His wife also had taken the vehicle to Auto Bell several times without his knowledge and was totally swirled again!!!! Absolutely filthy, disgusting, and embarrassing to drive. I actually stopped at a self-wash and power washed it down several times just to get the grime off. Unfortunately pictures were not really taken before hand, like I should have for this write up. My Friend and I discussed what he would like done, and we decided on a 95% correction, leaving enough CC for future polishing.
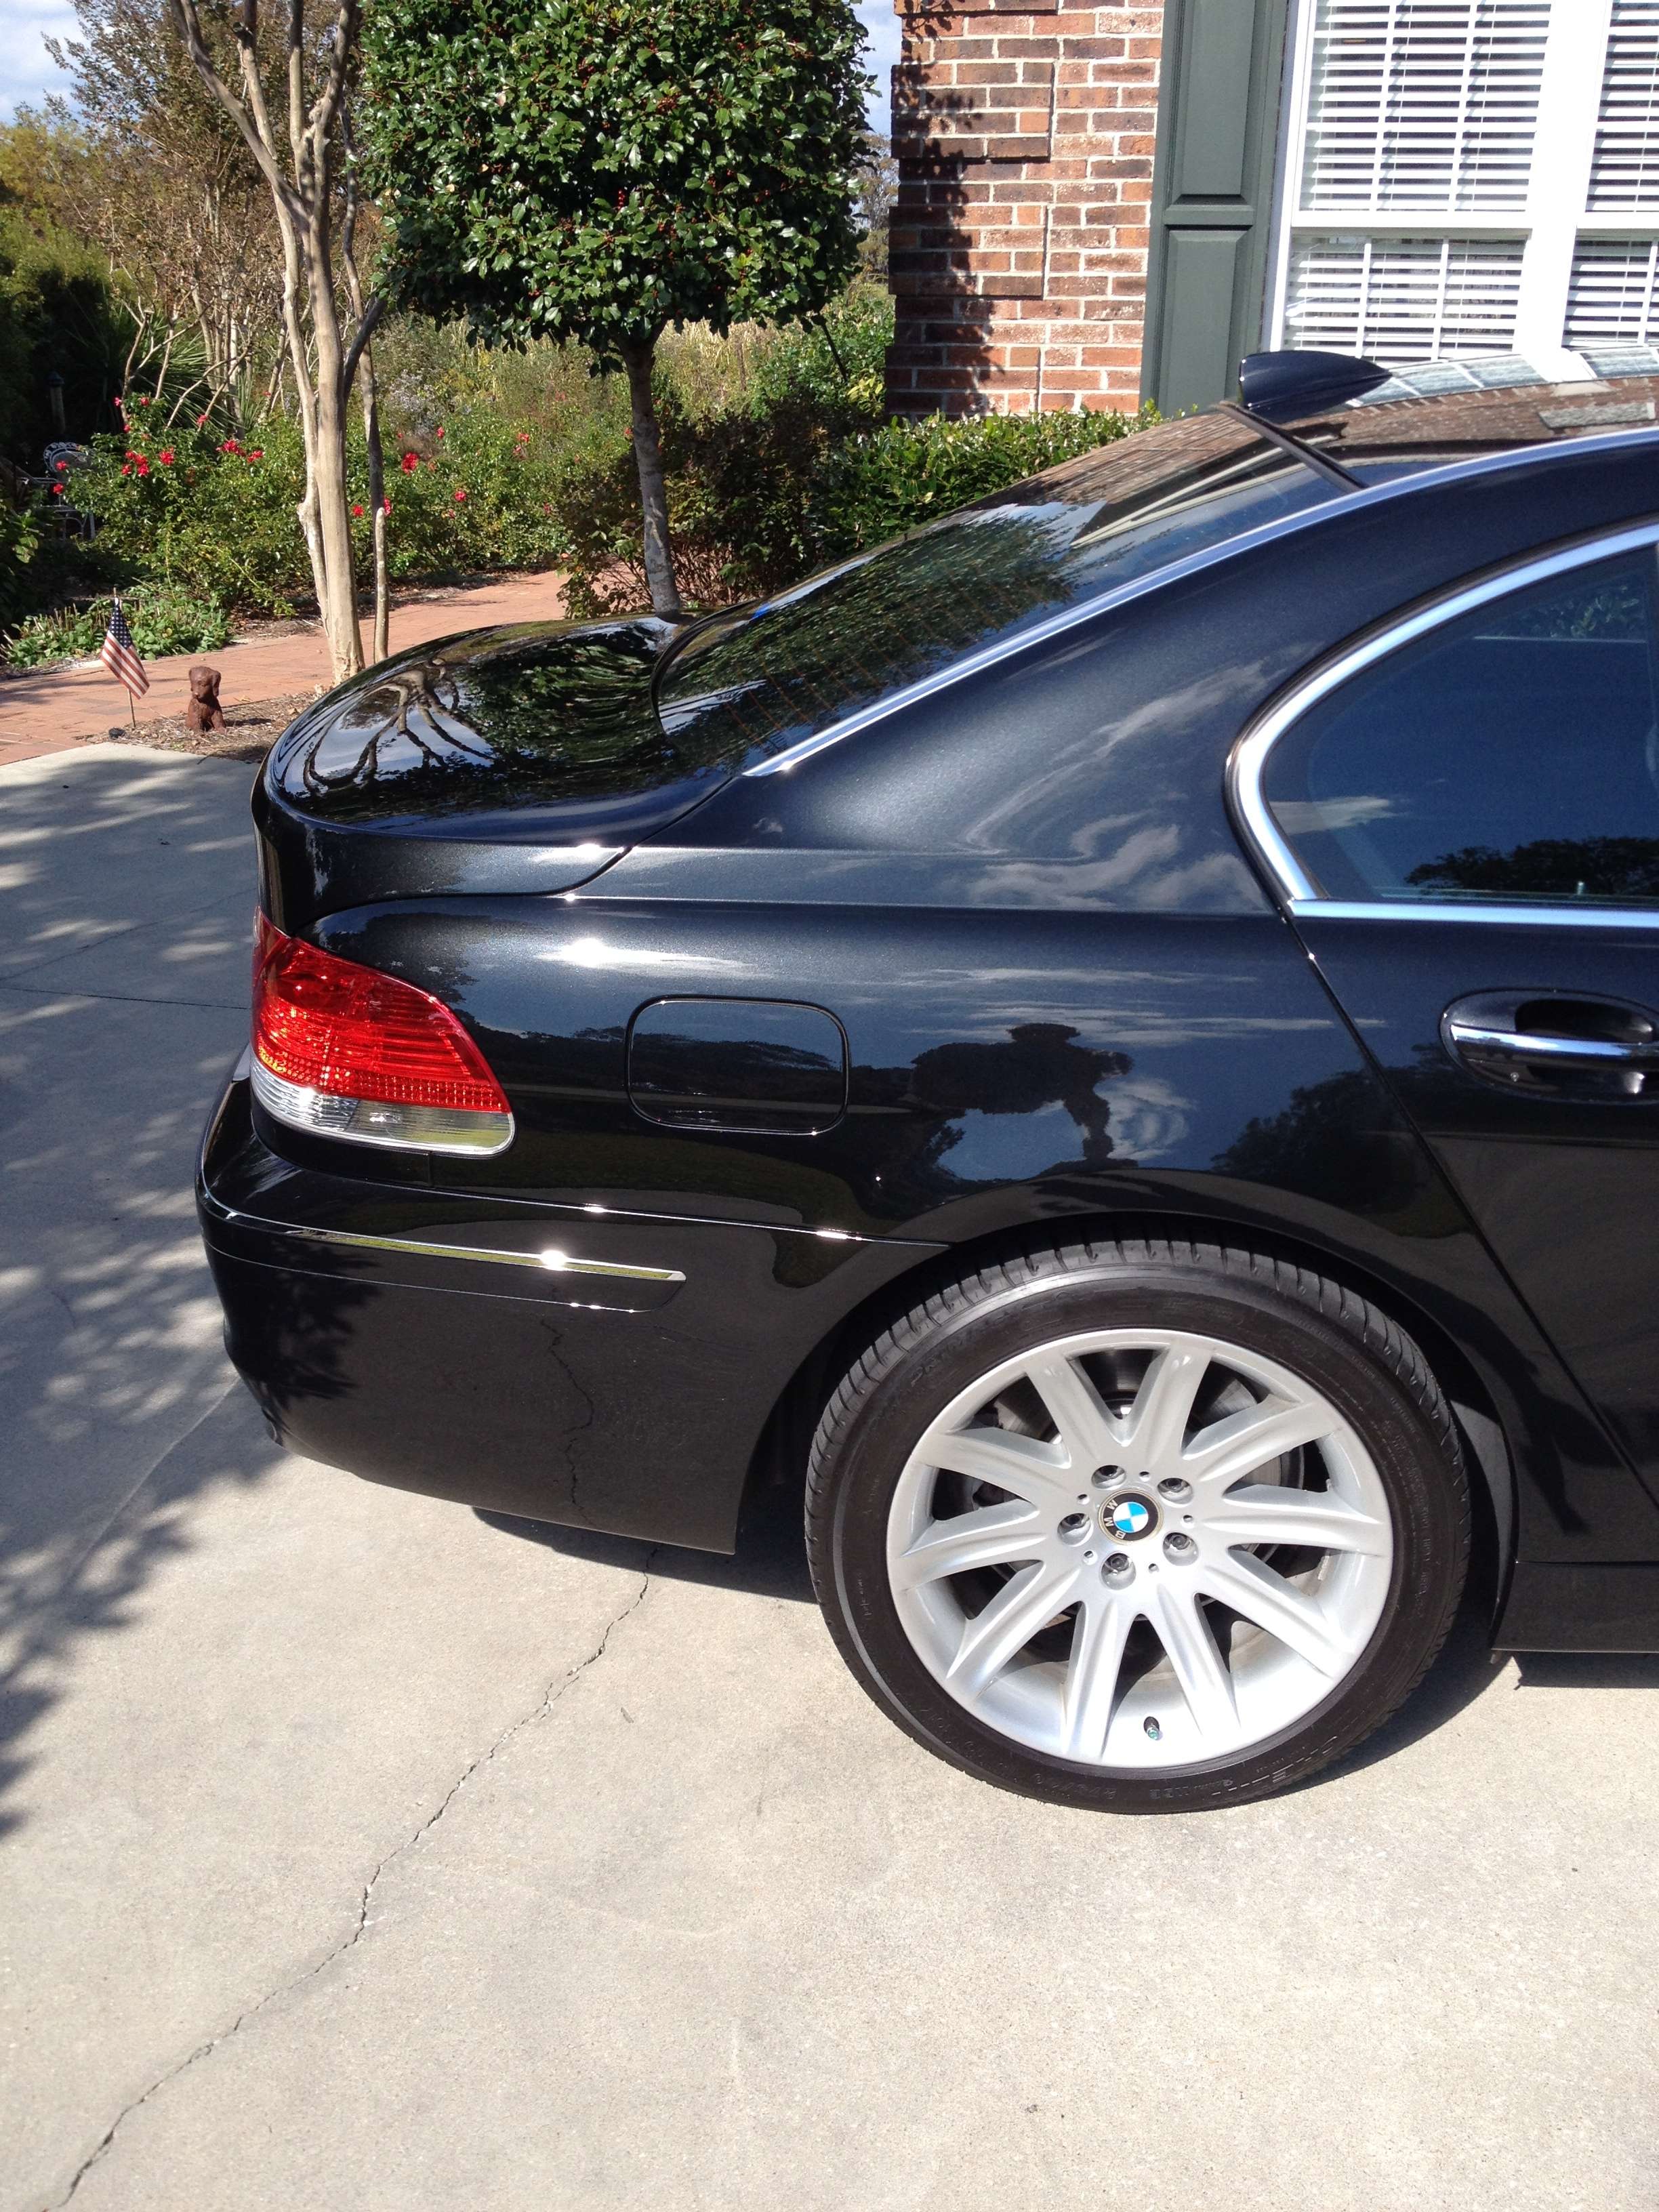
The only way to re-level the paint is to wet sand it down. My plan on this car is to bring the paint down to a safe level and leaving enough room for future details. However this car will be driving daily and get a lot of use. So I keep in mind that it’s a black car and it will need to be polished sometime in the future. So in this detail I achieved about a 90-95%% correction and improvement to the paint surface as far as the etching is concerned. Overall, it was a hundred percent improvement and actually turned out better than most brand new vehicles. My buddy was totally shocked.
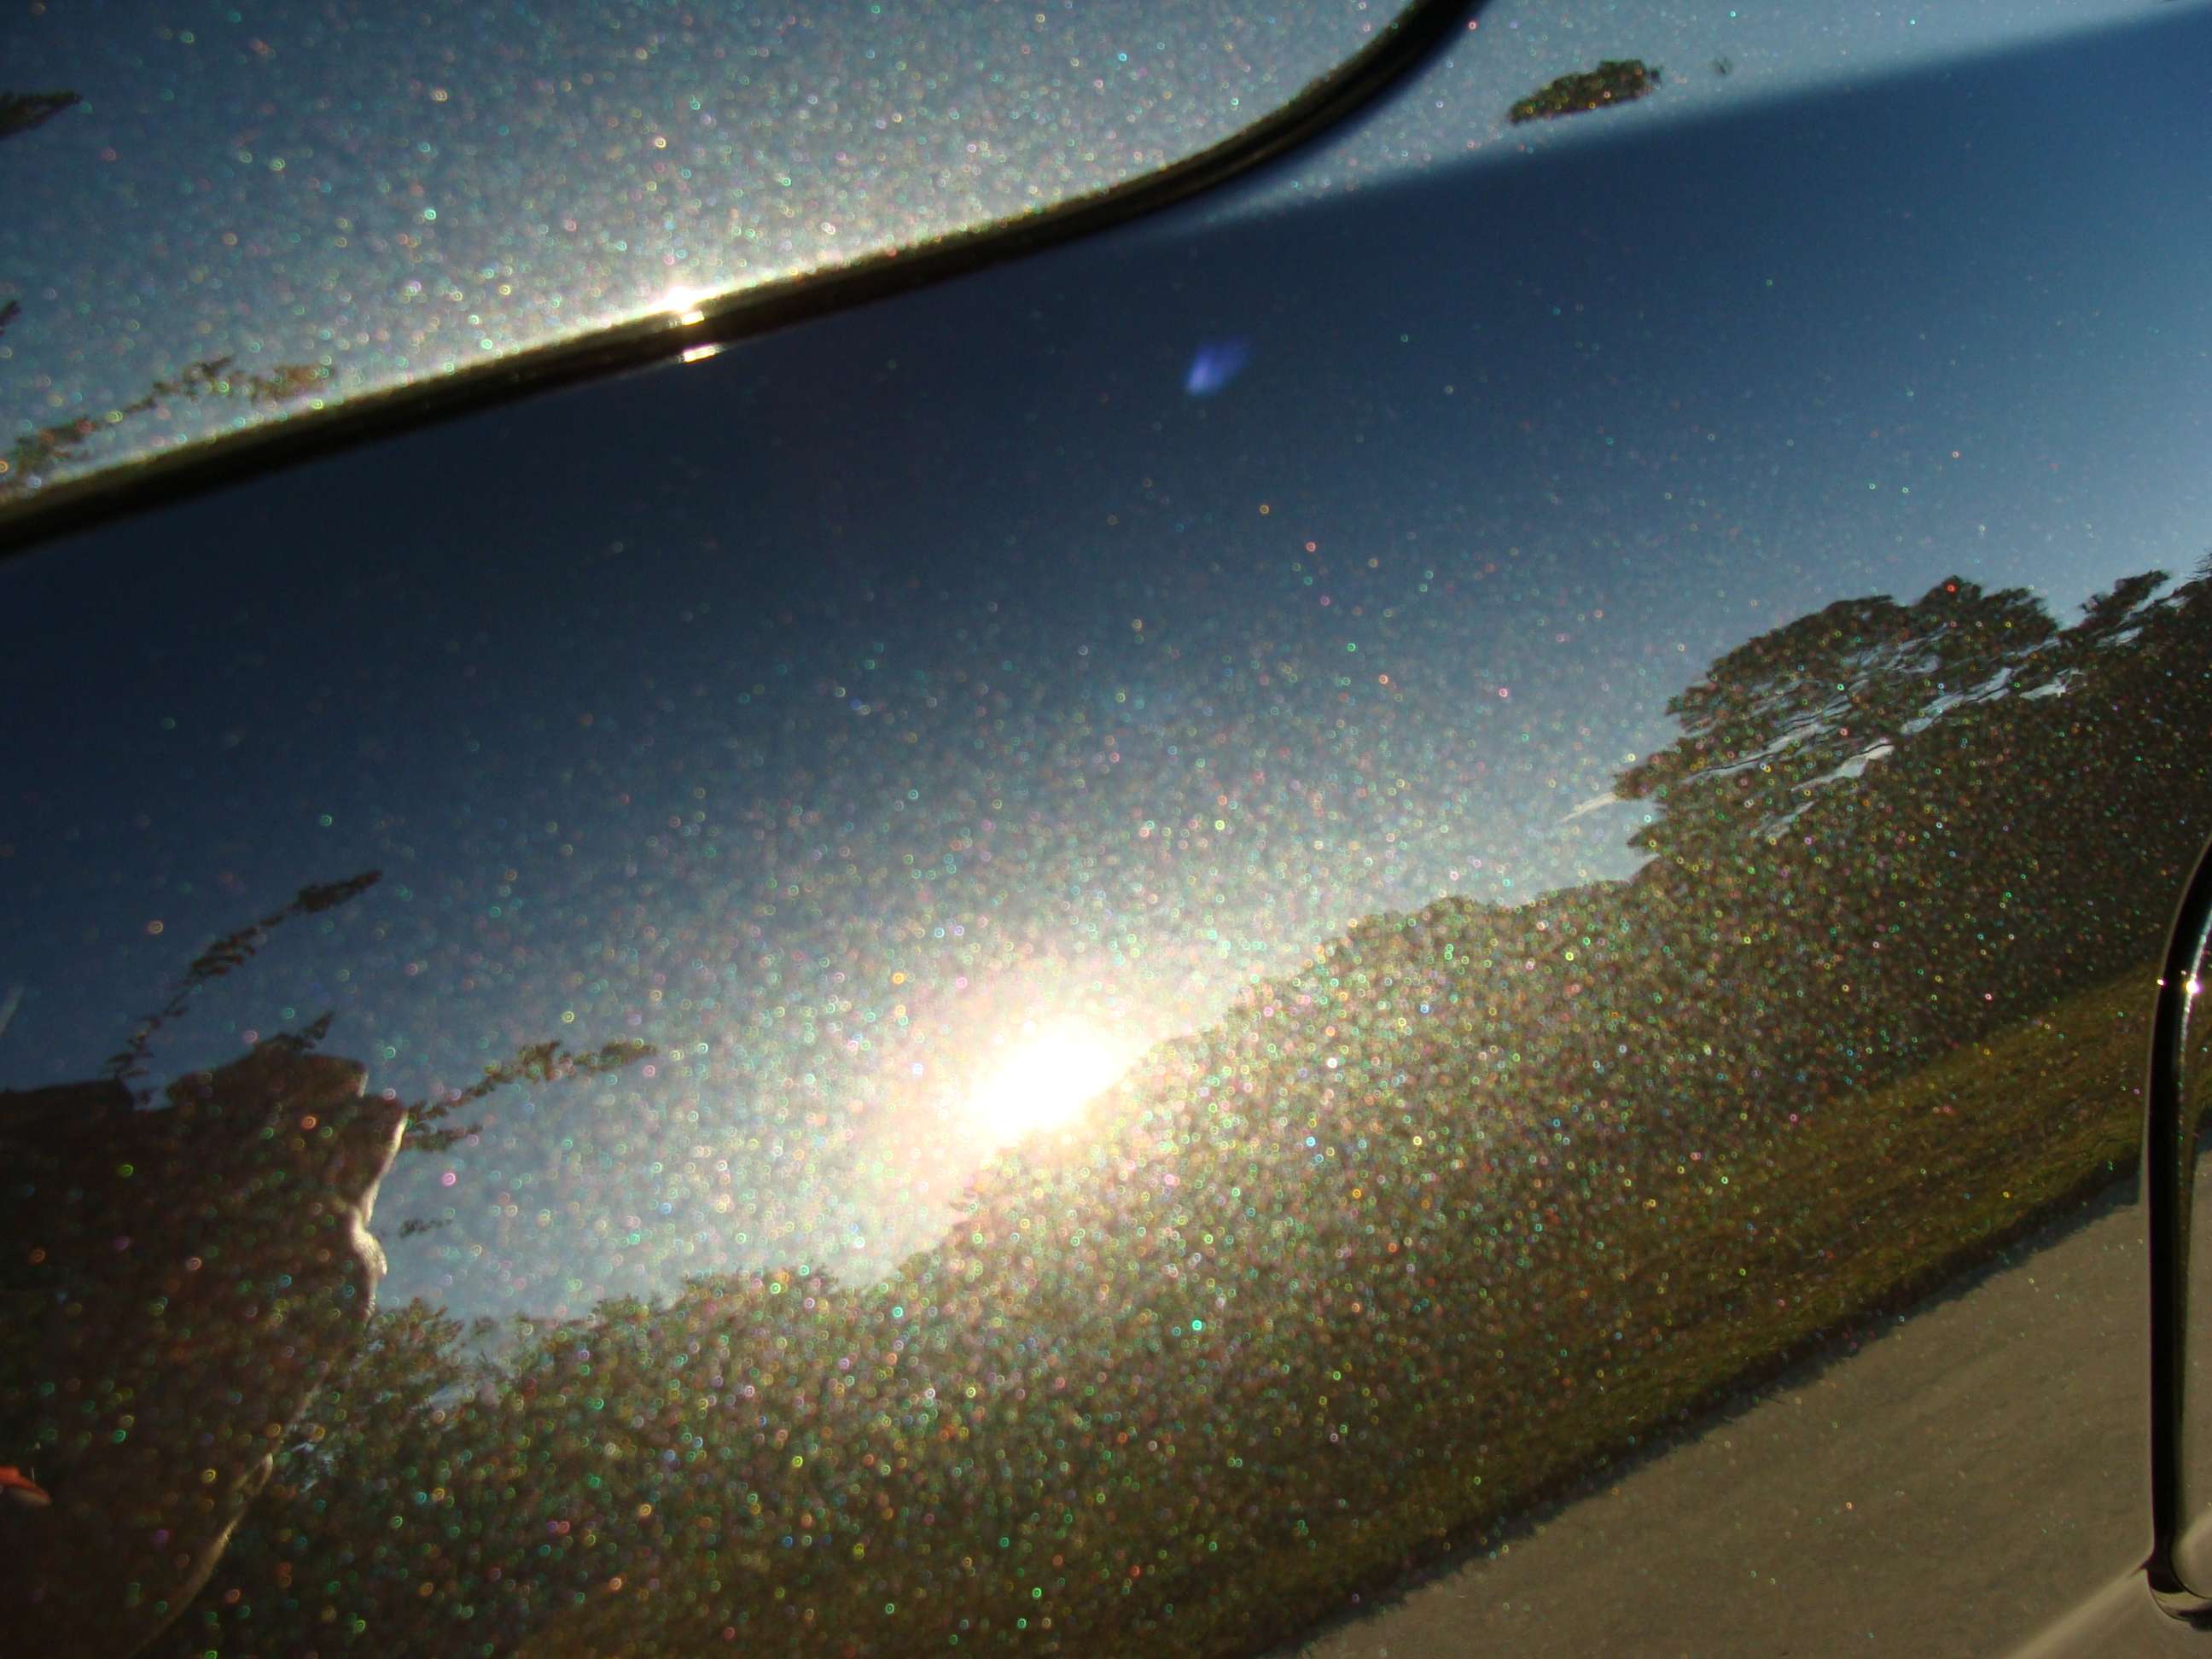
Vehicle needed wet sanding on hood, roof, and trunk to diminish bird dropping, water spots, and etchings. They were really deep, so minimized them as much as possible in order to allow for some correction to be done to the CC down the road. Whole vehicle took 45 hours for a 3-4 step paint correction. Vehicle came out better than new, and there was not one scratch or swirl on the car when finished. Due to the hardness of BMW paint, I had to switch up on different panels, pads and compounds, to get the finish right. Some panels just needed two separate passes to get the initial correction to the level I was happy with. Then the Polishing was done in two stages, just to get that jeweled look as much as possible. (I had the vehicle for a week, and had all the time in the world to do it, so I thought why not make this perfection as much as possible.)
Products:
• Meguire’s D300
• Menzerna PG1000
• Menzerna SF4000
• Rupes Quarz
• Rupes Diamond
• Bouncer’s Wheel Wax
• AMMO Skin
• Migliore’s Frutta Carnuba
• Zaino Glass Polish
• Zaino CS Synthetic Sealant (For Trim)
Soaps and Interior Products:
• Chemical Guys Citrus Car Soap
• Chemical Guys Honeydew
• AMMO Plum
• AMMO Brute Wheel Soap
• AMMO SPIT
• AMMO Lather
• Blackfire Clay Bar
• Chemical Guys Leather Conditioner
• IPA
• 303 Aerospace Dressing (Engine, Wheel Wells)
Tools:
- Flex 3401 DA
- Griot’s Garage 3” polisher
- Meg Microfiber Cutting and Finishing pads and Lake Country CCS pads (assortment)
- Wool Wash Mitt
- Microfiber towels and mitts from Autogeek
- Metro Blaster
- Halogen Spotlight for correction light (I turn off all lights and use this light when doing correction work)
- McCullough Steam Cleaner
Some Before Pics:
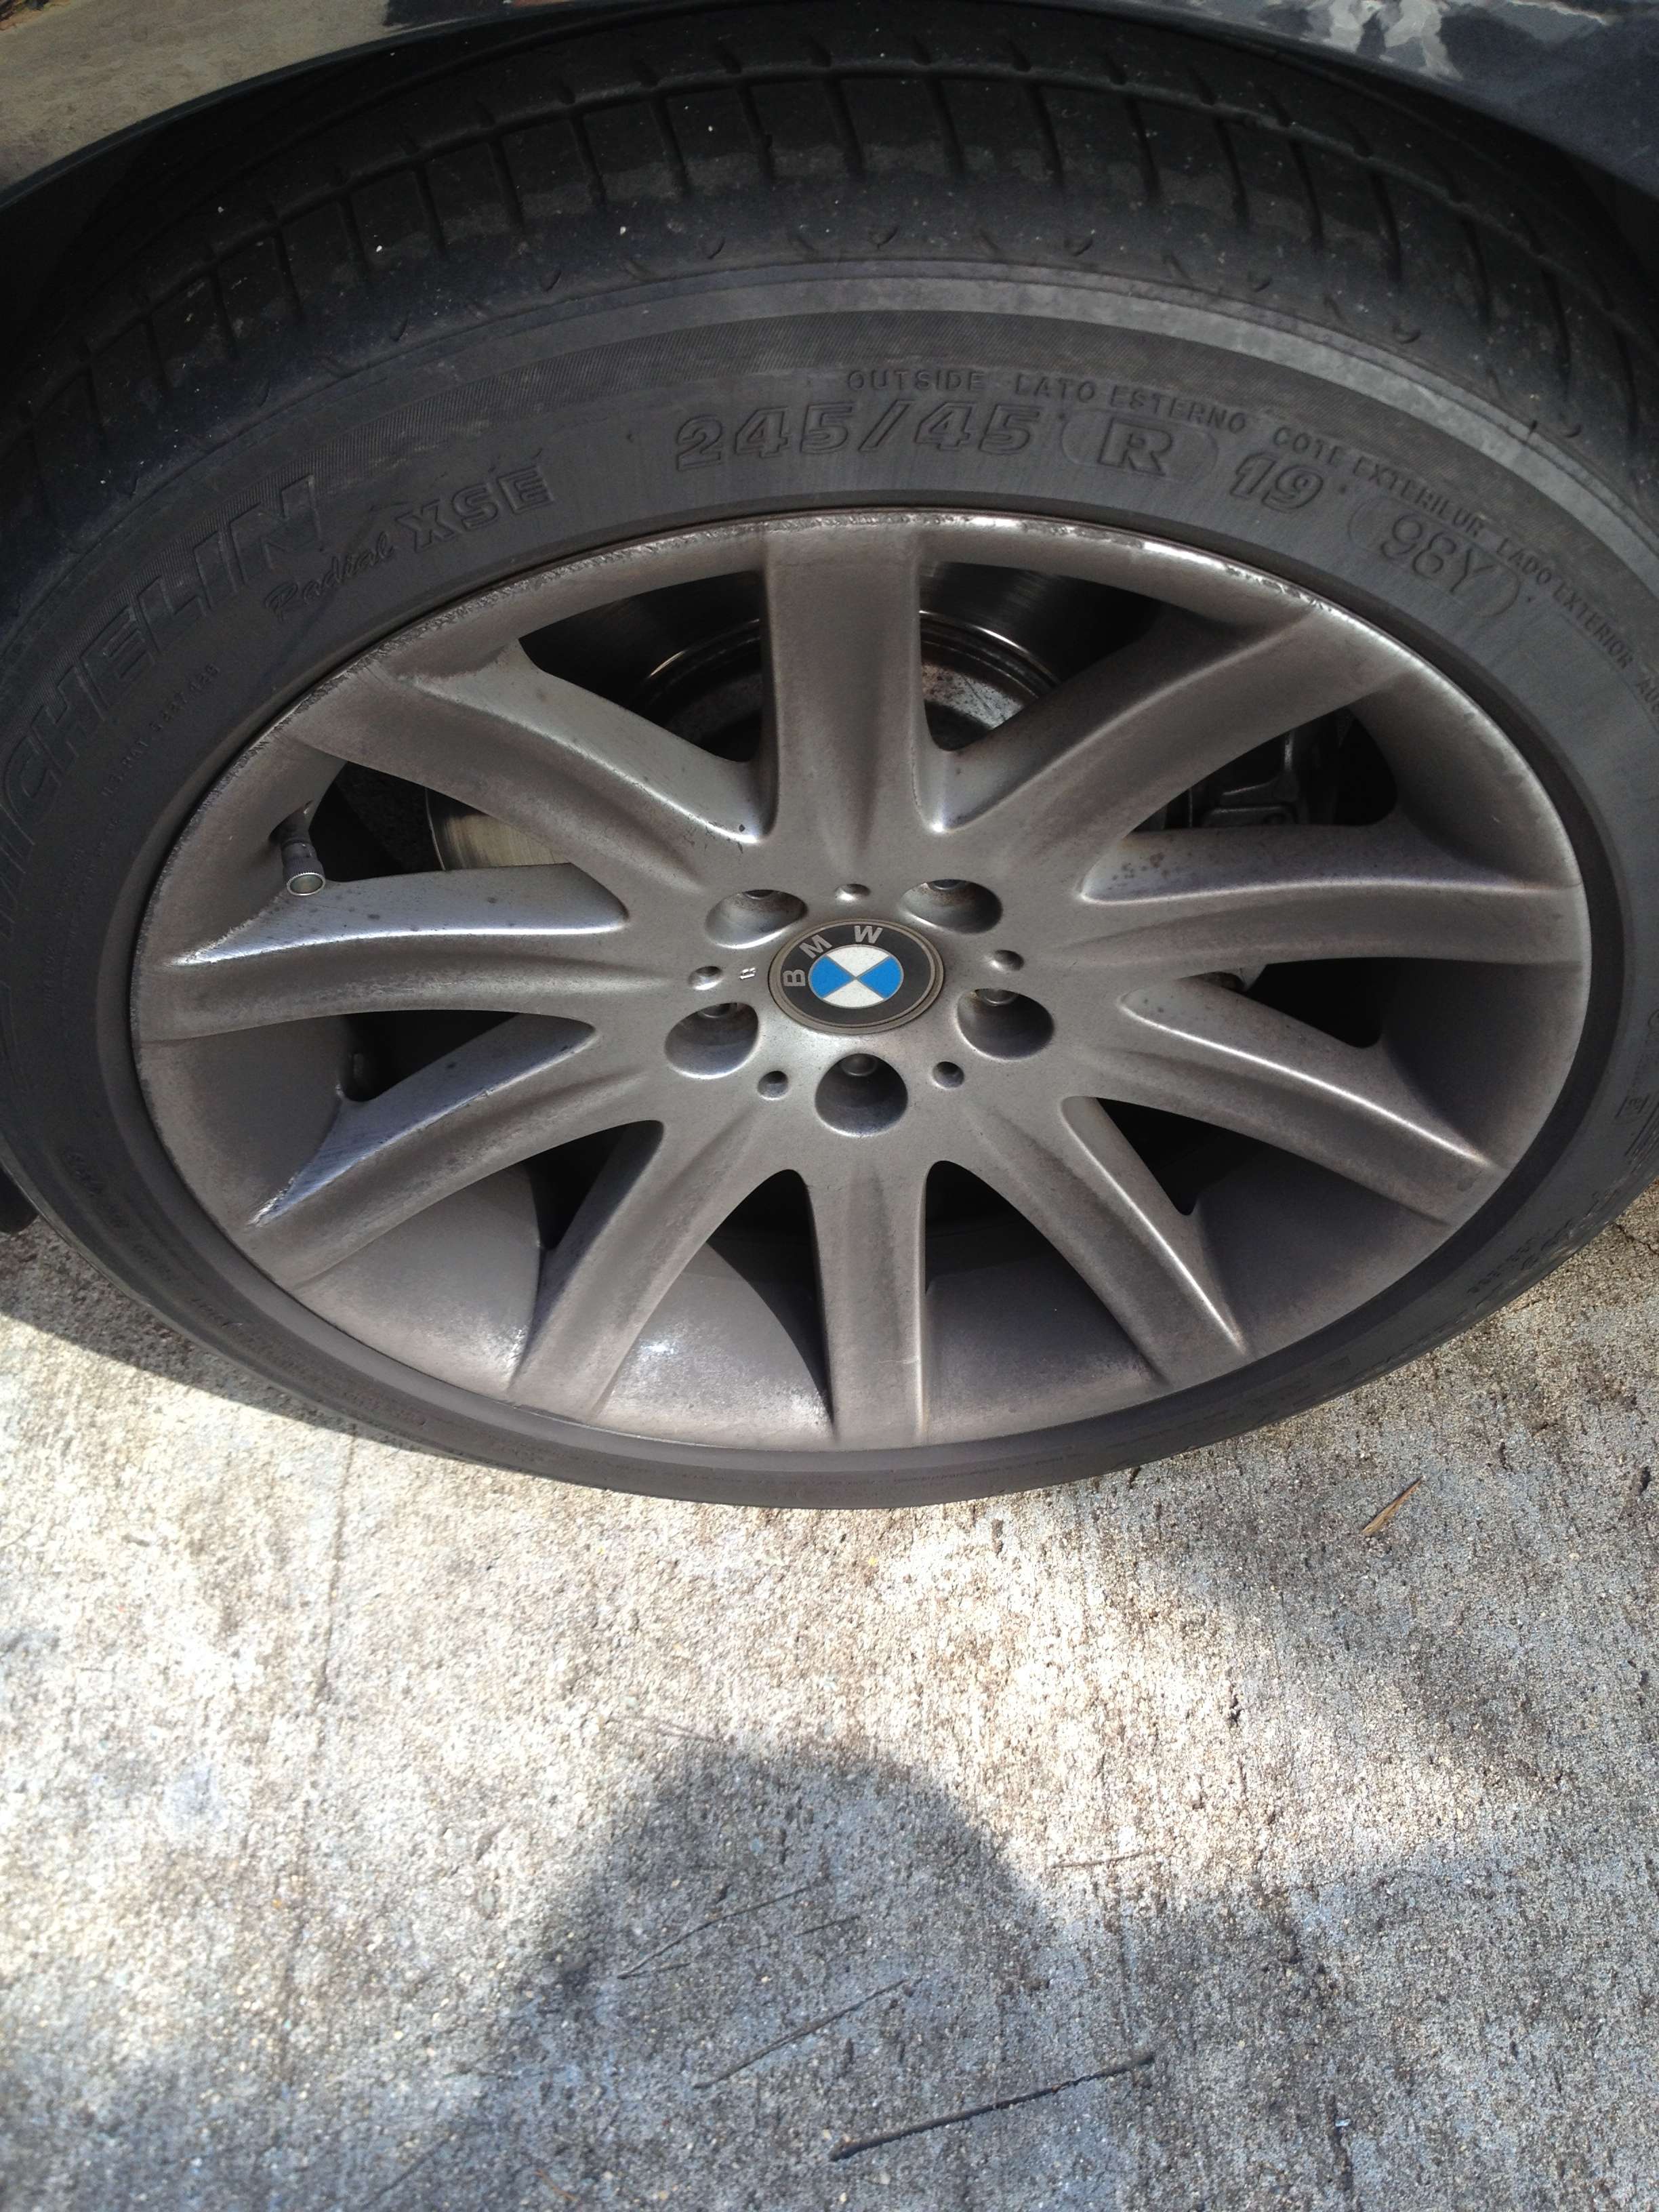
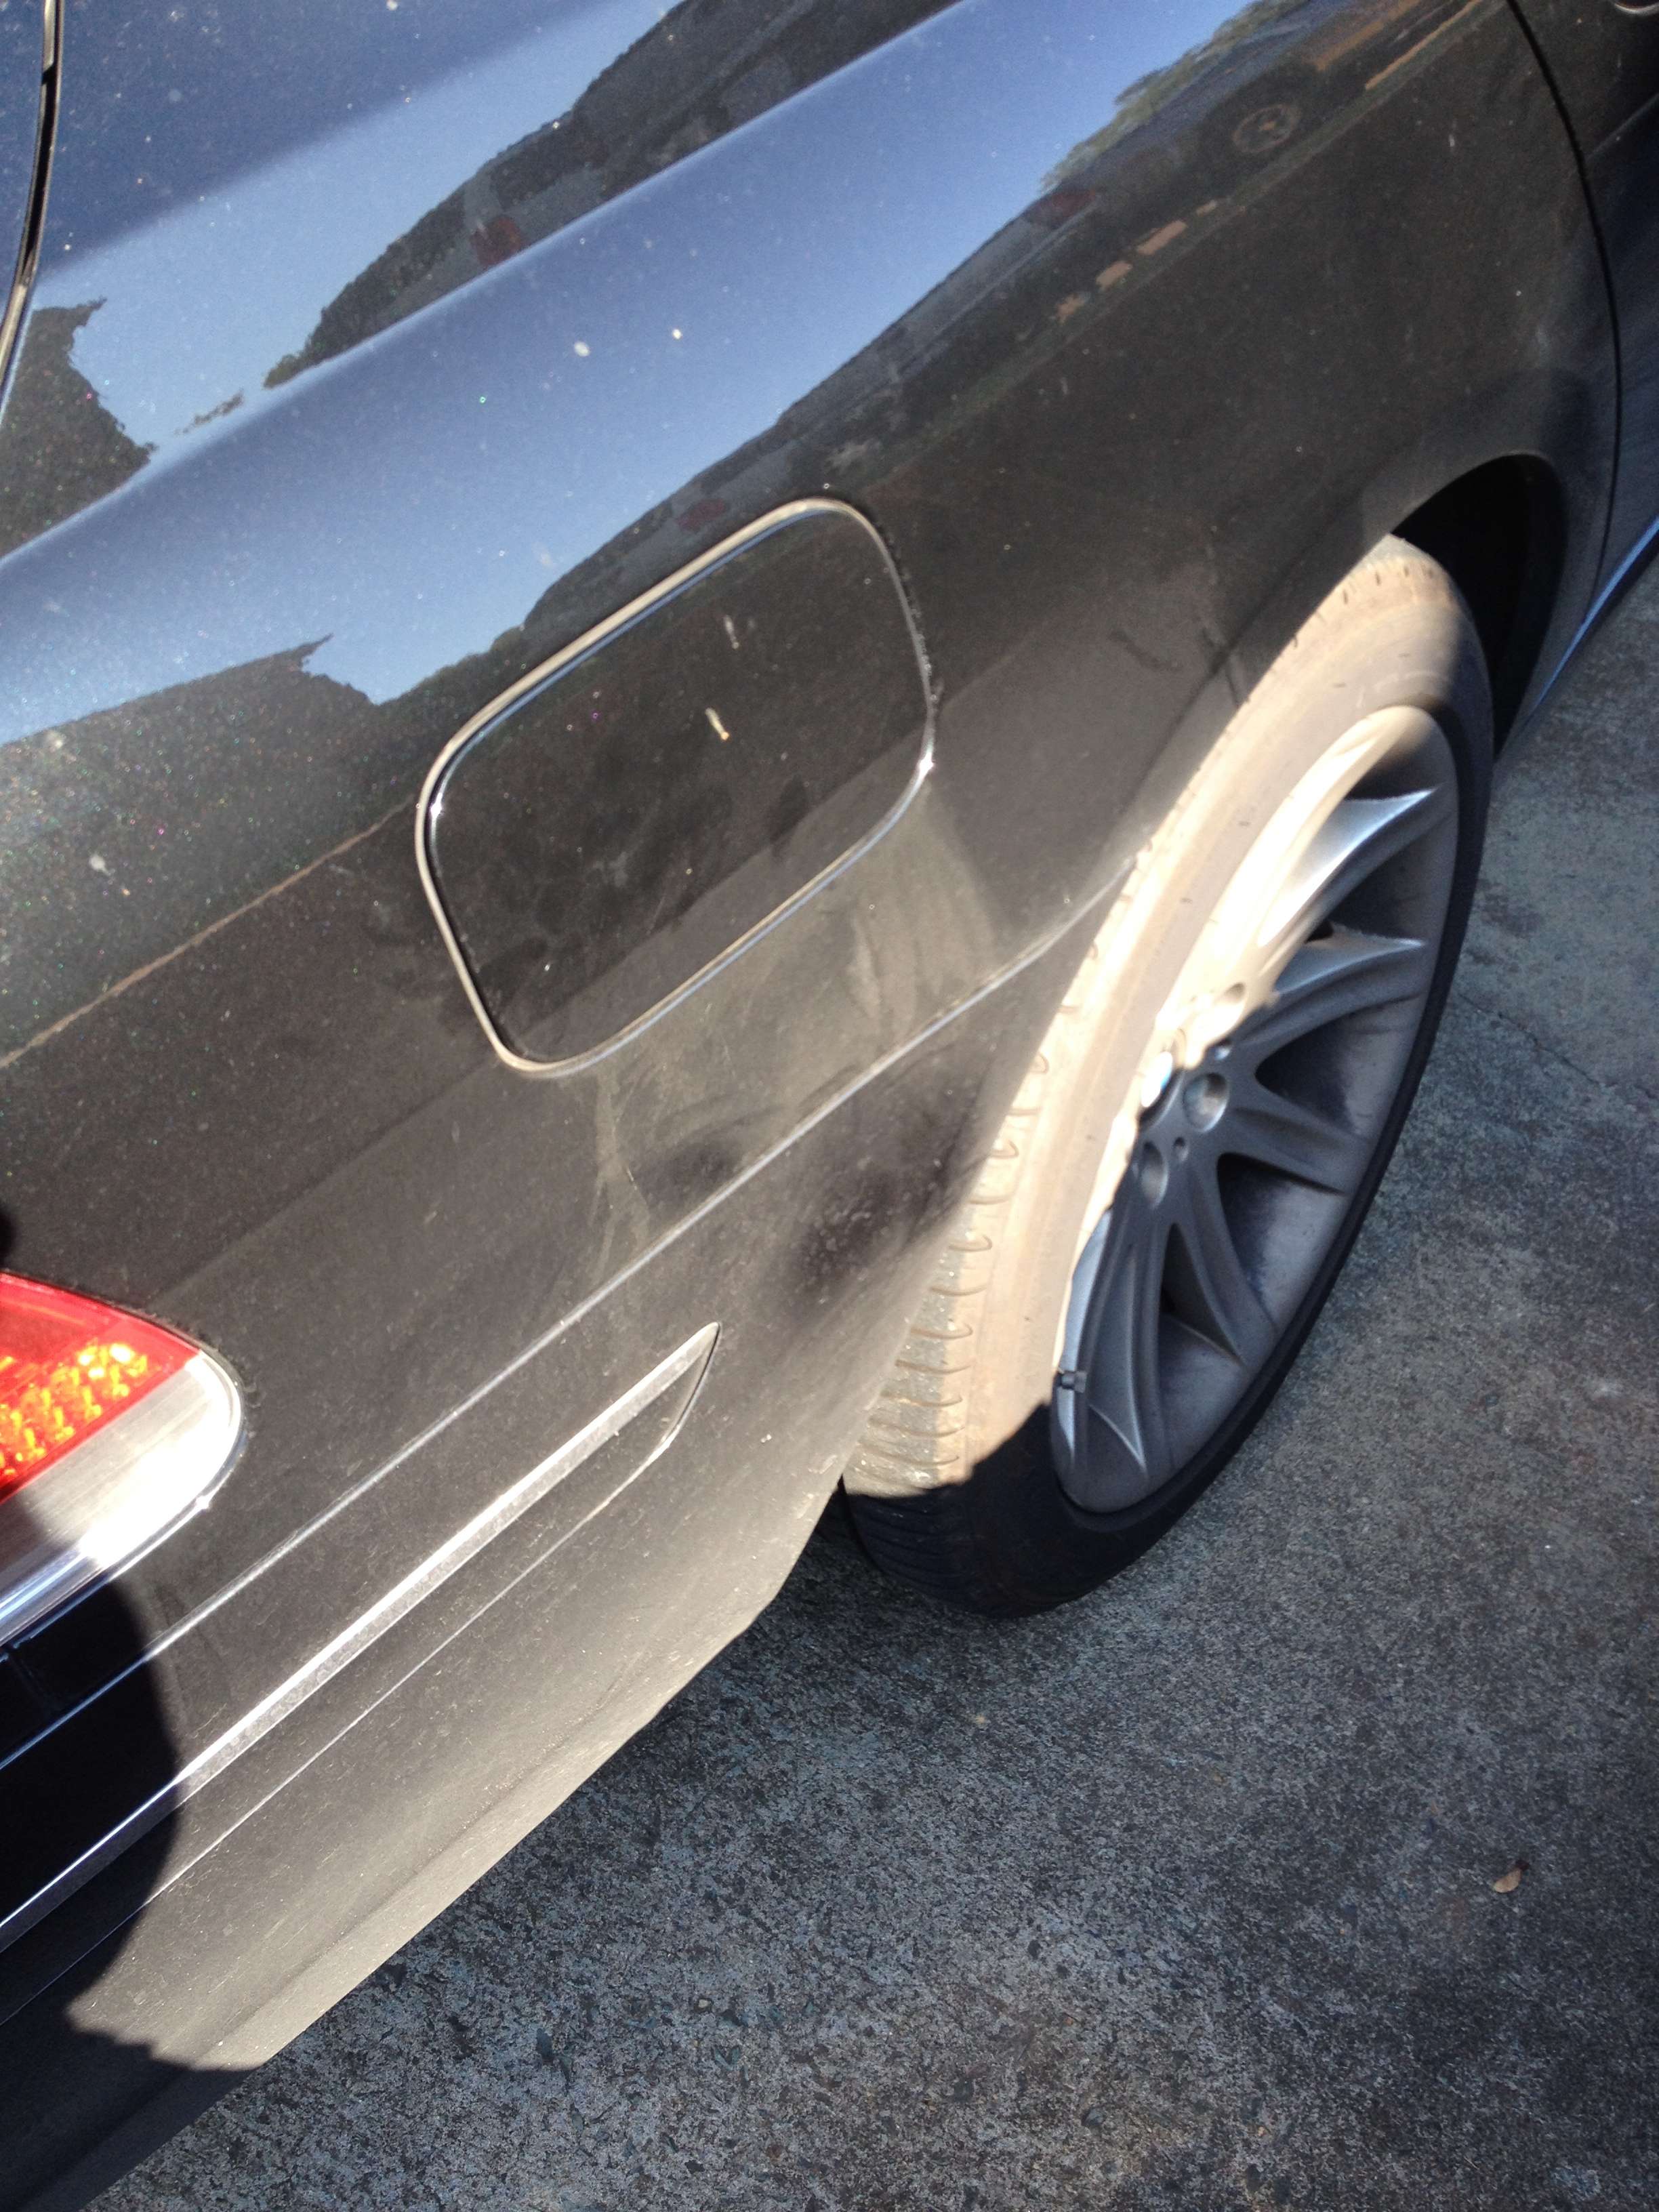

The Wash:
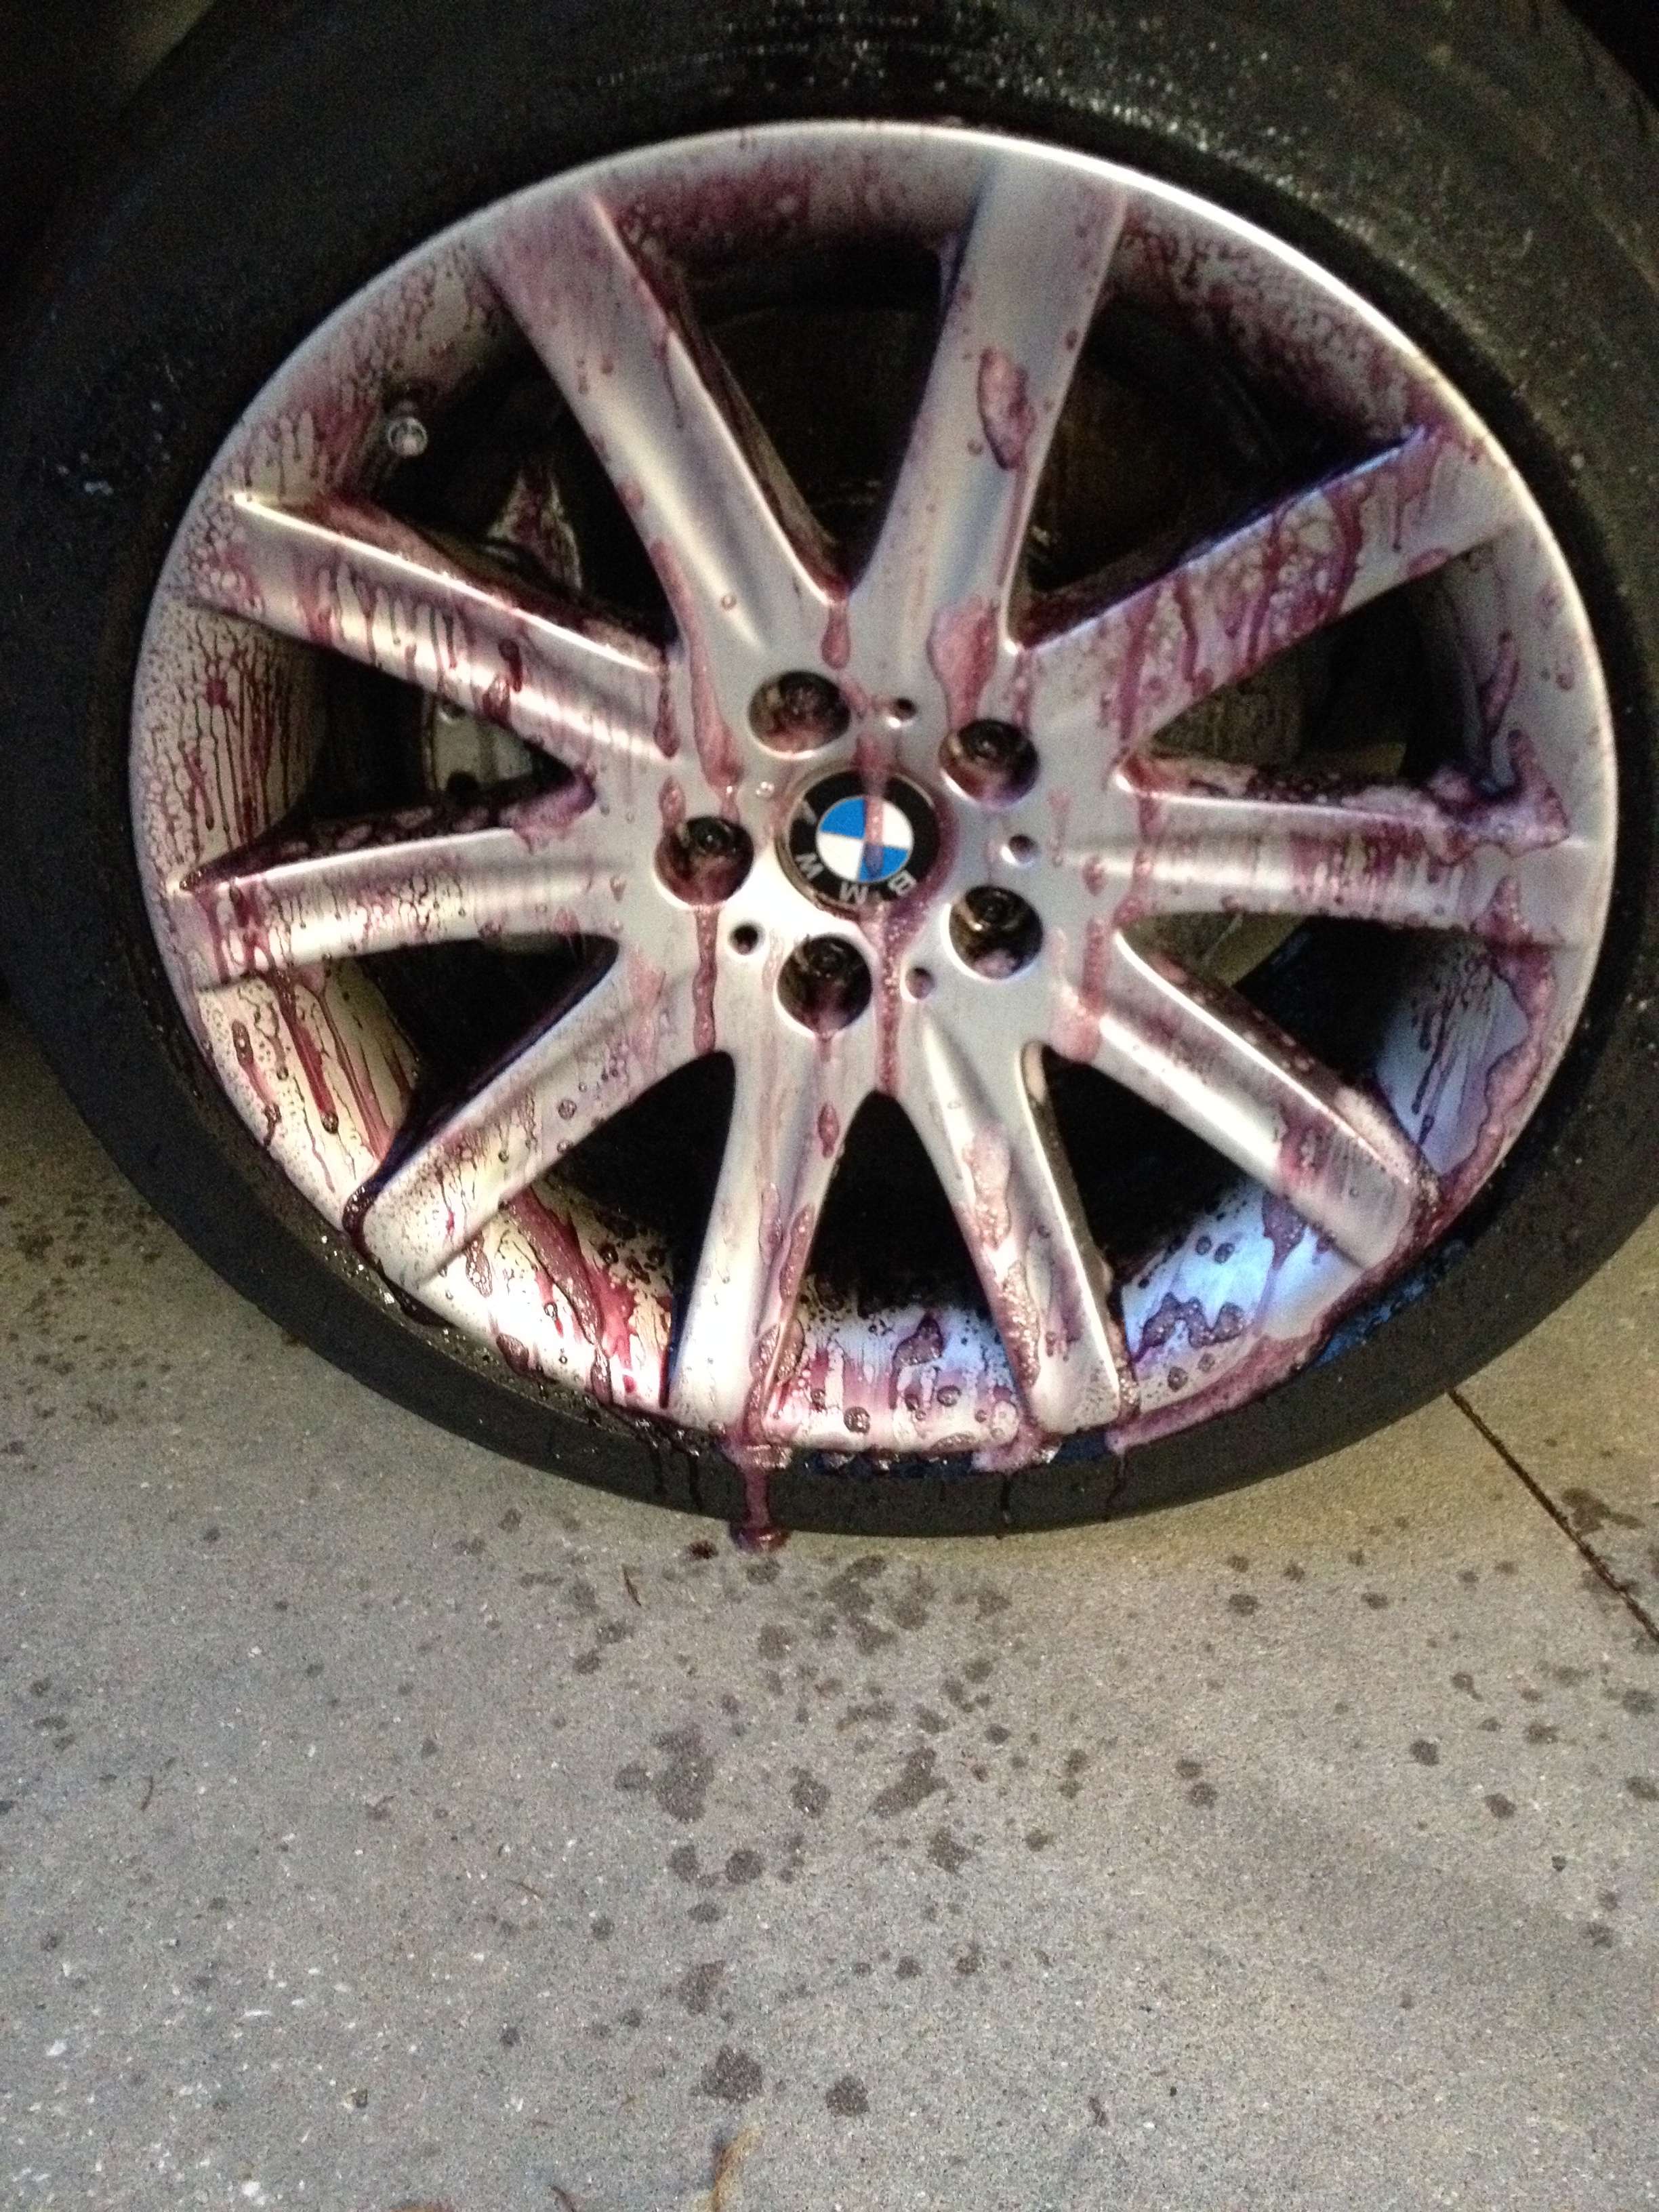
I started with the wheels first. I used AMMO Plum iron deposit remover, let sit for 3-4 min and then used a Daytona Speed brush to get into the interior of the rims. Then Hand washed with AMMO Wheel Soap the rest of the tires, rims, and wheel wells. I then rinsed off the wheels and wells, then rinsed off the whole vehicle to loosen any large dirt particles. I then used the two-bucket method with Chemical Guys Citrus Soap and a Wool mitt and started on the roof. In between each panel I rinsed and re-soaked the wool mitt to lessen the chances of contaminating the next panel with particles. Then rinsed vehicle.
AMMO Plum:
The clay bar:
After initial wash I used the Blackfire Clay bar before drying using CG Honeydew Car Soap as lubricant. I used a small piece separately for each rim. Then rewashed vehicle.
Drying:
I then dried the vehicle using the Master Blaster to eliminate any chance of marring the finish any more than it was already. I do this no matter what anyway, takes a lot longer, but in the end there is no chance of marring the finish and all the water is out of the cracks and crevices.
Compounding and Wet Sanding:
I used a Brinkman Dual Xenon spotlight to determine how much corrective work was needed. A Friend measured the paint for me, so I knew what kind of paint levels I was working with, and also to decide how much I could take off when wet sanding. Then proceeded to do a test panel on the trunk for wet sanding. I used Meg 3000 grit, and by hand reduced the etchings from birds and water to a minimum, then using the Flex DA and Meg D300, I then corrected the finish. I liked the end result at that point, so proceeded to use the GG 3” with a 3000 grit pad and wet sanded the whole trunk, roof, and hood leaving a 1.5 in gap between any ridges or edges.

I used a Flex 3401 DA and a mixture of Meg’s Microfiber Cutting Pads (also used a yellow and orange LC CCS Pads) with D300 or Menzerna PG1000 (also had to vary in Rupes Quarz due to the hardness of the paint, and having different panels react to different methods) to correct the 3000 grit and get the finish close enough for polishing. I found that different areas required more or less cutting power, so I used different combinations of pads and polishes in the correction process and the Flex power varied from 6-5 pending the corrective action needed.
After each section was finished, the Brinkman was used to inspect for any heavy swirls or marring that the polishing steps would not remove. Most panels were pretty perfect with only very small and minor swirls in a few places. The Meg D300 finishes really well, and was again thoroughly pleased with it. The Menzerna PG1000 was difficult to work with again, had minimal working times, and had to do really small sections, which the Flex tends to heat up the surface doing small sections, which compounded the issues with using the Menzerna. Dusting was prevalent, which was a pain. The D300 had no dust to speak of. The Rupes Quarz was extremely similar to the PG1000, but had less dusting. Megs D300 or 105 are some of the nicest compounds that I have used.
Polishing:
All the fine polishes had long working times and removed easily when finished with the section. Typically worked a 3 by 3 section to maximize work area.
Next was a whole car polishing using the Menzerna SF4000 Polish with a White LC CCS Pad using the Flex on a setting of 5 for pass 2-3 and 4 for pass 4-7. The GG 3” was a orange pad on setting 6 for small and tight areas.
Next was the Rupes Diamond super fine polish, (I only did this step due to the time I had on my hands, and the desire to make it absolutely perfect) using a Gold Jeweling LC CCS Pad, on Flex setting of 3-4 with 5 lbs pressure for pass 1-2 to diminish the abrasives quickly so passes 3-8 were Jeweling the CC. GG 3” was used on 4-5 with no pressure and used the Red pad.
Checking the Work:
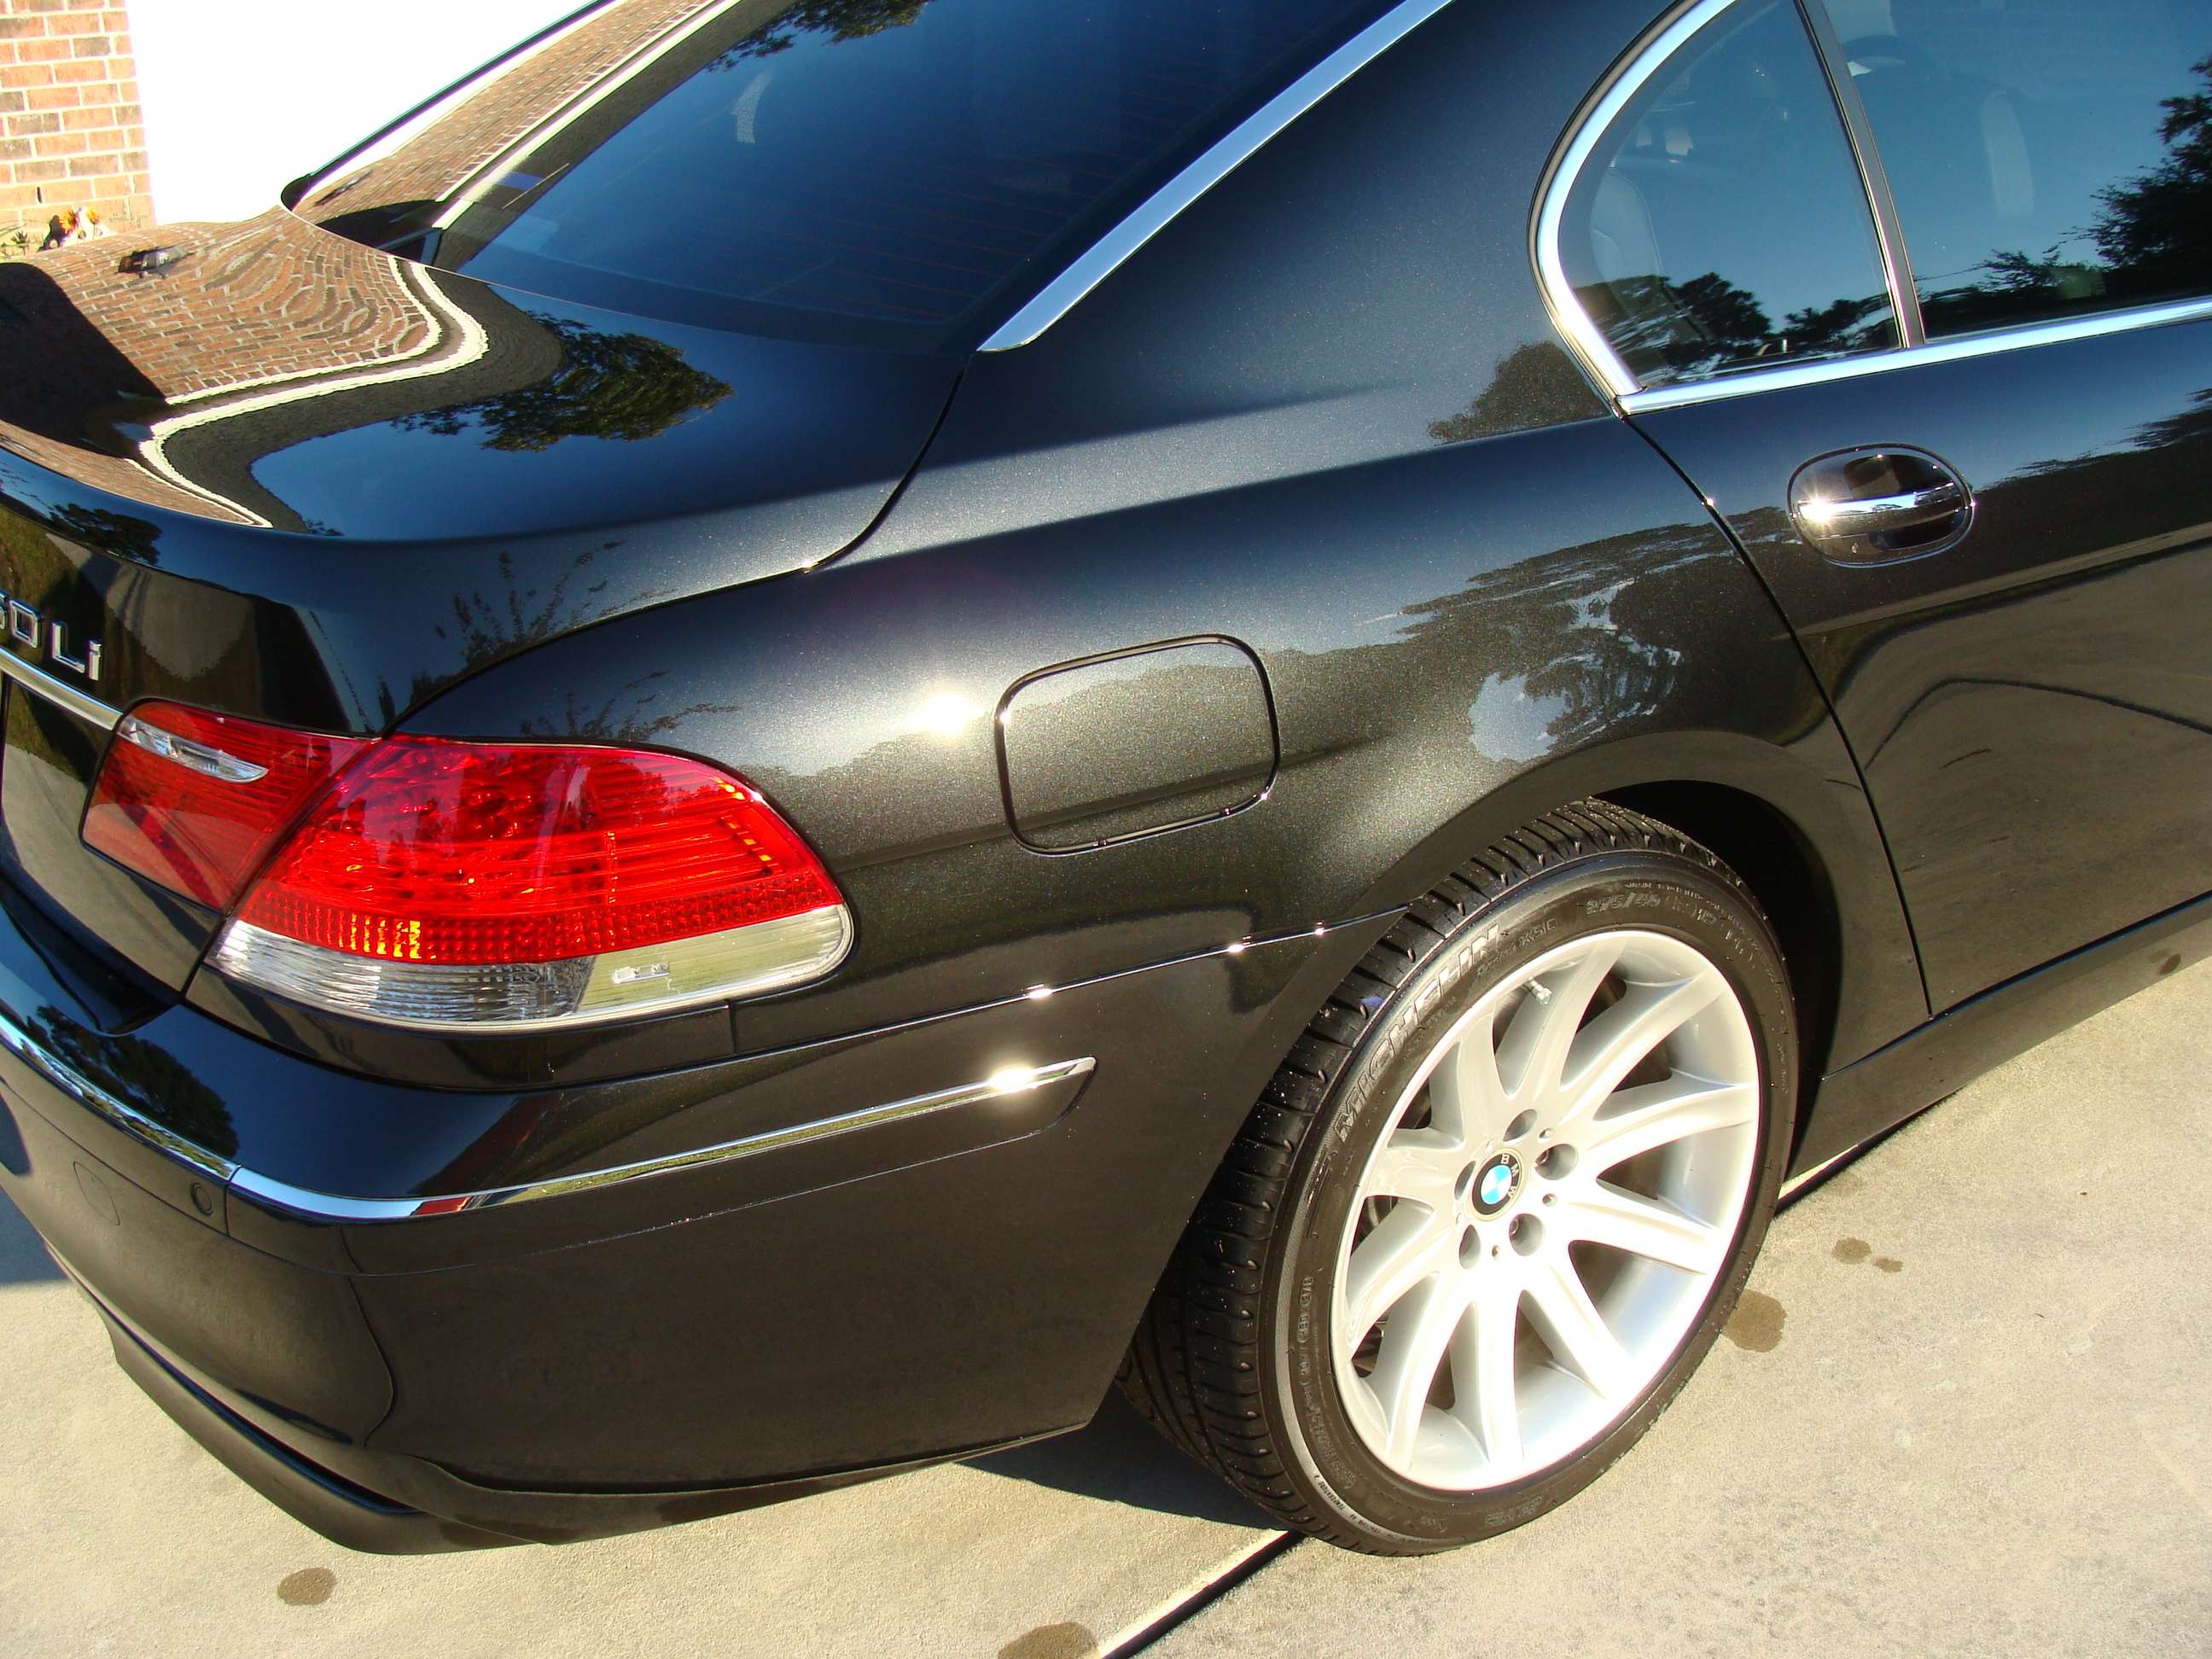
All Panels were inspected in by in for any swirls or marks, and each one found, a piece of tape was used to mark it. 4 spots were found and re-touched up using the White then Gold pads and appropriate polish. Then another inspection was done, and I concluded all possible scratches were removed. Typical Rock Chips in the front Valance, bumper, hood (Bonnet for the UK’ers), and right behind the front wheels on the lower rocker panels, were still there. Other than those spots the paint came out absolutely perfect and only minimal etched areas were visible on the roof and hood. They are not visible in pictures, and difficult to see in person without looking close. Owner was amazed.
The Sealant:
I did a thorough wash using CG Citrus Soap and then a IPA 30/70 wipe down. Having a perfectly clean surface helps any sealant bond thoroughly. This just helps ensure a good bond.
AMMO Skin was applied to the whole vehicle. I used a Red LC pad on the Flex on a setting of 2 and applied to half of the vehicle before removing. Applied in a crisscross pattern like polishing and made two passes to make sure sealant bonded and totally coated the finish. Then did the other half. At 24k hr intervals AMMO Skin was applied for a total of 3 coats to layer the protection. Ammo products are intended to work with each other and each time you apply them, additional layers add to the protection. 1-2 coats were likely plenty, however the minimal time (15min) it took to actually apply and remove, I said why not add one more before the Carnuba.
The wax:
For the final coating, I decided to do a quick layer of Migliore’s Frutta Carnuba Wax and applied it with the Flex on a setting of 2 using a Gold Jewelers Pad LC. Applied to the whole vehicle and wiped down with the help of AMMO SPIT. AMMO’s products work together to strengthen the bonds and increase the layer slightly each time used. I then washed the vehicle very carefully in order to not wipe off the Carnuba. (You can remove the wax if you are not careful) Then dried with the Blaster.
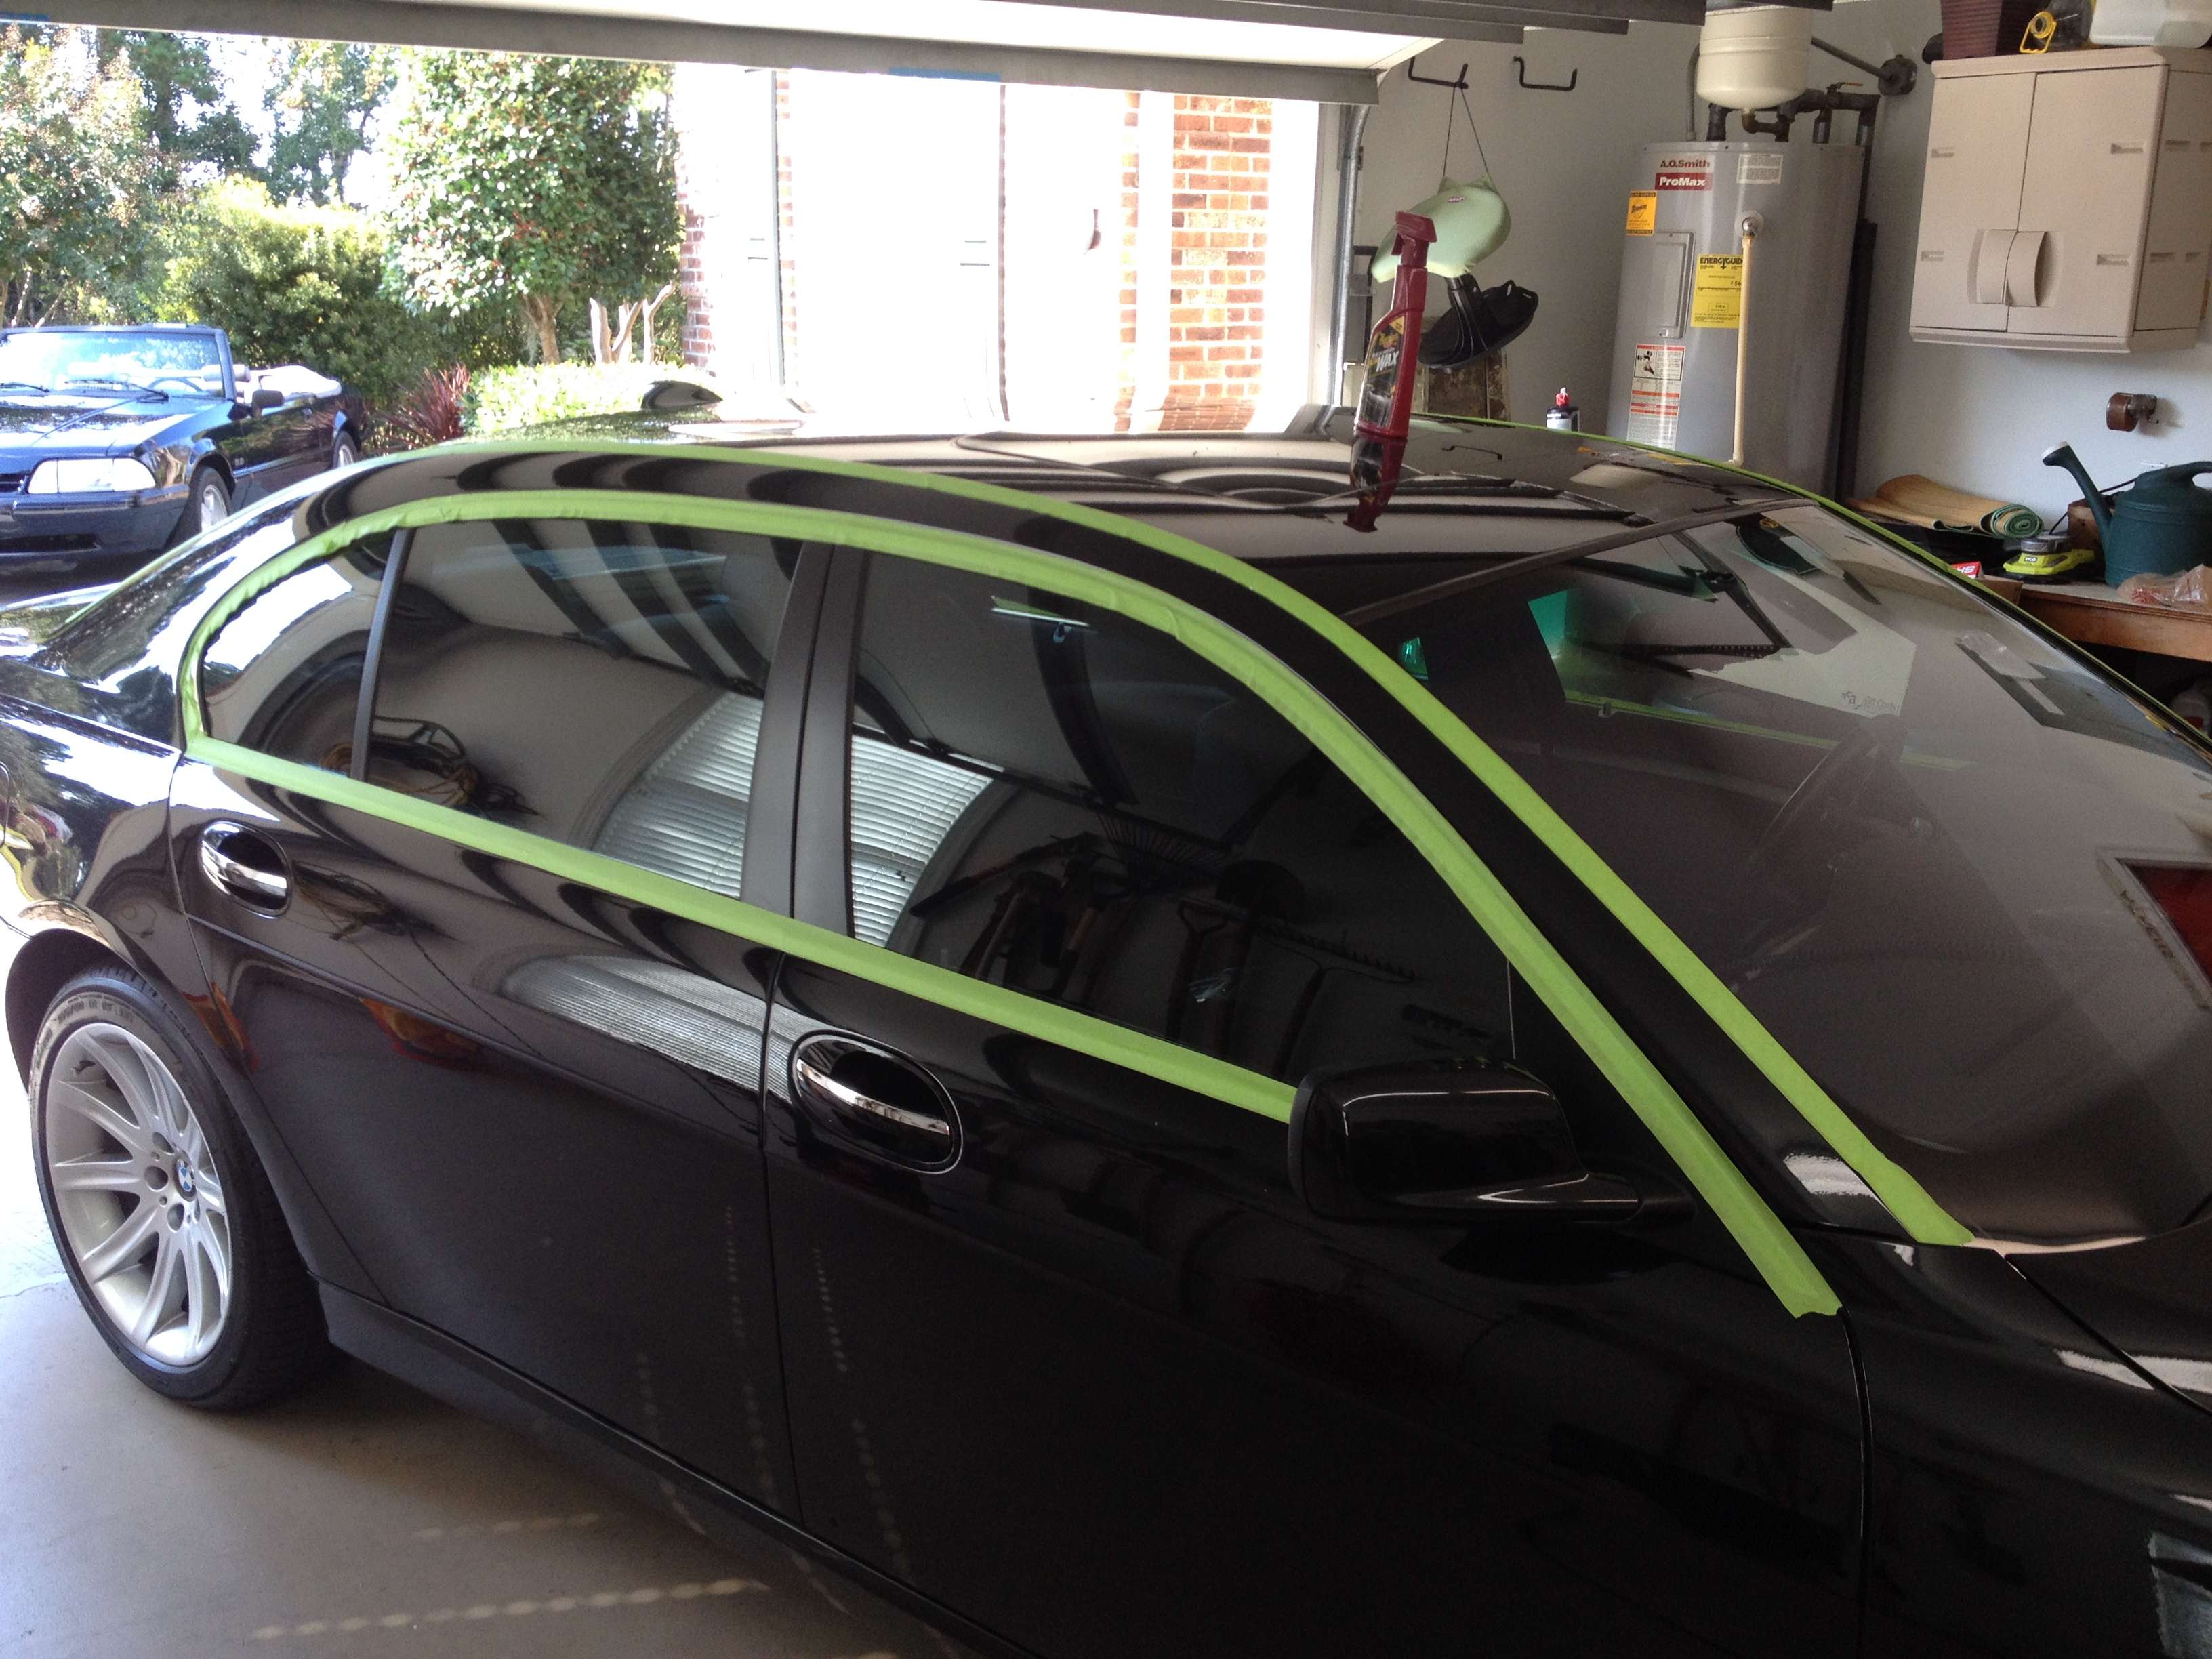
Windows:
Each window was Razor Bladed to remove any contamination then polished using the GG 3” Orange pad using Zaino Glass Polish. (Not getting another brand till I use this up, Carpro Ceriglass Polish was just ordered). Then all surfaces were coated with Rain-X and buffed clear.
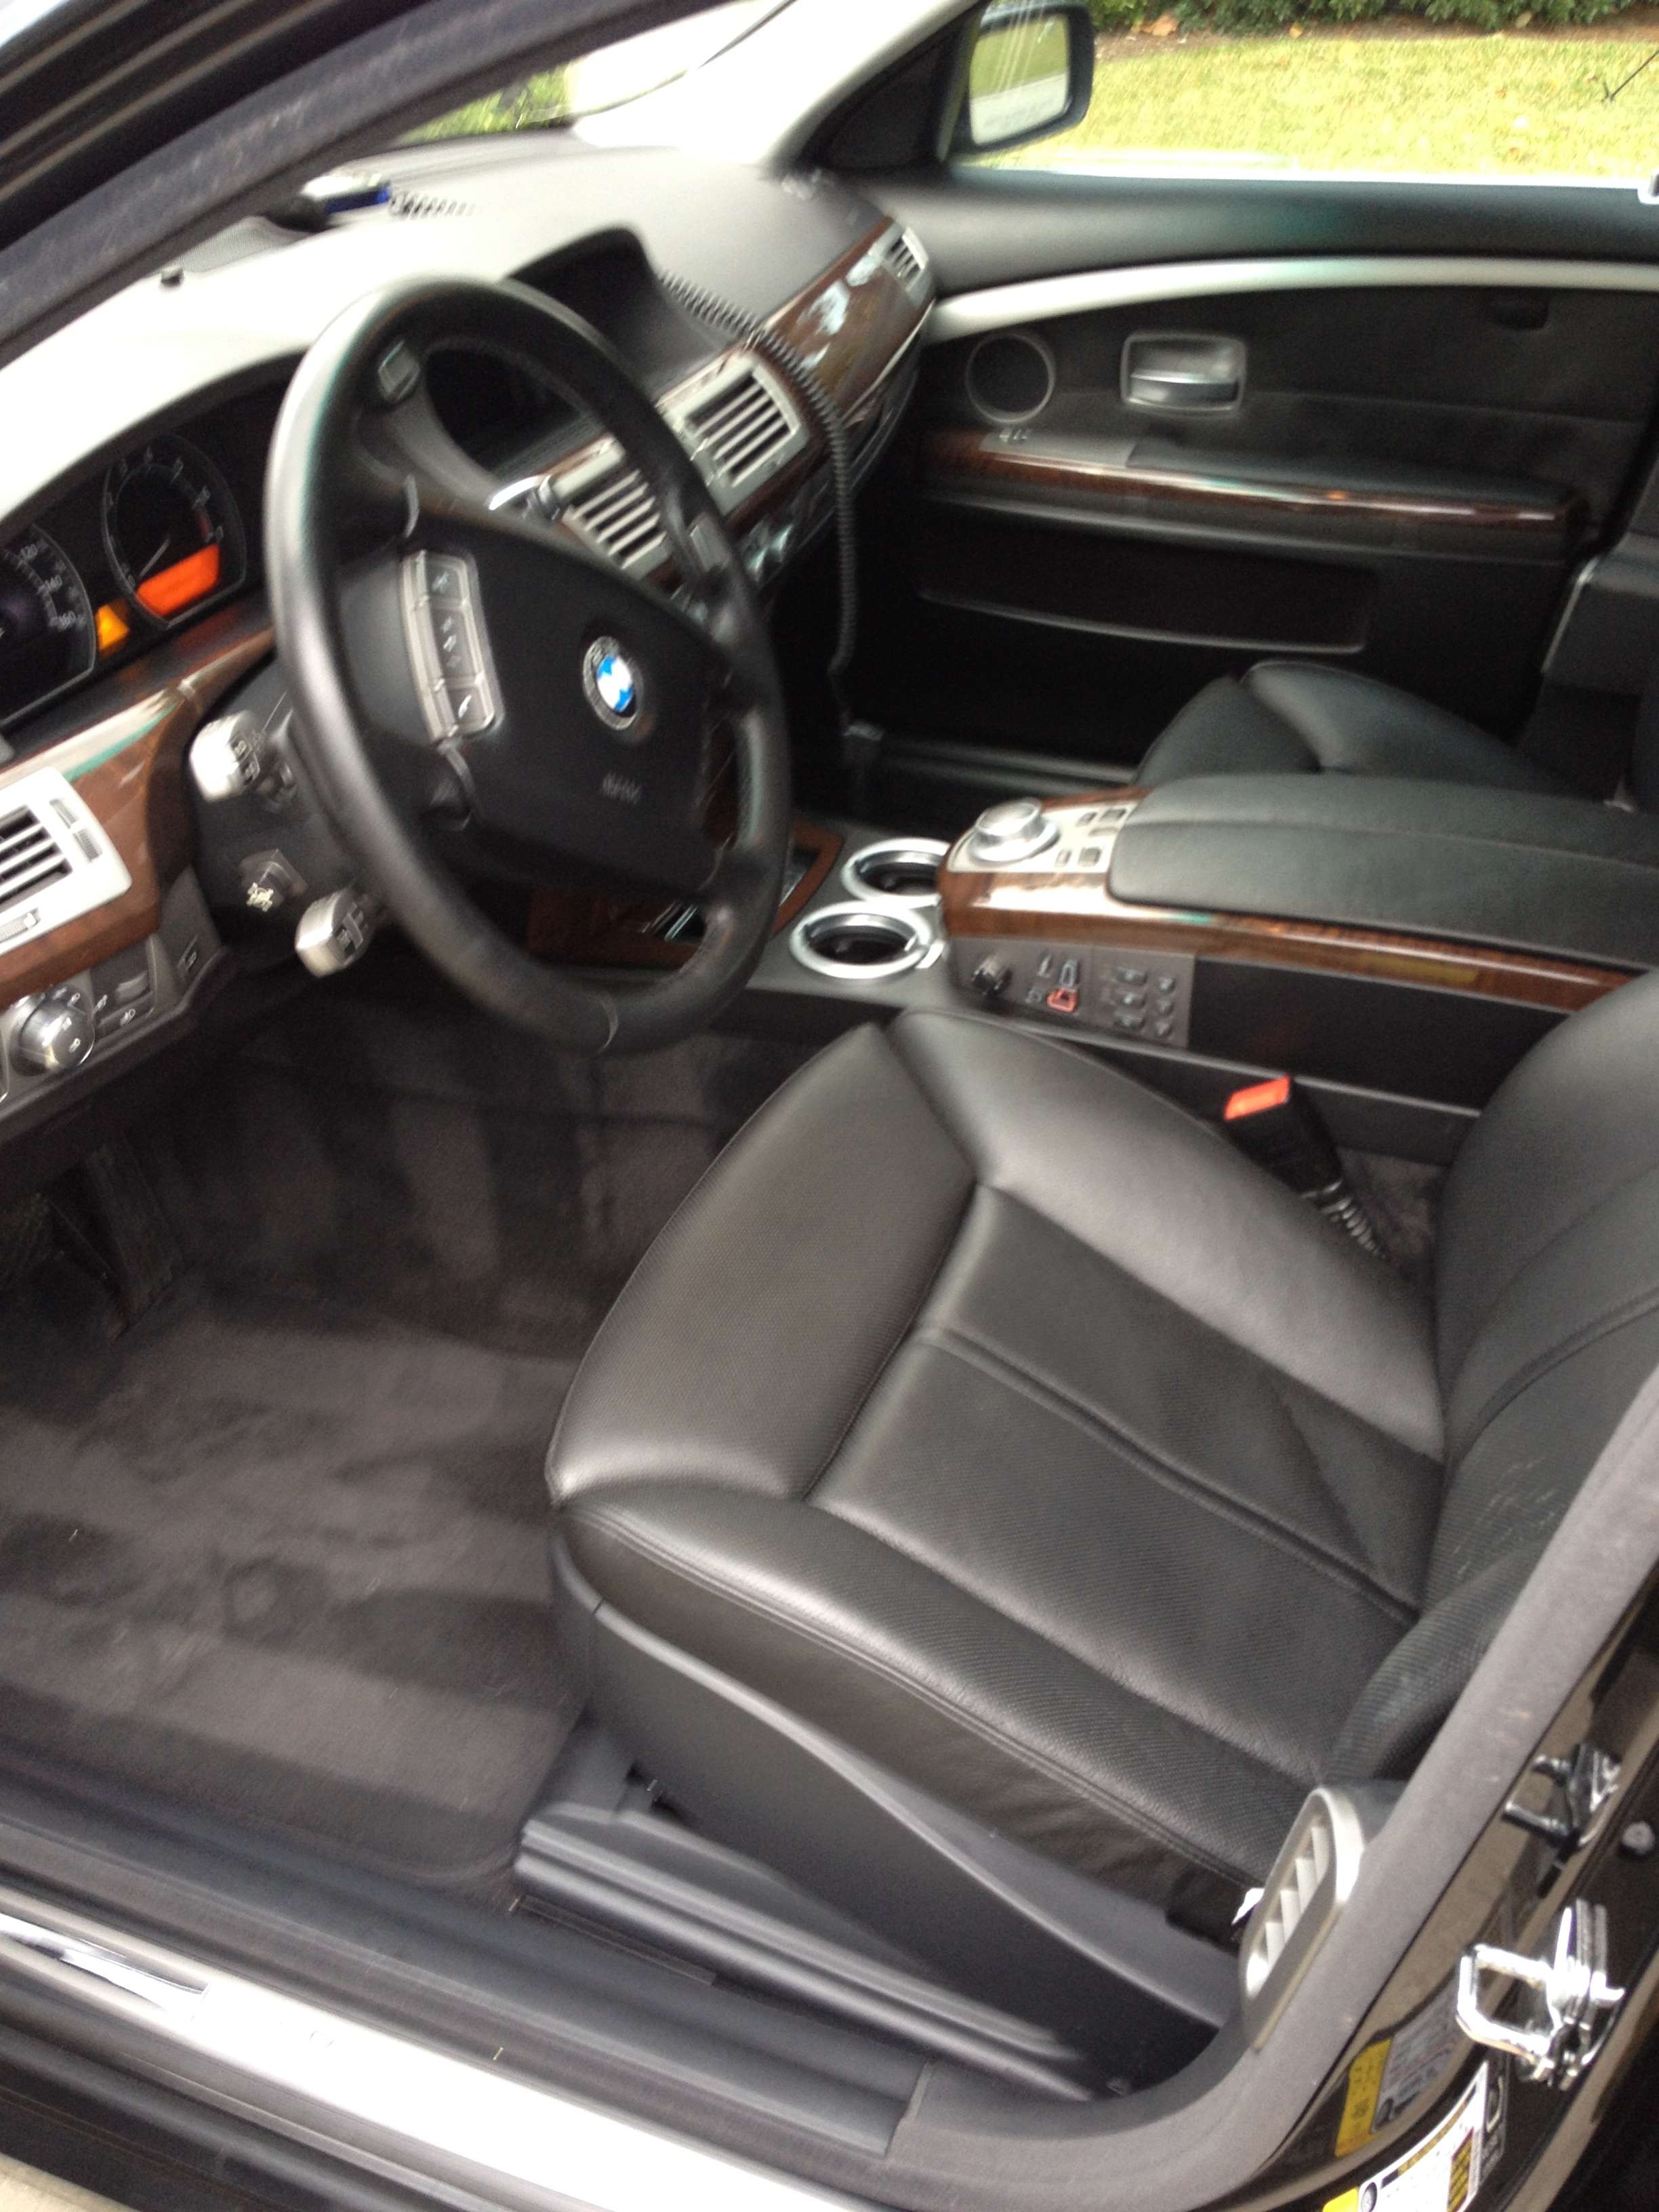
Leather:
All Leather and door panels were Steam cleaned then conditioned with CG Leather conditioner. 24hrs later a second conditioning was done. Leatherique process was not needed due to the leather being in great condition just needing some conditioning.
Interior:
Only several spots on the carpets needed cleaning, so I used the AMMO Lather and a brush to blot out the needed areas, then re-vacuumed the vehicle and put stripes with the brush into the carpet. All dash surfaces and center console areas were wiped down using AMMO Lather sprayed on a micro towel. ALL wood pieces were treated to a Menzerna SF4500 polish with a Microfiber pad, and then buffed to an incredible shine. (Most treated wood interiors have a CC the same as the outside paint, so can be treated the same. Have used the GG 3” with a white pad to polish wood, but on BMW’s the only area to really do it is on the dash in front of the passenger, so didn’t take that time and did it by hand)

Trim:
The Zaino CS Sythetic sealant was applied to all exterior Black pieces. (Wiper arms, plastic wiper tray, ALL window seals, the Door Jambs and black hinge and wiring pieces, engine bay area, etc.…) I have found the Zaino CS is a perfect sealant to use for the trim on high-end details. The trim pieces stay black for 6-8 months and then just need a touch up. Same with wheel wells. No need for APC use, just soap and water and a brush, if that. Everything stays a nice deep black without being oily, or attracting dust. (Zaino CS is perfect coating for use on a wife’s car (True WOWA product that lasts 4-5 months) or a quick wash and wax job. (Opti Coat is a nice similar product).
Wheels:
Typically I do not remove the wheels to clean them or the wheel wells. I move the front around to get the wells, but brush out the inside of the rims. (Do not want the risk of a lug breaking, or a scratch on the rim from a lug, or ultimately a rim loosening up, when it’s a Bentley, Porsche, BMW, Merc, or other exotic) too much risk.
Each rim was cleaned using the steam cleaner and a microfiber towel. Then immediately while the pores of the Rims were still open and warm AMMO Skin was applied, then removed. Then I hit the rim lightly with the steam, wiped off the water, then applied the Bouncer’s Wheel Wax (BWW) on top of the AMMO. The BWW gets hard after about 4-5 min then you have to really buff to get off. Produces a gleaming glossy shine and protects for several months. (My recommendation would be to use GTechniq wheel coating or other (22PLE) Glass Coating to cover the rims, for a more permanent gloss and protectant)
Finished:
Vehicle was finished at this time. I nit picked the whole car with a thorough inspection and wiped down again with the AMMO SPIT. I had a three-hour drive for the return of this particular vehicle, and after arriving I walked the owner through a wash process, so he could minimize the micro marring during future washes. He had also complained that in the past, after a detail was done the car would be slick and perfect. But after a wash he could not feel the slickness and could see scratches. I explained that more than likely the Fillers used in a lot of Polishes had been left to fill the micro scratches. A IPA wipe down eliminates the fillers, which wasn’t done in his previous dealings. Also I would wash it with him so he can see that after a wash and driving the vehicle would still look just as nice and perfect as the condition it arrived in. Owner was more than pleased with the work.


I hope this write up helps some people, and any skeptics or suggestions are very welcomed. I try for perfection, but still years in I have a lot to learn and try to do so everyday. This is not a Job for me, this is just a perfection hobby that I do on mostly Higher end vehicles. I do use other various products i.e.… CG Black on Black, Leatherique, Opti-Coat, Megs 105, and my favorite is the 22PLE Glass Paint Coatings. The owner was not interested in the expense of the 22PLE products so skipped that, but would have loved to see this car done with that product. This was my first write up though. Will do much better on future ones.
-
Super Member

Re: 2006 BMW 750LI Full Correction Write Up
Great work and wright up 
-
Super Member

Re: 2006 BMW 750LI Full Correction Write Up
Very nice work! It looks amazing. That is how a 750 should look!!
-
Re: 2006 BMW 750LI Full Correction Write Up
Very well done write up and even better work. That's how black BMW's should look. Nicely done.
-
Super Member

Re: 2006 BMW 750LI Full Correction Write Up
Turned out great.
-
Super Member

Re: 2006 BMW 750LI Full Correction Write Up
I love me a 7 series, beautiful car, nice work!
-
Super Member

Re: 2006 BMW 750LI Full Correction Write Up
Great work, the BMW turned out nice.
-
Super Member

Re: 2006 BMW 750LI Full Correction Write Up
-
Regular Member

Re: 2006 BMW 750LI Full Correction Write Up
Wow, great work! I to use the AMMO products and love them.
You had a really great turn around on this! Looking forward to seeing more!
89' BMW 325i w/ s52
07' Toyota Tacoma "Taco"

-
Super Member

Re: 2006 BMW 750LI Full Correction Write Up
You did a really great job on that car. Great documentation as well.
Similar Threads
-
By Roman92 in forum Show N' Shine
Replies: 5
Last Post: 10-15-2015, 11:45 AM
-
By Pinpoint_Precision in forum Show N' Shine
Replies: 14
Last Post: 02-06-2014, 01:06 PM
-
By Velocitybts in forum Show N' Shine
Replies: 25
Last Post: 12-03-2013, 09:36 PM
-
By smriddler in forum Auto Detailing 101
Replies: 0
Last Post: 11-02-2012, 02:55 PM
-
By Ferrari Gloss in forum Show N' Shine
Replies: 9
Last Post: 11-20-2009, 07:43 AM
 Members who have read this thread: 0
There are no members to list at the moment.
Posting Permissions
- You may not post new threads
- You may not post replies
- You may not post attachments
- You may not edit your posts
-
Forum Rules
|
| S |
M |
T |
W |
T |
F |
S |
| 28 | 29 | 30 |
1
|
2
|
3
|
4
|
|
5
|
6
|
7
|
8
|
9
|
10
|
11
|
|
12
|
13
|
14
|
15
|
16
|
17
|
18
|
|
19
|
20
|
21
|
22
|
23
|
24
|
25
|
|
26
|
27
|
28
|
29
|
30
|
31
| 1 |
|


 Reply With Quote
Bookmarks