 Thanks: 0
 Likes: 0
 Dislikes: 0
-
Super Member

2006 Monterey Red Corvette Restoration - It all started with a "scratch"
As the title reads, It all started with a scratch...

A bit of background on how this detail came about.
We had done a polish out on a beefed up Camaro SS (aka Blue Monster) that had been over sprayed at one of our bigger Chevy dealerships in Az. The owner worked in the performance division of this Chevy Dealership, called his detailer back in Cali and asked if he knew of anyone in Arizona who could help get his ride back into shape. His Cali detailer came up with our name  Well, we did our thing on it and he was very impressed to say the least...so impressed in fact, that the DAY AFTER we did his Camaro, he was doing service for a certain Corvette...and to put it in his terms, he told the owner that his car was "Hammered!" and that he needed to call us lol. He had noticed especially a certain eye sore of a scratch on the upper part of the drivers door and then went into the rear quarter panel. Well, we did our thing on it and he was very impressed to say the least...so impressed in fact, that the DAY AFTER we did his Camaro, he was doing service for a certain Corvette...and to put it in his terms, he told the owner that his car was "Hammered!" and that he needed to call us lol. He had noticed especially a certain eye sore of a scratch on the upper part of the drivers door and then went into the rear quarter panel.
The owner called us the same day and we eventually set up a time for us to run out to take a look at the damage in person. Well, it wasn't pretty, that was for sure lol, but we thought we could save his paint...because the other option he was considering was repainting the whole car...a costly venture to say the least!
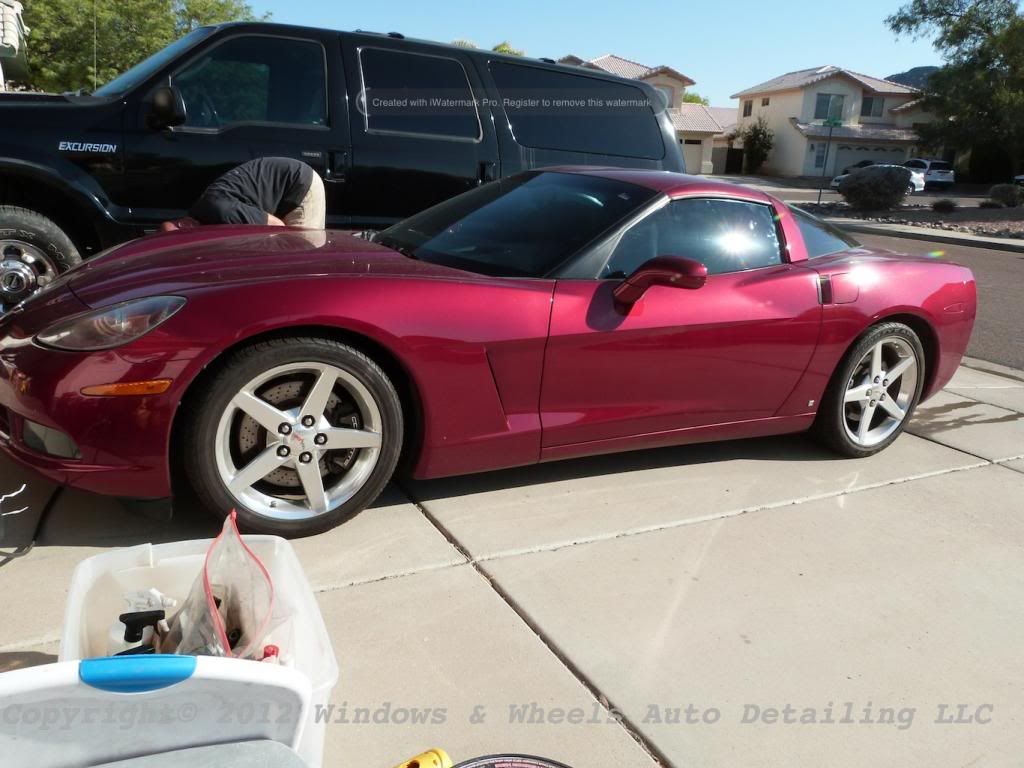
We booked a date...got out there early the morning of the detail and looked at the mess we had to try to correct.
Here she was, not looking too horribly bad from this angle!
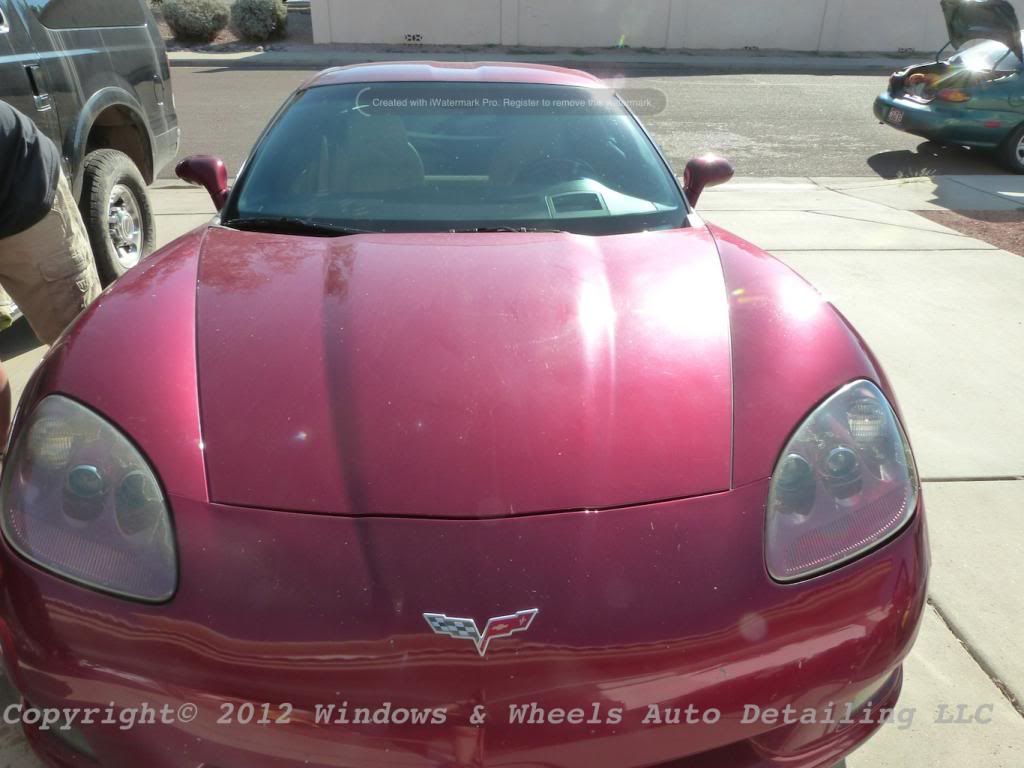
But when we swung around to look at it right in the sun...i swore it looked worse than i remembered when we bid it lol.
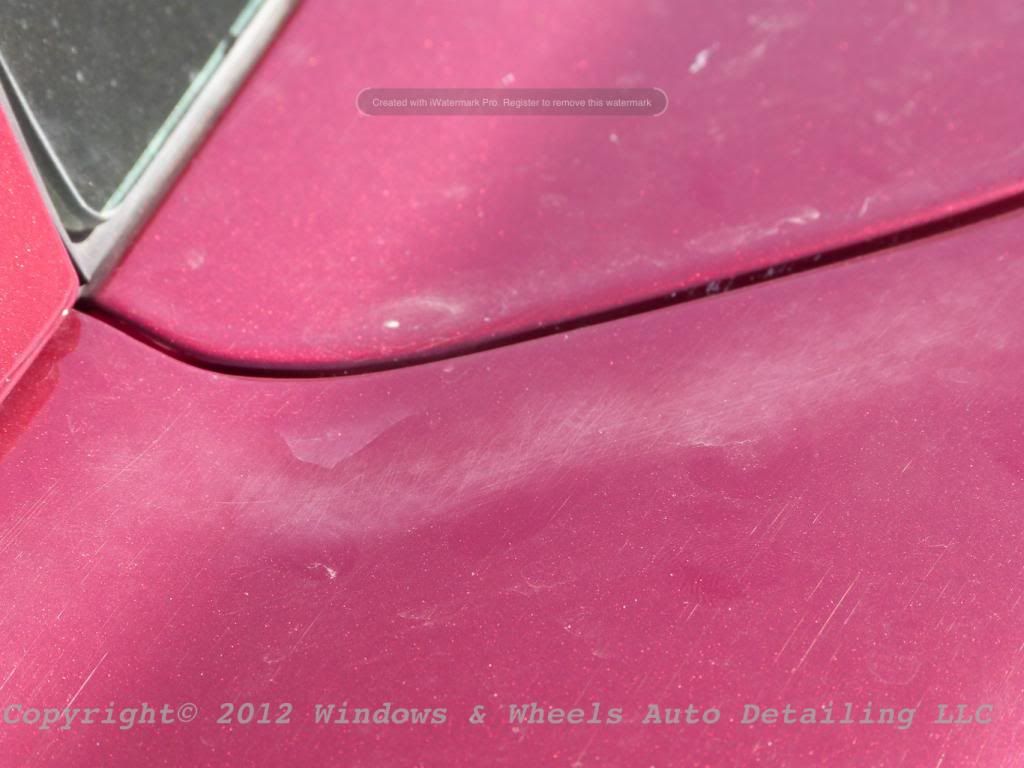
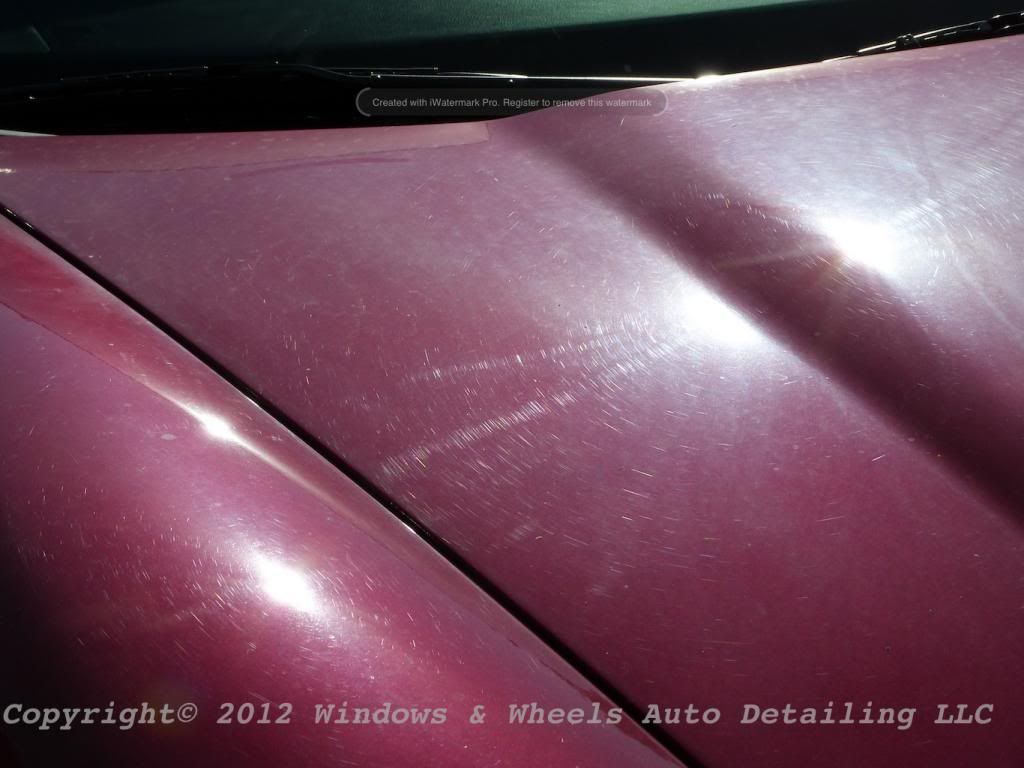
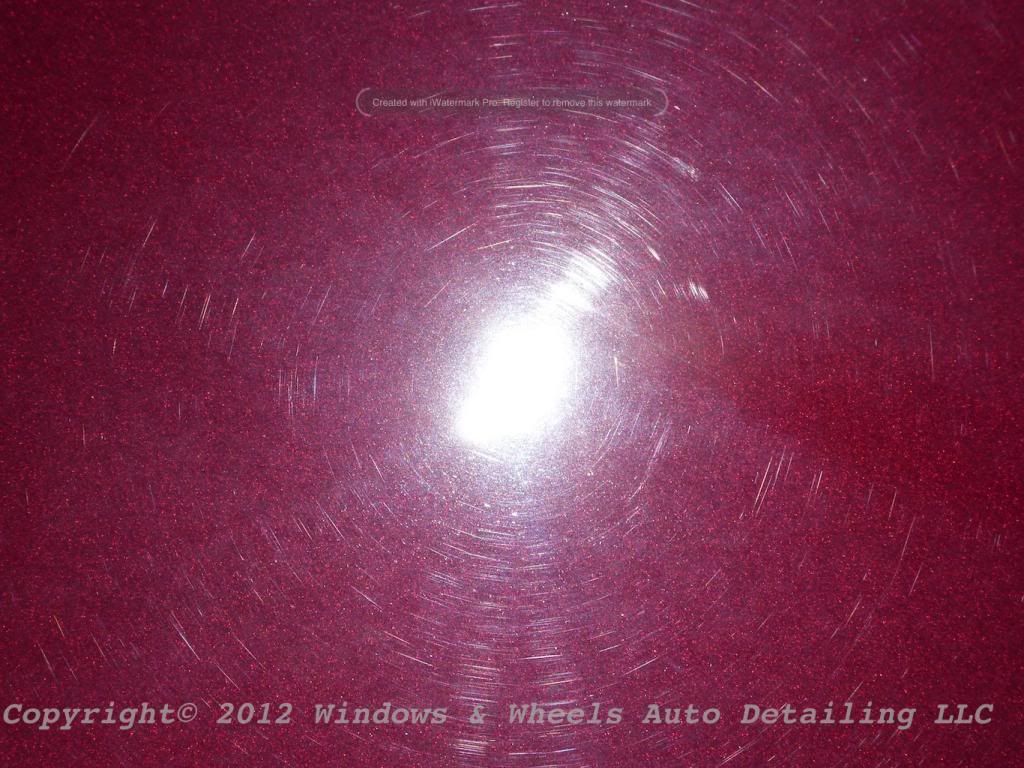
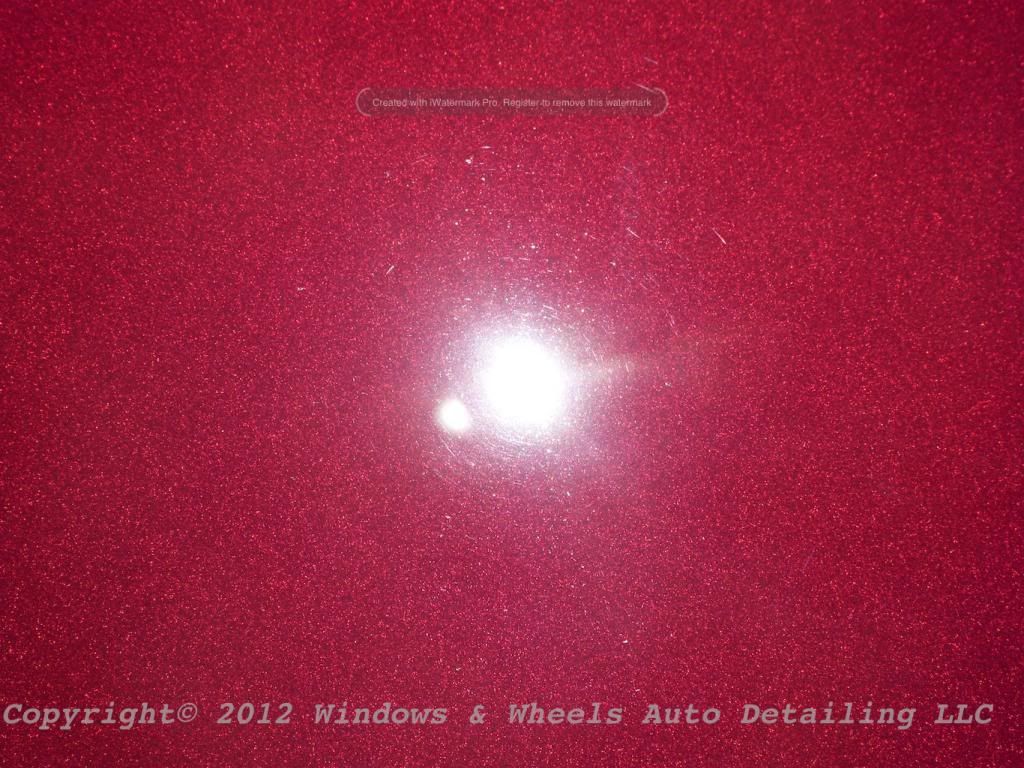
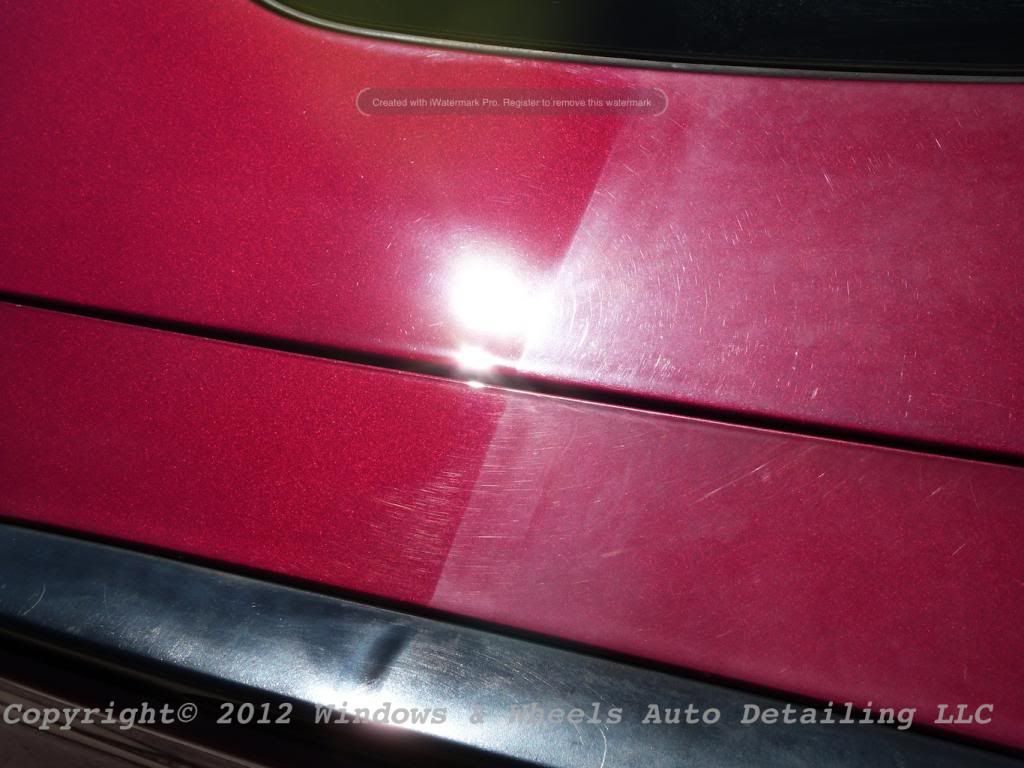
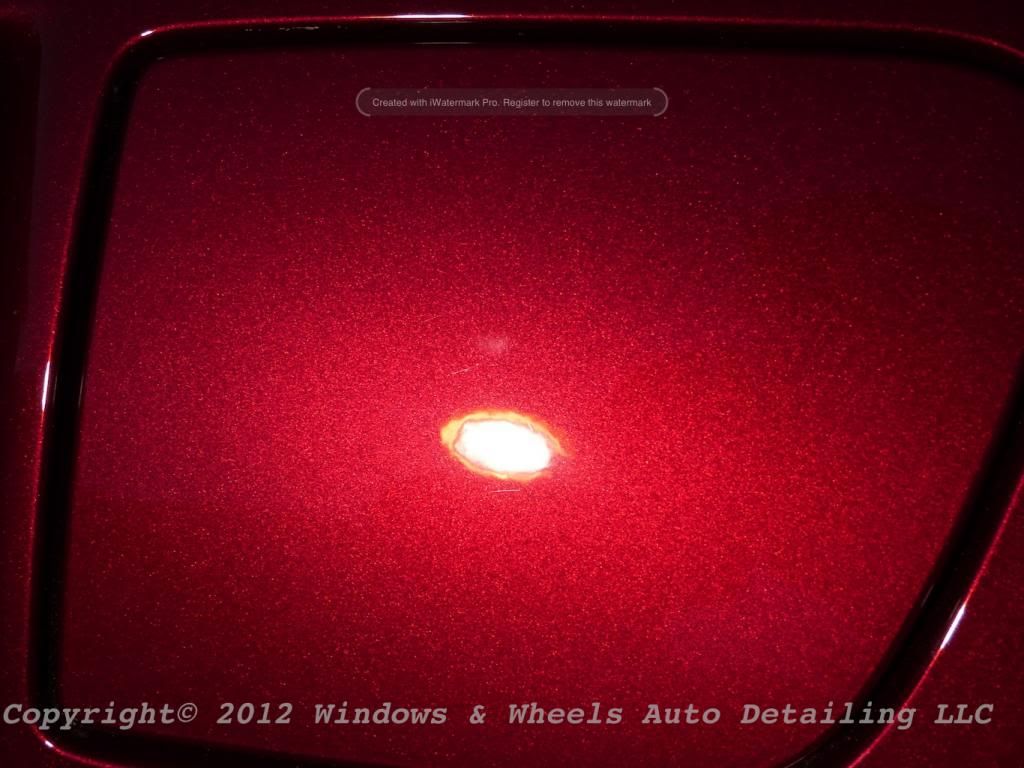
While we were hoping it was mostly just ground in dirt, we had a lurking feeling that the paint was just THAT bad. And if you look at this, you'll know why:
Painful, i know. Had a few bugs splattered along the front as well:
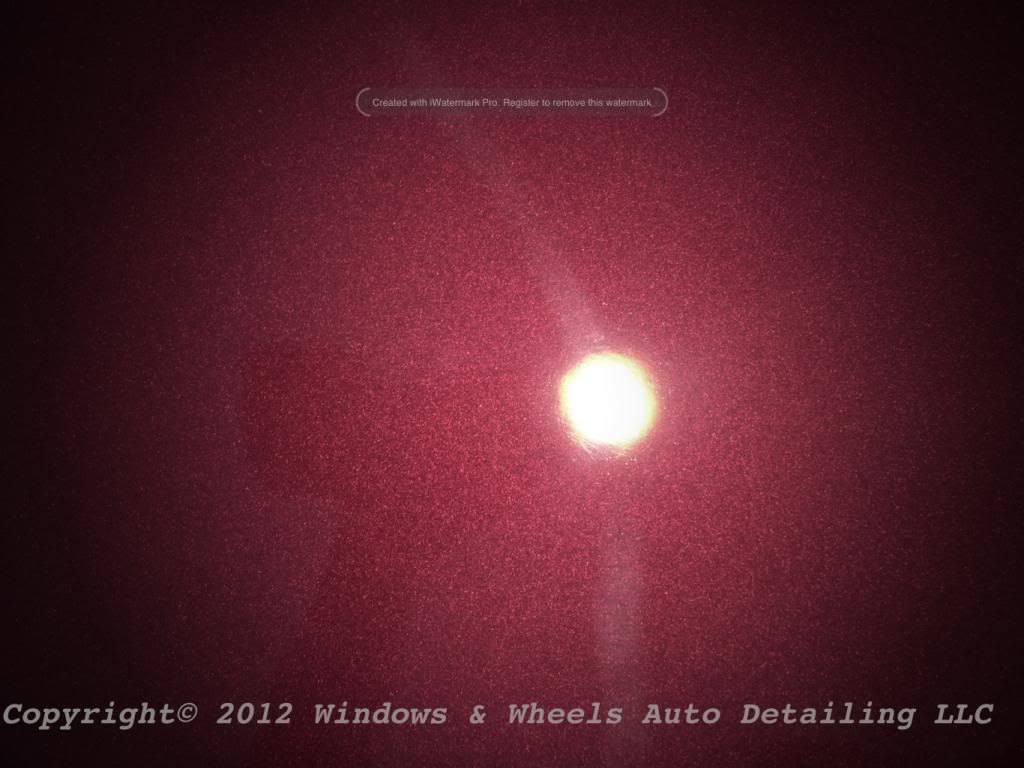
....and rock chips:
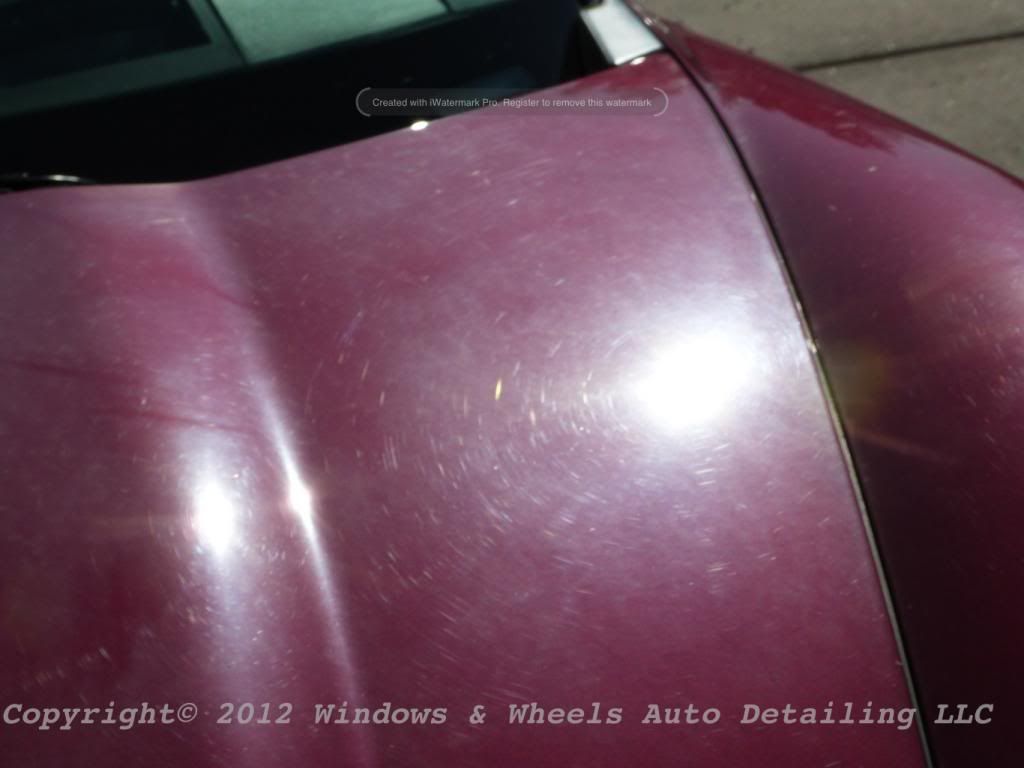
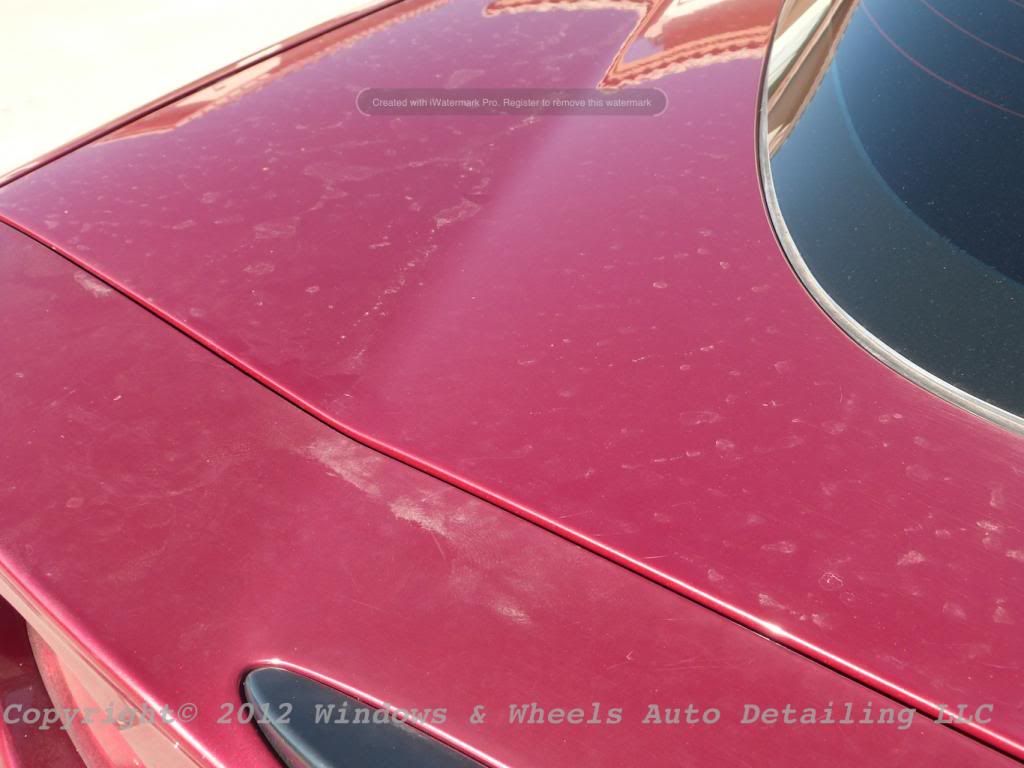
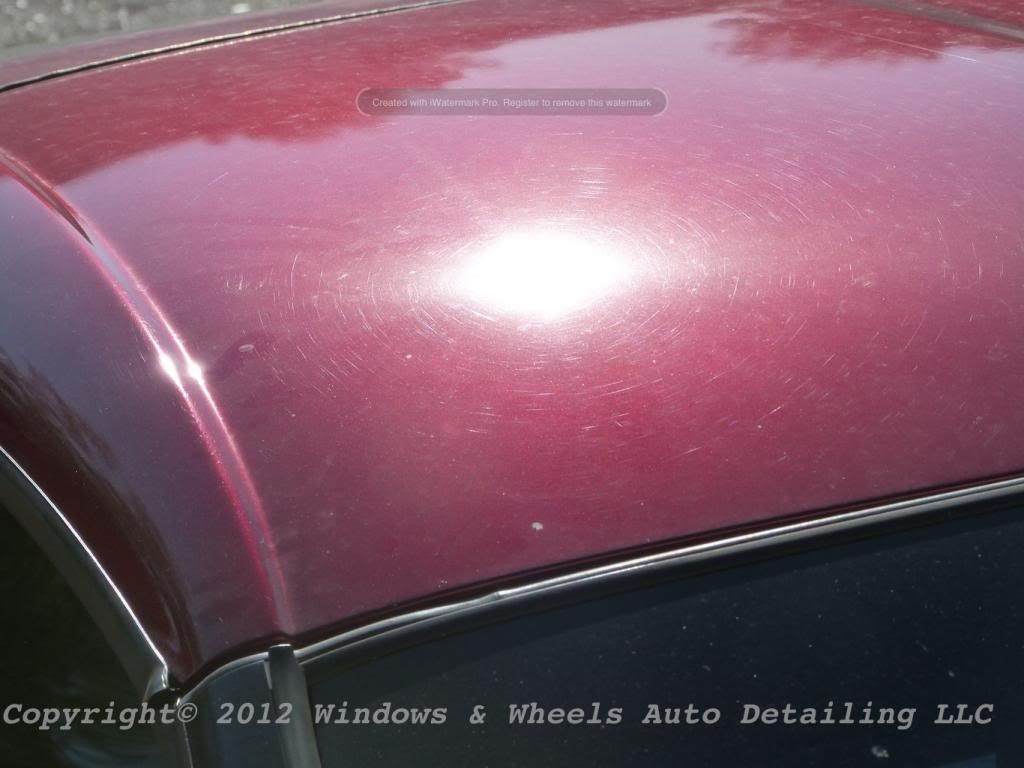
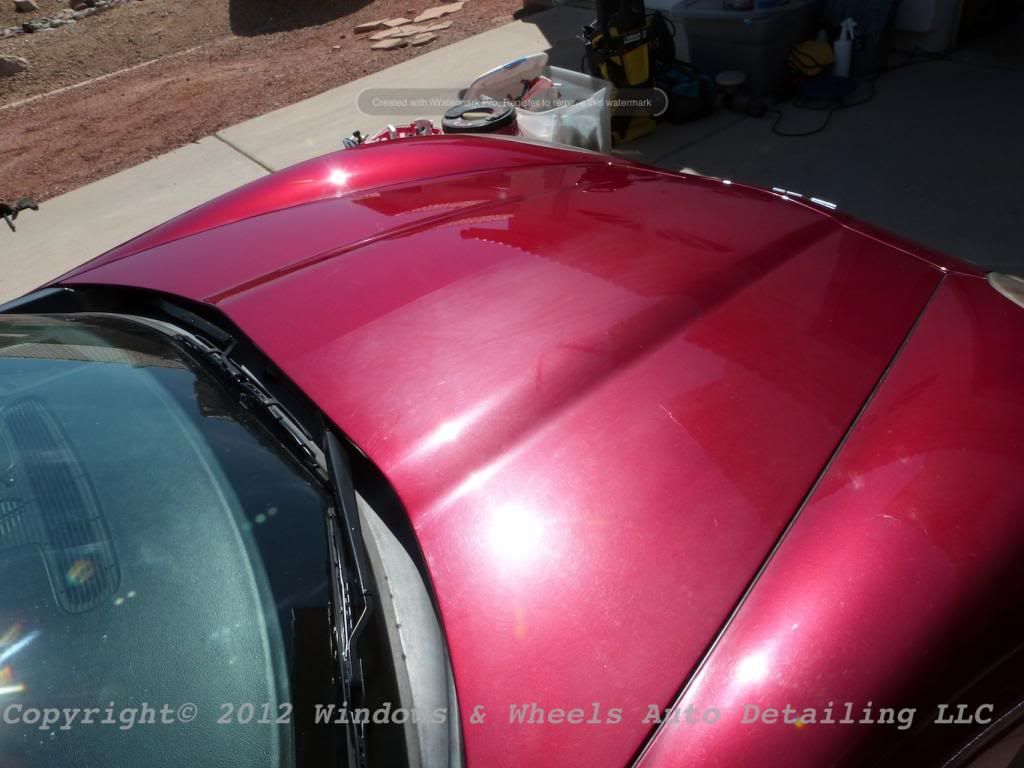
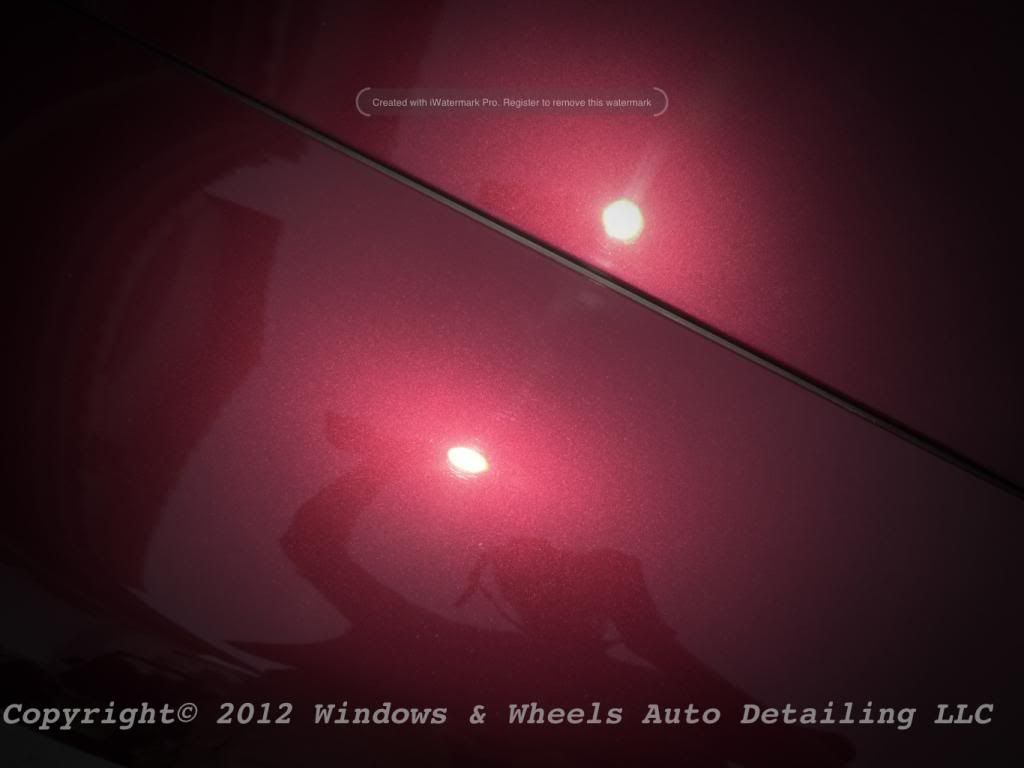
The hood just killed us with the condition it was in....the roof and trunk were the same...the horizontal panels had REALLY taken a beating:


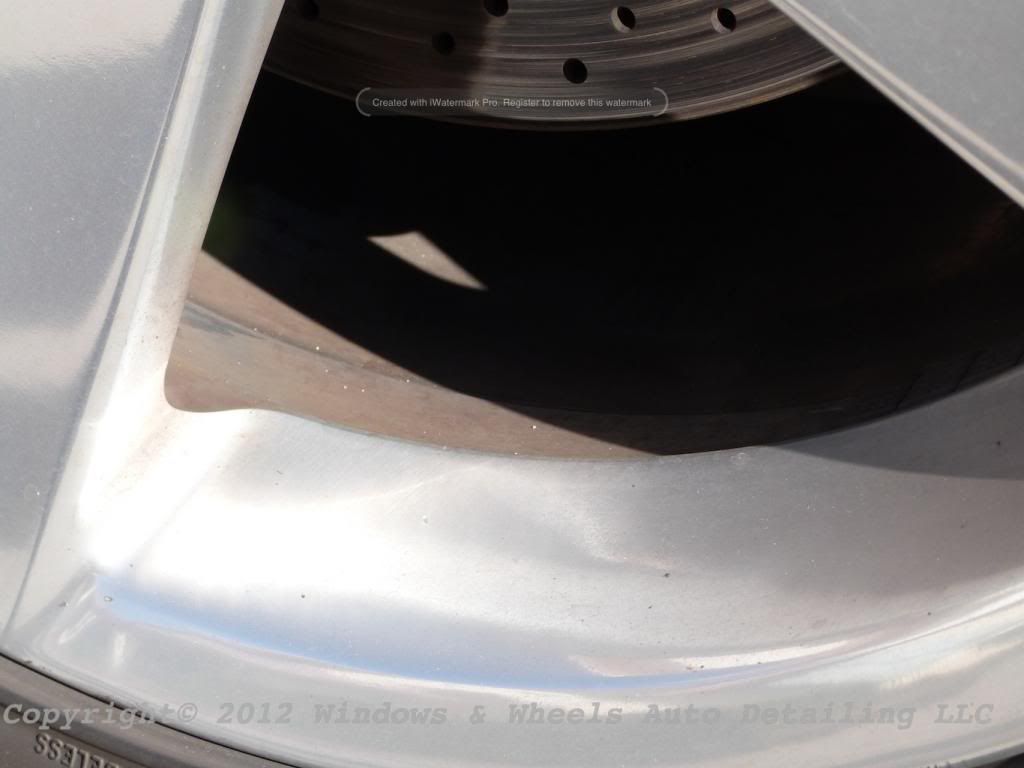
The tires and rims were filthy, coated with a good one or two hundred layers of Arizona clay and dirt lol:
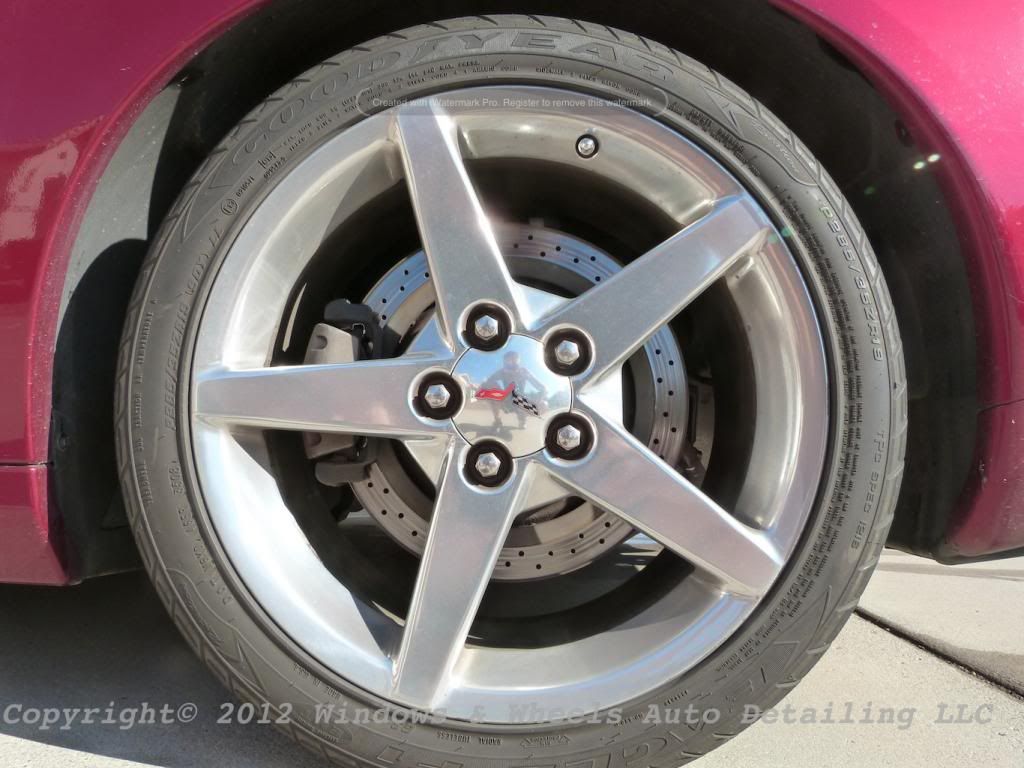
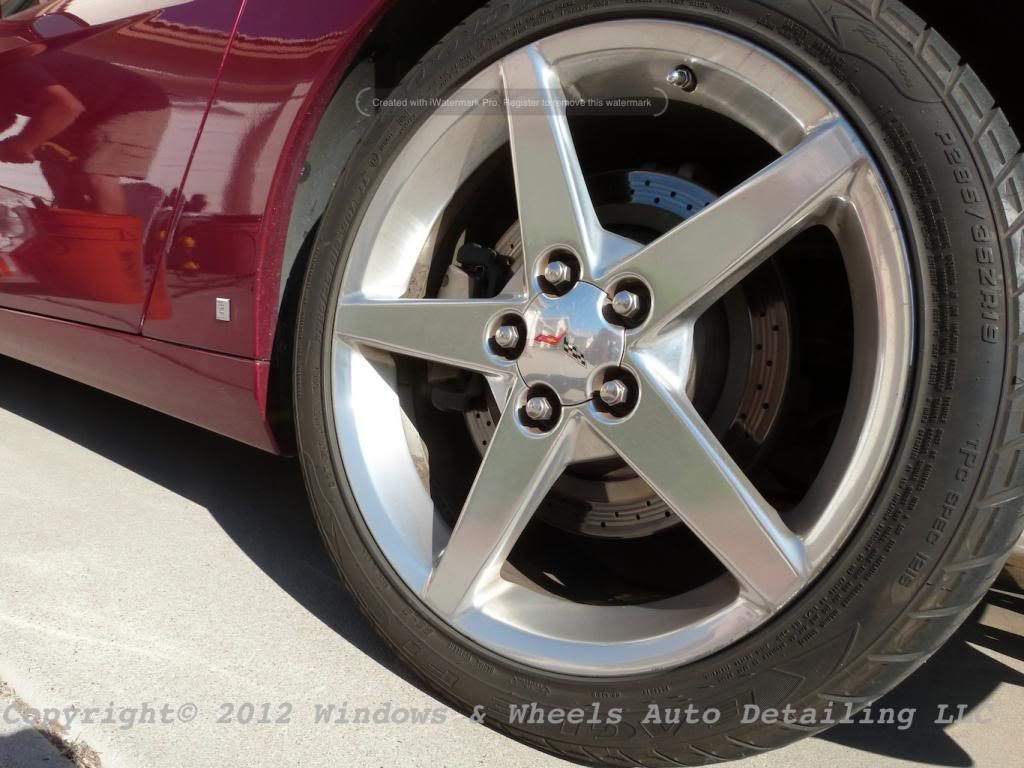
Nasty stuff here....
So naturally, thats where we began:
Next it was onto cleaning the dirty and dull paint:

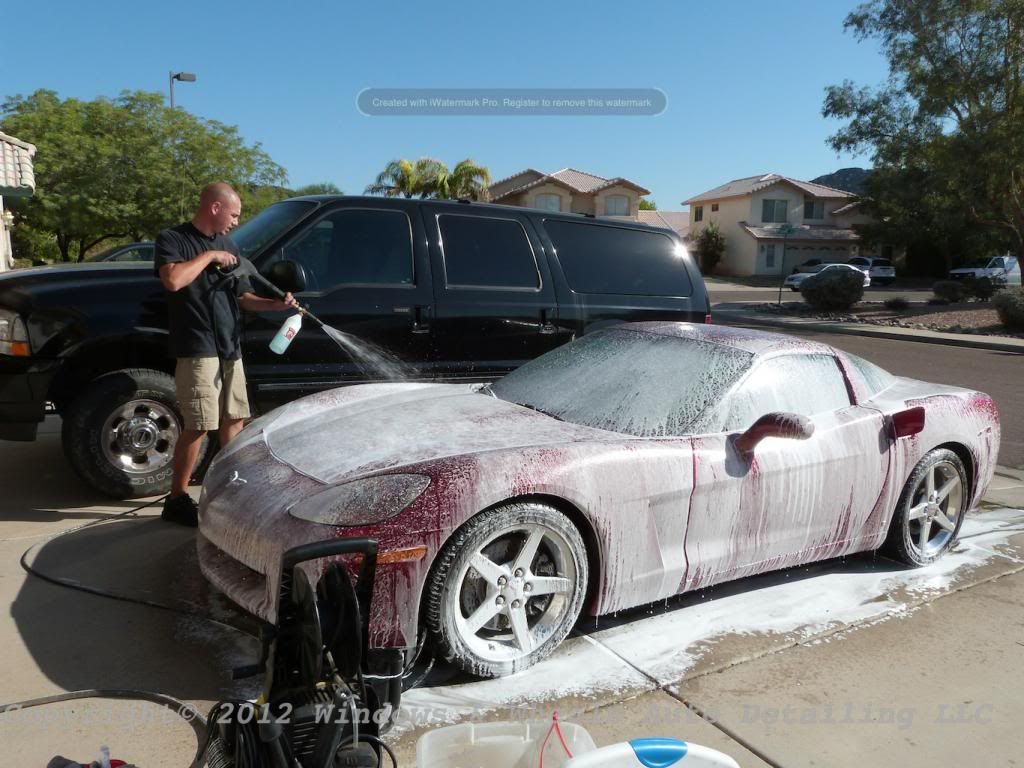
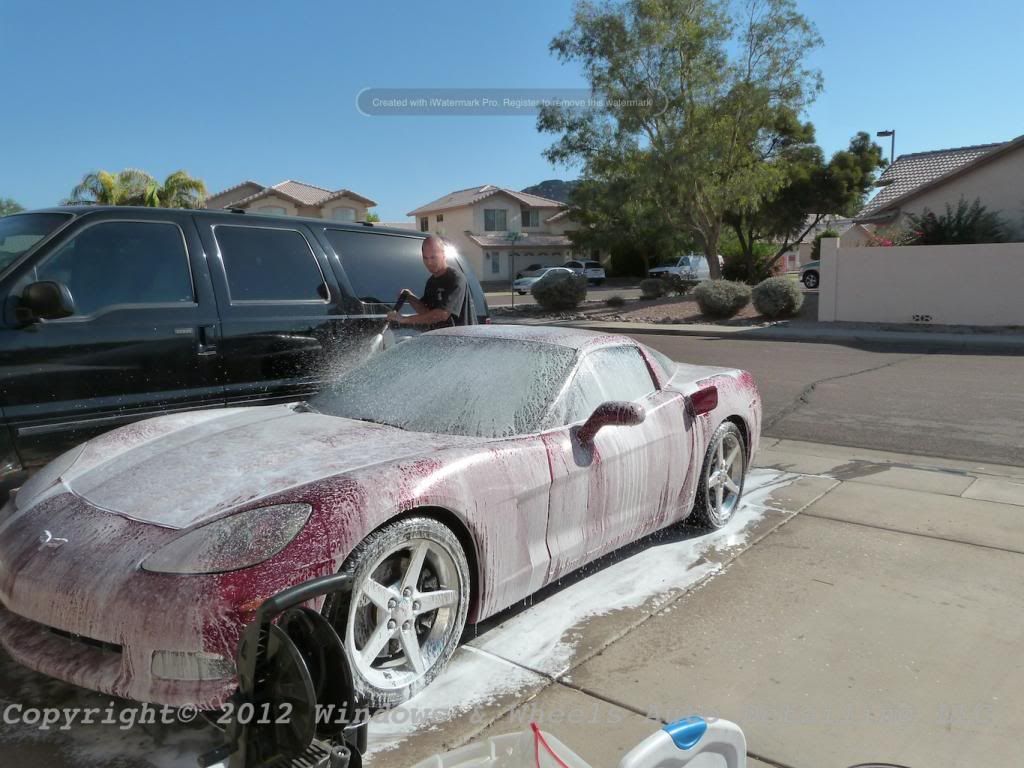
Foam er' up!
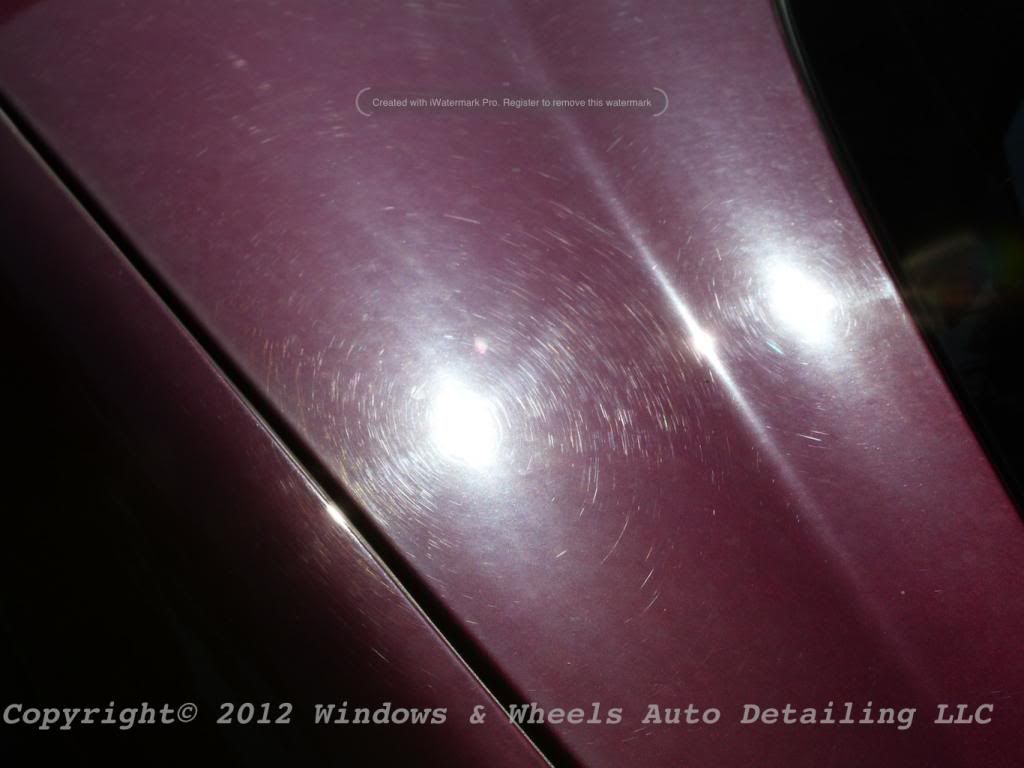
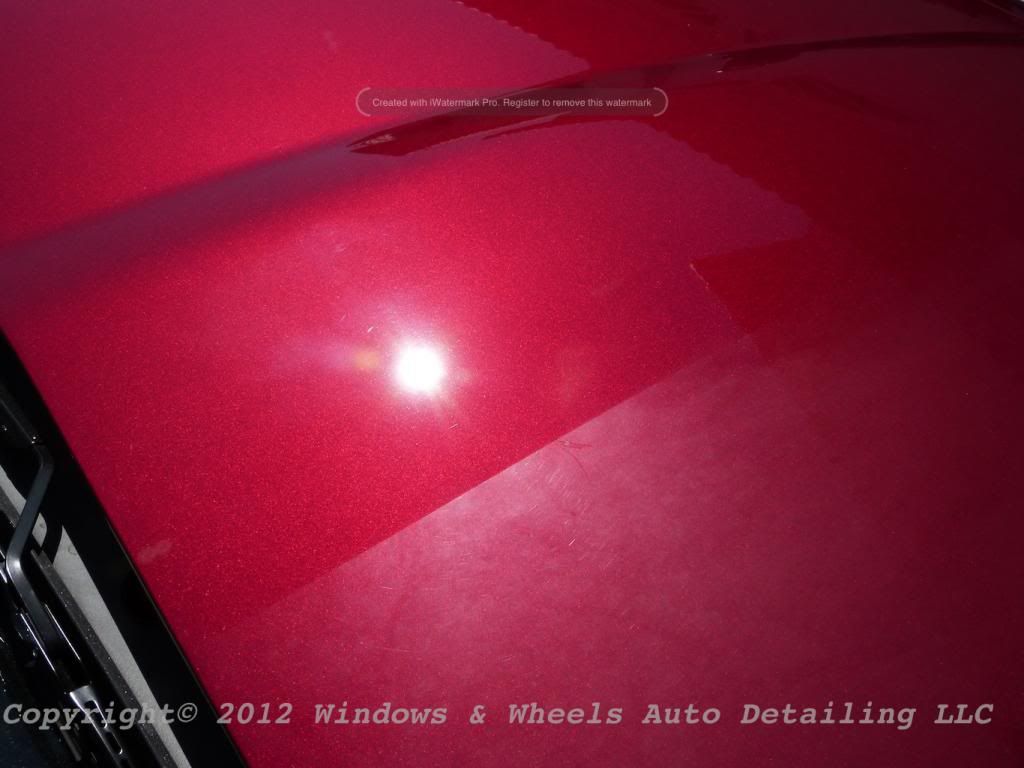
The bad thing was, after cleaning...the paint looked just as dull...many of the spots remained, as they were etched in (not horribly deep but still there nevertheless), very bad oxidation was apparent and now that the swirls weren't being FILLED with the dirt lol...they were very visible:

We pulled it into the garage and went on to decontaminate the car with the Auto Scrub:
This helped to get rid of the horrible textured feel that the paint had to it, but it was still EXTREMELY dry and 'grabby'. The paint still looked horrible and we were, in all honesty, a bit concerned. While we were hoping it was bad oxidation, the thought of possible clear coat failure was plaguing the back of our minds...
After cleaning the layers of dirt off it became more and more apparent that this wasn't just baked on dirt by any means. The owner had come out and asked how things were looking, we told him our concerns but let him know we wouldn't know for sure one way or the other how it would turn out until we did our test spot.
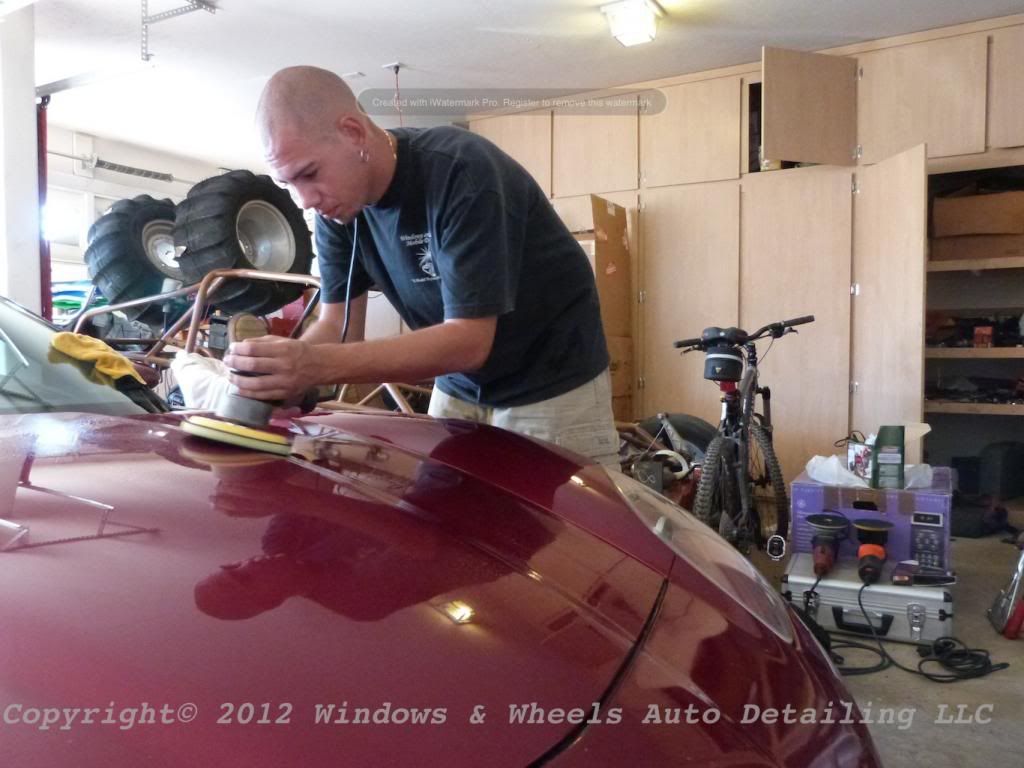
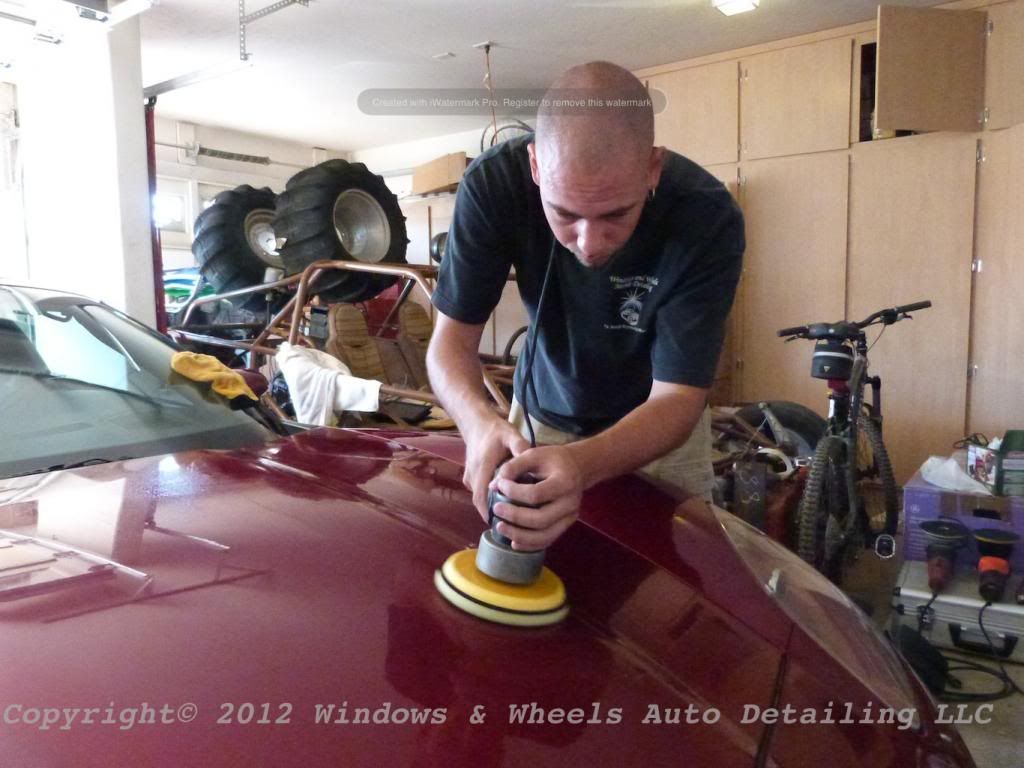
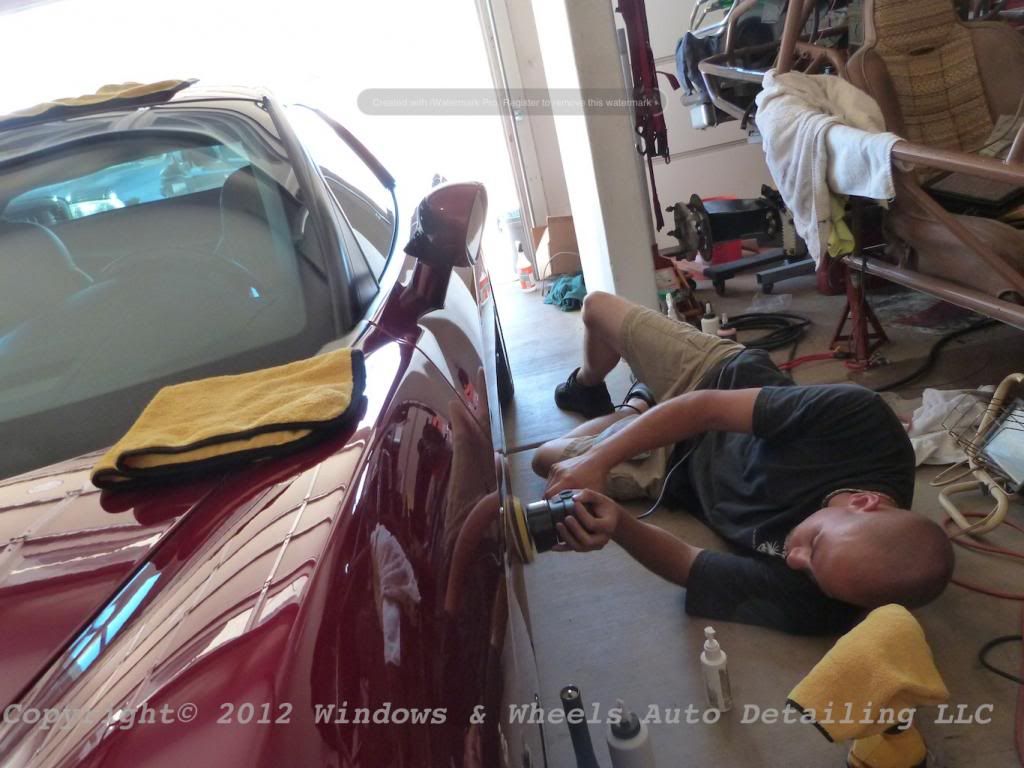
So, we taped down the middle of the hood, set up our pads, polishes and polishers and went at it.
The results were apparent even in the shade of the garage:

Dani was taping off some things on the passengers side after I had finished my test spot...she looked up at me and asked how it came out....i just had a big stupid grin on my face...she replied "THATS what i wanted to hear!" The owner came back into the garage a few minutes later and asked what the verdict was....I just had him stand where i was at so he could see exactly what i was seeing...he was very pleased to say the least!
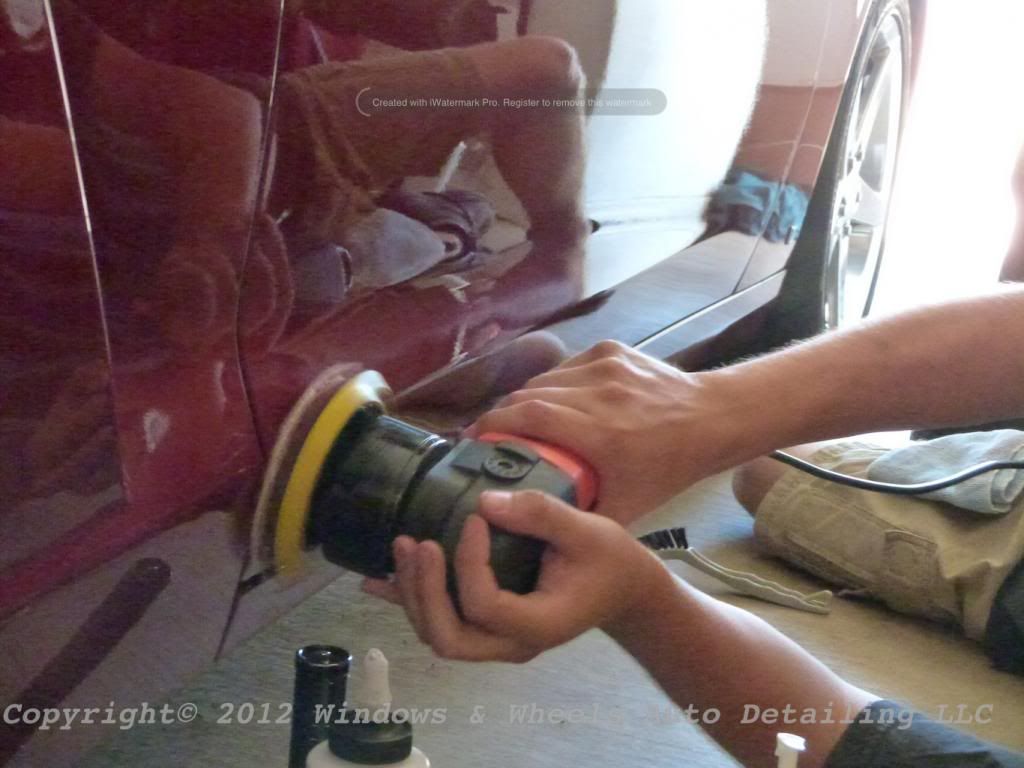
Knowing all was good in the world again, we continued on. This wasn't a speedy restoration by any means (what proper one is?), but it was going relatively well, all things considered. Just the compounding step using a mix of D300 and 105 on a Megs MF Cutting pad was giving massive improvements. I found myself leaning more towards the D300 than the 105, because with paint this dry, the D300 compound removed easiER, but still not easy lol.
Via Kevin Brown's advice that he gave me a few months back, i still had my trusty exact fit PAD (not plate lol). When i told him how many backing plates i already owned, he said if i didn't want to mess around with buying another one (his exact fit), that i could just careful cut a Megs cutting disc down to size to fit my backing plate i already had...thus increasing my cutting power and making 'edging' much more efficient as well:
Gloss was coming back!
IPA wipe downs were VERY important on this job. While the paint would appear to be in tip-top shape after compounding and then polishing with Megs 205, some spots...especially the edges..revealed they were still oxidized and very dull looking when an IPA wipe down was done. We had to be as careful as possible to make sure we didn't miss a lingering dull spot that appeared to be ok, but was really just holding onto some of the polish. Just a quick bit of info i thought i'd share.
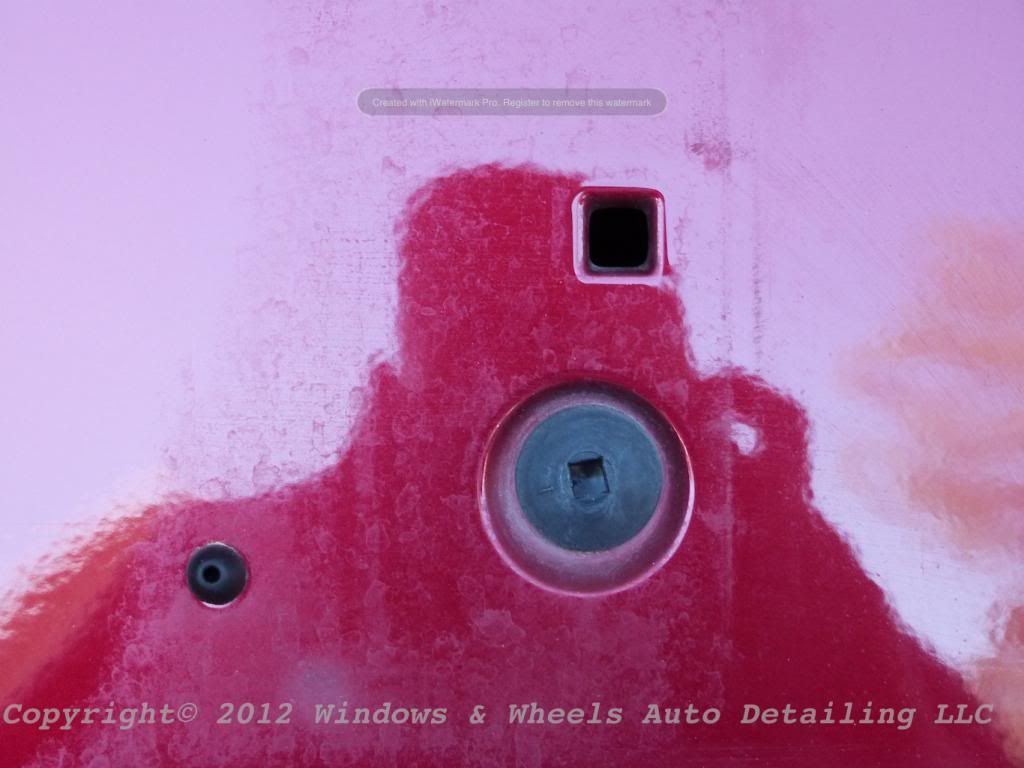
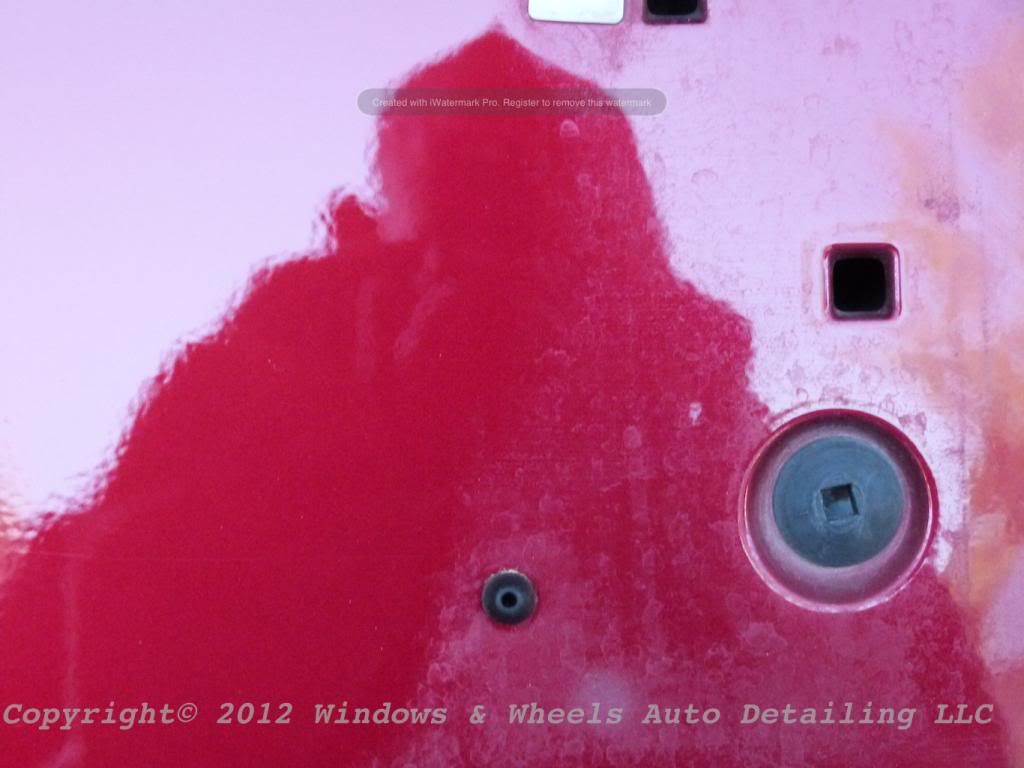
We were working front to back...after finally making it to the back....we had some serious water spots to deal with behind the license plate:
-
Super Member
Re: 2006 Monterey Red Corvette Restoration - It all started with a "scratch"
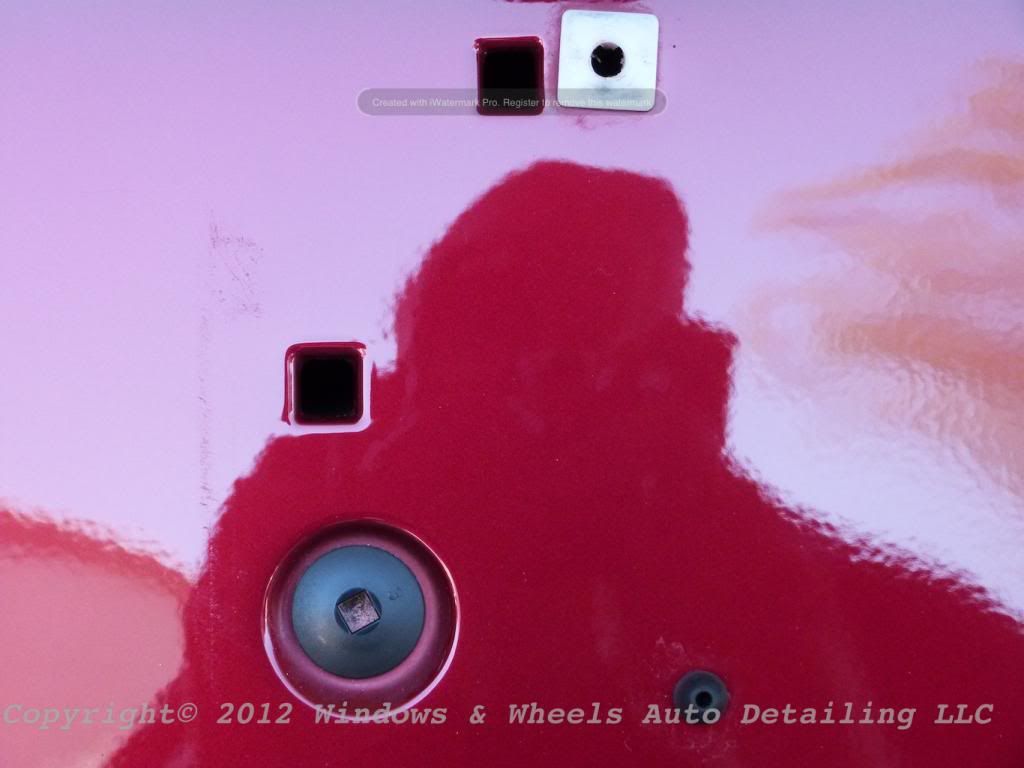
Note that this is AFTER washing and decontaminating (claying if you will).
But, this is why we carry small pads! It took going over 2 or 3 times slowly, but eventually...they gave in and just went away (excuse the residue):
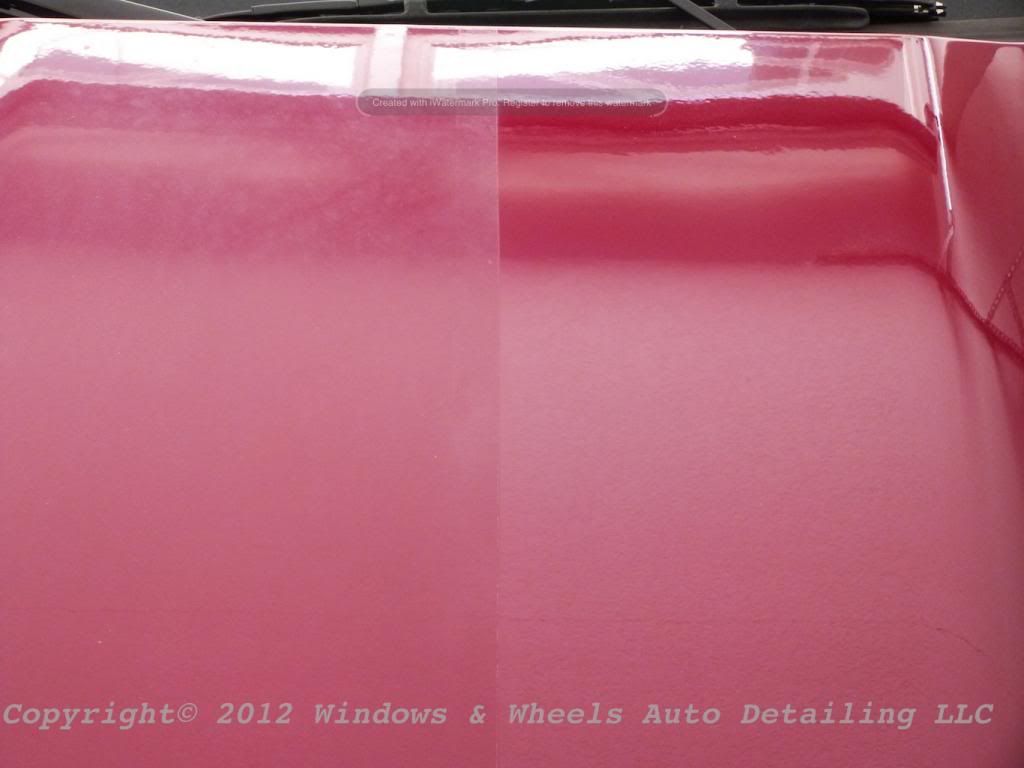
Heres a side by side, not a perfect 50/50 but, you get the idea:
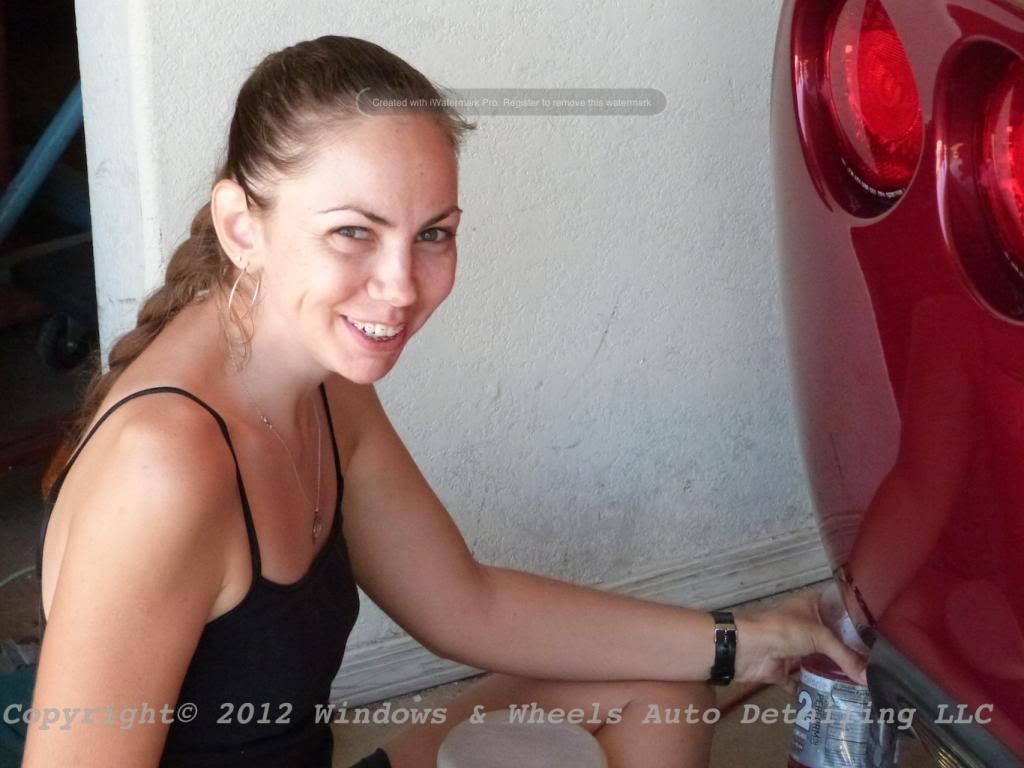
As for Dani well...she was all smiles!
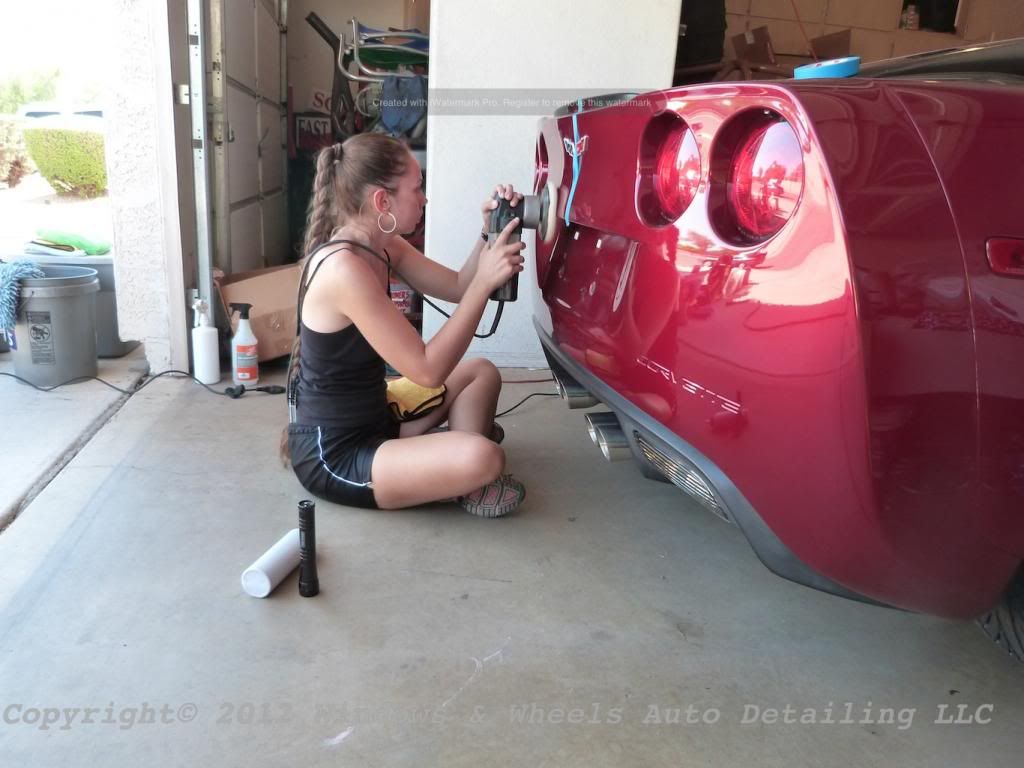
Workin away giving the paint a final polish....we had taped down the middle of the back hatch as well...we'll show you how that turned out shortly
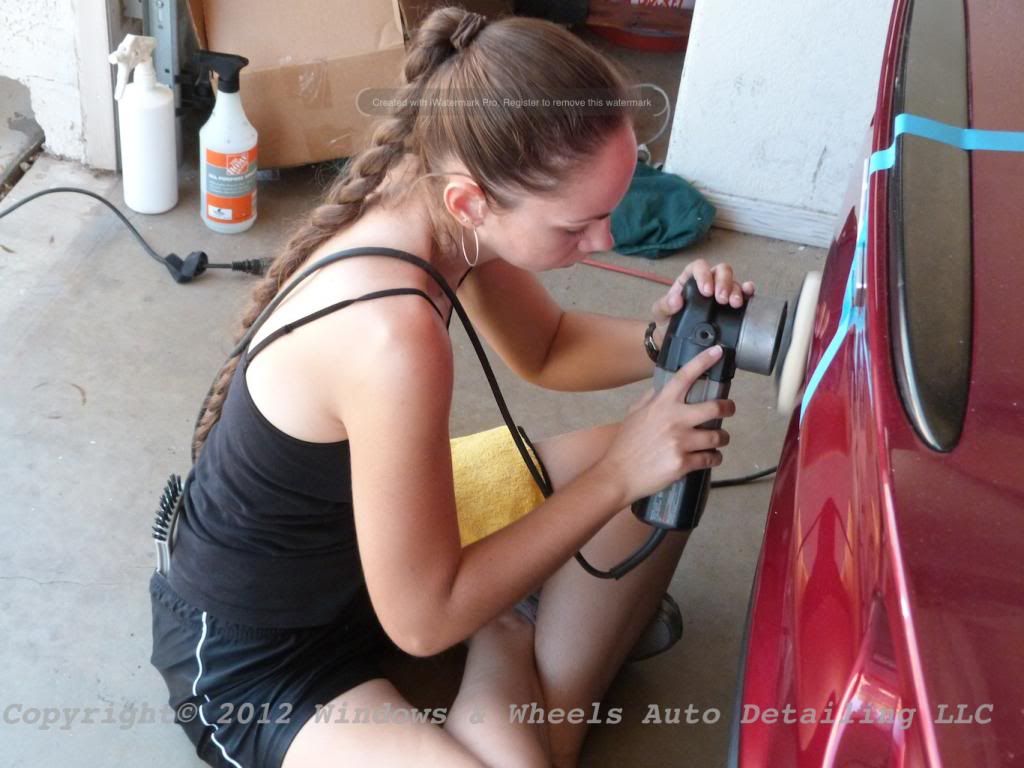
Concentrating, probably wishing i'd go away with the damn camera:
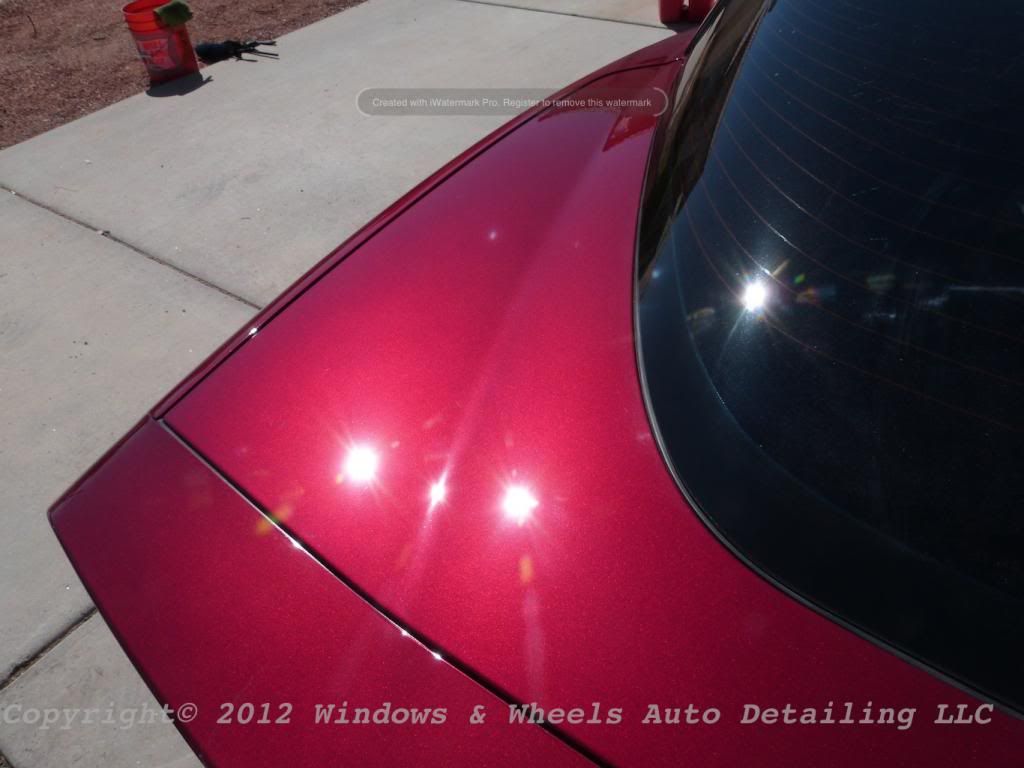
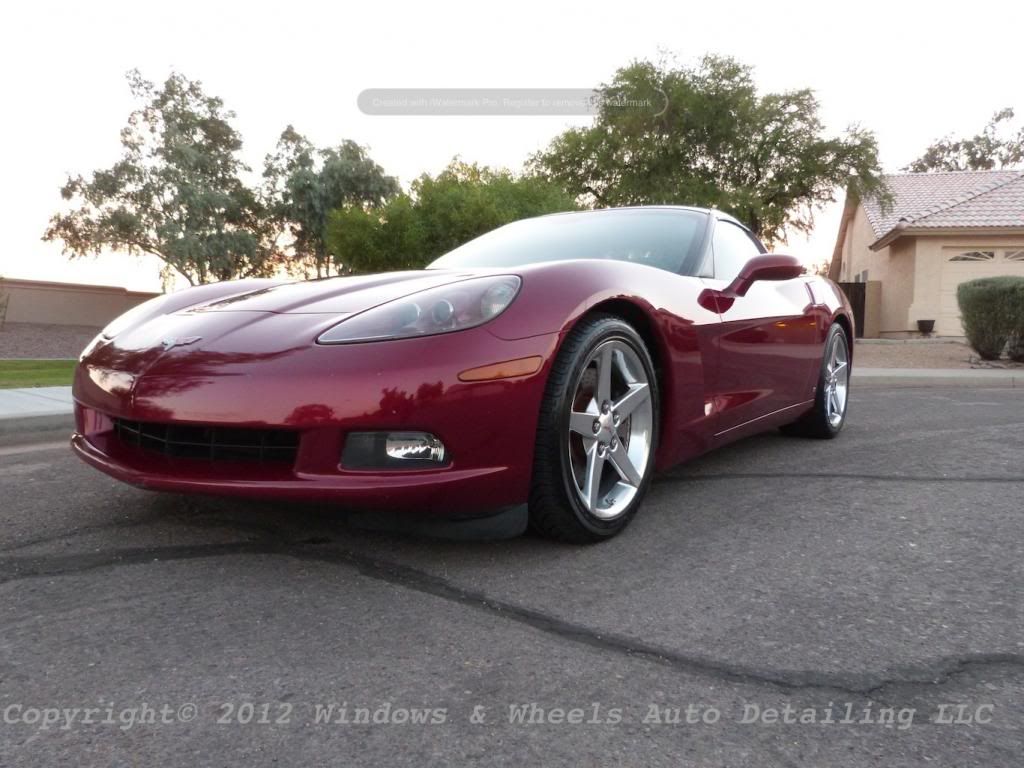
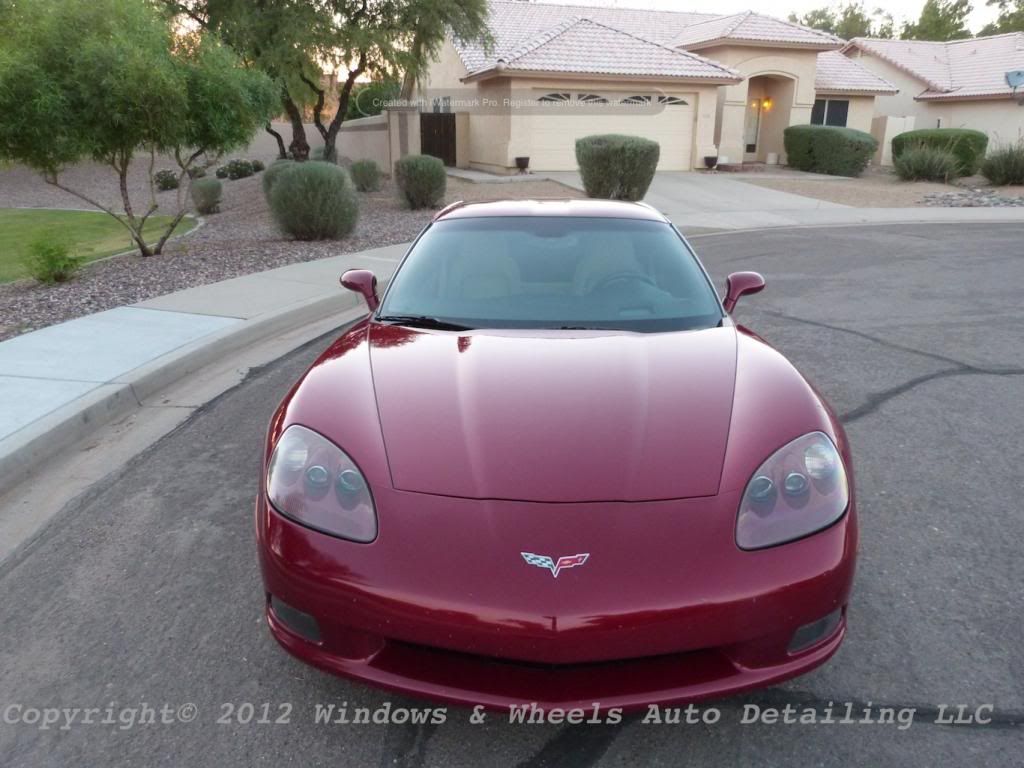
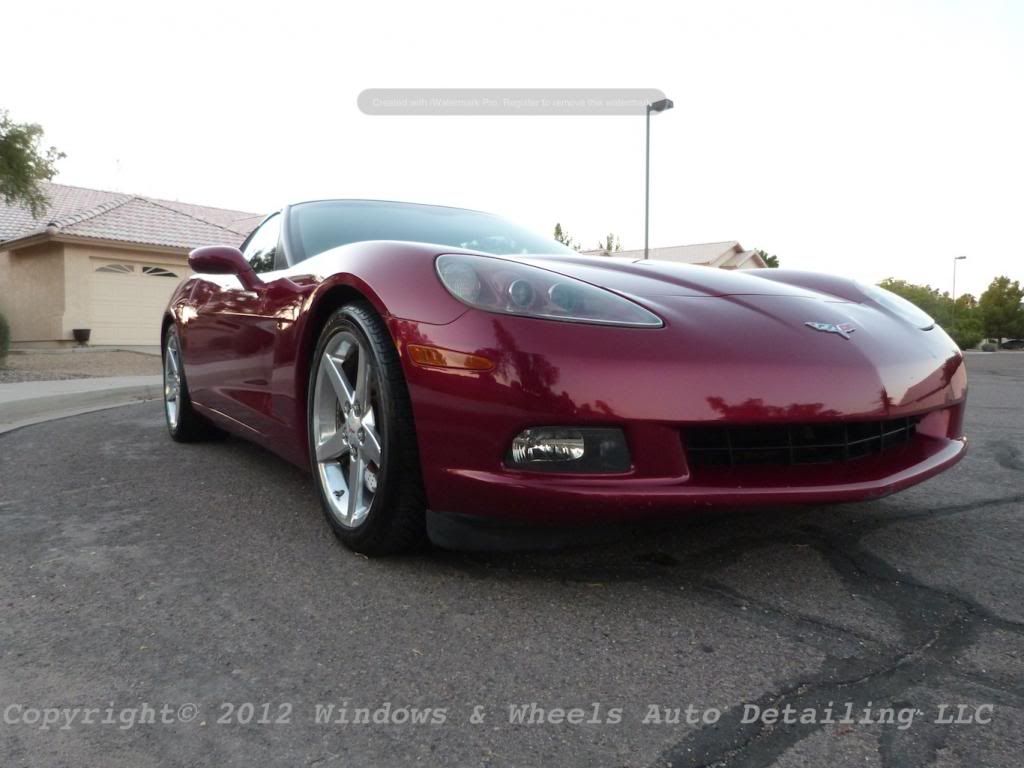
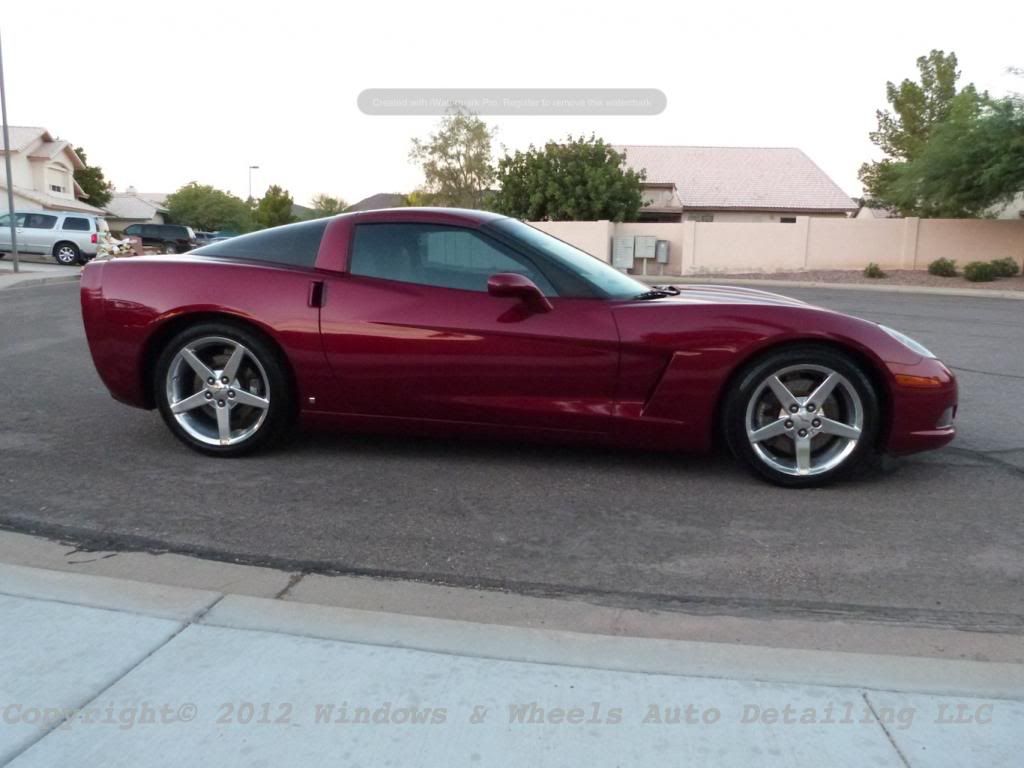
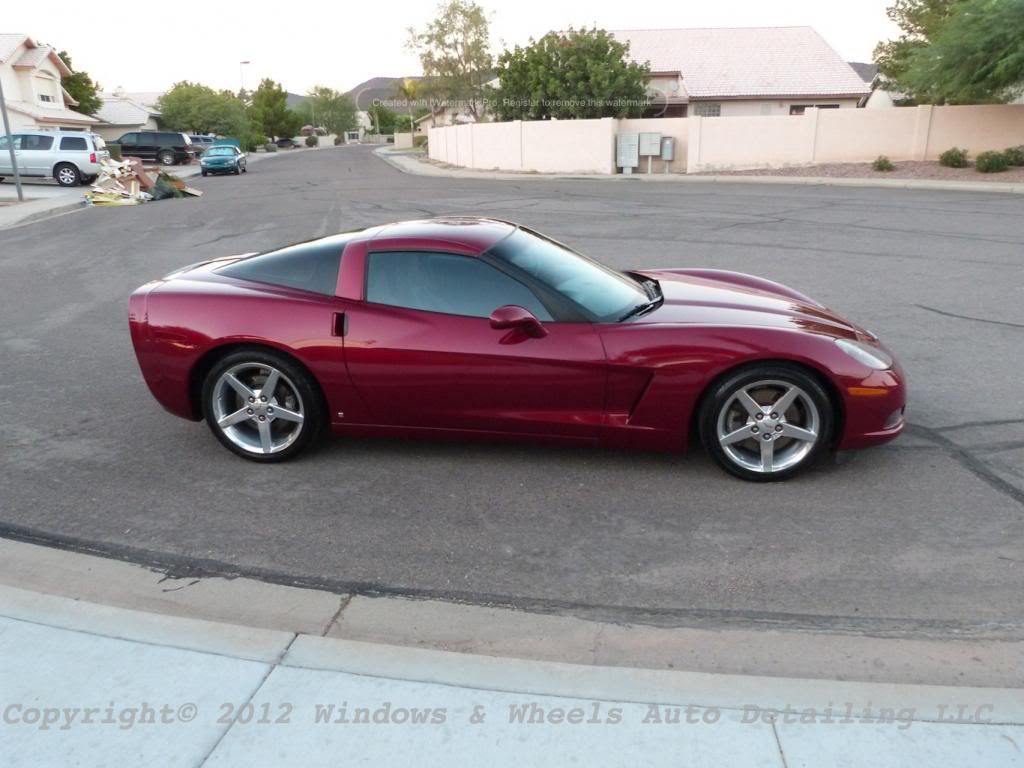
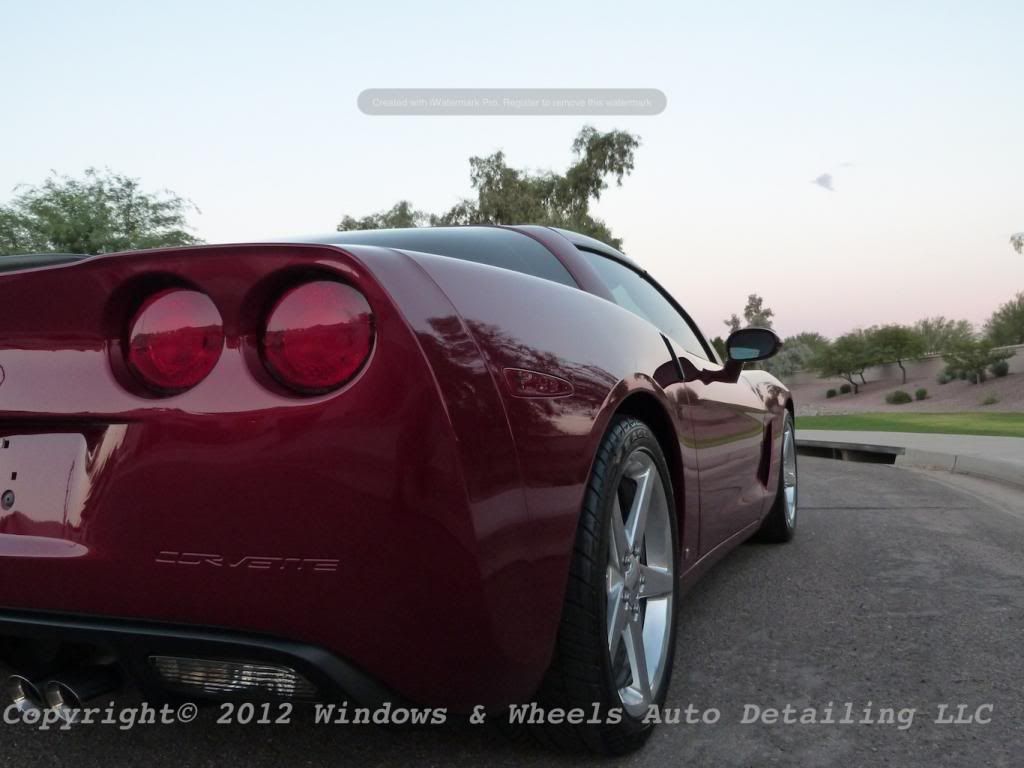
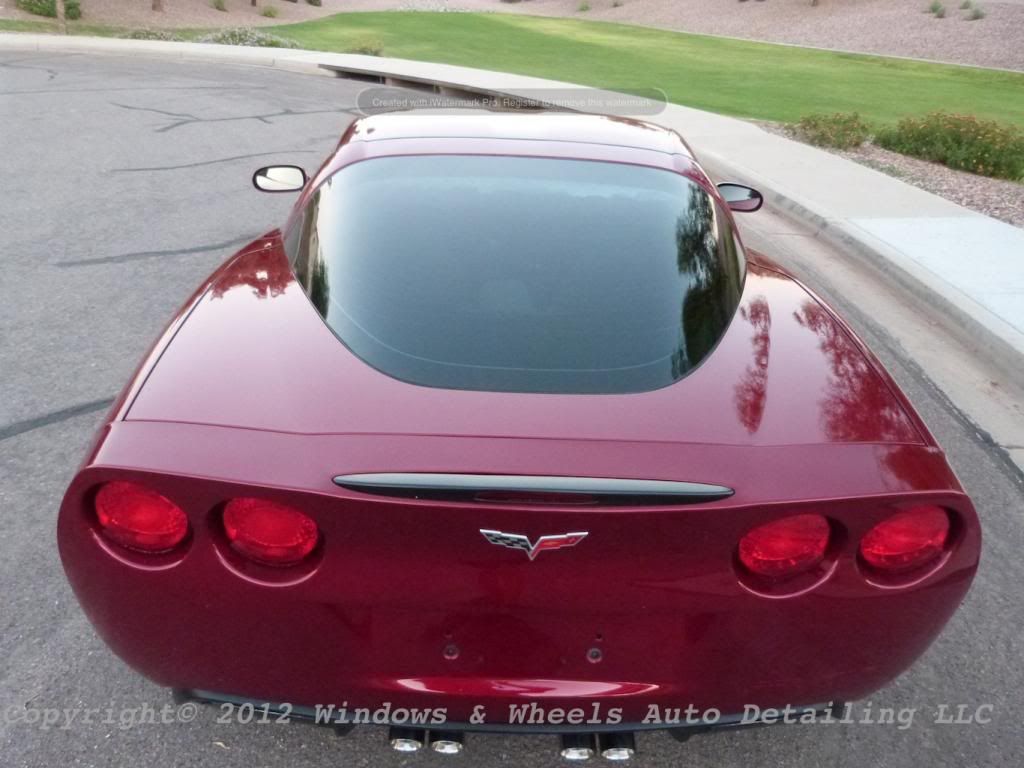
Now for the fun part...it was time to pull it out in the sun. Oh yeah, i know all of the paint junkies out there are excited now lol!
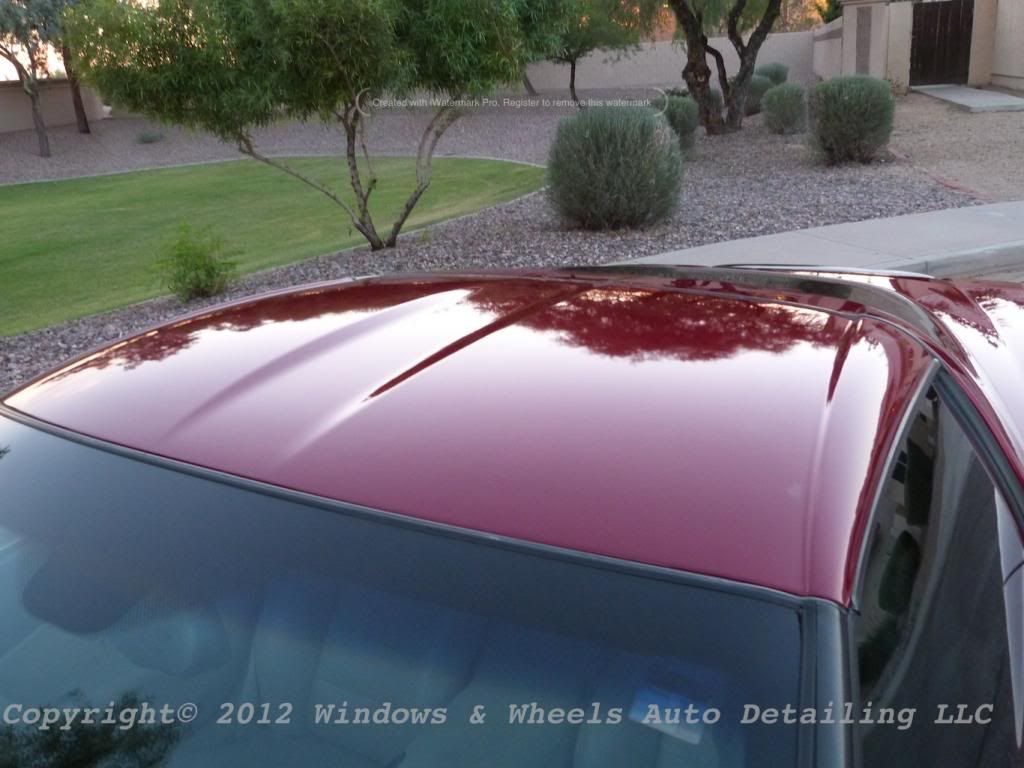
Yeahhhhh it was nice...looked even better from this angle:

Close up:
A reminder of what we were dealing with:
Had a few small issues to go back over and touch up, but nothing that was too serious:
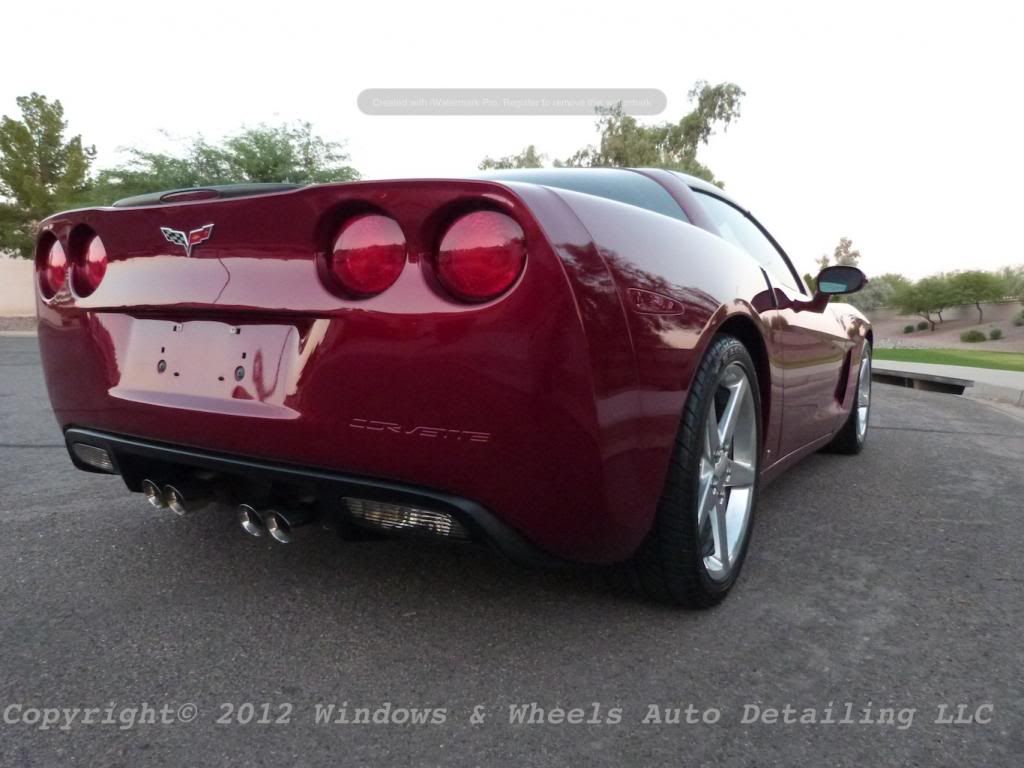
As for the back hatch area we had tapped off...

Yeah it was freakin' awesome too. We were even able to restore the black plastic piece pretty decently:
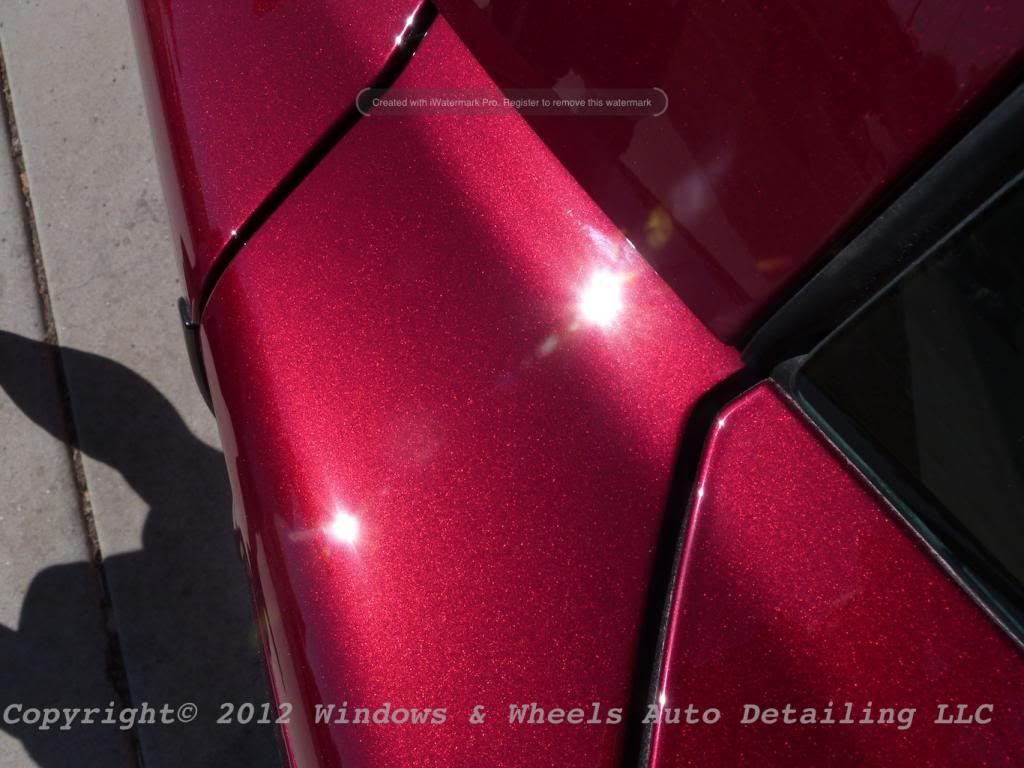
The UNfinished side:

And the FINISHED side:
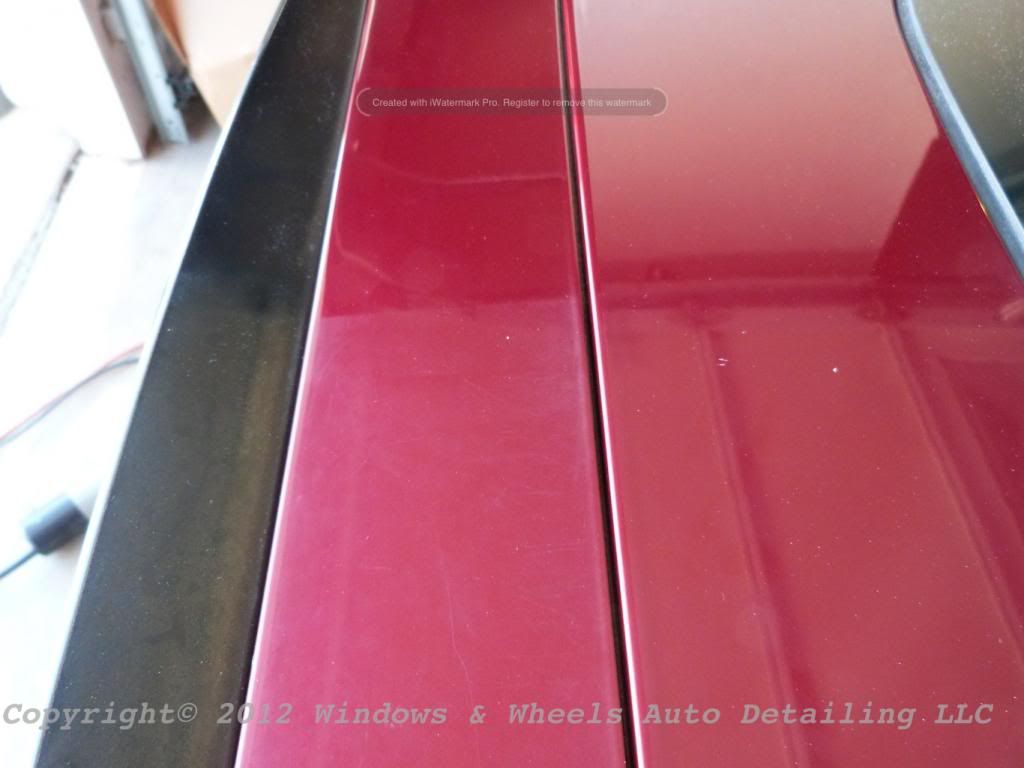
Seriously doesn't even look like the same paint. We knocked on the door and had the owner come out and take a looksie, he LITERALLY said that he did NOT know that his paint was metallic....He told us he could tell the difference in the garage but, seeing it outside in the sun REALLY showed the difference. Pretty cool if you can show someone who's had their car for quite a few years that their paint is actually a different color than they thought!
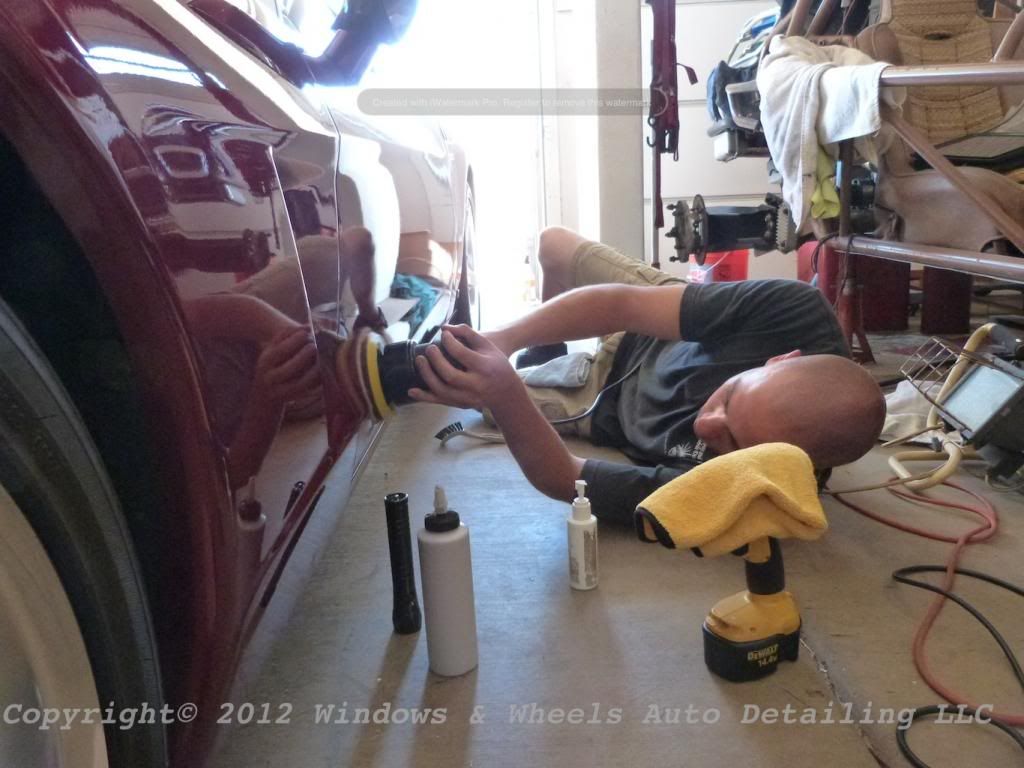
Oh, and as for that scratch, it took some work and some 3" pads and some going over a few times...but we fixed that as well:
No mas:
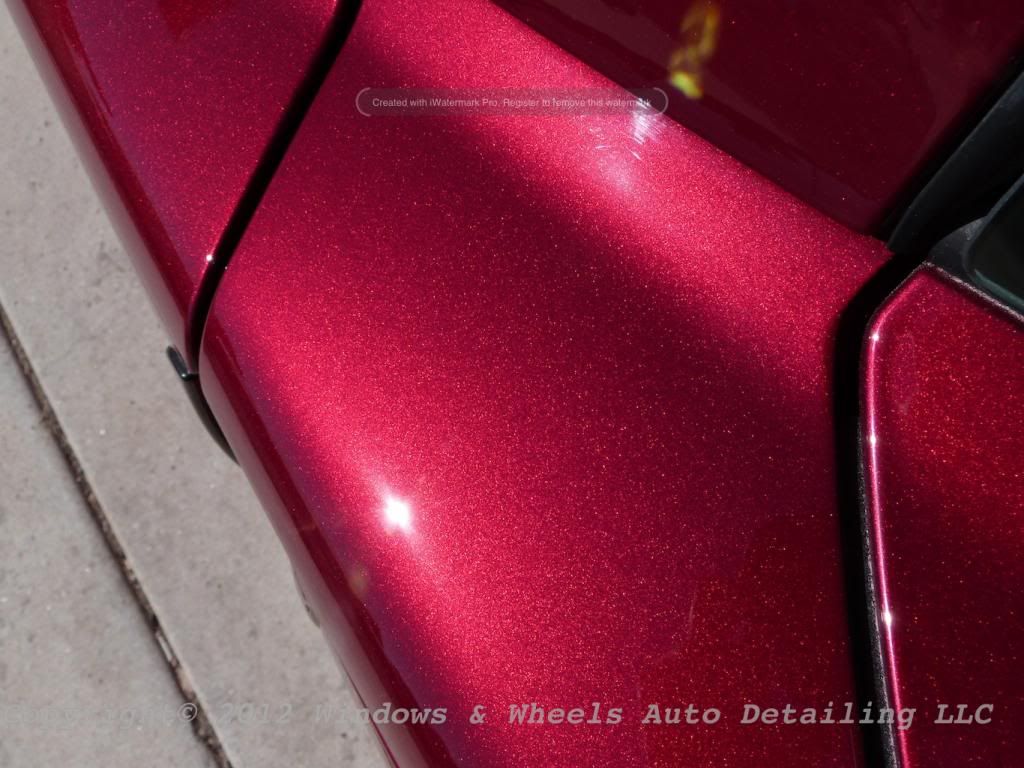
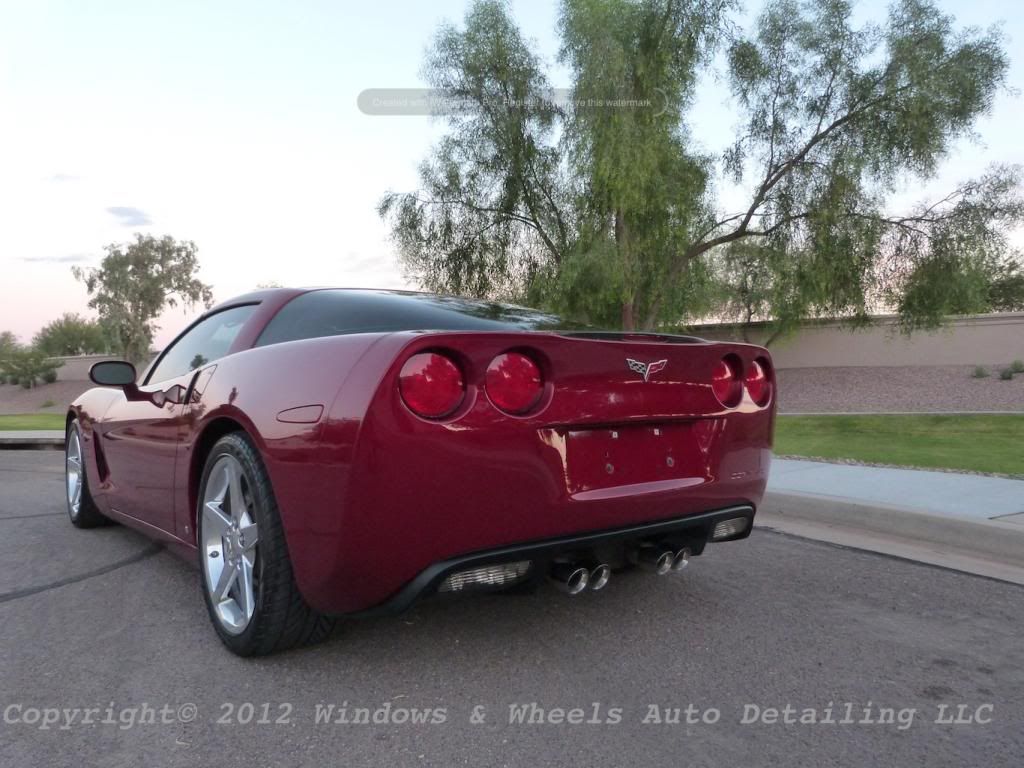
Here is a shaded look at the back hatch, you can still see, even in the shade...the difference in gloss, depth and clarity:
After our mini-photo shoot we continued around to finish up the passenger side...making it match the beautified drivers side. A few hours later the paint was looking in tip top condition. We did a rinseless wash on it and then applied Blackfire Wet Diamond sealant to it. While i was doing that, Dani was giving it the finishing touches.
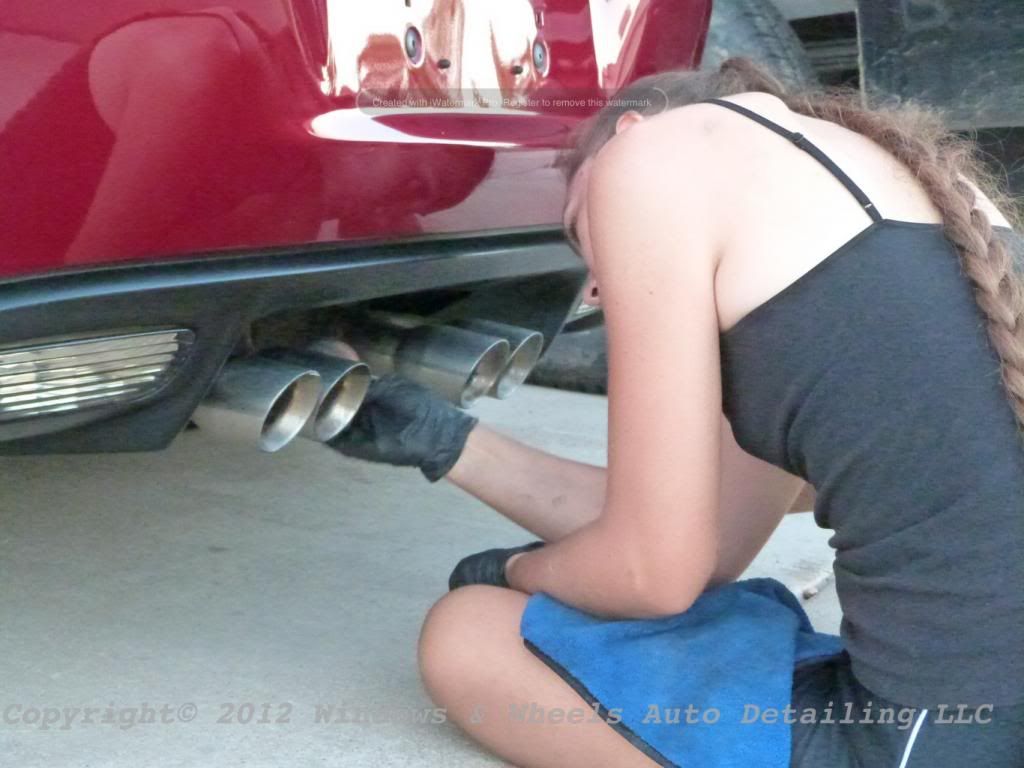
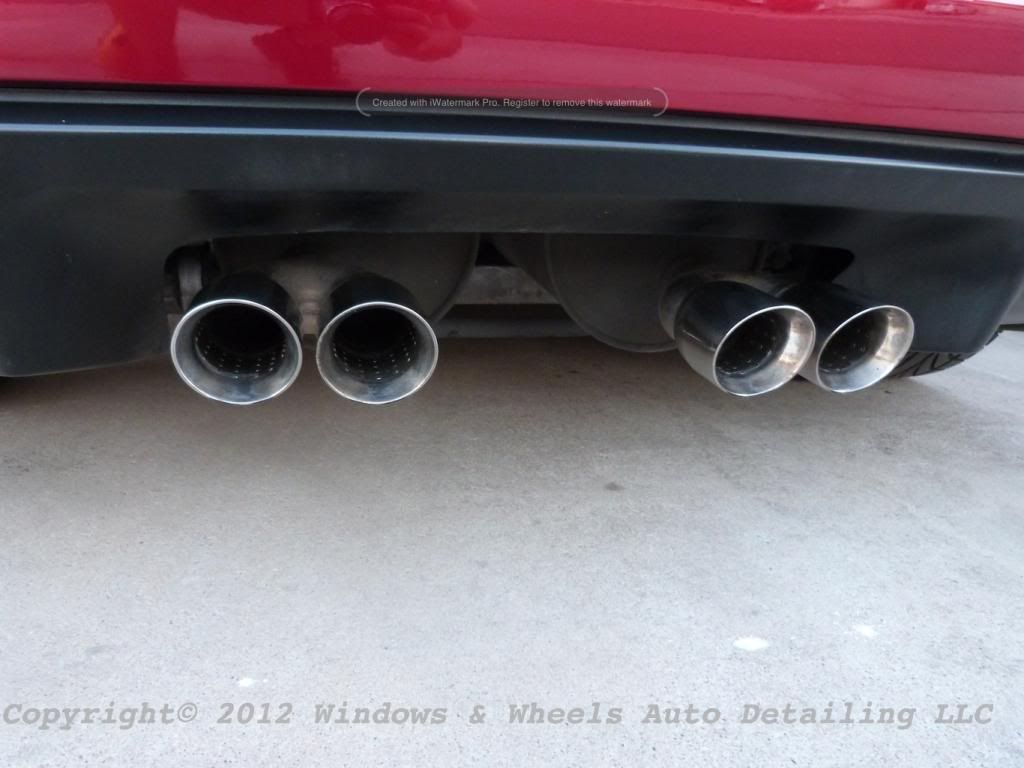
Polishing the tips:
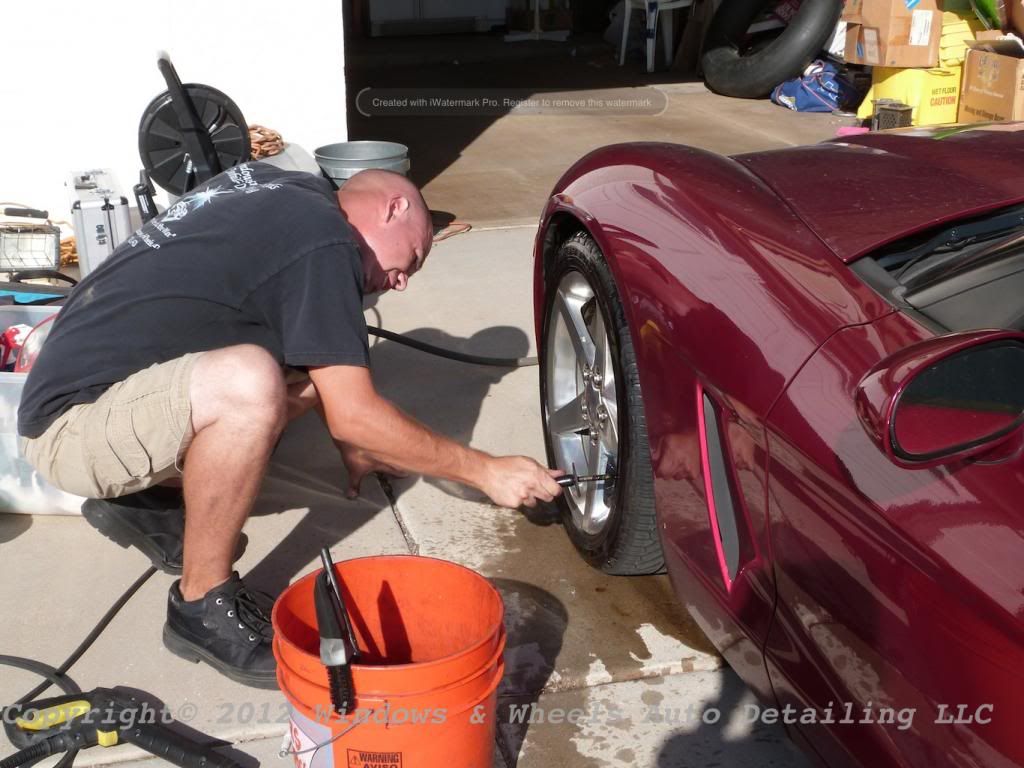
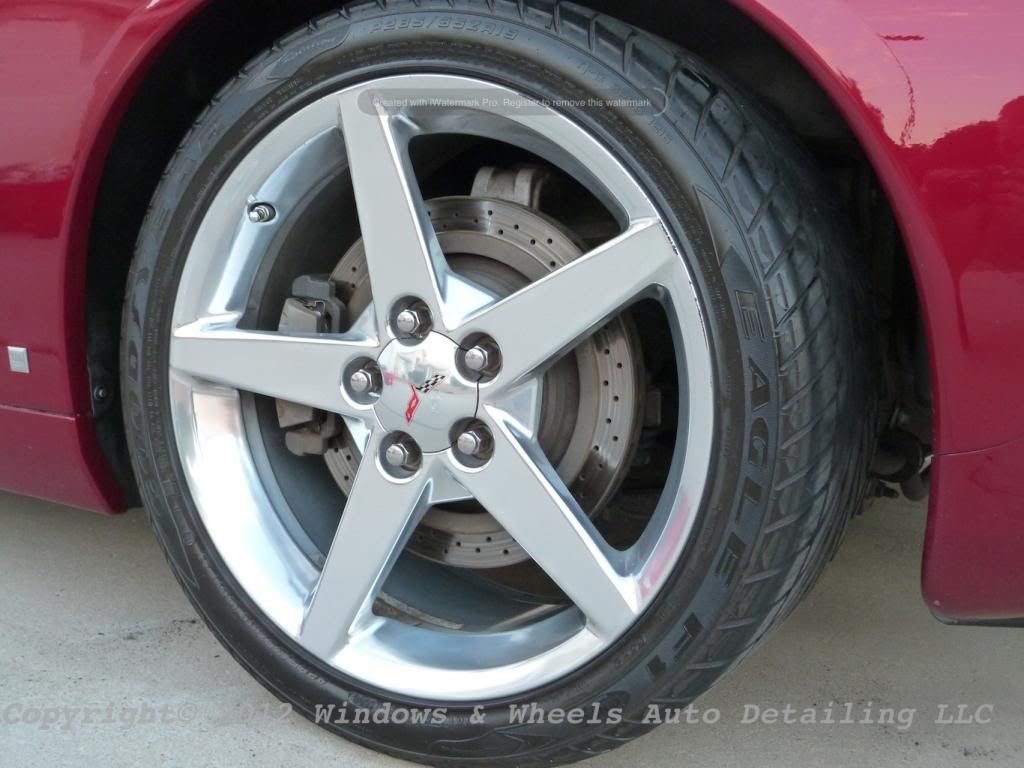
Dressing the tires and wheel wells (no more grimy brake dust and red clay all over the wheels and barrels now)
Tips turned out very nice when she finished:
After the sealant was removed we did the windows, wiped down the door jambs, inside the trunk lip and under the lip of the hood. Also treated all the plastic pieces and then did a few sun gun photos:

-
Super Member
-
Super Member

Re: 2006 Monterey Red Corvette Restoration - It all started with a "scratch"
Looks great nice job. Try FG 400 works great MF pads and wipes off very easy .
-
Re: 2006 Monterey Red Corvette Restoration - It all started with a "scratch"
Incredible work Will and Dani!!
That Vette was in need of some serious work and you guys came through and revitalized the paint.
-
Super Member

Re: 2006 Monterey Red Corvette Restoration - It all started with a "scratch"
Amazing Job and great write up!! I was so excited when I got to the sun pics LOL
-
Super Member

Re: 2006 Monterey Red Corvette Restoration - It all started with a "scratch"
Thanks Wills...
For posting yet another, (almost beyond description):
'Vehicle-correction'...Nay: "A Perfection" of a vehicle.
You are, as I've stated before: A World-Class Detailer...Indeed!! 
(BTW: So is Dani!!)
Notes:
-Tell Dani I said Hi...
-Man it would be nice for us to get out to see you guys.
Bob
"Be wary of the man who urges an action in which he himself incurs no risk."
~Joaquin de Setanti
-
Newbie Member

Re: 2006 Monterey Red Corvette Restoration - It all started with a "scratch"
nice set up for the reveal... scrolling, scrolling FTW! Nice job!
_______________________________
David Abrahamian - Proud member of Autogeek nation
-
Super Member

Pretty good turnaround, nice work.
-
Junior Member

Re: 2006 Monterey Red Corvette Restoration - It all started with a "scratch"
Looks GREAT, I hate giving the vehicle back to a client when it came in so neglected lol.
Similar Threads
-
By LMAutoDetailing in forum Show N' Shine
Replies: 20
Last Post: 10-03-2011, 10:42 AM
-
By Nick McKees37 in forum Show N' Shine
Replies: 17
Last Post: 04-15-2011, 10:23 AM
-
By ReLoaDeD BuLLiTT in forum Show N' Shine
Replies: 29
Last Post: 12-22-2010, 11:35 AM
-
By tuscarora dave in forum Ask your detailing questions!
Replies: 2
Last Post: 09-03-2010, 12:51 PM
-
By dustywheels in forum Show N' Shine
Replies: 9
Last Post: 04-29-2008, 10:56 PM
 Members who have read this thread: 0
There are no members to list at the moment.
Posting Permissions
- You may not post new threads
- You may not post replies
- You may not post attachments
- You may not edit your posts
-
Forum Rules
|
| S |
M |
T |
W |
T |
F |
S |
| 28 | 29 | 30 |
1
|
2
|
3
|
4
|
|
5
|
6
|
7
|
8
|
9
|
10
|
11
|
|
12
|
13
|
14
|
15
|
16
|
17
|
18
|
|
19
|
20
|
21
|
22
|
23
|
24
|
25
|
|
26
|
27
|
28
|
29
|
30
|
31
| 1 |
|


 Reply With Quote
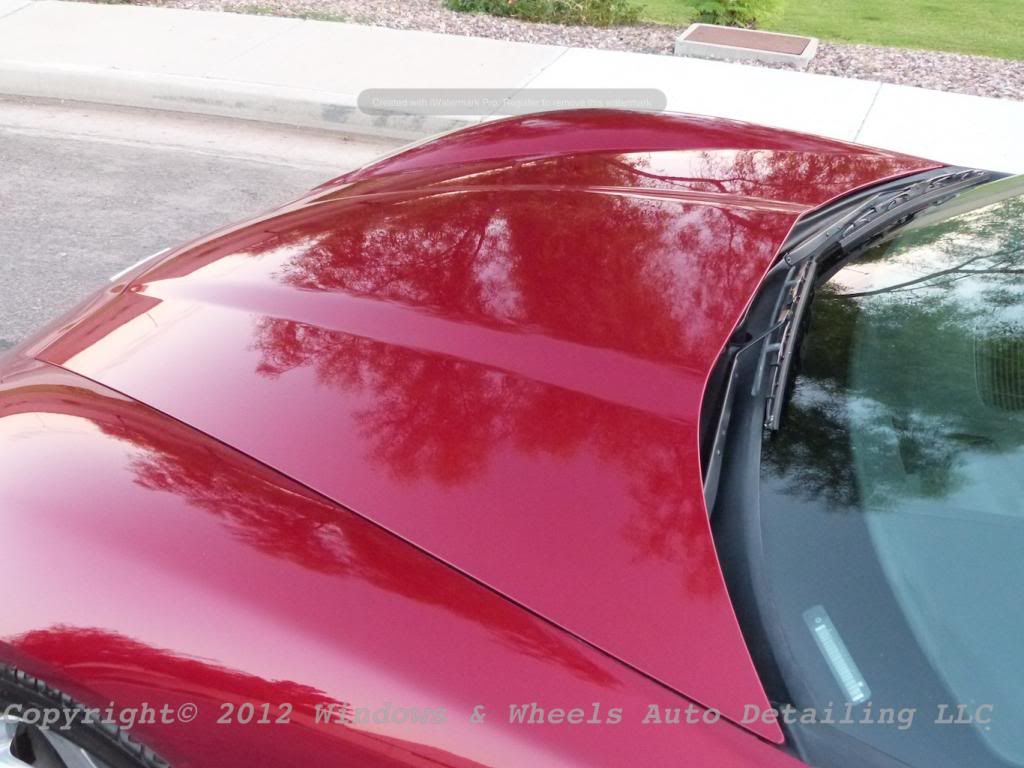


Bookmarks