


 Thanks:
  Likes:
  Dislikes:

If you haven't viewed and liked the four Ford Edge albums at Mike Vest Detailing on Facebook do so now. This was a detail I did for my grandmother-in-law as a birthday gift a little while back and am just getting to posting the write-up. This will detail the process I used to make this car look good.
Stage 1: The Wash
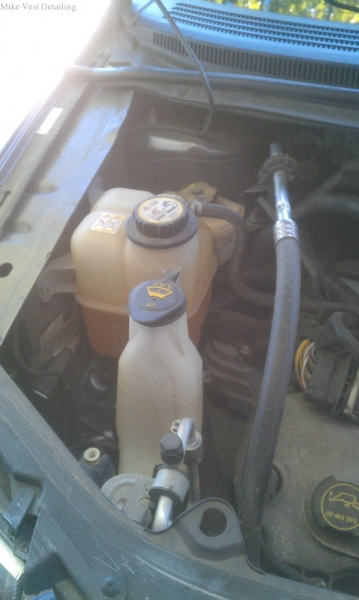
The engine and underneath the hood
The first step was to vacuum out the hard to reach areas and get the bigger bits of leaves and dirt. Next the engine and the bottom of the hood was sprayed down with LA's Totally Awesome All Purpose Cleaner (APC) at full strength. After letting it sit for a few minutes the engine and hood was gently sprayed off to rinse the APC off. The last step was using my Stinger Shop Vac's blower option to dry the engine off.
Wheels, Wheel Wells, and Tires
Next we move on to the wheels and tires as Mike Phillips advocates. Now Mike talks about doing the wheels and tires first because if you start by washing the car from the top down and then do the wheels and tires you could end up with water spots. But I have another reason to start with the wheels and tires. Generally the wheels and tires are the dirtiest part of the vehicle and when you spray the tires off there's a chance that dirt and grit could land on the car. Then you'd have to rewash that dirt off the car. But by starting with the wheels and tires anything that lands on the car will get washed off during the washing process. But enough about that. Let's get to the process. Each tire and wheel well got sprayed liberally with APC at 4:1 dillution. The wheels were sprayed down with Meguiars Deep Crystal Car Wash dilluted 10:1. After dwelling to help break up any loose dirt the tires were scrubbed using a stiff bristle tire brush and Meguiars Deep Crystal Car Wash (two bucket system). For the wheel wells I used something from Armor All

Put your torches away. I got it as part of a Christmas gift package a long time ago, this is the only thing I use from it. I think it was supposed to be a lug nut brush but it's totally worthless as a lug nut brush but it works quite well as a wheel well brush because it's small and flexible. Wheels got cleaned with the first wash mitt.
The Body
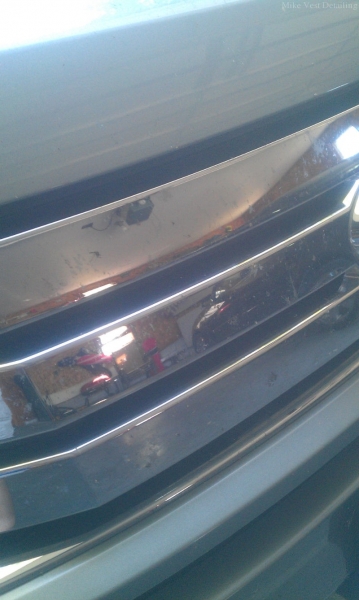
After cleaning the wheels, wheel wells and tires the rinse bucket was dumped and refilled. The front bumper and grill as well as the painted side of the side mirrors were plastered with caked on bug splatter. Attempts to use water pressure to remove the bug splats were in vain due to a severe lack of water pressure (pipe issues in the city). So instead I used some of the APC at 5 to 1 dillution. After letting that set for a minute or two to really penetrate I used a soft scrubbing pad and very light pressure to clean the bugs off.
Once the bugs were removed the rest of the wash process started with the second mitt on the top half of the car. After the top half was washed the rinse bucket was once again dumped and refilled and the bozzom half was washed with the third and final mitt. One thing I want to mention is I make it a practice never to use circular washing motions and stick to straight line motions. This, to me, cuts down on the chances of instilling swirls. Otherwise if you get a piece of dirt trapped under the mitt and move in circular motions you'll get swirls. That's just me. Maybe it's a silly superstition. For the drying step I again used the Stinger Shop Vac's blower option to remove a majority of the water, especially the water inside the side mirrors so it didn't dribble out later on. Any remaining water was removed with a clean microfiber drying towel.
Stage 2: Claying
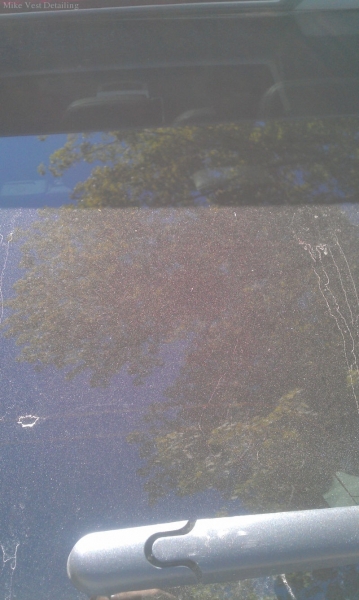
Not much to say here. The front windshield and the painted surfaces were clayed using Meguiars Quik Detailer and mild (blue) clay. The claying process was really important for removing or minimizing the etching from all the bug splats.
Stage 3: Interior Detail
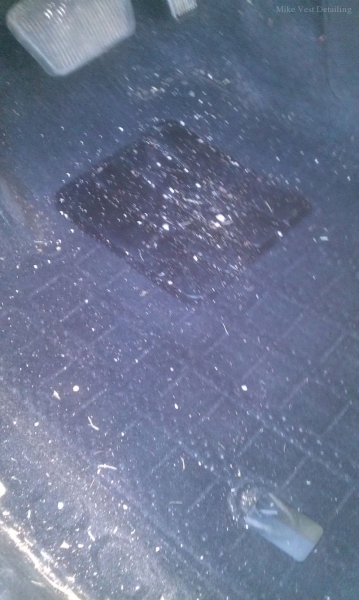
Let's see what we're starting with
First step was vacuuming. This Edge has black carpeting and had a good plush to it which made vacuuming more difficult and required light agitating with a brush to loosen the dirt to make it easier to pick up. The interior itself was in pretty good shape. Just needed some APC (10:1) in some of the dirtier areas like the door jams and on some of the vinyl surfaces. All vinyl surfaces were treated with Meguiars Supreme Shine Protectant sprayed on a microfiber towel. The leather seats were cleaned with Meguiars Gold Class Leather and Vinyl Cleaner and a microfiber applicator pad. Once cleaned the leather seats were conditioned with Meguiars Gold Class Leather Conditioner and a different microfiber applicator pad.
Stage 4: The Final Steps
The final steps were to apply a thin coat of Meguiars Gold Class Carnauba Plus liquid wax. While that wax was drying the front grill and exhaust tips got polished with Mothers Mag and Aluminum Polish, the tires got a coating of Meguiars Hot Shine tire spray and the exterior glass was cleaned with Stoner Invisible glass and a microfiber. The windshield was treated with Rain X to ensure maximum visibility in precipitation. After removing the wax with a clean microfiber the last step was to clean the interior glass.
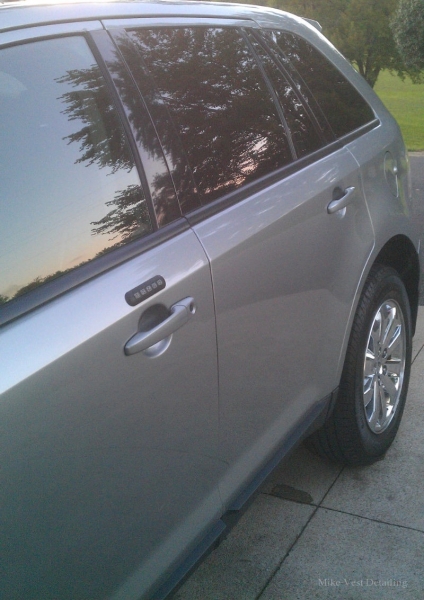
And the reveal. First some exterior shots.
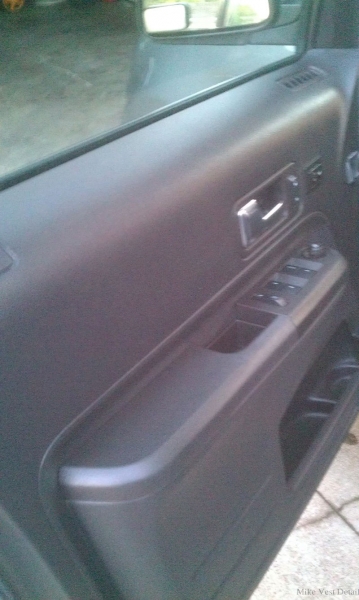
And some interior shots.
More pictures are available in the galleries and on the Facebook page. That wraps up this write up and this detail. When I was finished she said the car looked better than it did when she bought it and smelled amazing.


|


 Reply With Quote
Bookmarks