 Thanks: 0
 Likes: 0
 Dislikes: 0
-
Super Member

-
Super Member
Re: Caddy Panelvan - Detailed by Lawrence
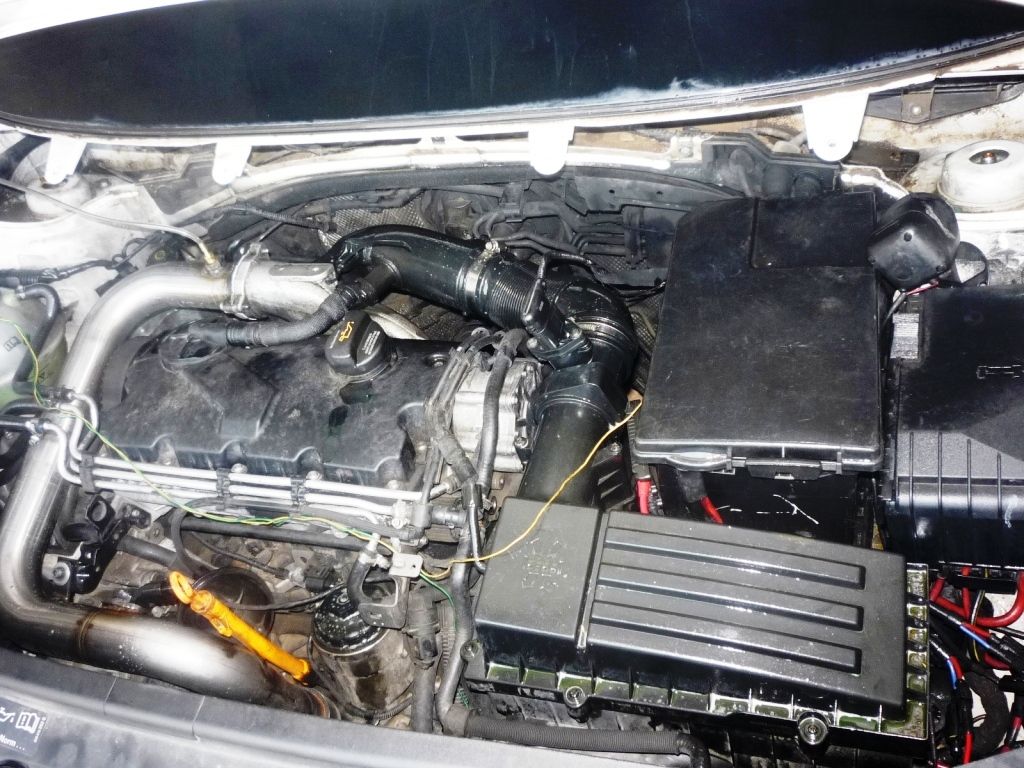
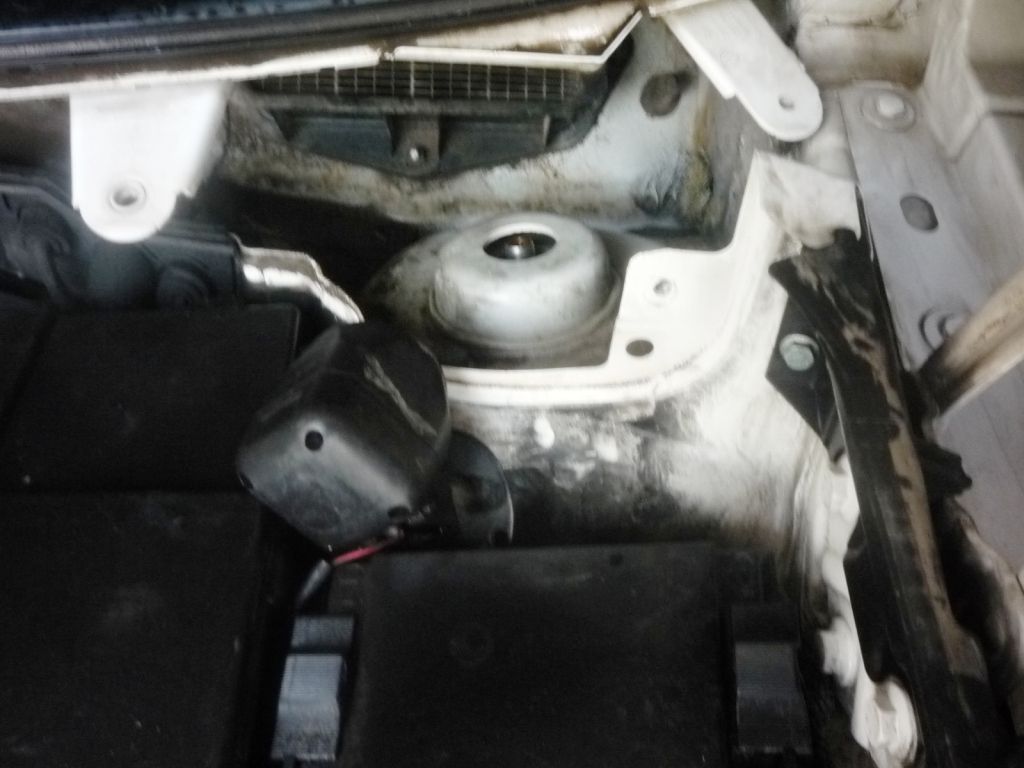
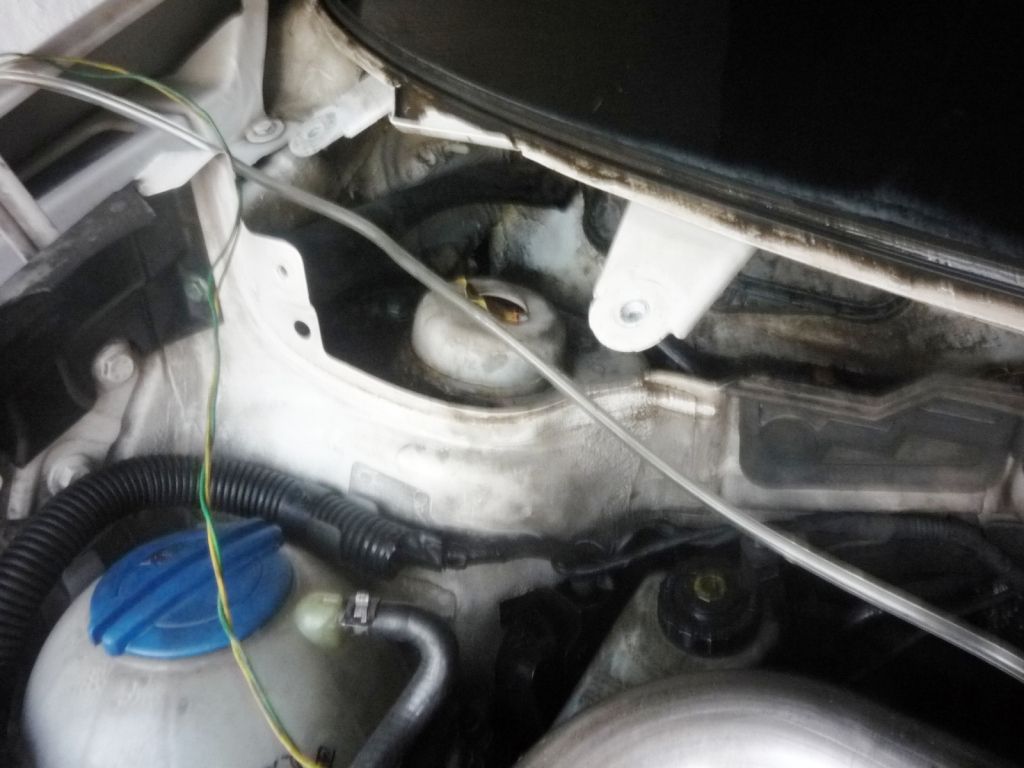
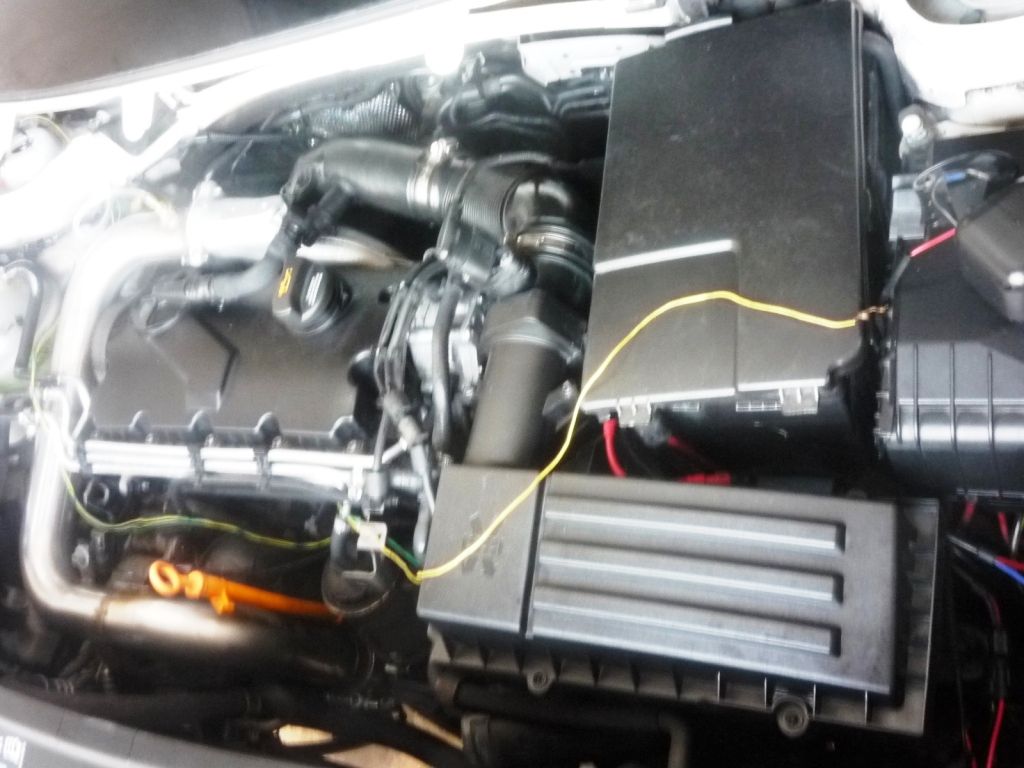
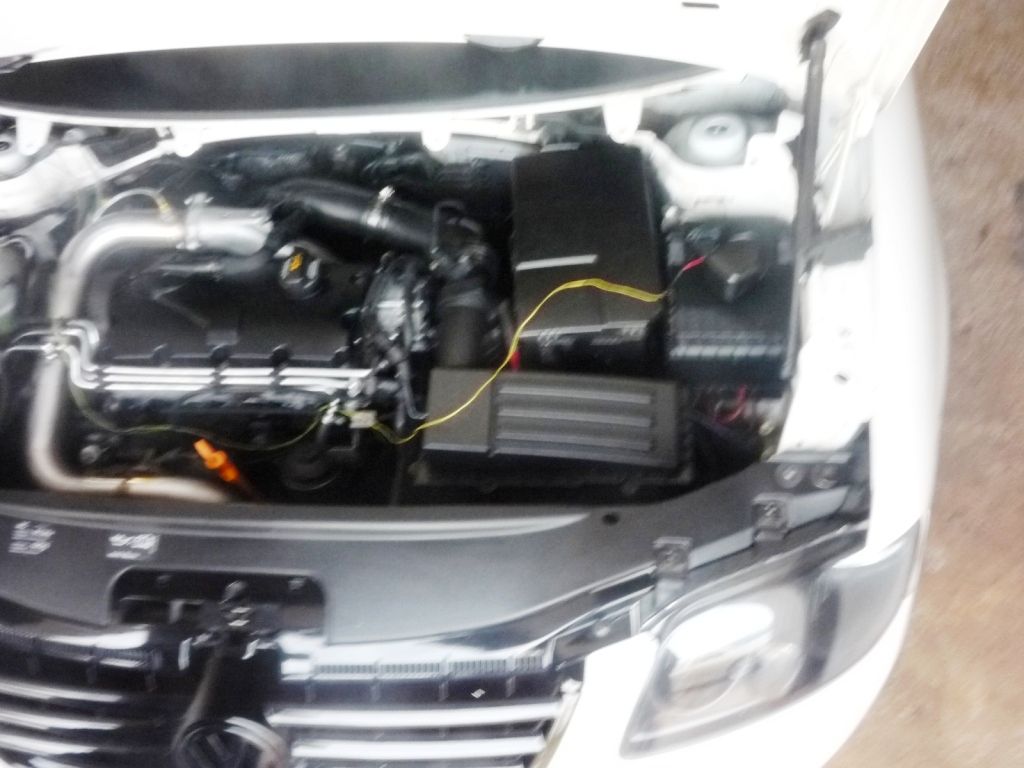
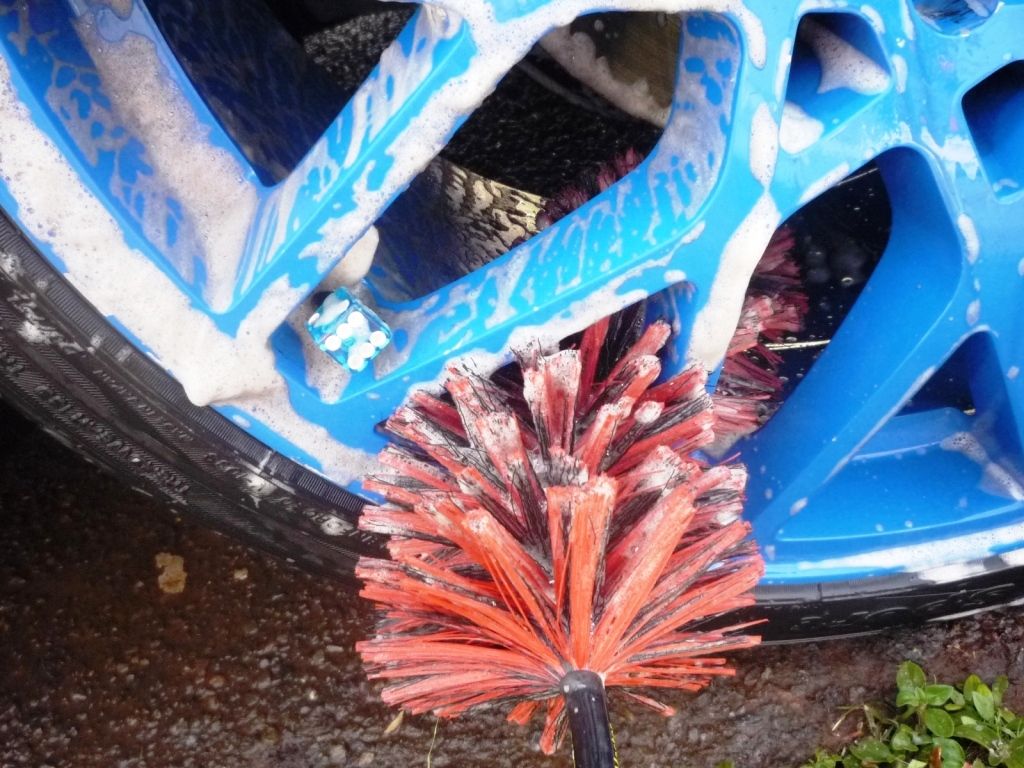
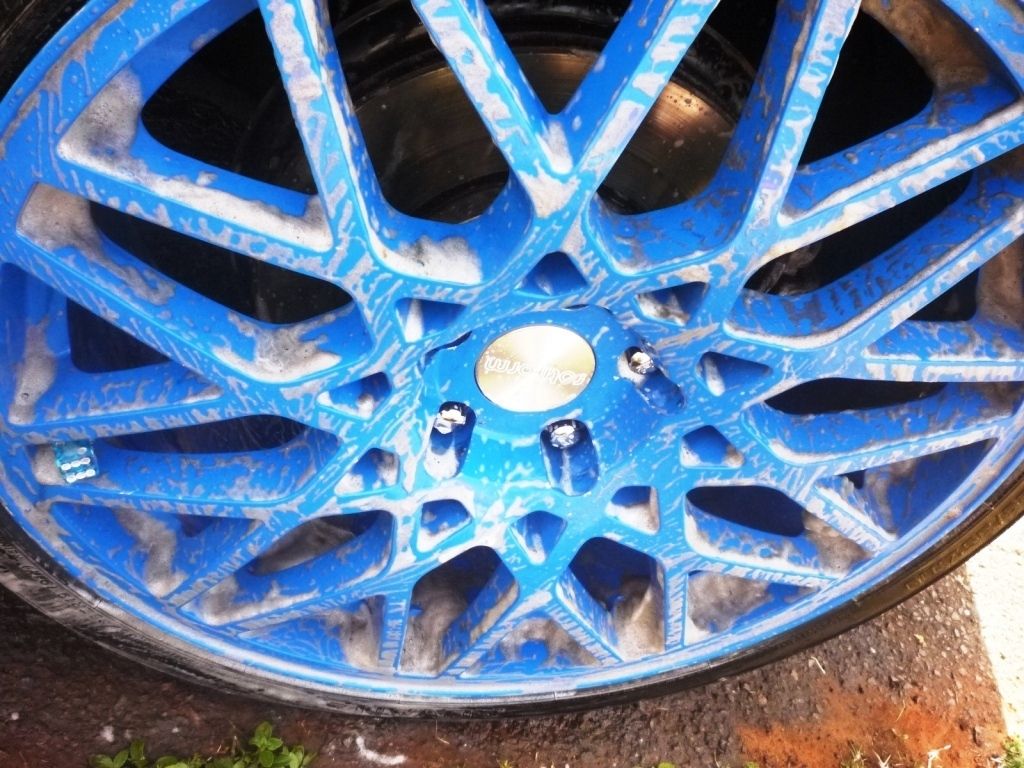
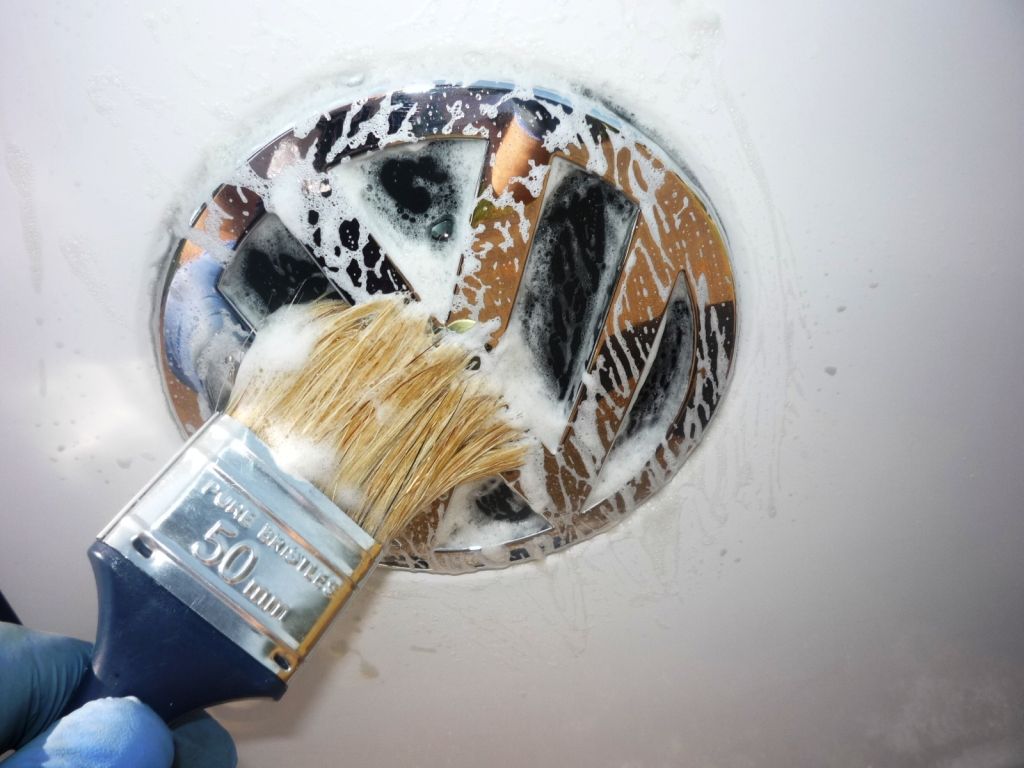
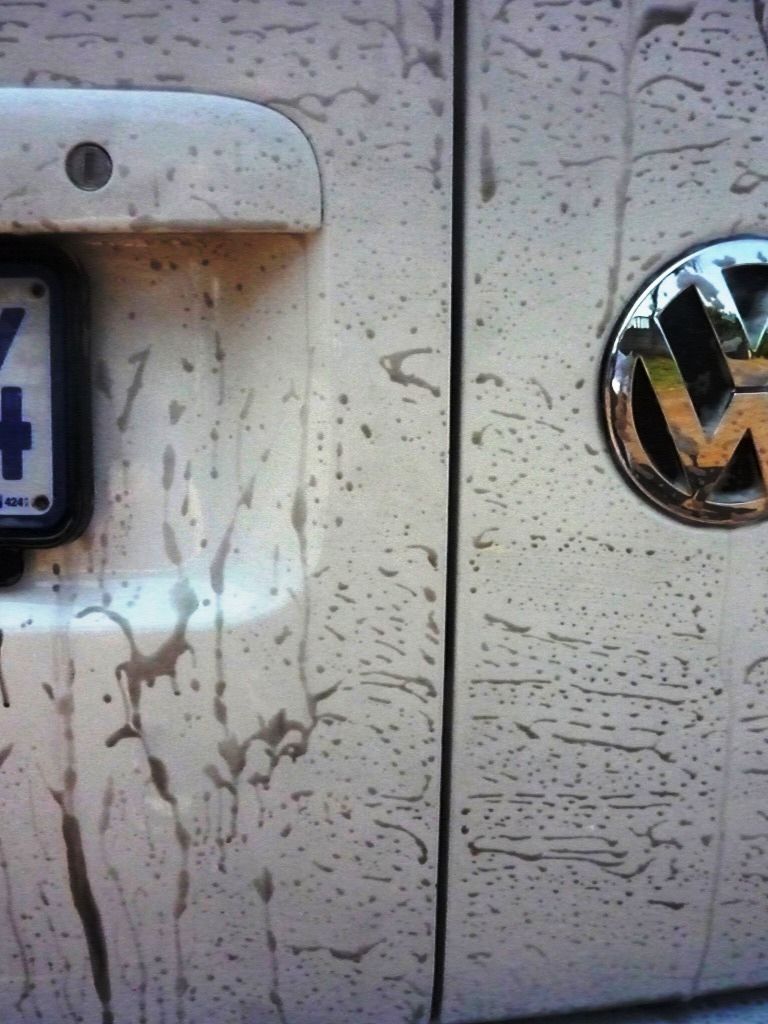
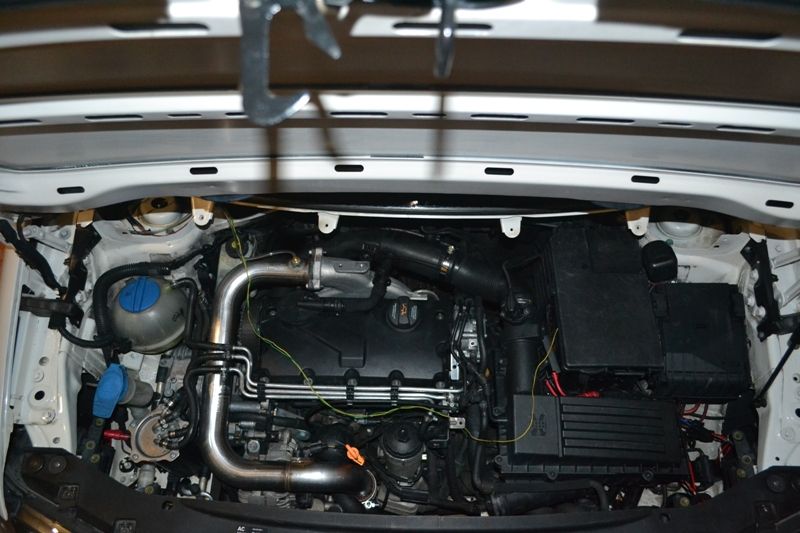
Next the engine bay was washed and dried.
Products used:
CM30 Cyclonic Cleaner
Two Way Mini Detailing Brush
Various paint brushes
HP Washer
SmartWax Smart Dressing
Time taken: 1hr
Before
After
The #38 sticker you see below was removed at Rob's request
It then left behind some nice glue to get off
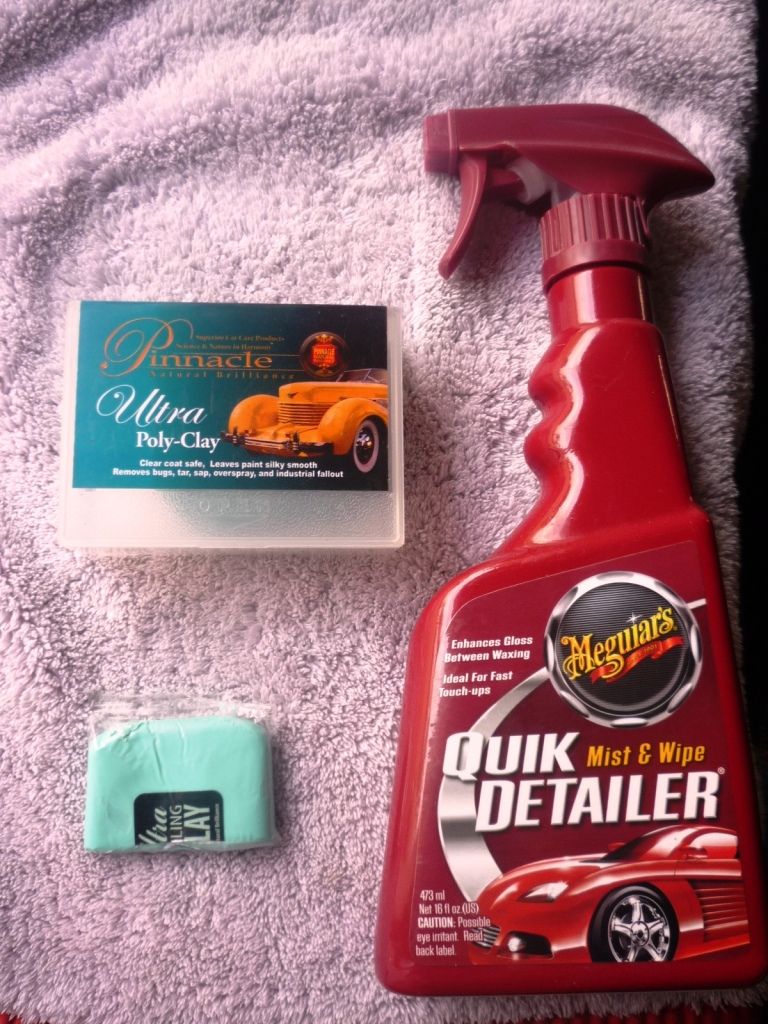
The car was then clayed
Products used:
Pinnacle Ultra Poly Clay
Meguiars Quick Detailer
Redline Series Microfiber Polishing Towels
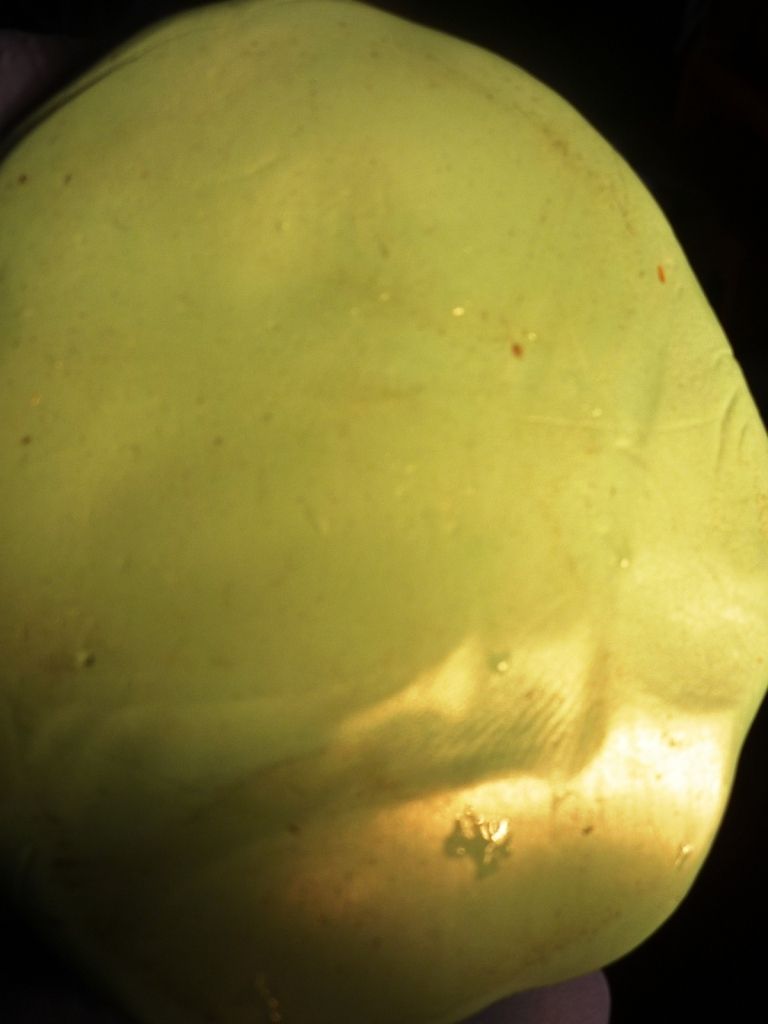
Time taken: 6hrs  :yawn: - I seriously underestimated just how much panel there is on the caddy :bang: :yawn: - I seriously underestimated just how much panel there is on the caddy :bang:  ops: Notice the color of the clay in the first pic, then after 1 panel notice all the yellowish crud and pieces of bonded contaminant the clay removed. I reckon with the amount of bonded contaminants on the paint, it would have made more sense to use some Carpro Iron-X to get the bulk off, and then do a quick clay to grab the rest. Unfortunately it is not a product I have in my arsenal, yet. Oh well.... lesson learnt! ops: Notice the color of the clay in the first pic, then after 1 panel notice all the yellowish crud and pieces of bonded contaminant the clay removed. I reckon with the amount of bonded contaminants on the paint, it would have made more sense to use some Carpro Iron-X to get the bulk off, and then do a quick clay to grab the rest. Unfortunately it is not a product I have in my arsenal, yet. Oh well.... lesson learnt!
I then cleaned the paint
Products used:
Meguiars Deep Crystal Paint Cleaner
Meguiars Foam Applicator Pad
Redline Series Microfiber Polishing Towels
Time taken: 1hr
Compounding/polishing.
Products used:
Meguiars Ultimate Compound
Lake Country Orange CCS Foam Pad x 8
Meguiars Foam Applicator Pad
Redline Series Microfiber Polishing Towels
Shield DA Polisher
After various test spots, I decided on Meguiars Ultimate Compound on a Lake Country Orange CCS Foam pad, on speed setting 6. It allowed for about 85% correction but still finished off close enough to a polish (through its use of diminishing abrasive technology), thereby eliminating the need for a separate cut and polish, saving around 4 hours work on a car with as much panel as this.
Time taken: 30 minutes.
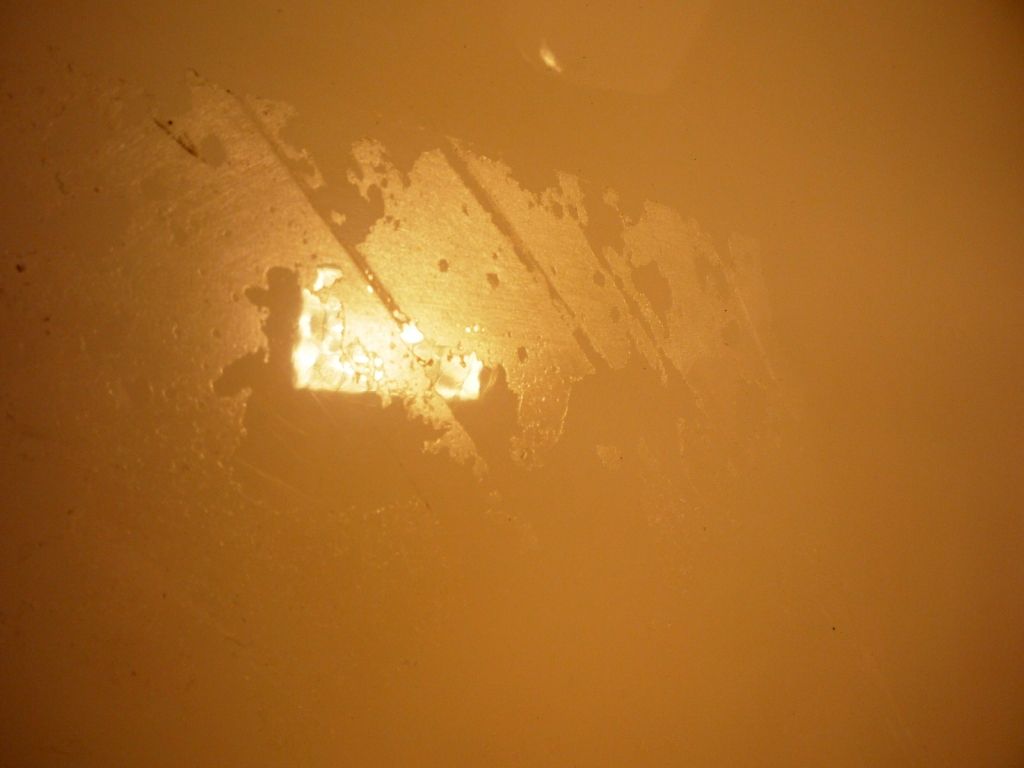
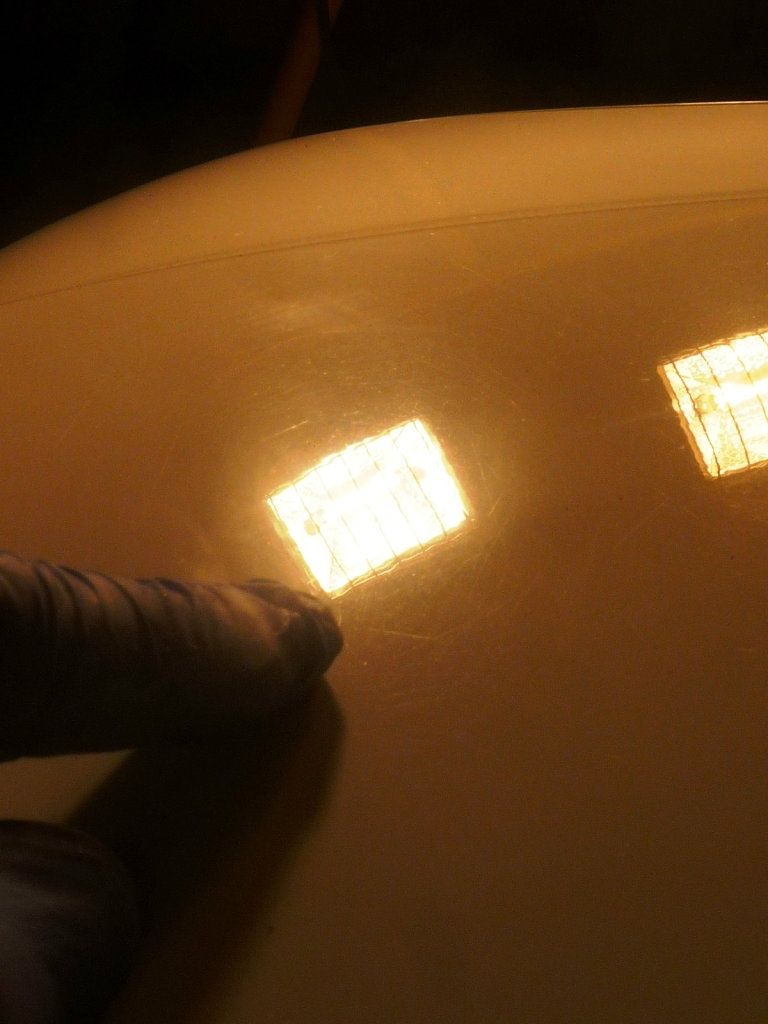
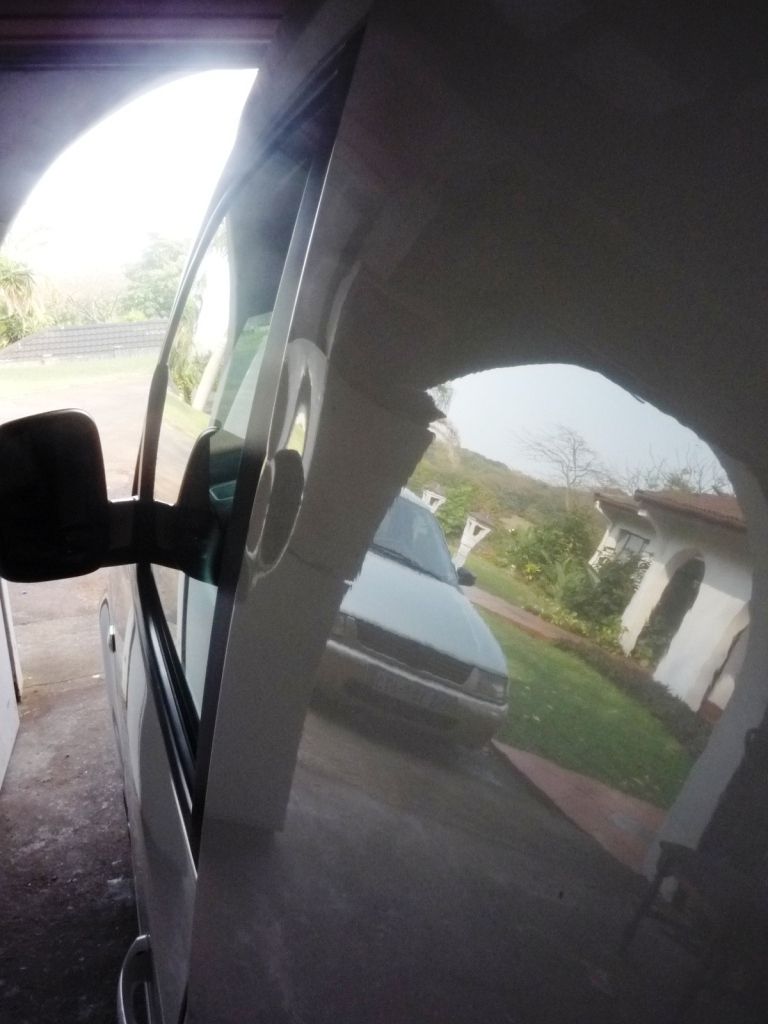
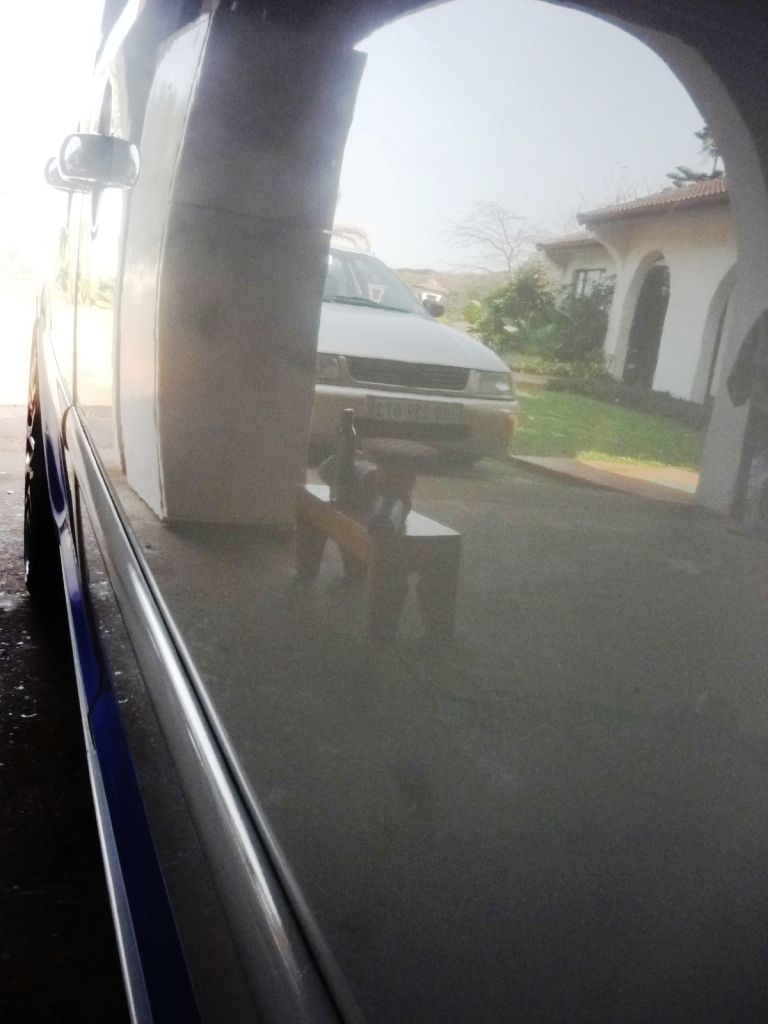
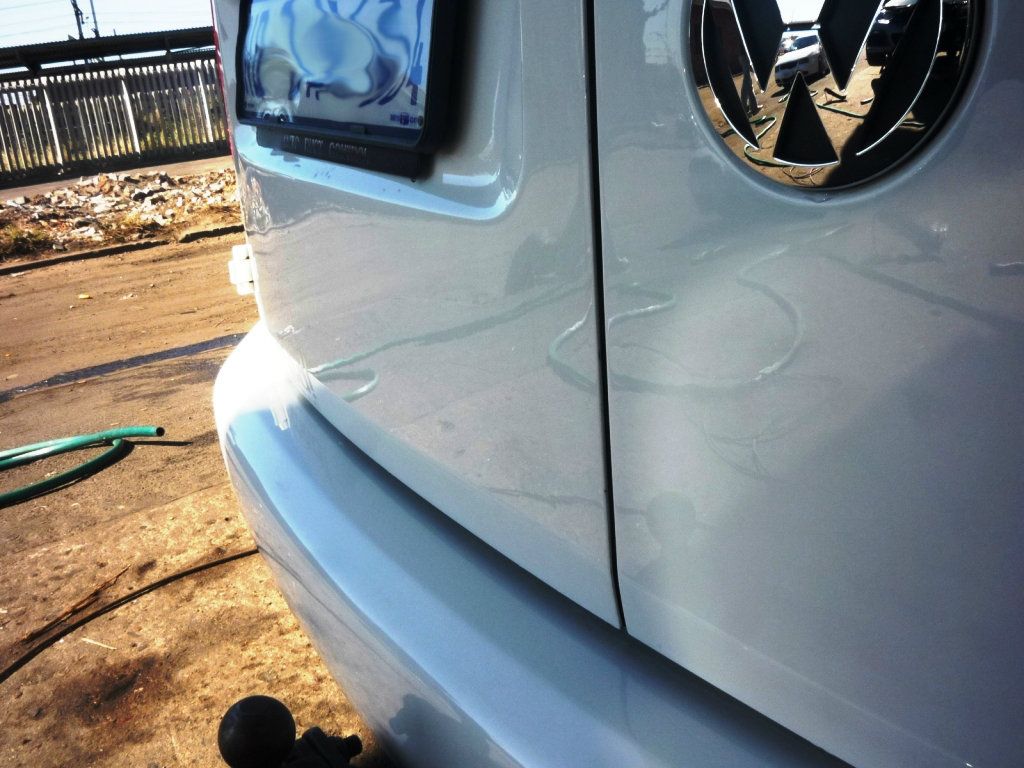
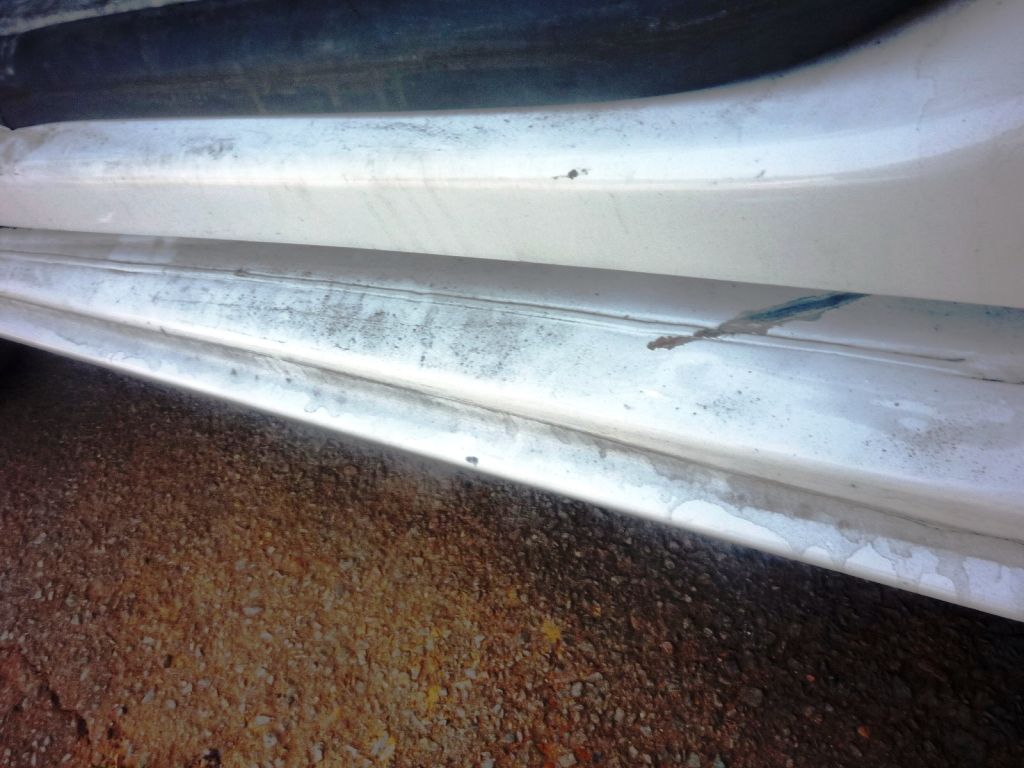
Here you can see more evidence of the orange peel, and some slight swirls
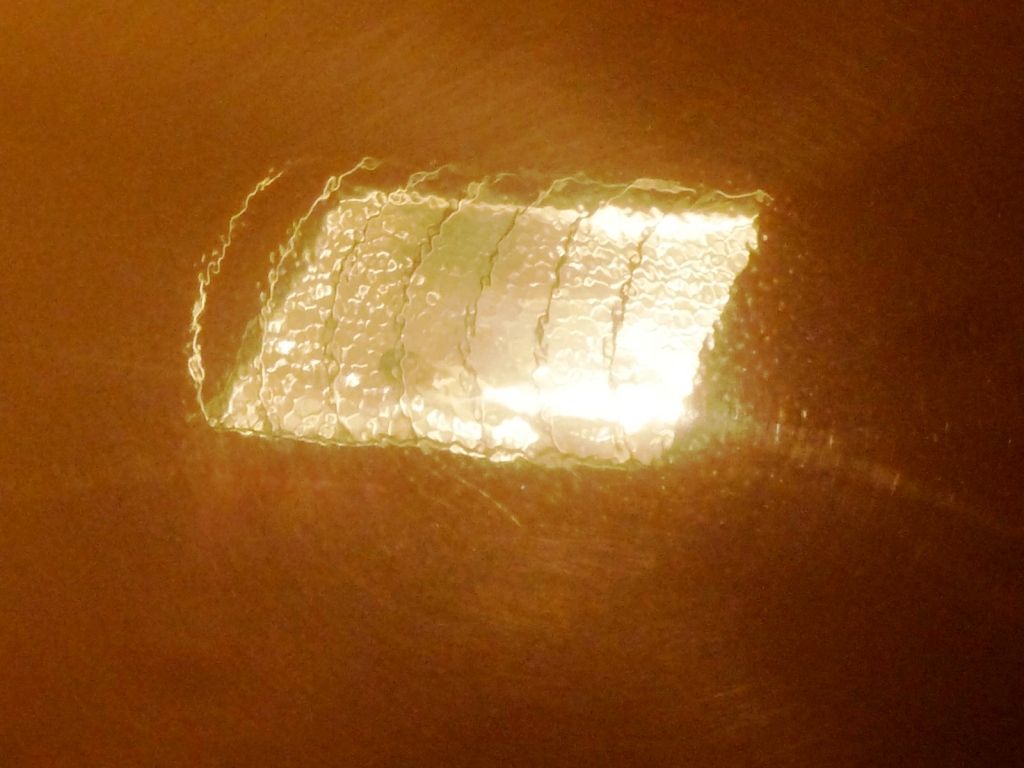
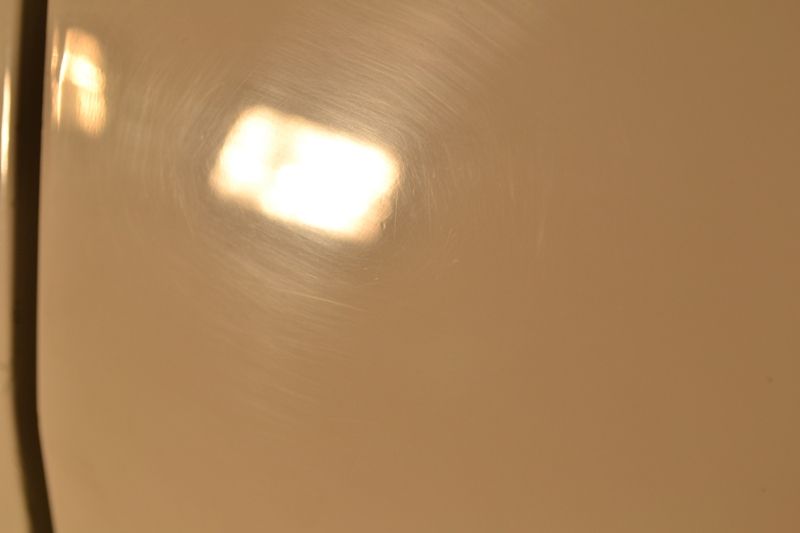
Here the area in the reflection of the left light has received 1 section pass (about 6 passes in various directions over an area approximately 20" x 20") but not the area on the right
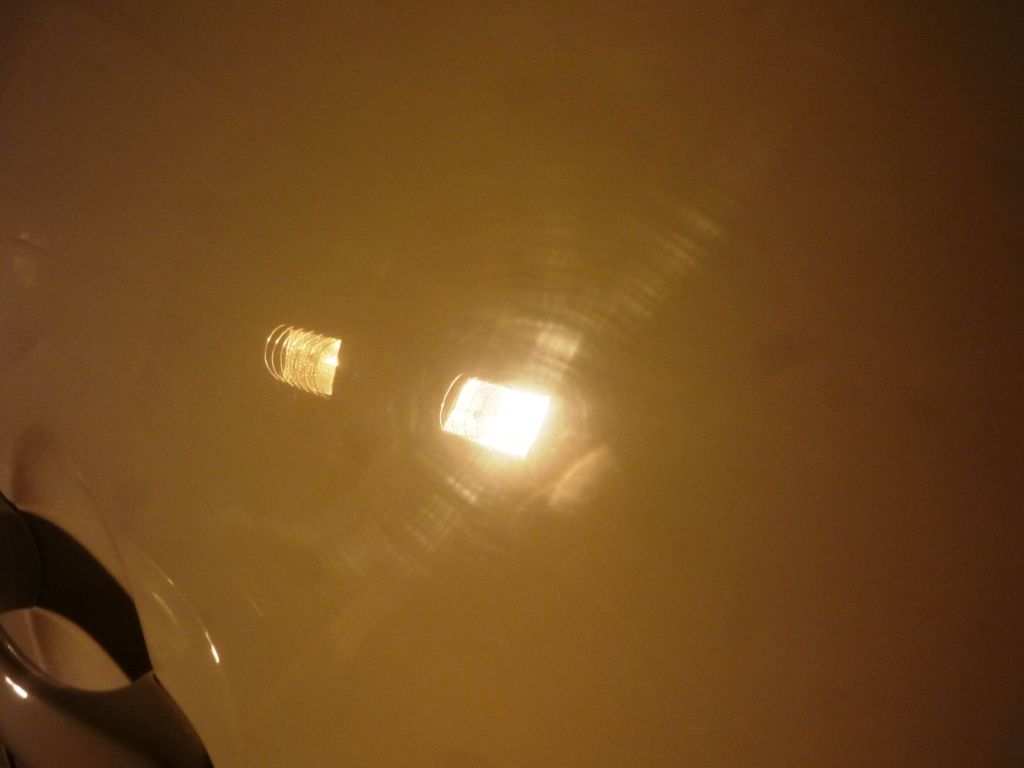
Here, the area around the reflection of the right has been done and not the area on the left
I then decided to call it a night and went to get some much needed R&R.... :yawn: and continued the next morning around 8 after a good breakfast (bacon and eggs if anyone gives a hoot :lol: ) and finished all the compounding/polishing.
Total Time taken compounding/polishing: 4 hours.
I then cleaned the paint
Products used:
Meguiars Deep Crystal Paint Cleaner
Meguiars Foam Applicator Pad
Redline Series Microfiber Polishing Towels
Time taken: 1hr
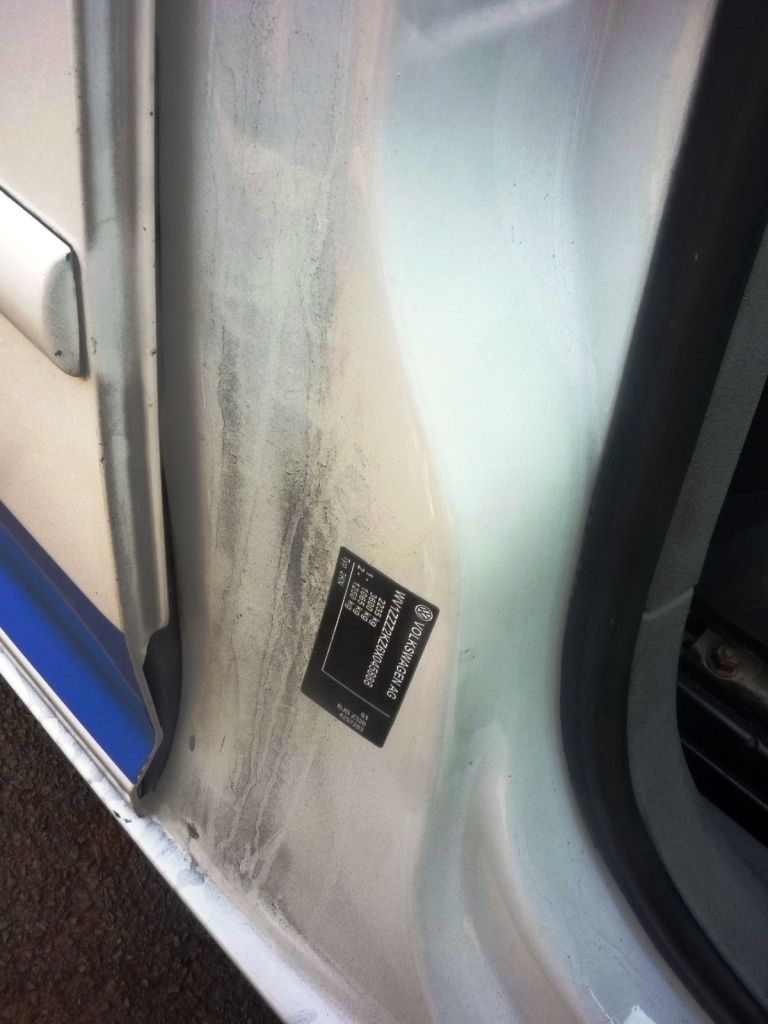
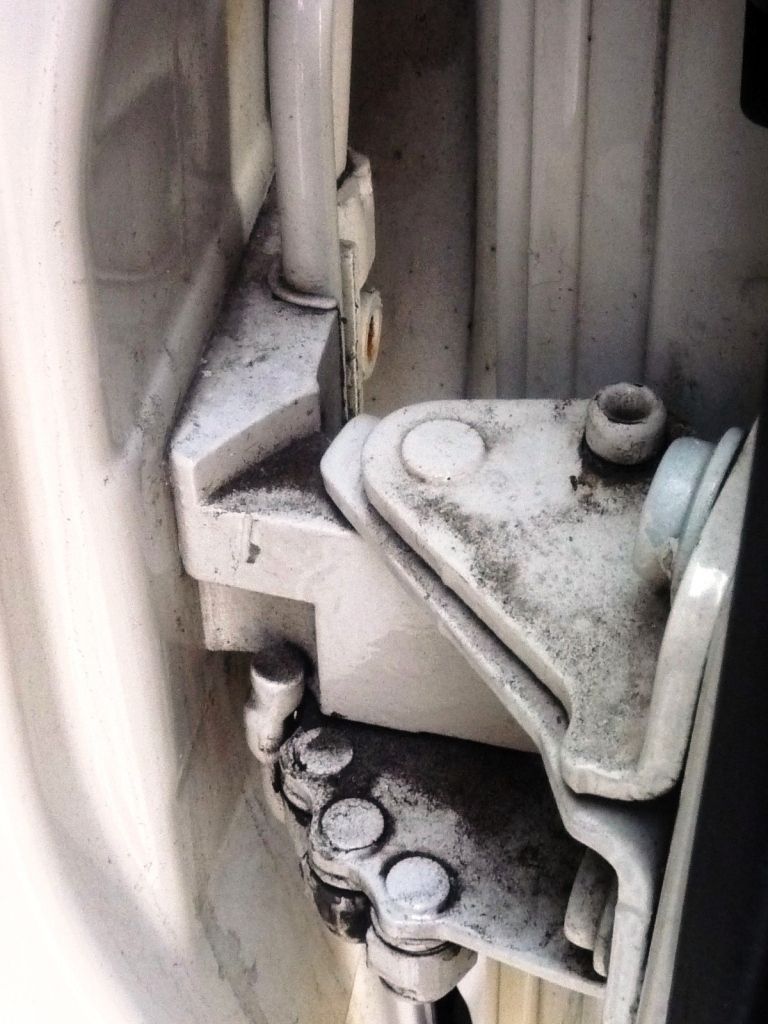
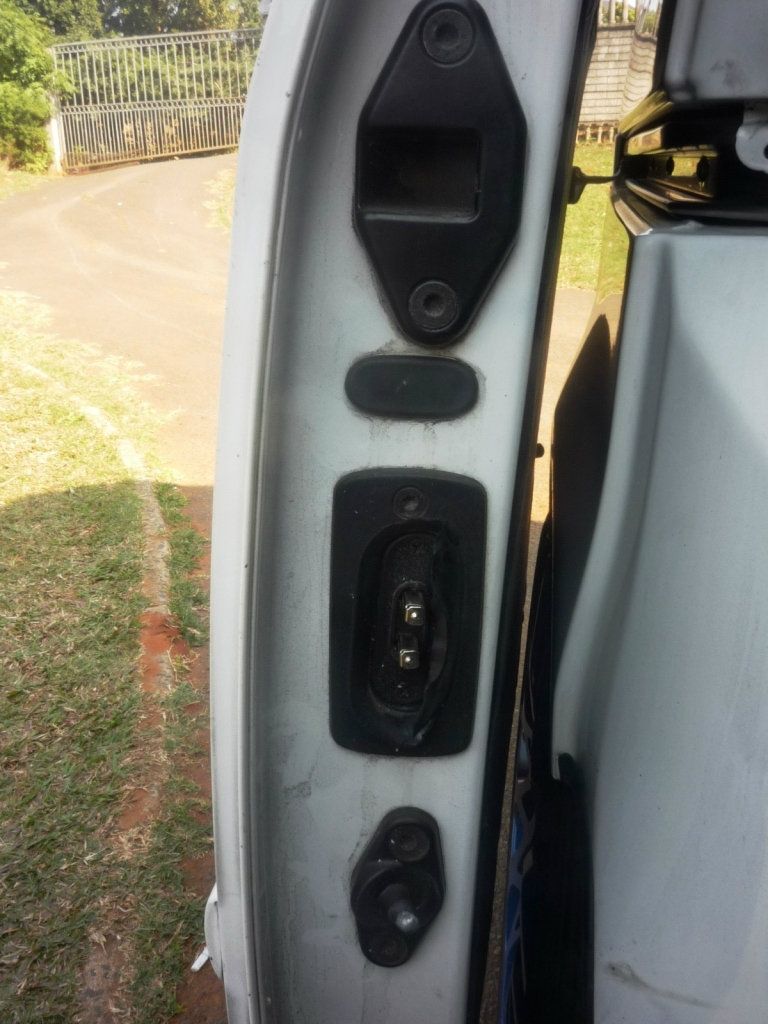
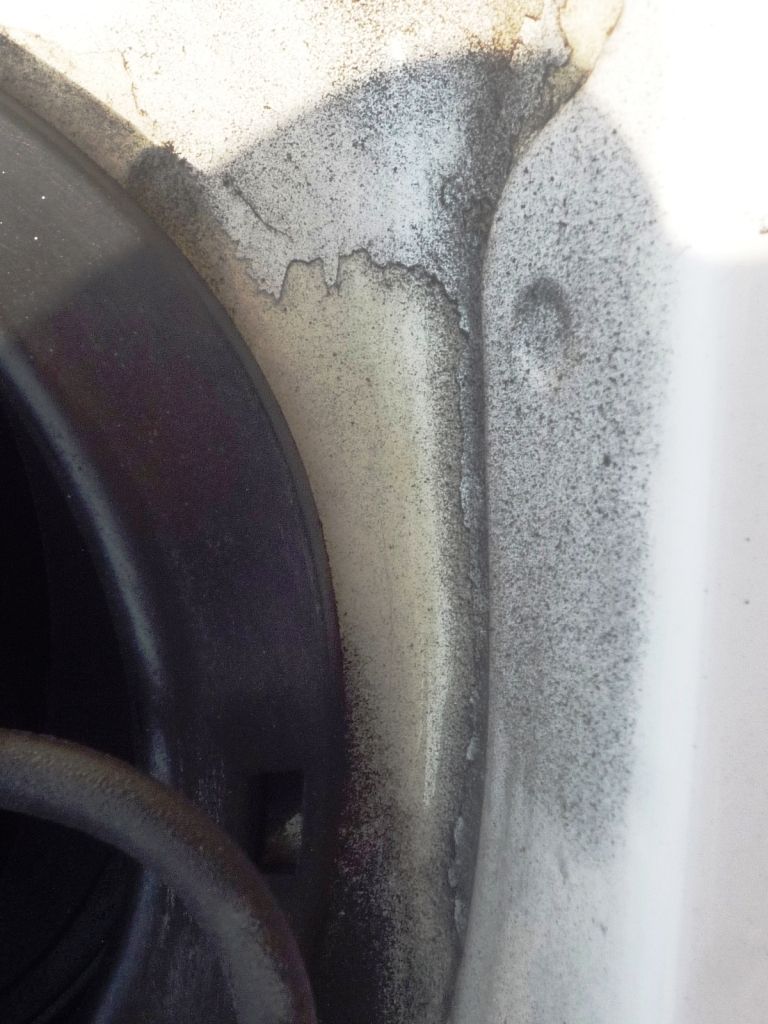
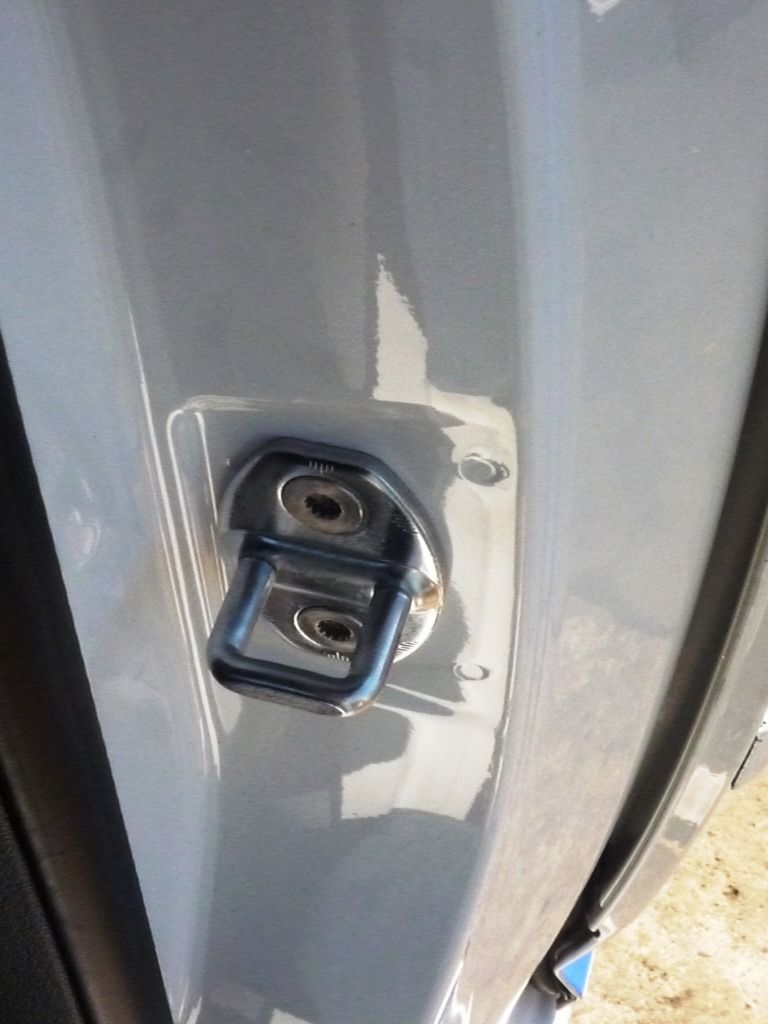
All the door jambs were waxed
Products used:
Meguiars Cleaner Wax (paste)
Meguiars Foam Applicator Pad
Redline Series Microfiber Polishing Towels
Time taken: 30 minutes
The windows were clayed and treated
Products used:
Pinnacle Ultra Poly Clay
Meguiars Quick Detailer
Redline Series Microfiber Polishing Towels
C-Thru
Time taken: 1 hour
Finally the paint was sealed
Products used:
SmartSealant Deep Gloss Paint Sealant (applied twice)
Redline Series Microfiber Polishing Towels
Time taken: 1hr
Total time for entire detail = 17hrs
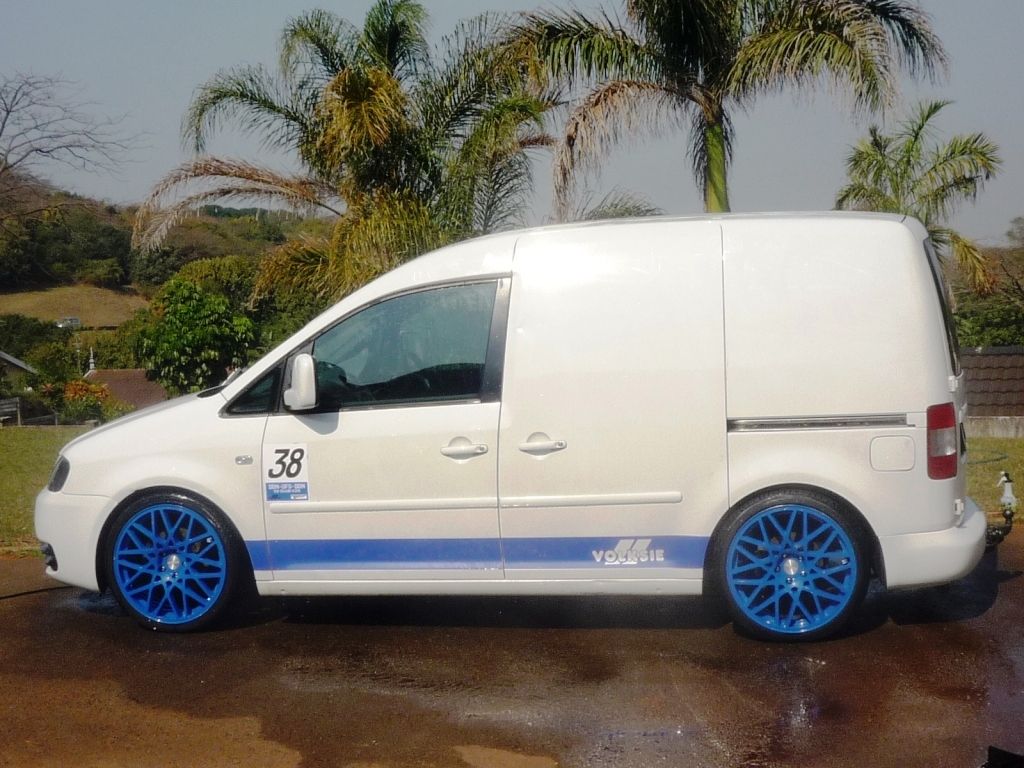
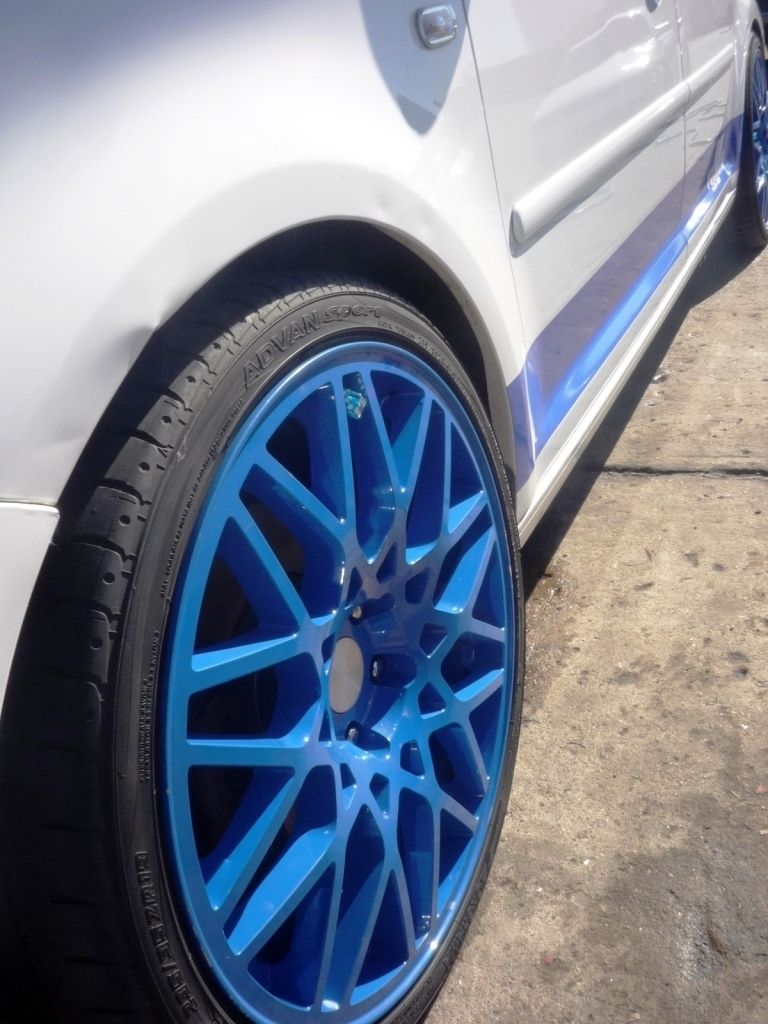
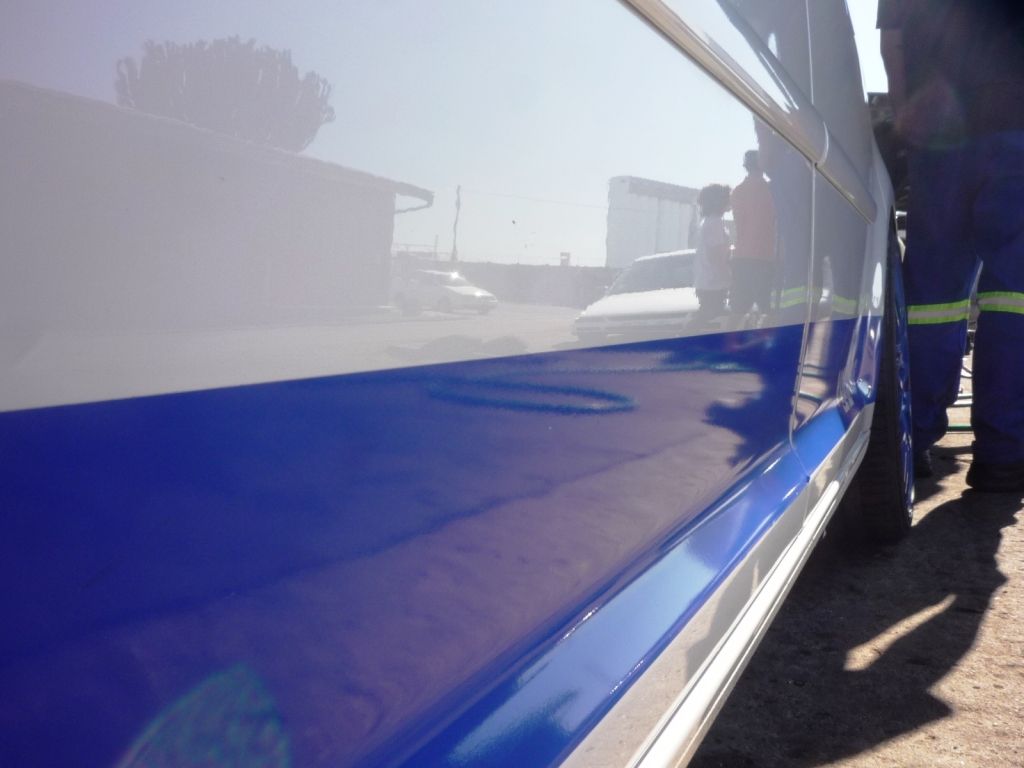
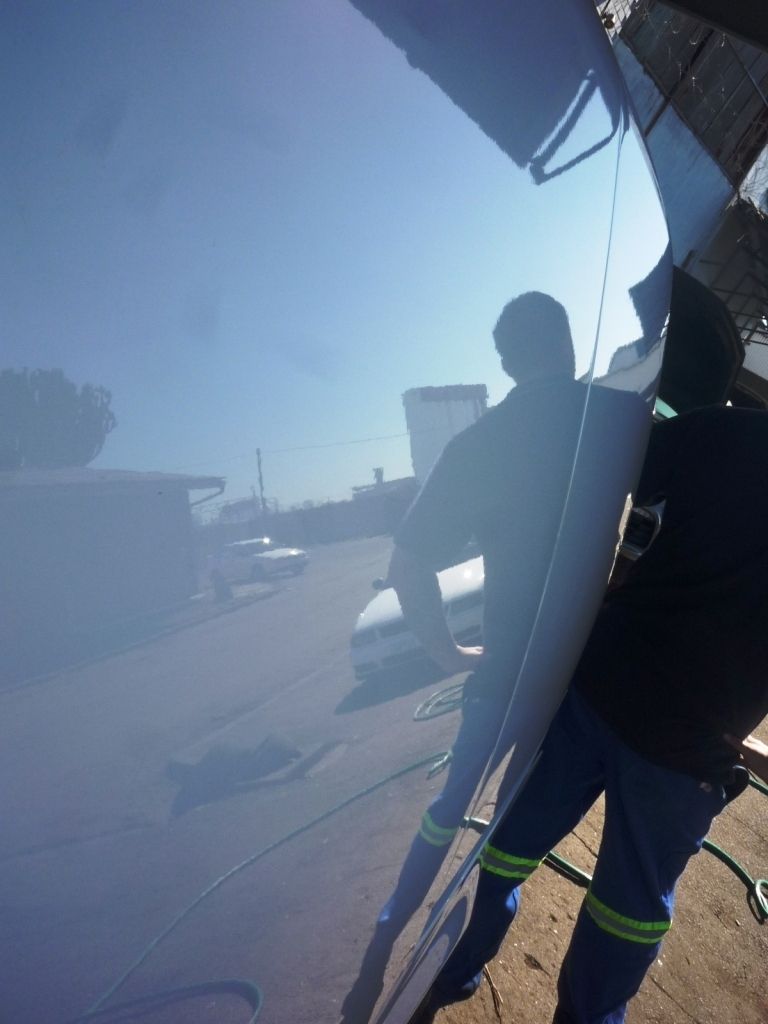
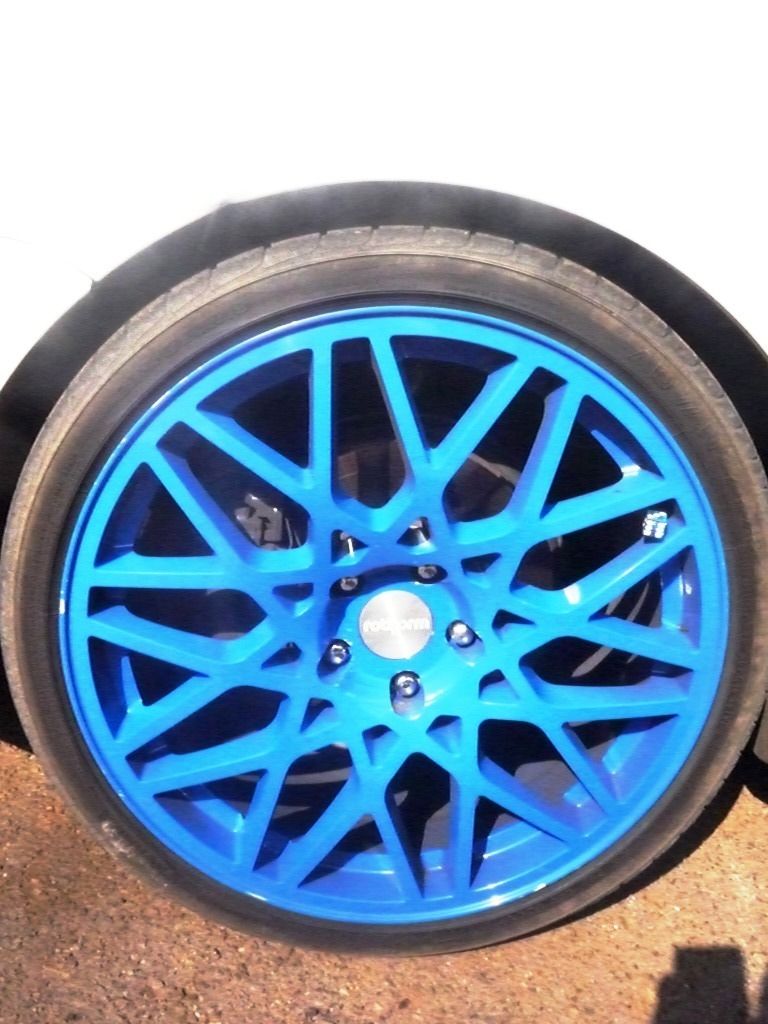
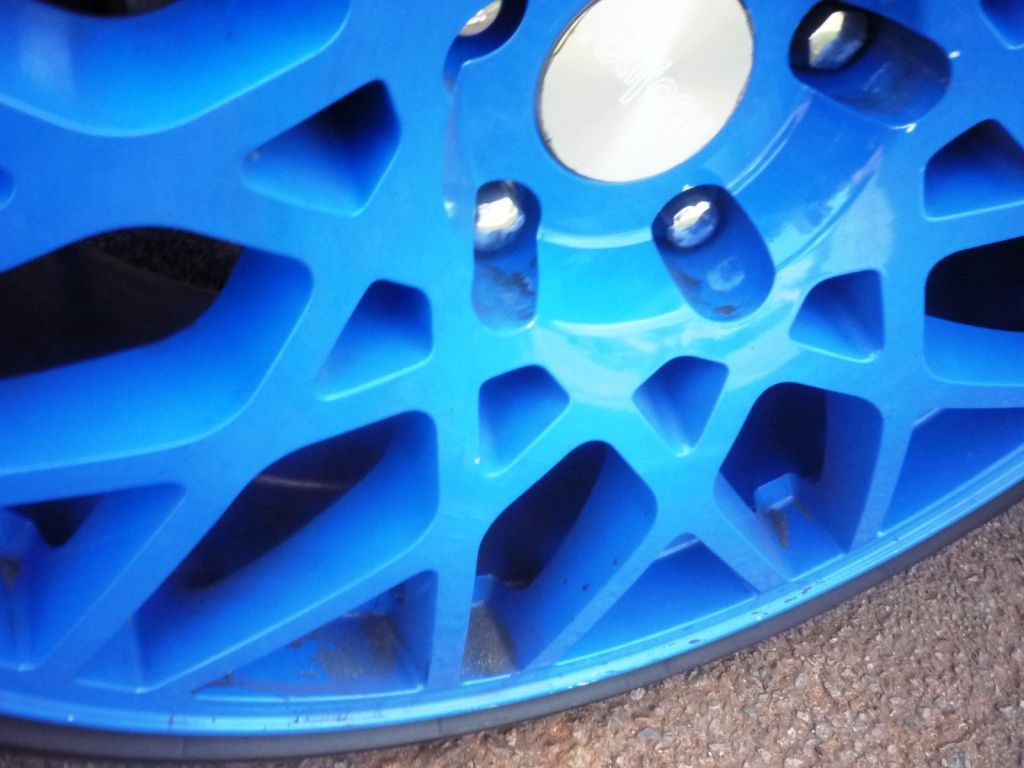
Some after pics
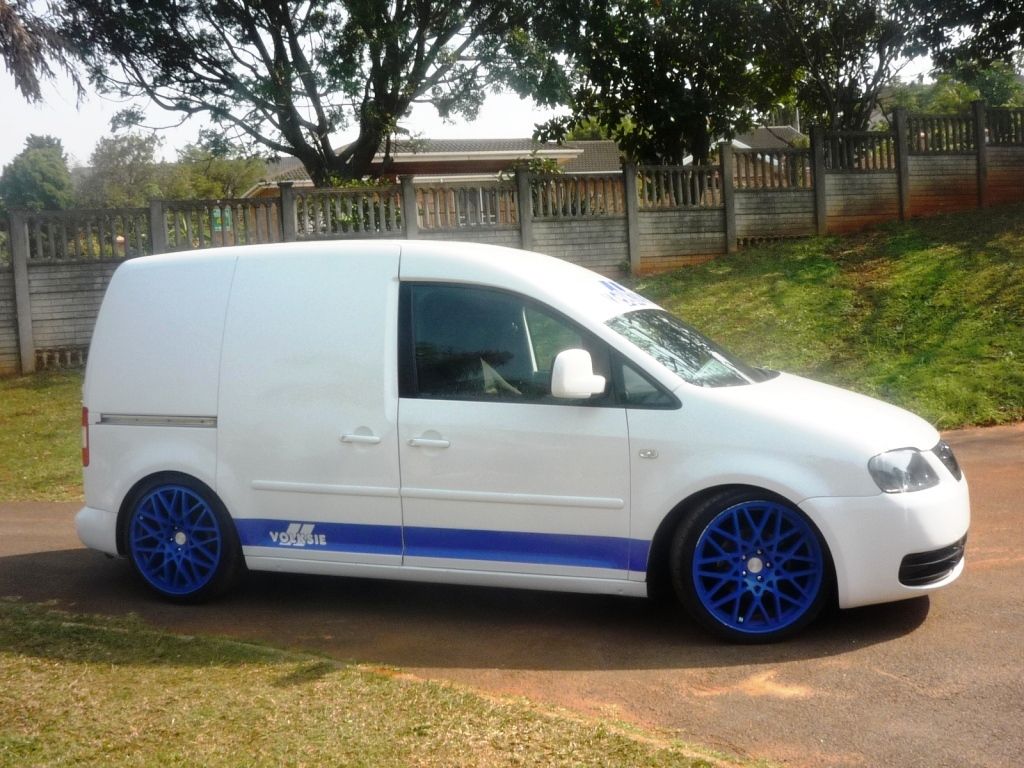
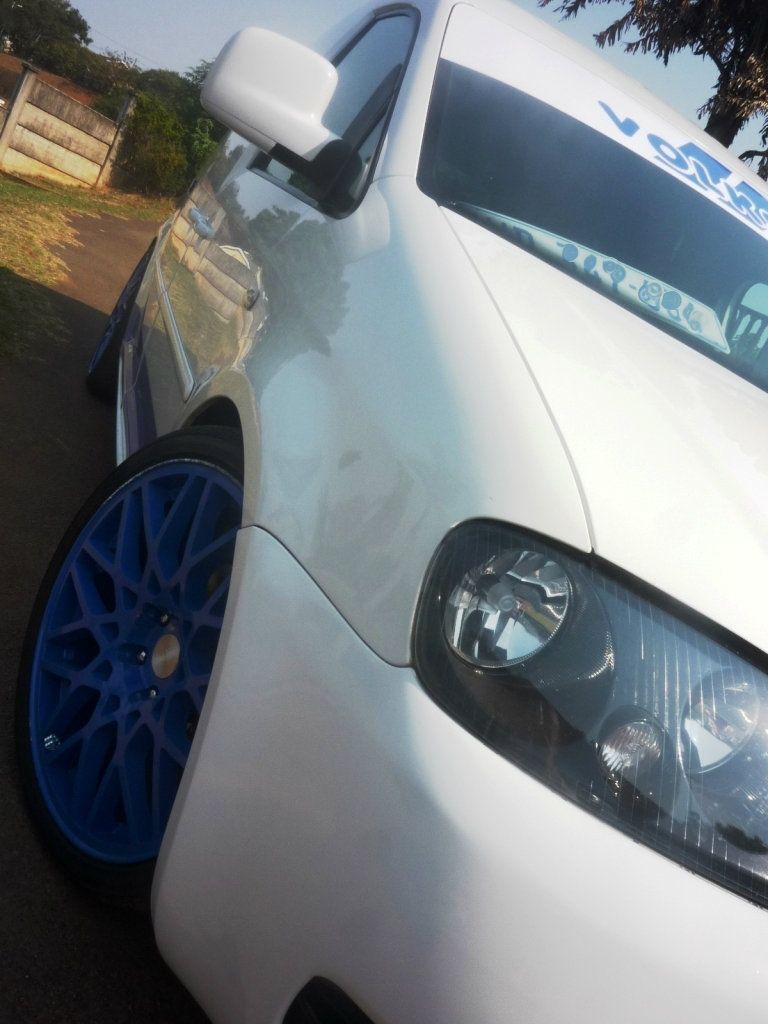
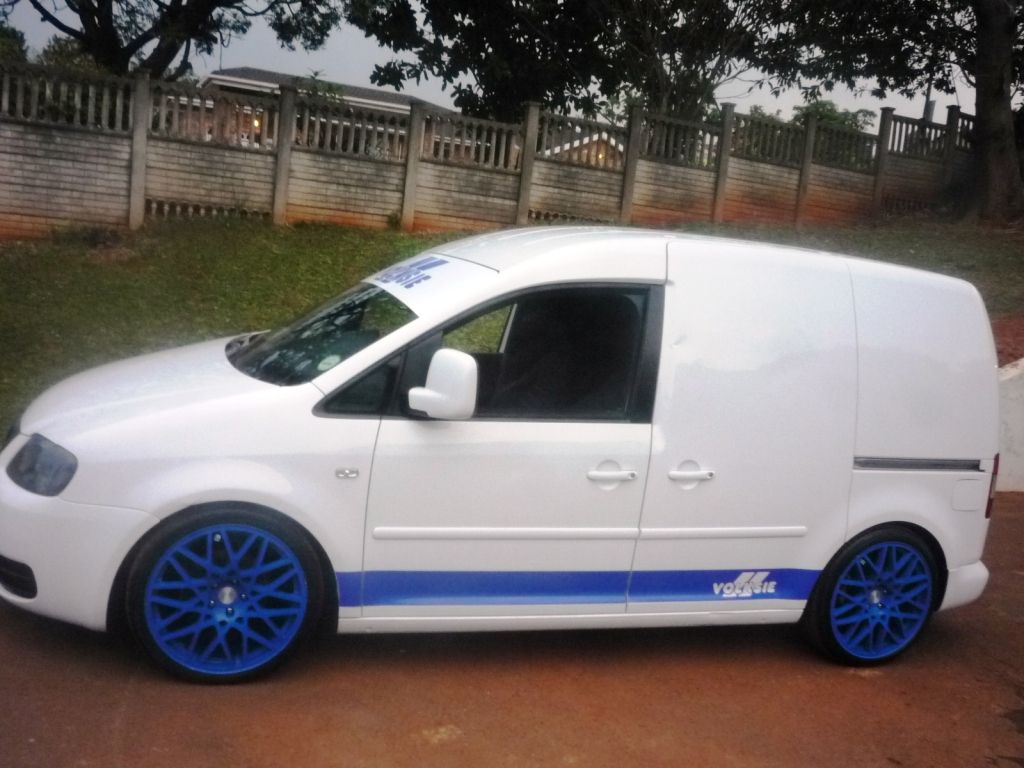
These were snapped today after all the guys who work for Rob were given a first hand lesson on how to wash and dry the car using the 2BM etc...after all the heavy weather this week, the caddy needy some love.
Thanks for looking. :hi:
-
Super Member
Similar Threads
-
By lawrenceSA in forum Show N' Shine
Replies: 9
Last Post: 03-12-2013, 07:38 AM
-
By lawrenceSA in forum Show N' Shine
Replies: 34
Last Post: 06-27-2012, 03:41 PM
-
By lawrenceSA in forum Show N' Shine
Replies: 8
Last Post: 06-12-2012, 03:32 AM
-
By mixxer in forum Show N' Shine
Replies: 7
Last Post: 04-01-2008, 05:51 PM
-
By pirex in forum Show N' Shine
Replies: 10
Last Post: 11-01-2007, 05:54 PM
 Members who have read this thread: 0
There are no members to list at the moment.
Posting Permissions
- You may not post new threads
- You may not post replies
- You may not post attachments
- You may not edit your posts
-
Forum Rules
|
| S |
M |
T |
W |
T |
F |
S |
| 28 | 29 | 30 |
1
|
2
|
3
|
4
|
|
5
|
6
|
7
|
8
|
9
|
10
|
11
|
|
12
|
13
|
14
|
15
|
16
|
17
|
18
|
|
19
|
20
|
21
|
22
|
23
|
24
|
25
|
|
26
|
27
|
28
|
29
|
30
|
31
| 1 |
|


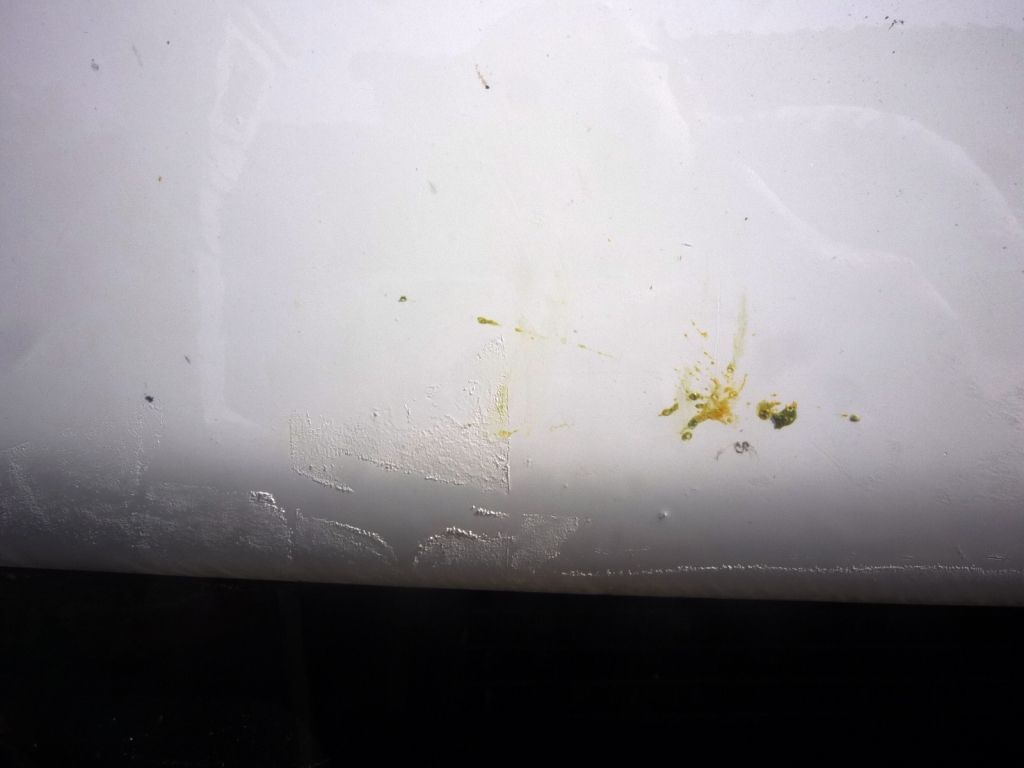
... here the help of Auto Finesse Citrus Power was called in


 Reply With Quote
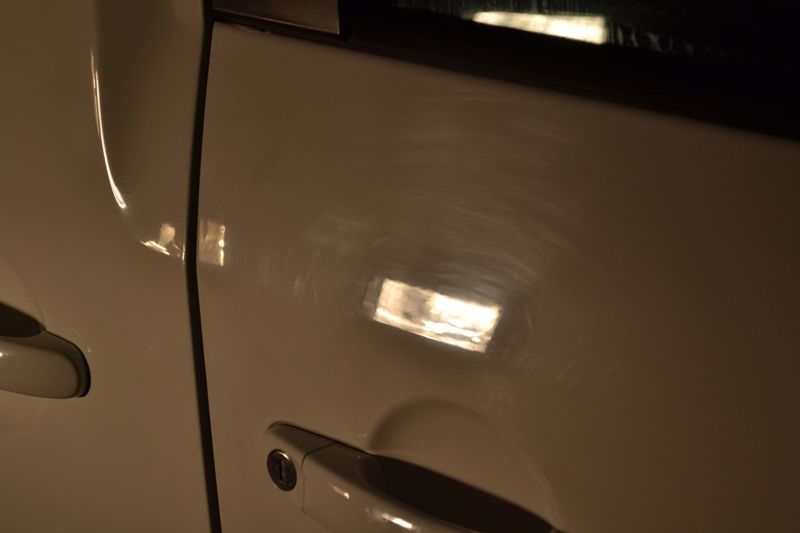
Bookmarks