 Thanks: 0
 Likes: 0
 Dislikes: 0
-
Super Member

Autopia Member Detail: 09' BMW 335i RED
Hey everyone,
I got an email from a member on Autopia a few weeks back. He said he saw a write up i did on a lime Dodge Charger and thought if we could fix that car we could surely fix his lol. Right on!
He told me it was a red 09' BMW and it had received the notorious dealership love that we all know about :-\. We settled on doing a double pass and then seal with Wolfgang Deep Gloss Paint Sealant and he also wanted us to go on ahead and detail the engine.
So we drove out last Saturday pretty early in the morning. He pulled it out....we took a look at it in what sun we had at the time, and he wasn't exaggerating, it was in pretty bad shape. Chase (the owner) told us his previous car was a lighter color that was just perfect for hiding swirls lol, and that he was never really a red car type of person, but figured he'd have to give in on something in purchasing a new ride...so he gave in on the color. He also pointed out some lovely wax/polish residue that had been left on the thin trim up around the moon roof and was hoping we'd be able to get it out as well.
He went back inside and left us to work our magic...so first thing's first...before shots!
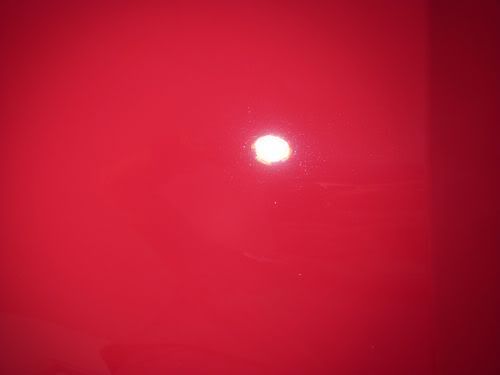
He had good reason not to like red...several good reasons actually....1000's of them...all swirls:
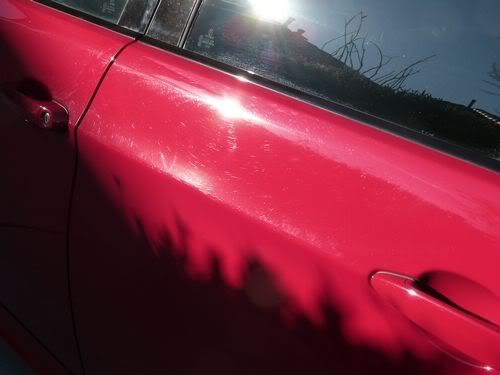
yeahhhh, it wasn't very pretty. But we were determine to make him a red car guy by the time we left.
Here you can see coming back towards the quarter panel didn't help much:
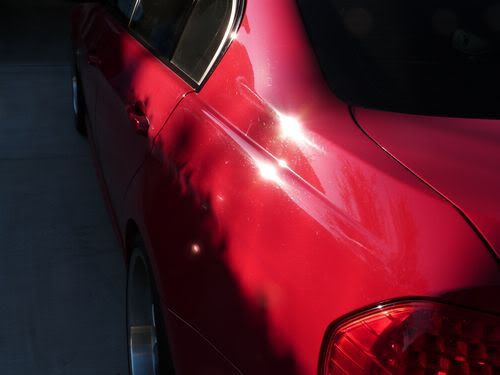
And other areas on the car were jsut as bad:
We surely had our work cut out for us, but we invite that type of challenge.
Here is our list of what we used and what our procedure was:
Karcher X 2000 PSI pressure washer (new toy and absolutely love it)
Foam Cannon
Dawn Soap Wash
Megs Degreaser on tires
Megs APC on rims and engine
Megs Hyperdressing on engine
E-Z Detail brush for wheel barrel cleaning
Blackfire Polyclay II w/ Final Inspection for lubricant
Blackfire Clay cleaner/extender (stuff actually works pretty good!)
Megs D300 Compound w/MF cutting pads 5" and 3" used on Flex 3401 (yes it hazed some but we were doing a 2nd step) and PC 7424
Megs M205 on LC Hydro-tech tangerine polishing pad used on Griots
Universal Pad Cleaner (A must have for us now)
ONR (Used after polishing to remove dusting etc)
Wolfgang Tire Gel
Wolfgang Deep Gloss Paint Sealant applied
As you can see, a lot of stuff went into doing this! Chase came out about 1/2 way through and said "Man you guys have a lot of stuff!"...he was right lol, we use it all though.
First thing we did was the tires and rims. I really like the EZ Detail brush, nice n' soft and does a great job at getting into the barrels of the wheels. Just sprayed the rims liberally with APC and then used the brush, PW them clean and used our blower to blow the water off. No spots...just needed a little wipe down with a m/f towel but was perfectly clean.
Next, we went for the engine. I was pretty surprised when we popped it open, it was already pretty clean!
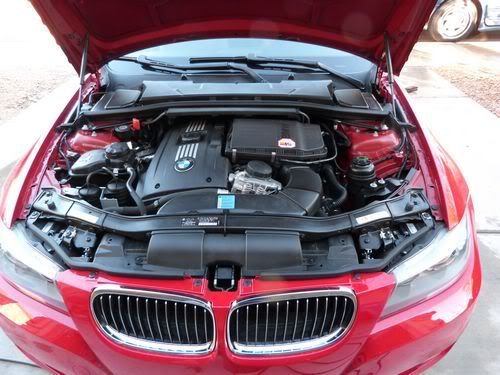
I know, looks like we finished it already right? There was a little grit up under the wipers and it was 'lightly dusted' so to speak, but was in over all great shape. Since there was not major grease/grime to speak of, we just went with regular APC since this job didn't call for any degreaser. Sprayed it all over and then went to work with the brushes. Then used the PW to spray it clean and finally used the blower to blow dry the water out.
After it was nice n' dry we sprayed it down with Megs Hyperdressing and applied Final Inspection to all the painted areas. Let it set, then used the blower again to get the dressing down into areas we couldn't reach...started up the engine to help it finish drying and this is how it turned out:
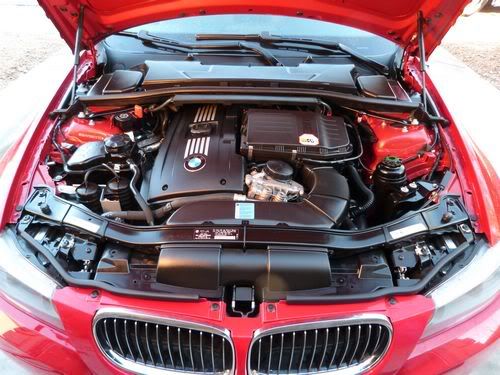
I know, not the drastic before and after you guys are use to from me, but it did look better!
Next was my favorite part. Dani (my sister) thinks its freakin' hilarious to watch me do this..she insists i have a huge grin on my face....but oh well... Say hello to my lil' friend!
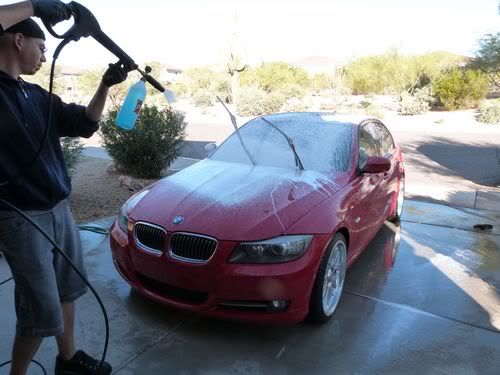
Check it out, its snowing in Phoenix, Arizona!
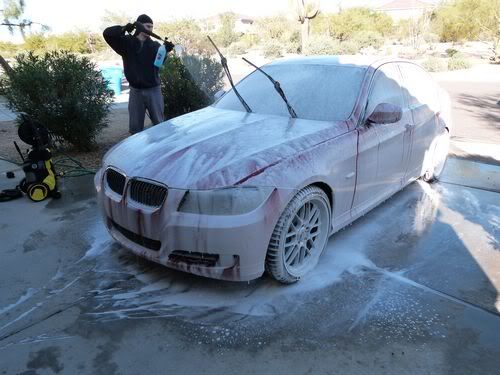
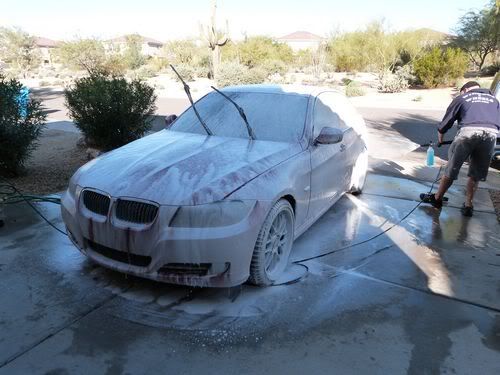
Ok i admit, maybe i do have a little too much fun doing that...Dani has to eventually tell me "Bug (her nickname for me), ok...thats enough...its COMPLETELY covered, you can stop now"...My thoughts are "But theres still soap left in the bottle!"....but yeah i know shes right. I do feel that i look like Andre the Giant in these pics though lol
Thanks to the members on AG who hooked me up with the foam cannon and the right adapter for it...was a very cool holiday gift for sure. I've run into a lot of nice people on Autopia and AG over the years...so i just wanted to give a shout out to you guys who've helped us along!
The wax residue was able to PW off actually...didn't take any excessive scrubbing. I'm REALLY glad we got the Karcher, its a huge upgrade from the stanley piece of crap we had before. Great power, super quiet, very effective and does a much better job than just an ONR (though ONR will always haev a place in our arsenal) or a hose wash.
After finishing the wash and the clay, we took note on a couple little "oops" spots from the dealership:
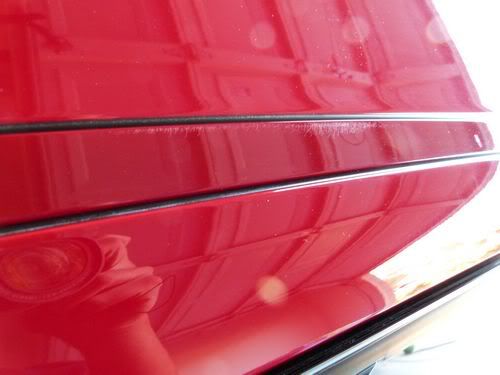
If you look closely along the strip you can see what looks to be pig tales actually. I dont know if they sanded that spot or if they buffed it with wool and it left that or WHAT, but it wasn't gonna come out....just wanted to take note of it however to point it out to Chase. Also you can see along the black some more wax residue left that we had to get out the hard way....but nevertheless we did.
Next up we did our test spot using D300 and a MF pad on the Flex. Again, yes, i know it can haze, but it cut better than just using the PC and we were doing a 2nd pass with 205...so all haze (which was very light) was removed.
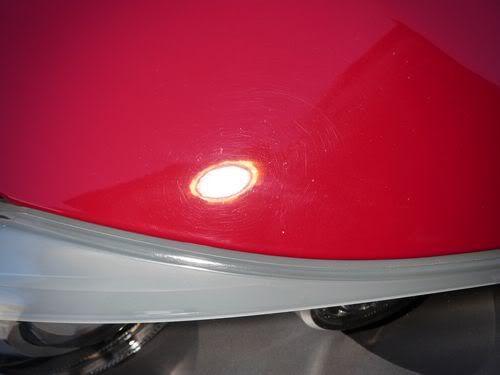
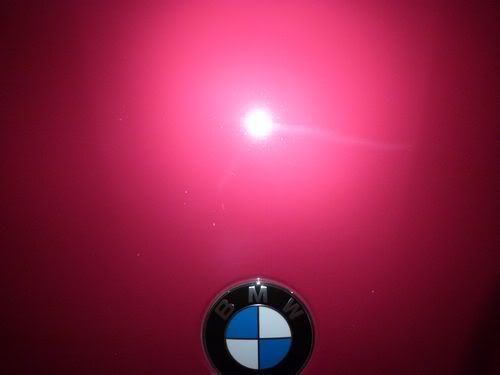
Here is our before spot, right near the BWM emblem on the hood:
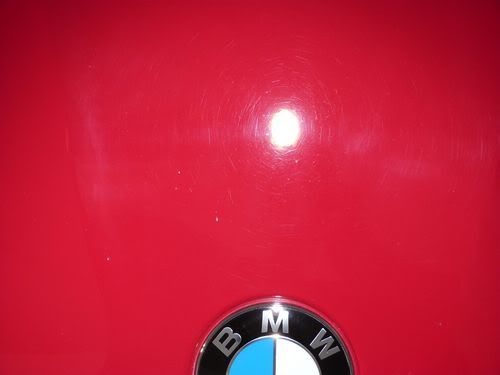
Yeah, not pretty there either.
Hit it with the flex on speed 3-3.5, then followed with the griots on speed 4-4.5 with 205 on the LC Tangerine pad.
Here is the 50/50 shot after we finished the test spot:
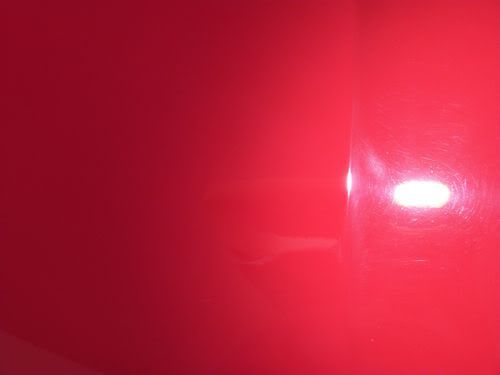
As you can see, left side finished...nice and glossy and clear...right side is still dealership-afied!
Heres a close up of the finished section:
And right above the BMW emblem:
Nice right? So we knew our process would work. I went around compounding while my sis followed up polishing. My smaller backing plate decided it wanted to attempt to separate about 1/2 through...what made things fun...luckily it held up through the detail to help me along the lower running board areas and other tight spots. I hot glued it back together when i got home...so i'll gave to give it a go to see if it will work still or not, but thats another story!
The actual POLISHING started at about 11ish (took us about 2 - 2.5 hrs for the wash/clay/engine and tires). We finally finished polishing around 5:30...thats with 2 of us going non stop except for a 10 minute sandwich break. We really wanted it to turn out nice (as always), so we took our time, checked and double checked our work and made sure everything was done right.
After finishing the polishing, we did a quick (but careful) ONR wash to remove the polishing dust from everything...this really does save time as opposed to trying to get all of the dust off with just a microfiber. Then, we took out the WG DGPS and applied it to the paint, lights and black plasitc pieces between the doors (which were also swirled to hell, but got polished too ). We let it set for 45 minutes while we started packing up and doing other little things to pass the time...then took it off and WOW did it look beautiful.
Here are a couple before and after shots of specific areas:
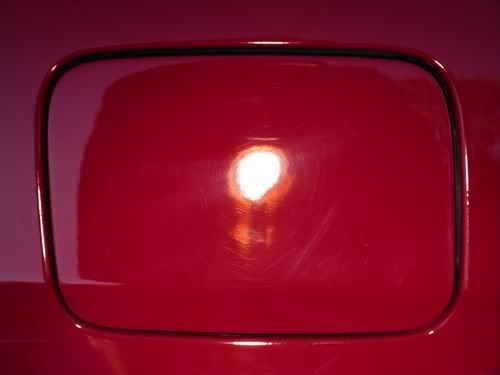
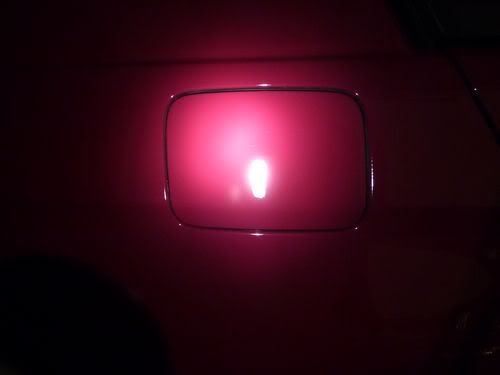
gas door:
and after.. (sorry it was dark when pic was taken so the paint color was off some)
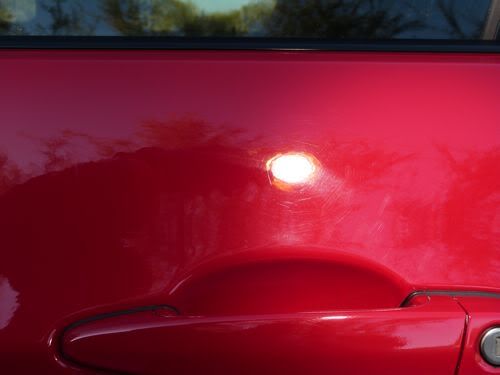
And remember that hideous drivers side??
Well it came out ok..you know..just so-so:
Yeah just kiddin', it was awesome!
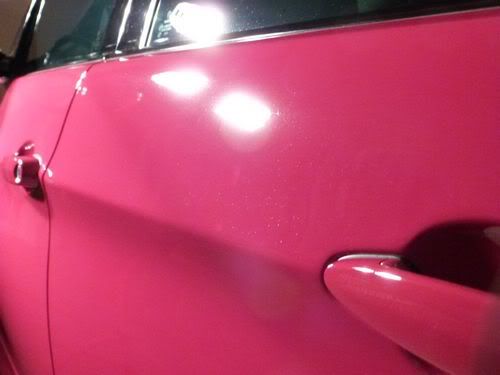
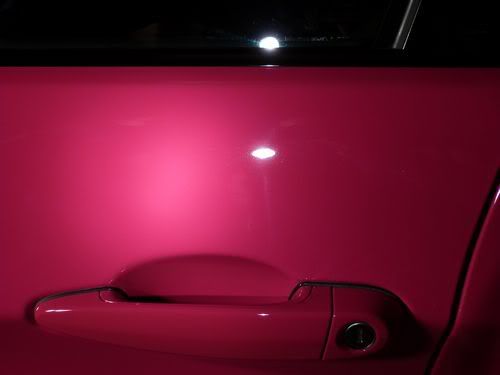
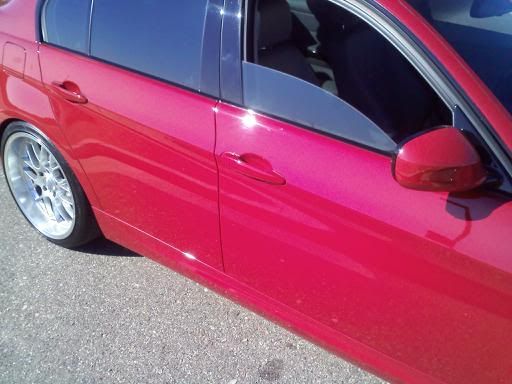
And around the door handle:
It came out nice and swirl free too. I LOVE the 3" MF pads for these small areas. Gives great correction and excellent control in such tight spots.
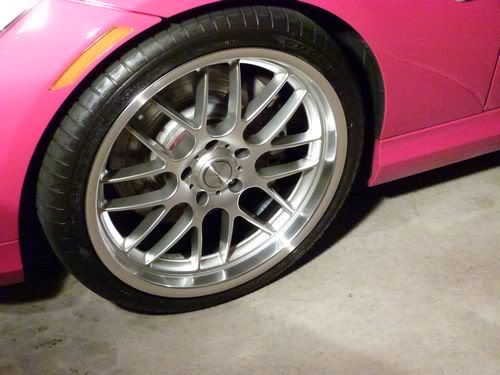
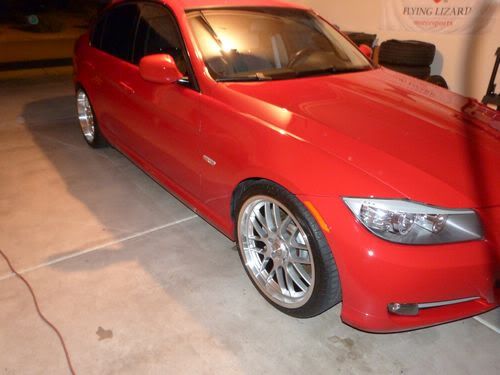
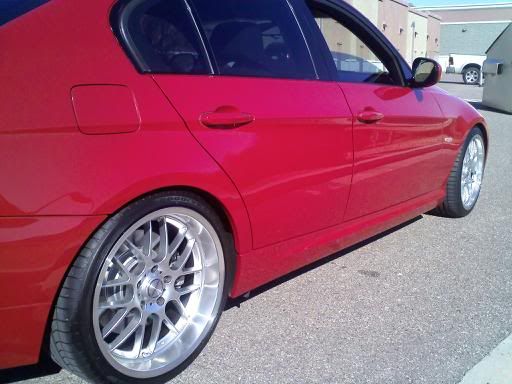
And of course, last but not least, the beauty shots.
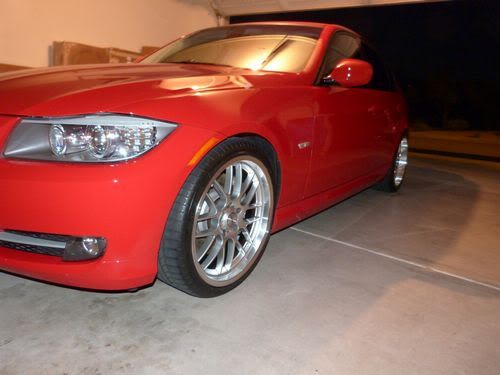
We'll start with the flawless wheels and tires and move on from there
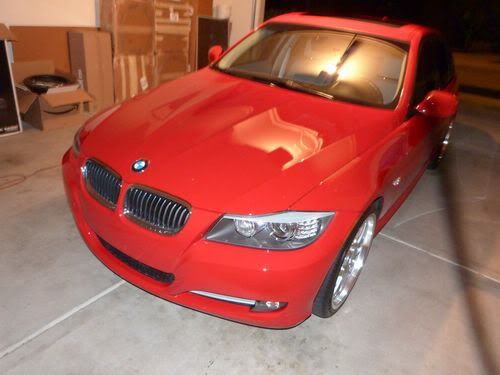
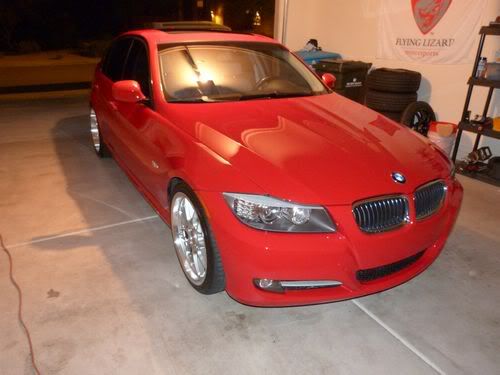
Hood shot from the top
In your face grille shot!
Another hood shot w/direct halogen lighting (Sorry guys no sun shots, it was long gone by the time we finished, but Chase said he'd get some w/his cell for us :thumb
Get low!
To the left!
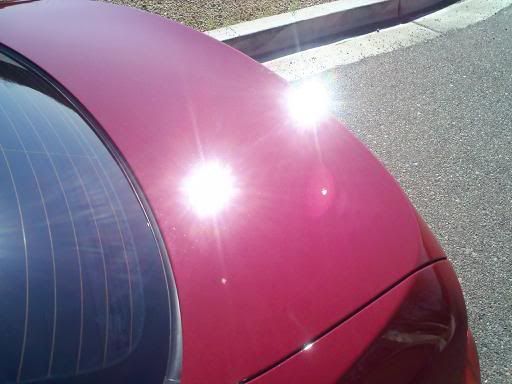
Up top...lookin' all liquidy like the red sea!
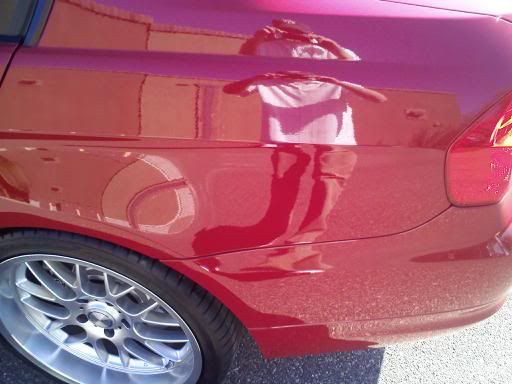
and finally a couple back side shots:
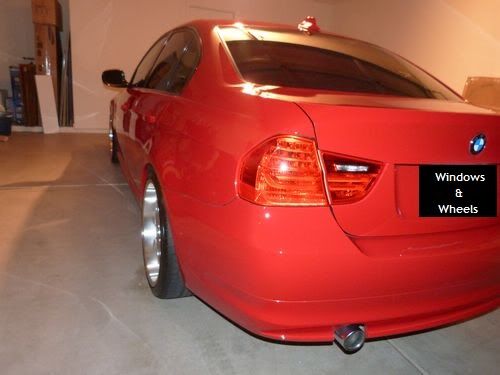
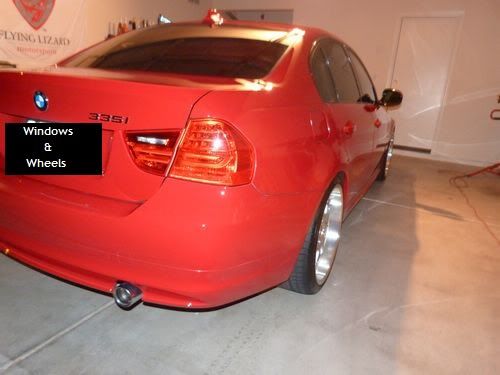
Please note, no license plates were painted black and white with our logo in the making of this write up :nono:
So at the end of the day, after about 9 hours of work from EACH of us, the red came back to looking how it should.
This was our first detail for an Autopia member, but i think we made a good impression She turned out beautifully and was ready to roll out and be seen!
Hope you guys enjoyed the write up. Was a fun job to do, but honestly most of them are. VERY hard and time consuming work, but the end result is so awesome, it's hard not to have a good time bringing a sweet car like this back to life.
Thanks for looking and take care all.
-
Super Member

Re: Autopia Member Detail: 09' BMW 335i RED
That turned out really nice. Congratulations!
Hard times create strong men, strong men create good times, good times create weak men, and weak men create hard times.
-
Super Member

Re: Autopia Member Detail: 09' BMW 335i RED
Very nice work!
I think it is awesome when someone finds one of us on the forums.
-
Super Member
Re: Autopia Member Detail: 09' BMW 335i RED
 Originally Posted by Flash Gordon

That turned out really nice. Congratulations!
thanks Flash
Originally Posted by tw33k2514
Very nice work!
I think it is awesome when someone finds one of us on the forums.
I agree, first off you know the person know's what you're doing or at least has a greater idea as to what it is you are doing...therefore they can appreciate it even more. And then if they brag on you its like extra brownie points lol
-
Super Moderator

Re: Autopia Member Detail: 09' BMW 335i RED
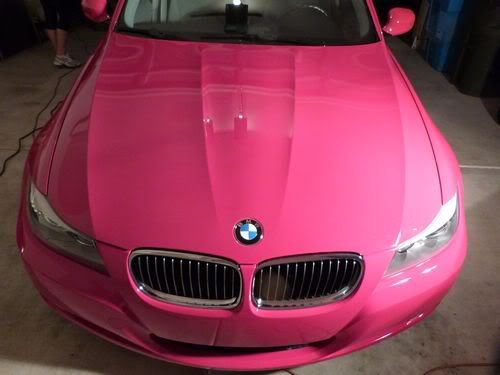
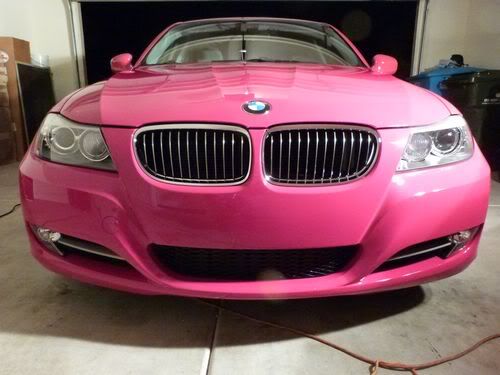
The BMW looks great! I like it in Pink

-
Super Member

Re: Autopia Member Detail: 09' BMW 335i RED
Nice job cleaning that BMW up. I love that red.
-
Super Member

Re: Autopia Member Detail: 09' BMW 335i RED
nice job wills, it's nice to see a fellow Autopian help out another...
-
Re: Autopia Member Detail: 09' BMW 335i RED
Nice work - Glad to see the fitting worked for you!
-
Super Member

Re: Autopia Member Detail: 09' BMW 335i RED
-
Super Member
Re: Autopia Member Detail: 09' BMW 335i RED
Originally Posted by SkateForGirl
Nice job cleaning that BMW up. I love that red.
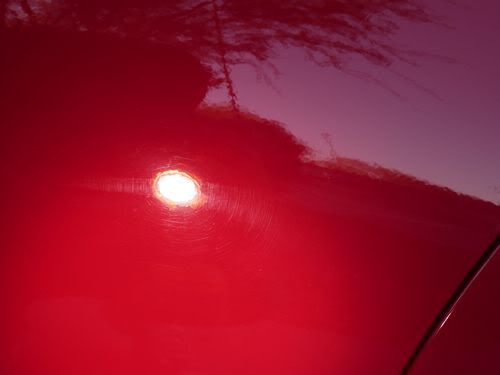
Yeah that red was beautiful...i'll add a few sun shots below so you can really see the depth it had 
Originally Posted by BigAl3
nice job wills, it's nice to see a fellow Autopian help out another...
Hey Al! Yeah i was glad he hired us to do it for him. Hopefully we'll get a few more from fellow forum members 
Originally Posted by toycar18
Nice work - Glad to see the fitting worked for you!
YES! Thank you again so much..that really helped me out a ton. The foam cannon is really a great set up and makes doing the prep wash SO much easier, then a nice ONR was to rid the polishing dust and you're ready for you LSP. Again i really appreciate that fitting 
Originally Posted by slickooz
Nice turn around!!
Thank you
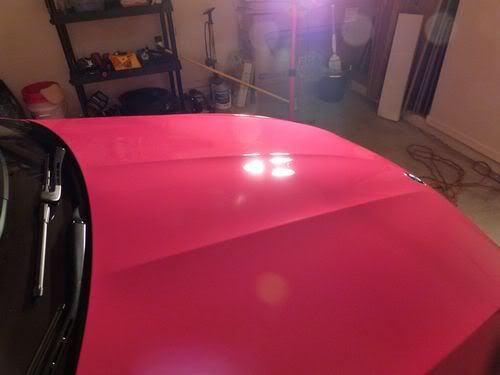
Now for the other pics from the owner:
Similar Threads
-
By 530inv in forum Show N' Shine
Replies: 23
Last Post: 01-04-2014, 12:43 AM
-
By 530inv in forum Show N' Shine
Replies: 23
Last Post: 10-11-2013, 11:18 PM
-
By lazyjet in forum Show N' Shine
Replies: 6
Last Post: 05-13-2013, 06:10 AM
-
By zmcgovern45 in forum Show N' Shine
Replies: 9
Last Post: 09-12-2012, 12:43 PM
-
By AjNavo61490 in forum Show N' Shine
Replies: 4
Last Post: 03-27-2008, 08:31 AM
 Members who have read this thread: 0
There are no members to list at the moment.
Posting Permissions
- You may not post new threads
- You may not post replies
- You may not post attachments
- You may not edit your posts
-
Forum Rules
|
| S |
M |
T |
W |
T |
F |
S |
| 31 |
1
|
2
|
3
|
4
|
5
|
6
|
|
7
|
8
|
9
|
10
|
11
|
12
|
13
|
|
14
|
15
|
16
|
17
|
18
|
19
|
20
|
|
21
|
22
|
23
|
24
|
25
|
26
|
27
|
|
28
|
29
|
30
| 1 | 2 | 3 | 4 |
|


 Reply With Quote
Bookmarks