autogeekonline car wax, car care and auto detailing forum Autogeek on TV
car wax, car care and auto detailing forumAutogeekonline autogeekonline car wax, car care and auto detailing forum HomeForumBlogAutogeek.net StoreDetailing Classes with Mike PhillipsGalleryDetailing How To's
 
Thanks Thanks:  0
Likes Likes:  0
Dislikes Dislikes:  0
Page 1 of 2 12 LastLast
Results 1 to 10 of 13

Thread: Cargo Evolution

  1. #1
    Regular Member TMD's Avatar
    Join Date
    Nov 2008
    Location
    Loudon, Tennessee
    Posts
    147
    Post Thanks / Like

    Cargo Evolution

    We're moving up - and into - a cargo van. And since I haven't had much luck finding any information on how folks have gone about outfitting their rigs, I figure I'll post our progress with pictures and details of what we're doing and how we're doing it.

    This is how our new rig looked the day we bought her. A 2001 GMC Savana.


    Three days later we picked her up from the paint shop with her new skin. We wanted folks to notice us and I think we'll accomplish that.


    Not wanting to dump too much money into her too early, we settled for hubcaps from the auto parts store. Just adding those made her look a lot cleaner.


    After getting her new skin, the rubber looked badly faded. So I bought some bedliner spray and taped her up. This is the before spraying...


    And this is the after. We went with the textured paint after seeing someone do it on an Explorer forum, and with the amount of work involved I didn't want to settle for just spraying her black.


    We've got a ways to go still but think these initial pictures were good enough to start with. We've got a sign company designing our exterior which will go on in the next couple weeks, and the rest of the exterior trim still needs to be sprayed. The biggest challenge of all will be securing everything inside the van as we're still unsure of which direction we'll go with that.

    We'll continue to post as we progress.
    Knoxville's Premier Automotive and Marine Detailing Company.
    www.TNMobileDetailing.com
    (865) 385-1835

  2. #2
    Super Member
    Join Date
    Aug 2008
    Posts
    1,715
    Post Thanks / Like

    Re: Cargo Evolution

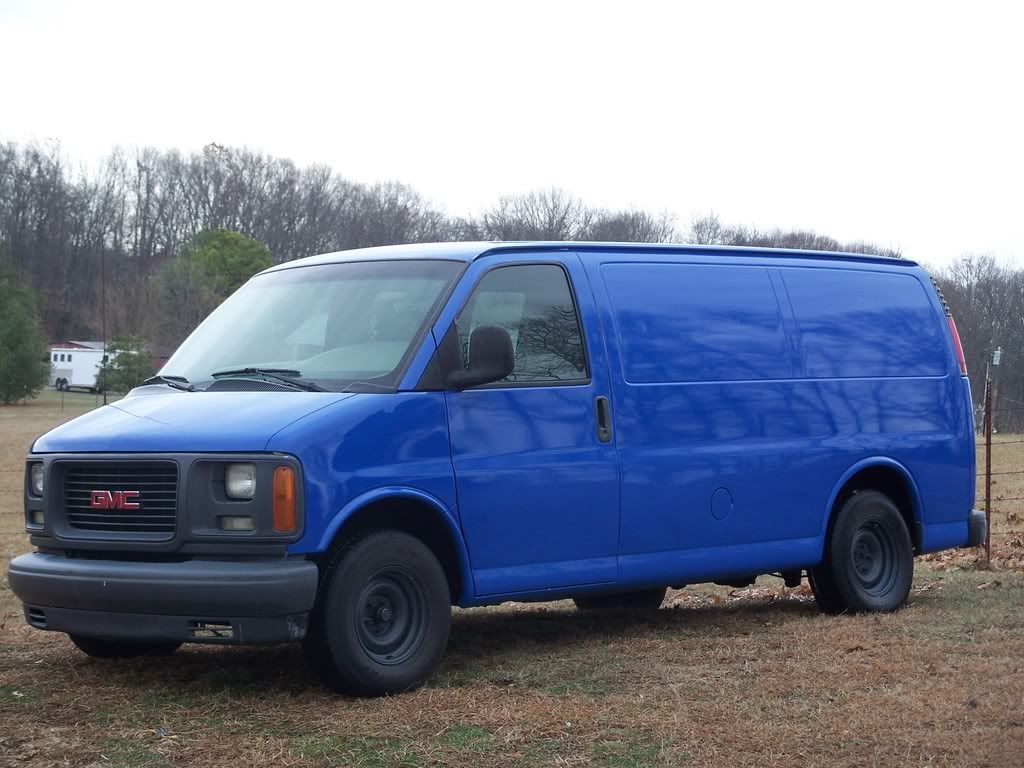
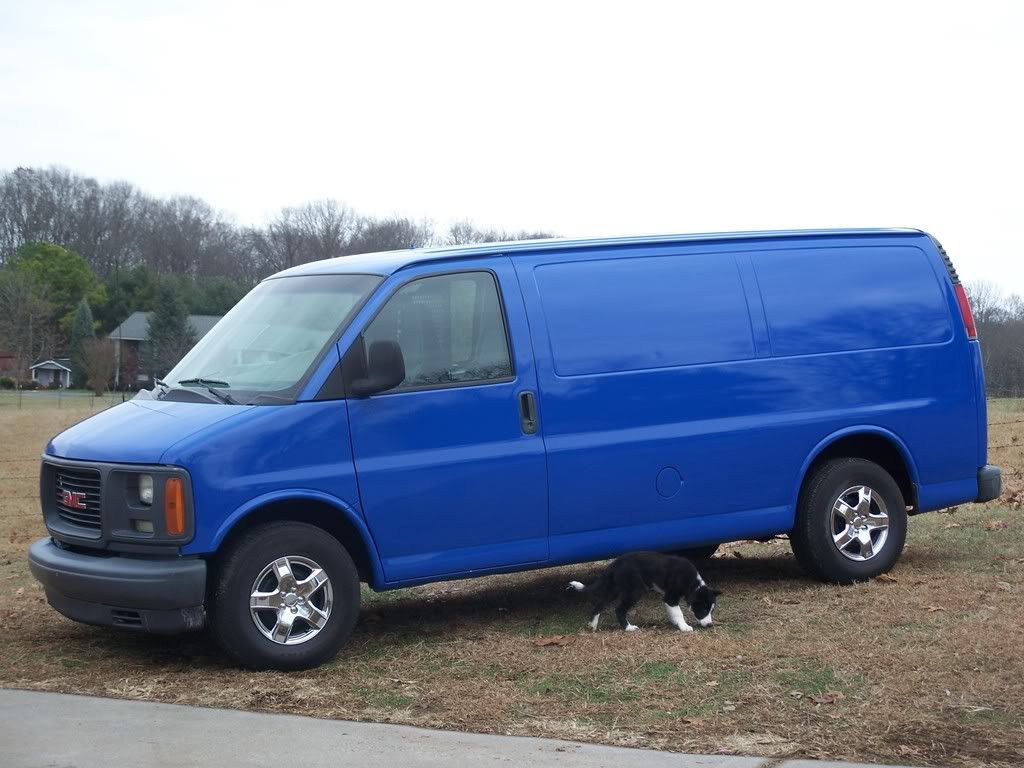
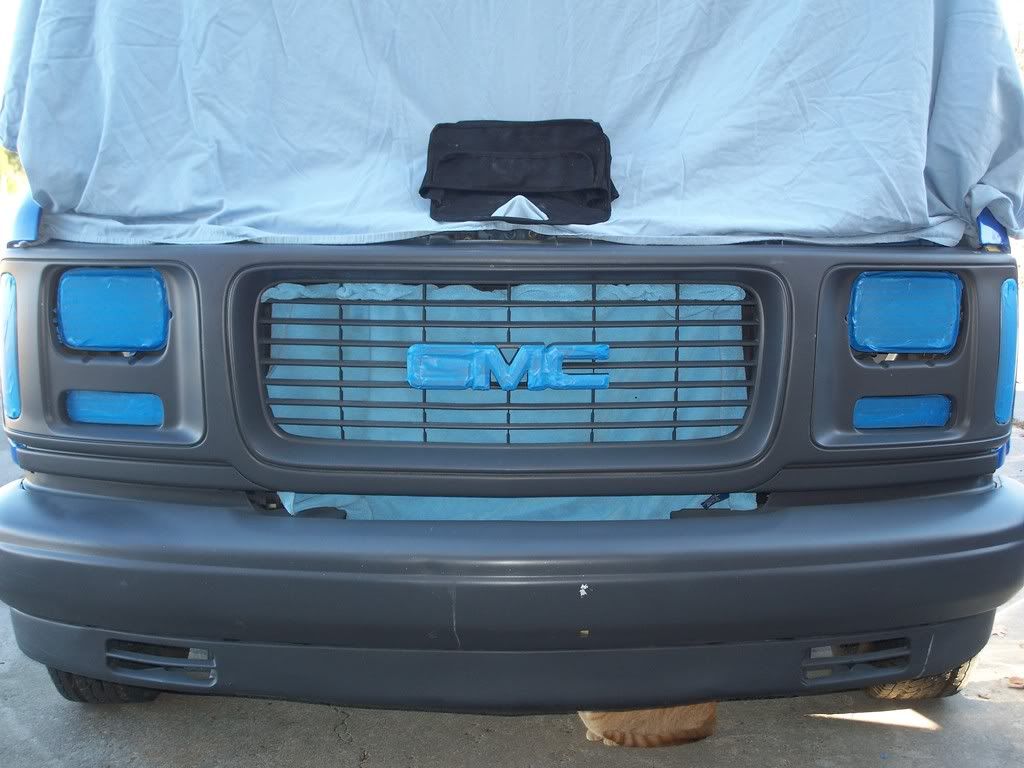
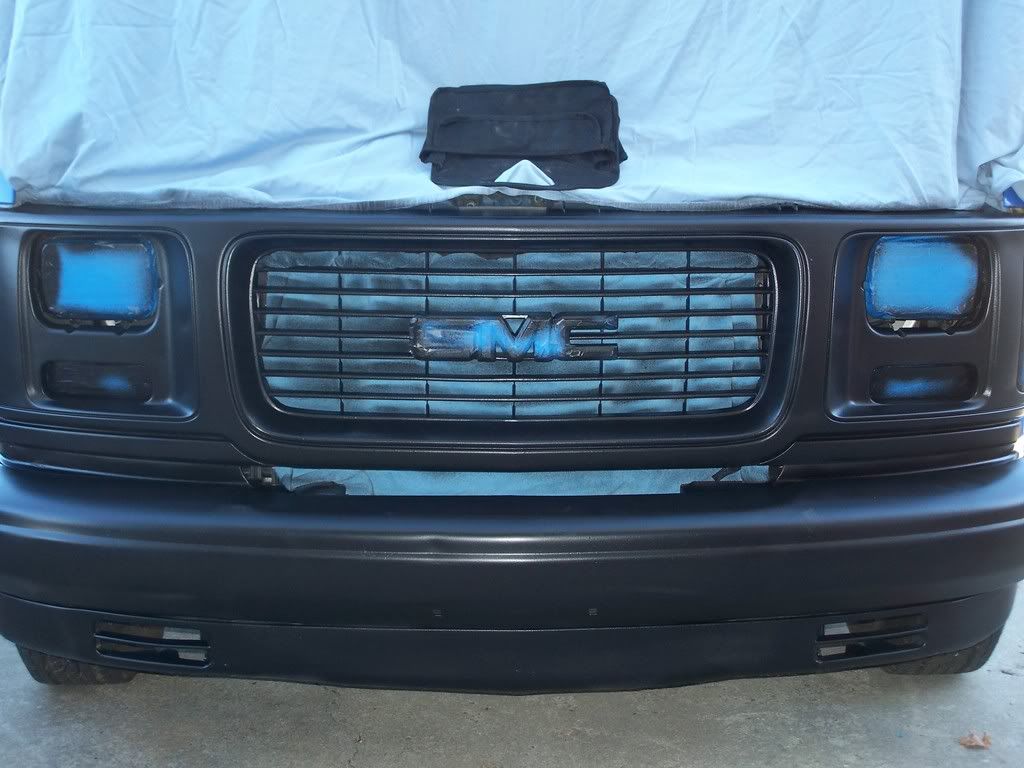
    Very nice! I was scrolling down slowly to read your captions and my jaw dropped when I saw the blue! Very nice change from the standard-issue white. Also a nice upgrade with the chrome rims. Are you going to put your logo on the sides of the vehicle?
    08 Subaru WRX

  3. #3
    Regular Member TMD's Avatar
    Join Date
    Nov 2008
    Location
    Loudon, Tennessee
    Posts
    147
    Post Thanks / Like

    Re: Cargo Evolution

    Hey Emile,

    Yeah we're gonna be one large blue billboard with logos on the sides, front, and rear. The paint cost $700.00 and the signage will come close, but for that price I couldn't get a billboard off the Interstate for a month. We figure we'll make that money up within the first month in exposure alone.
    Knoxville's Premier Automotive and Marine Detailing Company.
    www.TNMobileDetailing.com
    (865) 385-1835

  4. #4
    Super Member RaskyR1's Avatar
    Join Date
    Apr 2008
    Location
    Shakopee, MN
    Posts
    3,733
    Post Thanks / Like

    Re: Cargo Evolution

    Nice!

    Here is a setup a felow MOL member has in his Safari Van...should give you some good ideas.

    Be sure to go through the whole thread.
    My new detailing van (build up w/ pics) - Car Care Forums: Meguiar's Online
    Quote Originally Posted by CieraSL View Post
    Wait! I know! Mirror, mirror against the grass, tell me who has kicked swirls' ass?
    http://Raskysautodetailing.com/

  5. #5
    Regular Member TMD's Avatar
    Join Date
    Nov 2008
    Location
    Loudon, Tennessee
    Posts
    147
    Post Thanks / Like

    Re: Cargo Evolution

    Great find Rasky. I'd have never found that, and it should help a bit with our setup.
    Knoxville's Premier Automotive and Marine Detailing Company.
    www.TNMobileDetailing.com
    (865) 385-1835

  6. #6
    Regular Member TMD's Avatar
    Join Date
    Nov 2008
    Location
    Loudon, Tennessee
    Posts
    147
    Post Thanks / Like

    Re: Cargo Evolution

    We took our time looking at different options for installing this type of equipment inside a cargo van. We settled on the user friendly way of securing the equipment to 3/4 inch plywood, then securing the plywood to the van.
    This first picture will show how we came up from the bottom with u-bolts where we can then attach our pressure washer and generator to. The framing for our 65 gallon water tank has been elevated on 4x4's with 2x6's used for cross bracing. An extra piece of plywood was laid down where 3 inch eye-bolts have been drilled through with a 3/8 inch washer and 3/8 inch lock washer will hold it pat. The black straps will go over the water tank to secure it in place.


    This photo has the water tank in place. Two additional straps have been added since for piece of mind.


    How we've connected the heavy equipment


    What we wound up with


    Storage bins attached by the side doors for ease of access.


    Along with screwing the base into the van and zip-tying the right side to the steel support wall, we also tied the two separate storage units together with zip ties.


    Still some fine tuning to do, but here's a shot of the inside taken from the front seat. The vacuum is attached to the water tank base with eye-bolts and a couple bungees. The extractor is also tied into the water tank base. The black box is currently holding most of our chemicals and is attached by gravity. When the chems. find a new home we'll be bolting down an air compressor in that spot.


    This view is from the back and shows the only spot we've found for our 10 x 15 canopy.


    We'll be going to our first detail with this van tomorrow morning pending the ever-changing weather forecast. Aside from some fine tuning we're fully operational. This last shot is of the vinyl we had added last week.


    Hope you all enjoyed!
    Knoxville's Premier Automotive and Marine Detailing Company.
    www.TNMobileDetailing.com
    (865) 385-1835

  7. #7
    Regular Member
    Join Date
    Jun 2008
    Posts
    114
    Post Thanks / Like

    Re: Cargo Evolution

    its a great start ,good luck...my wife and i are looking at going mobile i just dont like the idea of relying on the weather, but on the other hand a good size shop costs alot....couple months to decide waiting on spring

  8. #8
    Newbie Member
    Join Date
    Dec 2008
    Posts
    22
    Post Thanks / Like

    Re: Cargo Evolution

    gorgeous!! I hope I can be a pro in detailing

    \

  9. #9
    Super Member Kristopher1129's Avatar
    Join Date
    Jan 2011
    Location
    New Hampshire
    Posts
    2,861
    Post Thanks / Like

    Re: Cargo Evolution

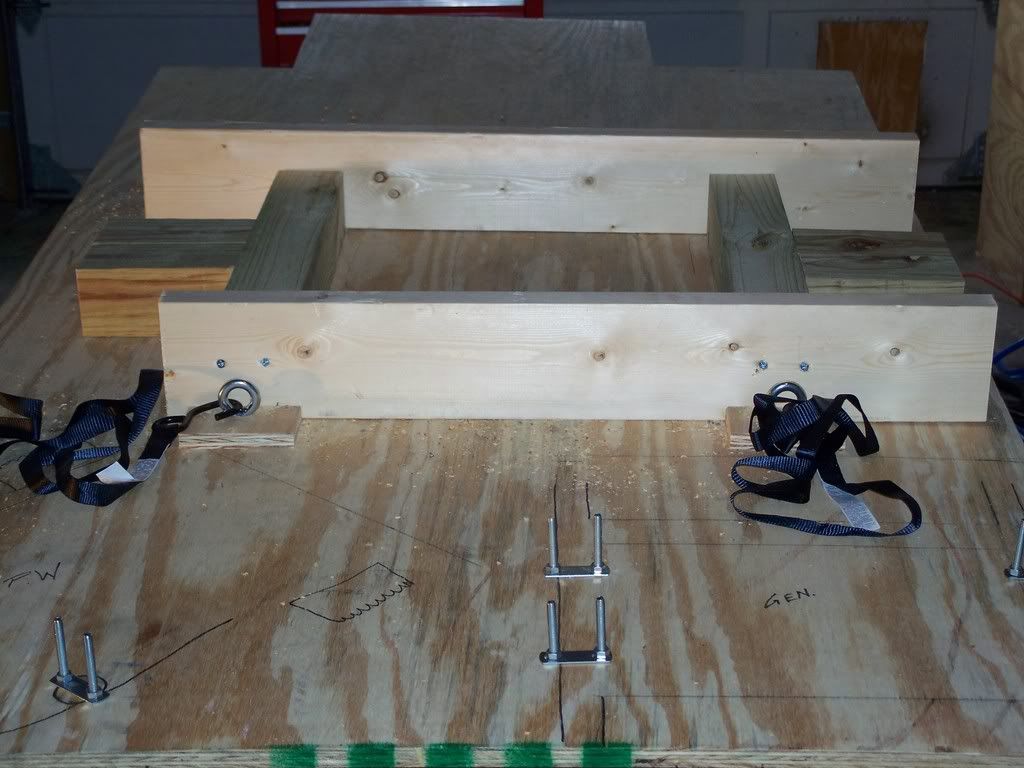
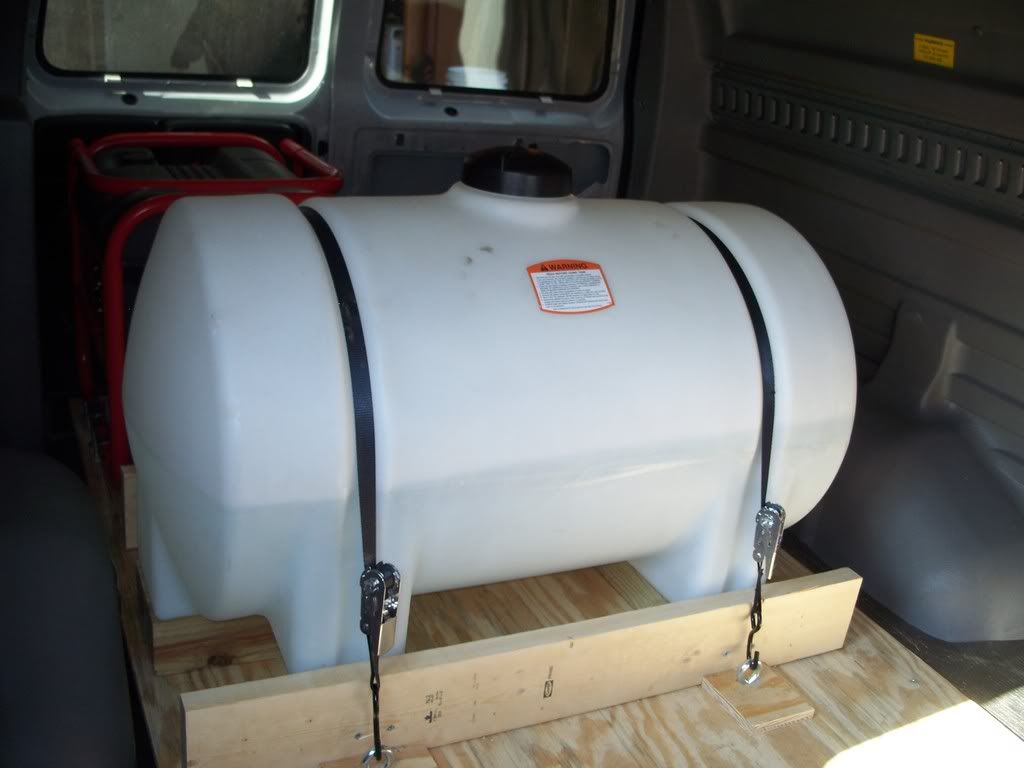
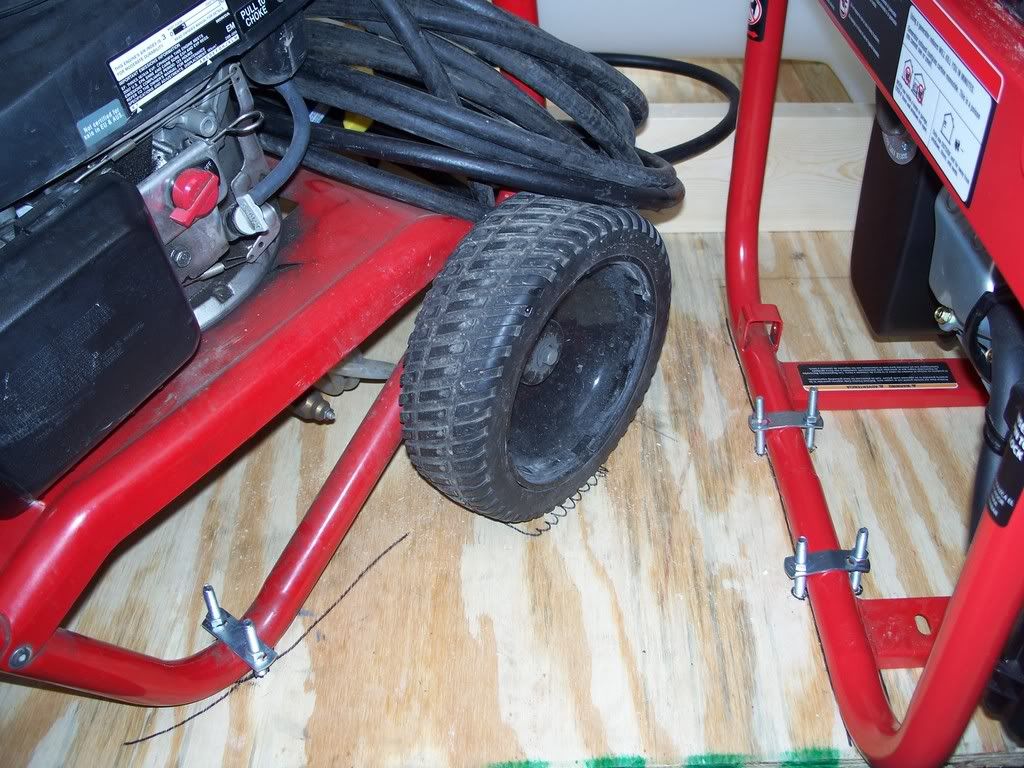
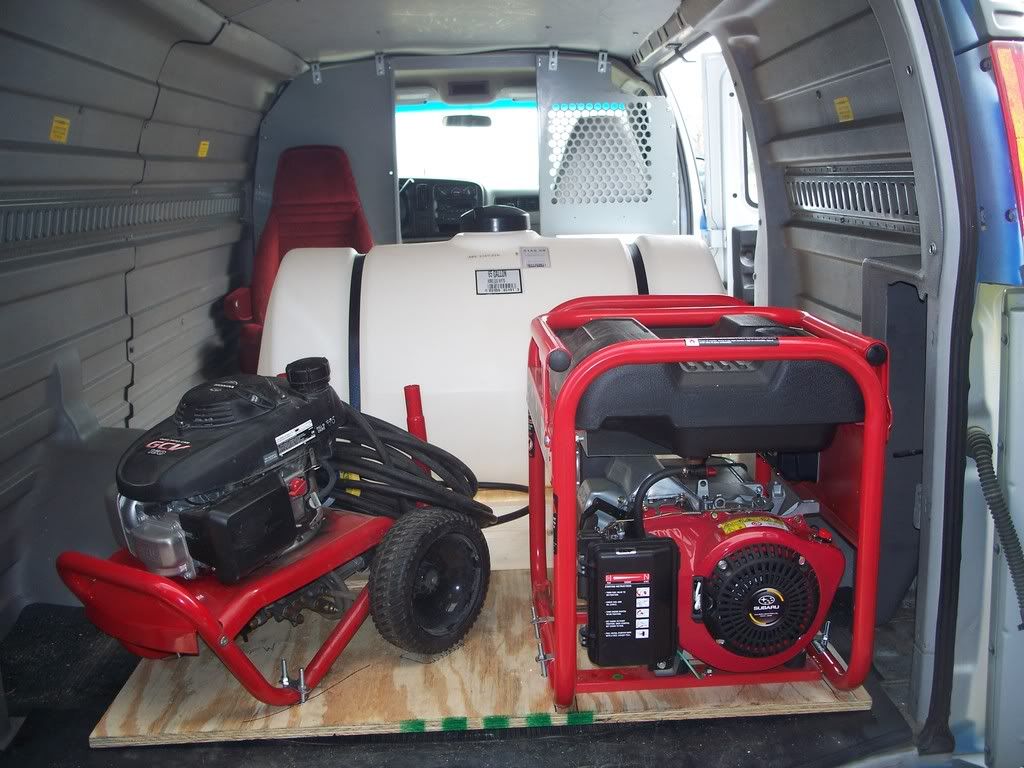
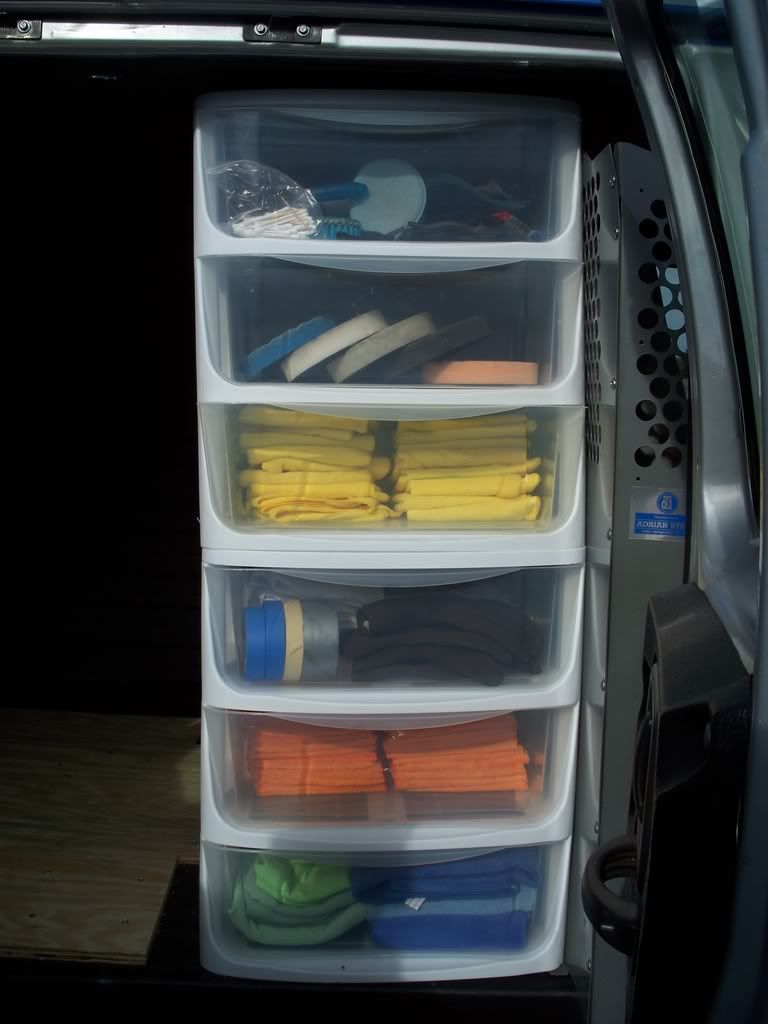
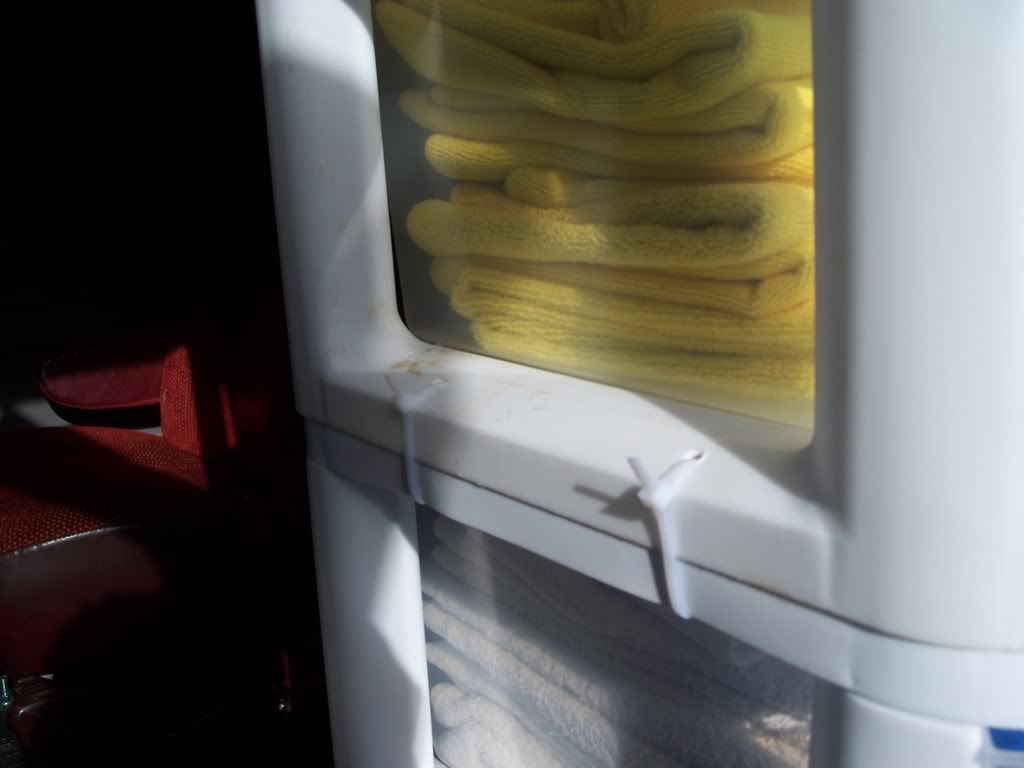
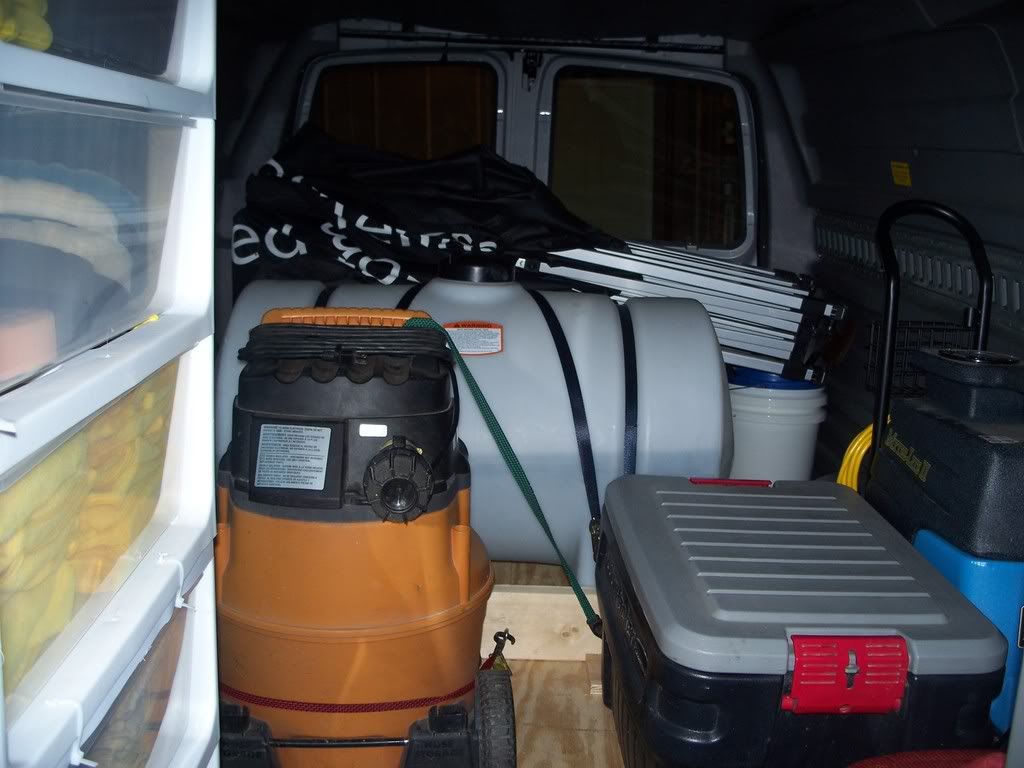
    Thanks for linking me here. Very cool how you set that up! I like how you did the inside. Very simple effective solutions. I may be borrowing the shelving idea with the zip ties, ha. The exterior looks really nice! Good work man.

  10. #10
    Junior Member mujahdi's Avatar
    Join Date
    Mar 2012
    Location
    decatur, ga
    Posts
    55
    Post Thanks / Like

    Re: Cargo Evolution

    Quote Originally Posted by TMD View Post
    We took our time looking at different options for installing this type of equipment inside a cargo van. We settled on the user friendly way of securing the equipment to 3/4 inch plywood, then securing the plywood to the van.
    This first picture will show how we came up from the bottom with u-bolts where we can then attach our pressure washer and generator to. The framing for our 65 gallon water tank has been elevated on 4x4's with 2x6's used for cross bracing. An extra piece of plywood was laid down where 3 inch eye-bolts have been drilled through with a 3/8 inch washer and 3/8 inch lock washer will hold it pat. The black straps will go over the water tank to secure it in place.


    This photo has the water tank in place. Two additional straps have been added since for piece of mind.


    How we've connected the heavy equipment


    What we wound up with


    Storage bins attached by the side doors for ease of access.


    Along with screwing the base into the van and zip-tying the right side to the steel support wall, we also tied the two separate storage units together with zip ties.


    Still some fine tuning to do, but here's a shot of the inside taken from the front seat. The vacuum is attached to the water tank base with eye-bolts and a couple bungees. The extractor is also tied into the water tank base. The black box is currently holding most of our chemicals and is attached by gravity. When the chems. find a new home we'll be bolting down an air compressor in that spot.


    This view is from the back and shows the only spot we've found for our 10 x 15 canopy.


    We'll be going to our first detail with this van tomorrow morning pending the ever-changing weather forecast. Aside from some fine tuning we're fully operational. This last shot is of the vinyl we had added last week.


    Hope you all enjoyed!
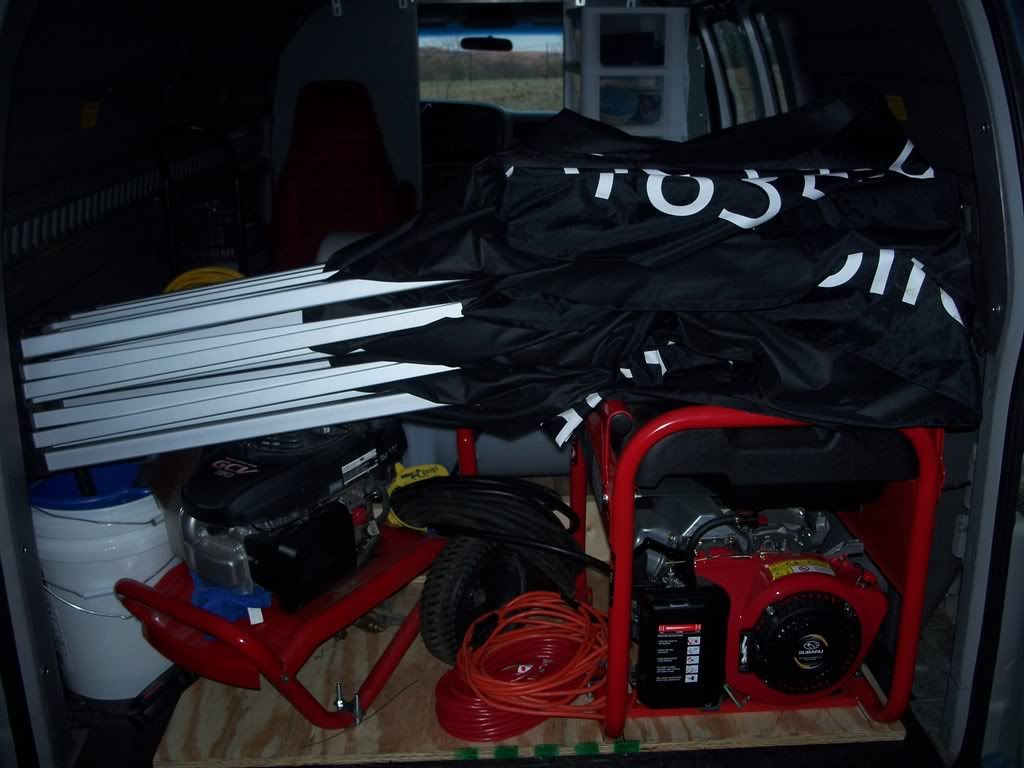
    hello good brother how are the fumes from the generator when you drive as well as how do u ventelate the fumes when working im new and working on my project this weekend

Page 1 of 2 12 LastLast

Similar Threads

  1. Protecting cargo area
    By waterman in forum Auto Detailing 101
    Replies: 1
    Last Post: 04-14-2017, 03:25 PM
  2. WeatherTech Cargo Liners
    By ScottB in forum Auto and Garage Accessories
    Replies: 37
    Last Post: 05-28-2015, 01:39 PM
  3. Cleaning cargo area of SUV
    By photocrazy in forum Ask your detailing questions!
    Replies: 6
    Last Post: 04-29-2014, 10:23 AM
  4. Oxidized Cargo Trailer
    By El Flaco Taco in forum Auto Detailing 101
    Replies: 7
    Last Post: 04-27-2014, 08:59 PM
  5. For all you detailers with cargo vans...
    By TMD in forum Auto and Garage Accessories
    Replies: 3
    Last Post: 12-21-2008, 06:01 PM

Members who have read this thread: 0

There are no members to list at the moment.

Posting Permissions

  • You may not post new threads
  • You may not post replies
  • You may not post attachments
  • You may not edit your posts
  •  

» April 2024

S M T W T F S
31 1 2 3 4 5 6
7 8 9 10 11 12 13
14 15 16 17 18 19 20
21 22 23 24 25 26 27
28 29 30 1234