 Thanks: 0
 Likes: 0
 Dislikes: 0
-
Super Member

53 hour detail on classic Ferrari
Bella Firma (bèlla fēr-ma)- ITAL. Beautiful Signature
1)A signature of intense beauty
2)To work with such resolve that the end result is an object of pride
3)The pinnacle of signature look of Bella Macchina; the pinnacle of
perfection.
The Boxer Berlinetta was a series of road cars built by Ferrari from 1973 until mid 1984. The BB series of cars was a major step forward for Enzo Ferrari, who was originally opposed to the idea of a mid engine road car. Competition from Lamborghinis mid-engined Miura and a lot of convincing from his engineers pushed this model into production.
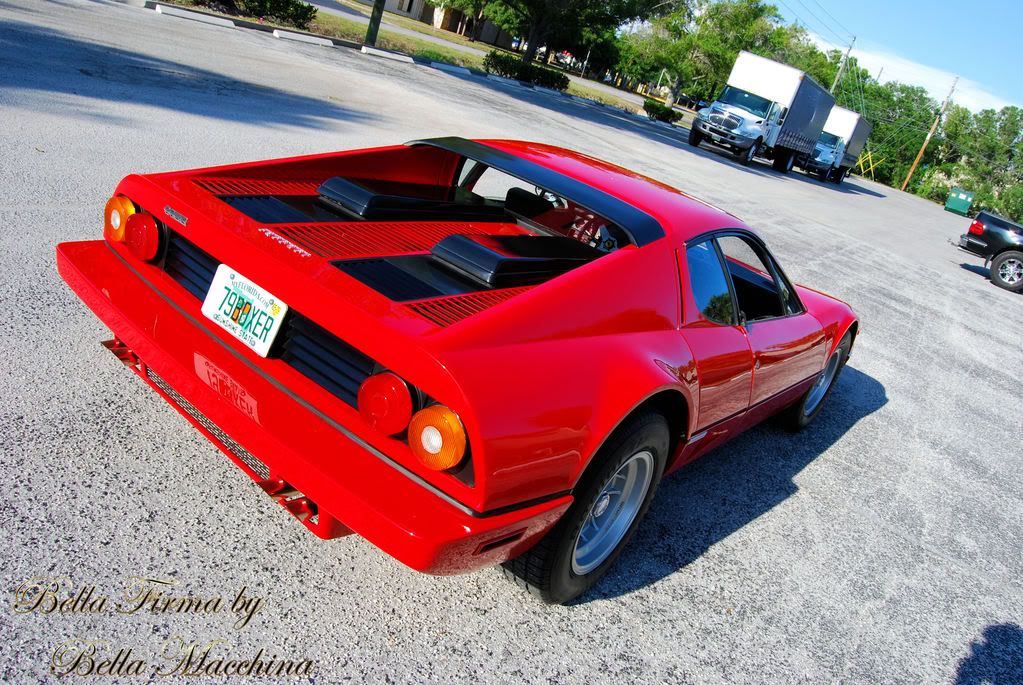
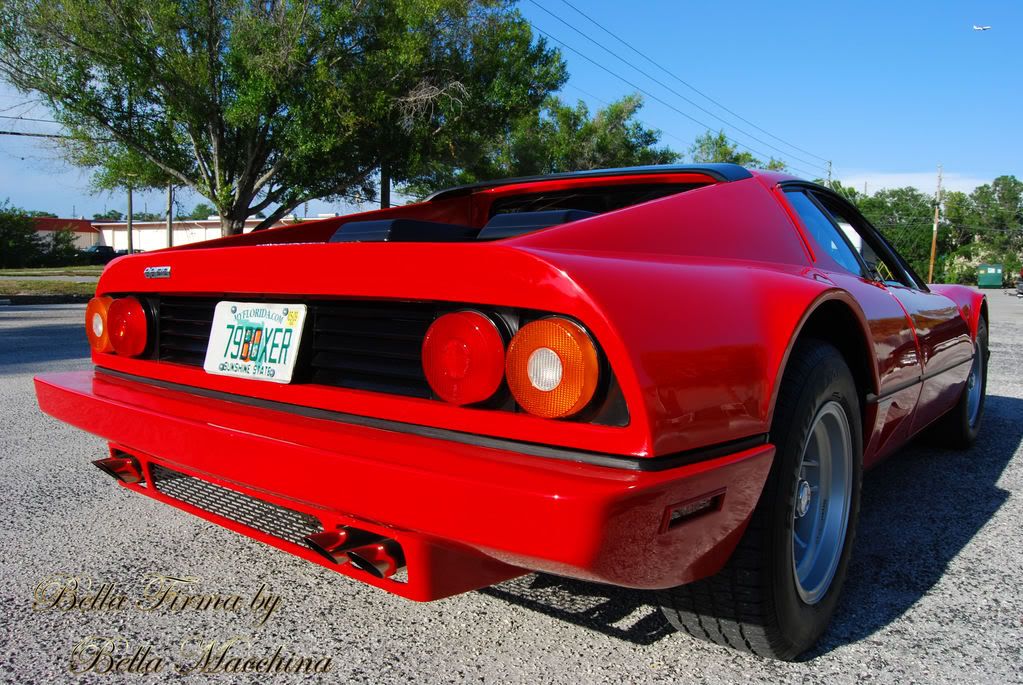
The first series of cars where named the 365 GT4 BB and featured a 4.4L Flat 12. Over the production run from 1973-1976 only 387 GT4 BBs where built. We are fortunate to have detailed one for the world famous Cavallino Classic: Concours De Elegance in which it won Silver placing with minimal paint polishing and a light clean up. The second series of cars debuted in 1977 with the engine pushed to 5.0L and name reflecting the increased displacement: 512 BB. The styling was altered with new front and rear fascias as well as the reduction in the number of tail lights, from six to four.
The final series debuted in 1981 with the advent of fuel injection dubbed the 512BBi. We also had the distinction of detailing two of these cars for the Cavallino Classic: Concours De Elegance, both placing.
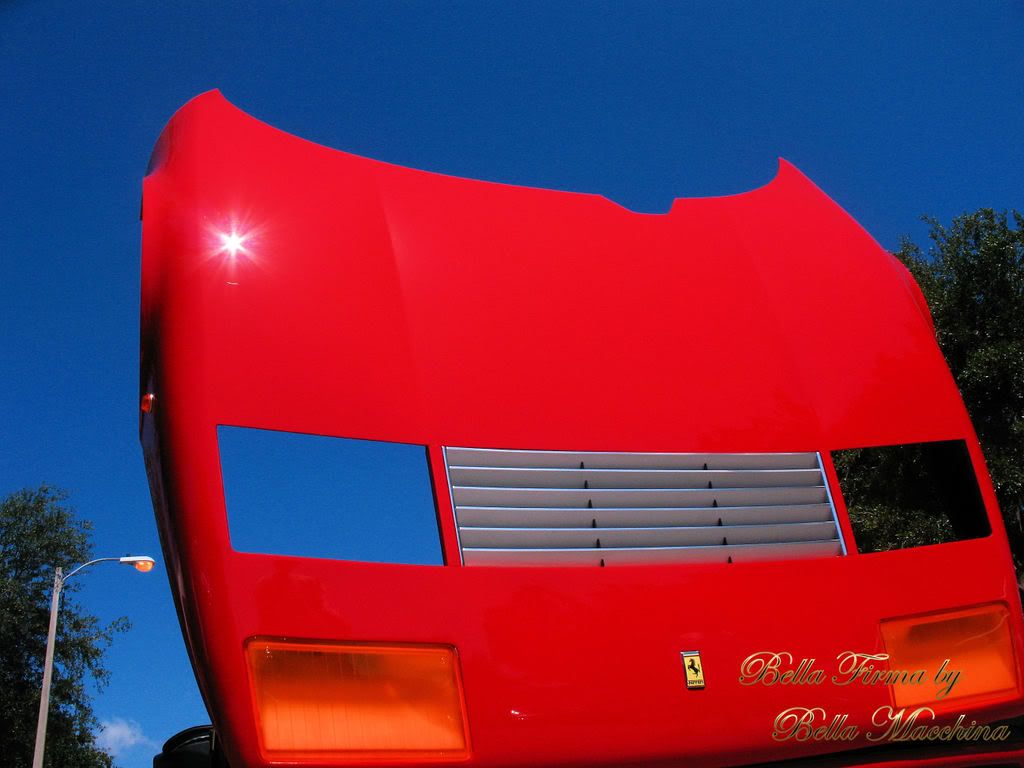
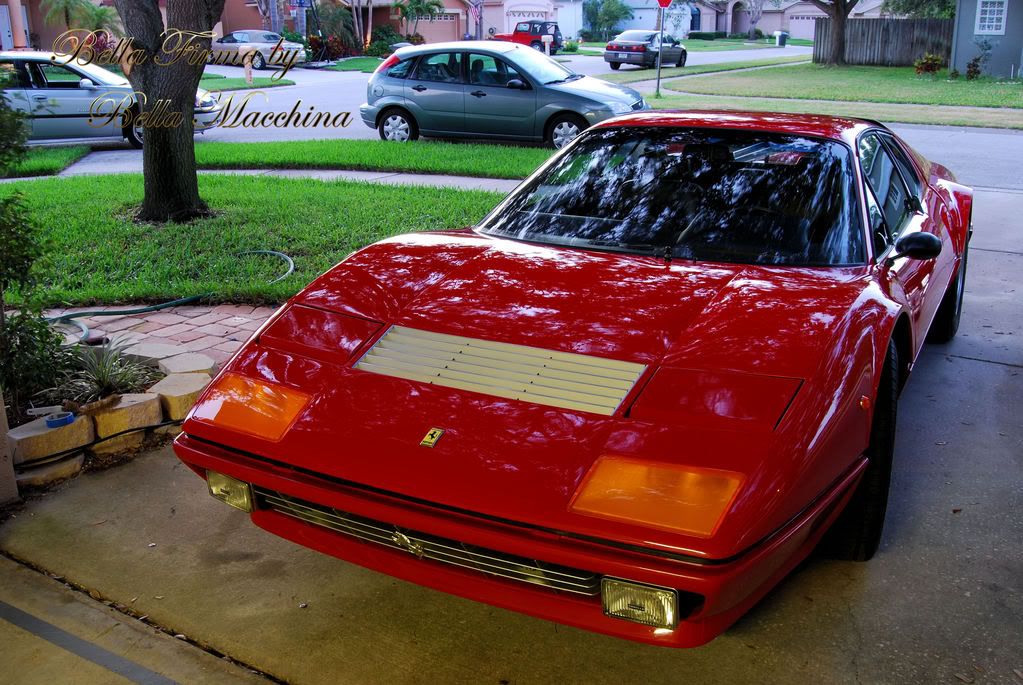
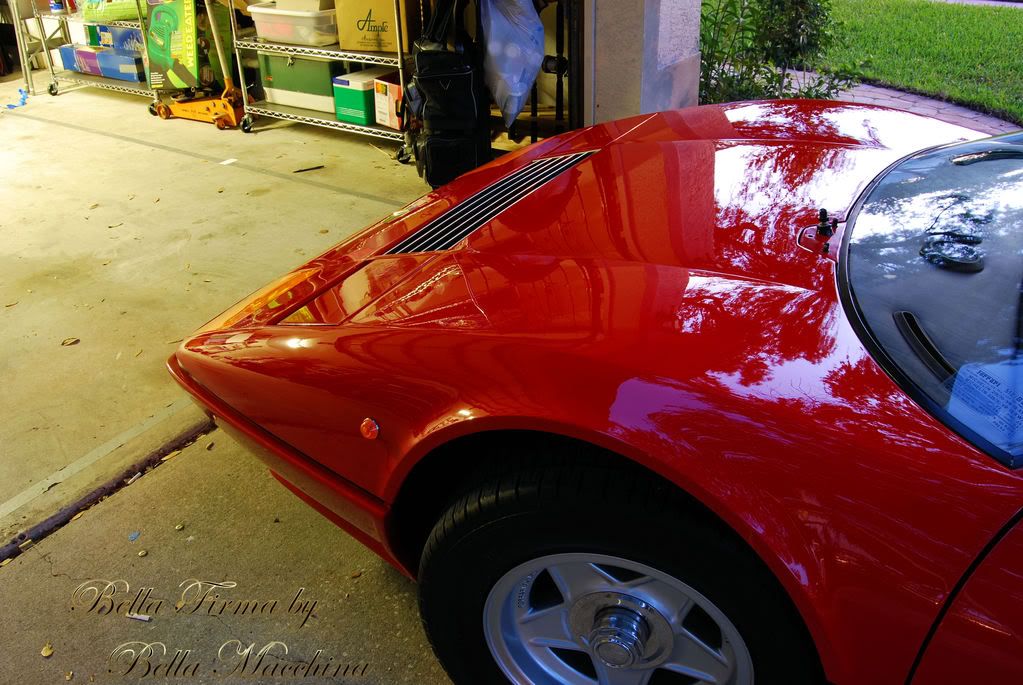
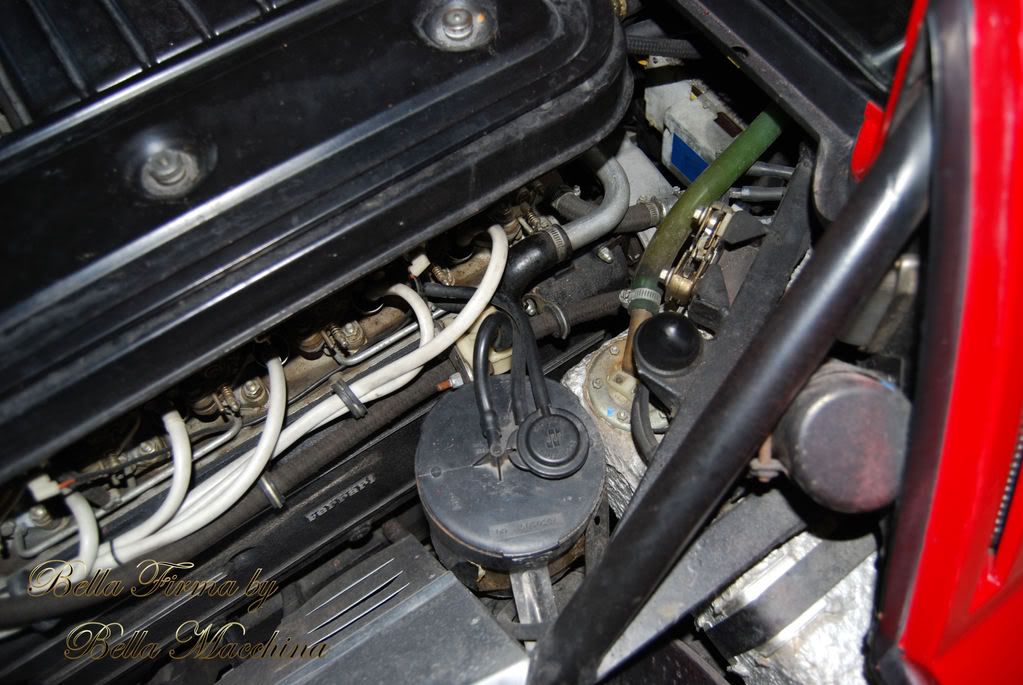
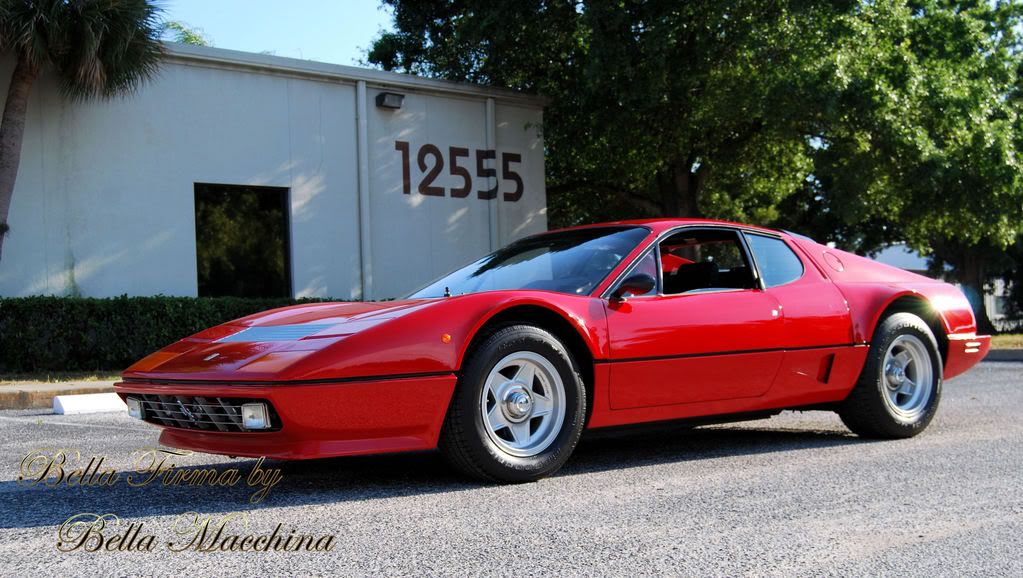
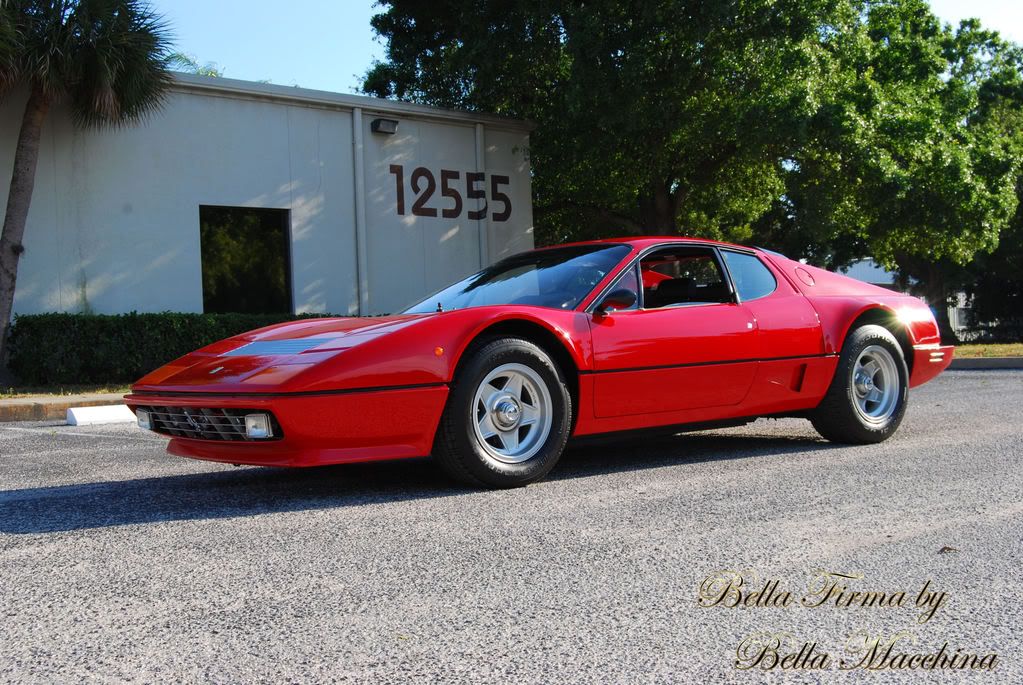
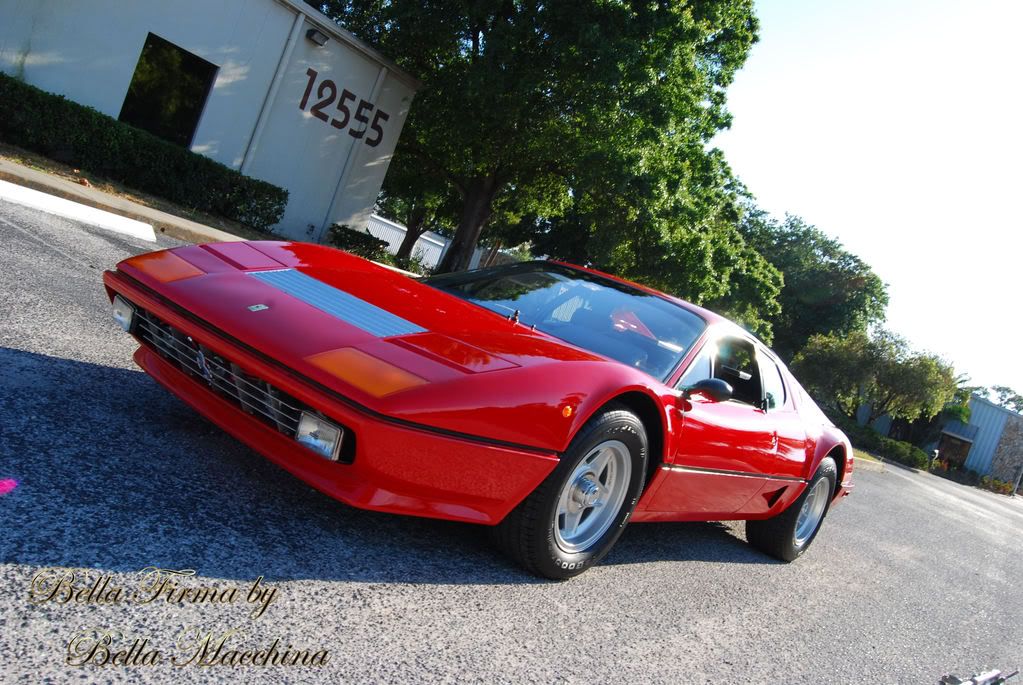
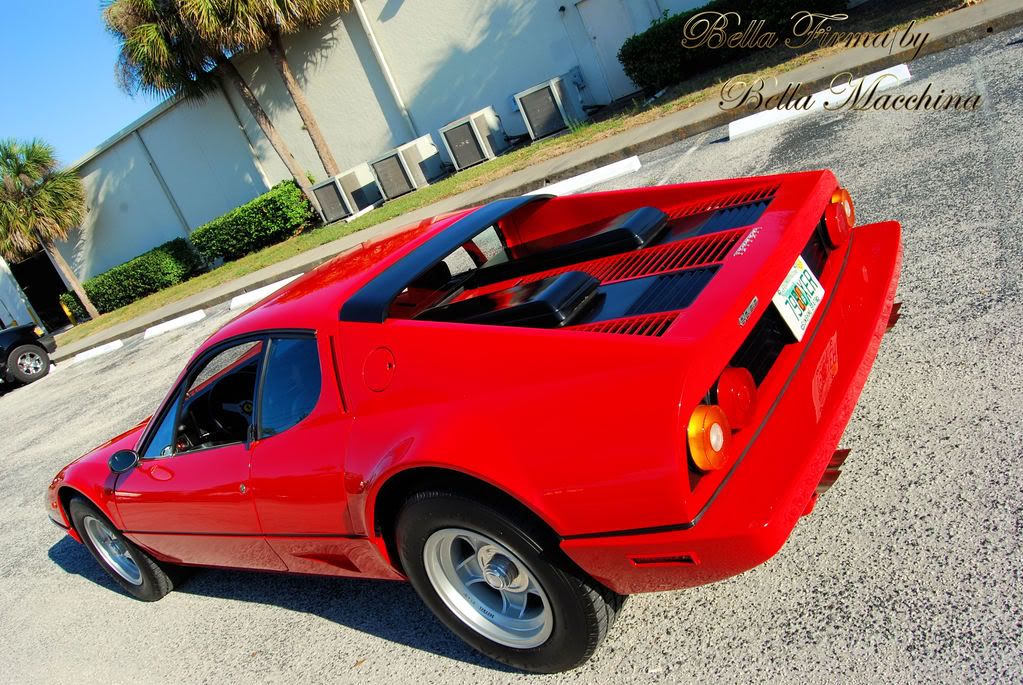
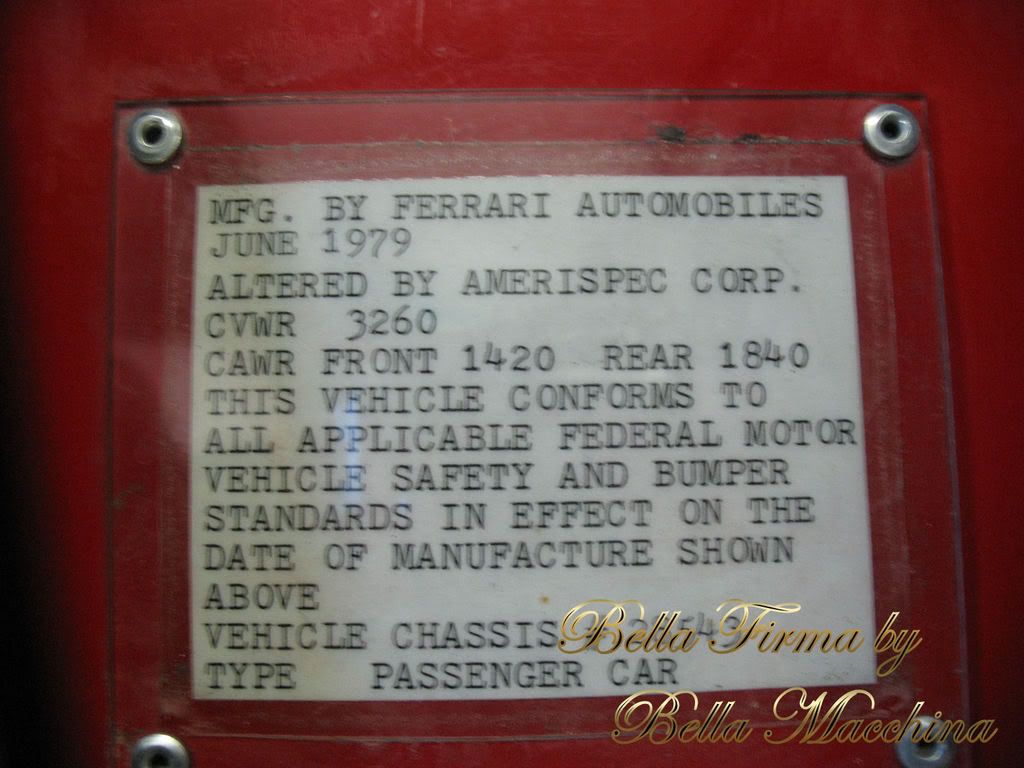
This particular model is a 1979 BB in Rosso Corsa red with a 5.0L F12 producing an extremely high (for the time) 340 horsepower @ 6200 rpm and 333 ft. lbs. of torque at 4800 rpm. For contrast a base model Corvette struggled on with 190 horsepower and Fords Mustang had a top engine choice of 140 horsepower. The F12 also features dry sump oiling and a five speed transaxle. The interior keeps with Ferrari tradition in surrounding the driver and (lucky) passenger with the finest hand stitched hides at every stop, with out ever losing it is purpose as a drivers car first and foremost.
Consisting of over 100 separate steps and designed to prepare cars for concours events, our Bella Firma package is a 50 hour plus detail executed to be the finest detailing service in the world. The following write up is designed to be a pictorial account of nostro orgoglio, our pride
La Bella Firma: The Beautiful Signature by Bella Macchina.
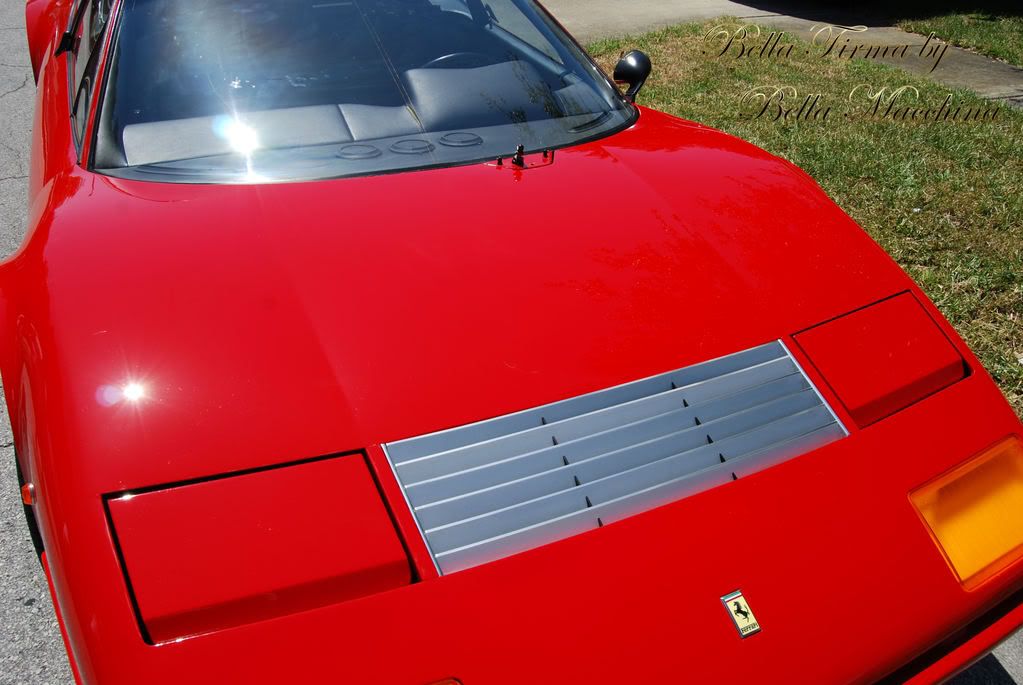
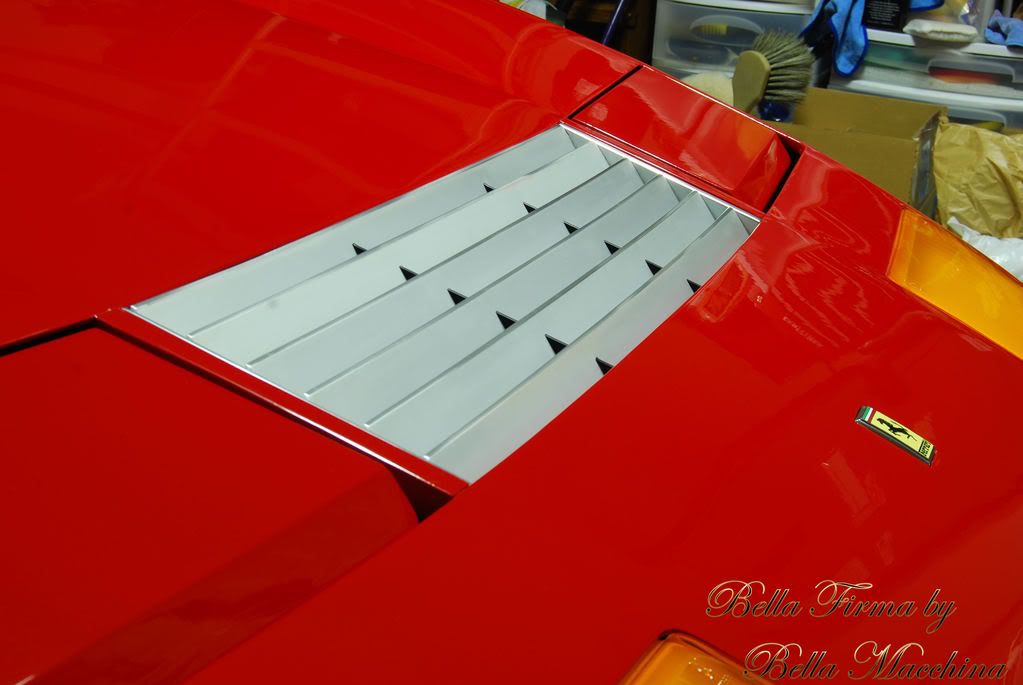
Here is the lucky recipient, a 1979 Ferrari 512BB. These cars where never intended for the American market and thus where grey market and unique. Only 192 Ferrari 512s where built and I am unsure how many where federalized in 79.
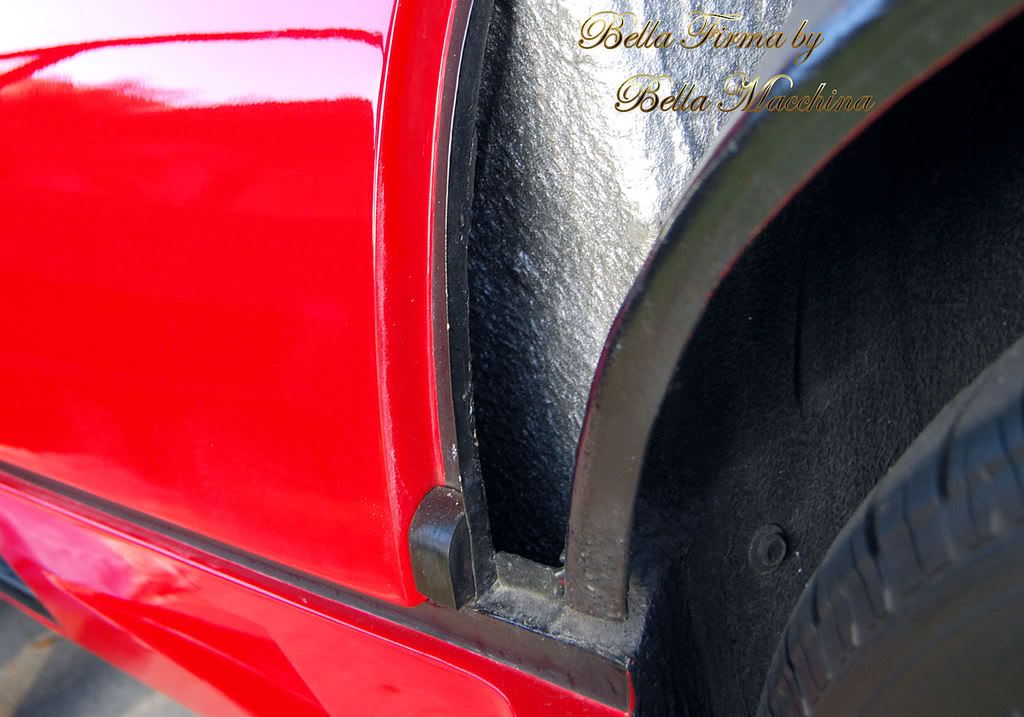
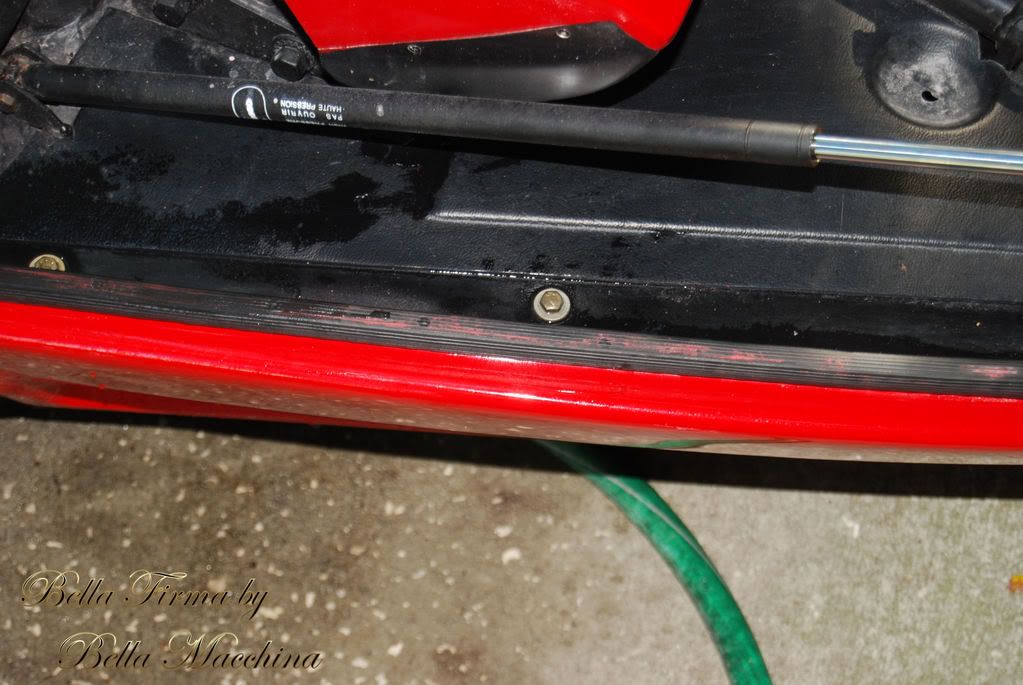
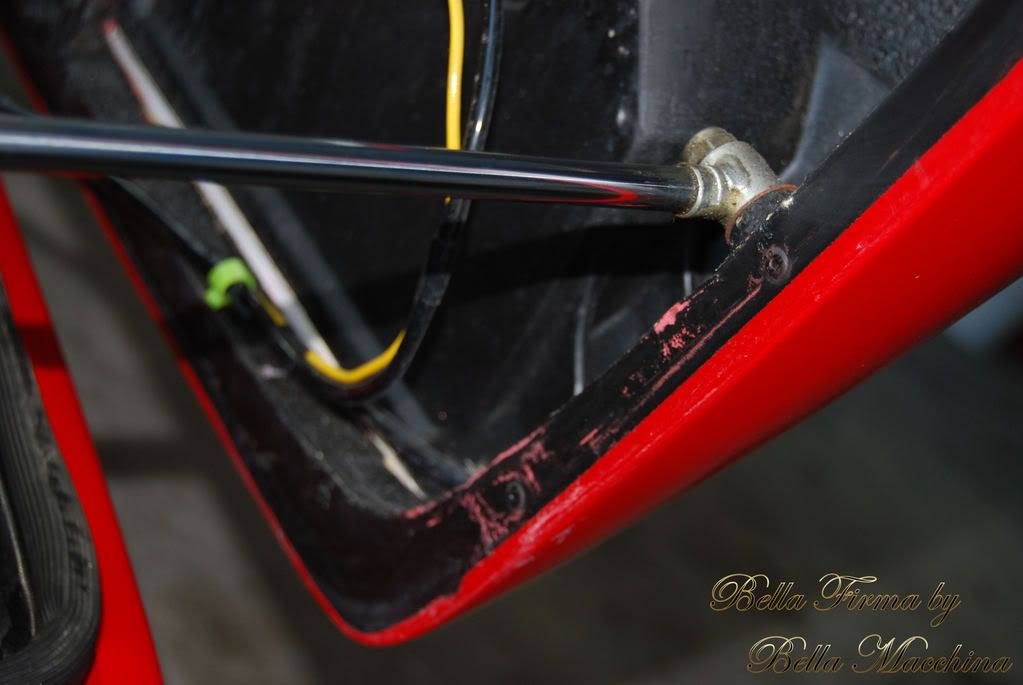
There was lot of dirt and grime in the seams and jambs of the vehicle.
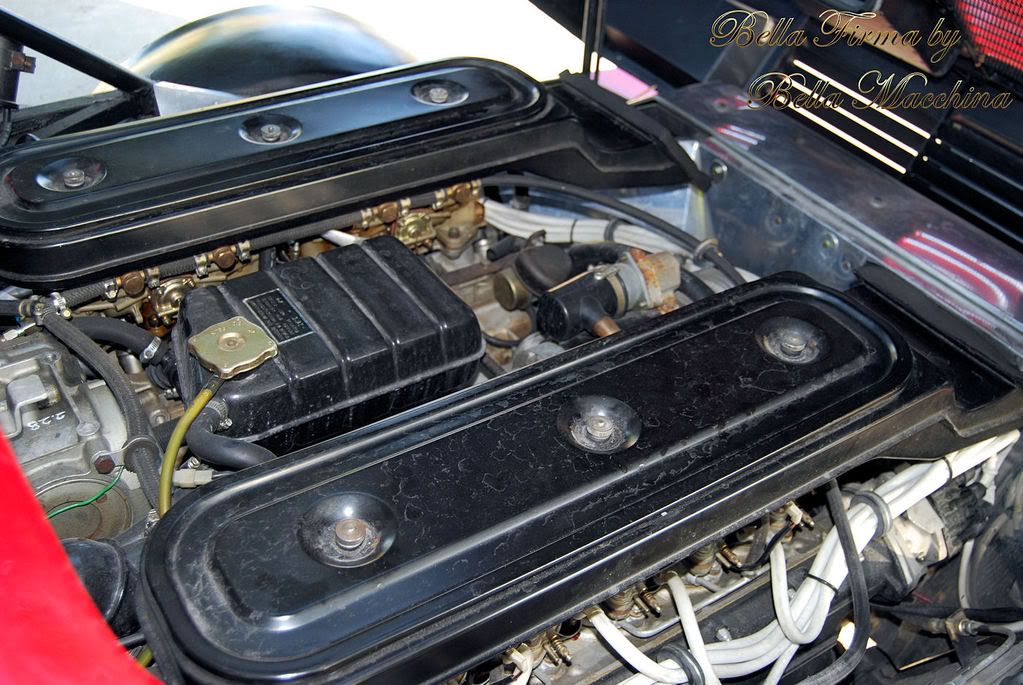
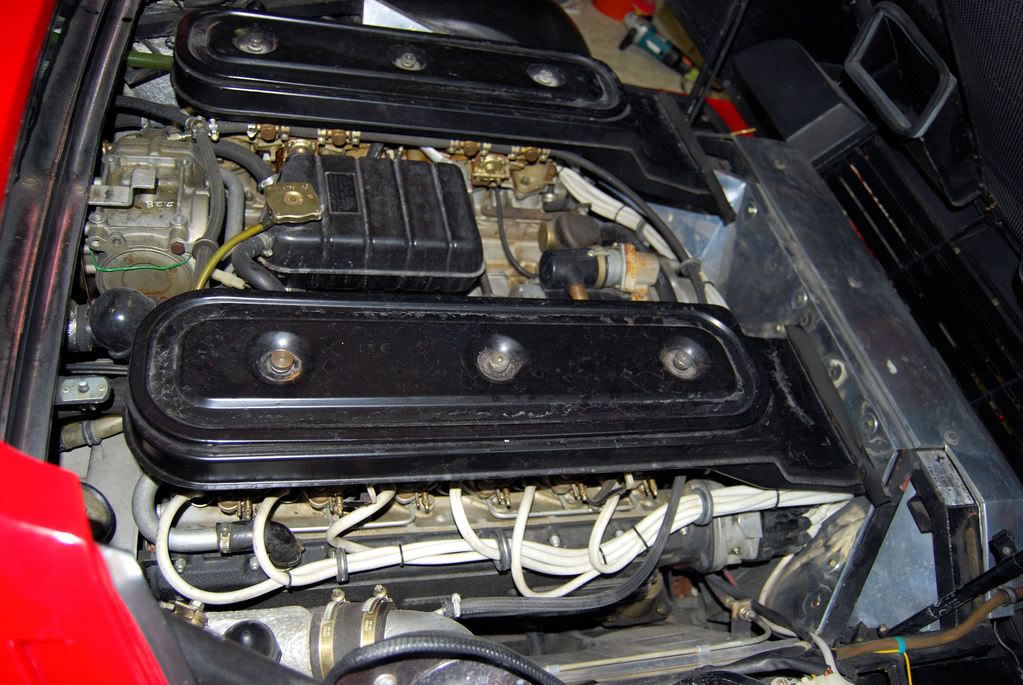
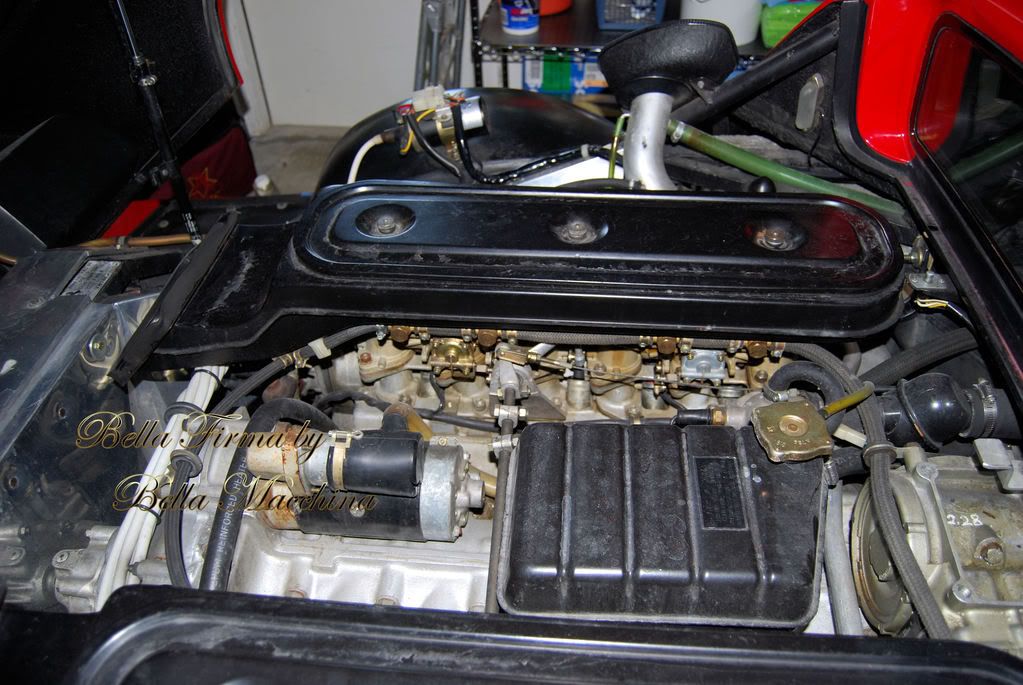
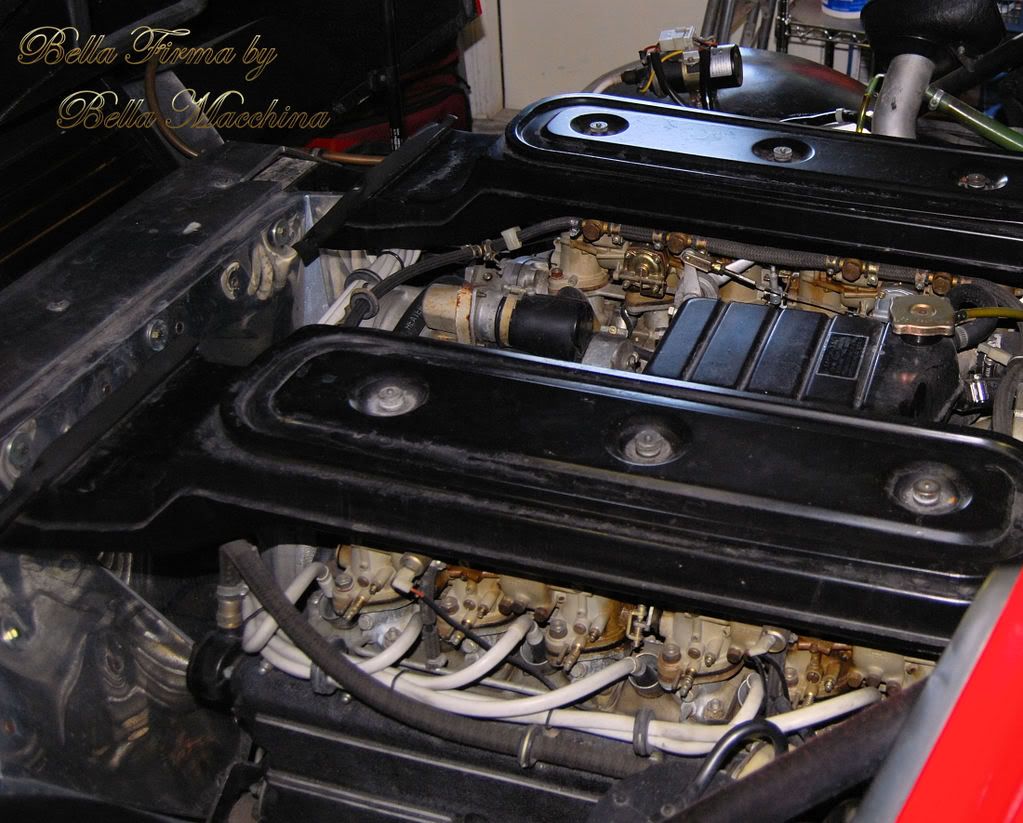
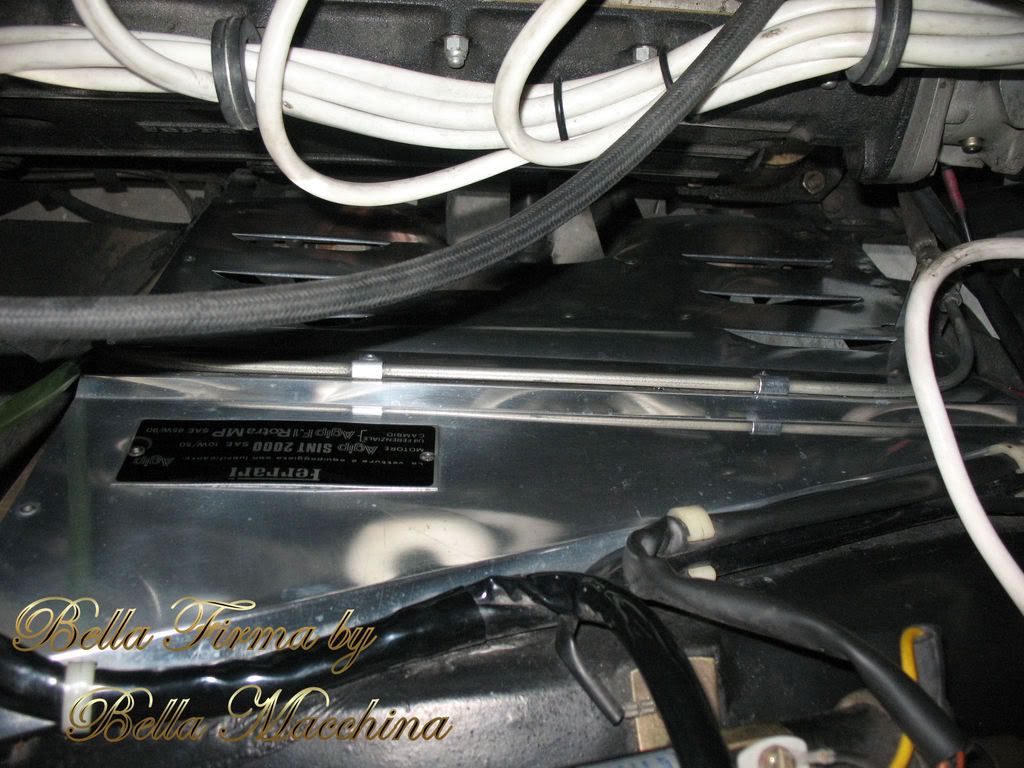
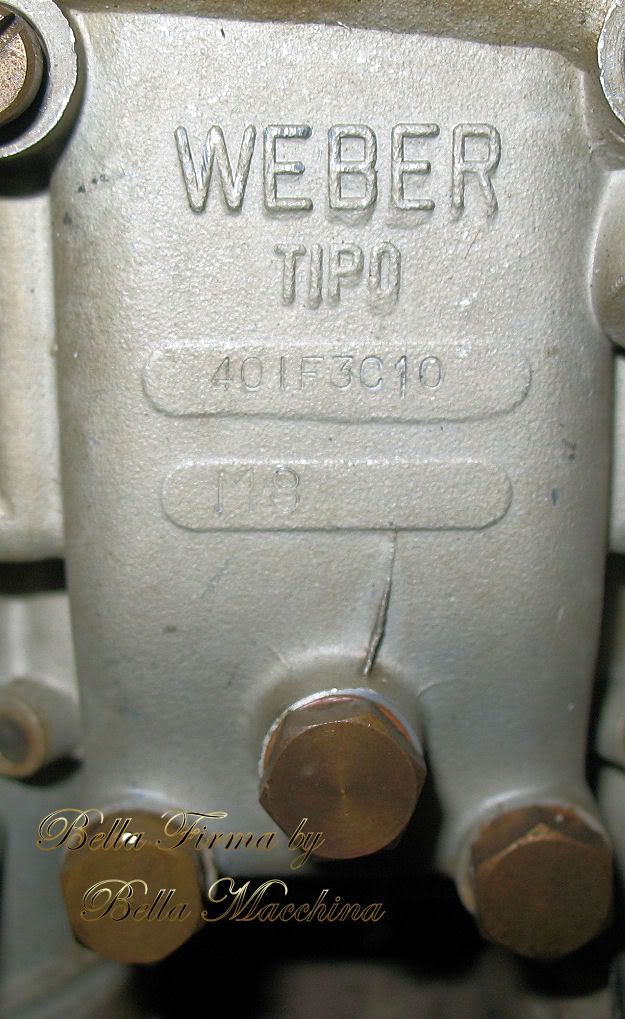
The Ferrari opposed 12 cylinder was also in rough shape, never having been detailed in almost 30 years.
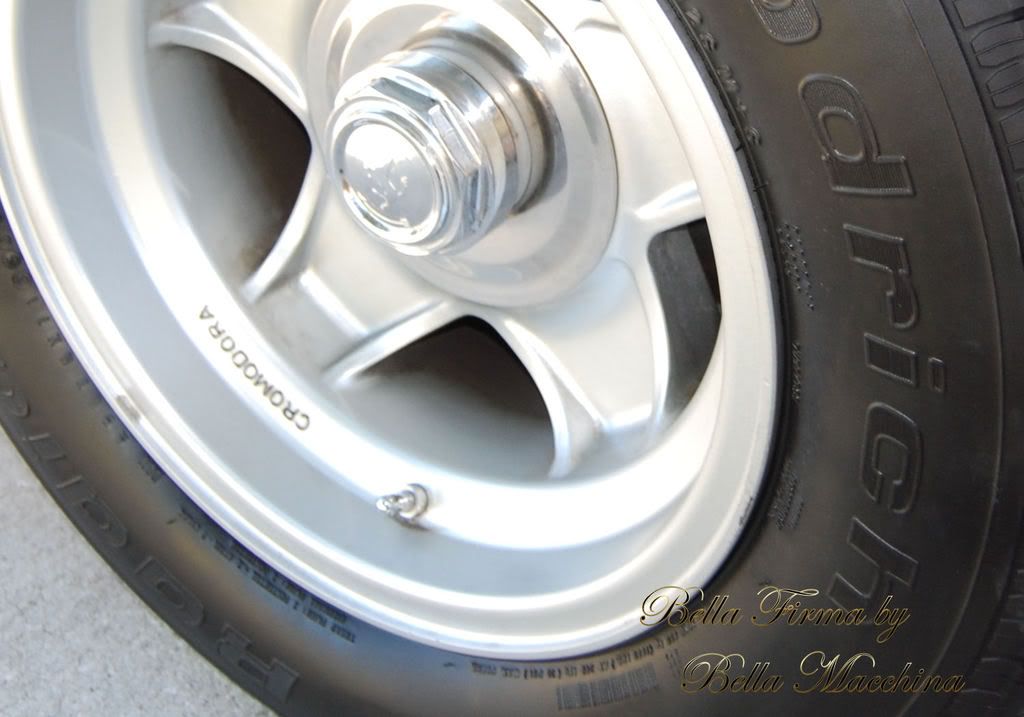
Also the wheels had strange substance, later to be confirmed as brake dust.
Before polishing the paint or getting into the meat and bones of the detail, it is important to take your time and carefully wash and cleanse every area of the exterior of the vehicle that dirty could be hiding. We generally start out Lavaggio a Mano premium hand wash by thoroughly cleaning the smaller, more concentrated areas first.
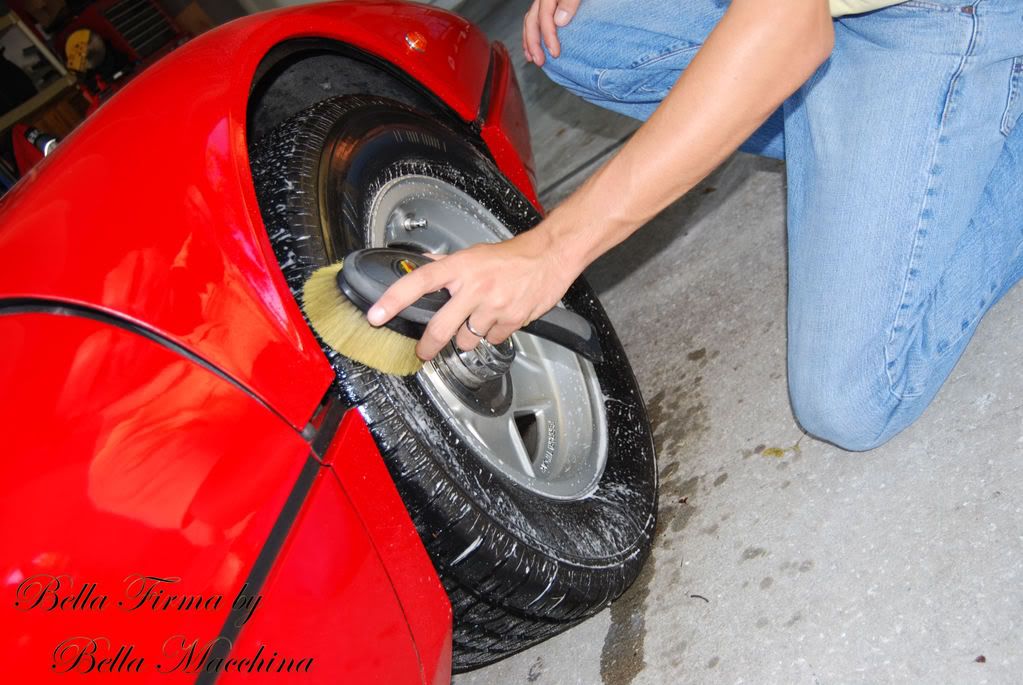
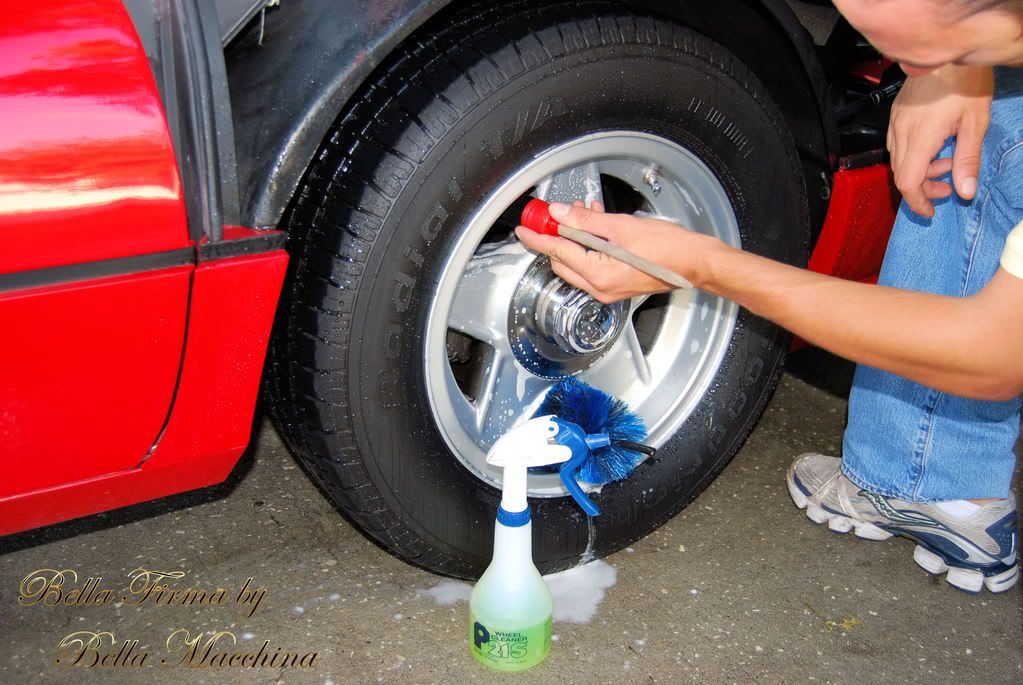
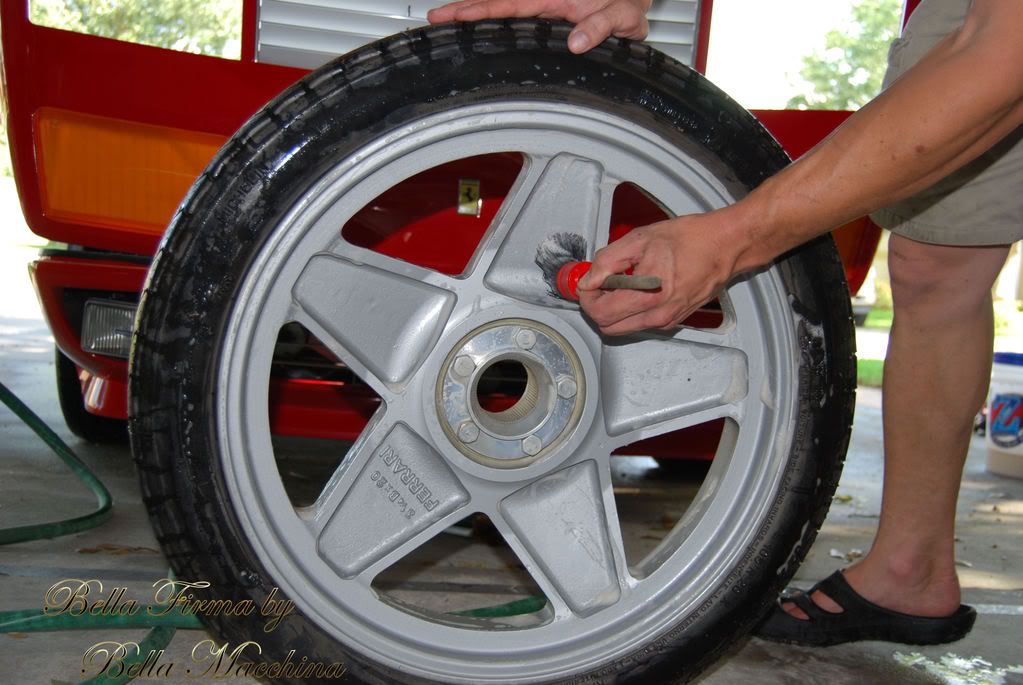
All of detailing lays in the prep work. It is important to thoroughly clean the tire before applying any dressing to ensure it looks its best and lays on the rubber correctly (to lengthen durability as well as prevent sling). Brian uses a Meguiars Tire Brush to scrub the tires with Optimums Power Clean.
Here Brian works to thoroughly agitate P21s Wheel Gel in every crevice of the wheel. Using a wet Swissvax Wheel brush ensures a slight lather which seams to increase the cleaning power of the gel. An EZ Detail Brush and various short hair flexible brushes allow for cleaning behind the spokes and around the brake calipers.
Working the gel into a lather
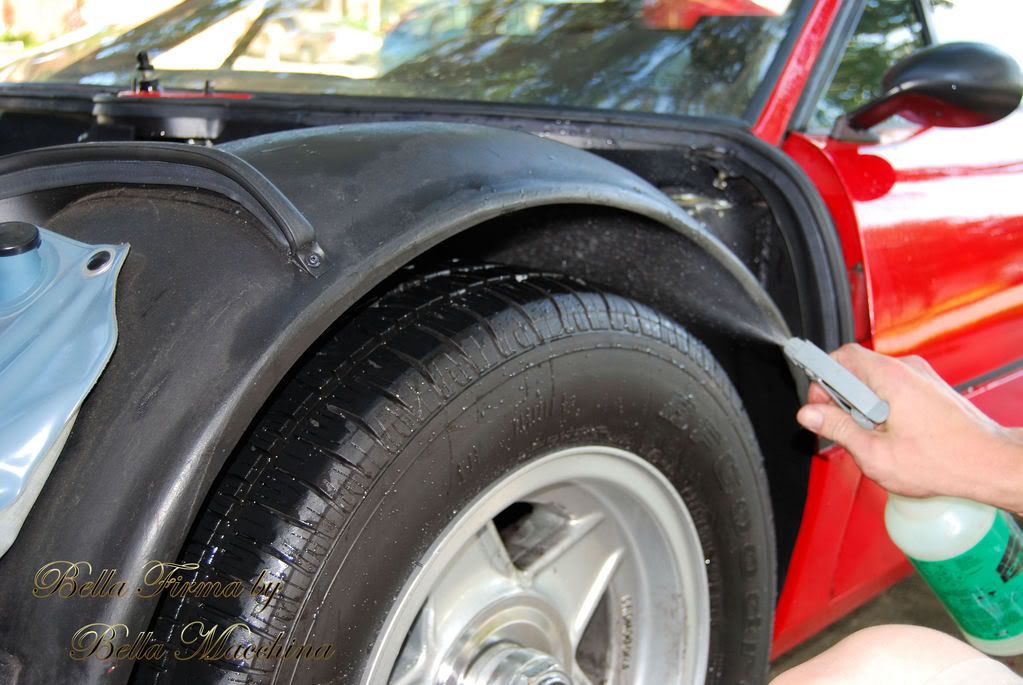
After rinsing the wheels and tires, we cleaned the wheel wells. (In general we are working at different steps so as we circle from tire to tire we overlap. If you are working by your self it would make sense to do the wheel wheels first, so you are not rinsing the dirt from the arches over your clean tire.). A 7/1/2 mix of de-ionized water/Optimum Power Clean/Meguiars APC is sprayed and agitated with a various short bristle brushes.
The lower rocker panels where lightly misted with super diluted Meguiars Safety Degreaser (50:1) to loosen any and all grime.

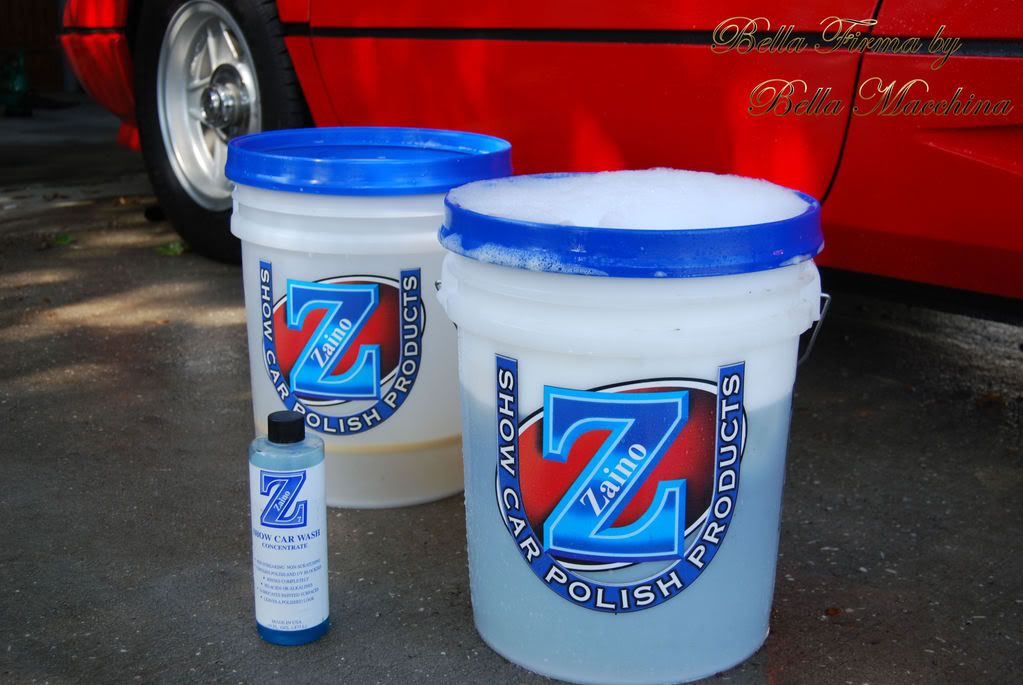
After jetting the surface with de-ionized water, we washed with Zaino Z7 soap using the two bucket method.
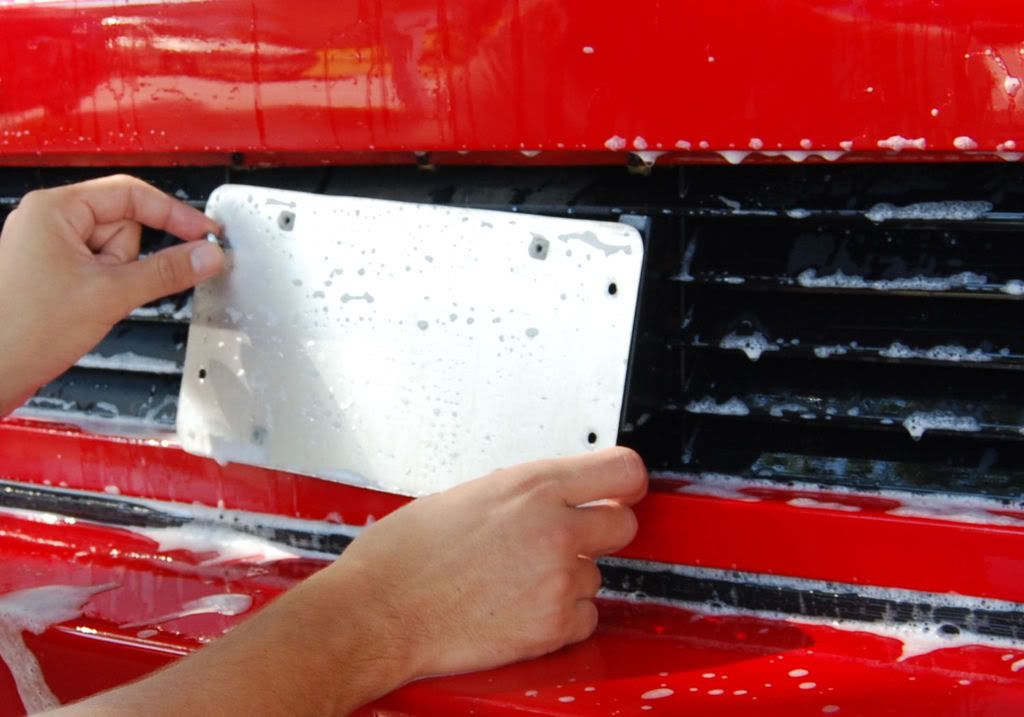
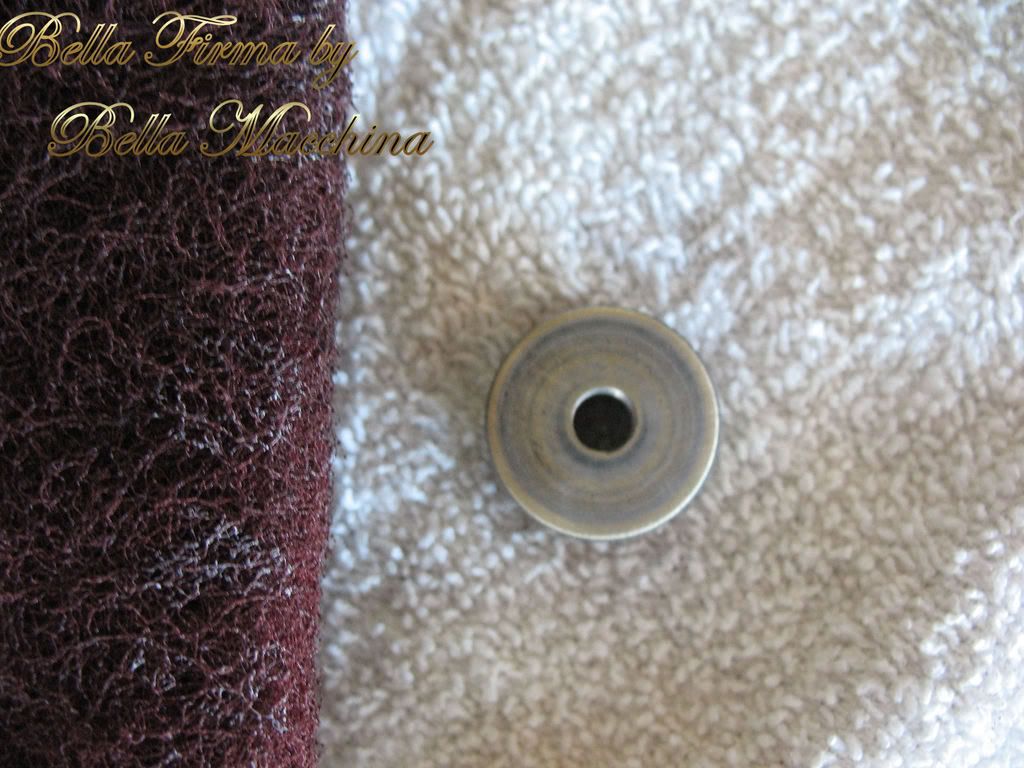
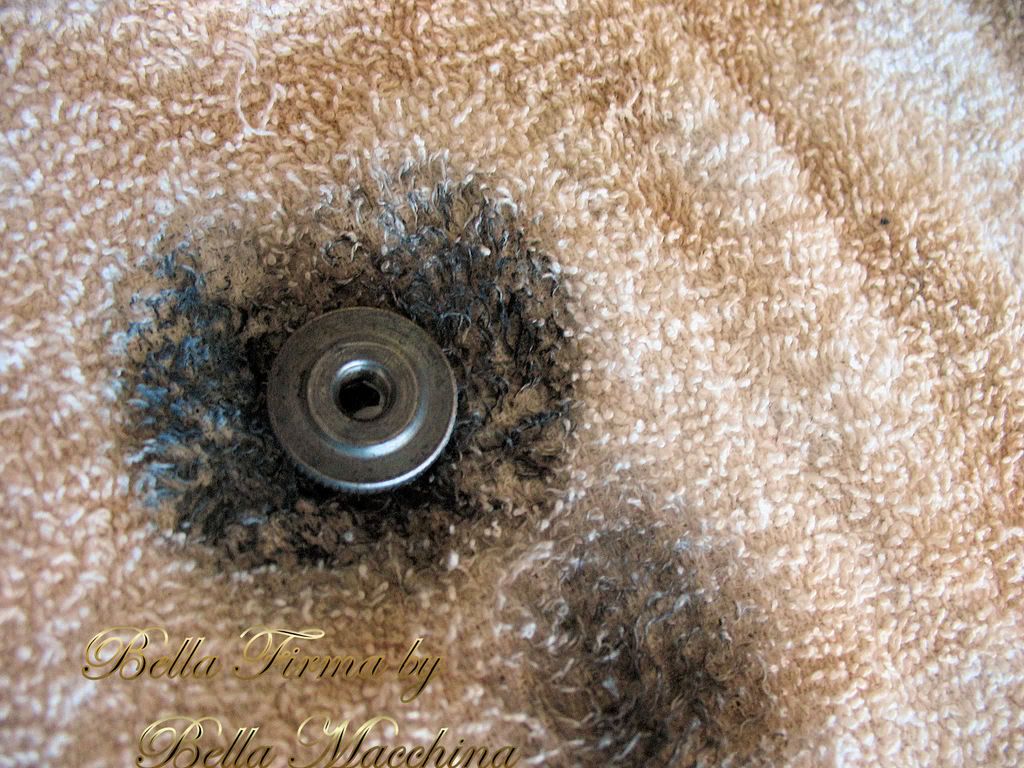
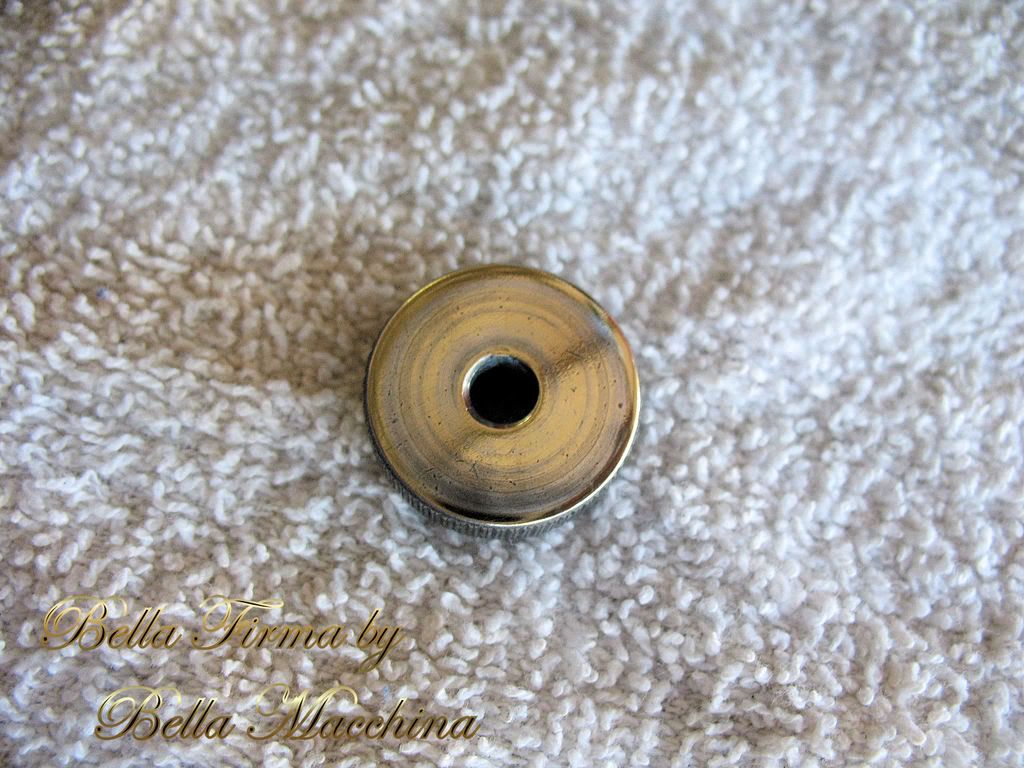
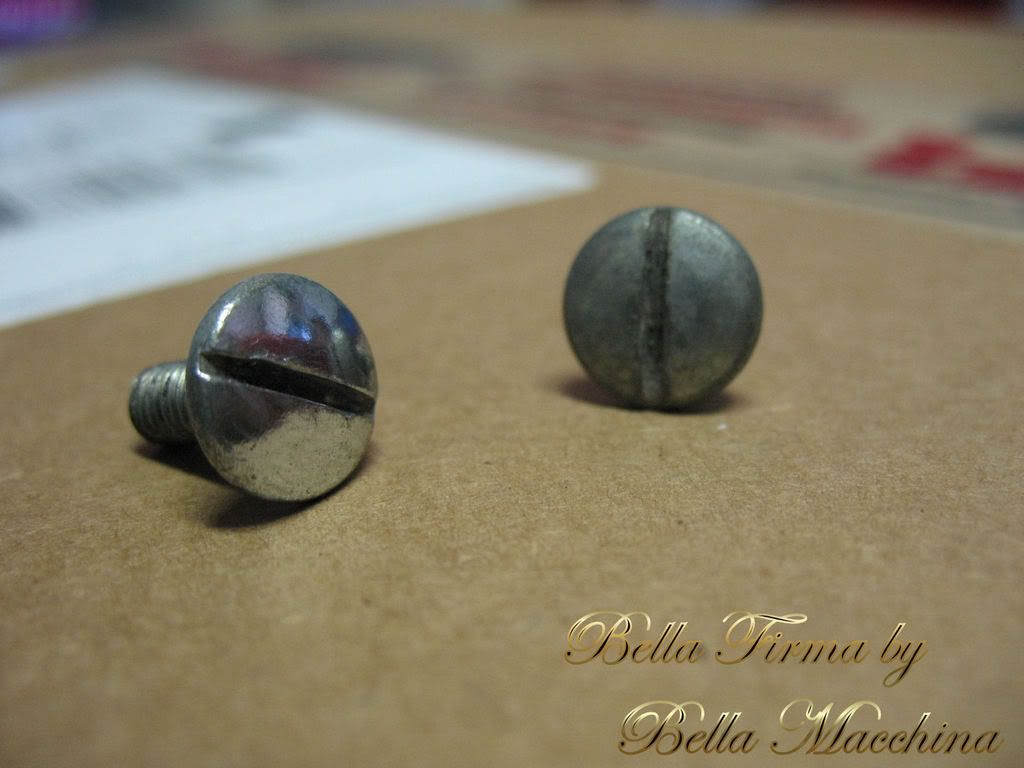
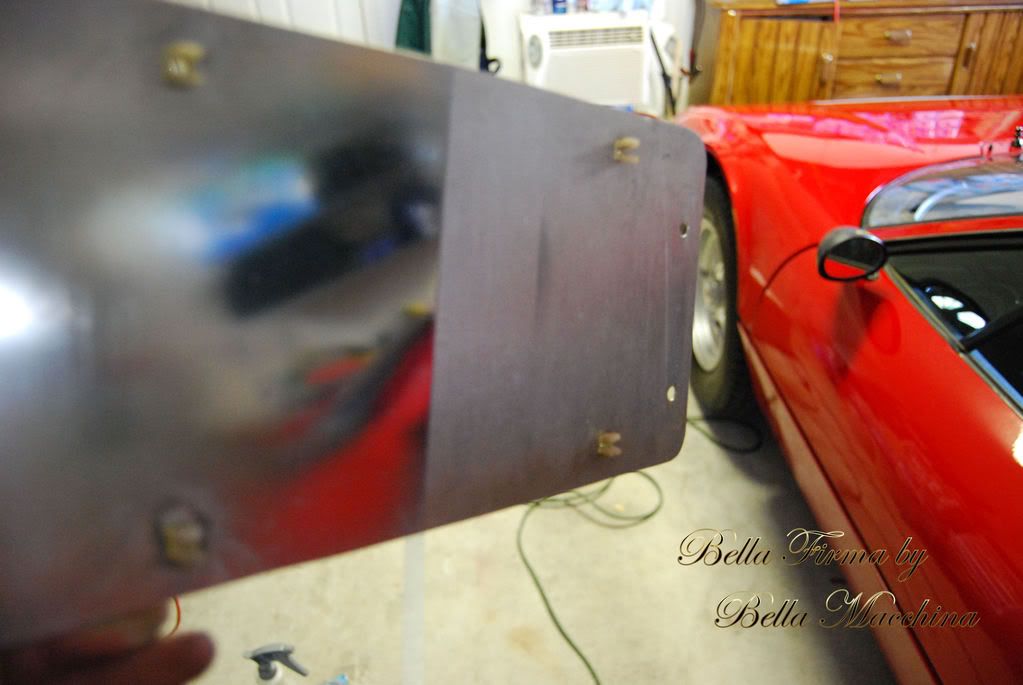
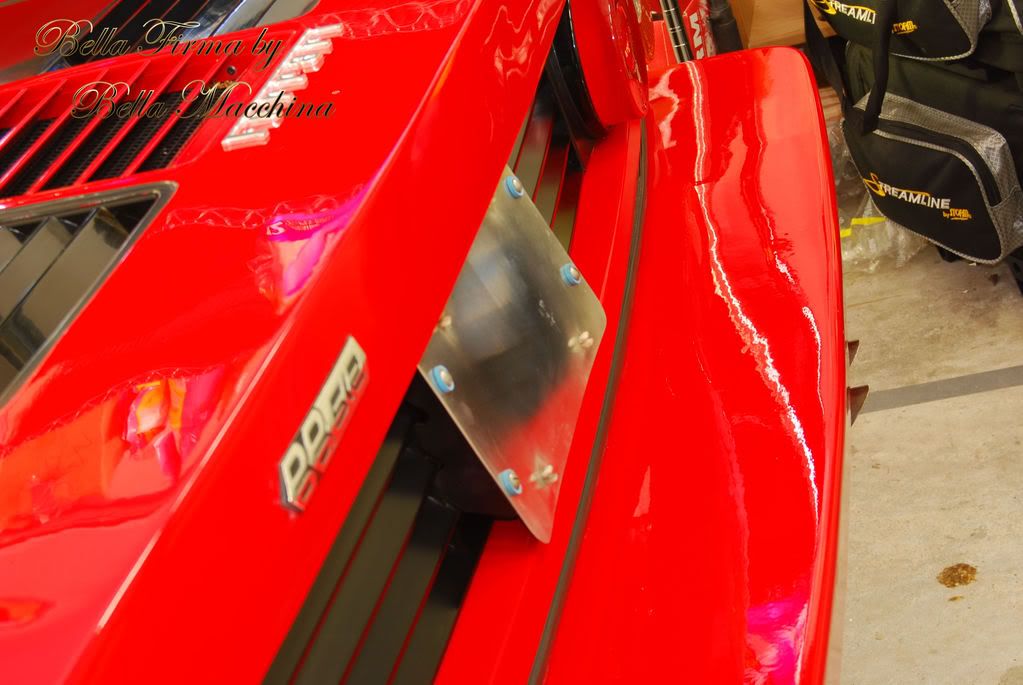
Certain trim was removed, such as the license plate and license plate frame.
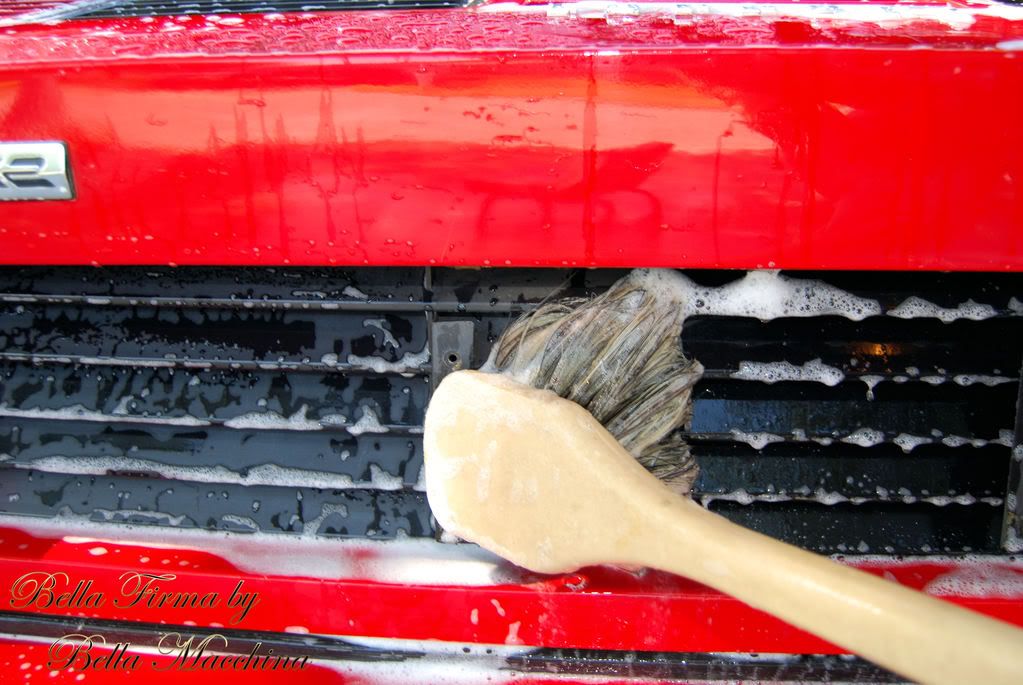
Numerous vents and tight areas where agitated with a natural boars hair brush
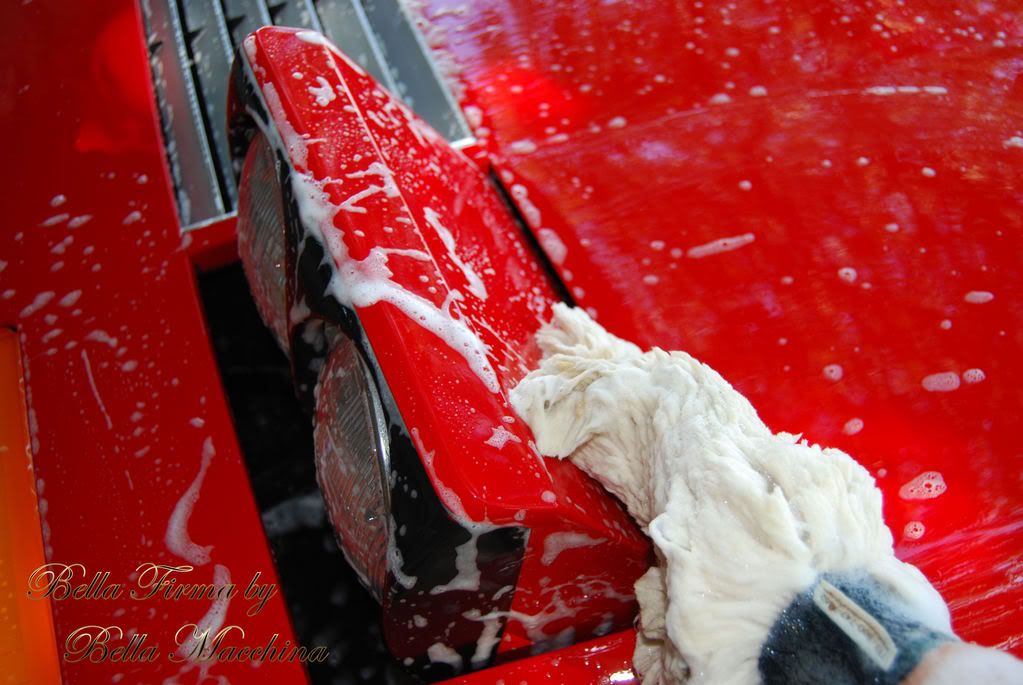
A natural sheep skin mitt was used as the wash medium, with special care used to make all areas of the car where completely clean and free of grit and dirt.
After the majority of the car using a high speed leaf blower, we elected to ensure the 30 year old paint was deep cleaned by using Finish Kares Decontamination System. It is a three stage cleansing system designed to remove all fall out and contamination from the pours of the paint. The process starts by working Stage One: #1119 Soil/Coating Remover into the paint for five minutes then rinsing clean, followed by Stage Two: # 883 Steel Iron Rust Remover for an additional five minutes, finally rinsed clean with #118 PH Neutralizer. This system was followed with Sonus Gray Clay using Blue Magic Clay Lube (which did not pick up any contamination but did remove some light over spray from the lower driver side panel).
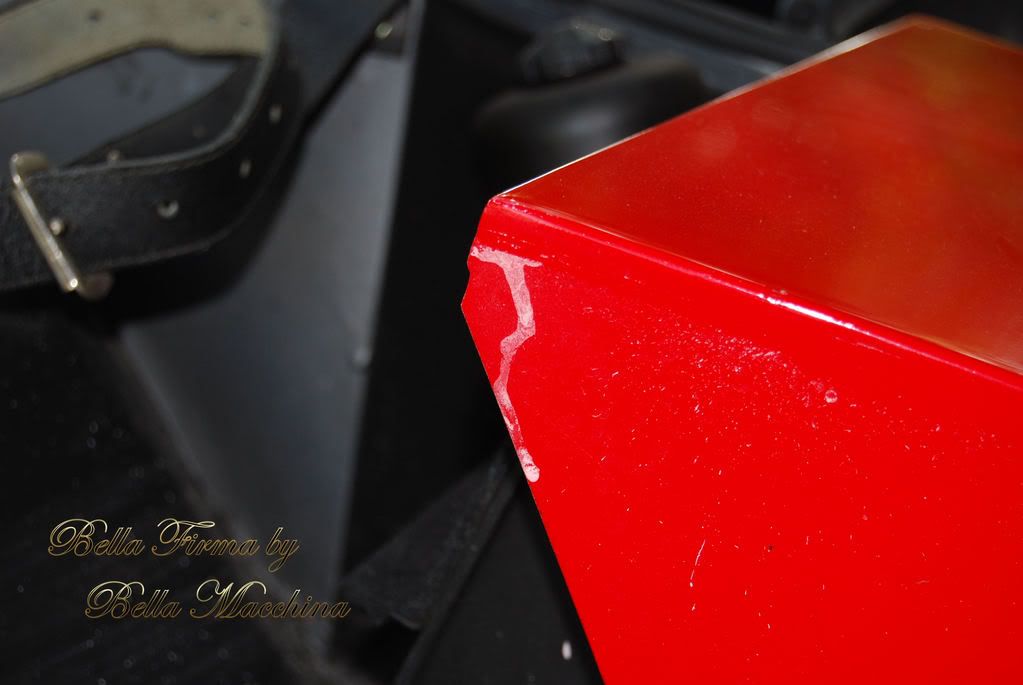
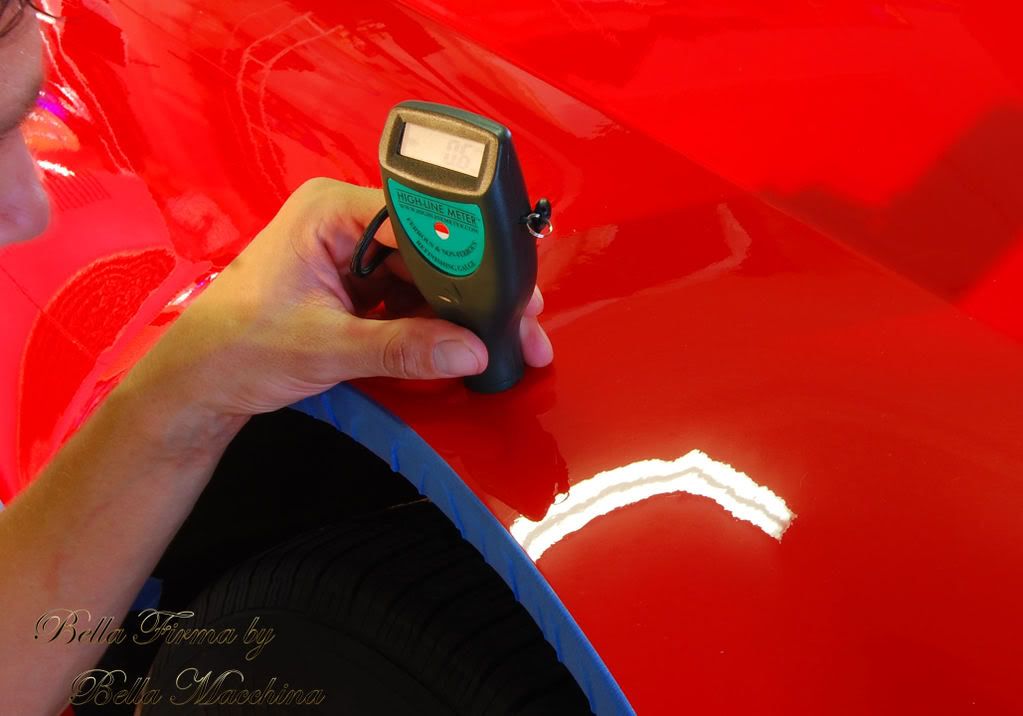
Now that we had the vehicle and the pours of the paint clean it was time for a very thorough inspection of the paint work and other surfaces. Keeping in mind that this Ferrari is 30 years old and the current owner has owned it for only a year, it is very important to look over everything, trying to decode the past and look for areas of concern. It is up to us to find the history of the paint job so we can take the Ferrari to its fullest potential.
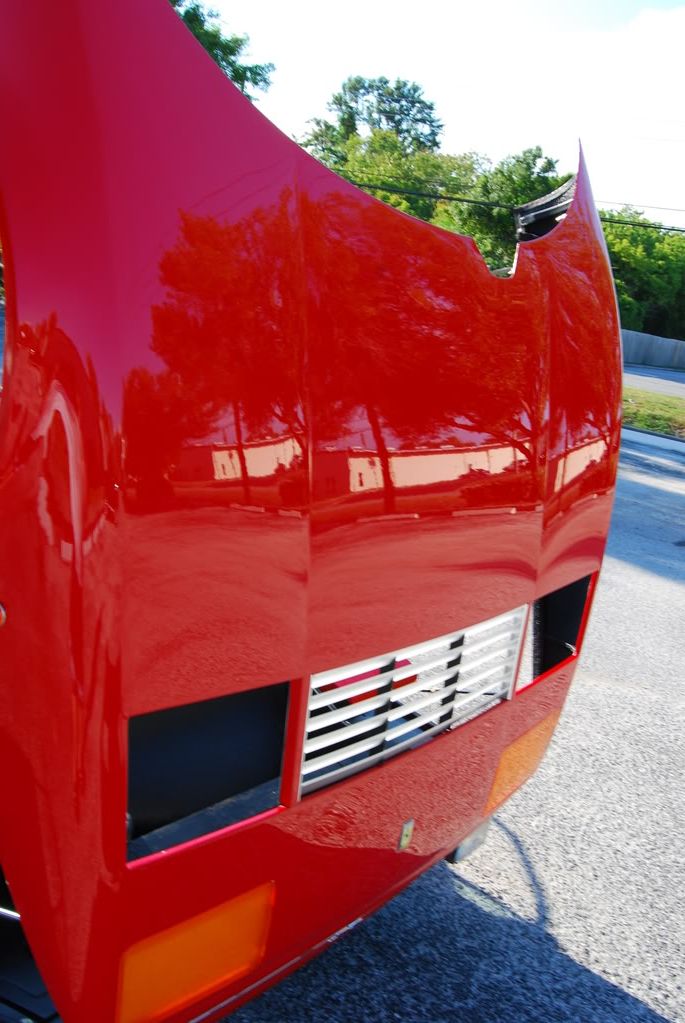
In this pic it is very clean that this area had been color sanded or repainted. The headlight cover had powder runs (as well as weather stripping which had pink power staining) from obvious color sanding which paint measuring revealed to be a repainted area on the passenger side front fender.
-
Super Member
Re: 53 hour detail on classic Ferrari
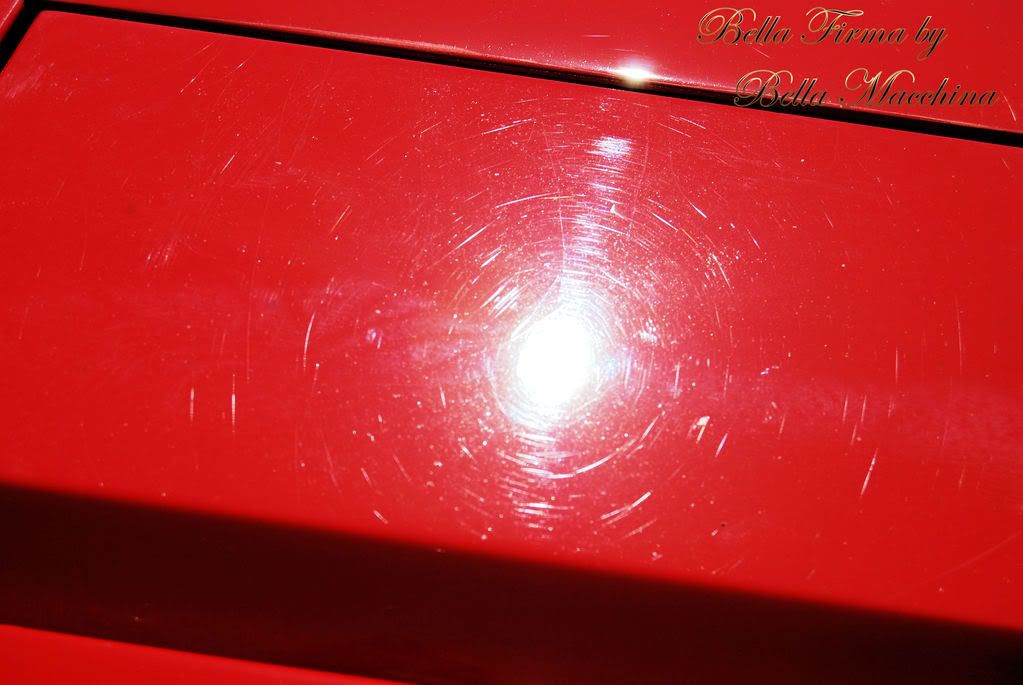
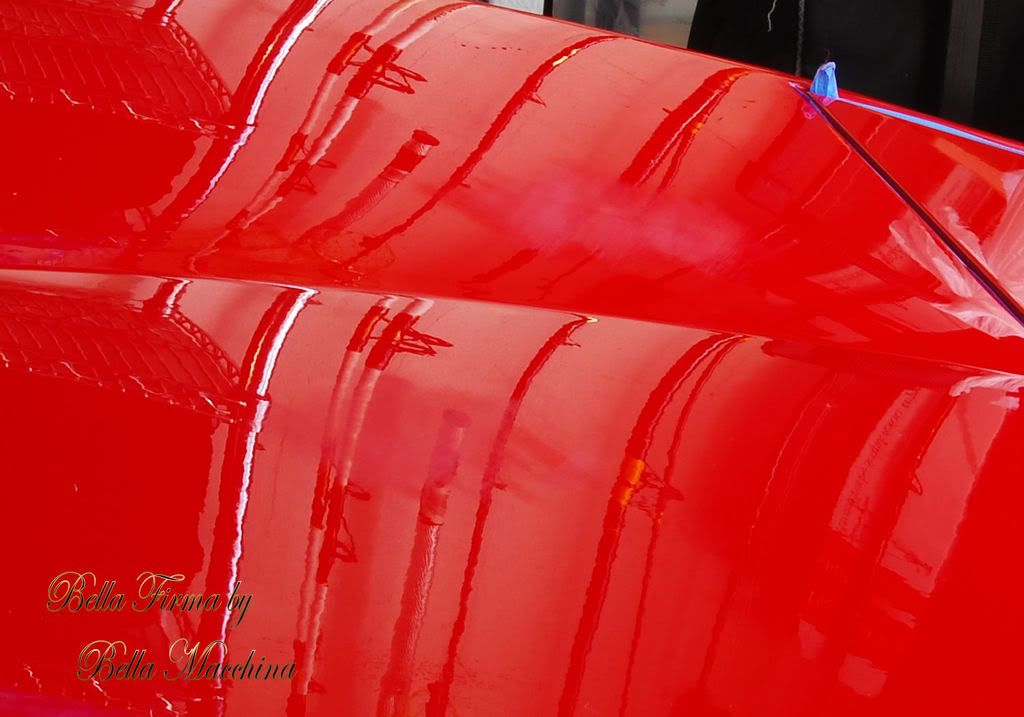
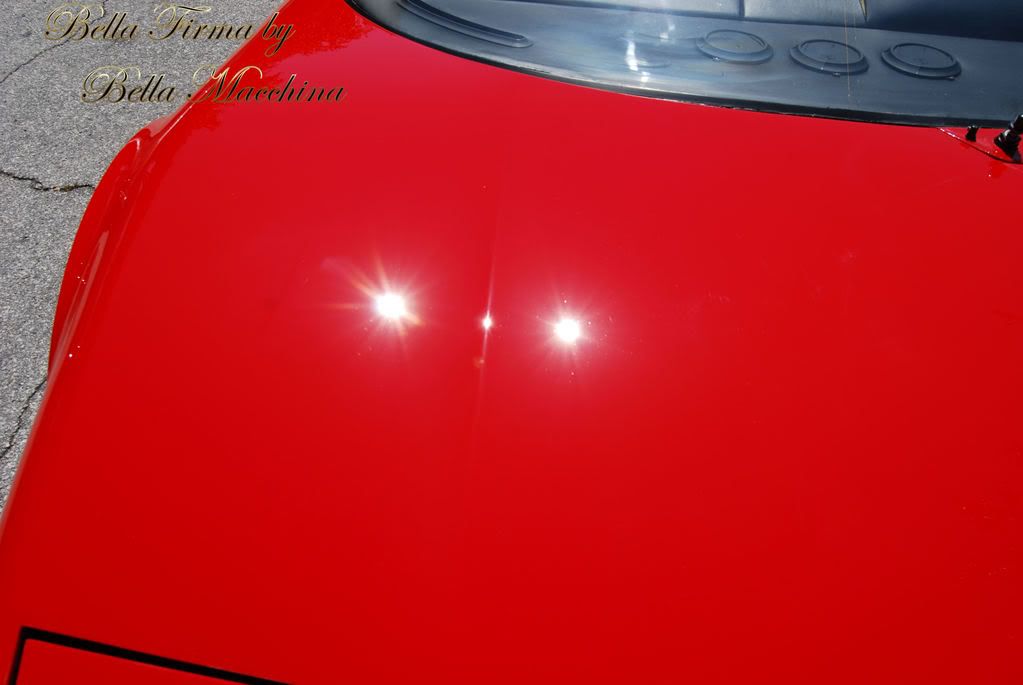
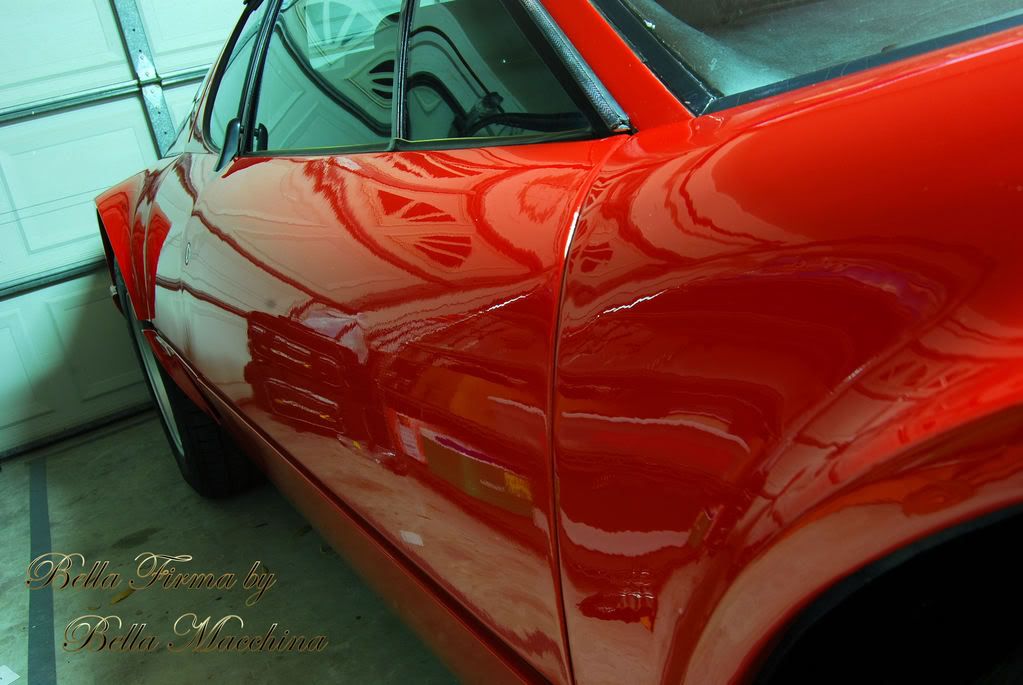
The paints surface was inspected using a variety of lighting conditions including natural, halogen, and high density. 30 years of use was very evident in the large amount of various defects. Then entire surface was heavily swirled, but these lighter defects where the least of our problems. Large amounts of scratches in various depths ran across the paint, resembling the interstate system across our map. Clearly the last several decades had not been to kind to the surface of this beautiful machine.
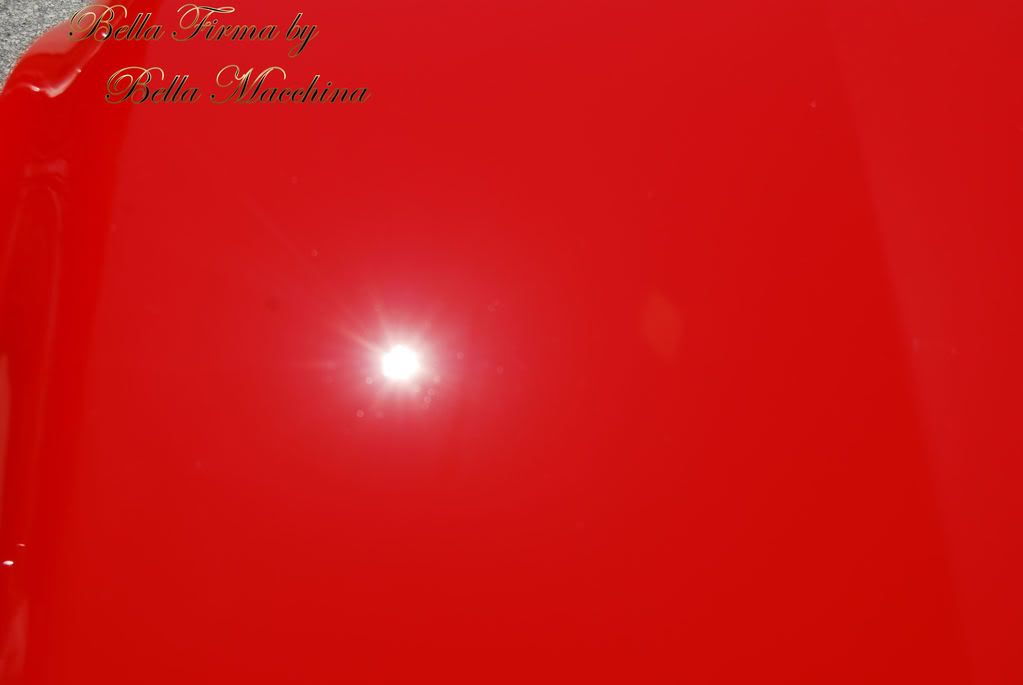
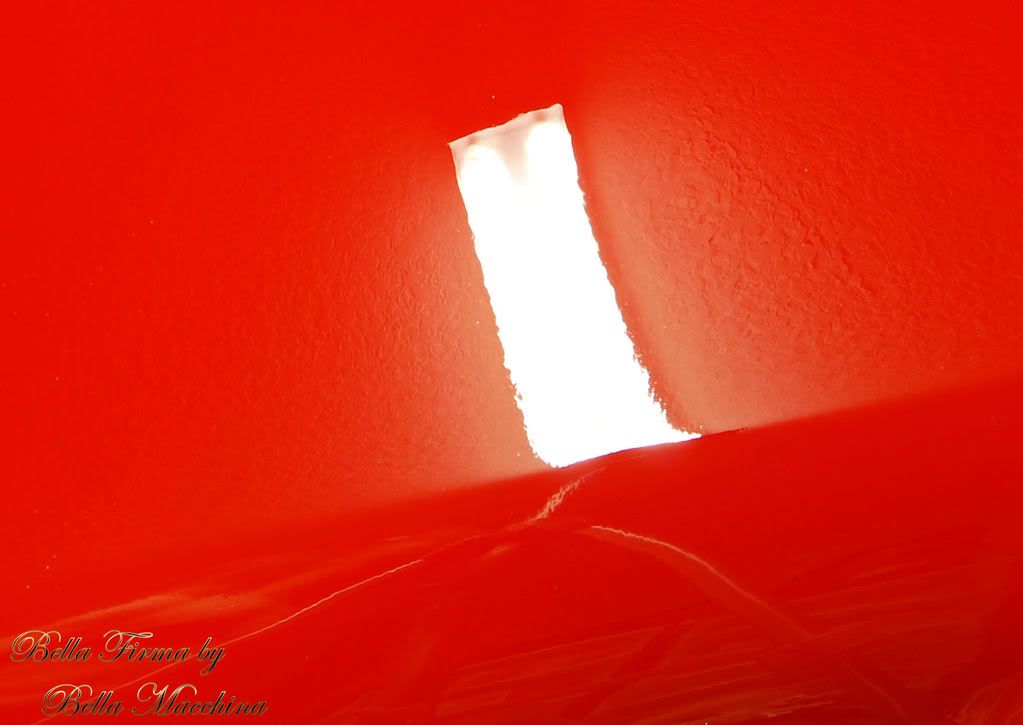
Through the clouds some deeper circular marring could be found.
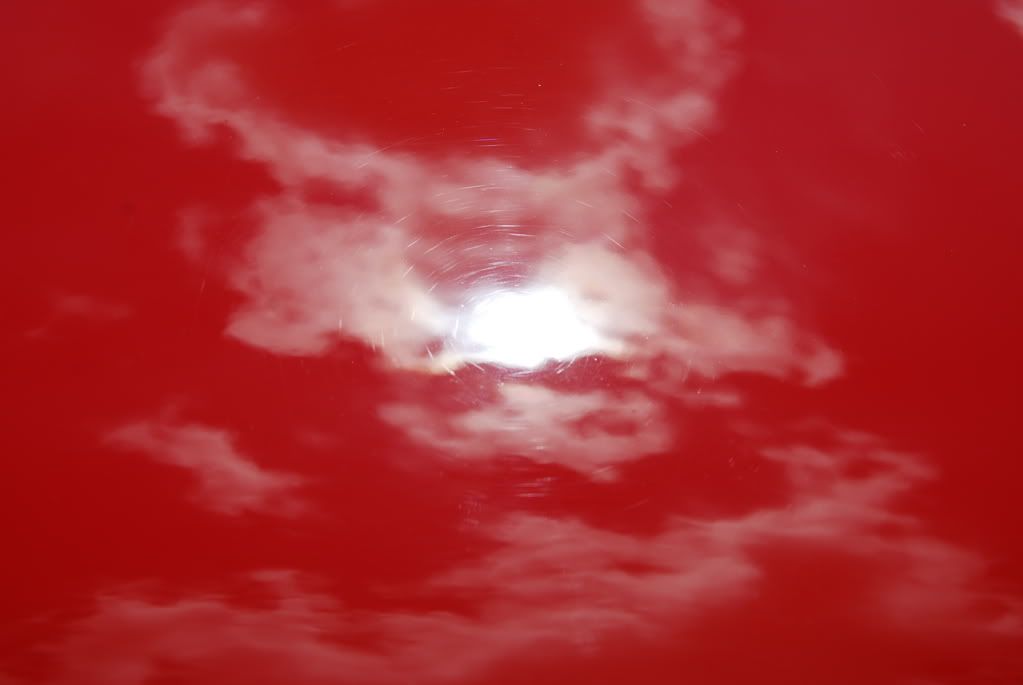
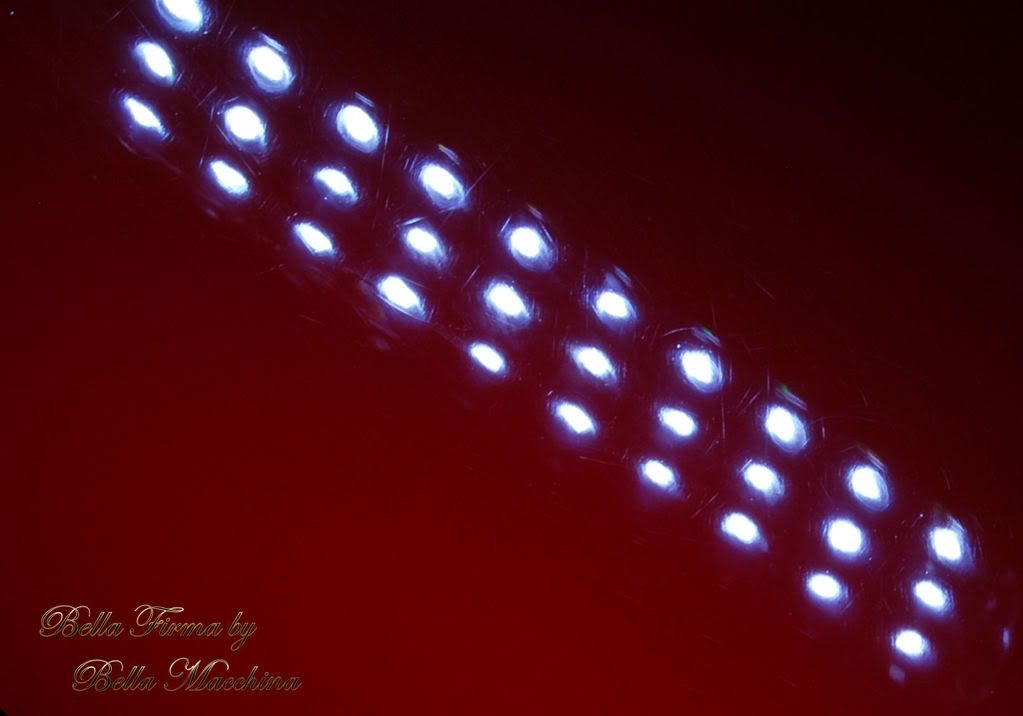
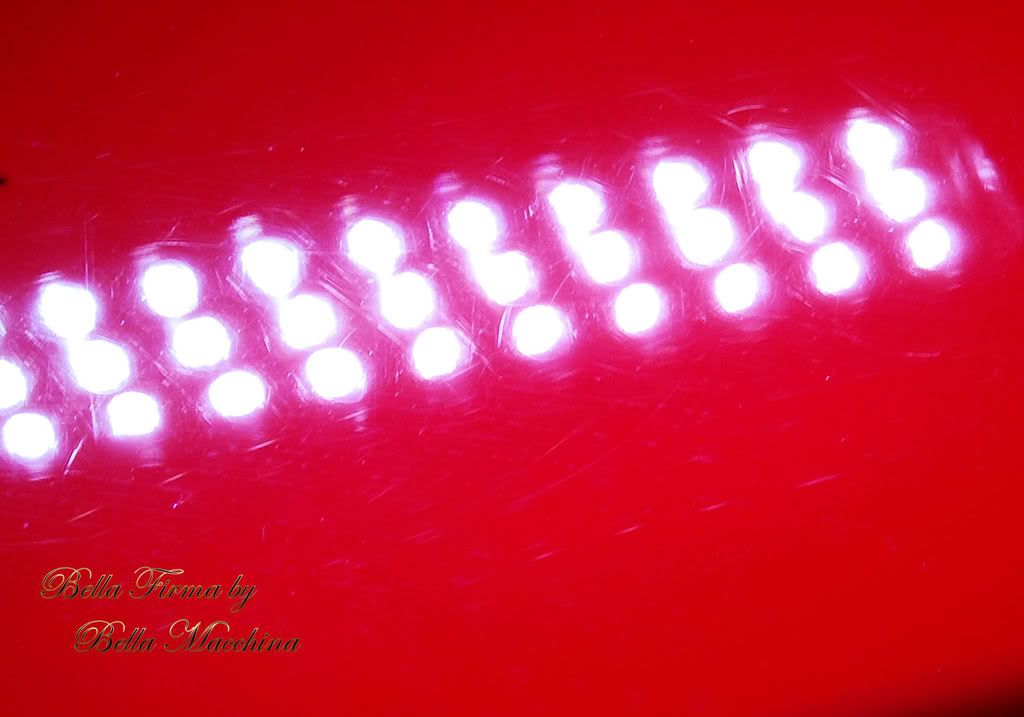
Even when viewed through tree cover, millions of microscopic scratches could be seen arching across the surface.
Using a hand held HID light revealed the deeper defects, each piece of marring represents a rather deep scratch and this Ferrari was covered in them.
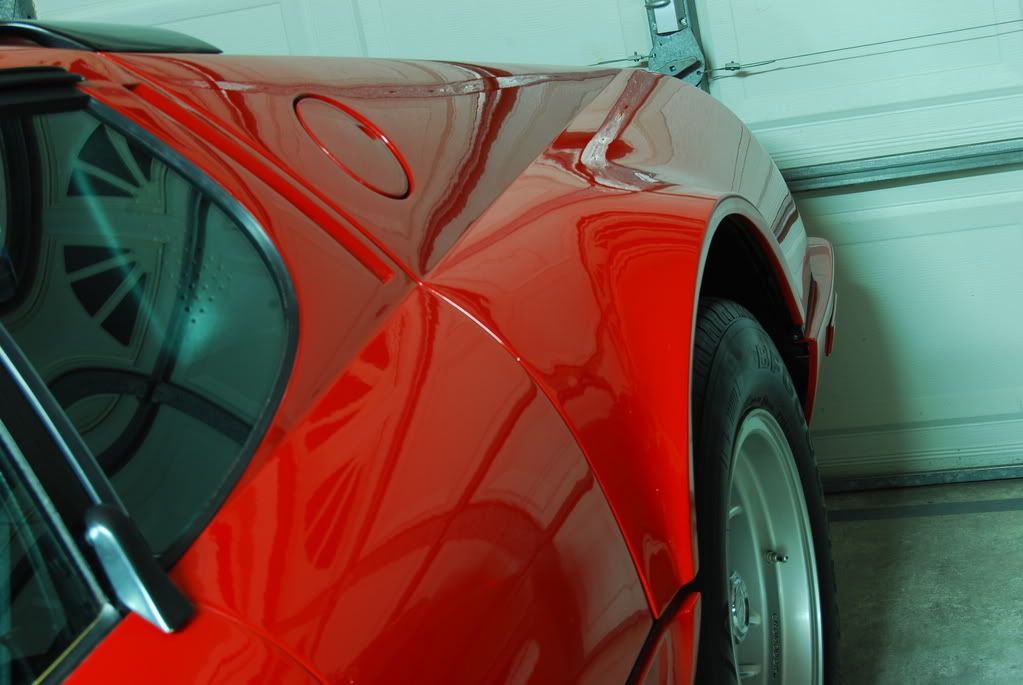
The worst damage to the paint started above the drivers side head light cover and ran straight back across the roof. On the roof the straight line scratches where deep enough to feel a finger nail.
Picture from the drivers side roof
Here is the general condition of the paint as the best I could capture it in direct sunlight, though even this doesnt tell the whole story.
Here is a video clip in which I try to capture the extent of the damage.
<object width="425" height="350"> <param name="movie" value="http://www.youtube.com/v/PkcKZ2tQR_s"> </param> <embed src="http://www.youtube.com/v/PkcKZ2tQR_s" type="application/x-shockwave-flash" width="425" height="350"> </embed> </object>
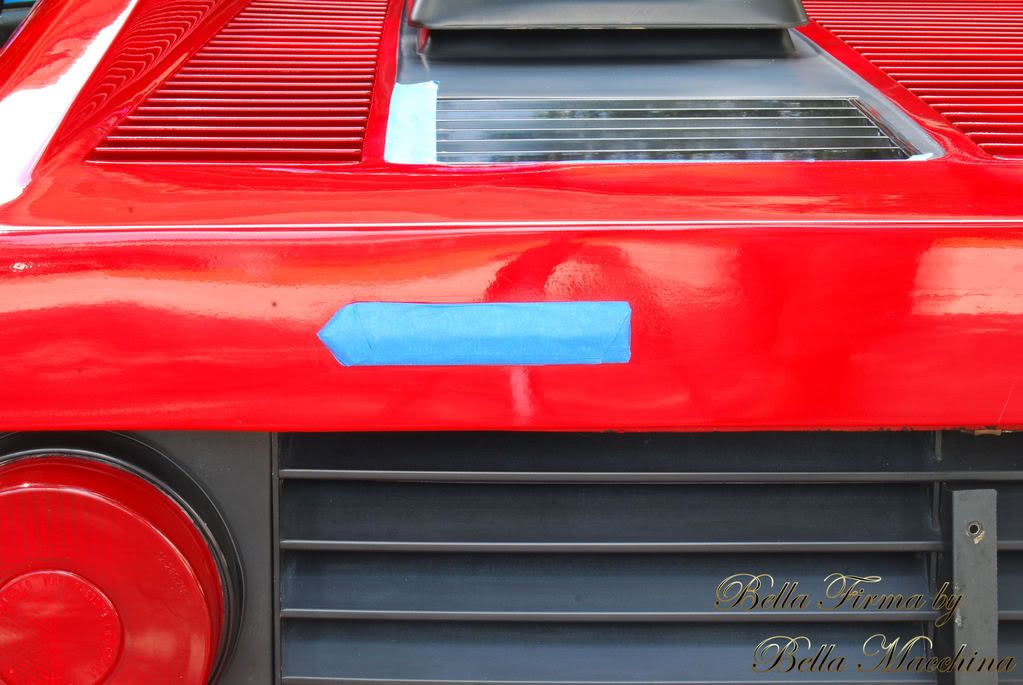
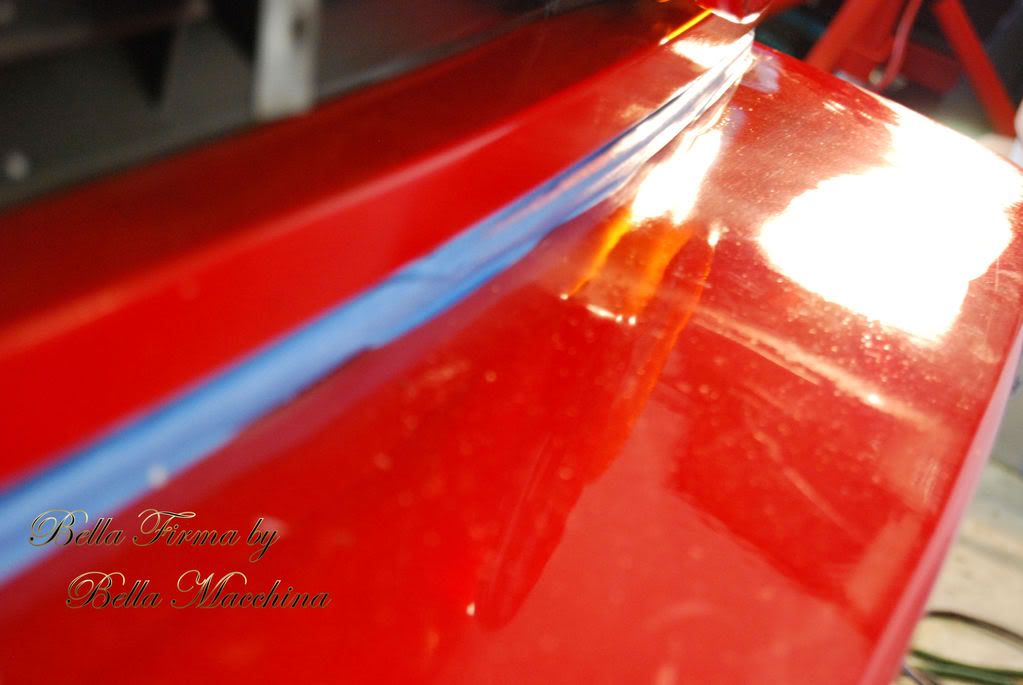
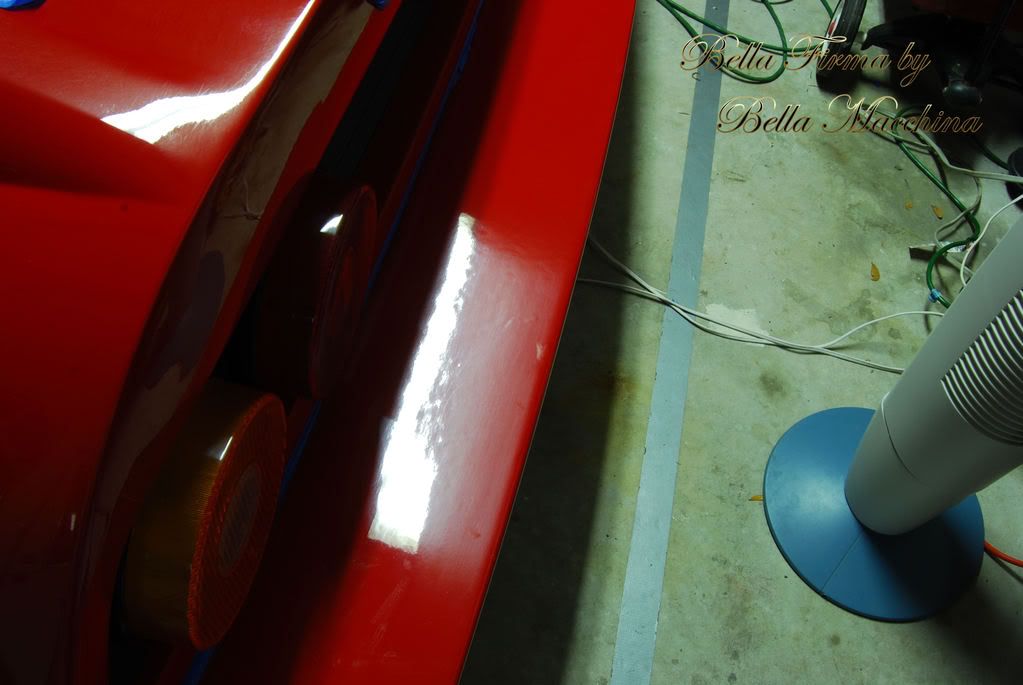
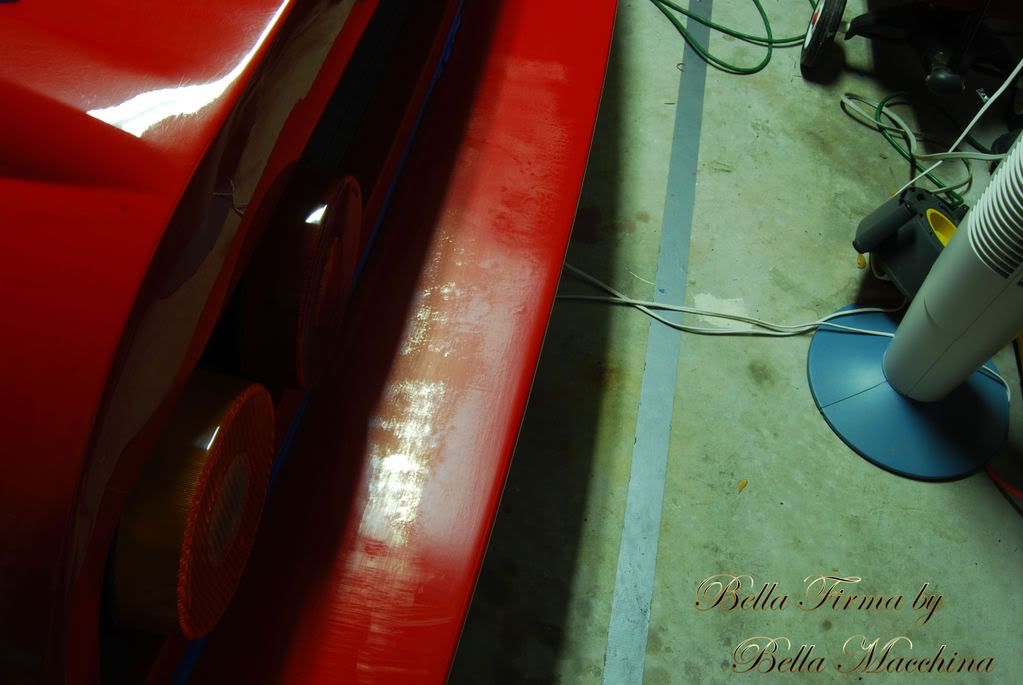
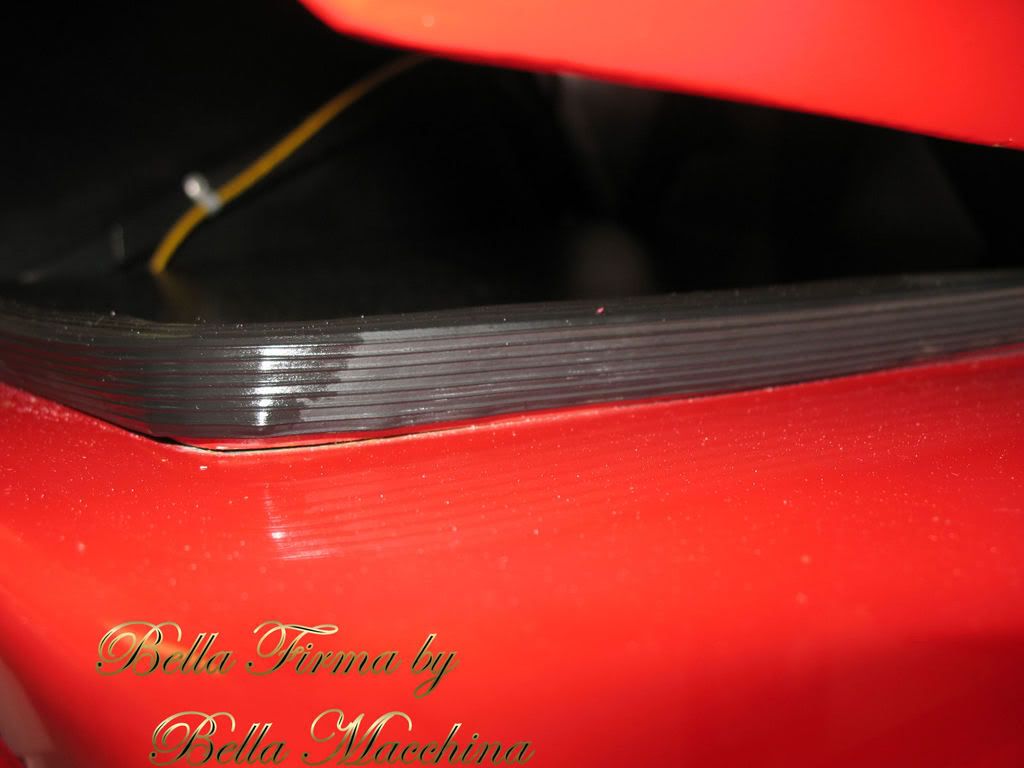
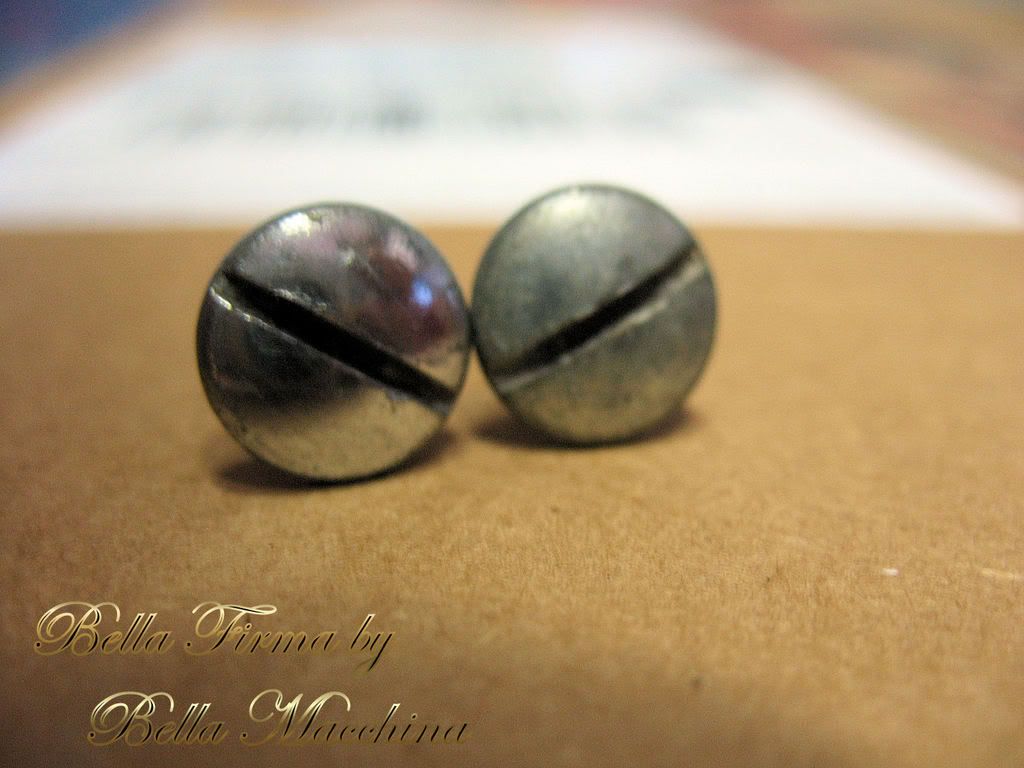
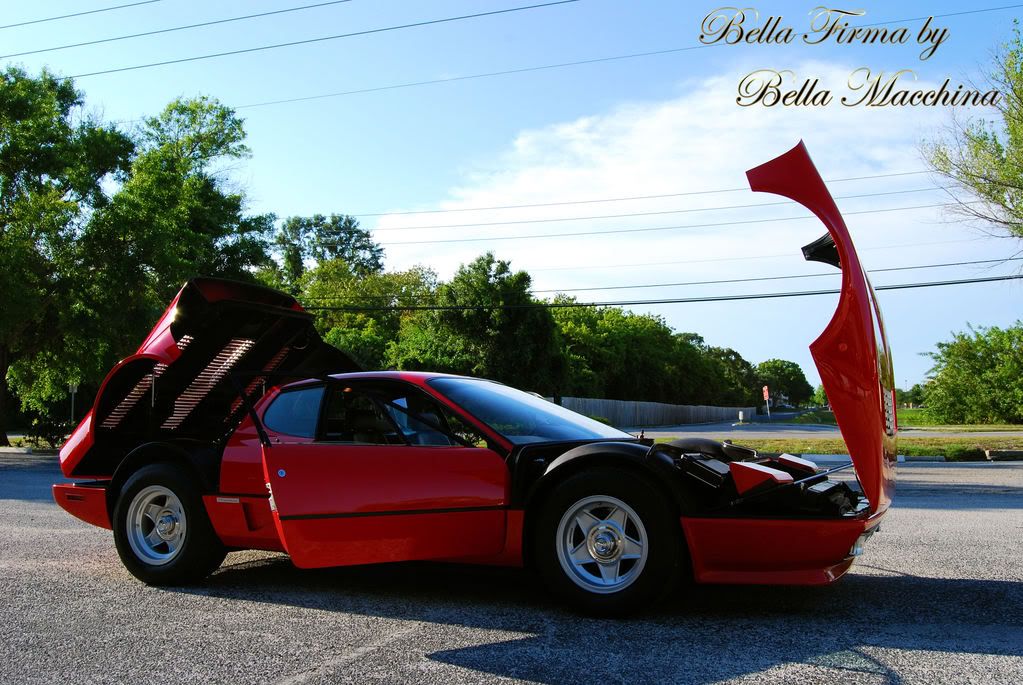
To prepare this Ferrari for major paint surface surgery it is very important to tape up the 30 year old trim as well as any sharp edges and body lines. The Ferrari Boxer was the last hand built Ferrari (with bodys shaped by artisans using dollies and mallets) and are notorious for having very thin paint on the edges.
Brian drawing a line with 3Ms blue painters tape over the stripping.

In this video clip I speak about the importance of properly taping the Ferrari.
<object width="425" height="350"> <param name="movie" value="http://www.youtube.com/v/rij3t1yUk0k"> </param> <embed src="http://www.youtube.com/v/rij3t1yUk0k" type="application/x-shockwave-flash" width="425" height="350"> </embed> </object>
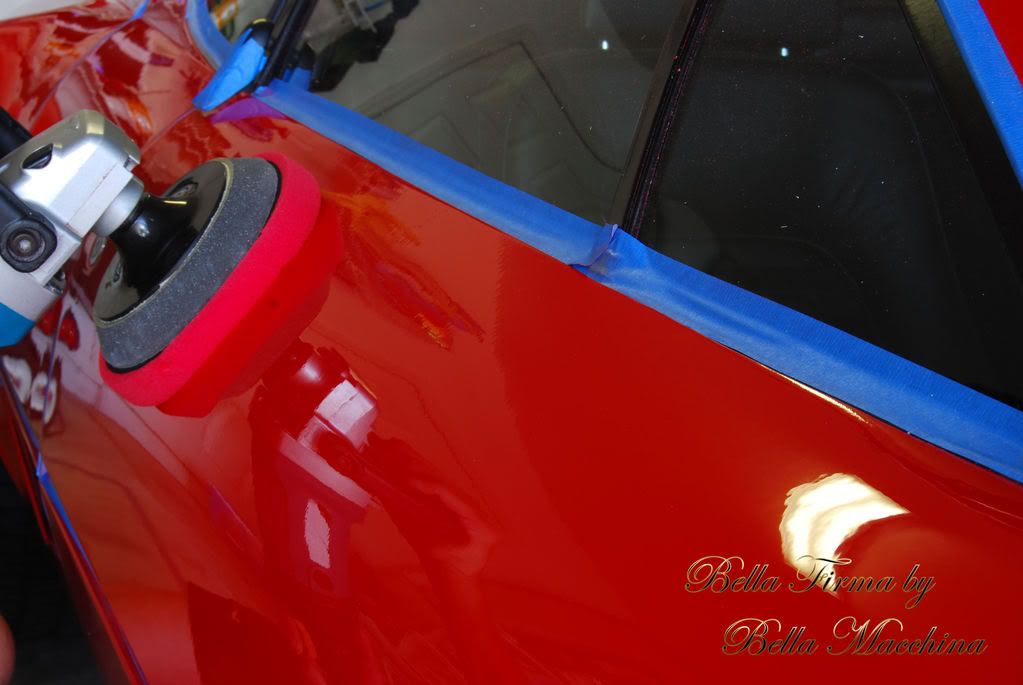
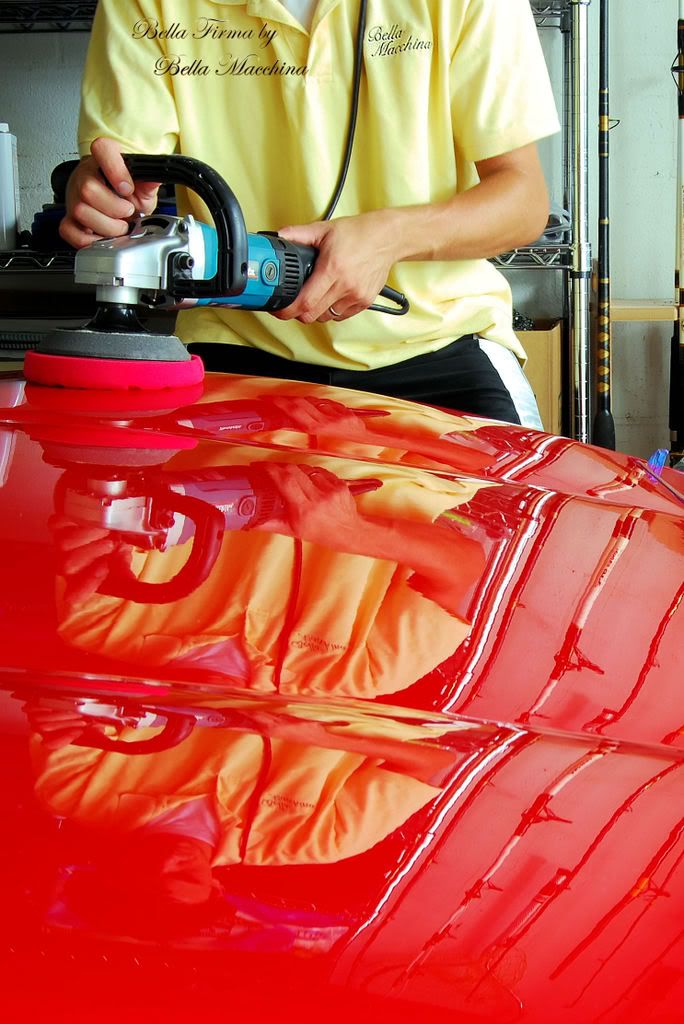
With the vehicle preparation over, it is time to be to correct and revitalize the paints surface. Paint gauge reading we consistently inconstant which is typical of a hand painted Ferrari, and it is also important to remember that the paint is will be 30 years old very soon, so it is better to massage then cut.
Using Menzerna PO83 as a baseline with a white LC pad allows me to gauge the relative depth of the defect and get a feel for how the paint will re act to various polishing steps. A pass over a test section did reduce the swirl marks but unfortunately did not remove nor lessen any of the deeper scratches. This paint required heavy compounding, which is where we ran into a road block.
The paint was very soft and did not respond well to heavy compounding, as the abrasives in various compounds (even when applied with foam pads) would leave rings (like an Audi symbol chained together) through out the paint that proved very stubborn to remove. Using various wool pads would also instill similar marring, which means where limited in how aggressive we could go. Using Menzerna P083 and a green pad seemed to be the most aggressive we could get, and even this was incredibly slow going and did not have the cut to remove the deeper scratches.
After several hours of frustration, we settled on to a combination that worked best in terms of paint re-leveling, using a two step compound process. Meguiars M95 was applied with 3M Wool Pad at 1500 RPM to level the deeper defects. The rings installed in the paint where removed using a Meguiars So1o Wool Pad using Menzerna PO83 at 1700 RPM backed down to 1200 RPM. Several passes of each where required to keep us heading in the right direction. When going this aggressive on older paint it is vital to take your time and keep the heat level down, while constantly measuring the depth of the paint to keep the paint removal in the safe zone. A classic such as this Ferrari can only have original paint once which is why it demands the finest care.
The compounding and defect removal is the most important step as any defects that remain will be visible after the polishing is complete. After thoroughly compounding the Ferrari we rewashed it to remove any compounding dust. At this point we had over 14 man hours into the paint and where making good progress in aiming to restore this paint to perfection. Constant inspection and checking of paint depth is mandatory in re-leveling of this nature.
P083 was leaving a great surface given that it was being used on a wool pad but still required two to three applications with a green German pad and various RPM to remove any traces of marring from the compounding step. At this point the day was long and I had to continue on my own. After a fifteen minute break (it was 8:30 PM at this point) it was back to work.
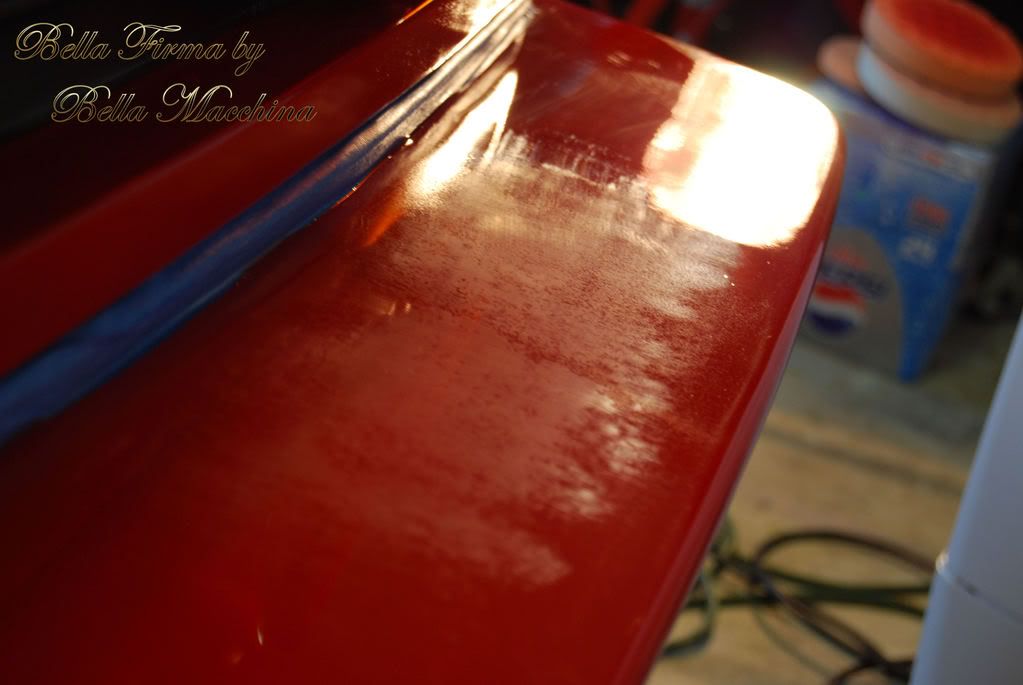
Polishing the paint with PO83 brought a huge amount of gloss back into the single stage paint, but also revealed areas where some deeper scratches remained on the hood, roof, and sides. After checking the paint depth, I elected to wet sand the areas with Meguiars Uni-Grit Sand Paper in 2000, 2500, and 3000 grits.
Here is a picture of the hood after receiving spot sanding.
-
Super Member
Re: 53 hour detail on classic Ferrari
This process was repeated over much of the hood and driver side fender, as well the entire roof to remove the deep scratches. Unfortunately when the paint was highly polishes the reaming RIDs where very apparent.
The rear bumper was a mess, with thousands of deep scratches and one area with a very bad blend mark from a possible touch-up painting.
The area about an inch closer then the light shows the blend mark
which was sanded with 2000 grit until level then followed with 2500 grit until smooth?
On the other side of the bumper were deeper RIDs and a noticeable haze in the reflection of the paint from thousands and thousands of micro scratches.
The scratches where removed by sanding
And the haze was removed by compounding and polishing the paint, similar to the rest of the body. This left the refection of the UV lights on the ceiling as well as the popcorn texture very sharp in the paint.

At 2 A.M. it was time to call it a night. All of the RIDS and scratches had been removed, either by sanding, compounding, or a combination of both and most of the paintwork had been polished.
Day two started at 8 AM with the advent for finishing a couple areas with PO83 before moving on to jewelling the paints surface to an extremely high gloss.
X
After finishing the entire surface with P083 using a combination of green German foam pads (both 6.5 inch and 4 inch) we began jewelling the paints surface and ensure it was microscopically perfect using Menzerna P087mc on a red LC pad. Side by side we tested Menzerna PO85rd on a red LC pad and found that this gave us a slightly sharper, more reflective surface as it seems to level the paint just a little truer.
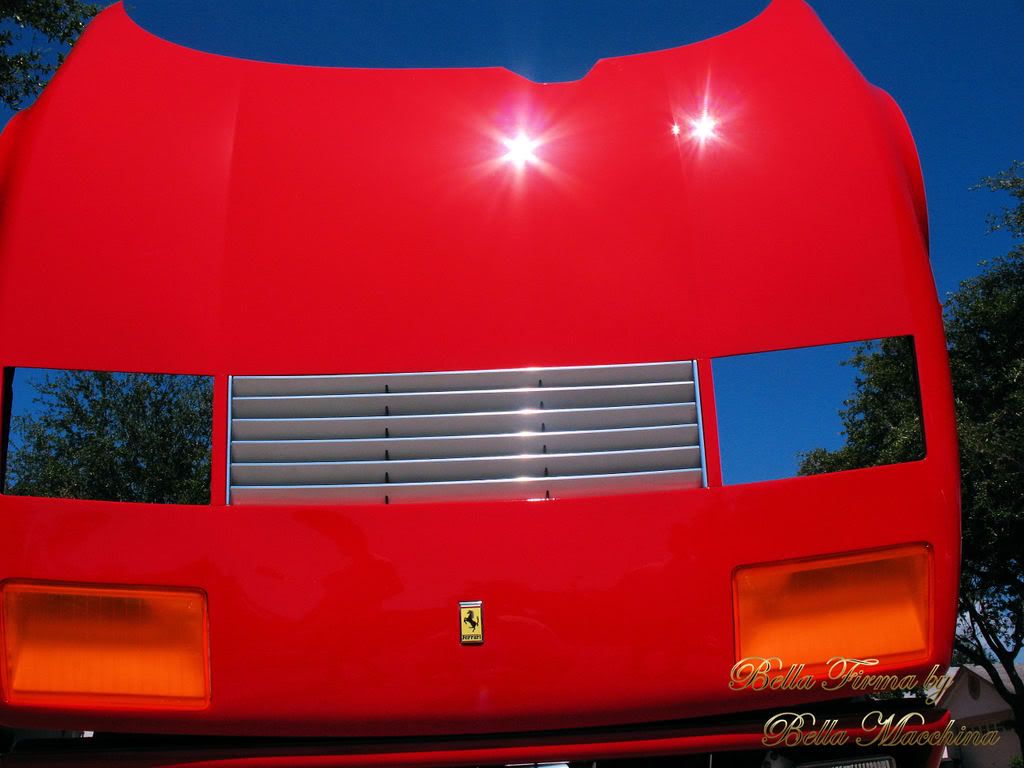
When PO85rd is worked into the paint properly and broken down completely it will leave a translucent film and an extremely high gloss on the paints surface.
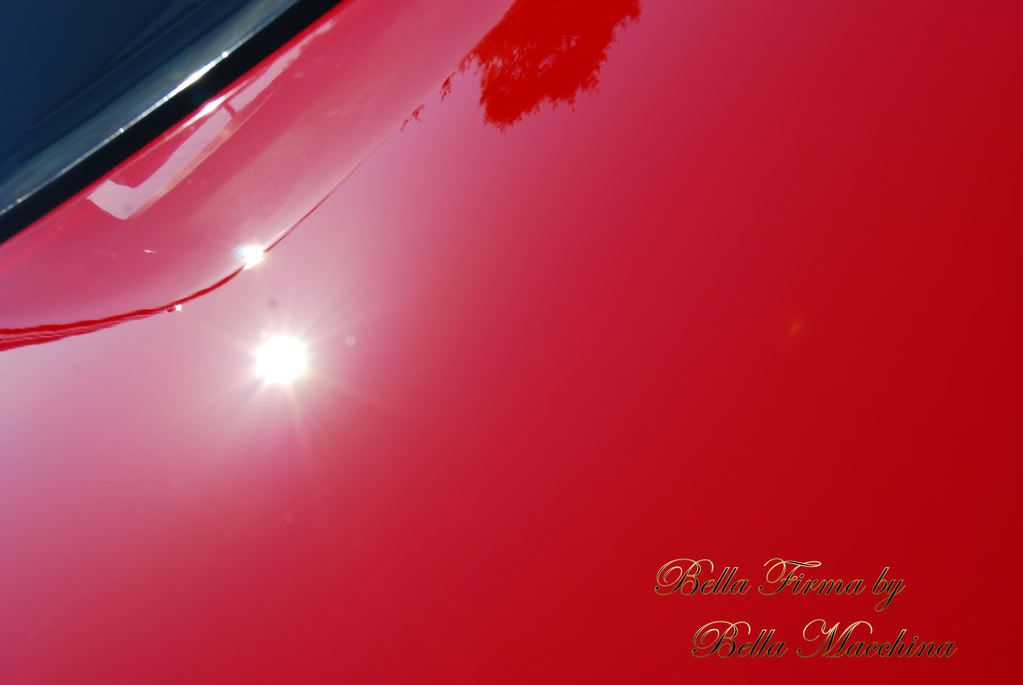
You can see the clarity of the paint restored (30 year old paint) and the sharpness and color range that probably hasnt been seen since one of the Ferrari artisans laid out the enamel by hand three decades ago.
<object width="425" height="350"> <param name="movie" value="http://www.youtube.com/v/5ROqLZra-0E"> </param> <embed src="http://www.youtube.com/v/5ROqLZra-0E" type="application/x-shockwave-flash" width="425" height="350"> </embed> </object>
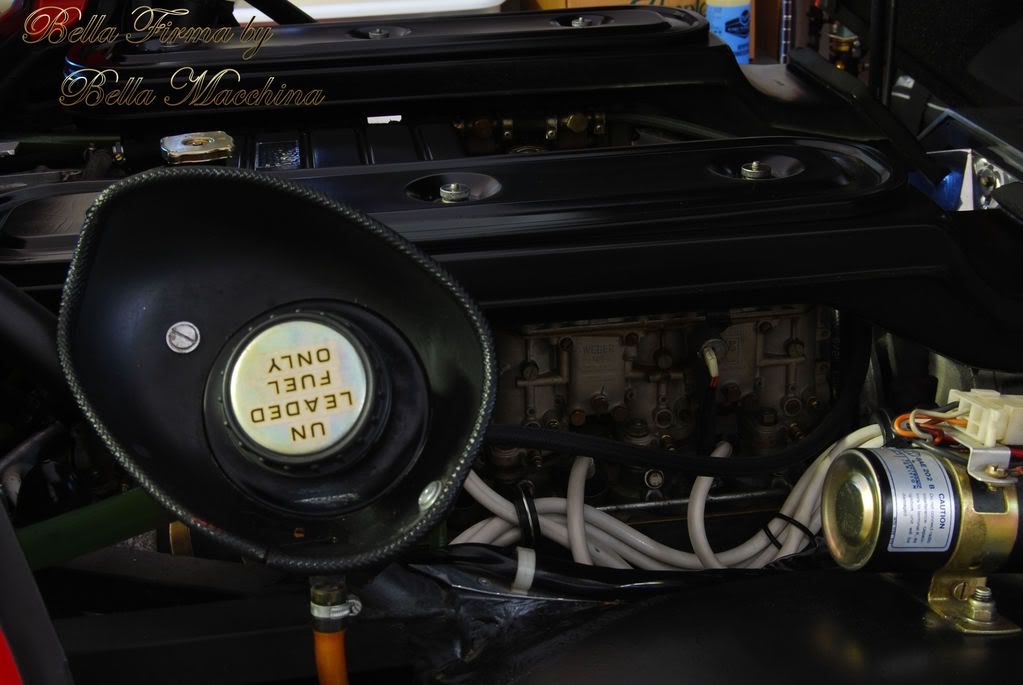
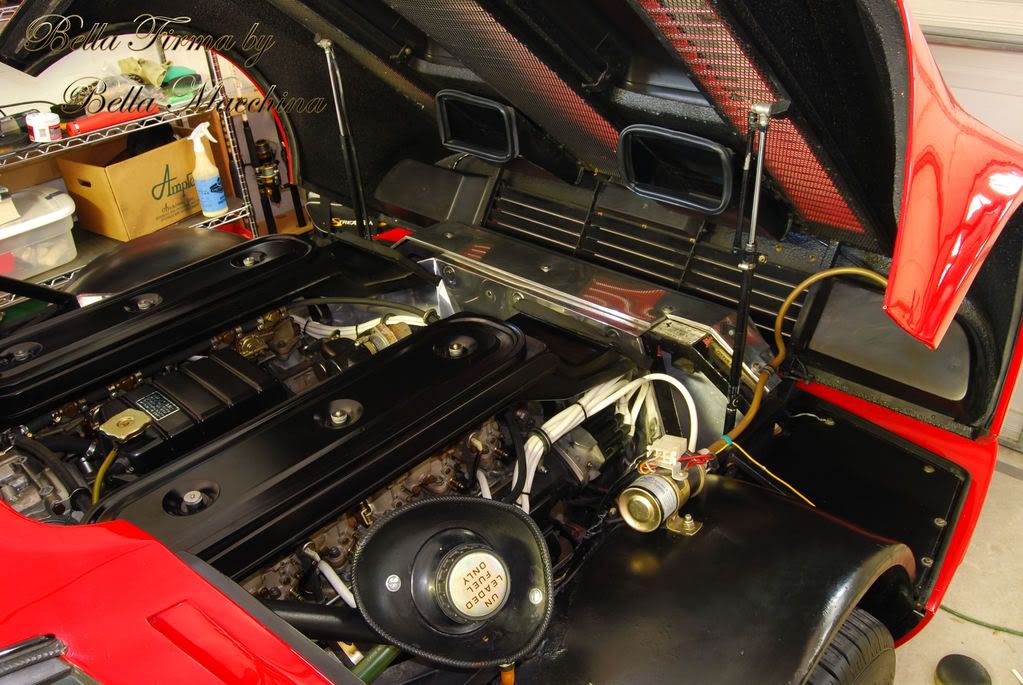
The rear spoiler and engine covers where heavily oxidized and needed to be refinished as well. Jeff Werkerstatt Prime and various pads on a UDM cut through the oxidation and left the surface looking factory fresh (semi-gloss). Here is a 50/50.
With majority of the exterior wrapped up we had the pleasure being joined by Autopian Detailers Angelo (zoomzoommazda) and Eric (black745) who volunteered their time and came to hang out. Angelo was also instrumental in providing some additional PO83 as our quart had not shipped in from Autogeek as of yet.
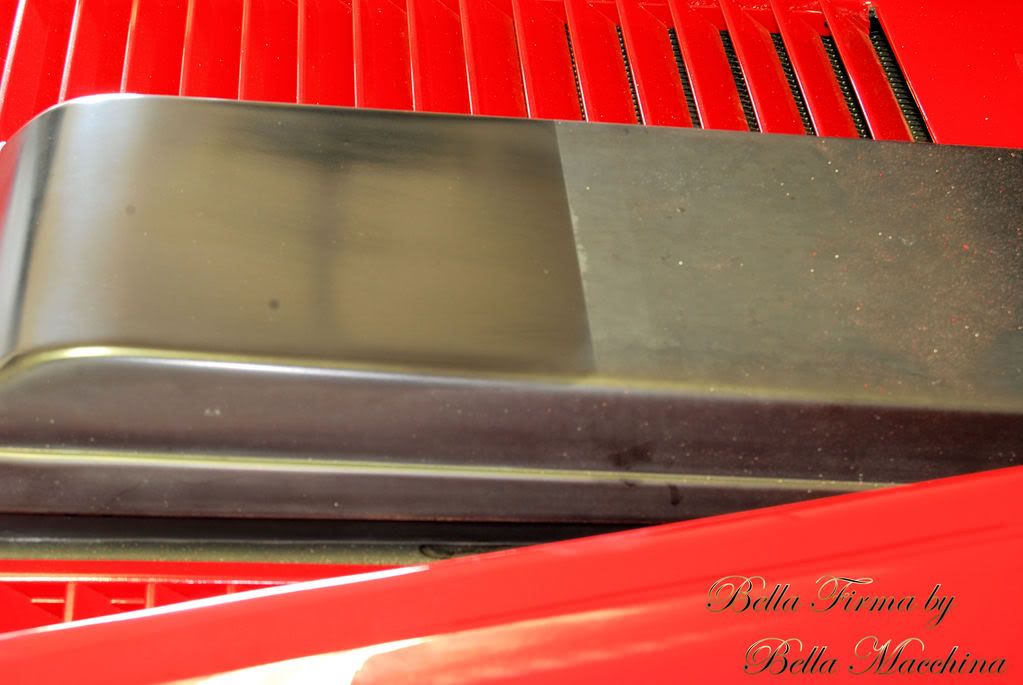
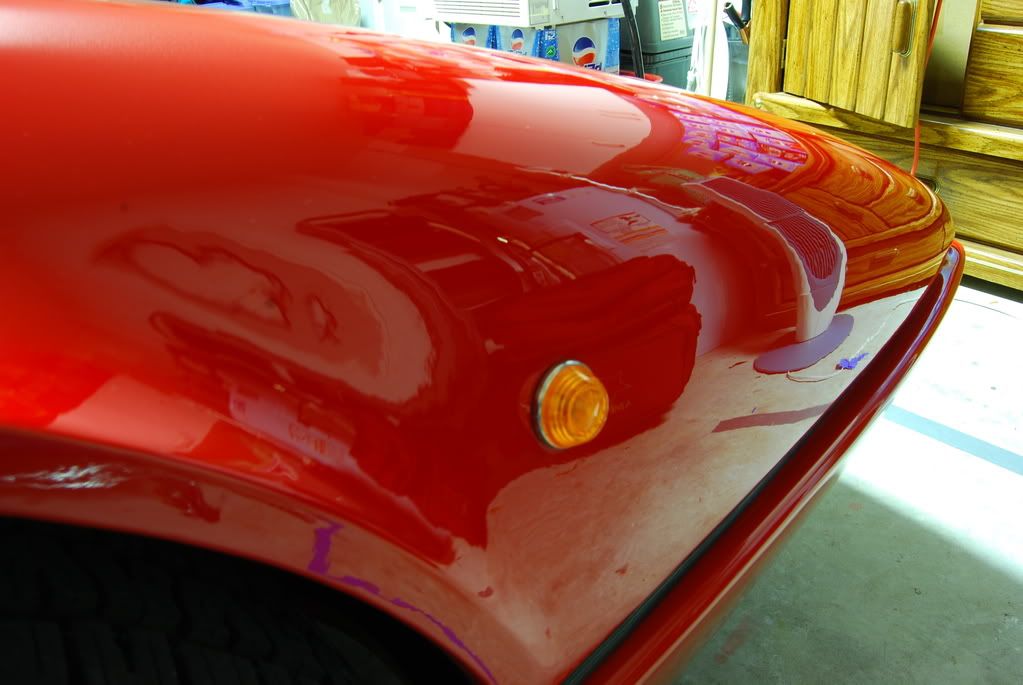
The plastics of the exterior (headlight covers, reflectors, markers, and taillights) where polished with Caswells Blue Compound using a Caswell string buff on a power drill to restore the original gloss of the plastic. This was followed with Menzerna 106FF by rotary with a blue CCS spot pad to remove any compounding haze and increase the gloss further.
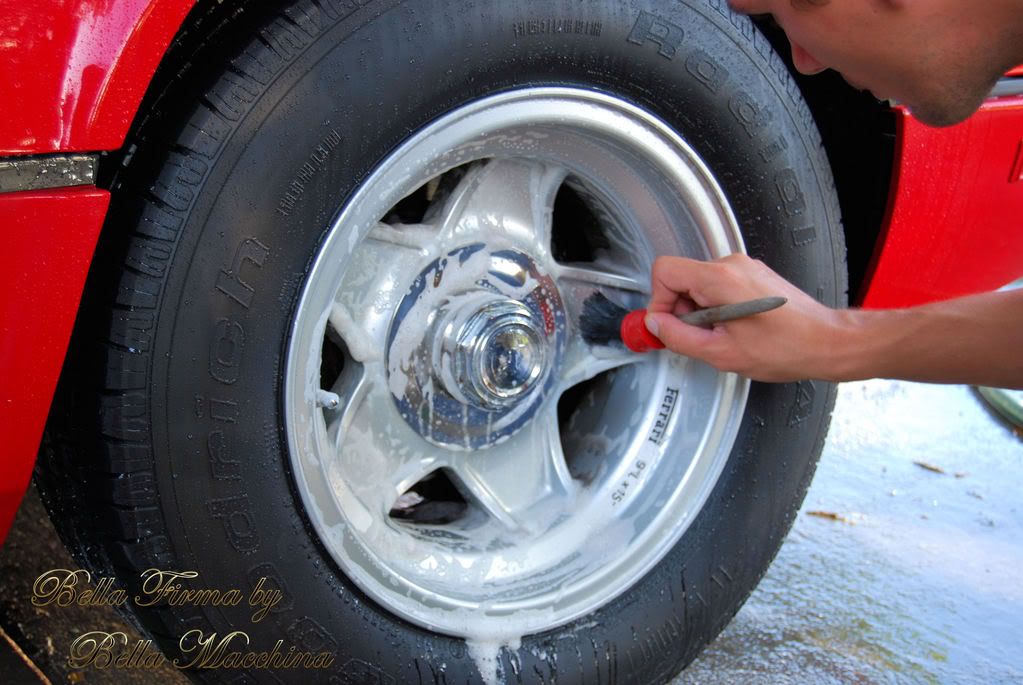
The factory wheels responded well to a hand buff with Zaino All-In-One, then where topped with 2 layers of Zainos Z5pro. The center lugs where hand polished with Mothers Billet polish. The tires received 3 coats of Meguiars Hot Shine Tire dressing, the first two coats applied with a microfiber and third with a foam applicator block. After being allowed to set for 3 hours the excess was wiped clean to ensure a very even and natural look on the rubber. Plastic window trim was cleaned with Jeff Werkerstatt Prime and coated window trim received 1Zs Gummi Pfledge. The wheel arches where treated with two coats of 303s Aerospace Protectant.
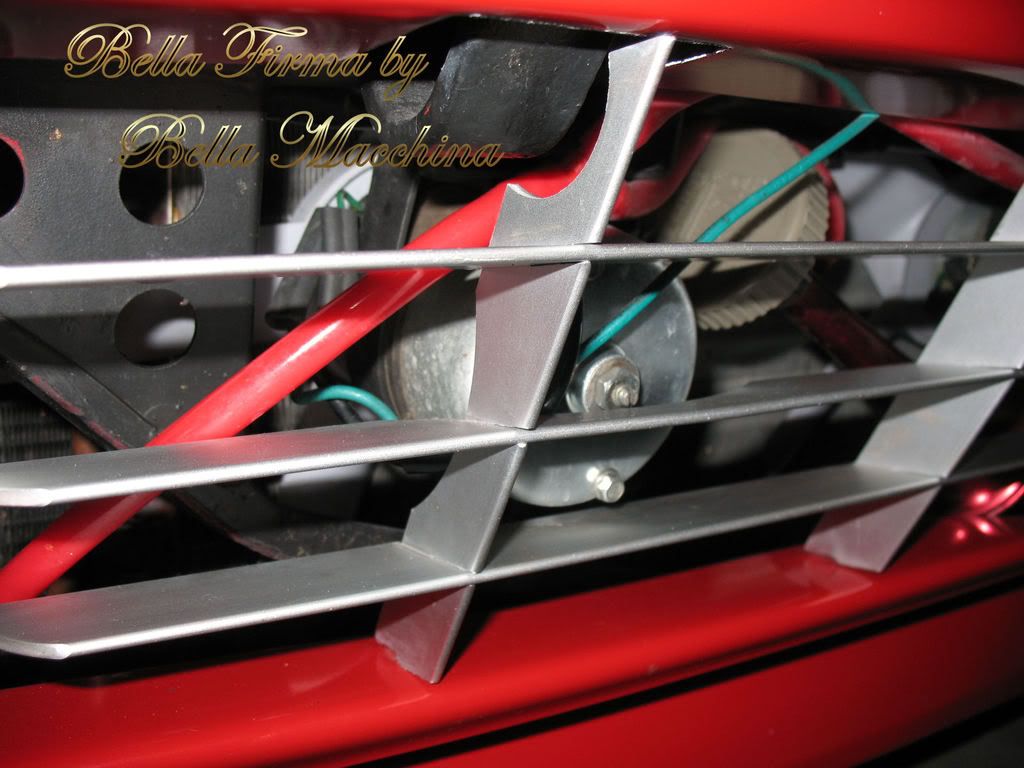
Angelo spent close to two hours cleaning the front grill and the horns and components behind it, removing 30 years an 8000 km of grime.
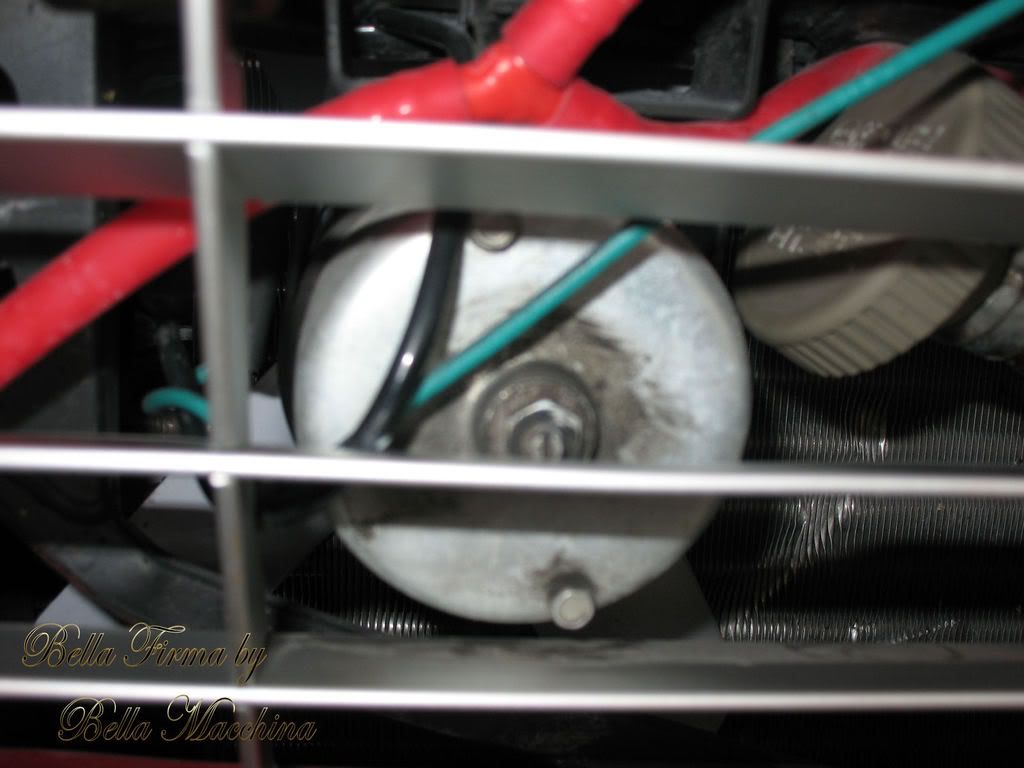
The after photo does not reveal the quality of work Angelo did because of the rock chips and road abrasion, but you would eat off on any area.
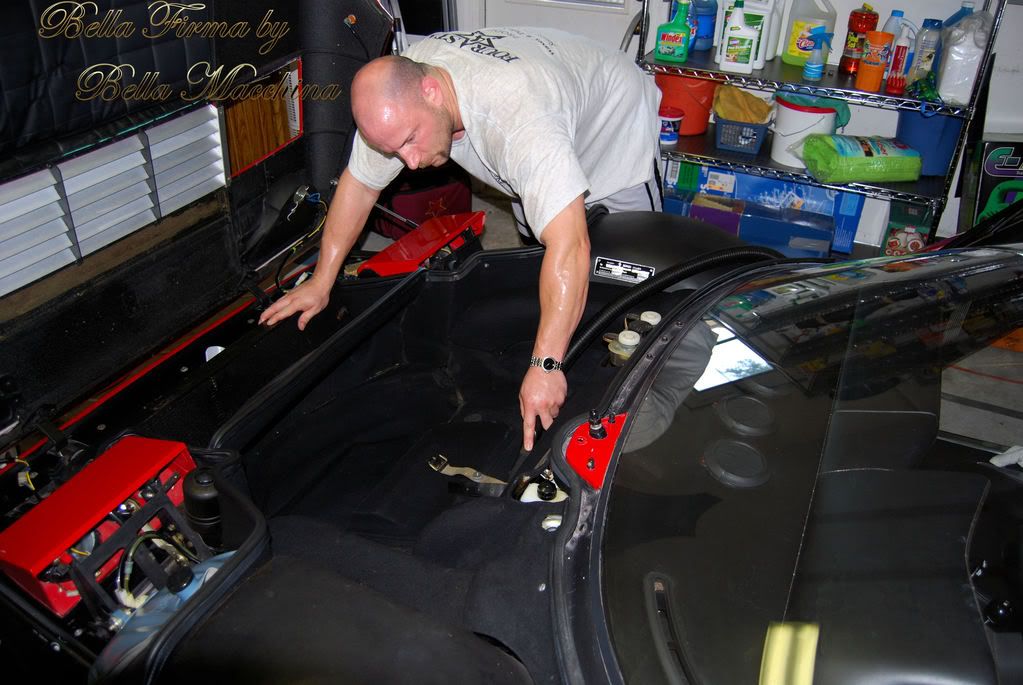
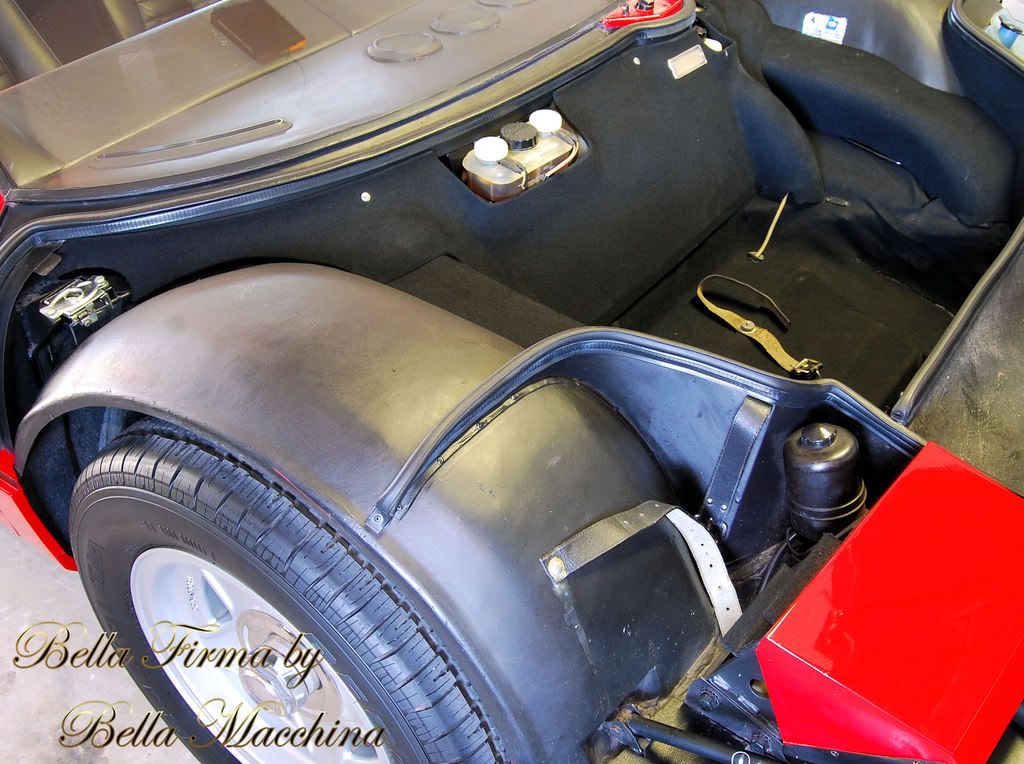
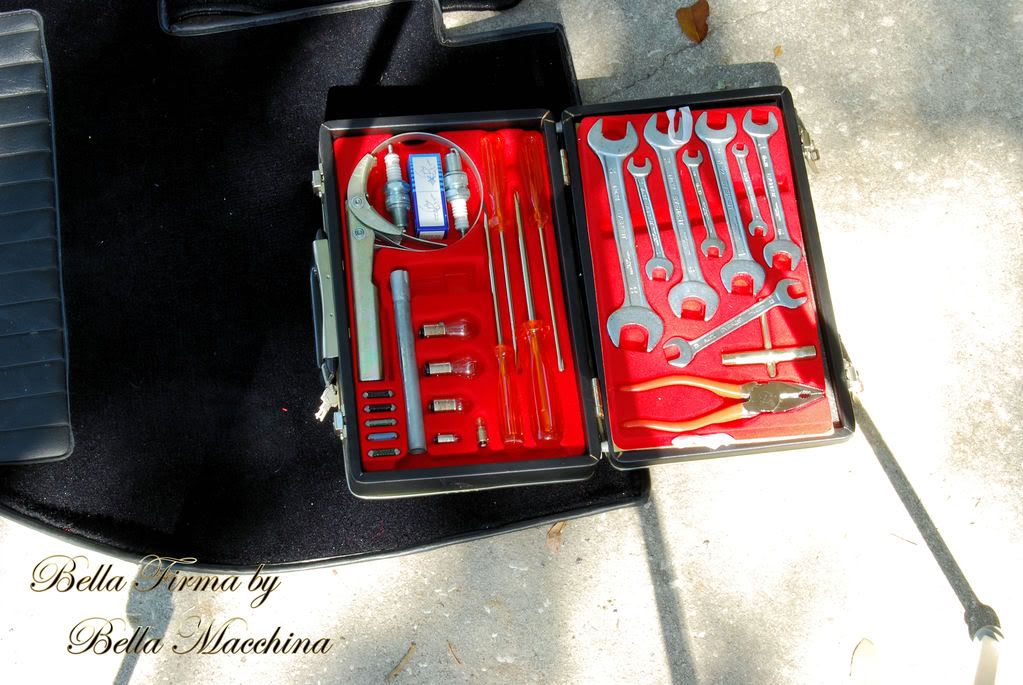
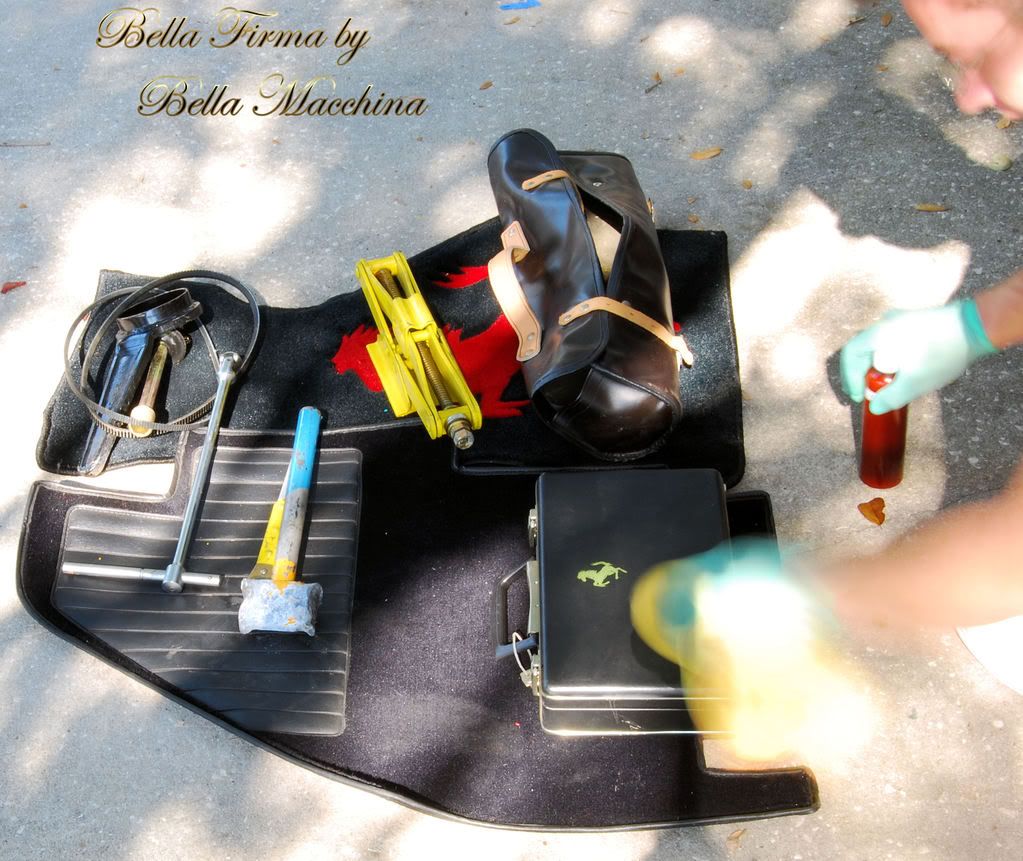
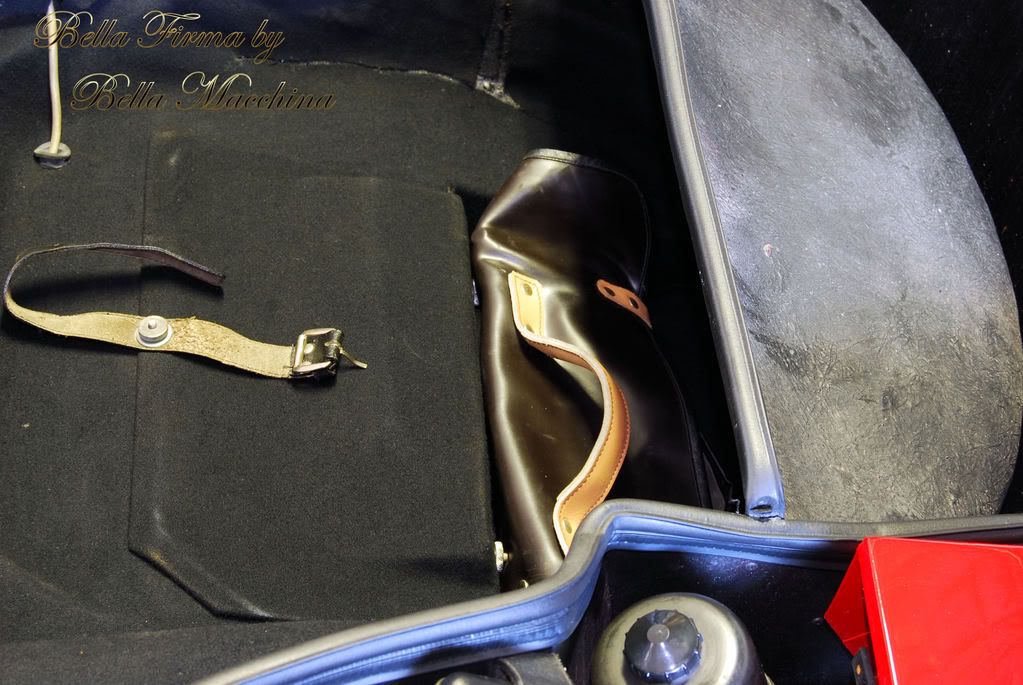
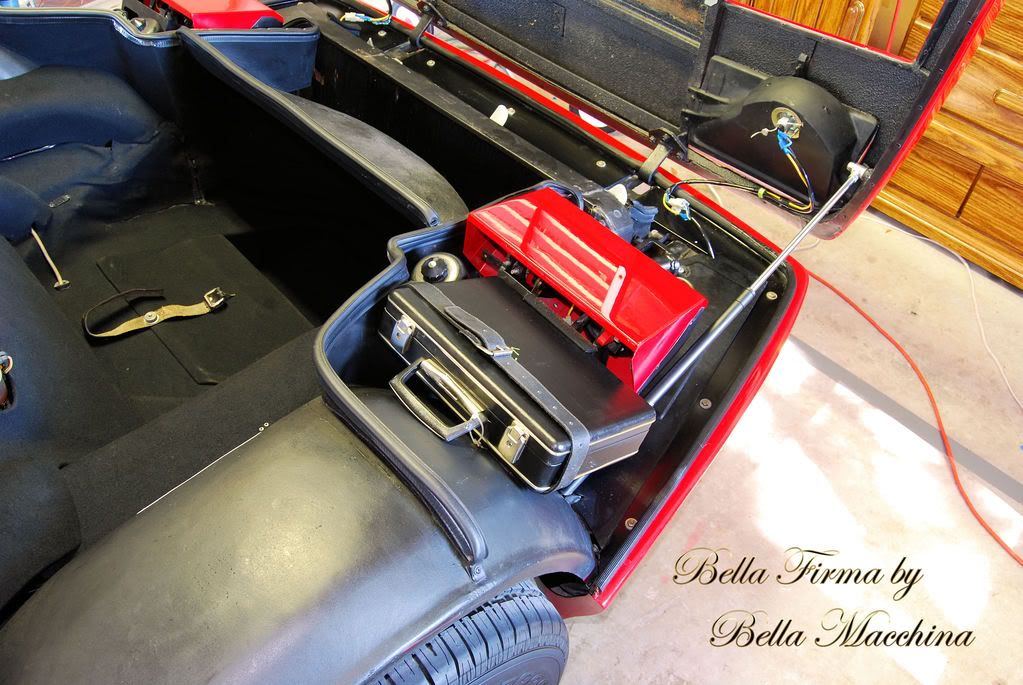
The trunk was disassembled by removing the spare tire, tool kits, and carriers. Unfortunately there was a lot of compound splatter (from the previous polishing attempt) that took a little elbow grease to remove from the weather stripping. Meguiars APC was used (7:1) to wipe and clean every area in the trunk in combination with q-tips and various brushes. The cooling fans where wiped with Meguiars Safety Degreaser, then all the black work was treated with 303s Areospace Protectant. 1Z Gummi Pfledge was used to treat all the weather stripping.
[IMG]
http://i184.photobucket.com/albums/x...512BB/a064.jpg[/IMG]
Blk745 (Eric) or Hercules works up a good sweat in the 100 degree heat in the garage vacuuming the very difficult carpeting.
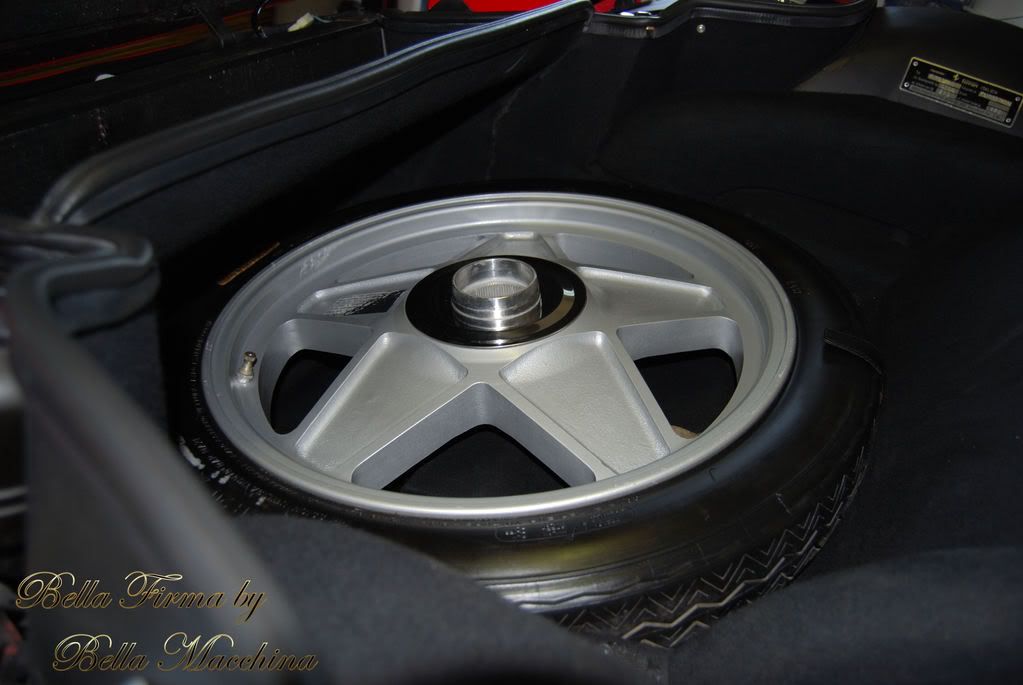
The spare tire was removed and cleaned with P21s Wheel Gel. The tire was scrubbed with Emmin Fabrick tire cleaner and rinsed clean.
Before
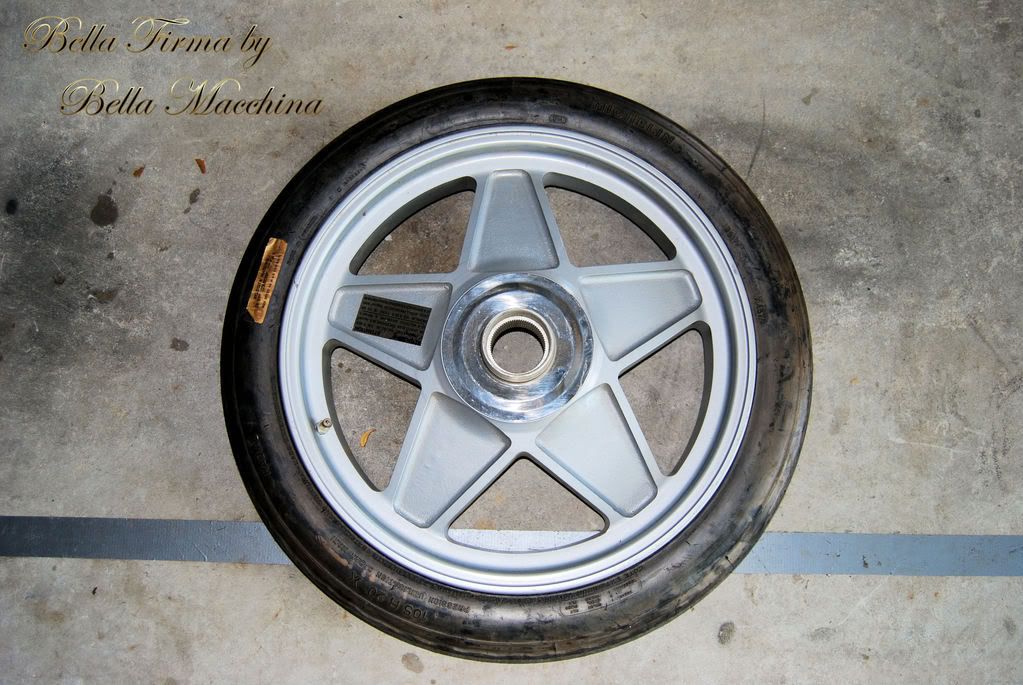
During
The tire dressed with Meguiars Hot Shine and being carefully laid back into the very clean trunk.
-
Super Member
-
Super Member
-
Super Member
-
Super Member
-
Super Member
-
Super Member

Re: 53 hour detail on classic Ferrari
Wow! What a beatifully thorough detail. 
-
Re: 53 hour detail on classic Ferrari
I'm speechless. You guys killed that one. Beyond Awesome Job!
Similar Threads
-
By Maestro Sam in forum Auto Detailing 101
Replies: 14
Last Post: 07-12-2016, 08:29 PM
-
By Oakes in forum Show N' Shine
Replies: 67
Last Post: 09-05-2015, 04:27 AM
-
By Waxed in forum Show N' Shine
Replies: 11
Last Post: 11-04-2014, 08:55 AM
-
By statusdetailing in forum How to make money detailing cars
Replies: 31
Last Post: 12-08-2012, 02:32 PM
-
By duck_commander in forum Show N' Shine
Replies: 8
Last Post: 04-29-2012, 09:16 PM
 Members who have read this thread: 0
There are no members to list at the moment.
Posting Permissions
- You may not post new threads
- You may not post replies
- You may not post attachments
- You may not edit your posts
-
Forum Rules
|
| S |
M |
T |
W |
T |
F |
S |
| 31 |
1
|
2
|
3
|
4
|
5
|
6
|
|
7
|
8
|
9
|
10
|
11
|
12
|
13
|
|
14
|
15
|
16
|
17
|
18
|
19
|
20
|
|
21
|
22
|
23
|
24
|
25
|
26
|
27
|
|
28
|
29
|
30
| 1 | 2 | 3 | 4 |
|


 Reply With Quote
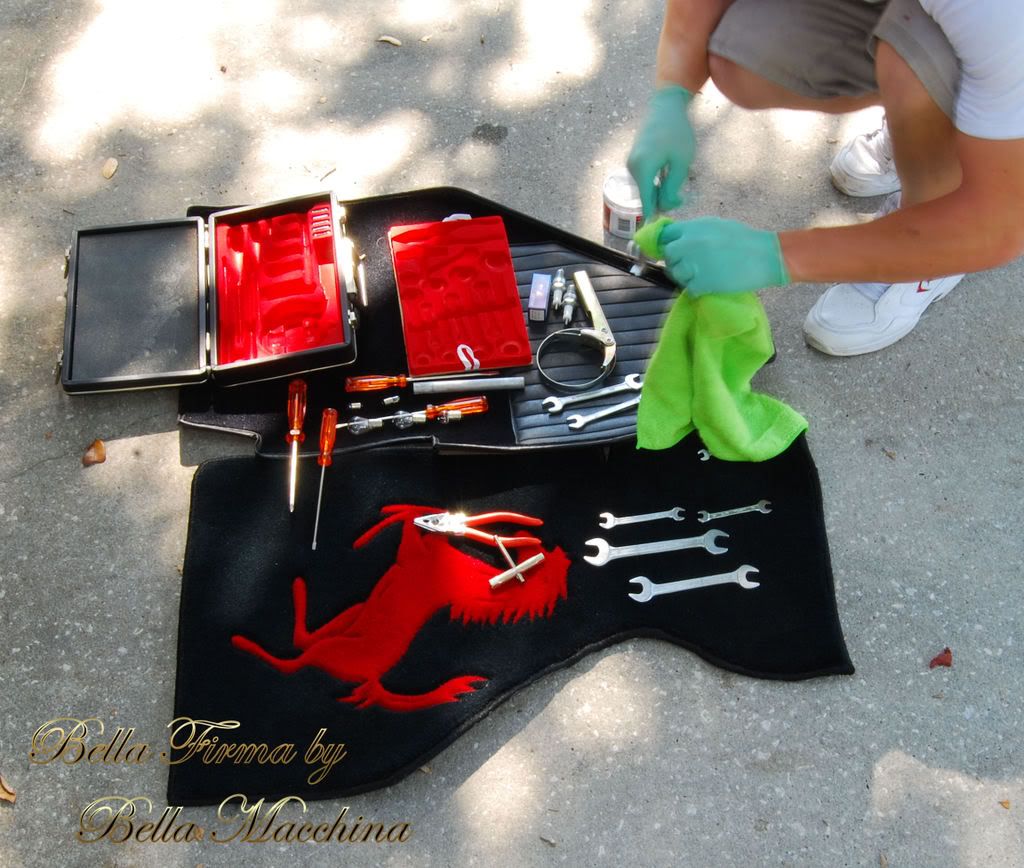


Bookmarks