 Dislikes: 0
-
07-26-2022, 01:37 AM
#131
Super Member

Re: DFB's Garage
Your boss sould get $7,000 - $10,000 for that Mazda because of current situation 
Edit as i thought is was a 2005 Model
Last edited by Tasmania; 07-26-2022 at 02:16 AM.
Reason: I thought is was a 2005 Model
-
Post Thanks / Like - 0 Thanks, 1 Likes, 0 Dislikes
 DFB
DFB liked this post
-
07-26-2022, 04:01 AM
#132
Super Member

Re: DFB's Garage
 Originally Posted by Tasmania

Have to ceramic coat every tool to be OG certified 
Only joking at least yours will be used 
OMG, don't give me ideas!  
-
Post Thanks / Like - 0 Thanks, 2 Likes, 0 Dislikes
-
08-01-2022, 03:56 AM
#133
Super Member
Re: DFB's Garage
Was up early this morning to take delivery of my boss's new car, a Mazda CX-5 Akera in Eternal Blue.

They even splurged on the Turbo engine; I think I may have influenced that a little.


After advising to skip the dealer protection packages, the aim of this detail was to install paint and interior protection.
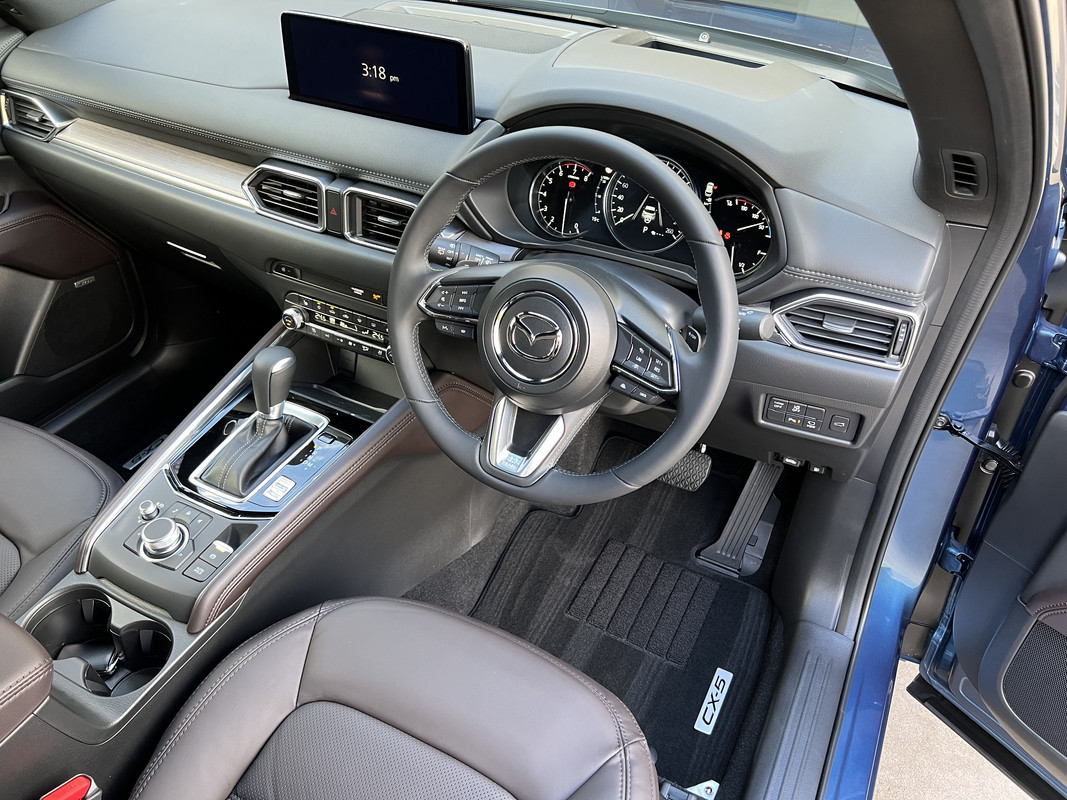
I normally start on the exterior but switched that around today as I had to go out mid-morning. As you would expect for a brand-new car, there was not a lot to do on the interior. I simply vacuumed the carpets and used a damp microfiber to dust off the dashboard and door trims. There were a couple of specific treatments though.
A quick misting of 303 Fabric Guard on the carpet mats and boot floor.


With the customer wanting the leather to be protected, I decided on Colour Lock Leather Shield. Being brand new, I only felt the need to clean the front seats, the rest was given a wipe with a damp microfiber. In this case, I'm using Colour Lock Mild Leather Cleaner.

Once clean and dry, it was onto the Leather Shield. Colour Lock offer two leather protection products, Leather Shield is for new leather less than 3 years old. Leather Protector is then used from 3 years and older.
Leather Shield protects against abrasion, color transfer and general wear and tear in those first three years. After that, it is then a case of feeding/protecting the leather with Protector.

Application is easy, simply wipe the product on with a cloth or application sponge and allow to dry.
That was it for the interior, save for cleaning the glass. No scented cleaning products were used or needed, nor did I apply any scent...........a car only smells like this ONCE!
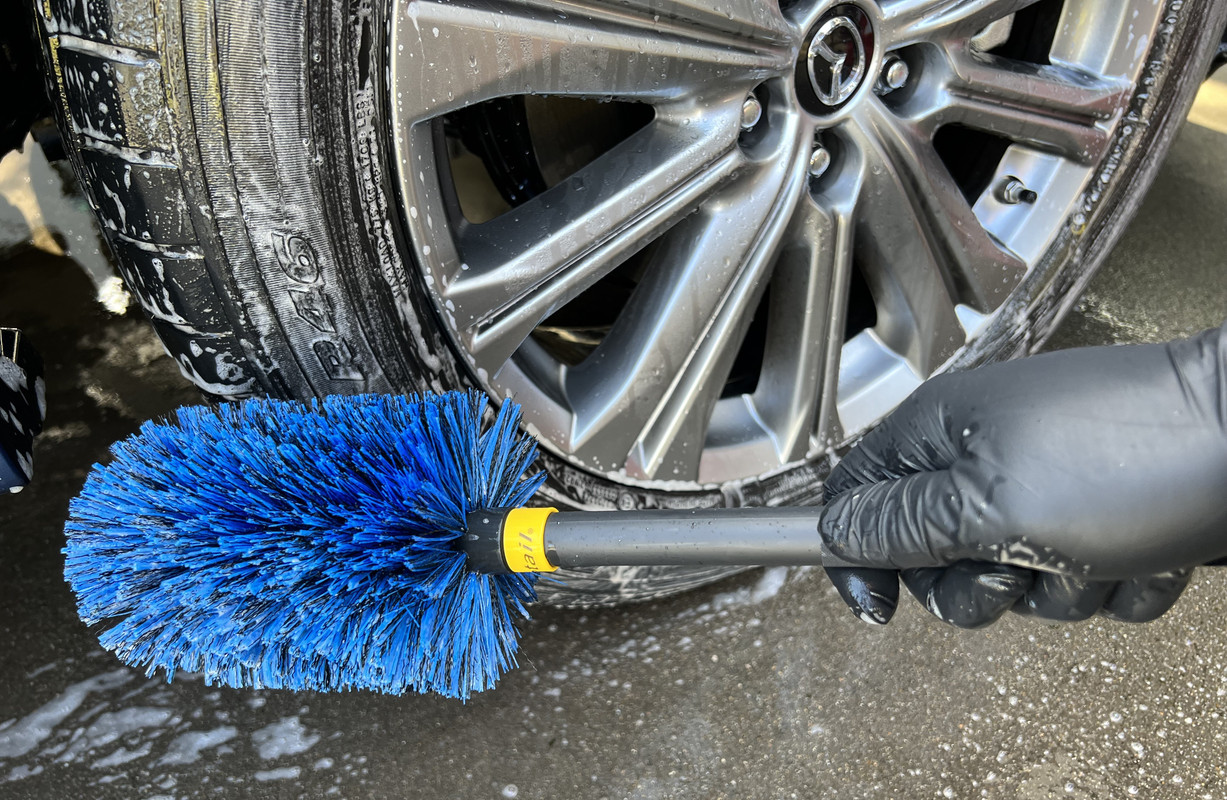
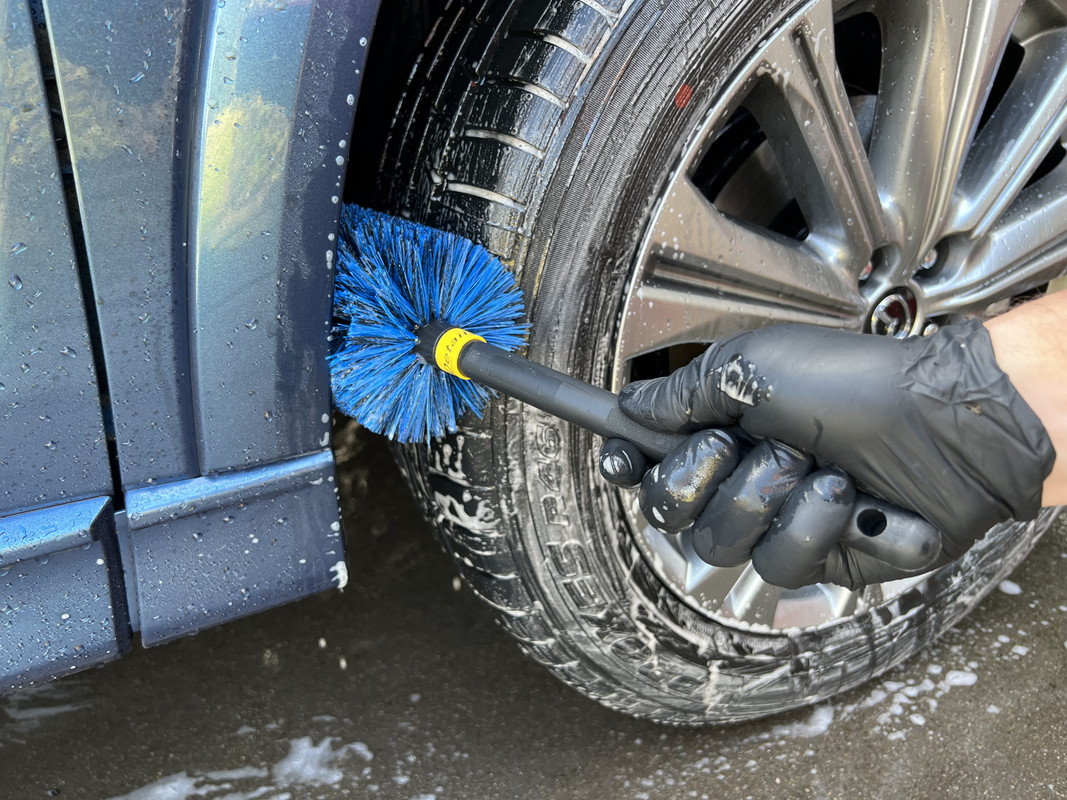
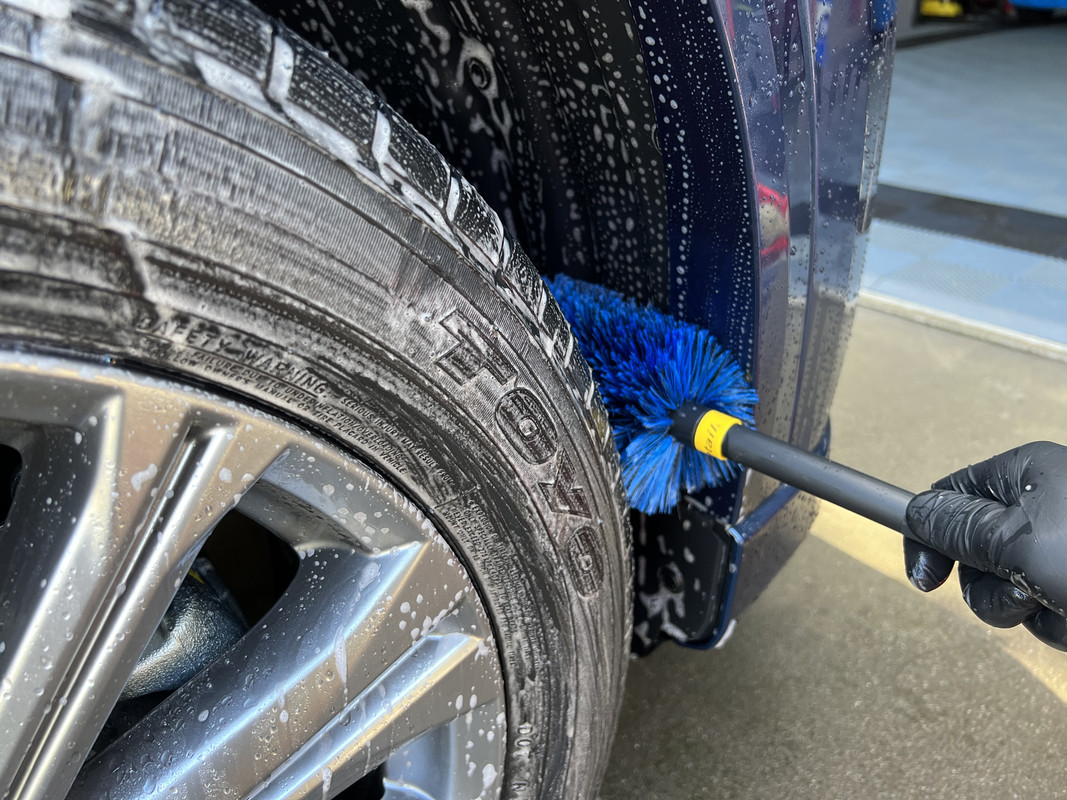
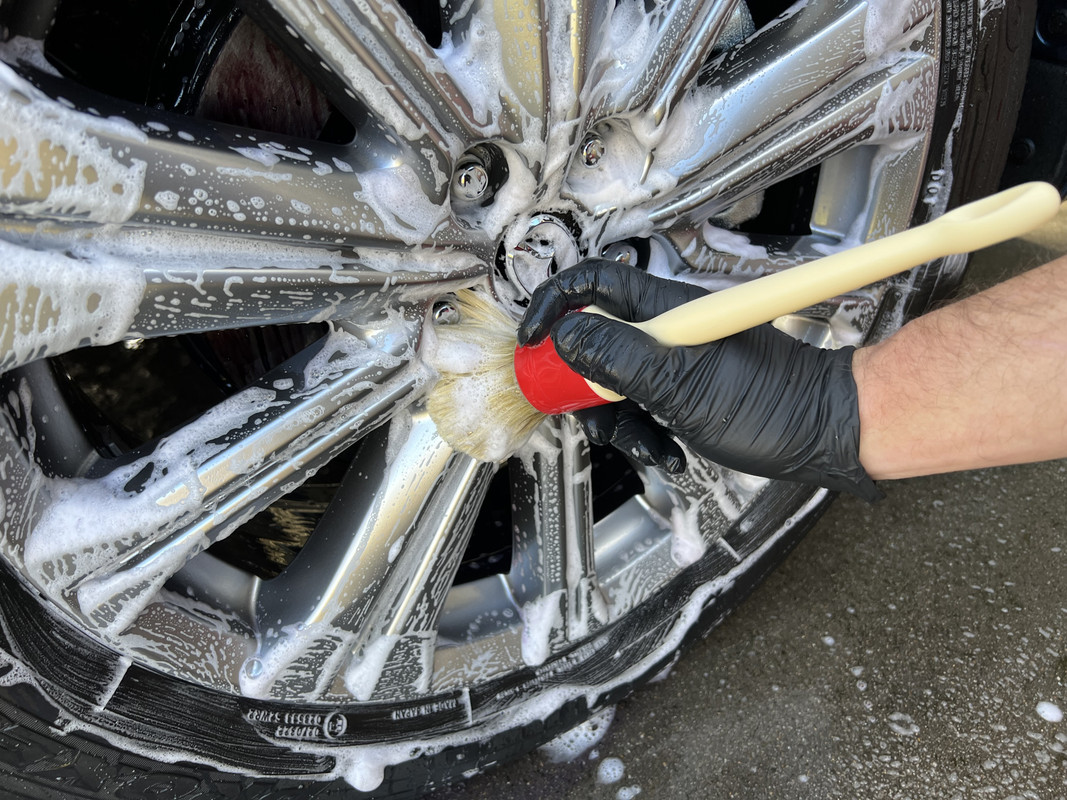
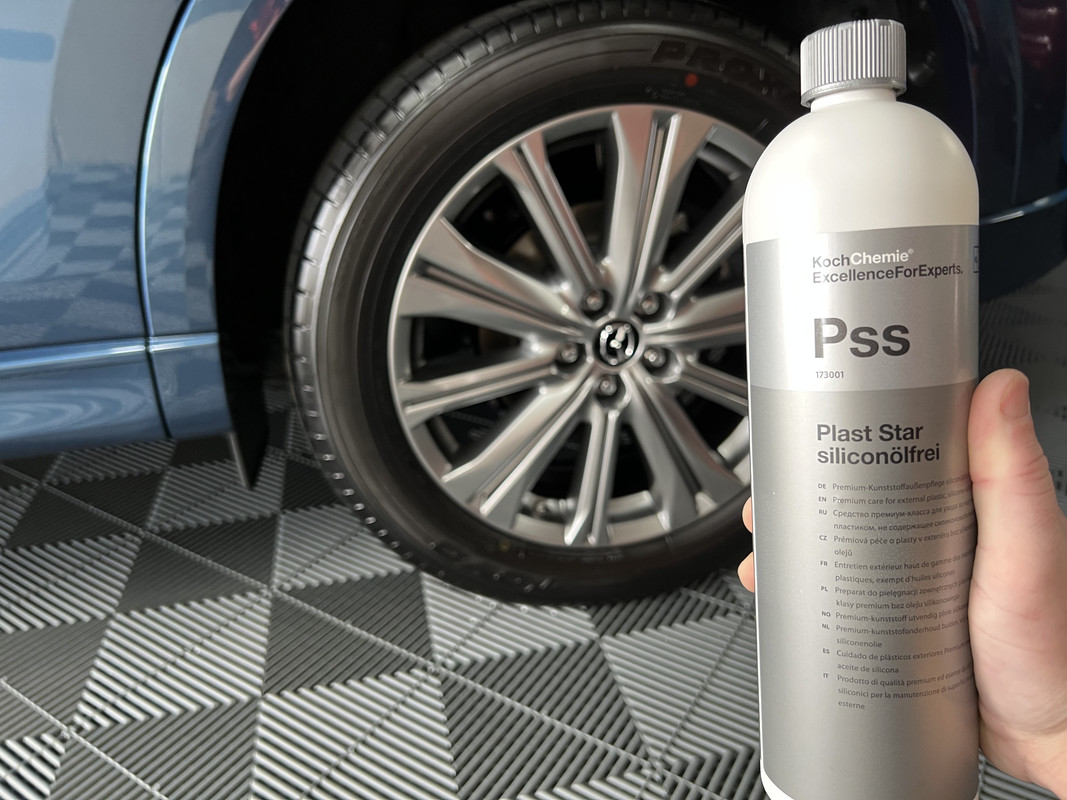
Moving to the exterior, it was onto cleaning these stunning 19-inch wheels. Brake Buster for the tires and wheel arches as usual, then NV Purge for the wheels.

This was my first chance to try my new EZ Detail GO Brush. I bought this specifically for wheel arches, a job it does very well.

Again, a new car so minimal to no iron-reaction.
The car has been with the owners for two weeks, this will be it's first wash in that time on my instruction! Knowing that they would be using a foam sponge, the "blue soap from the supermarket" and a 30-year-old chamois, I didn't want them to create more work for me! 
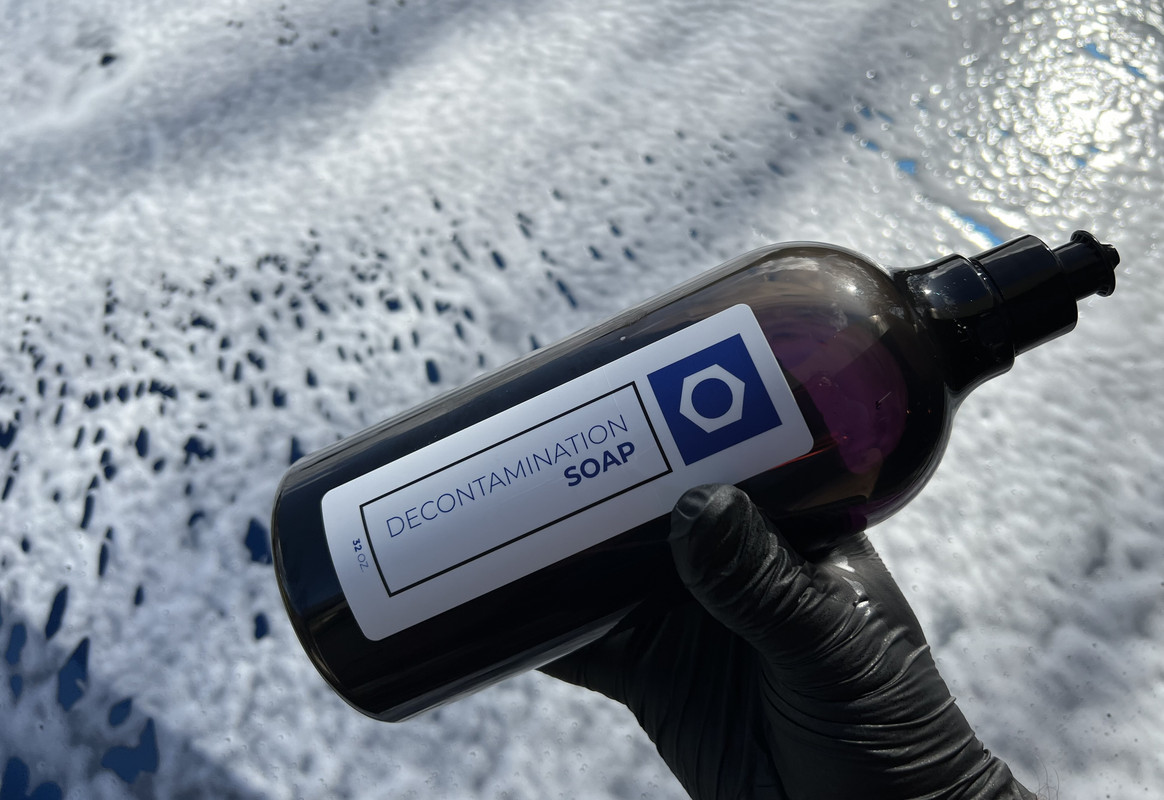
Pre-soak with OG Decontamination Soap, a rinse, re-foamed and then contact washed was the sequence.

Thankfully, the paint felt lovely and smooth, meaning I could skip the clay step. Even so, I did do an iron-decon just to safe.

As always after using IronX, I like to take the extra few minutes to re-foam the car and then rinsing to remove any residue. I then applied Gyeon Wet Coat to the wheels and wheel arches.

The car was then moved inside and meticulously dried using my blower and a towel. It was then wiped down from head to toe with Carpro Eraser in preparation for the next step.

Now for the interesting part, well for me at least. And I have to say the daunting part as well. Save for applying a ceramic coating to wheels and trim, I have never used a ceramic coating on the paint of a vehicle before. Some could say it was foolish to practice on my boss's car, but I choose a very user-friendly coating to begin with; Gyeon Can Coat EVO.

Can Coat EVO is a 12-month coating, up from 6 months for the original formulation. Unlike more hardcore coatings, Can Coat is much easier to apply, flashing instantly with minimal residue to remove, meaning it requires less micromanaging to get right.

I chose to apply Can Coat with a microfiber applicator block rather than a folded towel. You use very minimal product, only two to three spray per section. It's also advised to spray the coating into the towel/applicator away from the car to avoid inadvertent over-spray. Do not spray directly onto the paint.

Application is simple; apply the product to the applicator, work the product over the surface before buffing immediately, making sure to overlap your buffing to prevent high spots. I will say it can be hard to see where Can Coat has been applied to, my only complaint with the product. It took me about an hour to get around the car, some of that was me just getting used to the product.
While Can Coat can be used across all surfaces, including glass, I chose to use Gyeon Quick View for that role.

I then applied Dr. Beasleys Metal Coat to the exhaust tips and dressed the tires with Koch Chemie Plast Star.

Can Coat needs 12 hours to cure and should not be exposed to water during that time. To mitigate this, I applied Gyeon Cure to the whole car. Cure also improves slickness.

Something interesting to note when giving the engine bay a quick wipe down with OG Drying Aid, this $60,000 car has a prop-rod. So, it's not just Ford Mustang's that miss out on proper bonnet struts, seems Mazda are stingy in that department as well.

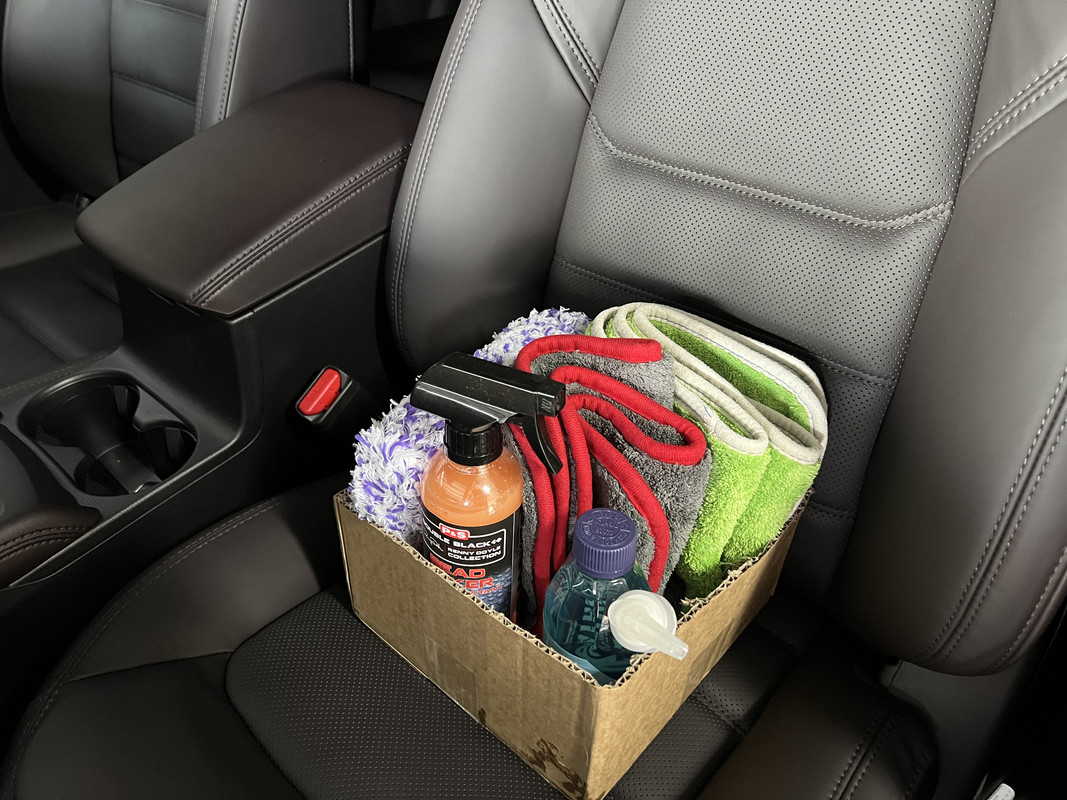
To go with the detail, I also put together a care package for the car. Sticking with the Gyeon theme, I went with a bottle of Bathe for washing in conjunction with a Rag Company Cyclone Wash Pad. I also put in a bottle of Bead Maker as a drying aid and coating maintenance product. Knowing the chamois situation, I gifted them a couple of towels too.
The interior on this CX-5 is stunning! Excepionally well-made and sporting a variety of lush, soft touch materials. I really like the leather trim, having a plum/chocolate hue to it rather than the predicably boring all black interiors that most cars on the market have.

The Eternal Blue paint has a really nice purple flake to it in direct sunlight, emphasized by the Can Coat and Cure combination.


As for Can Coat, it was very easy and forgiving to work with. I'm a classic overthinker, so thanks to those who offered advice and reassurance. 
This car was a pleasure to work on. I'm really happy with how the car came up, being brand new made it so easy, making a change from the neglected and filthy customer cars I normally deal with. The best bit was seeing it driving out of the garage and down the street, it just looked so perfect.
-
Post Thanks / Like - 0 Thanks, 5 Likes, 0 Dislikes
-
08-01-2022, 05:46 AM
#134
Super Member

Re: DFB's Garage
Originally Posted by DFB
Was up early this morning to take delivery of my boss's new car, a Mazda CX-5 Akera in Eternal Blue.
They even splurged on the Turbo engine; I think I may have influenced that a little.
After advising to skip the dealer protection packages, the aim of this detail was to install paint and interior protection.
I normally start on the exterior but switched that around today as I had to go out mid-morning. As you would expect for a brand-new car, there was not a lot to do on the interior. I simply vacuumed the carpets and used a damp microfiber to dust off the dashboard and door trims. There were a couple of specific treatments though.
A quick misting of 303 Fabric Guard on the carpet mats and boot floor.
With the customer wanting the leather to be protected, I decided on Colour Lock Leather Shield. Being brand new, I only felt the need to clean the front seats, the rest was given a wipe with a damp microfiber. In this case, I'm using Colour Lock Mild Leather Cleaner.
Once clean and dry, it was onto the Leather Shield. Colour Lock offer two leather protection products, Leather Shield is for new leather less than 3 years old. Leather Protector is then used from 3 years and older.
Leather Shield protects against abrasion, color transfer and general wear and tear in those first three years. After that, it is then a case of feeding/protecting the leather with Protector.
Application is easy, simply wipe the product on with a cloth or application sponge and allow to dry.
That was it for the interior, save for cleaning the glass. No scented cleaning products were used or needed, nor did I apply any scent...........a car only smells like this ONCE!
Moving to the exterior, it was onto cleaning these stunning 19-inch wheels. Brake Buster for the tires and wheel arches as usual, then NV Purge for the wheels.
This was my first chance to try my new EZ Detail GO Brush. I bought this specifically for wheel arches, a job it does very well.
Again, a new car so minimal to no iron-reaction.
The car has been with the owners for two weeks, this will be it's first wash in that time on my instruction! Knowing that they would be using a foam sponge, the "blue soap from the supermarket" and a 30-year-old chamois, I didn't want them to create more work for me!
Pre-soak with OG Decontamination Soap, a rinse, re-foamed and then contact washed was the sequence.
Thankfully, the paint felt lovely and smooth, meaning I could skip the clay step. Even so, I did do an iron-decon just to safe.
As always after using IronX, I like to take the extra few minutes to re-foam the car and then rinsing to remove any residue. I then applied Gyeon Wet Coat to the wheels and wheel arches.
The car was then moved inside and meticulously dried using my blower and a towel. It was then wiped down from head to toe with Carpro Eraser in preparation for the next step.
Now for the interesting part, well for me at least. And I have to say the daunting part as well. Save for applying a ceramic coating to wheels and trim, I have never used a ceramic coating on the paint of a vehicle before. Some could say it was foolish to practice on my boss's car, but I choose a very user-friendly coating to begin with; Gyeon Can Coat EVO.
Can Coat EVO is a 12-month coating, up from 6 months for the original formulation. Unlike more hardcore coatings, Can Coat is much easier to apply, flashing instantly with minimal residue to remove, meaning it requires less micromanaging to get right.
I chose to apply Can Coat with a microfiber applicator block rather than a folded towel. You use very minimal product, only two to three spray per section. It's also advised to spray the coating into the towel/applicator away from the car to avoid inadvertent over-spray. Do not spray directly onto the paint.
Application is simple; apply the product to the applicator, work the product over the surface before buffing immediately, making sure to overlap your buffing to prevent high spots. I will say it can be hard to see where Can Coat has been applied to, my only complaint with the product. It took me about an hour to get around the car, some of that was me just getting used to the product.
While Can Coat can be used across all surfaces, including glass, I chose to use Gyeon Quick View for that role.
I then applied Dr. Beasleys Metal Coat to the exhaust tips and dressed the tires with Koch Chemie Plast Star.
Can Coat needs 12 hours to cure and should not be exposed to water during that time. To mitigate this, I applied Gyeon Cure to the whole car. Cure also improves slickness.
Something interesting to note when giving the engine bay a quick wipe down with OG Drying Aid, this $60,000 car has a prop-rod. So, it's not just Ford Mustang's that miss out on proper bonnet struts, seems Mazda are stingy in that department as well.
To go with the detail, I also put together a care package for the car. Sticking with the Gyeon theme, I went with a bottle of Bathe for washing in conjunction with a Rag Company Cyclone Wash Pad. I also put in a bottle of Bead Maker as a drying aid and coating maintenance product. Knowing the chamois situation, I gifted them a couple of towels too.
The interior on this CX-5 is stunning! Excepionally well-made and sporting a variety of lush, soft touch materials. I really like the leather trim, having a plum/chocolate hue to it rather than the predicably boring all black interiors that most cars on the market have.
The Eternal Blue paint has a really nice purple flake to it in direct sunlight, emphasized by the Can Coat and Cure combination.
As for Can Coat, it was very easy and forgiving to work with. I'm a classic overthinker, so thanks to those who offered advice and reassurance.
This car was a pleasure to work on. I'm really happy with how the car came up, being brand new made it so easy, making a change from the neglected and filthy customer cars I normally deal with. The best bit was seeing it driving out of the garage and down the street, it just looked so perfect.
Stunning mate, I know it's a new car but beautiful. The second last pic really shows the blue so well.
I followed a black one of these the other day, they'd put some fat 20 inch rims on it, they were so wide they had to stick some cheap rubber wheel arch extensions on. So wrong.
Sent from my motorola edge 20 fusion using Tapatalk
-
Post Thanks / Like - 1 Thanks, 1 Likes, 0 Dislikes
 DFB
DFB thanked for this post
-
08-01-2022, 11:31 AM
#135
Re: DFB's Garage
Really appreciate your posts DFB, I like the commentary with the pictures as opposed to just a bunch of pictures. Thanks for sharing.
-
Post Thanks / Like - 1 Thanks, 1 Likes, 0 Dislikes
DFB thanked for this post
-
08-01-2022, 11:56 AM
#136
Super Member

Re: DFB's Garage
Awesome right up and great work!! That outdoor finished pic looked phenomenal. Really like the idea of a care package
Sent from my SM-S901U using Tapatalk
-
Post Thanks / Like - 0 Thanks, 1 Likes, 0 Dislikes
-
08-01-2022, 01:09 PM
#137
Super Member

Re: DFB's Garage
Nice job..Wow a 60K Mazda.
-
Post Thanks / Like - 1 Thanks, 0 Likes, 0 Dislikes
DFB thanked for this post
-
08-02-2022, 12:10 AM
#138
Super Member
Re: DFB's Garage
Originally Posted by Rsurfer
Nice job..Wow a 60K Mazda.
Australia is one of the very few markets around the world where Mazda have had success. Mazda sit in either 2nd or 3rd in the sales race each year, spurred by styling, driving dynamics and excellent reputation for reliability.
As for the price, keep in mind that is Australian Dollars. The base CX-5 starts at just on $34K and works up to the flagship at just under $60K. Believe it or not, you can spend even more on a CX-9, which at the top end is just on $82K, and people have no problem spending that on a Mazda in this country.
-
Post Thanks / Like - 0 Thanks, 2 Likes, 0 Dislikes
-
08-02-2022, 12:15 AM
#139
Super Member
Re: DFB's Garage
Originally Posted by opie
Awesome right up and great work!! That outdoor finished pic looked phenomenal. Really like the idea of a care package
Sent from my SM-S901U using Tapatalk
The care package I flat out told them I would include in the price!
My theory being, you just spent the most money you ever have to buy a lovely new car, then it deserves the little extra to keep it nice. All up, the care package added just on $60 to the price and I did not mark the items up, just did them at cost. If they like the new items, then I'm happy to supply them some more.
It's nice little touch that in some cases could be added to the cost of a detail, perhaps even building some loyalty in the process.
-
Post Thanks / Like - 0 Thanks, 1 Likes, 0 Dislikes
-
08-02-2022, 02:47 AM
#140
Super Member
Re: DFB's Garage
Killed it DFB! Glossy AF i would tell the boss to get some rubber floor mats because working at the nursery is dirty boots.
Maybe some bedrock or 3D 
-
Post Thanks / Like - 1 Thanks, 0 Likes, 0 Dislikes
DFB thanked for this post
Similar Threads
-
By Matador in forum Auto Detailing 101
Replies: 7
Last Post: 08-11-2021, 06:22 PM
-
By Nick McKees37 in forum How to Articles
Replies: 3
Last Post: 02-17-2015, 11:14 AM
-
By Mike Phillips in forum Off-Topic
Replies: 5
Last Post: 09-17-2010, 09:47 PM
-
By Mike Phillips in forum PICTURES: 3-Day CAR Detailing Bootcamp Classes
Replies: 20
Last Post: 06-28-2010, 03:05 PM
-
By Mike Phillips in forum How to articles
Replies: 3
Last Post: 06-23-2010, 01:00 PM
 Members who have read this thread: 84
- rmtaylor51,
- RPPM,
- KirkH,
- cb804,
- ev780,
- Dyerlog,
- mikeinauburn,
- GrnEyeDog,
- AMarkham40,
- BTW574,
- FocusSTguy,
- melF1fan,
- jstollar,
- PaulMys,
- Gridlink,
- barryscott,
- Dynoguy,
- The Guz,
- Jplouch,
- ellens2,
- no cigar,
- Bosko,
- D.BRITT,
- cyclops,
- delt1964,
- tradecraft1,
- chris87,
- vaced,
- John U,
- jrose0070,
- Danube,
- aannatshlzea6696,
- ollever,
- 02whitetundra,
- VISITOR,
- Rsurfer,
- 11Silverado,
- Desertnate,
- Ace22,
- damonb10,
- JSkibisky,
- georgia boy,
- gregory1420,
- chris12,
- larr12,
- gibby68,
- filhotran,
- TroyScherer,
- Awickedtruth,
- Alansr,
- DG3.7,
- eveausasdy529,
- Wknd Dtlr,
- pdl2mtl90,
- Mklauss,
- T-STeve,
- msharpe785,
- Setec Astronomy,
- chilly,
- ajdavies91,
- Silly Rabbit,
- Thunderchicken,
- 2FORDS,
- oneheadlite,
- DanaDetailingPros,
- SNP209,
- Dirty Harry,
- Vegas1,
- bapatickmjnra7168,
- bill walsh,
- Tasmania,
- DFB,
- dbeng,
- Prange,
- brianshaeffer,
- Azure,
- hansen97,
- Karl_in_Chicago,
- Odrapnew,
- kappy,
- WillSin865,
- wierdkid,
- Texchappy,
- chefwong
Posting Permissions
- You may not post new threads
- You may not post replies
- You may not post attachments
- You may not edit your posts
-
Forum Rules
|
| S |
M |
T |
W |
T |
F |
S |
| 31 |
1
|
2
|
3
|
4
|
5
|
6
|
|
7
|
8
|
9
|
10
|
11
|
12
|
13
|
|
14
|
15
|
16
|
17
|
18
|
19
|
20
|
|
21
|
22
|
23
|
24
|
25
|
26
|
27
|
|
28
|
29
|
30
| 1 | 2 | 3 | 4 |
|


 Reply With Quote
Bookmarks