casvg5
New member
- Jun 24, 2013
- 323
- 0
We have been blessed in the past years with AMAZING customers and much success here in Houston. So, it is time we leave the old shop and move on to bigger and better things. It is bitter sweet.
I've been overwhelmed all summer by finishing up projects at the old shop, building out the new space, and keeping in touch with customers as best as possible. So Ill start from the beginning and get you guys up to speed to where we are currently with the few photos I took along the way.
So lets start from finding the new place.
We told our realtor we wanted a few specific things in a space:
1 - Much more room that we had. We currently had a 3500sq ft facility and we were busting at the seams
2 - A presentable and large, nice, front showroom/reception
3 - Ample parking
4 - SECURITY
5 - Office space
6 - 2 or more drive through bay doors
7 - Landlord allowing modification or construction of rooms etc
8 - BIG electricity. We were working out of a 100 amp panel with no availability to bring more service inside, so we were constantly tripping breakers and having to share power
9 - Had to be located in the area we wanted, as Houston is MASSIVE and traffic is insane.
We viewed properties for months, and could not find anything that met half or more of these stipulations. As our lease ending neared, dangerously close, a new property popped up on the market. A brand new building, less than 30 days old was just finished. We went to view the space and took over it the very next day as there was a line of potential takers waiting to be shown the property when we got there.
Heres what we got:

Listed at 6000sq ft, the building dimensions I measured to start laying out floor plans ended up revealing that the sq footages is more like 6400sq ft not counting about 900sq ft of upstairs. So needless to say we had plenty of space! Happy dance. The electrical feed is 1000amp 480v 3 phase, so, electricity will NEVER be a concern, haha. We've got a gated access, a high fence with razor wire, and located in a very are part of town. Literally....the only thing that would have made this building more perfect would be existing drains cut into the floor, but we will work that out in time.
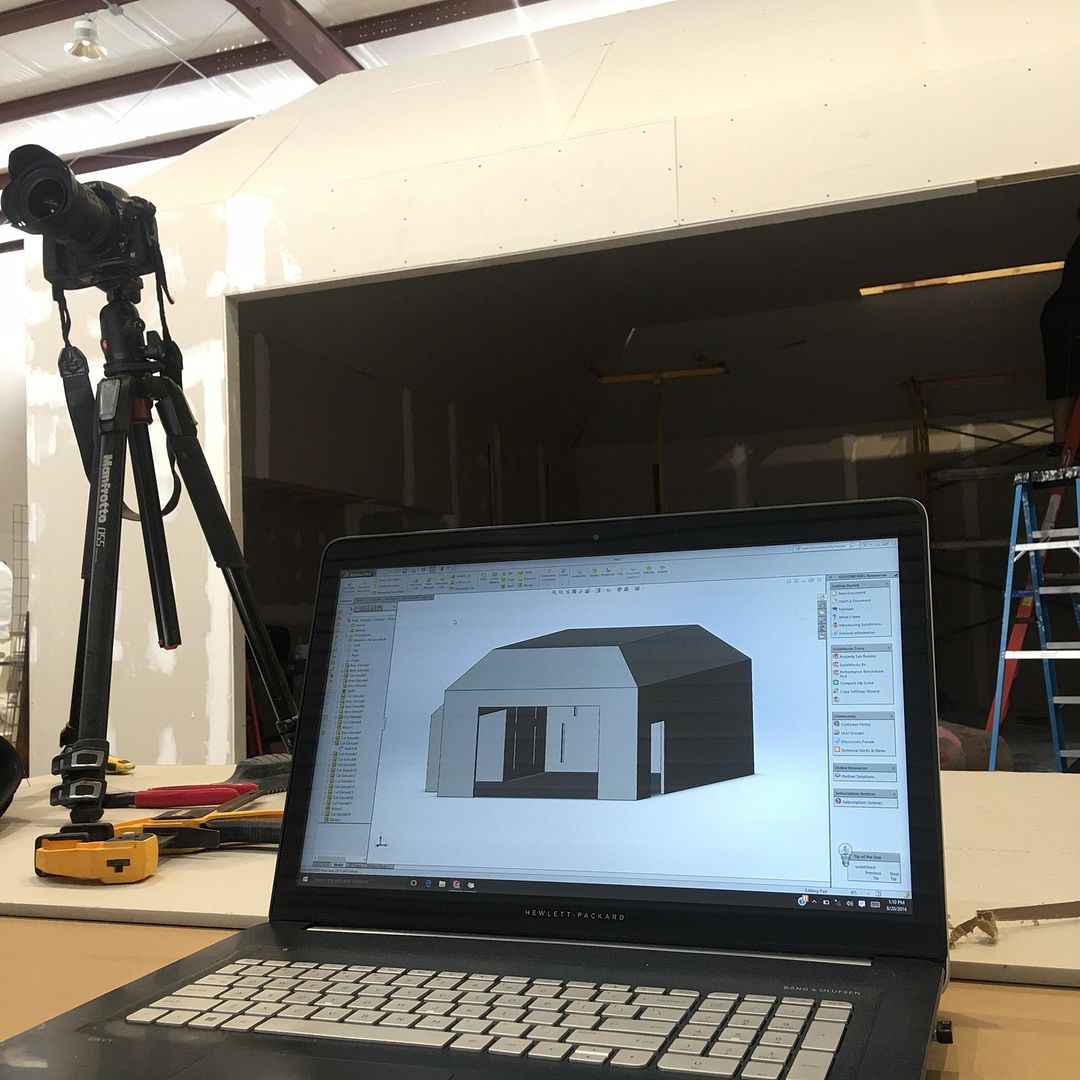
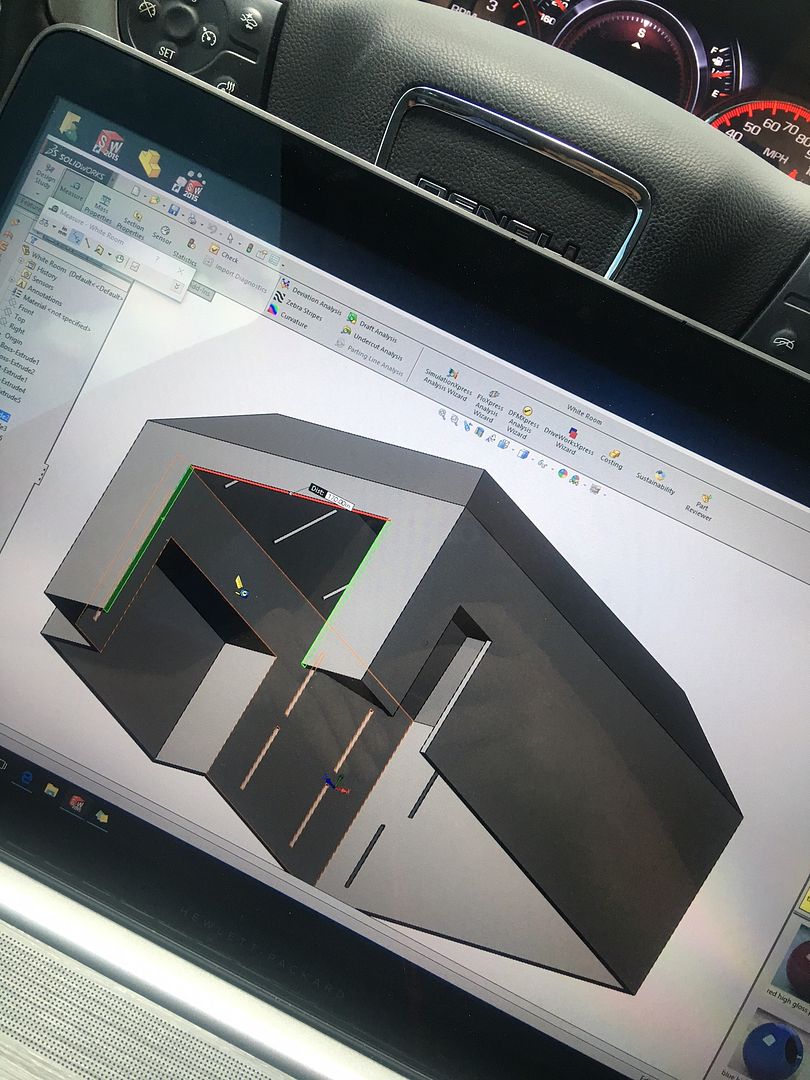
So we are not ones to pay someone to do things we can learn how to do or already know how to do. Building what we wanted and paying for it to be done would be out of our budget, but if we were able to do the labor ourselves we could get much more for out money and not have to sacrifice and constrain our goals for the space. So I started measuring the floors and planning things out. I modeled the entire building in SolidWorks, mocked up some cars for visuals, and started to situate the structures we needed to build.
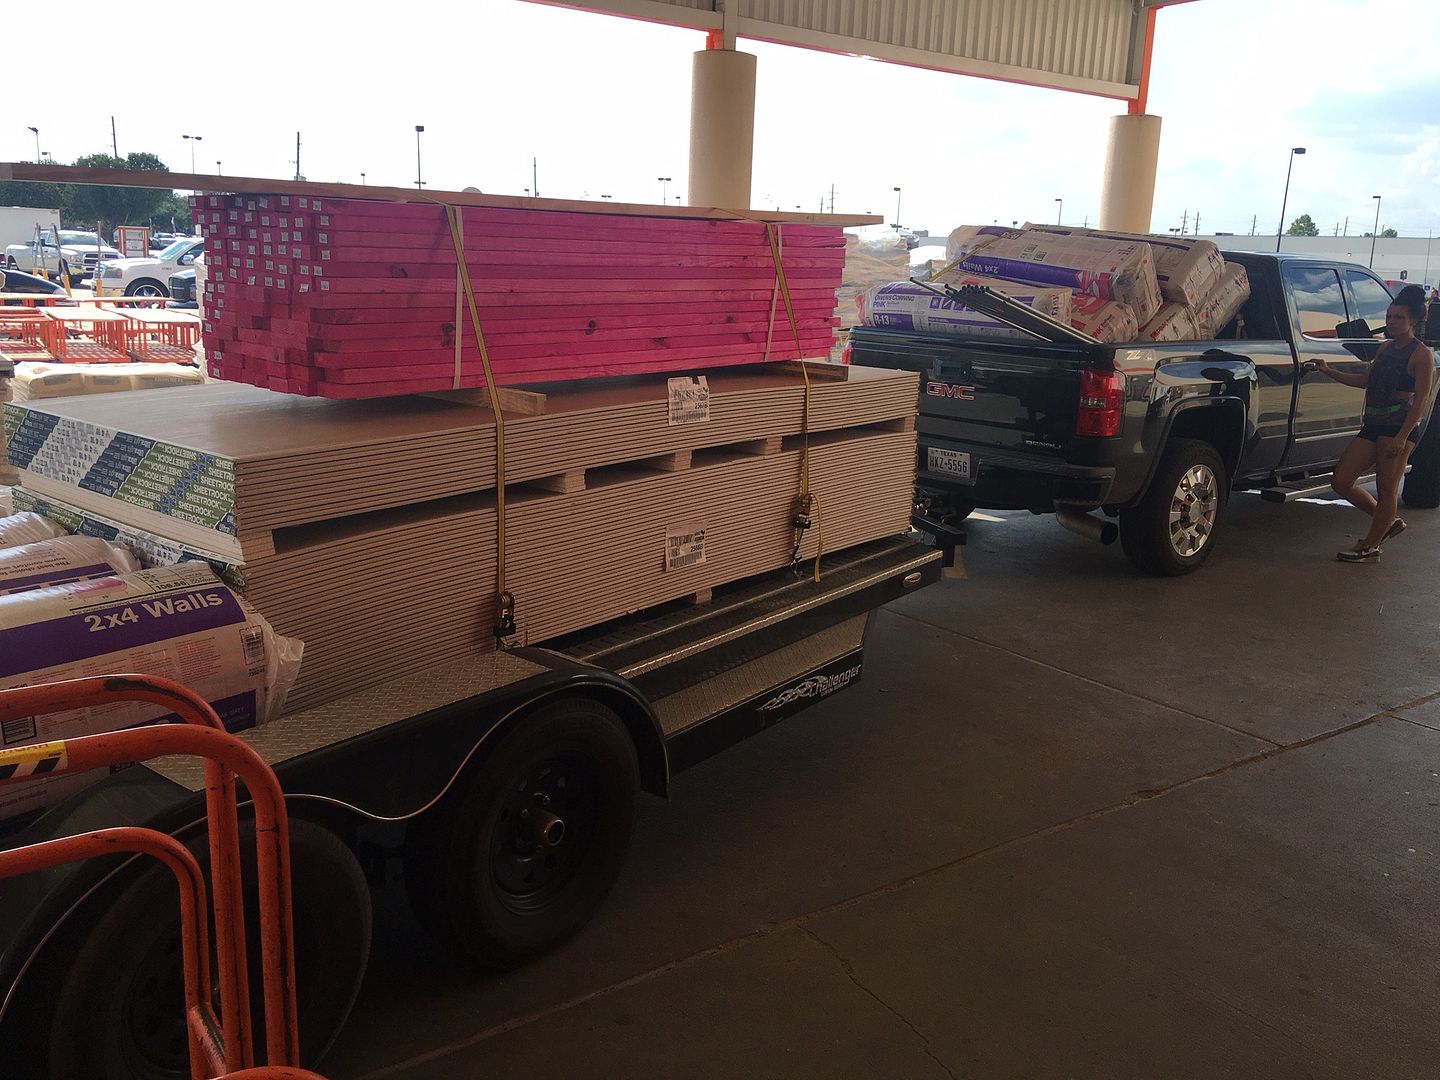
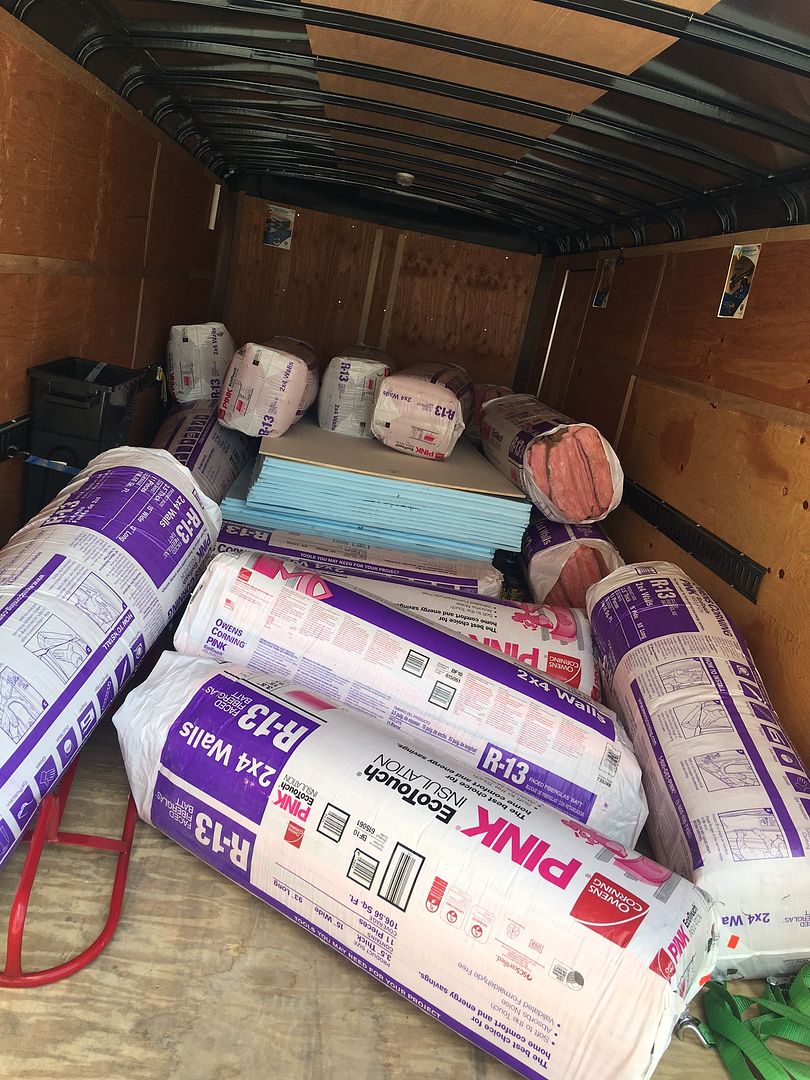
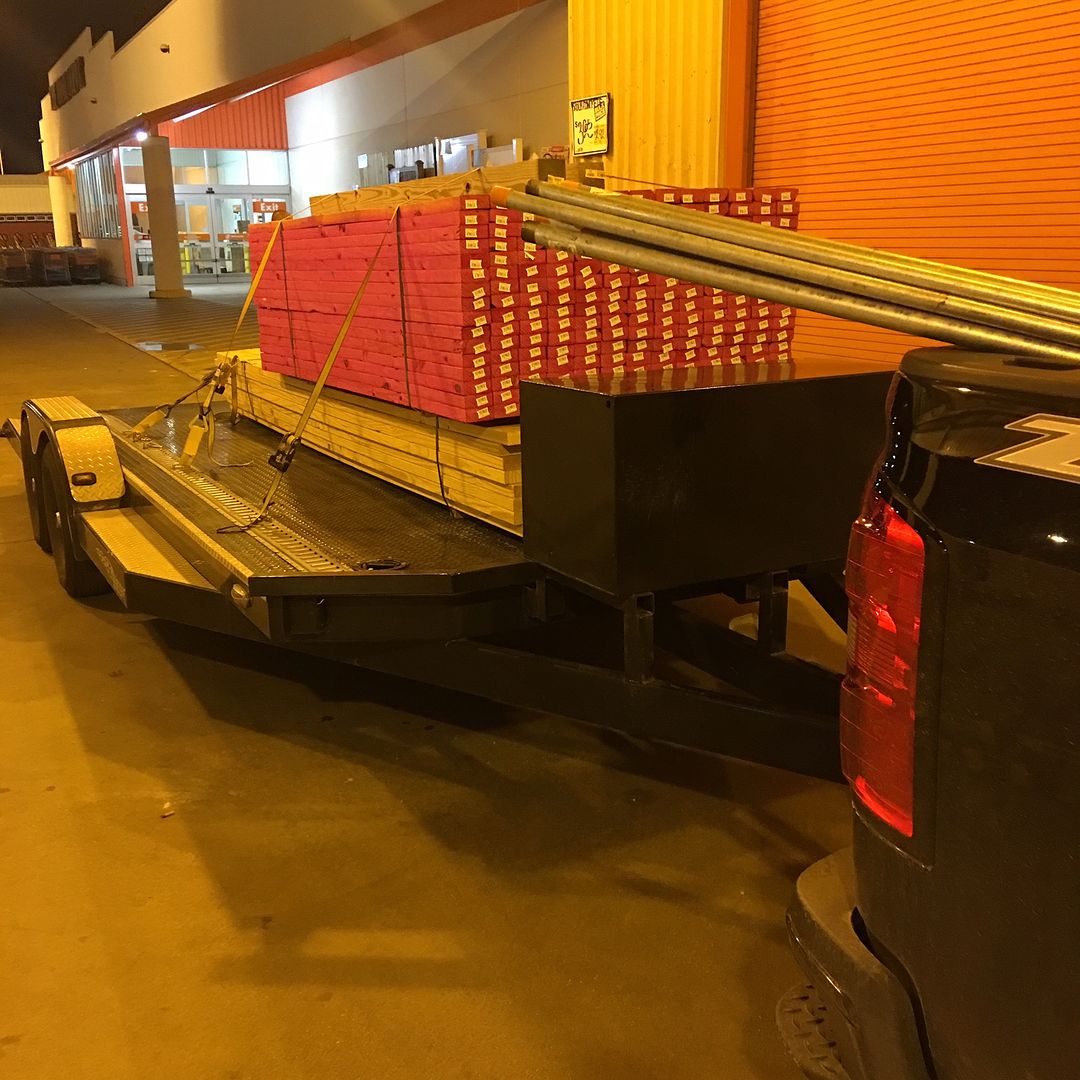
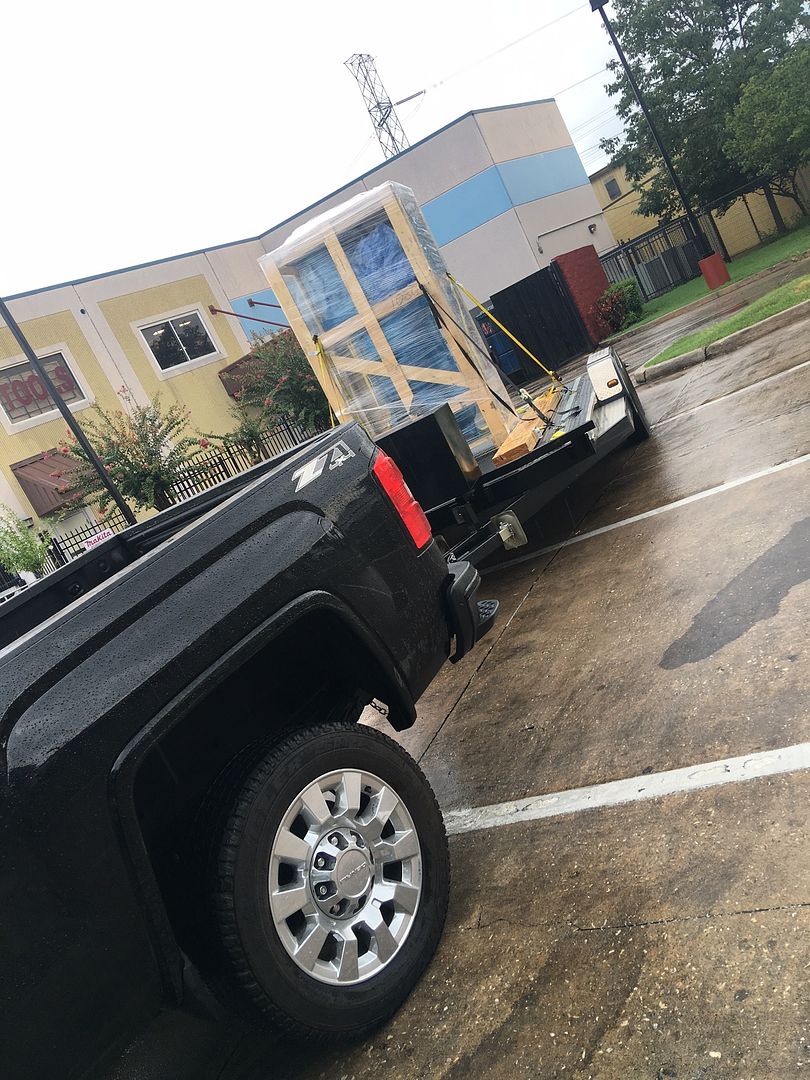
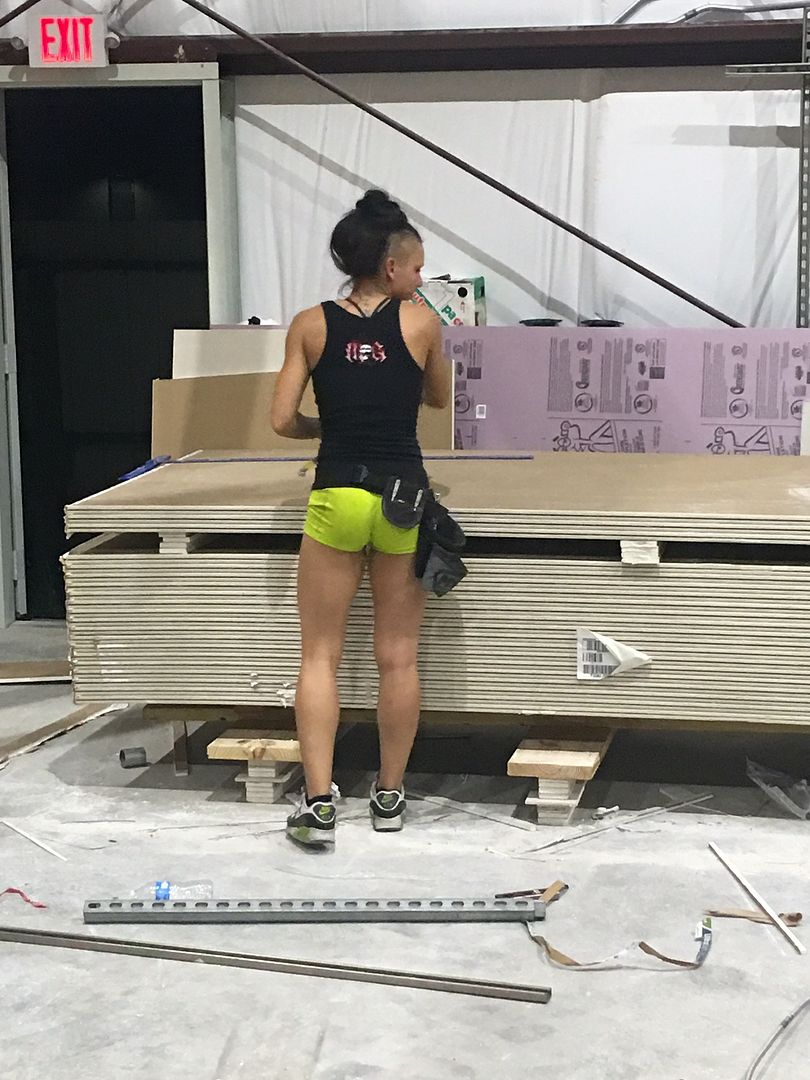
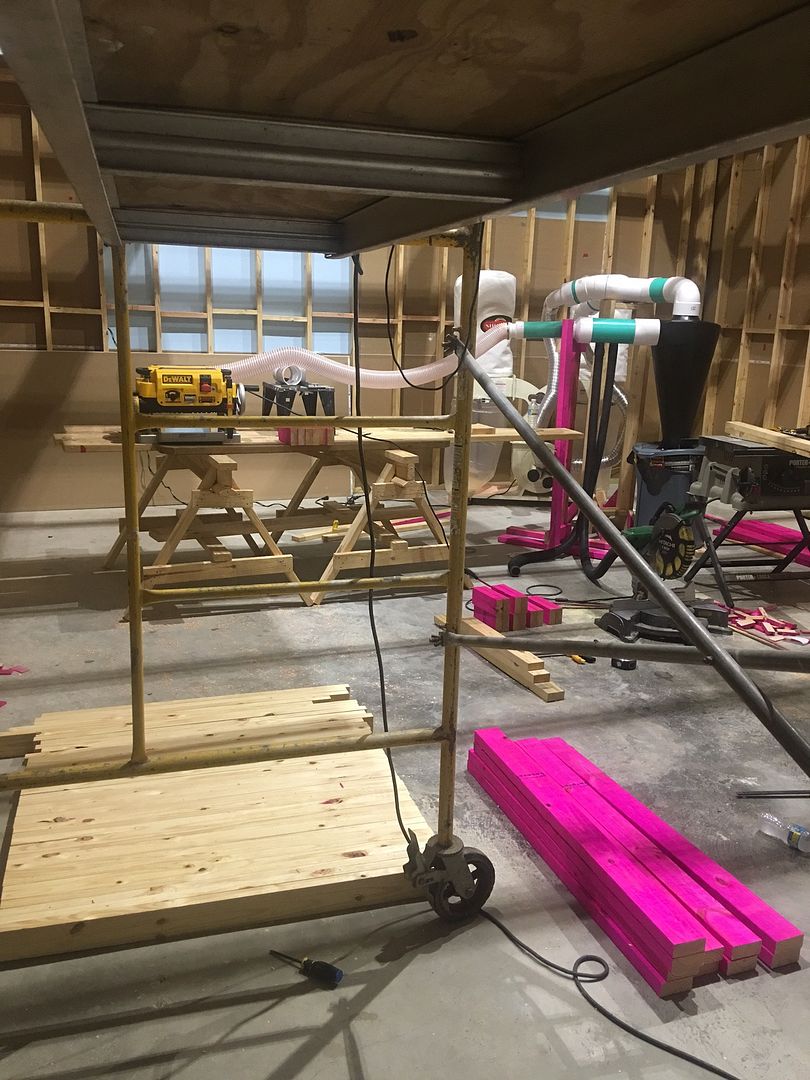
Time to start gathering materials. We have become personally aquatinted and are on a first name basis with the folks at Lowes and Home Depot over the past two months. Ive probably made at least 100 trips. :bash:
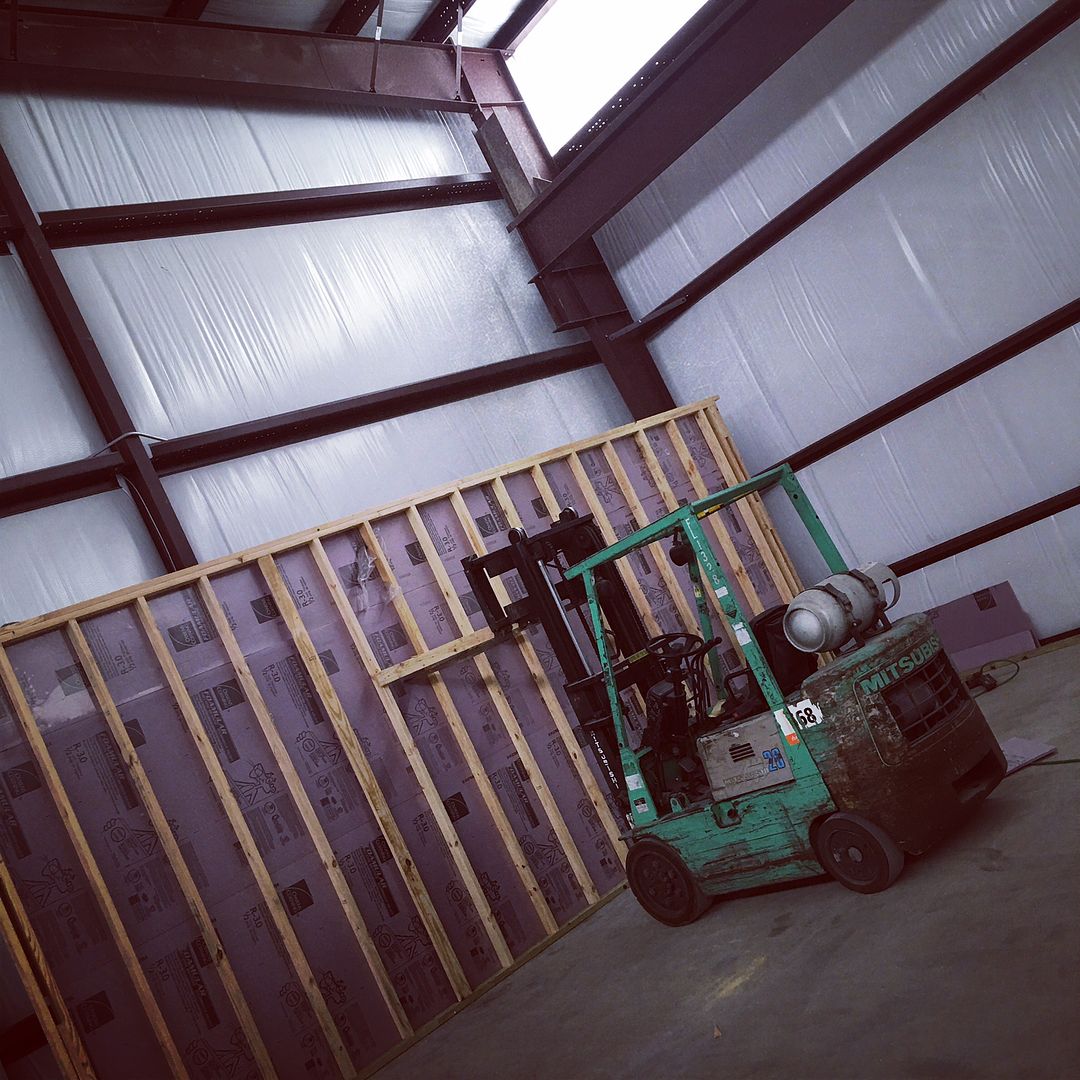
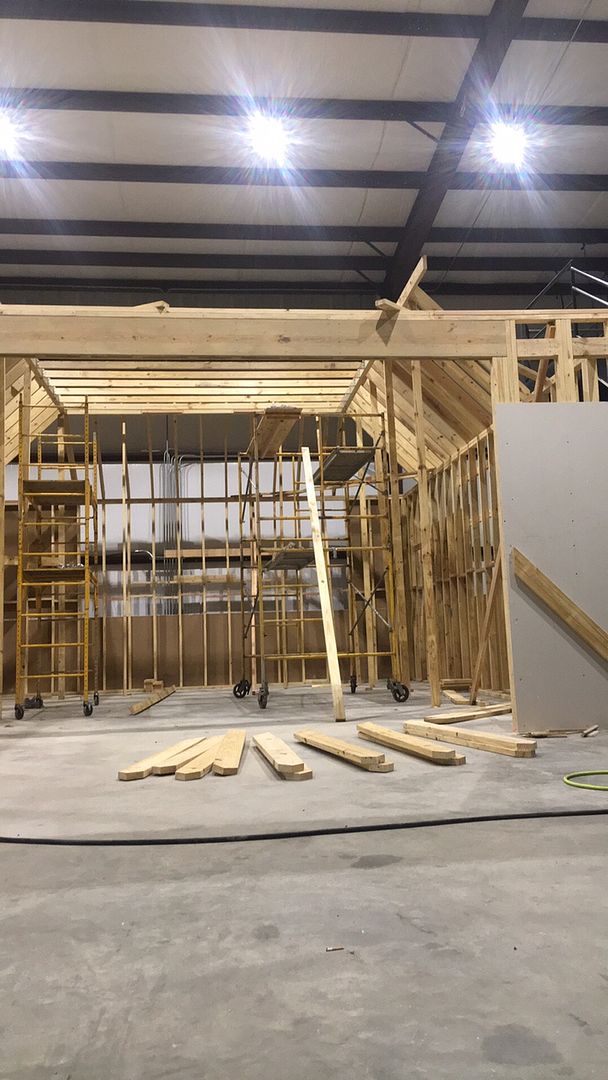
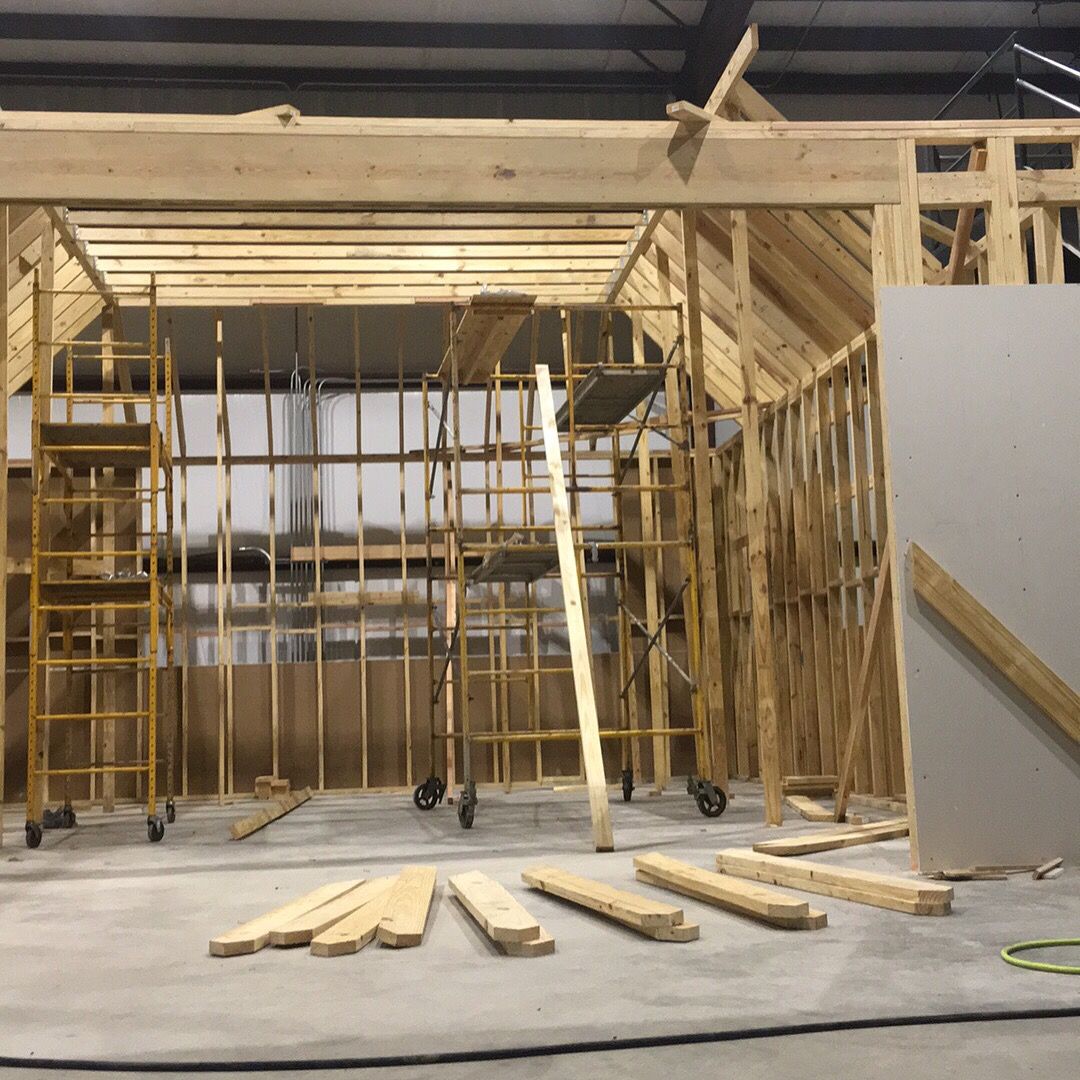
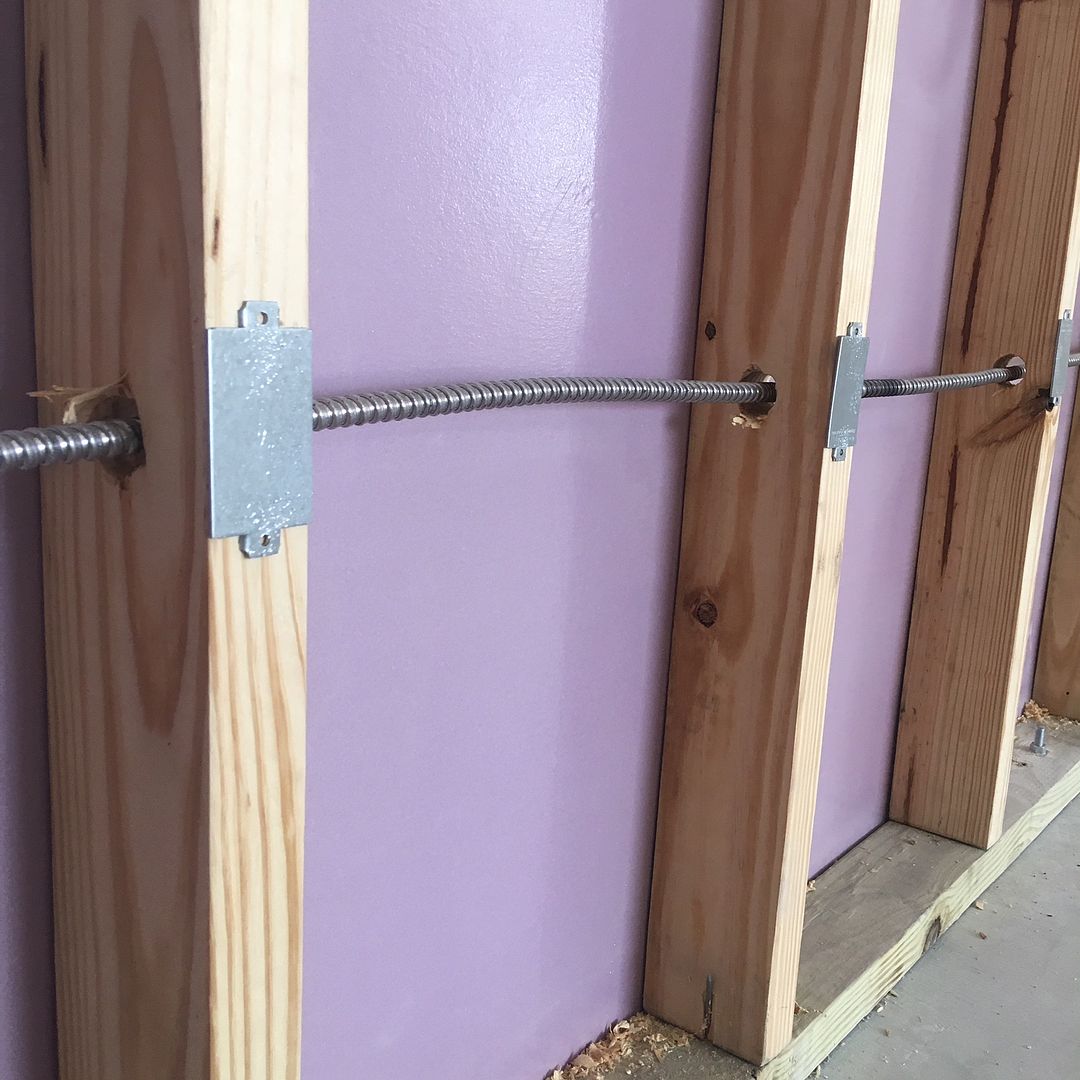
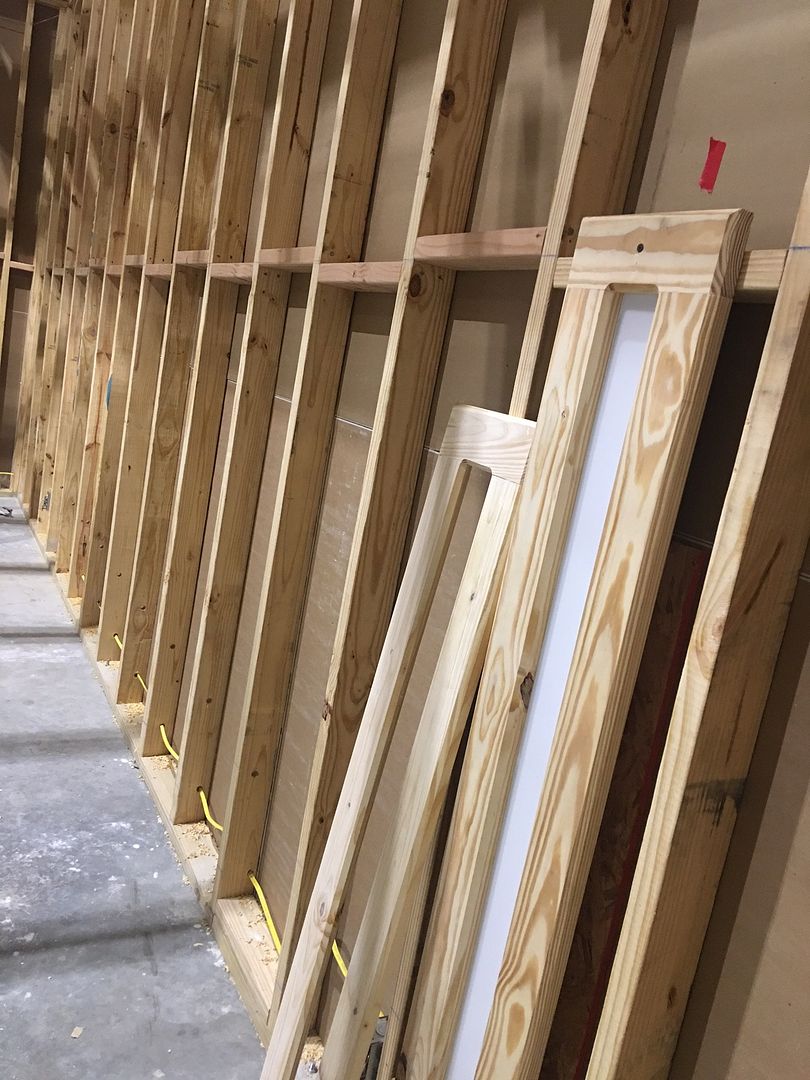
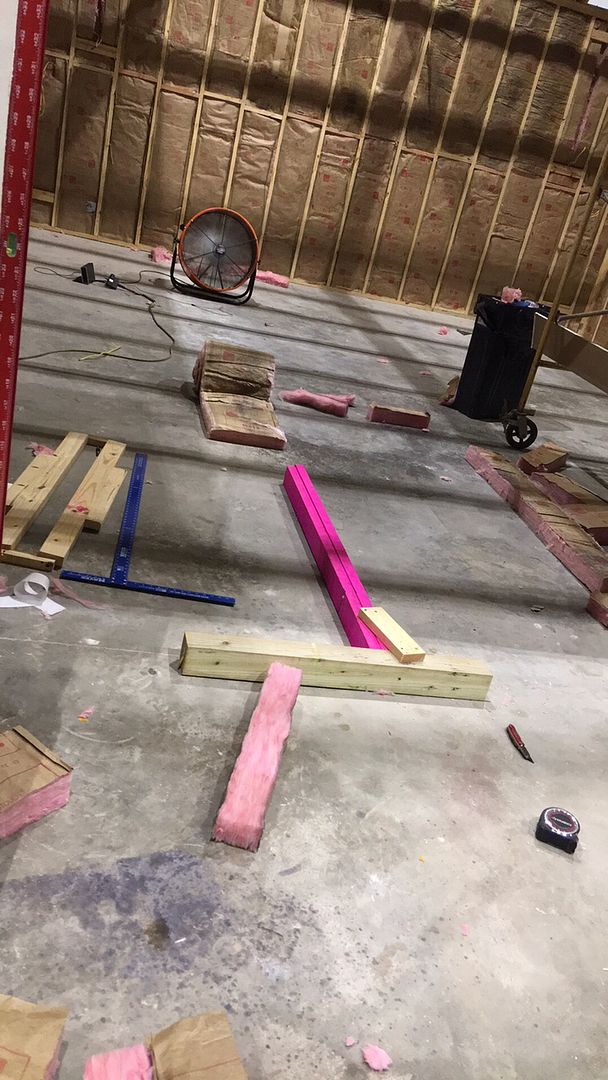
Framing begins! Hard work inside a metal building in the middle of a Houston summer!

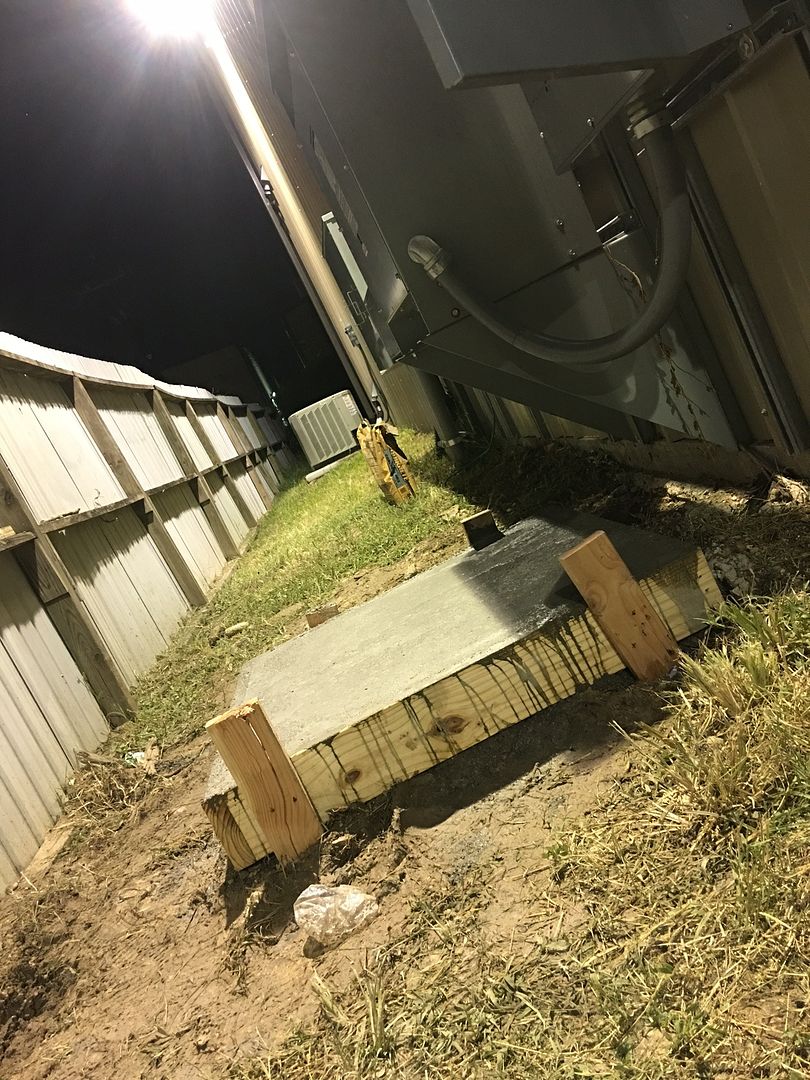
The power brought to the building is MASSIVE, which is awesome, but the transformer that stepped the power down from 480v to 240 was only a 45kva transformer. For you guys that don't know what that means, it has high rise level power coming into the building, and only a transformer capable of powering an apartment. So we had to lay a pad for a big transformer, get the power disconnected and change all of that out. That is beyond my knowledge and had to sub contract this out. A few minutes on google to learn it and we were pouring concrete.
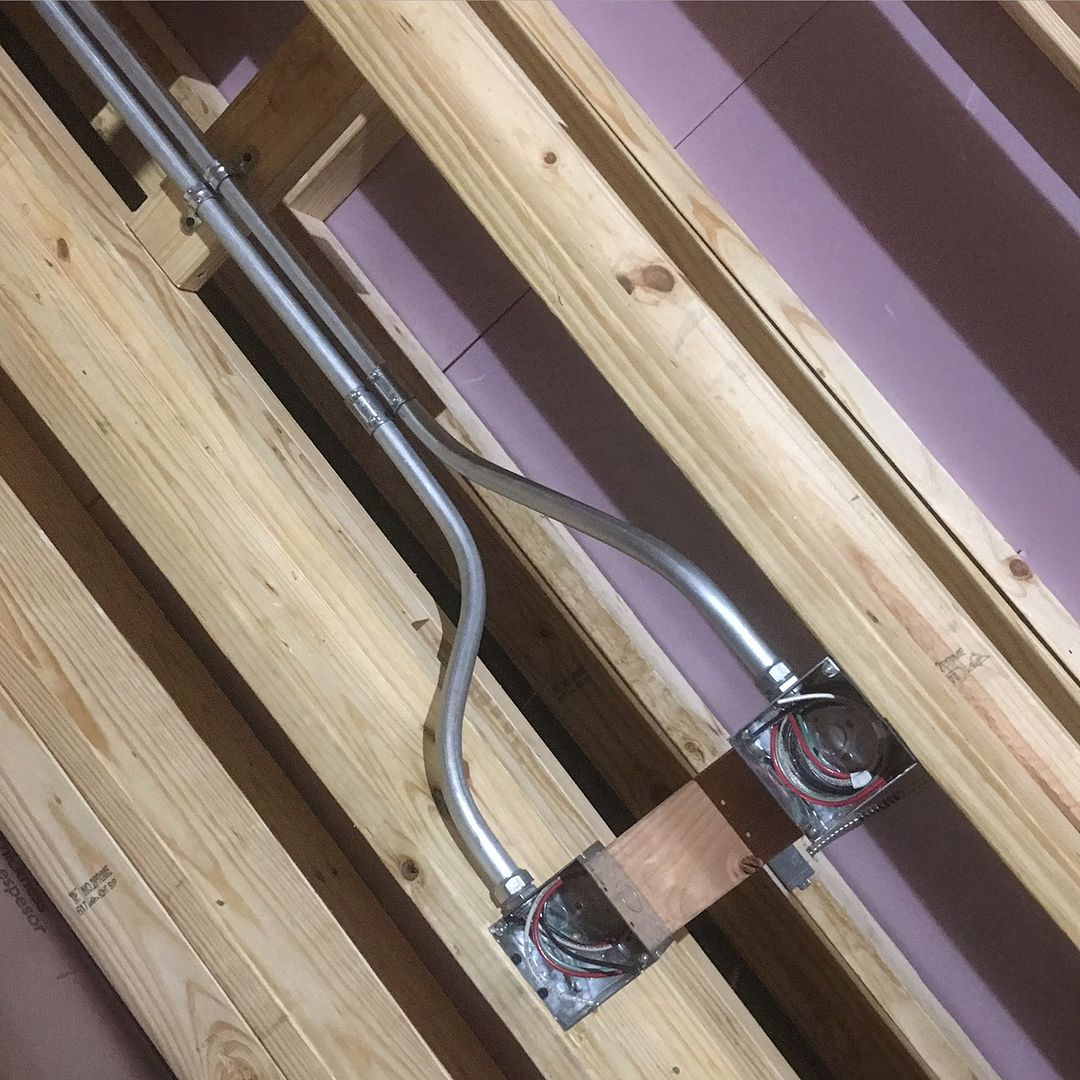
My parents were electricians and so I was always helping out wiring homes and buildings, and was able to successfully wire these entire project. We all know the annoyance of tangled cords and extension cords. Its a pet peeve of mine. Being able to wire this place exactly like I have always wished a place would be, is...well its badass!
Big Compressor coming home! Finally have that 3-phase power and can get rid of the 110v baby compressors.
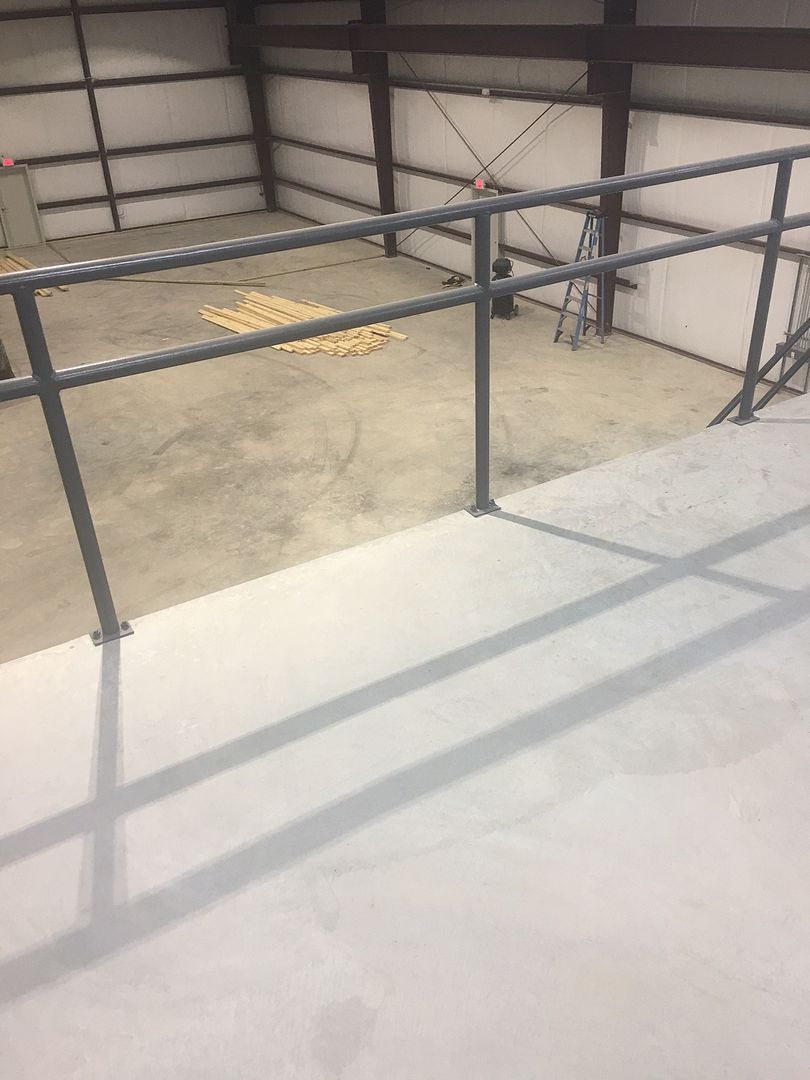
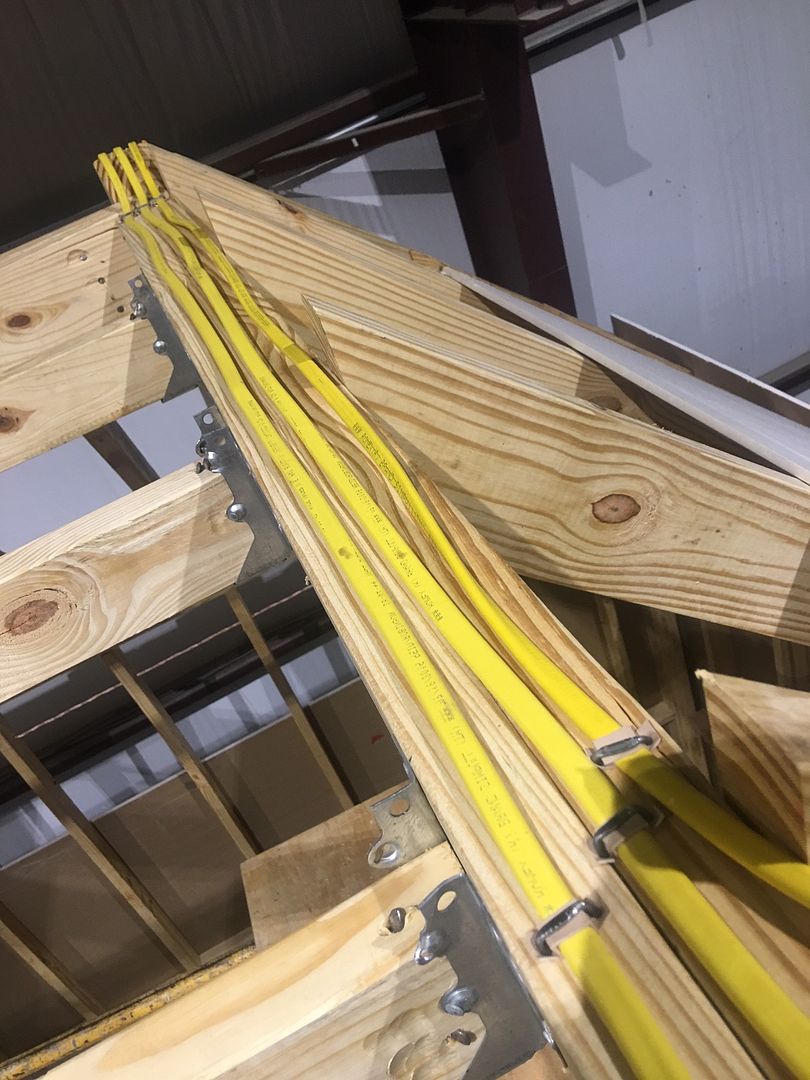
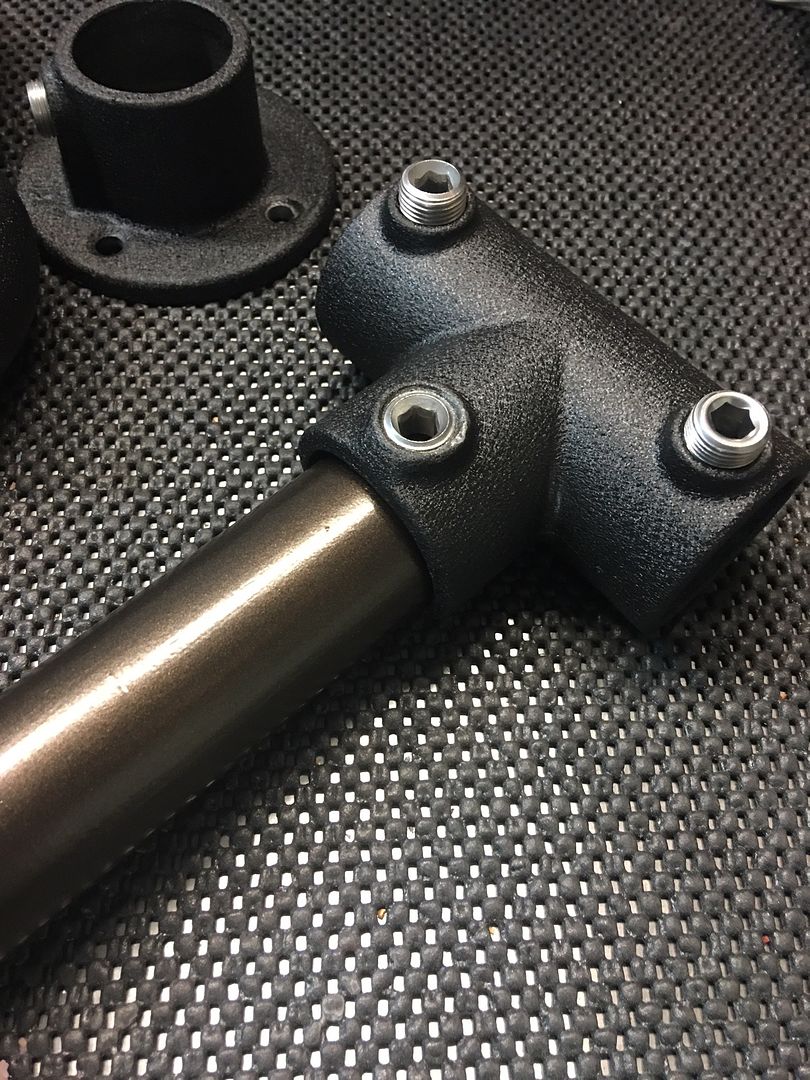
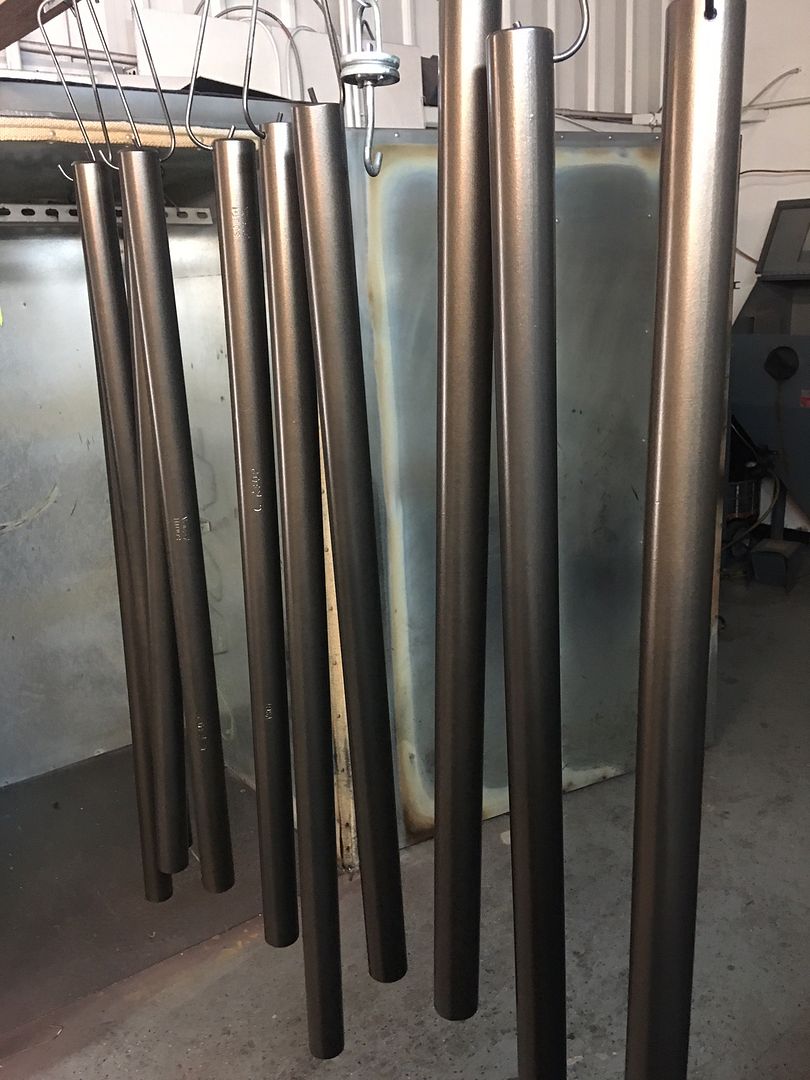
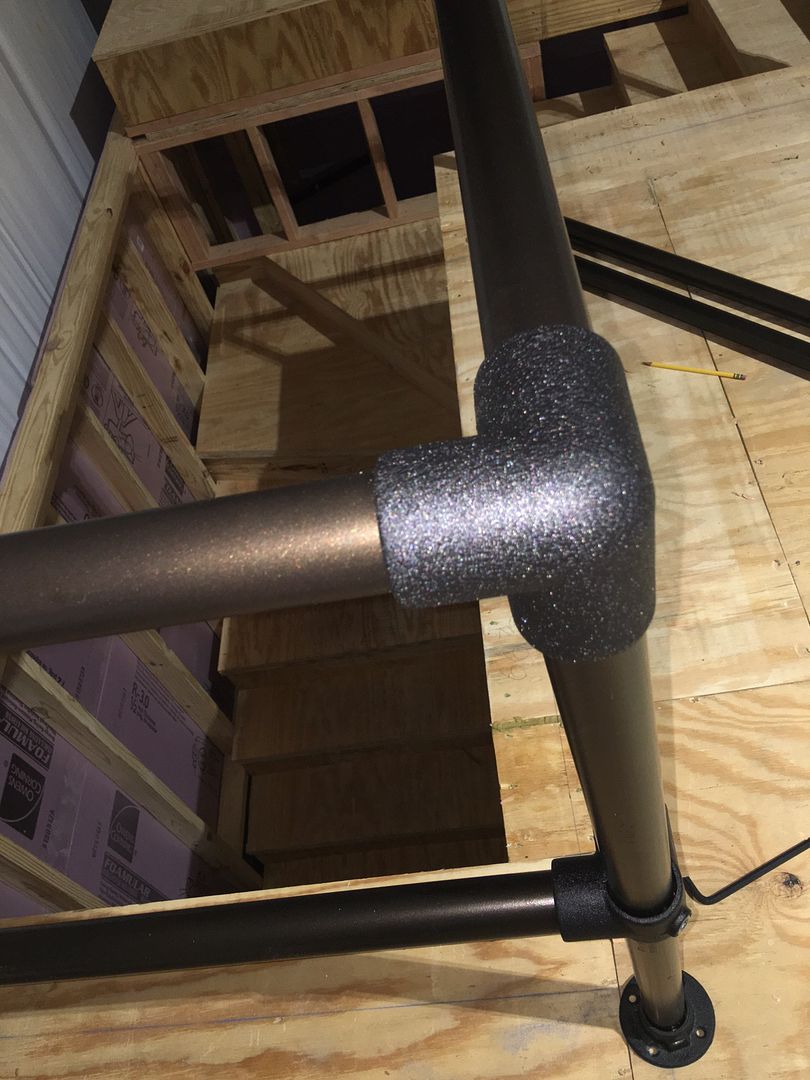
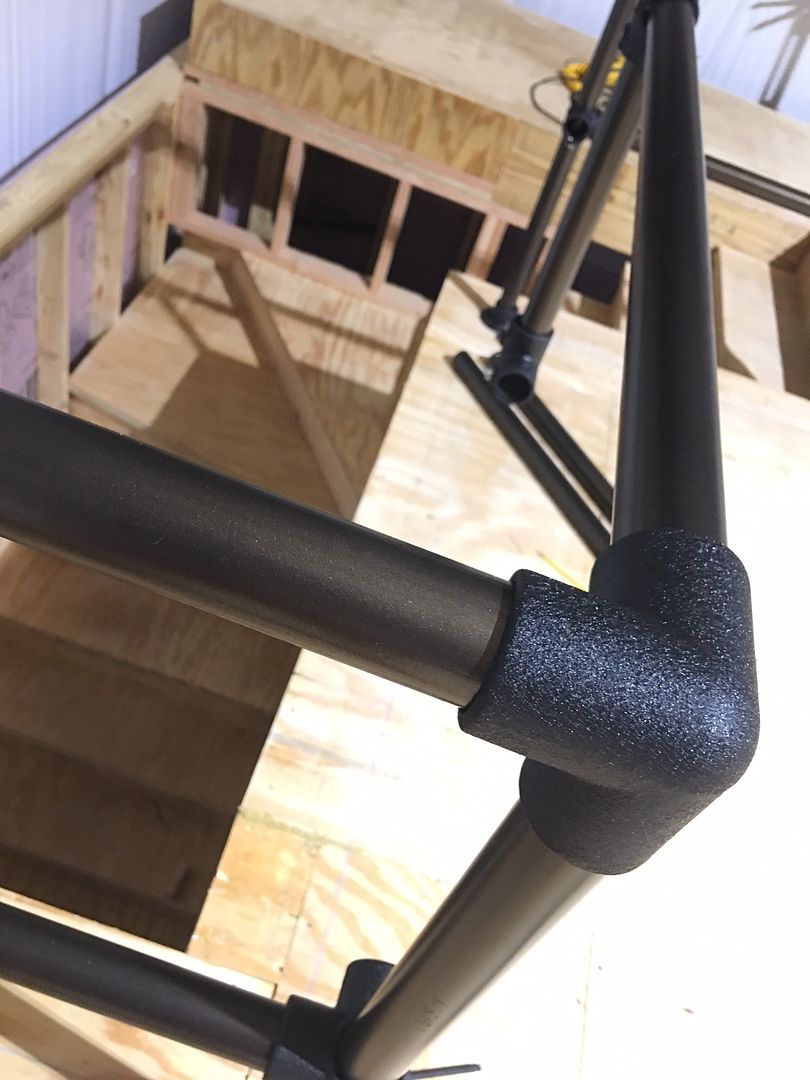
Using some structural tube and connectors, and powder coating them myself, I built a safety rail for the second floor stairway

At this point, the last boxes and equipment was moved out of the old place and the doors locked. Goodbye old shop, thank you for the memories. Equally sad is draining 150 gallons of 99.99% particulate free filtered water.

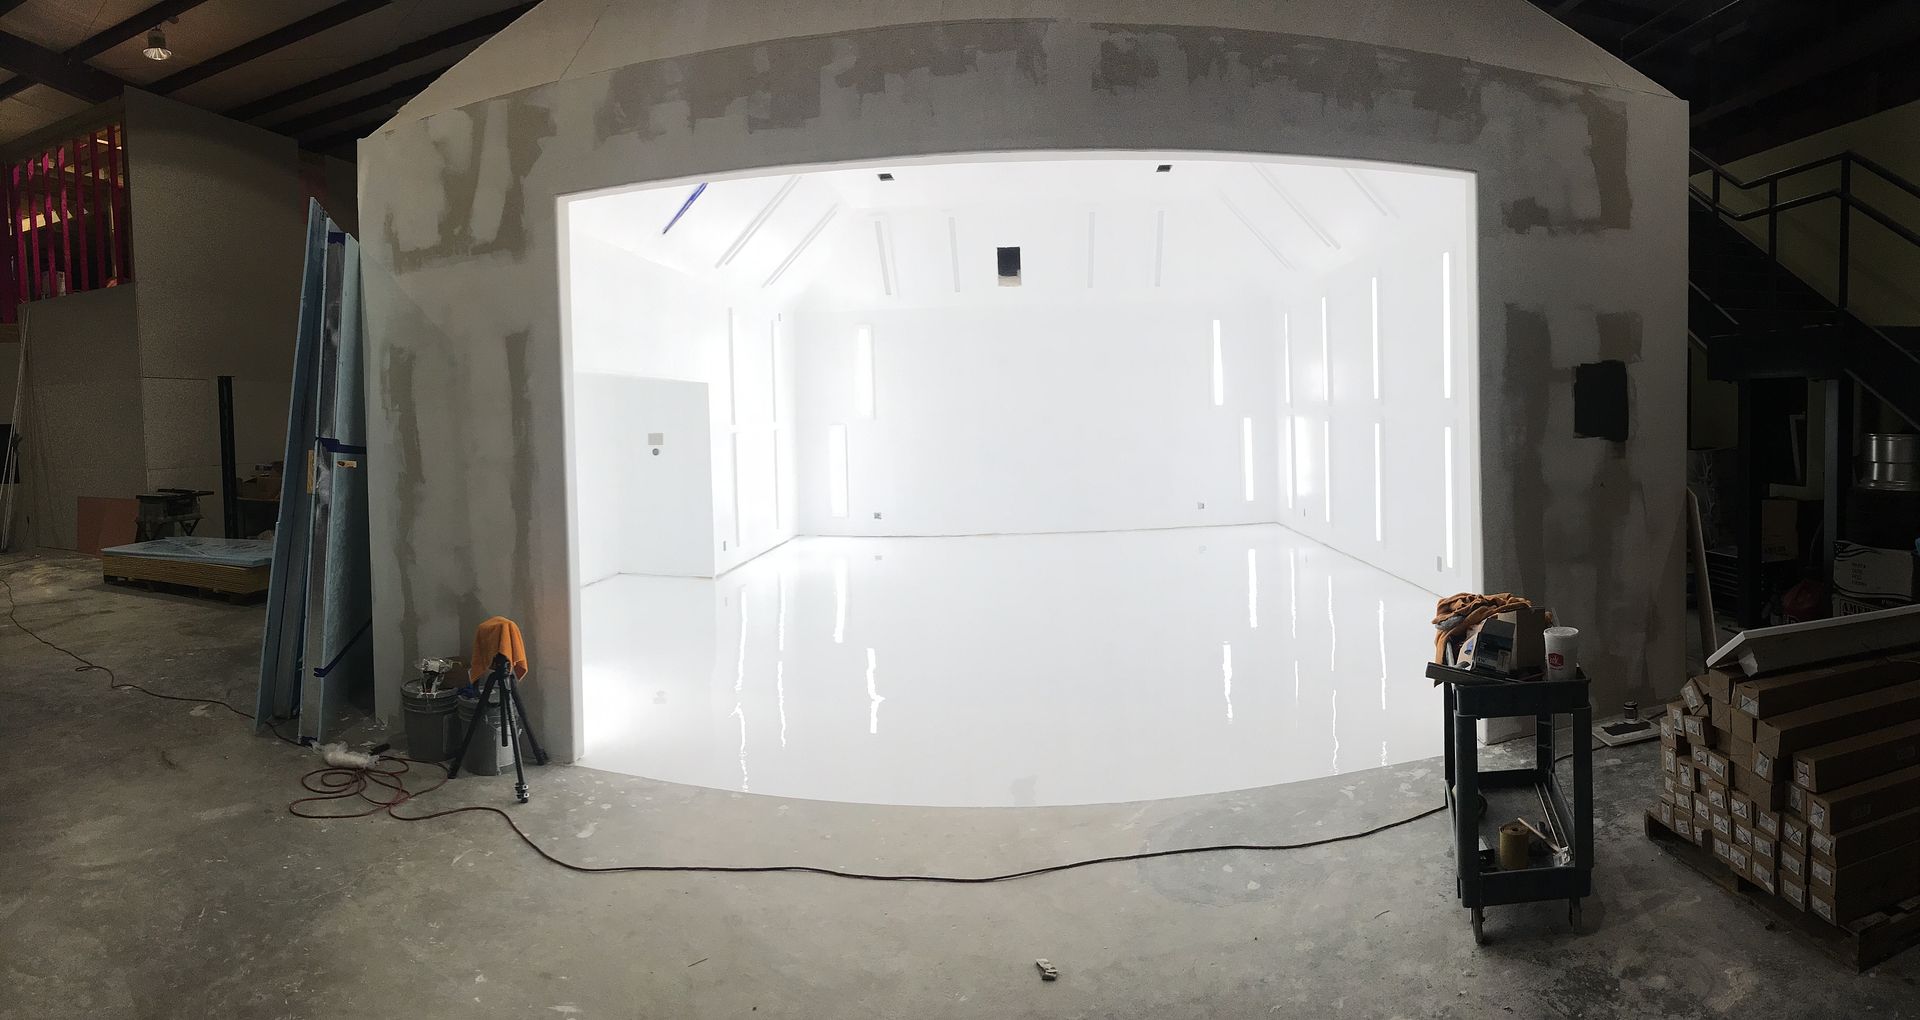
We sort of pioneered the current "white room" or "clean room" movement in the industry right now with our last white room. We learned a lot, and this time around it'll be even better.
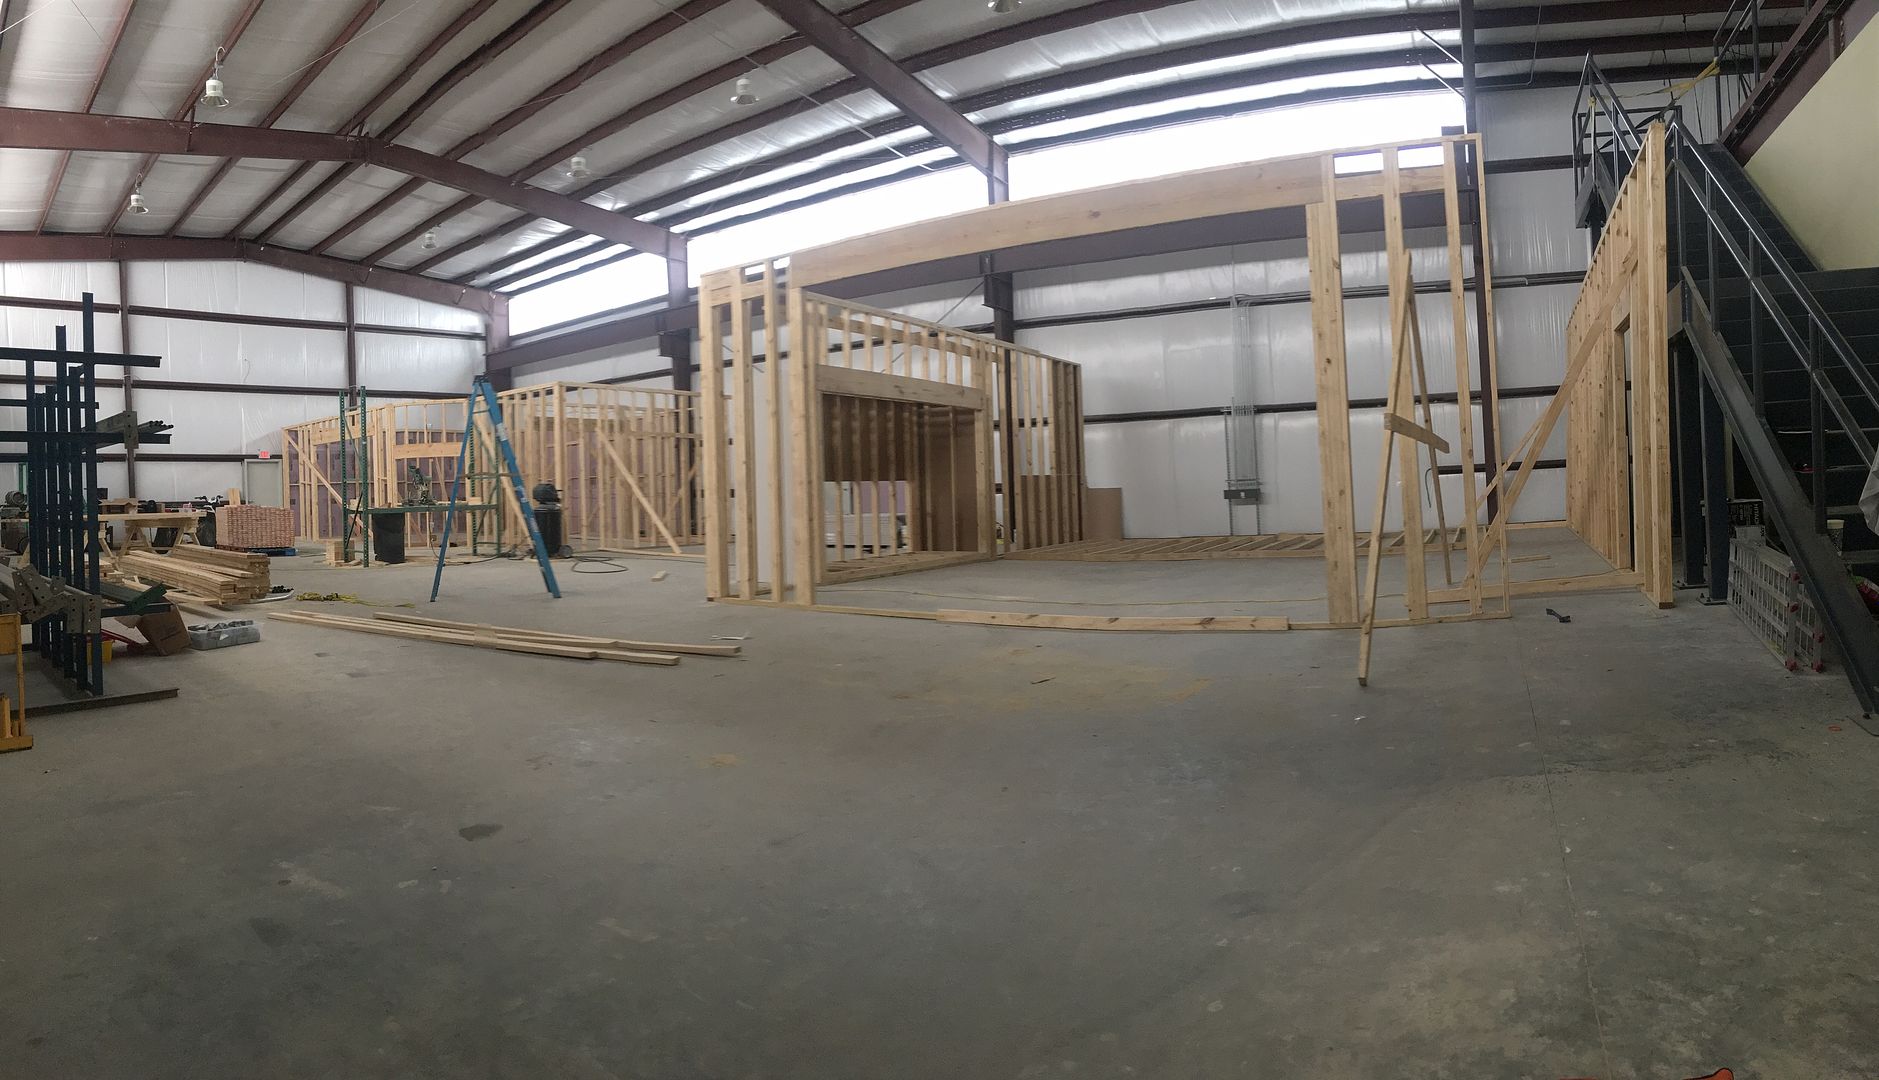
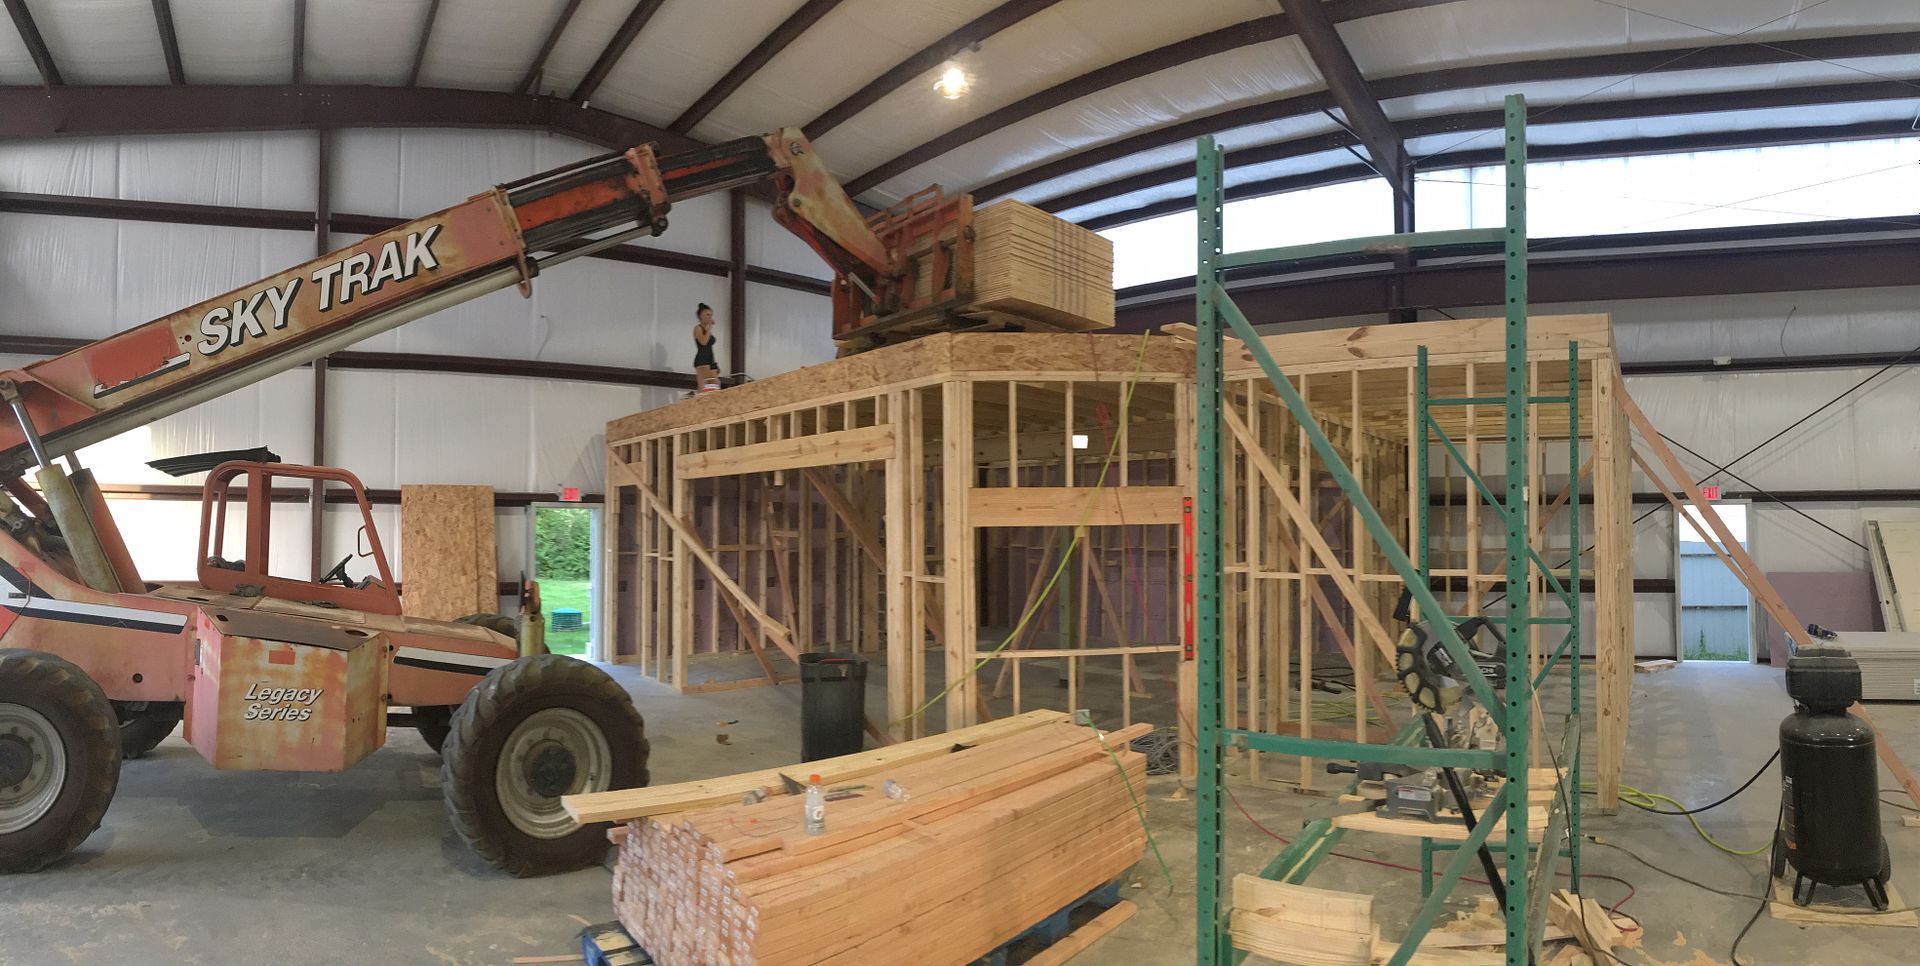
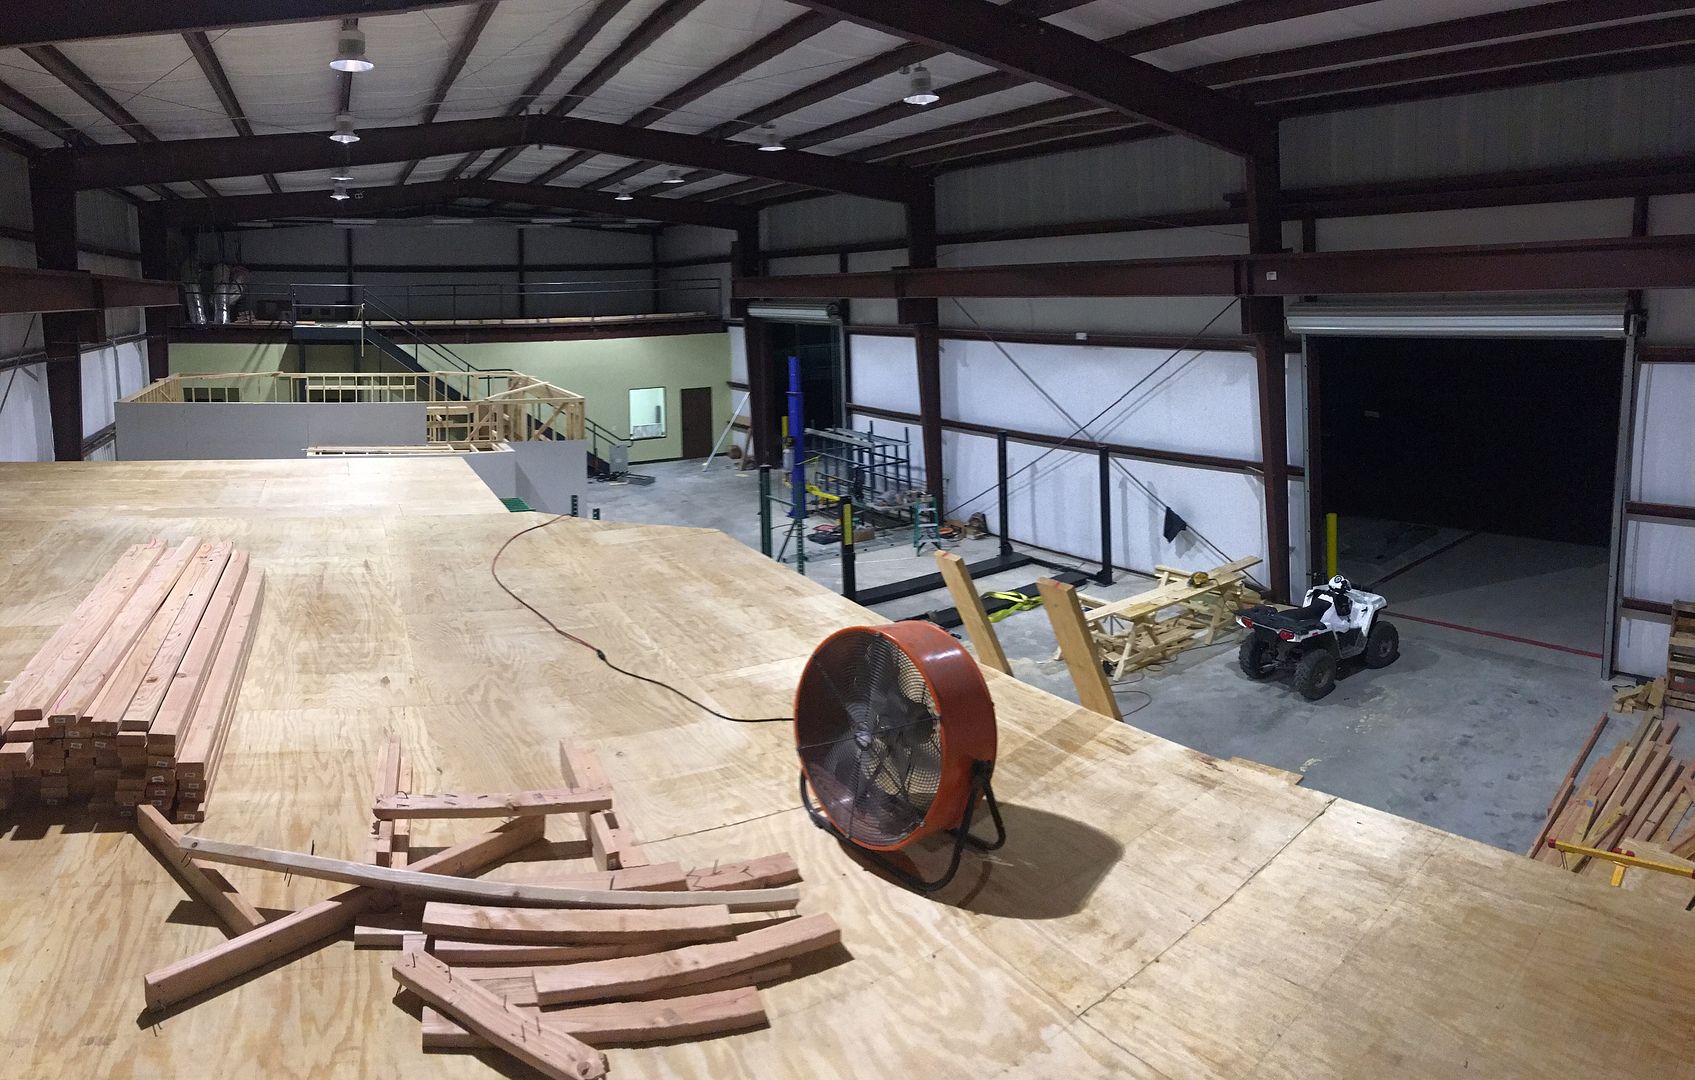
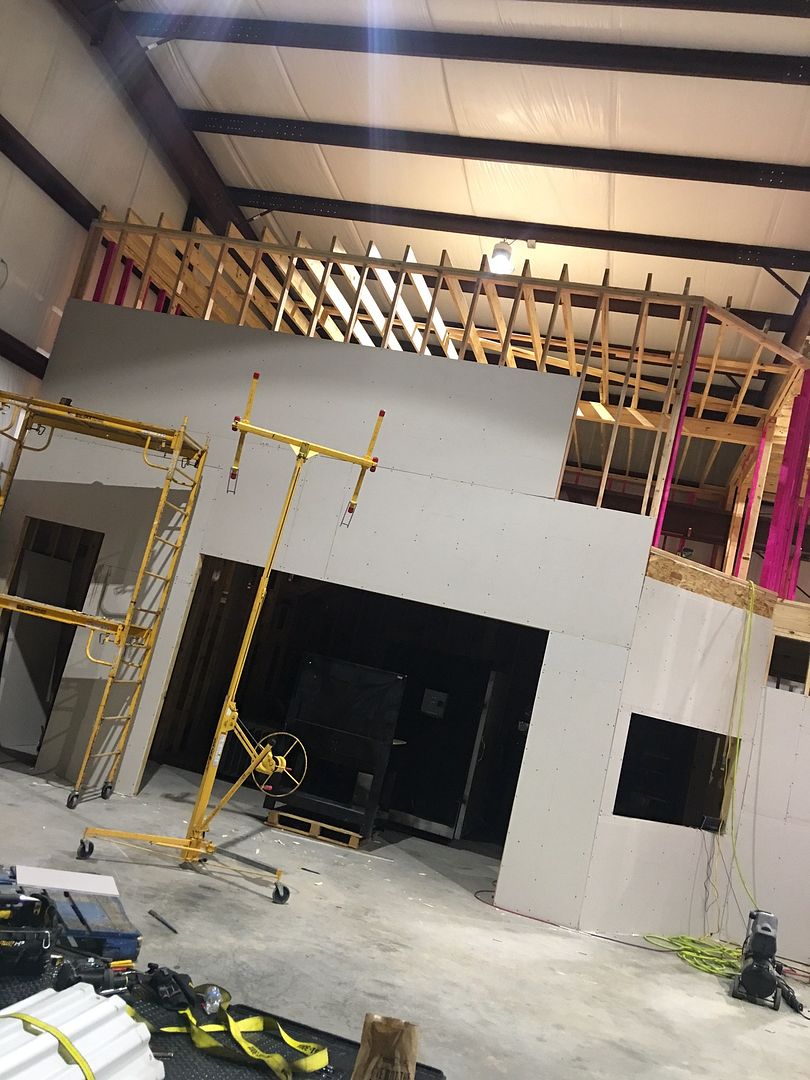
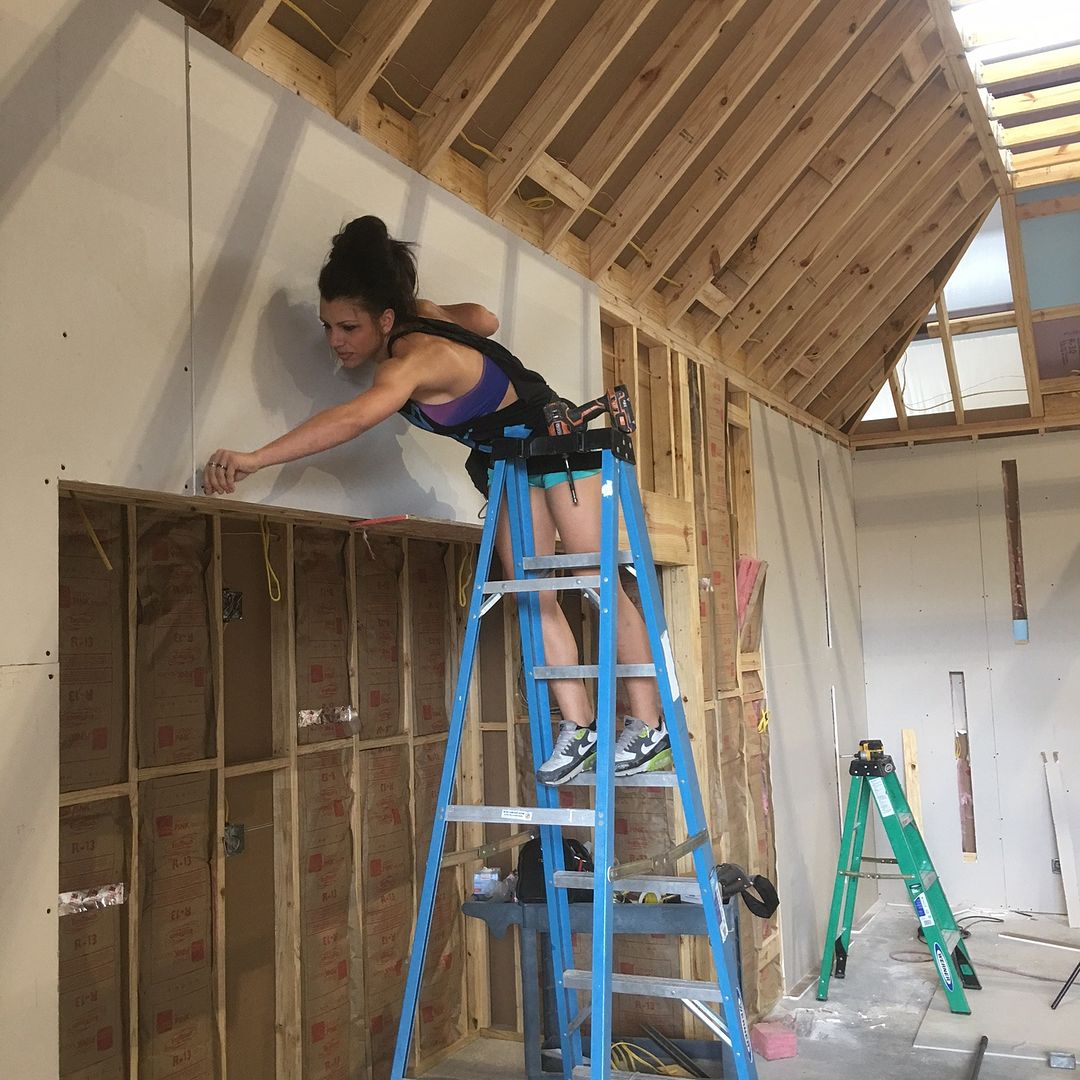
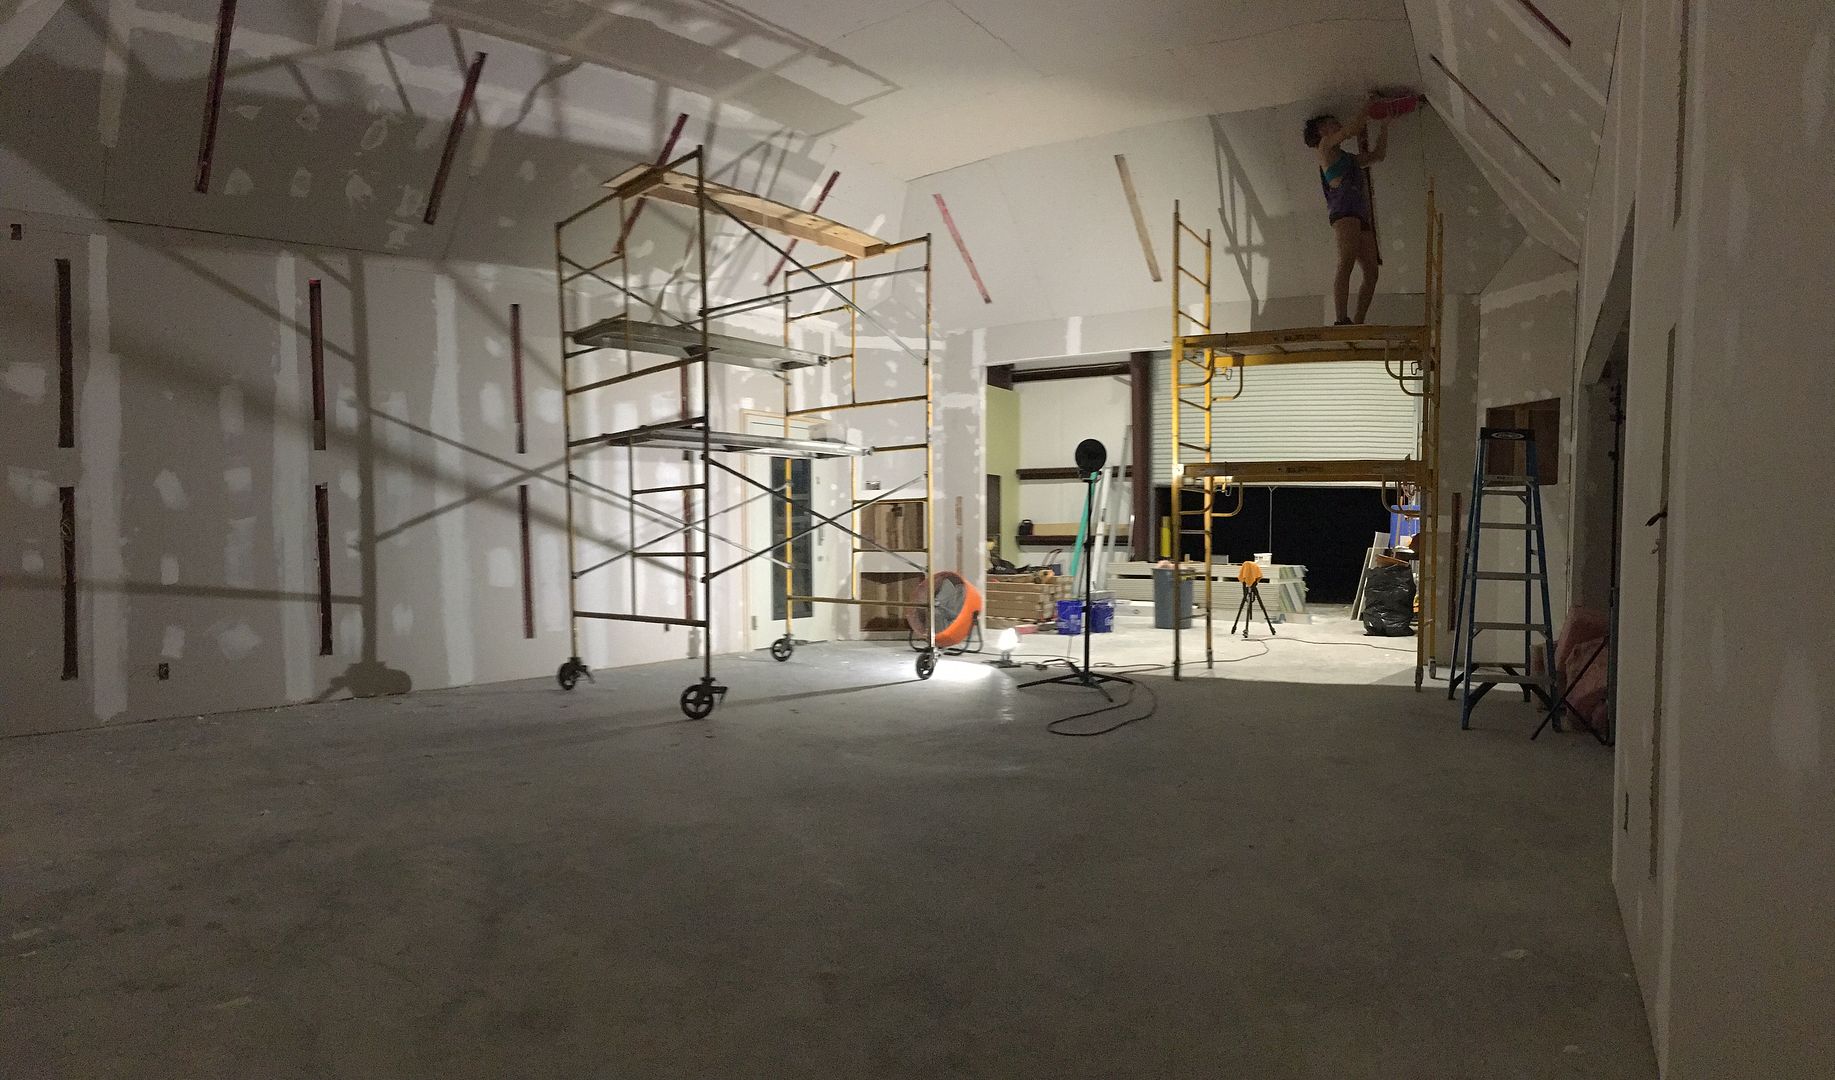
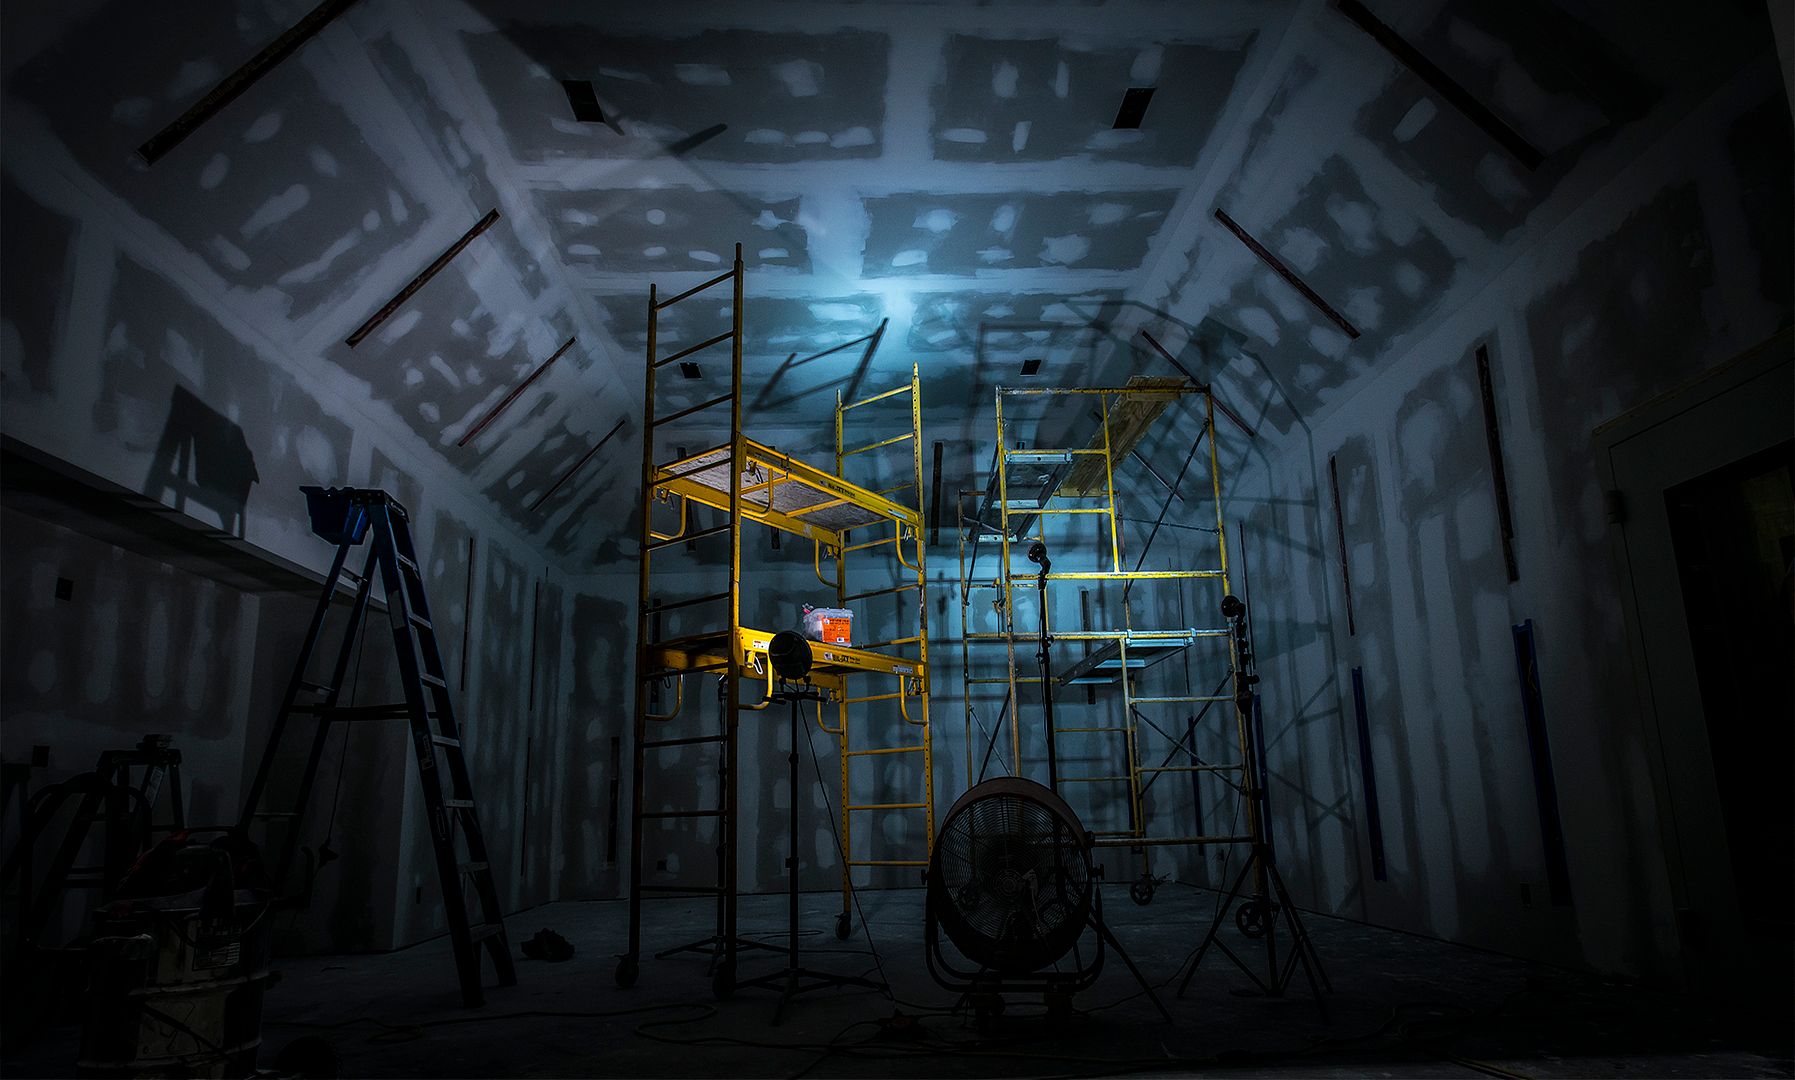
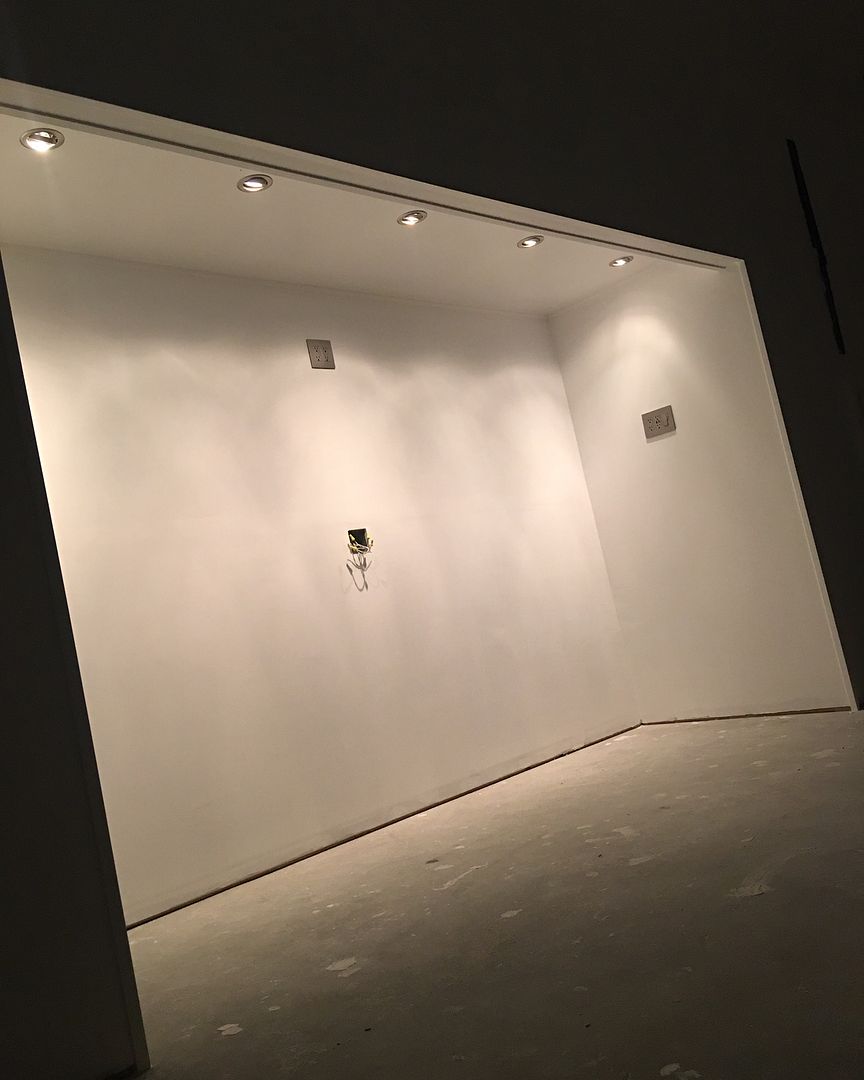
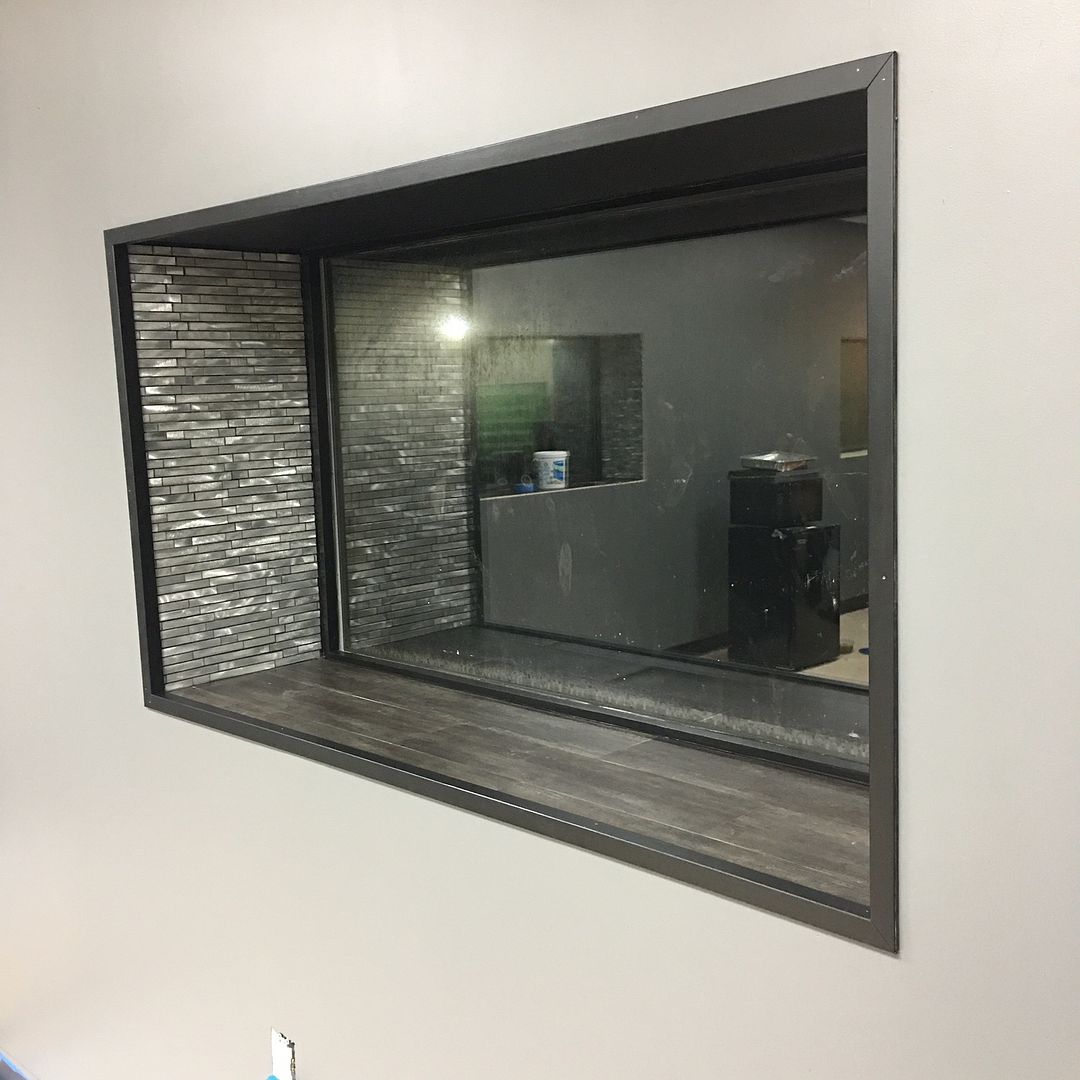
More framing, drywall, and insulation. We also chose the lights for the room, and wanted to build some "pods" to mount them flush into the wall.


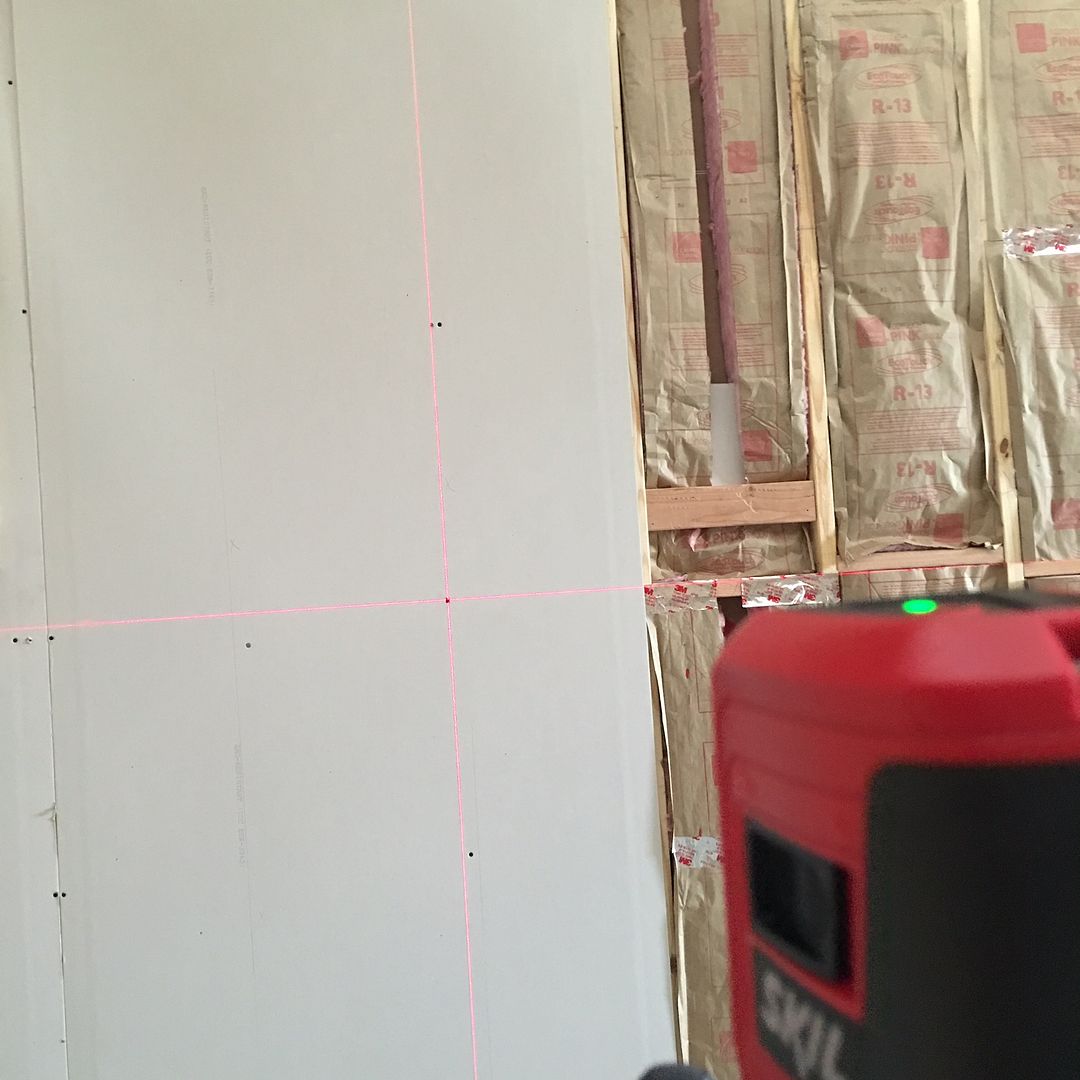
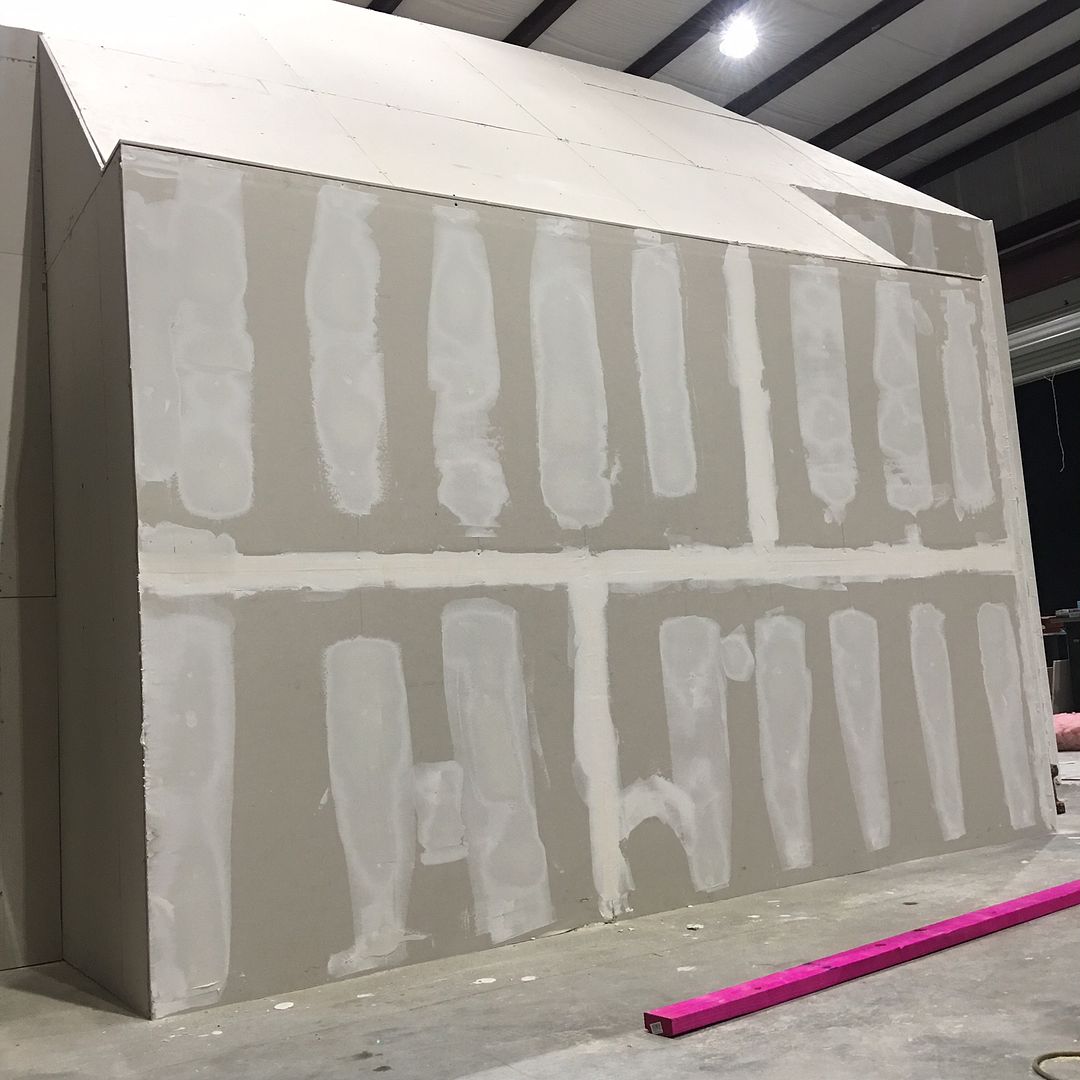
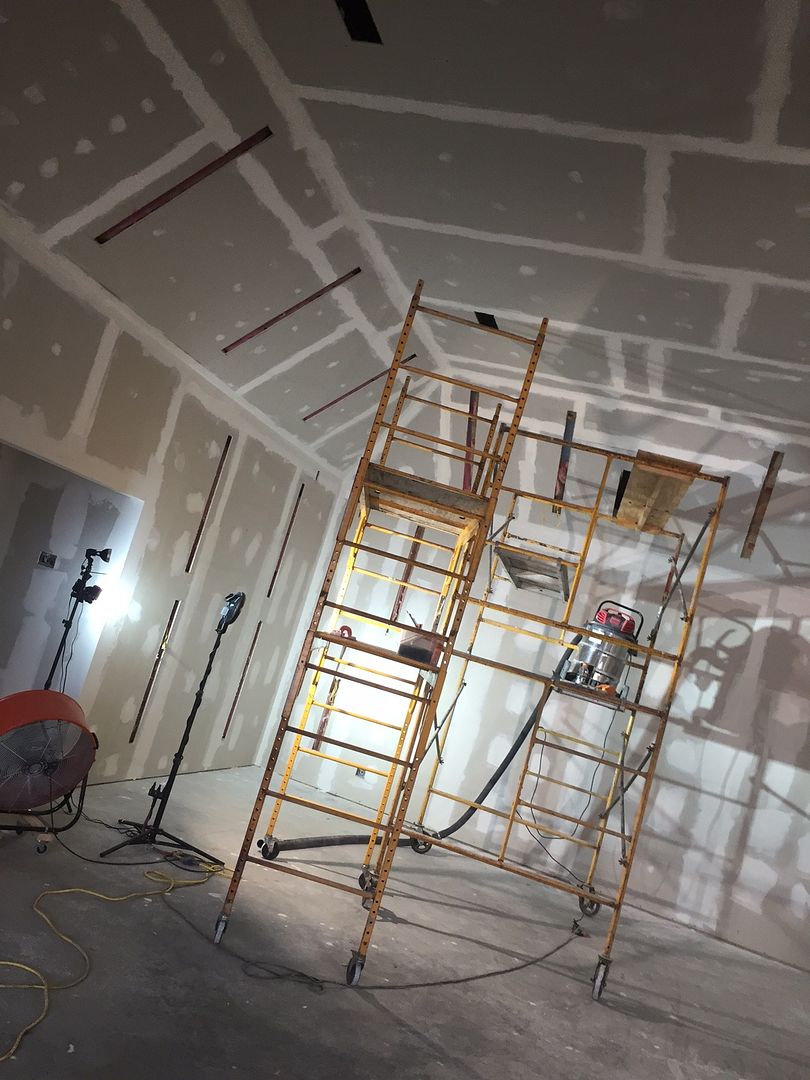
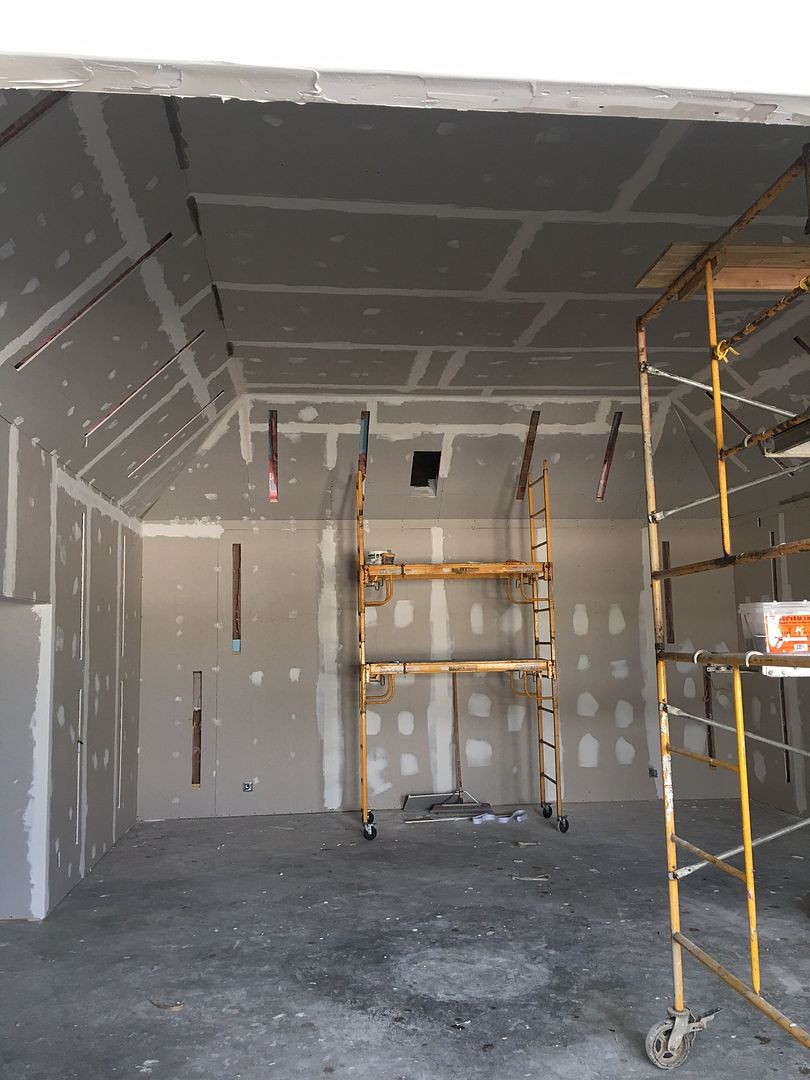
Drywall for days...
The next thing we subbed out was the AC. Both structures got their own 480v 4 ton units. Super energy efficient being 480v
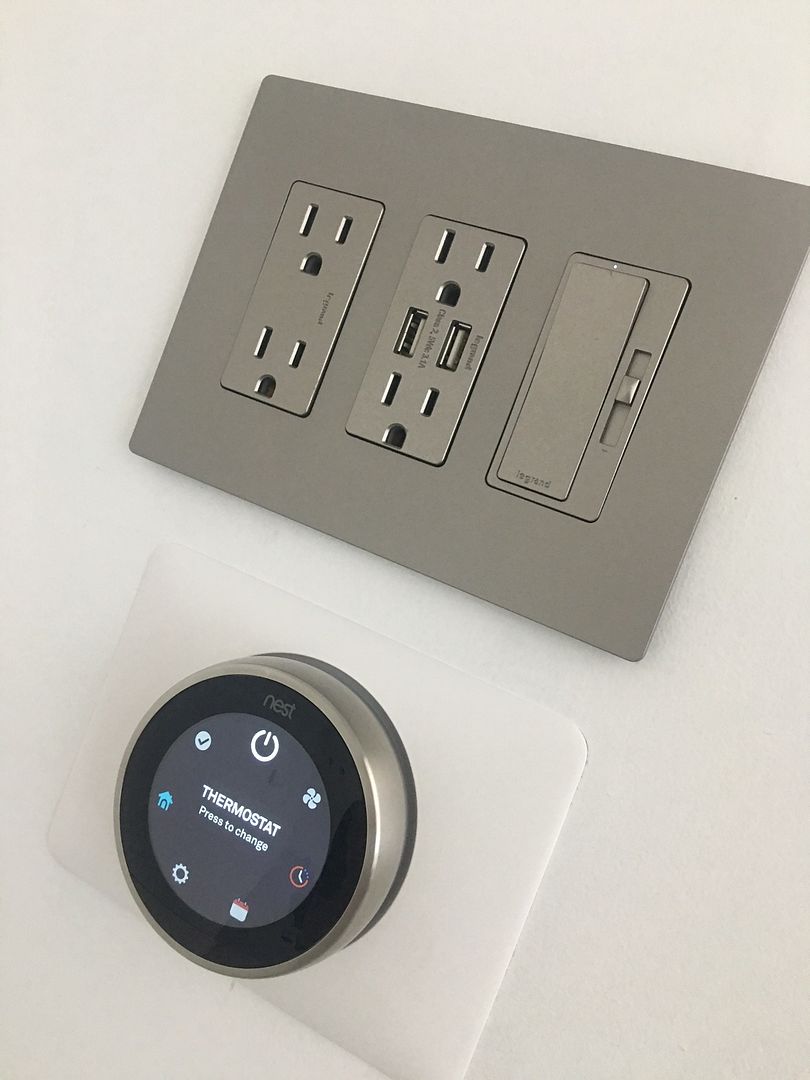
I did get the time to install the thermostat and receptacles and switches, as well as some lighting.
The only other thing we had to sub out was the white room floor. The local company that did this for us have done an incredible job so far. The floor was first cleaned, then ground flat, then sanded smooth. After that, a first layer of primer was laid down, its white, but make no mistake this is not the final look. You still see all of the texture and unevenness of the floor at this point.
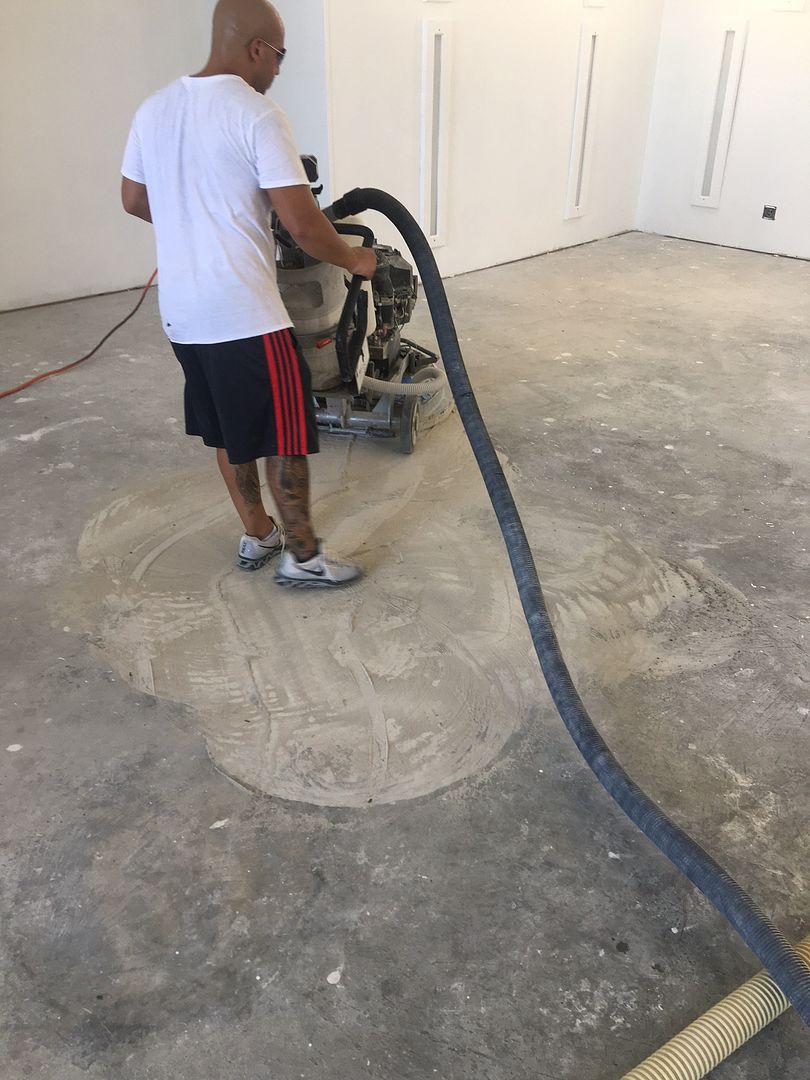
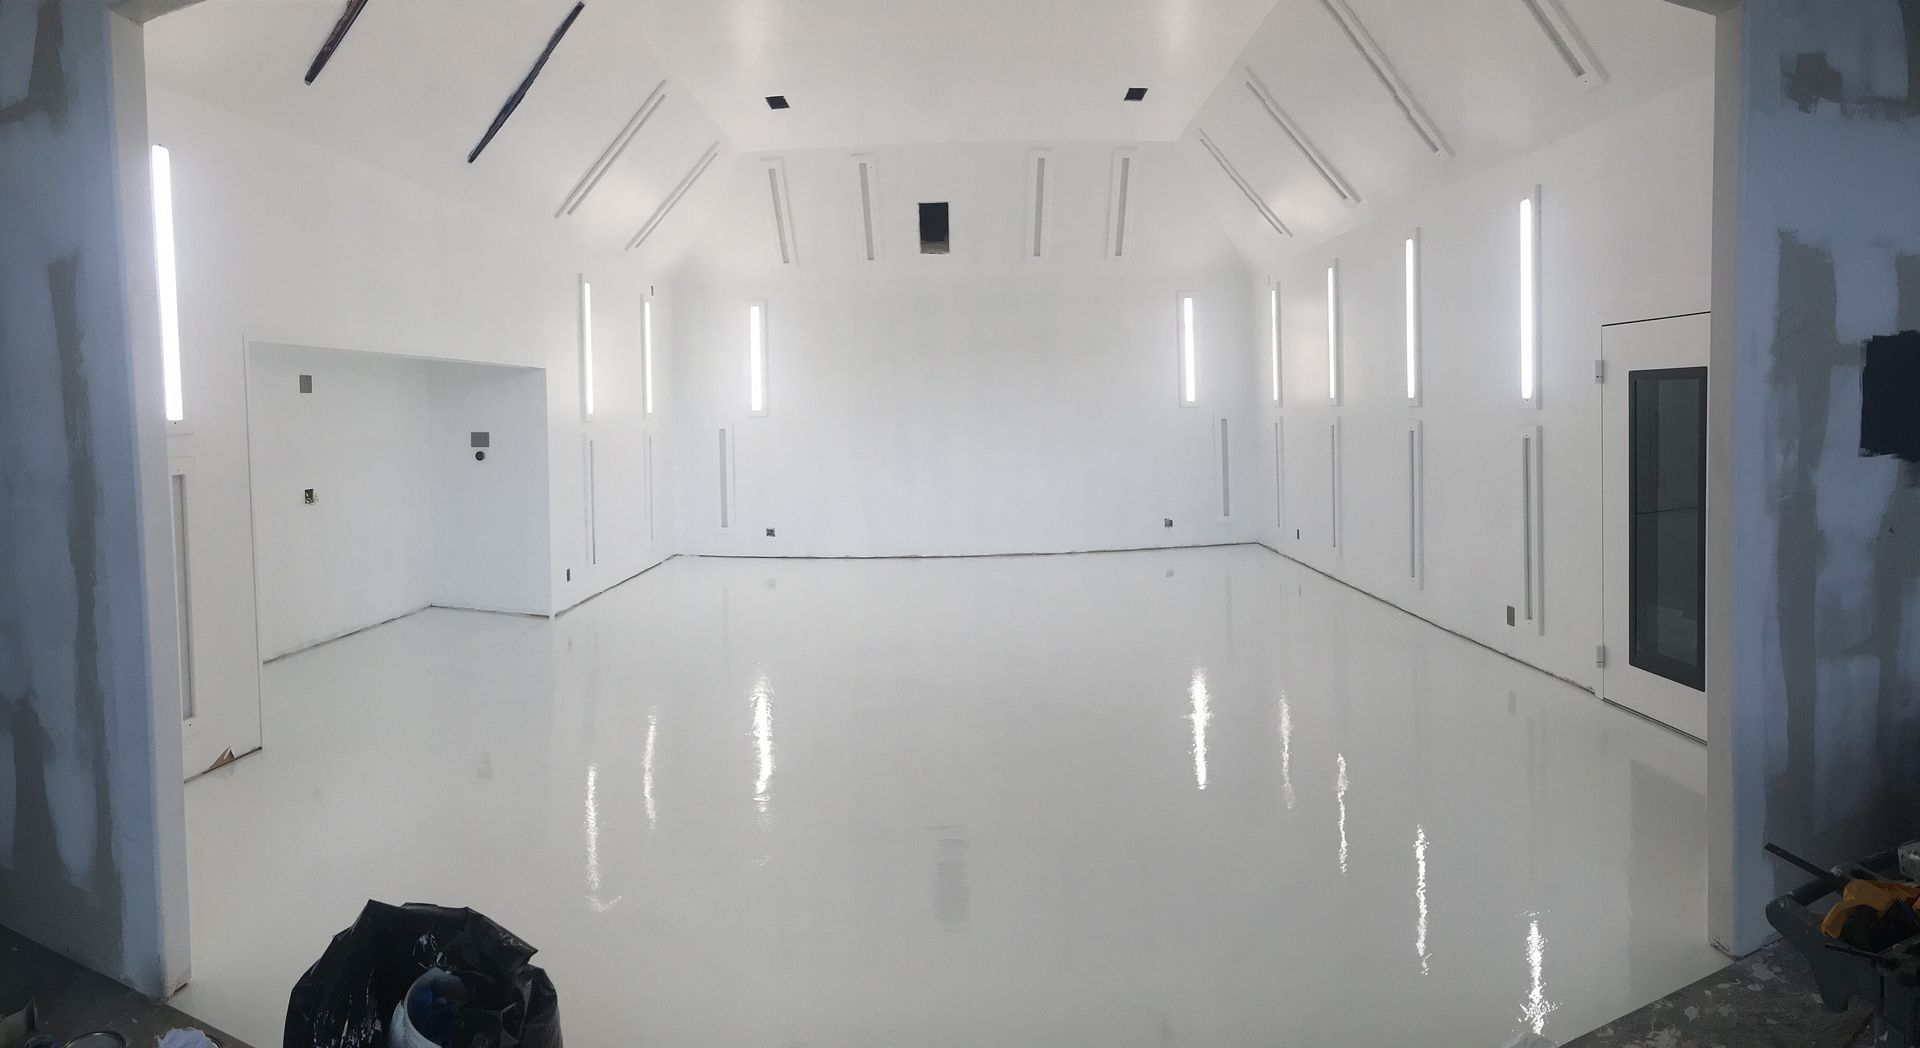
After this, this white primer was sanded, and then the small groves and low spots were patched. On went another layer of primer. When that cured, down went the first layer of Epoxy, much smoother. This too will be sanded, then another layer of 100% solids will go on, leveling it even more. This is where we are at this point! So after the next layer of solids, and two coats of clear, they tell me it will be glass smooth with deep reflections!
While the floor is being worked on all week, Beth and I spent some time in the showroom ridding it of its puke yellow ugliness.

So y'all are up to speed, and Ill try and keep you guys updated!
I've been overwhelmed all summer by finishing up projects at the old shop, building out the new space, and keeping in touch with customers as best as possible. So Ill start from the beginning and get you guys up to speed to where we are currently with the few photos I took along the way.
So lets start from finding the new place.
We told our realtor we wanted a few specific things in a space:
1 - Much more room that we had. We currently had a 3500sq ft facility and we were busting at the seams
2 - A presentable and large, nice, front showroom/reception
3 - Ample parking
4 - SECURITY
5 - Office space
6 - 2 or more drive through bay doors
7 - Landlord allowing modification or construction of rooms etc
8 - BIG electricity. We were working out of a 100 amp panel with no availability to bring more service inside, so we were constantly tripping breakers and having to share power
9 - Had to be located in the area we wanted, as Houston is MASSIVE and traffic is insane.
We viewed properties for months, and could not find anything that met half or more of these stipulations. As our lease ending neared, dangerously close, a new property popped up on the market. A brand new building, less than 30 days old was just finished. We went to view the space and took over it the very next day as there was a line of potential takers waiting to be shown the property when we got there.
Heres what we got:


Listed at 6000sq ft, the building dimensions I measured to start laying out floor plans ended up revealing that the sq footages is more like 6400sq ft not counting about 900sq ft of upstairs. So needless to say we had plenty of space! Happy dance. The electrical feed is 1000amp 480v 3 phase, so, electricity will NEVER be a concern, haha. We've got a gated access, a high fence with razor wire, and located in a very are part of town. Literally....the only thing that would have made this building more perfect would be existing drains cut into the floor, but we will work that out in time.
So we are not ones to pay someone to do things we can learn how to do or already know how to do. Building what we wanted and paying for it to be done would be out of our budget, but if we were able to do the labor ourselves we could get much more for out money and not have to sacrifice and constrain our goals for the space. So I started measuring the floors and planning things out. I modeled the entire building in SolidWorks, mocked up some cars for visuals, and started to situate the structures we needed to build.
Time to start gathering materials. We have become personally aquatinted and are on a first name basis with the folks at Lowes and Home Depot over the past two months. Ive probably made at least 100 trips. :bash:


Framing begins! Hard work inside a metal building in the middle of a Houston summer!


The power brought to the building is MASSIVE, which is awesome, but the transformer that stepped the power down from 480v to 240 was only a 45kva transformer. For you guys that don't know what that means, it has high rise level power coming into the building, and only a transformer capable of powering an apartment. So we had to lay a pad for a big transformer, get the power disconnected and change all of that out. That is beyond my knowledge and had to sub contract this out. A few minutes on google to learn it and we were pouring concrete.

My parents were electricians and so I was always helping out wiring homes and buildings, and was able to successfully wire these entire project. We all know the annoyance of tangled cords and extension cords. Its a pet peeve of mine. Being able to wire this place exactly like I have always wished a place would be, is...well its badass!


Big Compressor coming home! Finally have that 3-phase power and can get rid of the 110v baby compressors.

Using some structural tube and connectors, and powder coating them myself, I built a safety rail for the second floor stairway


At this point, the last boxes and equipment was moved out of the old place and the doors locked. Goodbye old shop, thank you for the memories. Equally sad is draining 150 gallons of 99.99% particulate free filtered water.

We sort of pioneered the current "white room" or "clean room" movement in the industry right now with our last white room. We learned a lot, and this time around it'll be even better.
More framing, drywall, and insulation. We also chose the lights for the room, and wanted to build some "pods" to mount them flush into the wall.


Drywall for days...


The next thing we subbed out was the AC. Both structures got their own 480v 4 ton units. Super energy efficient being 480v
I did get the time to install the thermostat and receptacles and switches, as well as some lighting.


The only other thing we had to sub out was the white room floor. The local company that did this for us have done an incredible job so far. The floor was first cleaned, then ground flat, then sanded smooth. After that, a first layer of primer was laid down, its white, but make no mistake this is not the final look. You still see all of the texture and unevenness of the floor at this point.


After this, this white primer was sanded, and then the small groves and low spots were patched. On went another layer of primer. When that cured, down went the first layer of Epoxy, much smoother. This too will be sanded, then another layer of 100% solids will go on, leveling it even more. This is where we are at this point! So after the next layer of solids, and two coats of clear, they tell me it will be glass smooth with deep reflections!

While the floor is being worked on all week, Beth and I spent some time in the showroom ridding it of its puke yellow ugliness.


So y'all are up to speed, and Ill try and keep you guys updated!
")
")
