 Thanks: 0
 Likes: 0
 Dislikes: 0
-
The 10 @ 10 Technique for picking up a bead of product with a rotary buffer
The 10 @ 10 technique for picking up a bead of product with a rotary buffer
The 10 @ 10 Technique for picking up a bead of product is a way you can grabbing your product on the fly with your rotary buffer in a way that pulls the product under and into the face of the buffing pad instead of splattering it all over the place.
Some people take their pad and simply spread their product out over the paint with the buffer off and then after spreading it out turn the buffer on and start buffing, this works but can also throw splatter all over the place.
The 10 @ 10 Technique not only works but has a cool factor to it that shows anyone watching that you know how to pick up a bead of product like a Pro.
First of all, the term bead in detailing talk beans a line or strip of product. Just want to make sure everyone understands that term.
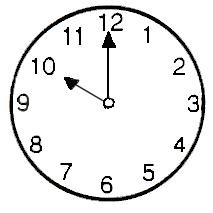
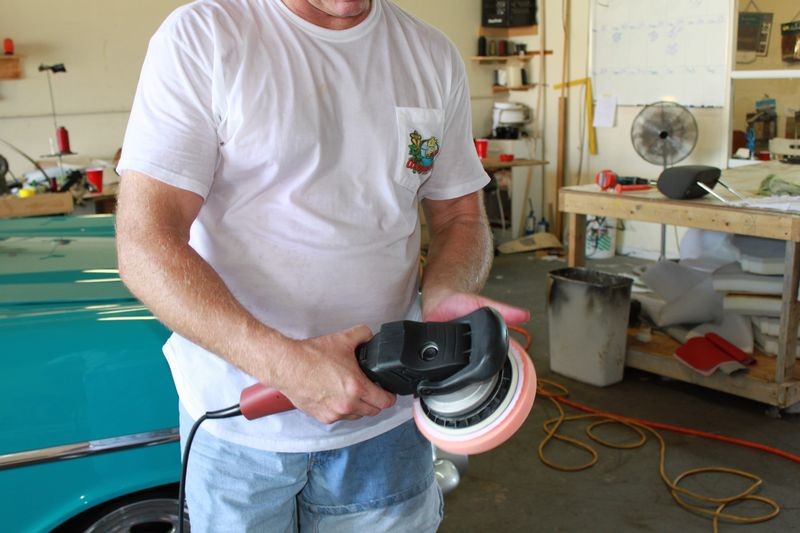
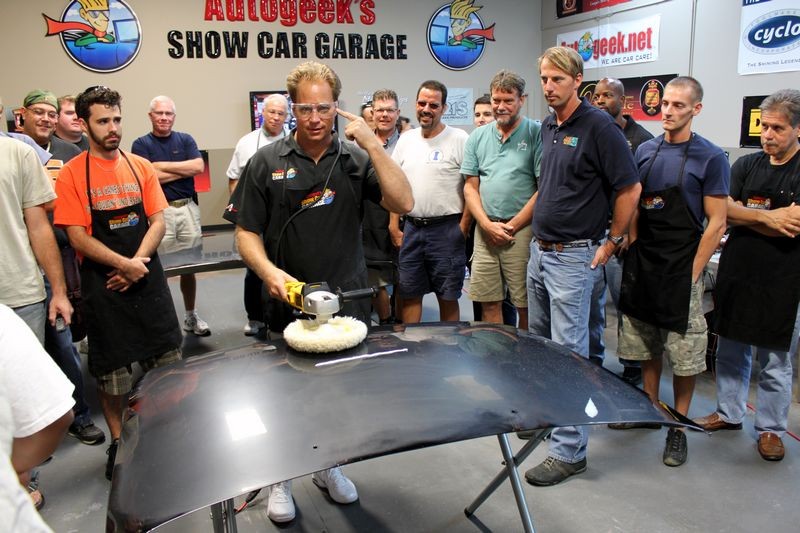
To pick up your bead of product using the 10 @ 10 Technique, while holding the rotary buffer in your hands, looking at the back of the buffing pad, pretend it's clock. The top is 12:00 O'clock and going clockwise you have the 1, 2, 3, etc. positions on the buffing pad that would correlate with a clock.
What you want to do is bring the rotary buffer up to speed and then lock the trigger into place so you don't have to hold it in the entire time you're buffing.
Next, place the buffing pad just in front of your bead of product at the 10 O'clock position.
The pad should be spinning but not in contact with the paint.
Lightly touch the buffing pad down so the 3 O'clock position is just making contact with the paint and the 10 O'clock position is raised off the paint about 10 degrees.
Now run the buffing pad over the bead of product from right to left drawing the bead in at the 10 O'clock position. (not the 9 O'clock or 11 O'clock posting but the 10 O'clock position).
Since the pad is rotating clockwise, the bead of product will be pulled into and under the pad instead of being thrown away from the pad as splatter.
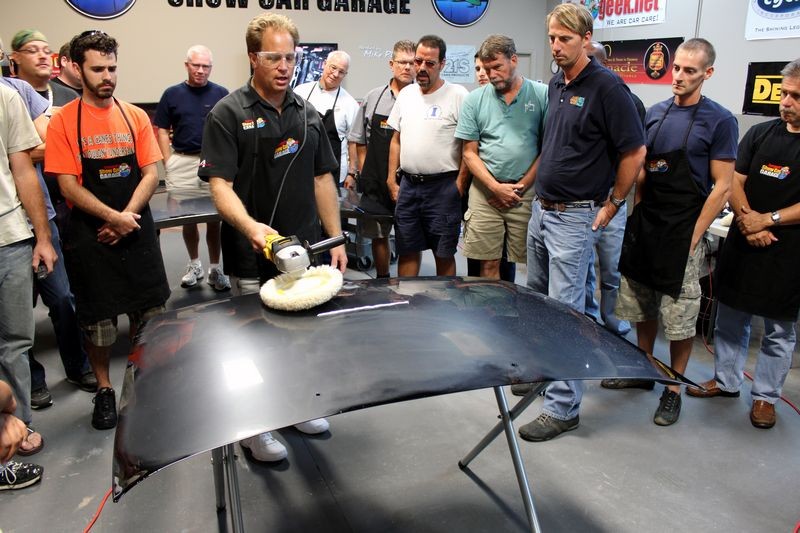
As soon as you move the polisher past the last portion of the bead of product instantly move the raised portion of the buffing pad so that the entire pad is now flat against the paint and proceed to spread the product out over the area you're going to work.
After the product is spread out, then start working the product against the paint with slow overlapping passes.
I show this technique in this video,
Tips for using a Rotary Buffer and the Flex 3401 on vertical panels
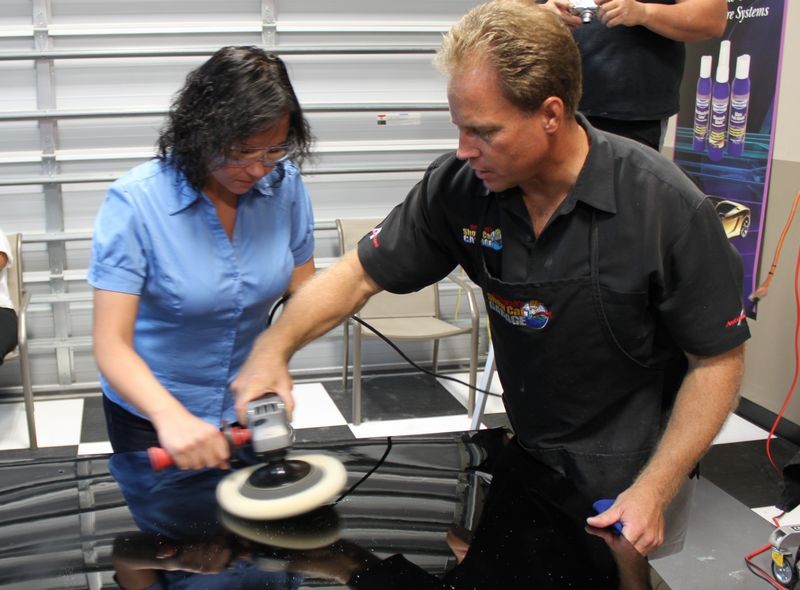
At our recent Advanced Detailing Class, I helped Tanya to learn how to pick up a bead of product using the rotary buffer. With a little practice you'll be picking up your bead like a Pro!
Tanya is ready to learn the way of the rotary buffer...

First things first and that's learning the 10 @ 10 Technique for picking up a bead of product...

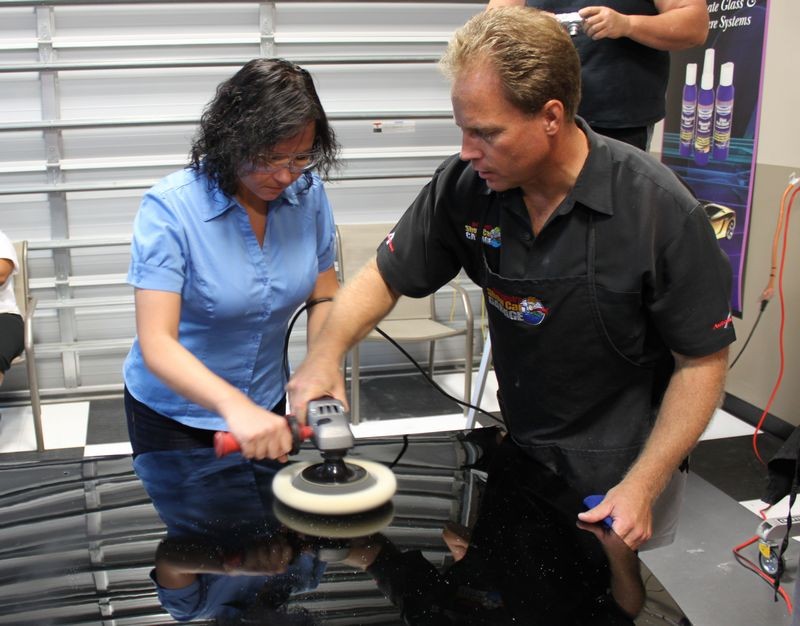
Tilt about 10 degrees and run the buffing pad over the bead at the 10 O'clock position with the 3 O'clock position of the pad just lightly against the paint...

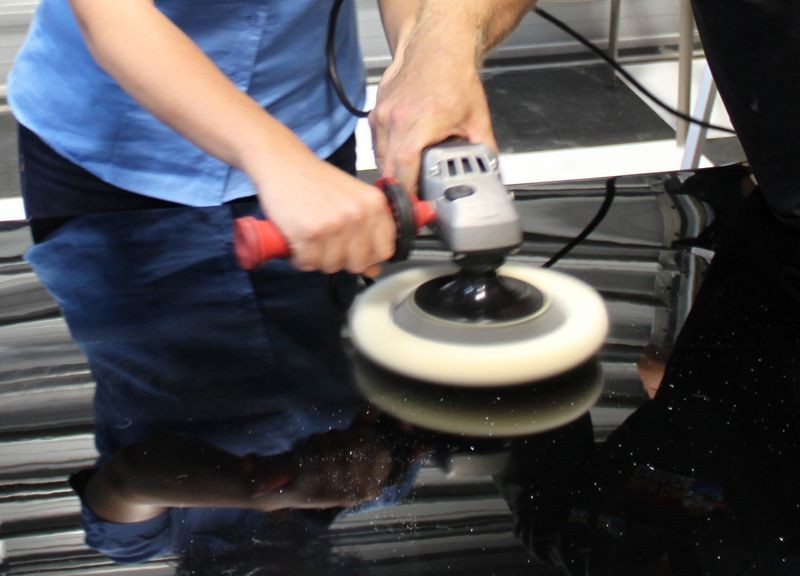
Continue moving the buffing pad over the bead of product at the 10 O'clock position on the buffing pad.

When you get to the end of the bead of product then lay the pad flat and then spread the product out over the area you're going to work.

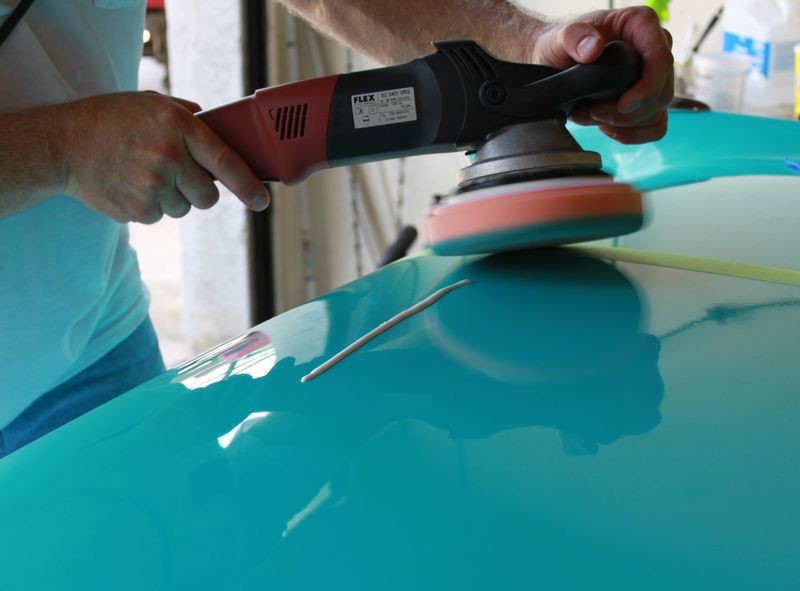
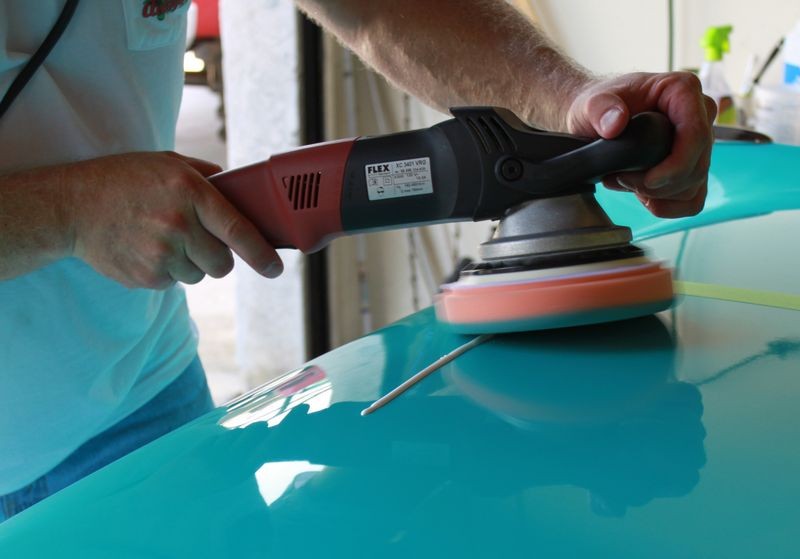
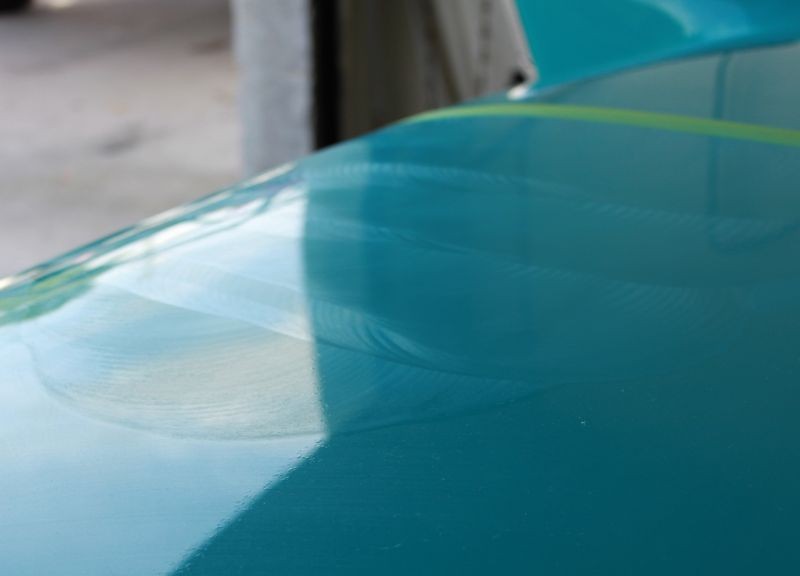
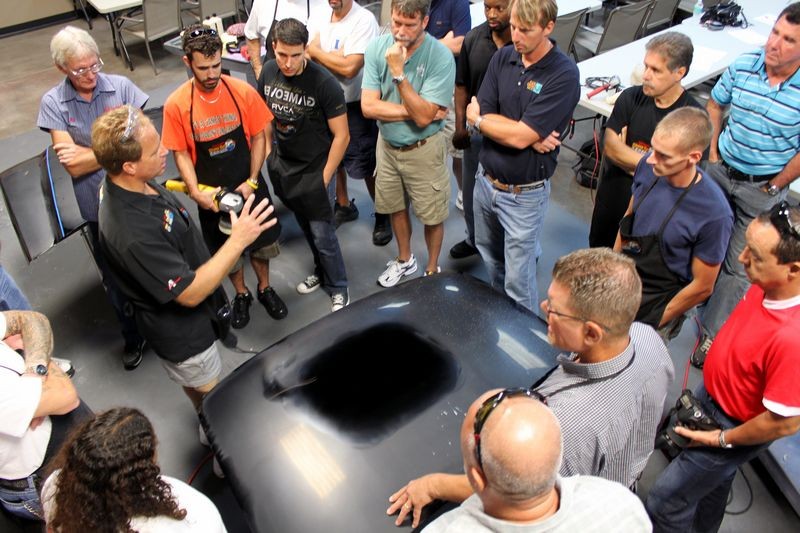
Here's a good picture that shows how Charles has spread his product out over an average size area to work at one time and now he's compound the paint.

Once you master the 10 @ 10 Technique and understand how the technique works, you can then start freestyling and picking your bead of product up anywhere on the buffing pad as long as you do it in such a way that the spinning pad is pulling the product into and under the pad and not throwing it as splatter.
For example, another common way to pick up your bead of product is at the 4 @ 10 Technique.
For this you would be moving the rotary buffer from left to right, with the pad just touching down at the 9 O'clock position and lifting the opposite side about 10 degrees and then running the bead in at the 4 O'clock position.
Since the pad is rotating clockwise, the bead of product will be pulled into and under the pad instead of being thrown away from the pad as splatter.
Remember to clean your pad often using either a Spur or a Pad Washer.
Using a Spur to clean a wool buffing pad to remove spent product and removed paint

Using the System 2000 Pad Washer to clean a wool buffing pad on a DeWALT Rotary Buffer


-
Super Member

Re: The 10 @ 10 Technique for picking up a bead of product with a rotary buffer
Will this work with DA and or Flex?
Fred R. Elias Jr.
Warren, MI. 48091
1-586-755-1245
-
Re: The 10 @ 10 Technique for picking up a bead of product with a rotary buffer
 Originally Posted by feslope

Will this work with DA and or Flex?
It will with the Flex 3401, in fact I show how to pick up a bead of product using the 4 @ 10 Technique in this video...
How to do a Test Spot using the Flex 3401
The below is a portion taken from this write-up,
1957 Chevrolet Belair Extreme Makeover - Flex 3401 & Wolfgang Smackdown!
Note: You can swap out different pads and chemicals for your test spot, the important point is to test the products, pads, tools and your technique to one small area first, and then check your results before attempting to buff out the entire car.
It does help to actually lay down a strip of tape of tape and then just work on one side of the tape, this will help you to better see the changes taking place.
Make sure the results from your Test Spot meet your expectations, if they don't then start a thread on this forum and let us know what you're seeing and our online community will do their best to help you tweak your technique and see you through to success!
~~~~~~~~~~~~~
Begin Copy & Paste
~~~~~~~~~~~~~
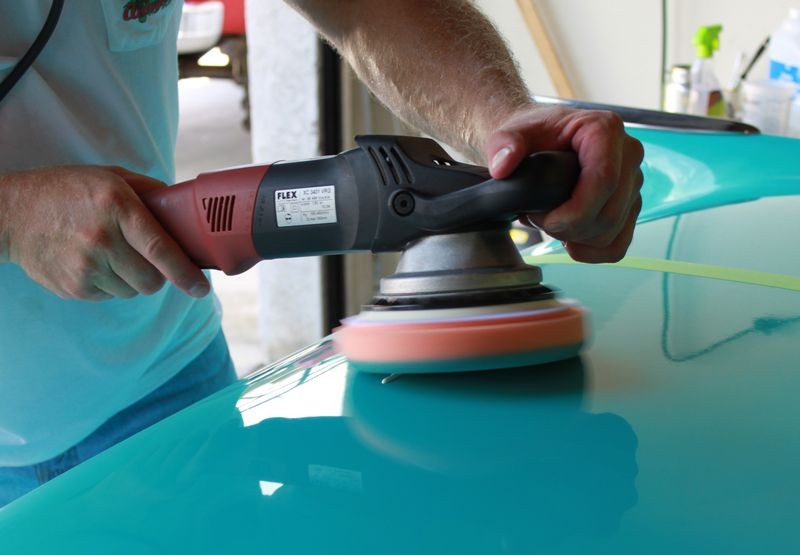
We're ready to do our test spot and for this we're going to use the Wolfgang Total Swirl Remover 3.0 with the LC Hydro-Tech foam polishing pad with the Flex 3401 If this isn't removing the swirls fast enough or effectively enough then will stick with the same product but try the more aggressive LC Hydro-Tech Cutting pad.
Center the pad onto the backing plate...

And then press the pad firmly against the backing plate to fully engage the Velcro.
__________________
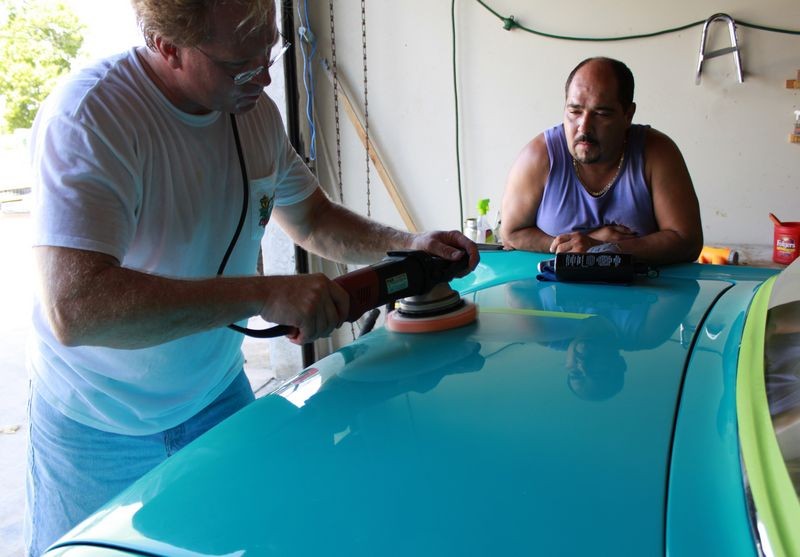
Horizontal surfaces like the hood or the trunk lid always work best for the Test Spot. Here we're using the trunk lid and we've applied a piece of painter's tape to separate between the before and after sides for easier and more accurate evaluation.

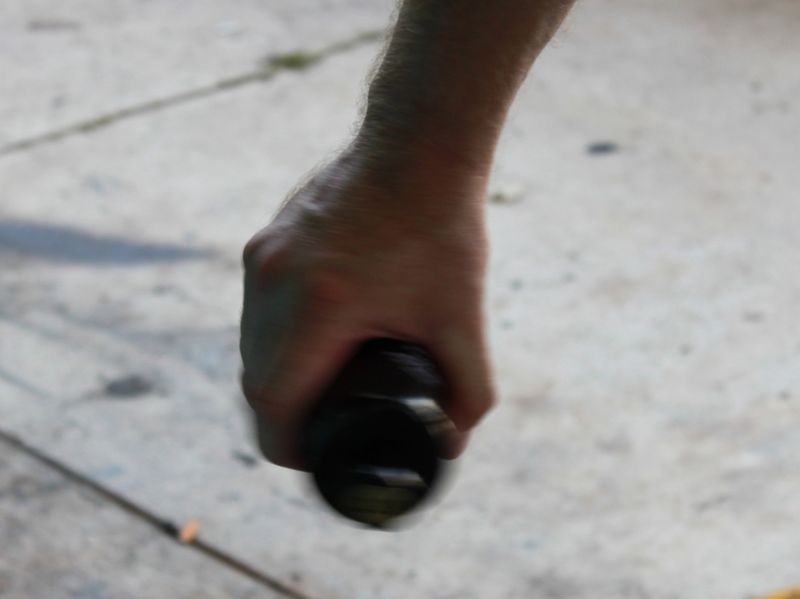
Always shake your products well before using them... I like to twist them back in forth at my side...
Lay down a thin strip of product about 6" to 8" long. You'll tend to use less product as you move around the car and your pad becomes more wet with product so it's less likely to absorb product into itself.


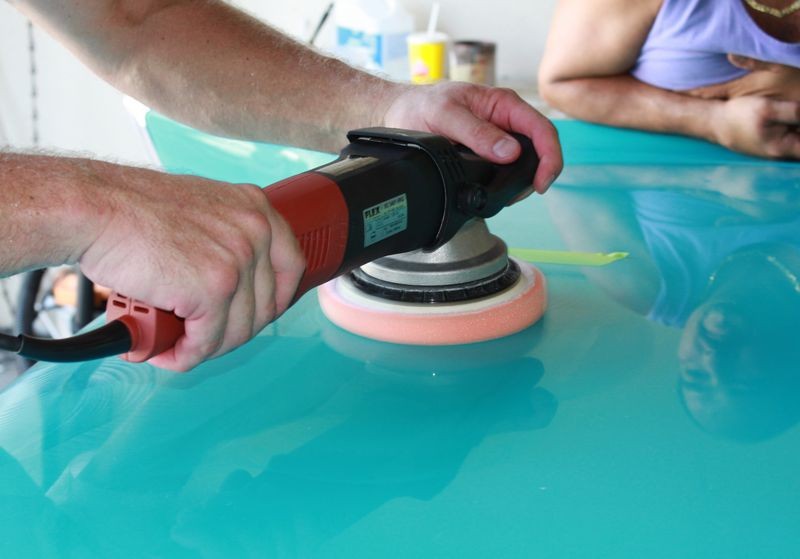
Unlike a true Rotary Buffer which the pad would rotate clockwise as you look down on it from behind the buffer, the Flex 3401 rotates counterclockwise and as such we're going to pick up our strip of product running the pad across the panel from left to right and running the strip into the pad at the 4 O'Clock position.
(See the YouTube Video below).


After picking up our bead, we lay the pad flat against the paint and begin making slow, overlapping passes over our test section.

Try to always have a wet film of product at the end of the buffing cycle as buffing to a complete dry buff might lead to hazing if you lose all lubricity on the surface.
YouTube Video Performing A Test Spot using the Flex VRG 3401

-
Re: The 10 @ 10 Technique for picking up a bead of product with a rotary buffer
Originally Posted by feslope
Will this work with DA and or Flex?
Here's something on product placement for DA Polishers, this would hold true for the Cyclo too...
How much product do I use with my DA Polisher?
Somewhere around here I have the "Kissing the Paint" technique... think it's in my Dampsanding article.
-
Re: The 10 @ 10 Technique for picking up a bead of product with a rotary buffer
Originally Posted by Mike.Phillips@Autogeek
Somewhere around here I have the "Kissing the Paint" technique... think it's in my Dampsanding article.
Extracted the section on "Kissing the Finish" and made a dedicated article about it in the link below...
Kissing the Finish
-
-
Re: The 10 @ 10 Technique for picking up a bead of product with a rotary buffer
-
Super Member

Re: The 10 @ 10 Technique for picking up a bead of product with a rotary buffer
Mike, I've tried the "10 and 10" a couple of times, my walls thank you. I'll stick with the "kissing the finish" technique.
-
Regular Member

Just a basic query, which I have been having for quite sometime. Do you prime the pad before using the 10@10 technique? Or a dry pad will do? I want to try it on my DA so wanted to clarify before going ahead and doing it.
Sent from my GT-N7000 using Tapatalk 4 Beta
-
Regular Member
*Bump*
Sent from my GT-N7000 using Tapatalk 4 Beta
Similar Threads
-
By Mike Phillips in forum Ask your detailing questions!
Replies: 5
Last Post: 11-06-2014, 03:08 AM
-
By Mike Phillips in forum How to articles
Replies: 9
Last Post: 06-02-2014, 06:25 AM
-
By orcat in forum Ask your detailing questions!
Replies: 2
Last Post: 11-22-2013, 07:11 AM
-
By Mike Phillips in forum How to articles
Replies: 3
Last Post: 08-28-2012, 07:26 AM
-
By Mike Phillips in forum Flex Polishers
Replies: 9
Last Post: 03-24-2011, 06:34 PM
 Members who have read this thread: 0
There are no members to list at the moment.
Posting Permissions
- You may not post new threads
- You may not post replies
- You may not post attachments
- You may not edit your posts
-
Forum Rules
|
| S |
M |
T |
W |
T |
F |
S |
| 28 | 29 | 30 |
1
|
2
|
3
|
4
|
|
5
|
6
|
7
|
8
|
9
|
10
|
11
|
|
12
|
13
|
14
|
15
|
16
|
17
|
18
|
|
19
|
20
|
21
|
22
|
23
|
24
|
25
|
|
26
|
27
|
28
|
29
|
30
|
31
| 1 |
|


 Reply With Quote


Bookmarks