 Thanks: 0
 Likes: 0
 Dislikes: 0
-
Super Member

-
Super Member
-
Super Member

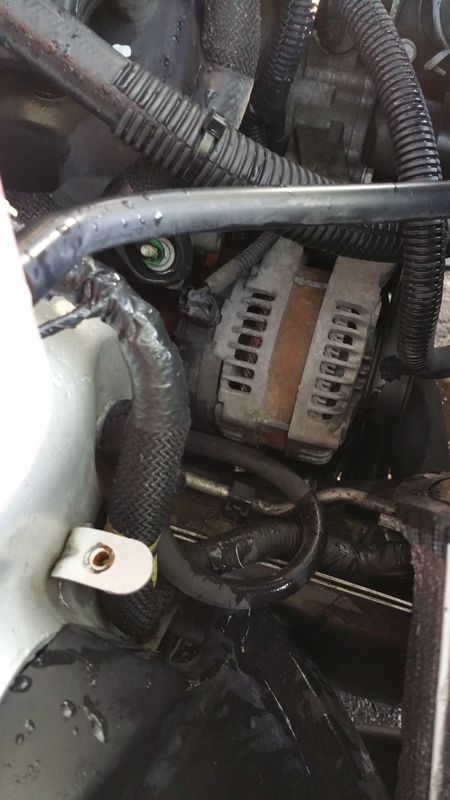
Review: CarPro Dlux & Full engine detail write up
Did you wet your air filter?
David 2000 Ford F-350 DRW CCLB BLACK/GOLD
Wish list:
Everything Mike has in his garage for detailing 
-
Super Member
Re: Review: CarPro Dlux & Full engine detail write up
 Originally Posted by Jomax

Did you wet your air filter?
Yup, it was soaking wet, but I took it off and washed it before starting the car. It's a washable K&N filter.
To wash the filter you need to remove it. Once removed I used the K&N refill/reload kit that has a cleaner (like brake cleaner I guess) and an oil. I pressure washed the heck out of the filter until the water ran clear let it dry, reoiled and reinstalled once I was all done.
if it was a paper cone filter it would have to be wrapped (most paper filters sit in a dry charger -bag that keeps out water).
-
Super Member

Re: Review: CarPro Dlux & Full engine detail write up
Good job and nice write up.
-
Super Member

Re: Review: CarPro Dlux & Full engine detail write up
Great Review !, thank you for your time, engine room looks new!
-
Super Member

Re: Review: CarPro Dlux & Full engine detail write up
Great job bud. Looks great. Dlux is a great product for sure.
-
Re: Review: CarPro Dlux & Full engine detail write up
Great write-up! I just ordered some DLux for some other areas on my vehicle, but now it looks like I'll be using it under the hood too!
-
Super Member
Re: Review: CarPro Dlux & Full engine detail write up
4u2nvinmtl
I noticed my application was a little uneven
Was there a slit on the side of the block to tuck the suede applicator so it would not move around?
-
Super Member

Re: Review: CarPro Dlux & Full engine detail write up
That was 1 hell of a post.
Sent from my iPhone using Tapatalk
Similar Threads
-
By Mike Phillips in forum How to articles
Replies: 0
Last Post: 12-21-2019, 11:37 AM
-
By BobbyG in forum Product Reviews
Replies: 65
Last Post: 01-12-2016, 05:14 AM
-
By swanicyouth in forum Product Reviews
Replies: 31
Last Post: 02-08-2014, 11:24 AM
-
By TroyScherer in forum Product Reviews
Replies: 32
Last Post: 08-05-2013, 04:35 PM
-
By IID in forum Show N' Shine
Replies: 7
Last Post: 08-26-2012, 06:14 PM
 Members who have read this thread: 0
There are no members to list at the moment.
Posting Permissions
- You may not post new threads
- You may not post replies
- You may not post attachments
- You may not edit your posts
-
Forum Rules
|
| S |
M |
T |
W |
T |
F |
S |
| 31 |
1
|
2
|
3
|
4
|
5
|
6
|
|
7
|
8
|
9
|
10
|
11
|
12
|
13
|
|
14
|
15
|
16
|
17
|
18
|
19
|
20
|
|
21
|
22
|
23
|
24
|
25
|
26
|
27
|
|
28
|
29
|
30
| 1 | 2 | 3 | 4 |
|


 Reply With Quote


Bookmarks