 Dislikes: 0
-
Review: Pinnacle Engine Cleaner & Degreaser and SONAX Plastic Care
Review: Pinnacle Engine Cleaner & Degreaser and SONAX Plastic Care
The below pictures, like most articles and videos make this type of detailing look fast and easy but that's not actually accurate. I actually TEACH people how to do this type of work and one thing I know, if you want to LEARN how to do something.... teach it.
Here's the light fluffy short version....
Spray on and let dwell for a few minutes
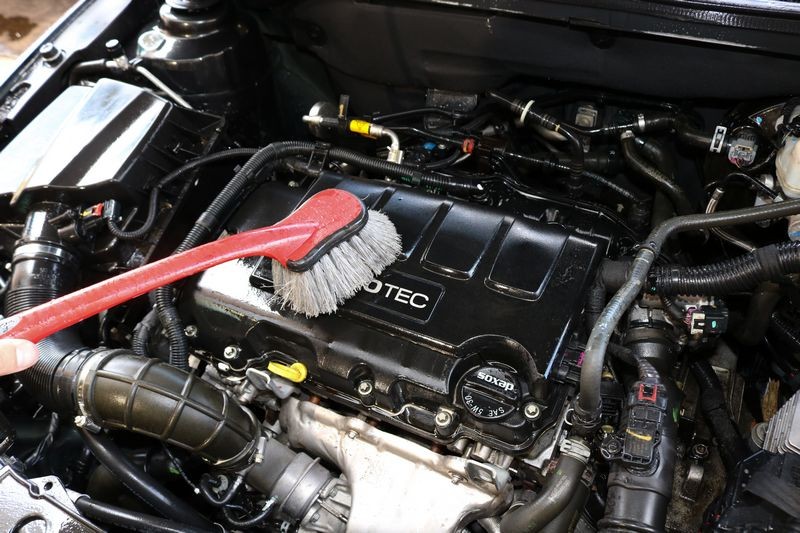
Agitate
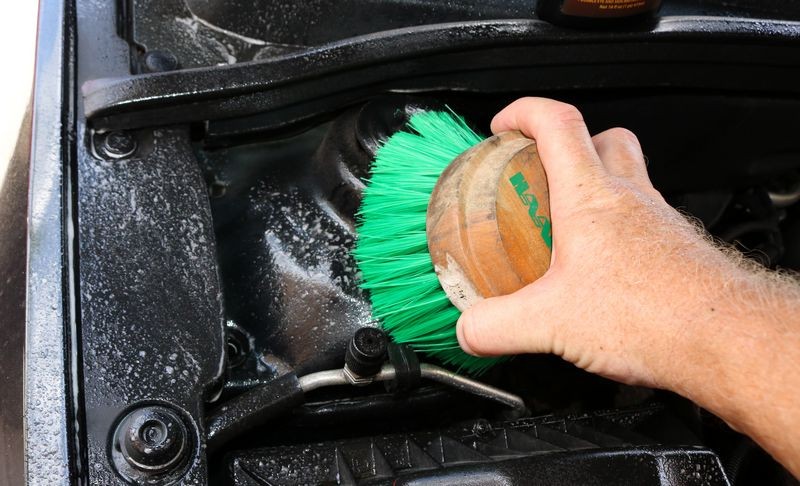
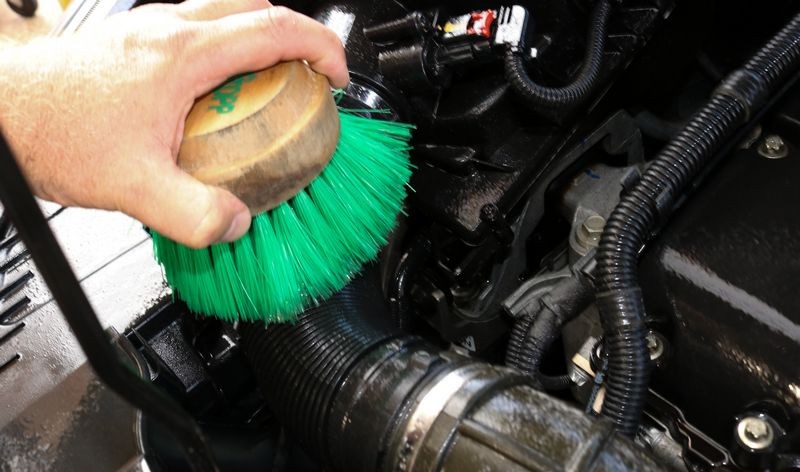
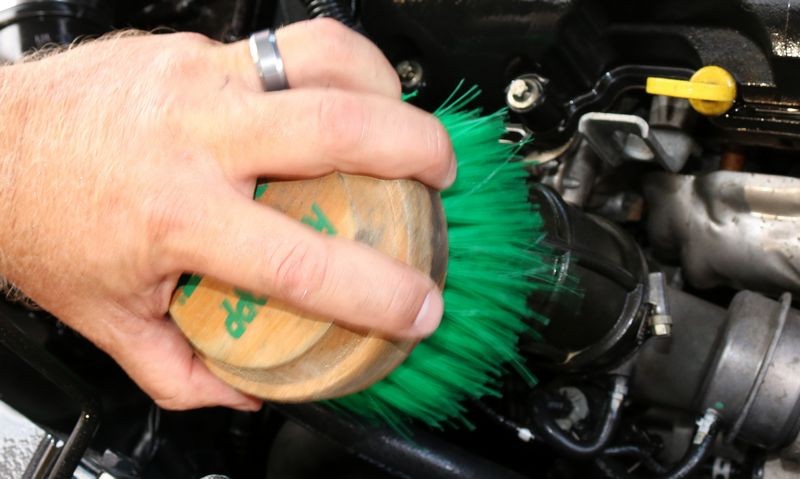
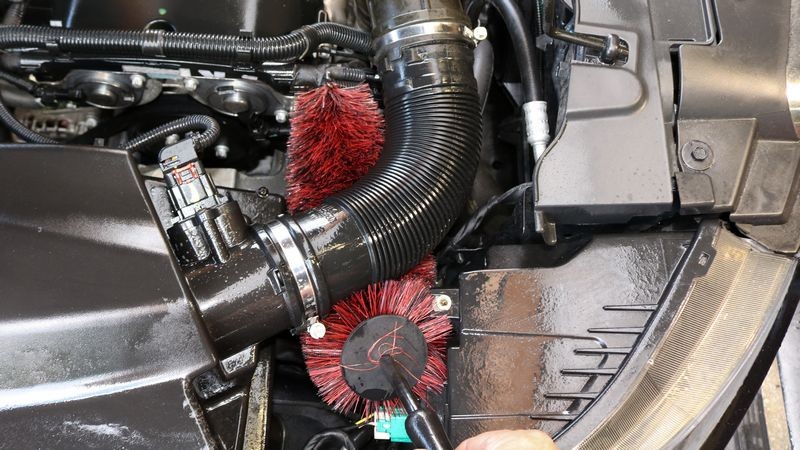
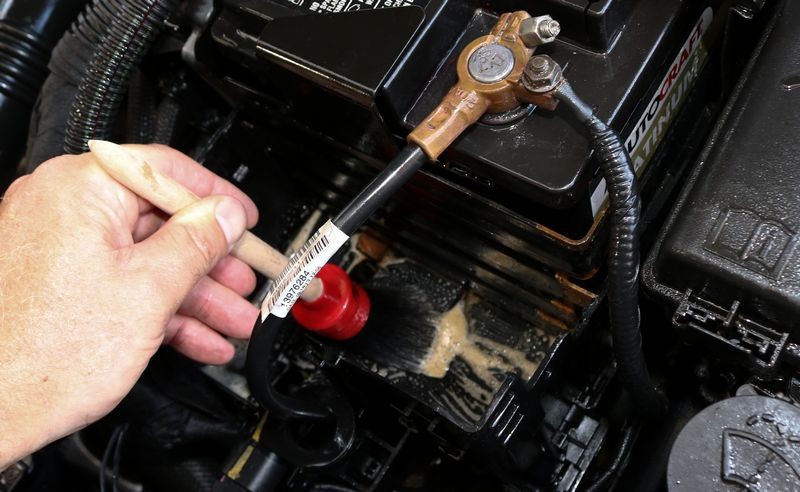
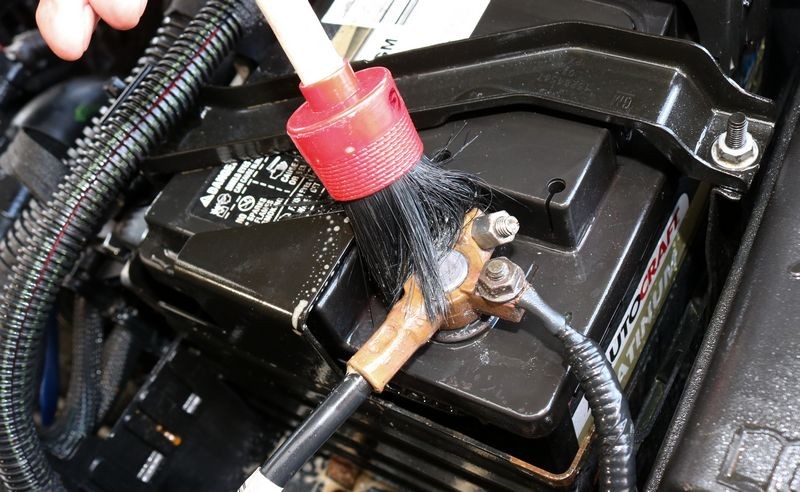
This means use a lot of different types of brushes to work the product over the grimy surfaces

Rinse

Dress

Done

For those of you that really want some real how-to information, start reading after this first post.
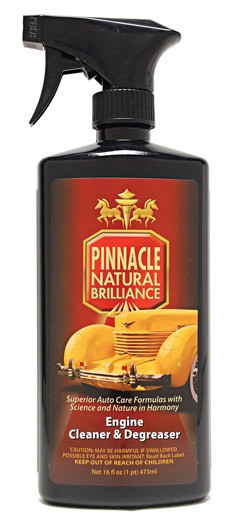
First - here's the copy from the AG Store that tells about the product...
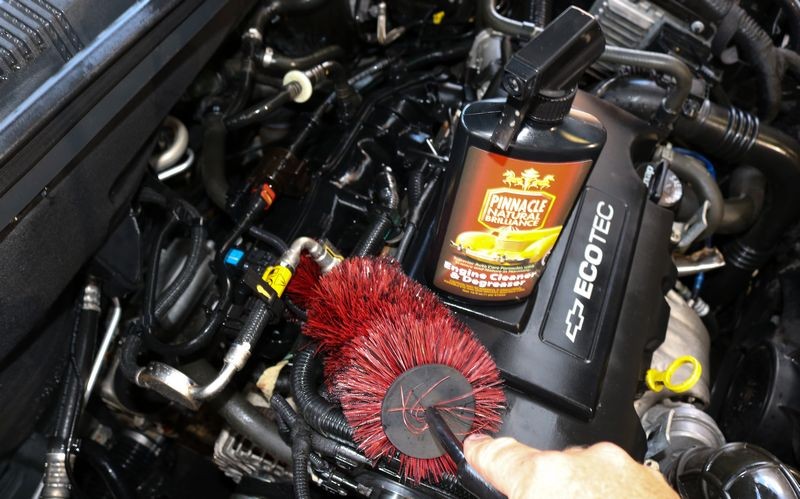
Quickly dissolves built up grease and oil in your engine's compartment without the use of harsh solvents and phosphates.
Pinnacle Engine Cleaner & Degreaser:
• Contains no harsh chemicals - solvent free!
• Penetrates deep to effectively dissolve and remove caked on dirt, grime, grease, and oil
• Safe for use around metal, plastic, and rubber - will not stain or discolor!
Sounds good and sounds like a safe product. I don't know anything more about it and guess I don't need to know anymore about it. Like I tell people in all my classes, when choosing ANY product, go with a brand name you trust.
Here's the links to where you can get it...
On Autogeek.com
Pinnacle Engine Cleaner & Degreaser - 16 ounce $19.99
Pinnacle Engine Cleaner & Degreaser - 1-gallon refill jug $57.99
Famous Detailing Brush - $14.99, 2/$24.99
Speed Master Wheel Brush $29.99
RaggTopp Premium Convertible Top Brush $29.99
Here's the brush I normally use instead of the RaggTopp brush, this is THE best wheel and pretty much everything-else-brush you will ever use. 100% totally worth the price. You'll thank me after you use this brush one time.
Wheel Woolies Boar’s Hair Wheel Brush $34.99
Mothers Fender Well Brush $7.99
And the miracle juice... available in a friendly consumer size and for pro detailers, in bulk size...
SONAX Plastic Care 300 ml - $12.99
SONAX Plastic Care 5 liter - $99.99
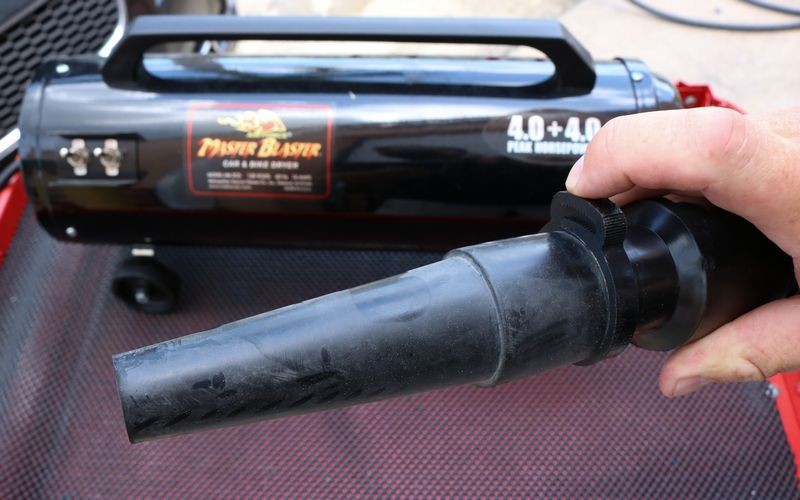
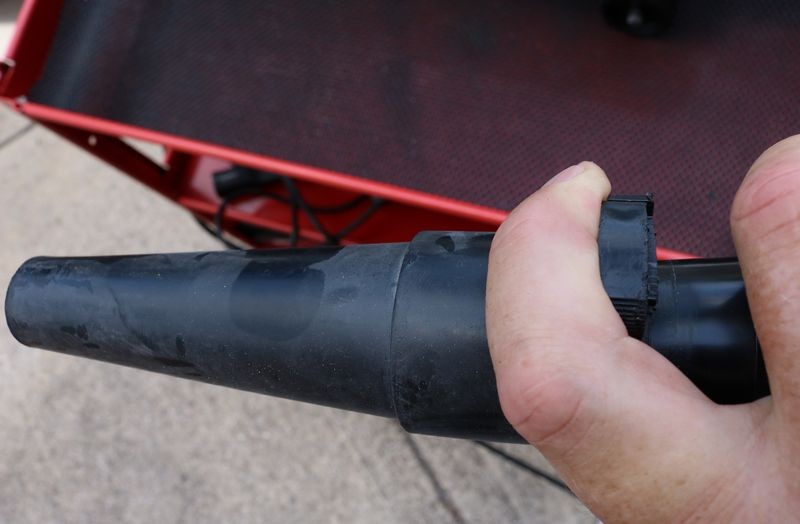
The Master Blaster in the picture is the regular Master Blaster, this one
Metro Master Blaster 8hp - $349.99
The newer version, called the Revolution - the primary difference is the front wheels swivel so it can travel around corners when on the ground and it comes with a wall mount bracket to mount it onto the wall. The wall mount is handy if you do all your work in one place. If you're like me and need to move the Master Blaster around to different parts of your shop then stick with the original version. I place mine on a cart and then wheel the car around to where I need it. This keeps me from having to bend over every time I want to turn the Master Blaster on or off or bend over to move it around. I'm going to send the link to this write up to David Stern and ask him if he can come up with a GREAT cart for this cool tool.
Metro Master Blaster 8hp Revolution - $399.99
And there's yet another version or option that comes wit a extended 30 foot hose. This is the way to go if you're going to mount this unit to the wall.
Metro Master Blaster 8hp Revolution with 30 foot hose - $419.99

-
Post Thanks / Like - 1 Thanks, 0 Likes, 0 Dislikes
 Diner
Diner thanked for this post
-
Re: Review: Pinnacle Engine Cleaner & Degreaser
Continued....
I'm not actually good at writing reviews. I think I excel at writing how-to articles and explaining how to do things via videos. There's real art to being able to use the written word and the spoken word to take something that's actually kind of complicated and write or say it in a way that the average person can not only understand what you're saying but internalize it retain the information and then go out into their garage and do it successfully.
A few years ago Yancy and I made a video on how to detail an engine and it's on our YouTube channel I'll add a link to it at the end of this post. It shows a lot more precautions because for work like this you need to go the extra mile to as I like to say, bubba-proof it so the lowest common denominator among us doesn't screw up their engine.
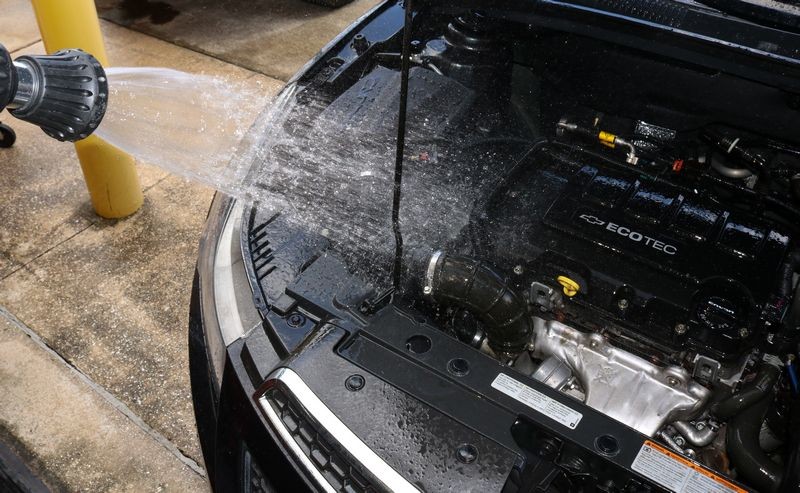
Suffice to say, most modern engines and engine compartments are engineered to be waterproof. That is you can spray water into an engine compartment without causing any harm. The SECRET in my opinion is in the sprayer. While some guys show using a pressure washer to clean an engine compartment I go just the opposite direction. To be more clear, instead of showing people how to use HIGH PRESSURE WATER SPRAY to clean an engine I show people how to use LOW PRESSURE WATER SPRAY to clean an engine and I do this for 2 reasons.
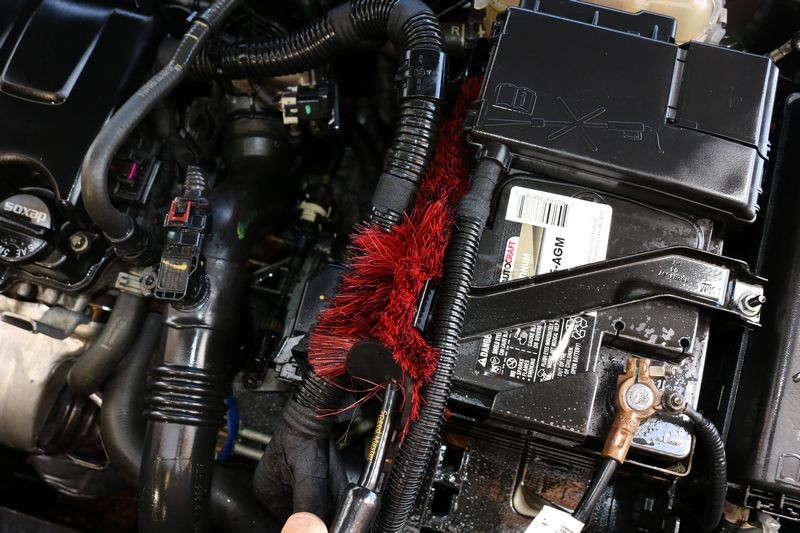
1: Blasting high pressure water into electrical connections and sensors is a recipe for problems. This is when you'll damage something electrical or see the "Check Engine" light come on. Instead of relying on a blast of high pressure water to FORCE engine grime off surfaces in the engine compartment I show people how to use an engine cleaner and degreaser PLUS some ELBOW GREASE. By the words ELBOW GREASE I mean have a LARGE ASSORTMENT of different shapes and sizes of brushes on hand to scrub or AGGITATE the cleaner against the surface and by doing this you no longer need a blast of high pressure water to remove the oily sludge you can simply use a low pressure shower spray of water to rinse off the emulsified oily grime and sludge.
Make sense?
2: Most people don't own a pressure washer. Duh? Why show people how to do something with a tool they don't own. The masses don't own pressure washers. Some detailers do. Some enthusiasts do. But the masses don't.
You know what the masses own? A garden hose. That's right, a mundane simple garden hose and they can attach a garden sprayer that has a shower setting on it to SAFELY flush the engine and engine compartment with water.
The above is what I show in all my classes and it's the technique that's kept me from having to take my car or a stranger's car to the shop to have it fixed.
To recap, the secret to cleaning an engine and engine compartment is to have,
1: A quality engine cleaner/degreaser
2: An assortment of different types and sizes of brushes.
3: A garden sprayer you can get at any hardware store.
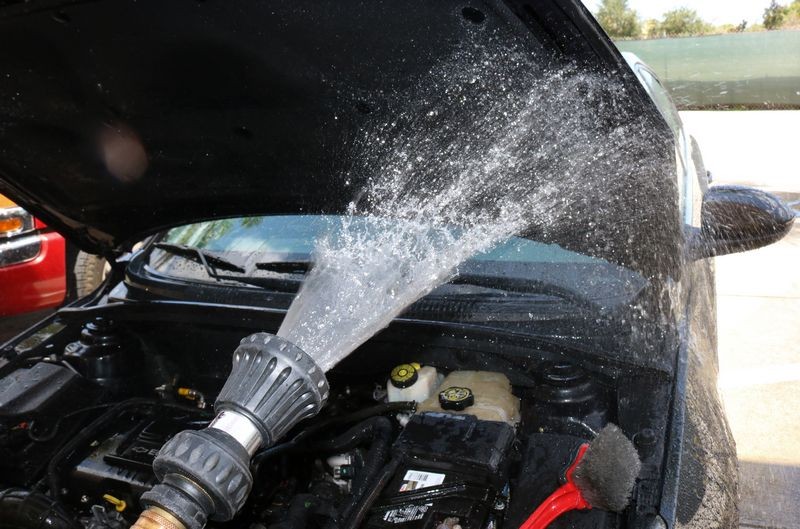
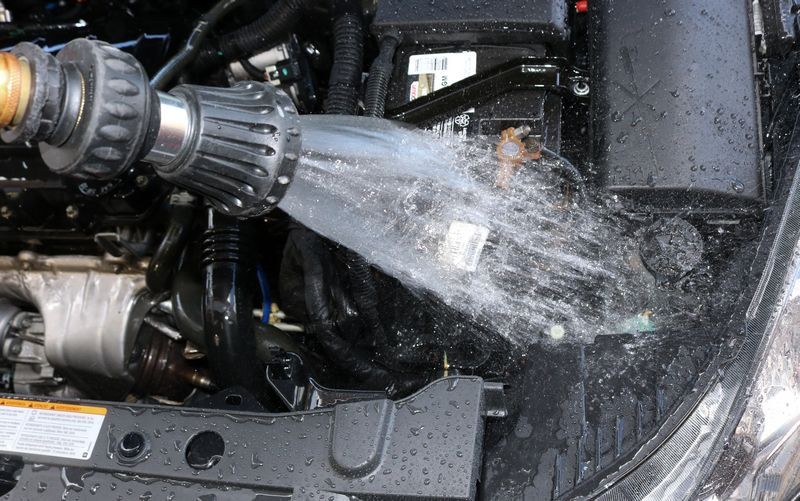
Alas... my garden sprayer was packed in a tote on a pallet coming back from Wisconsin after our 2-day Roadshow Class so I used a Fireman's Nozzle, which we sell here at Autogeek. The Fireman's Nozzle does work because you can adjust it to provide a gentle shower type spray. But in the real world, I prefer a sprayer that has an actual "Shower Setting" because it's more accurate and you don't have to continually adjust the nozzle to maintain a gentle shower spray coming out of the end of the nozzle.
Step 1 - Move car so engine and engine compartment are covered in shade
The next thing that's important when cleaning and degreasing an engine compartment is to work in the shade. The way the Autogeek building was configured and where the garage was located was in a way that when the sun rises, the entire front of the building is covered in full sun. Yep... we don't get shade in the front until around 2:00pm. So every time you see me washing a car in full sun, please don't tell me,
Mike, you're not supposed to wash a car outside in full sun"
I know that. I didn't build the building and purposefully locate the garage in the front where the sun rises. Been dealing with this issue for going on 10 years.
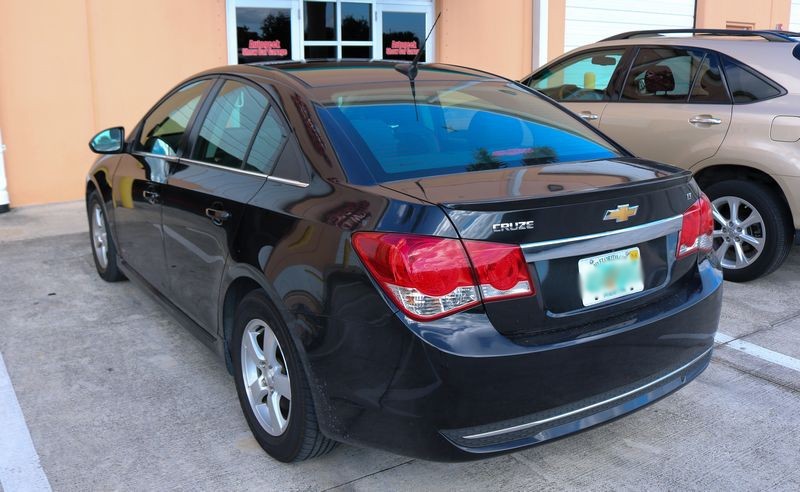
So to do this review, I waited until 2:00pm when the shad starts to cover the front of the garage door and then I pulled the car close to the door opening and this put shade on the entire front of the car. I took these pictures to show you because it's IMPORTANT to not have the sun working agasint you trying to dry up your cleaner/degreaser before you can rinse it off.
Check it out...
If you look carefully you can see front the middle of the windshield forward, the front of the car is covered with shade.
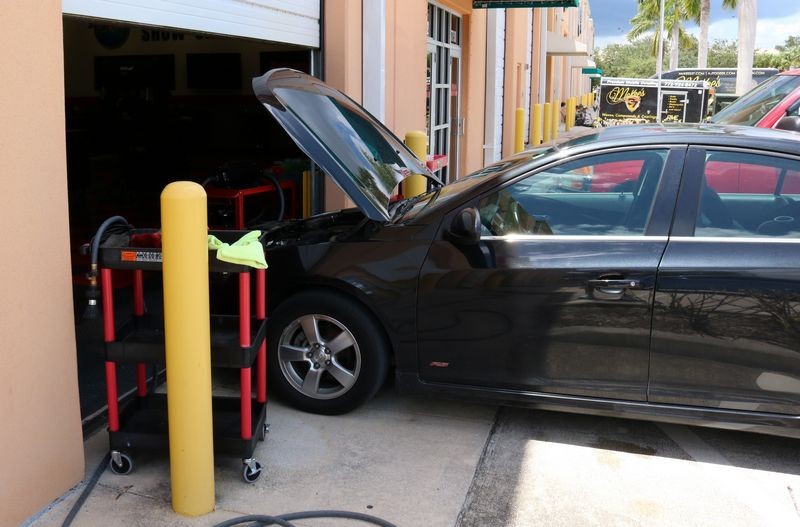
Here's a picture of the driver's side of the car, see where the shade line is?

So besides,
1: A quality engine cleaner/degreaser
2: An assortment of different types and sizes of brushes.
3: A garden sprayer you can get at any hardware store.
Figure out a way to do this type of work with shade on the engine and engine compartment. By the way, when I did this it was BLISTERING HOT outside and about one hour before I had to prep for our Wednesday night class.
Technique Tip
Run the engine for about 10 minutes before you start. This will warm up the engine and engine compartment to soften existing oily films, oily grime and sludge.
-
Post Thanks / Like - 1 Thanks, 0 Likes, 0 Dislikes
Diner thanked for this post
-
-
Post Thanks / Like - 1 Thanks, 0 Likes, 0 Dislikes
Diner thanked for this post
-
Re: Review: Pinnacle Engine Cleaner & Degreaser
Continued....
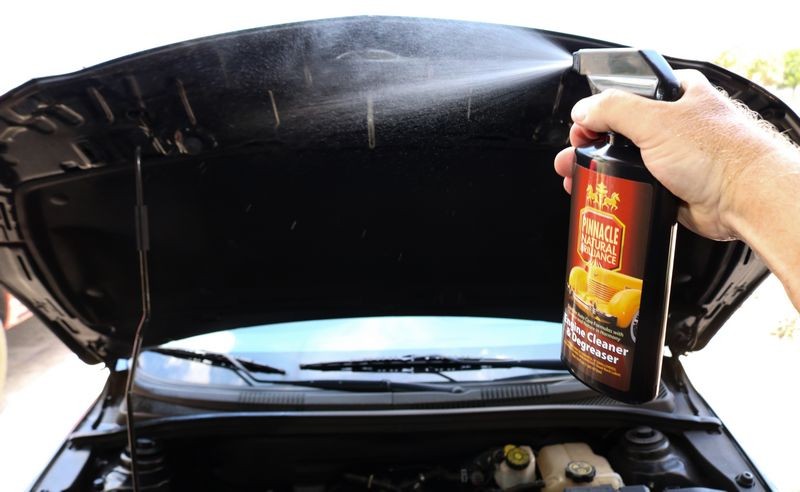
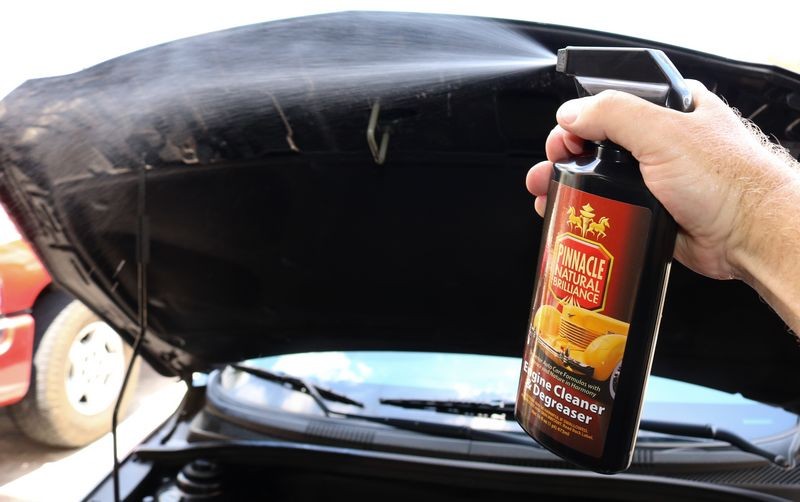
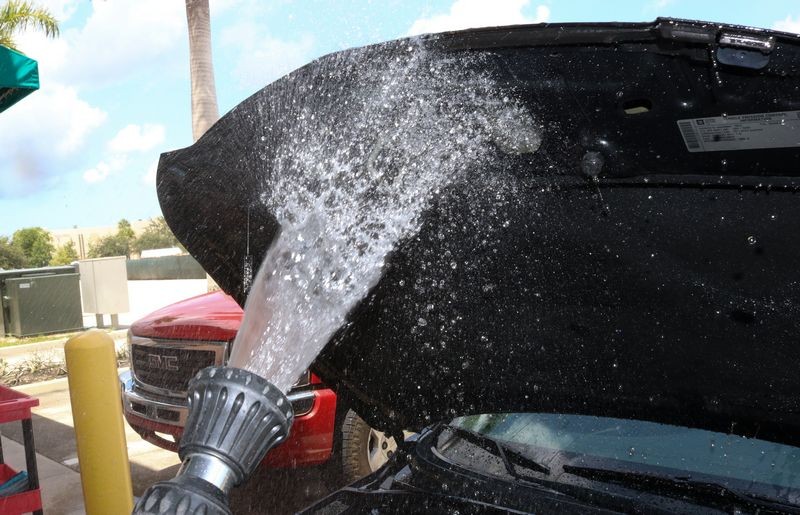
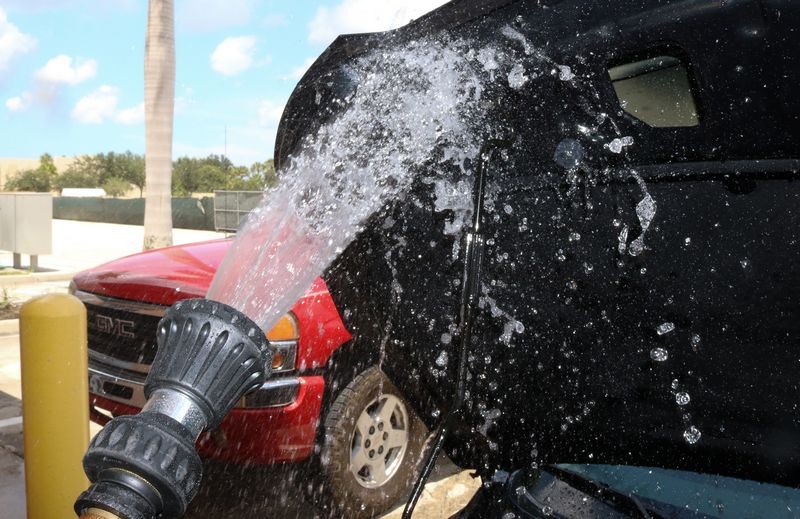
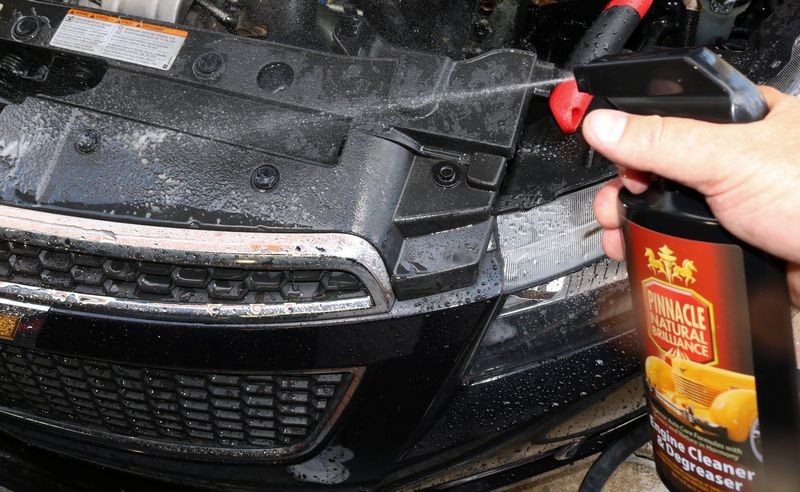
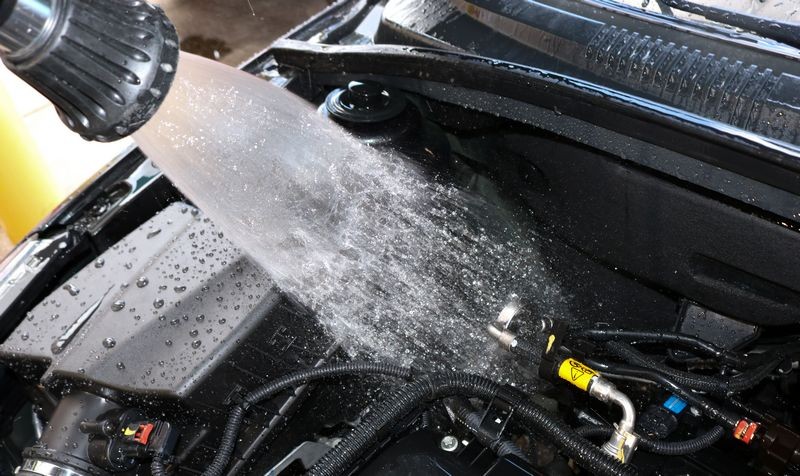
Step 3 - Wash the underside of the hood FIRST
Yep... most people don't think about this part and I rarely see this shown in an article or video. The reason you START up high and then go low is because by starting up high after you rinse the underneath all you'll have dripping on the engine will be CLEAN WATER. If you start with the engine first, you know, scrub it, get it clean and then rinse it off and then wash the underneath of the hood... you'll have dirty, oily water now dripping on your just washed and rinsed engine.
Now you have to re-rinse the engine and this is called repeating steps, or wasting time. Not a huge deal but I always hear people repeating the old phrase,
Work smarter not harder
But I rarely see them show you how or what they mean. So start at the top and the go to the engine. This also wets the engine down and depending upon the product you're using could help to avoid any staining to deleicate surfaces as the water on the engine will dilute to some degree the engine degreaser you're going to spray on it.
Safety Tip
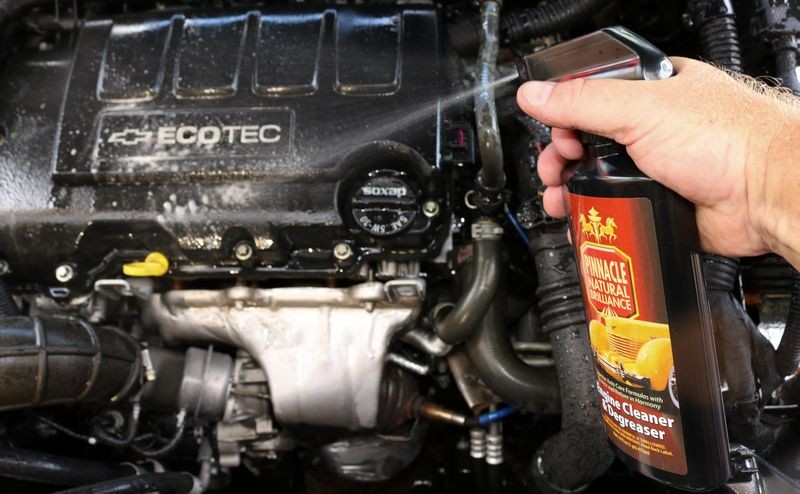
Wear protective eye glasses, goggles or a face shield. It's also a good idea to were gloves. The Pinnacle Engine Cleaner and Degreaser doesn't contain any solvents or harsh chemicals so skipped the gloves. Also, be aware of anyone around you, make sure they know you're cleaning an engine and stay up-wind if it's windy outside.
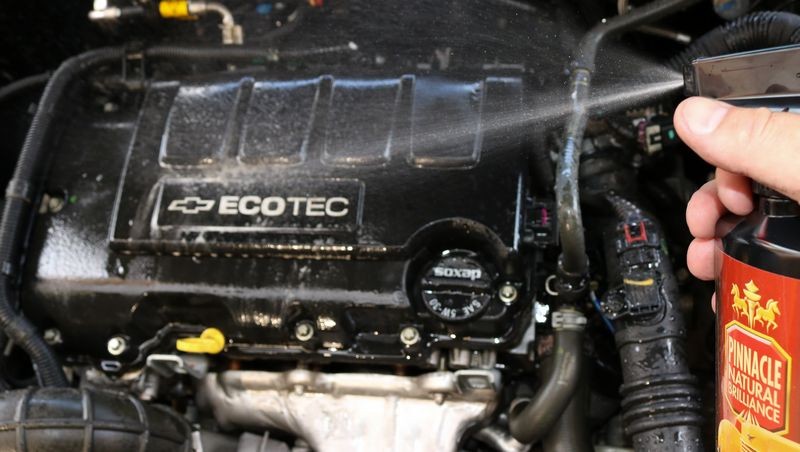
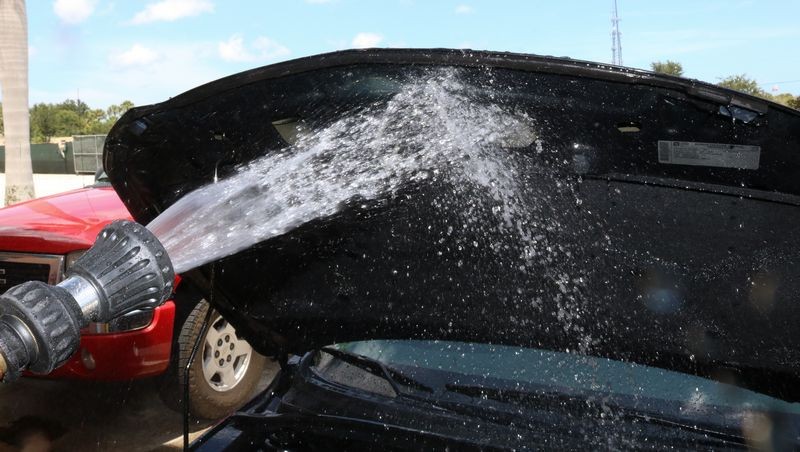
Here's some examples of one-handed photography work where you time pressing the shutter button when you're squeezing the spray trigger to capture the spray coming out of the nozzle.


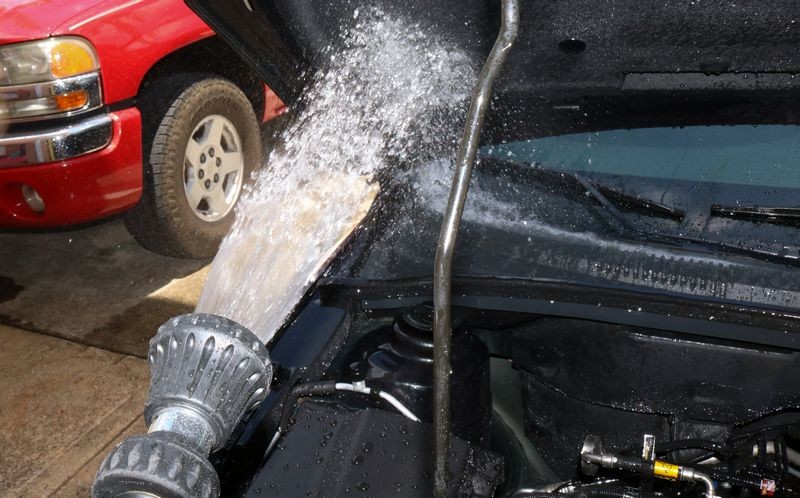
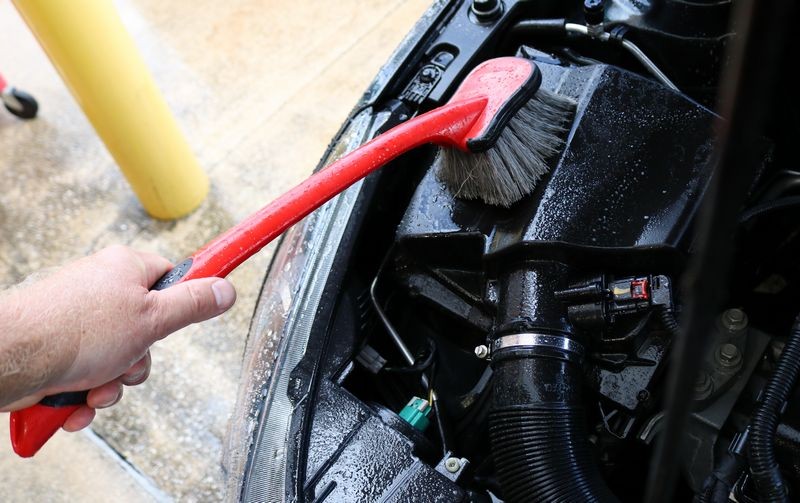
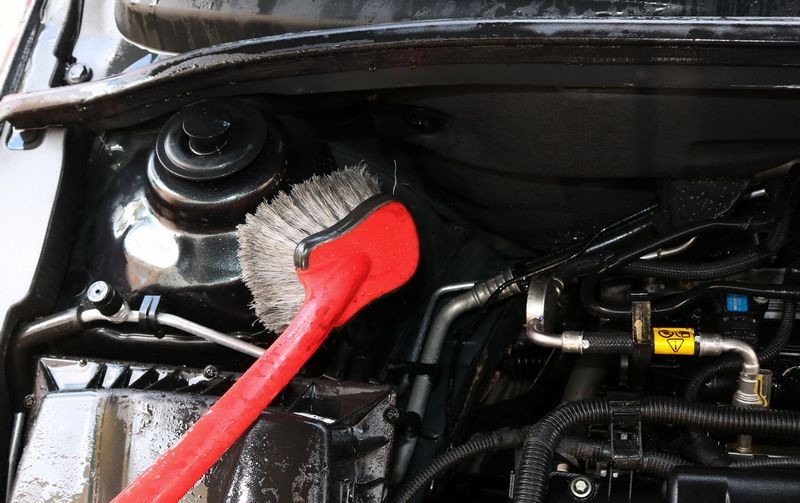
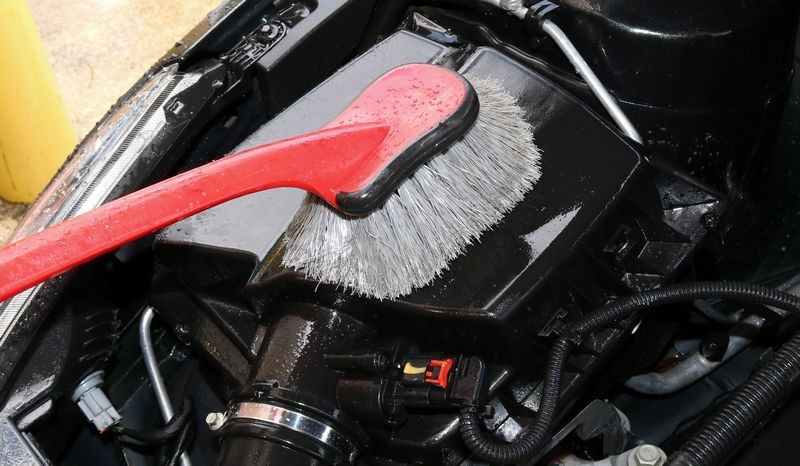
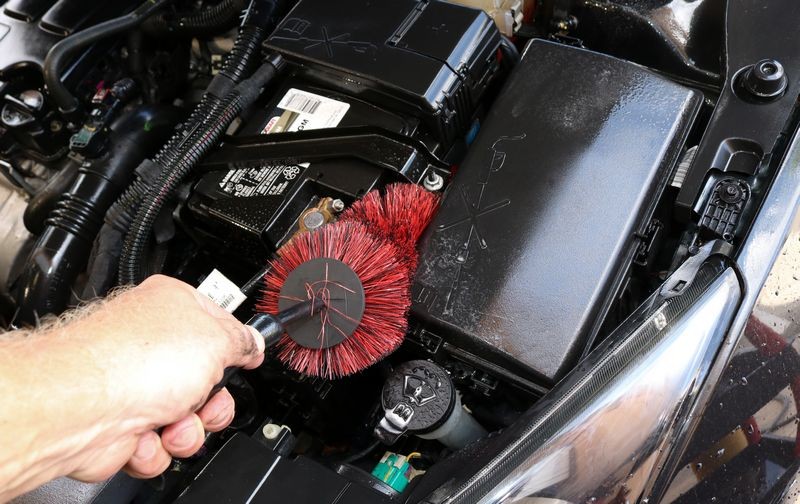
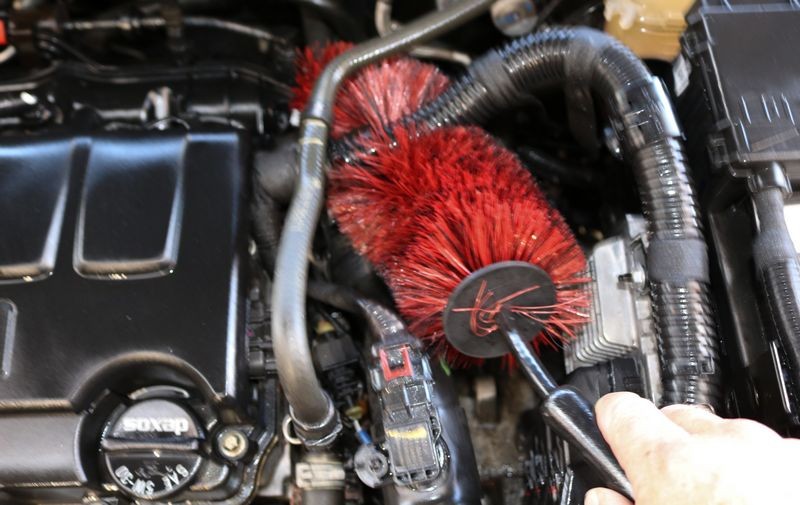
After spraying the underneath of the hood and allowing the product to dwell for a few minutes this is where you need an assortment of different types of brushes and different sizes of brushes. I find the Mothers Fenderwell Brush works GREAT for engine detailing, see the pictures below.

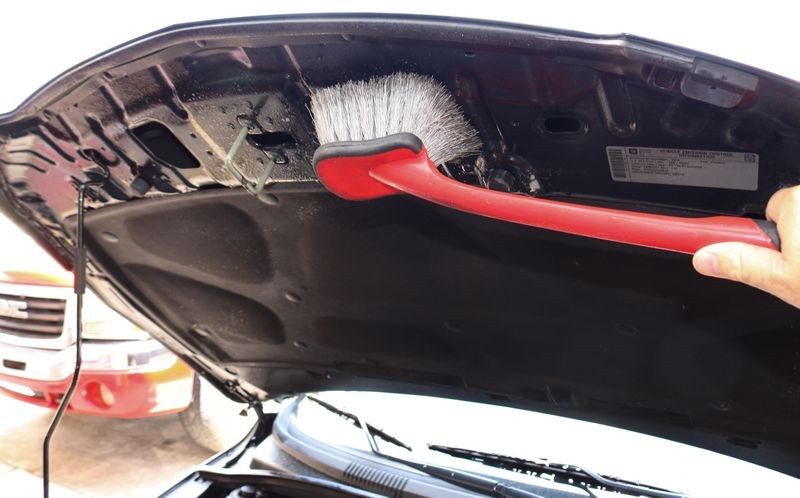


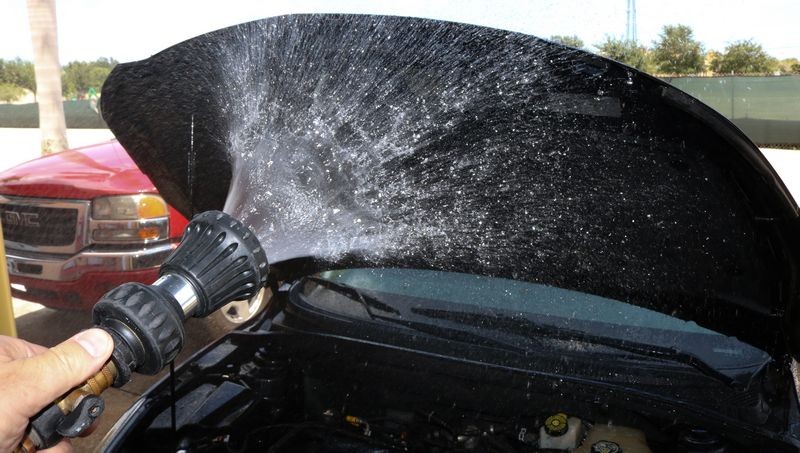
After scrubbing all the painted portions, (I don't scrub the fiber matte usually found under the hood as it will tend to tear it up), next I adjust the spray pattern coming out of the Fireman's Nozzle for a shower pattern and rinse all the emulsified grime off the painted portions of the underneath of the hood.


-
Post Thanks / Like - 1 Thanks, 0 Likes, 0 Dislikes
Diner thanked for this post
-
-
Post Thanks / Like - 2 Thanks, 1 Likes, 0 Dislikes
-
-
Post Thanks / Like - 1 Thanks, 0 Likes, 0 Dislikes
Diner thanked for this post
-
Re: Review: Pinnacle Engine Cleaner & Degreaser
Continued....
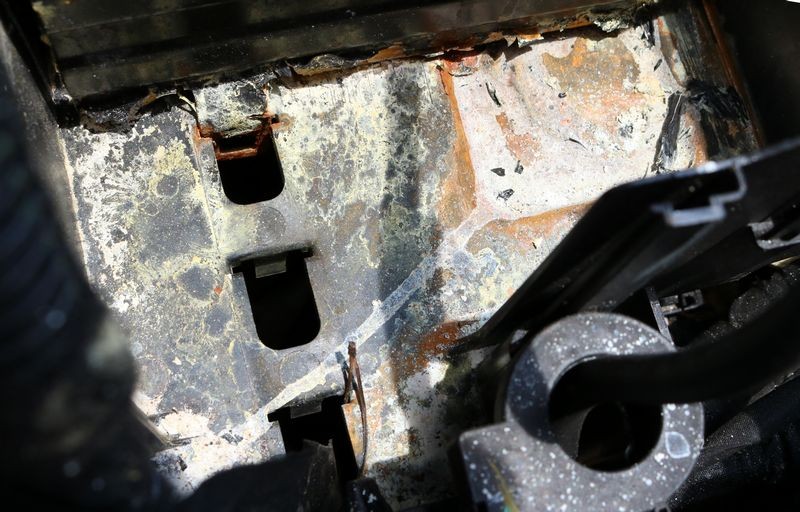
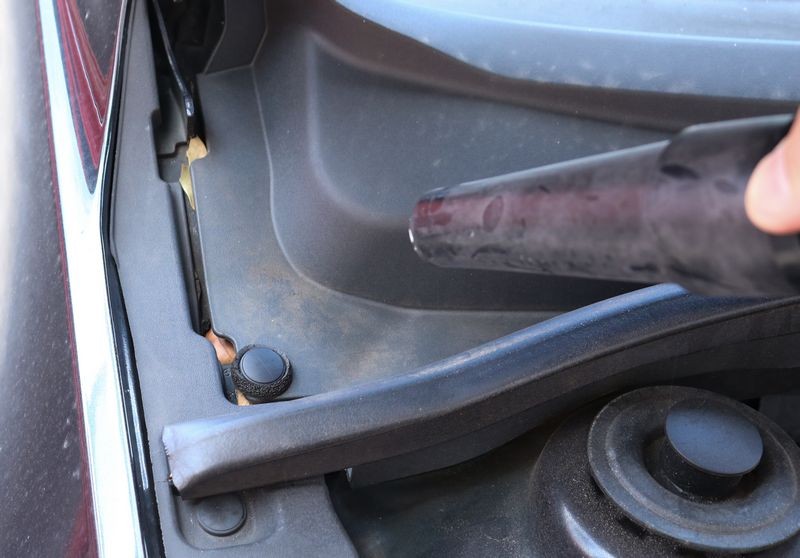
Step 6 - Blow out all the standing water
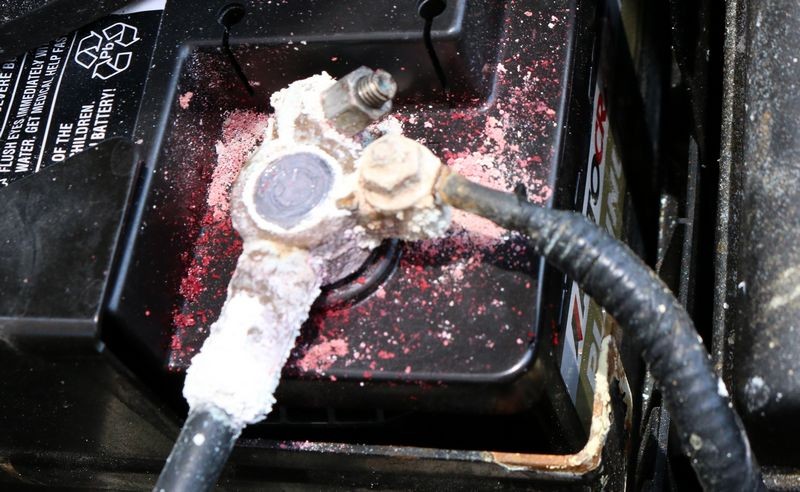
Give any electrical connections extra attention. This is another area where the Master Blaster blows all the competition out of the water.... and yes... puns intended....


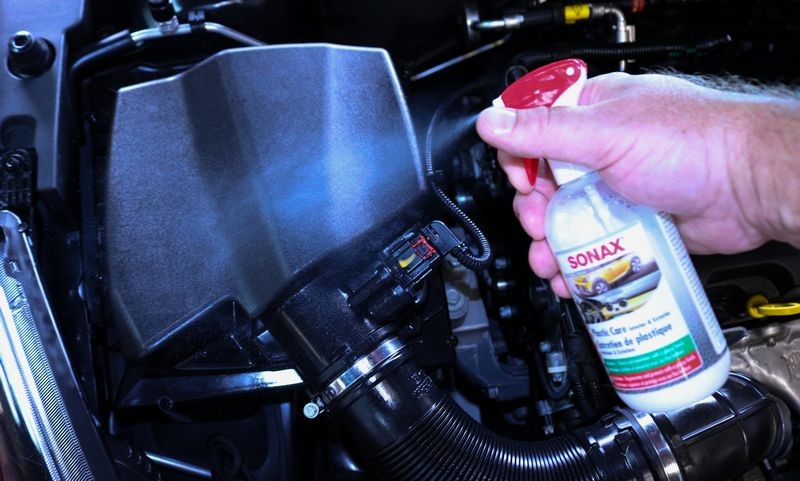
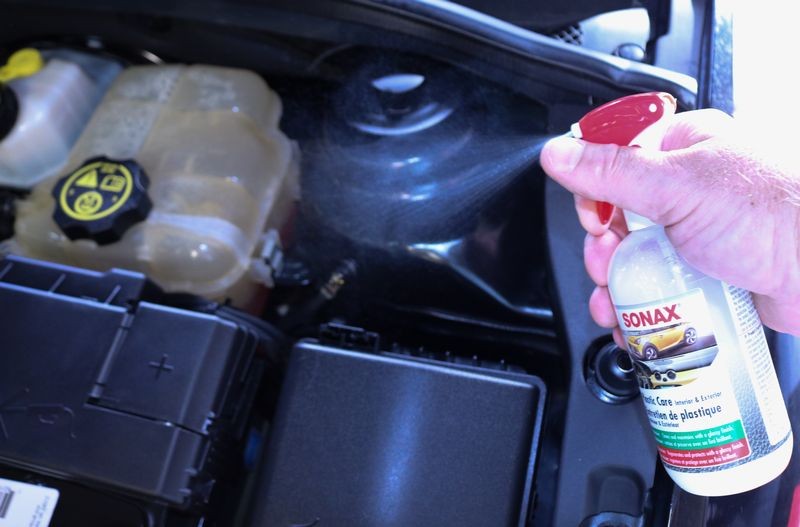
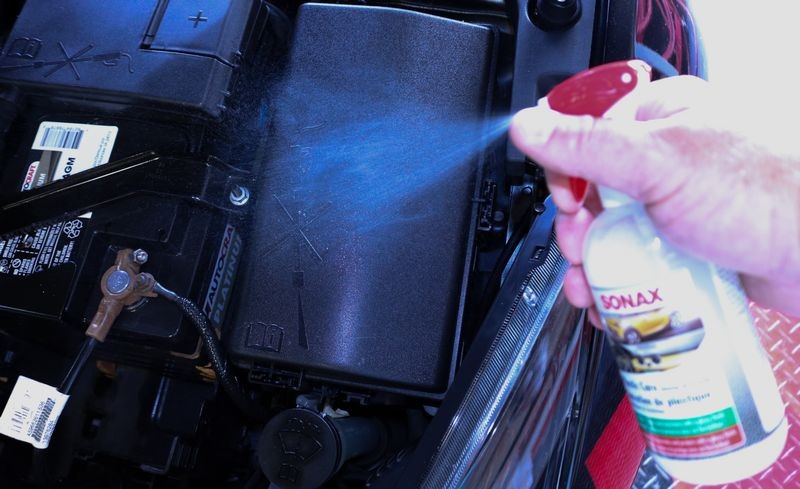
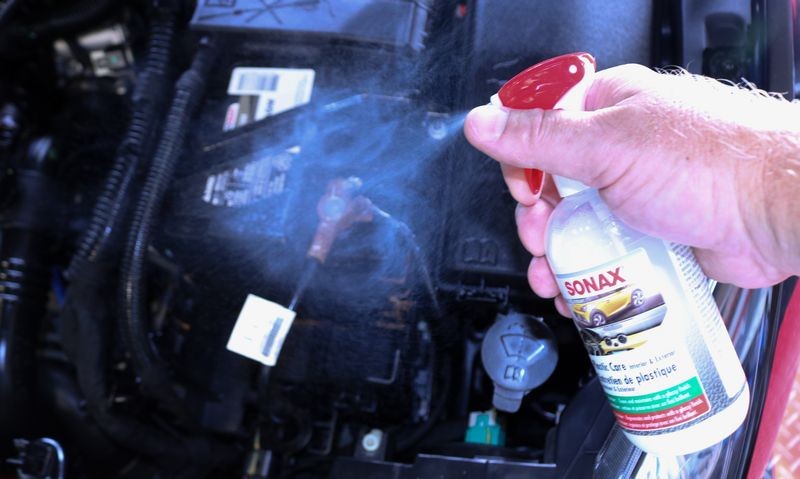
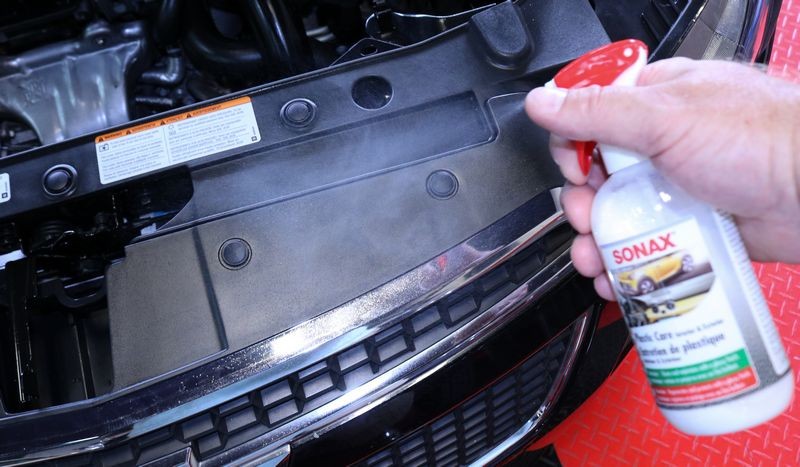
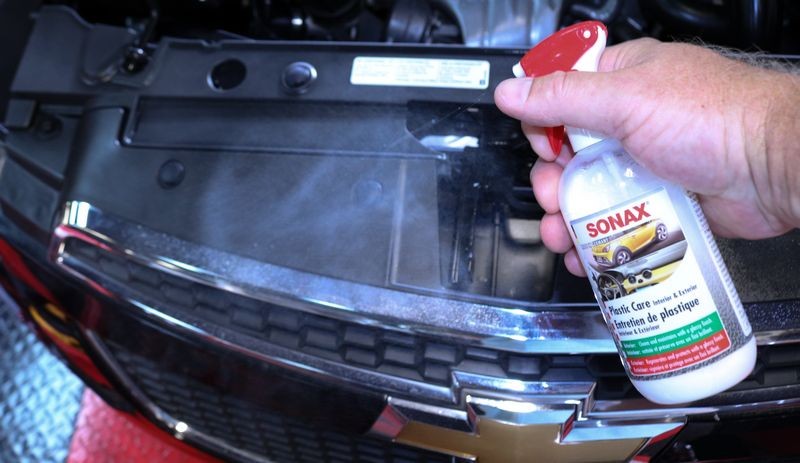
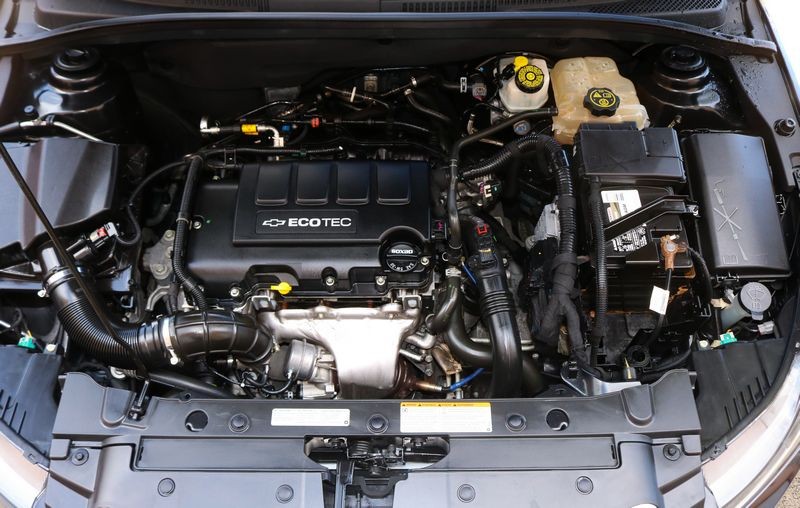
OPTIONAL STEP - SONAC Plastic Care
Here's a very cool product I show in all my classes, it's the SONAX Plastic Care. After blowing out the majority of water all you do is spray down a heavy or wet application over the entire engine compartment. Paint, plastic, metal, etc. Don't even try to be the Master Painter and spray an even mist over everything just go sloppy. After laying down a heavy spray of SONAX Plastic Care, next close the hood and start the engine. I always cross my fingers just for good luck that the "Check Engine" light doesn't come on and my secret technique must work because the check engine light never comes on.


Close the hood and run the engine for about 15 minutes.
You want the engine heat to circulate and dry off all of the water and also burn-off any degreaser and oily residue off the engine that you were unable to rinse off. This is important if you are working on a customer's car.
Why?
To burn off any residual residues.


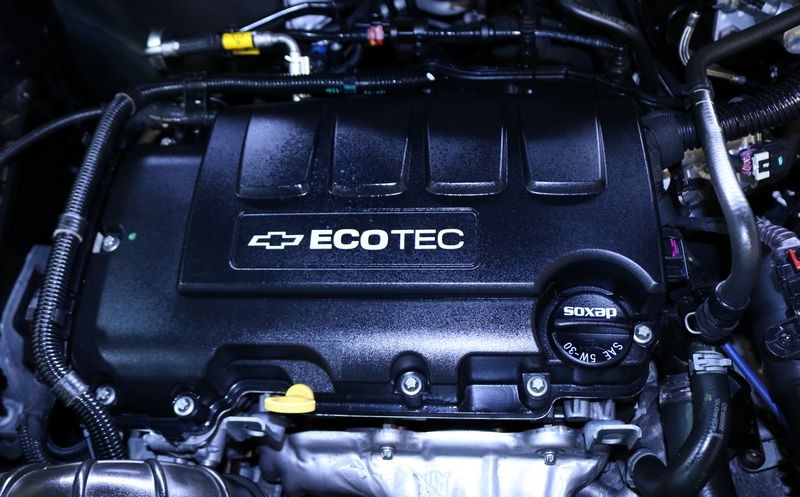
Look Ma - no check engine light!

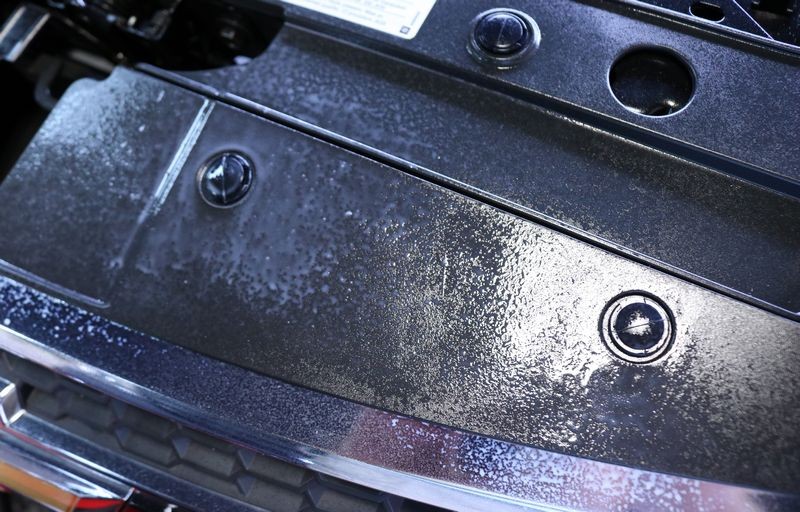
When you run the engine, any oily residues that have found a place to collect or pool on the engine due to gravity are baked off from the engine heat they will give off an odor. This is normal only you don't want you customer to smell it when driving there car home from your shop. Better that you burn it off first so it's a non-issue.
Running the engine will also completely dry the wet coating of Plastic Care to a dry, non-sticky finish. This is what's what's cool about this SONAX product, unlike a normal vinyl and rubber dressing or worse, some form of aerosol silicone spray dressing, (the worst of all options), the SONAX Plastic Care dries to the touch. It will make your car's engine and engine bay shine like it's brand new and keep it that way. It will also make future cleaning faster and easier.
-
Post Thanks / Like - 1 Thanks, 0 Likes, 0 Dislikes
Diner thanked for this post
-
-
Post Thanks / Like - 1 Thanks, 0 Likes, 0 Dislikes
Diner thanked for this post
-
Re: Review: Pinnacle Engine Cleaner & Degreaser and SONAX Plastic Care
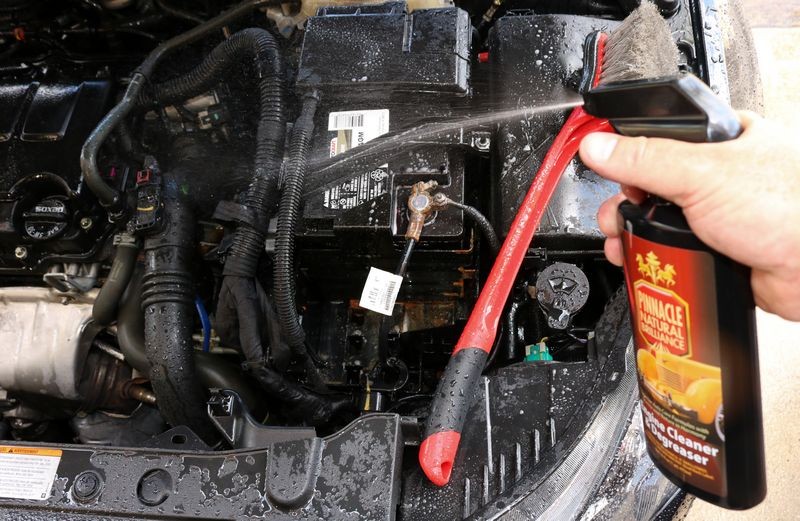
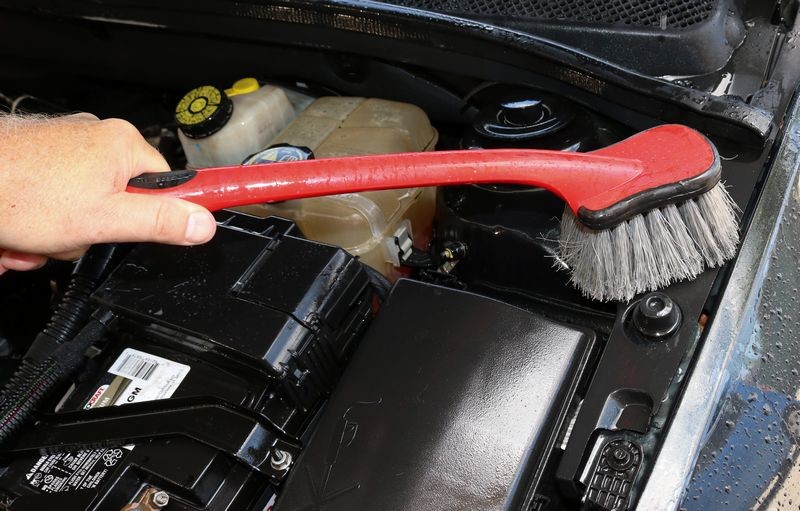
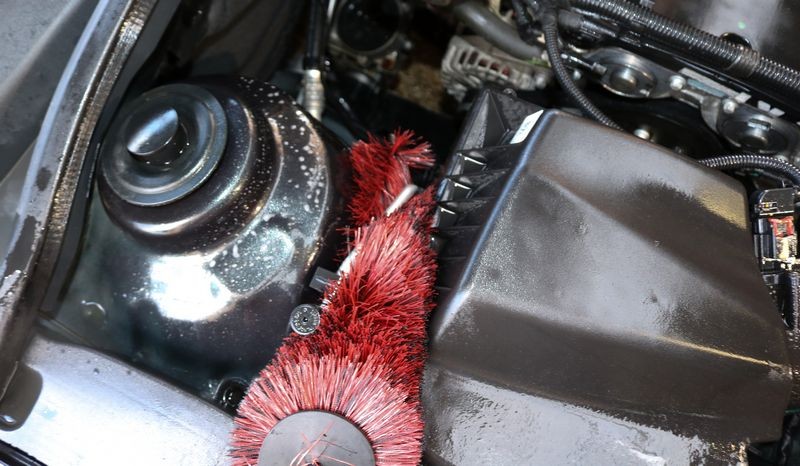
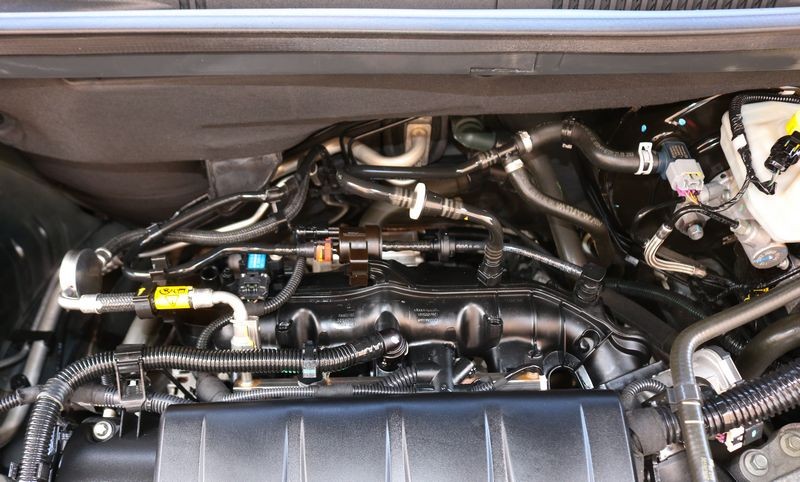
I do mostly the same process except if the alternator is up high and easily accessible, I like to cover it with a grocery bag as I just don't like the idea of getting water inside of it.
-
Re: Review: Pinnacle Engine Cleaner & Degreaser and SONAX Plastic Care
 Originally Posted by DMW

I do mostly the same process except if the alternator is up high and easily accessible, I like to cover it with a grocery bag as I just don't like the idea of getting water inside of it.
I do that sometimes like you see in this picture from this how-to article,

Most of the time though I'm just careful around the alternator. I don't spray it down with degreaser directly but do use a brush on it with degreaser on the brush if it's accessible. Most of the time, on new cars it's down low and to the side and hard to get to.
Similar Threads
-
By Mike Phillips in forum PICTURES: 3-Day CAR Detailing Bootcamp Classes
Replies: 6
Last Post: 07-12-2020, 11:01 AM
-
By Mike Phillips in forum Product Reviews by Mike Phillips
Replies: 16
Last Post: 09-14-2019, 10:24 AM
-
By Mike Phillips in forum Product Reviews by Mike Phillips
Replies: 5
Last Post: 09-29-2016, 06:07 PM
-
By SON1C in forum Product Reviews
Replies: 10
Last Post: 01-17-2013, 04:56 PM
 Members who have read this thread: 0
There are no members to list at the moment.
Posting Permissions
- You may not post new threads
- You may not post replies
- You may not post attachments
- You may not edit your posts
-
Forum Rules
|
| S |
M |
T |
W |
T |
F |
S |
| 28 | 29 | 30 |
1
|
2
|
3
|
4
|
|
5
|
6
|
7
|
8
|
9
|
10
|
11
|
|
12
|
13
|
14
|
15
|
16
|
17
|
18
|
|
19
|
20
|
21
|
22
|
23
|
24
|
25
|
|
26
|
27
|
28
|
29
|
30
|
31
| 1 |
|


 Likes:


 Reply With Quote


Bookmarks