


 Thanks:
  Likes:
  Dislikes:

1957 Chevy Extreme Makeover - Pictures & Videos
1957 Chevy Belair by Chevrolet, Show Car Shine by Pinnacle
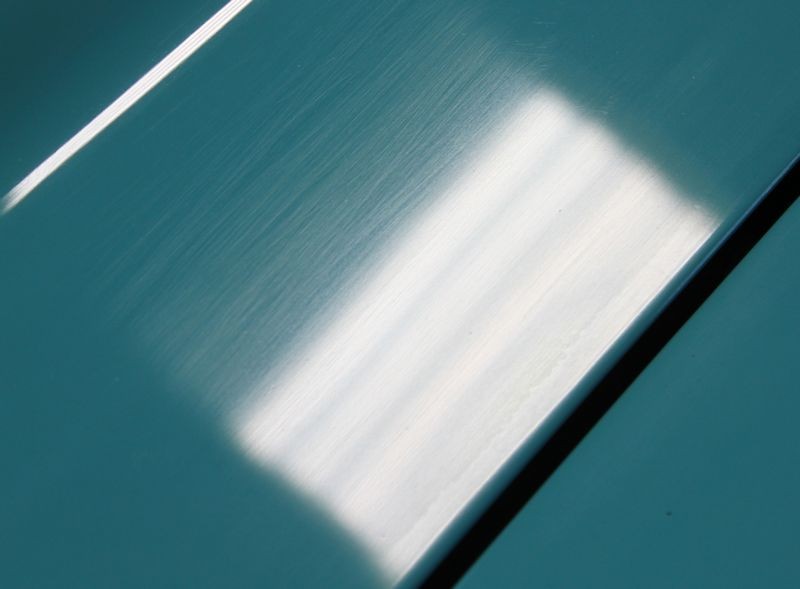
Below are the high resolution "after" pictures from the multiple paint polishing procedure we put Tim's 1957 Chevy Belair through using products from the Pinnacle Natural Brilliance line.
Just to note, like this classic 1957 Chevy, Pinnacle Natural Brilliance products are certified 100% made in the U.S.A.
We here at Autogeek would like to thank Tim for trusting us with his hotrod Chevy. I know from experience that the hardest thing for a detailer to do is to break into the custom car world in order to make big bucks detailing special interest cars like Tim's 1957 Chevy Belair. Opening that door starts with earning the owner's trust.
So thank you Tim for trusting Autogeek with your 1957 Chevy Belair and I hope and expect to see some first place trophies from the future car show events you attend.
First here's a quick video I took and in one segment I bring my iPhone down close to the paint to show some of the defects we needed to carefully remove as the paint measured to be very thin.
Here's a quick video I took right after Tim arrived...
Live Broadcast Video
Here is the entire live broadcast in two parts, I must say this is one of the most fun live broadcast I've ever been a part of and all the way through the process I share lots of tips and techniques for how to get show car results when you're working on your car in your garage.
Part 1 - Correction and polishing work
Part 2 - Applying and removing the wax
Before Pictures
Here's a close-up of the sanding scratches remaining in the paint after this car was painted and portions were sanded and buffed.
Straightline Hand Sanding Scratches
(left behind after buffing)

Doing a Test Spot = Dialing-in a successful process
Before we started, I did some Test Spots in an attempt to dial-in a process that would remove the defects while using the least aggressive approach to leave as much paint on the car as possible while creating a show car finish.
In this shot I buffed the paint only using dual action polishers like the Griot's Garage DA Polisher followed by the Flex 3401.
While these two tools dramatically improved the finish in the end we broke out the Flex PE 14 Rotary Polishers and tackled the hood with wool cutting pads as that's what was needed to remove these sanding marks.
My comment...
While single stage paints generally speaking tend to be softer than modern clear coat paints due to the affect the pigment has on the resin, in this case, from experience I found this single stage paint to be very hard and my friends and professional detailers Robert, Jeff and Paul all agreed with may assessment.
Risky Buffing
This hardness factor combined with the thin paint factor makes buffing out a paint job like this a tad bit on the risky side so it's important to always be focused on the task at hand to avoid making any mistakes. By this I mean watch the paint as you're buffing and stop and check your progress often.
Never Assume Paint Hardness or Softness
So remember, anytime you're working on a car that you've never worked on before, don't assume anything about the paint's hardness or softness until you've done some testing doing what I call and teach in all my classes, doing a Test Spot.
From my article list...
How To Do a Test Spot
(and why it's so important)


|


 Reply With Quote
Bookmarks