Pictures and Comments - January 26th & 27th 2013 Detailing Boot Camp Class

After wheels and tires I teach starting at the top and working your way down.

For as long as I can remember, any book I've read, any article I've read and any instructions I've seen shared on how to wash a car teaches to start at the top and work down and after washing an entire vehicle THEN washing the wheels and tires but I make a case for starting with the wheels and tires FIRST and then start at the top and work down.

So here we go... first rinse off any loose surface dirt with a strong blast of water...

2013_Jan_Detail_Class_082.jpg


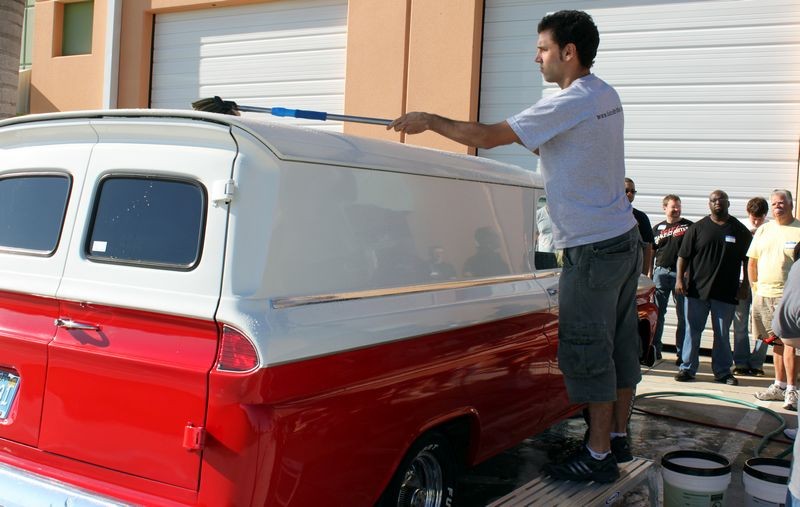
Then using a Boar's Hair Brush on an extendable handle, Pablo knocks out the roof...
2013_Jan_Detail_Class_083.jpg


2013_Jan_Detail_Class_084.jpg


2013_Jan_Detail_Class_085.jpg


Washing with wash mitts too...

2013_Jan_Detail_Class_087.jpg


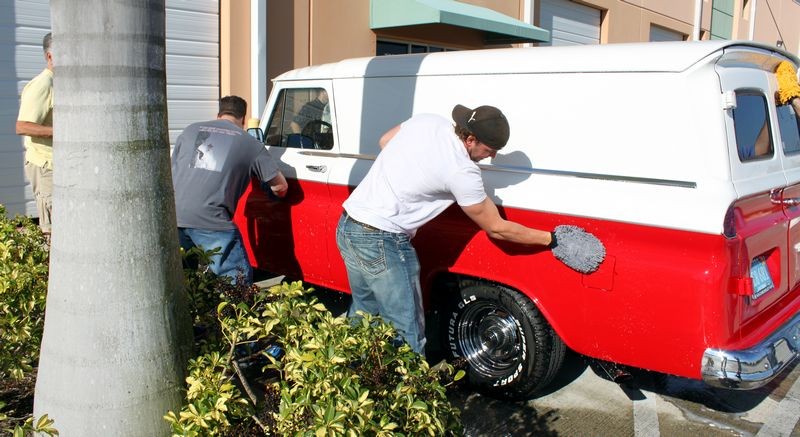
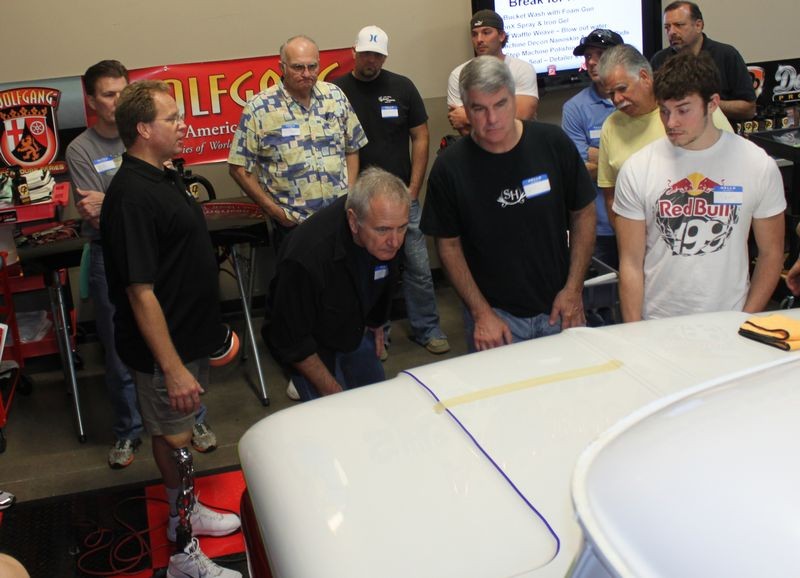
Lots of time to ask questions when washing something as large as this classic sedan delivery...

2013_Jan_Detail_Class_088.jpg


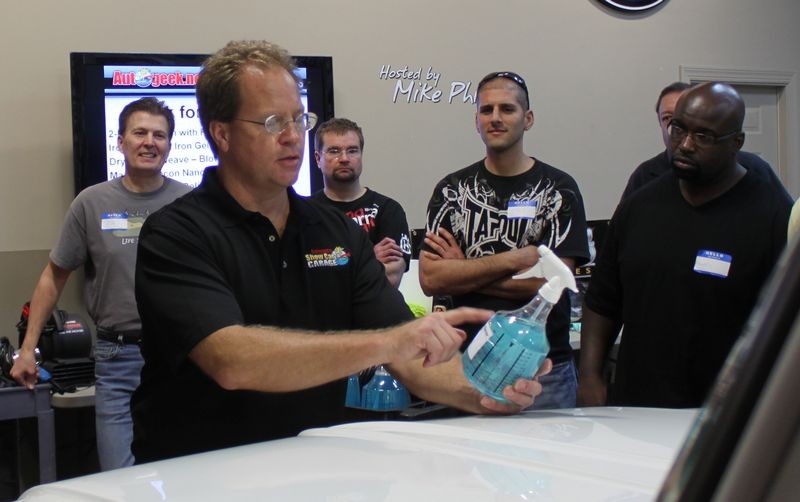
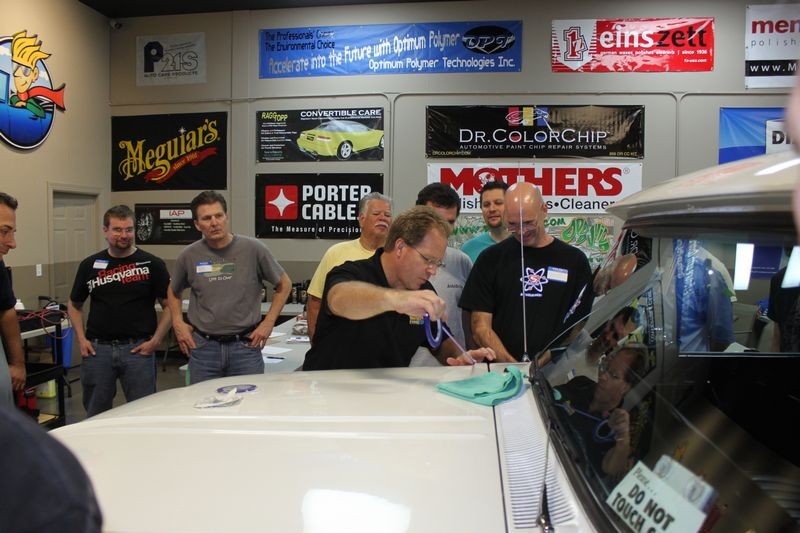
Next up we inspected for Iron Contamination on the paint using Iron X Paste. I say we inspect because you won't know if there's contamination until you apply the paste and give it time to go to work. IF there is contamination any place there are iron particles it will show the color red.

In a perfect world, you won't see any red coloring effect and this is a good thing because it means your car's pant is NOT contaminated. While it's cool to see the red bleeding effect that's actually a bad thing because it means your paint is in fact contaminated.

It's better to NOT see any color and take comfort knowing your paint wasn't contaminated. Here's the deal though... you won't know unless you test.

2013_Jan_Detail_Class_089.jpg


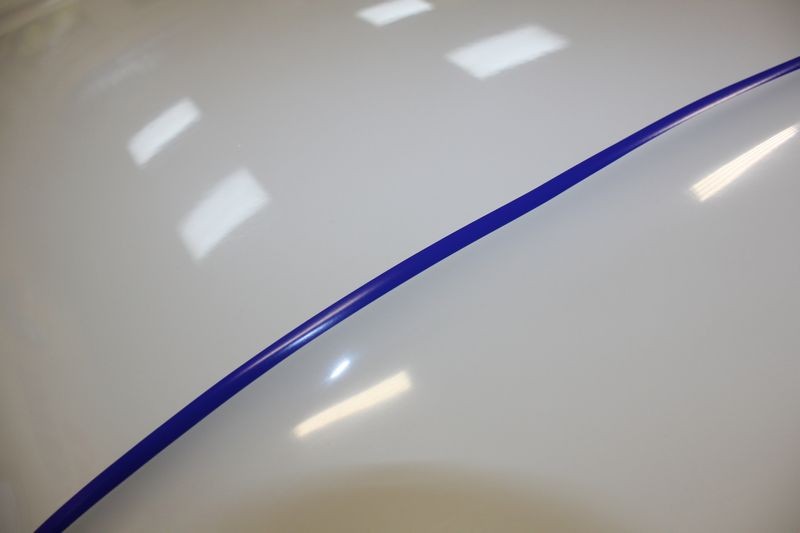
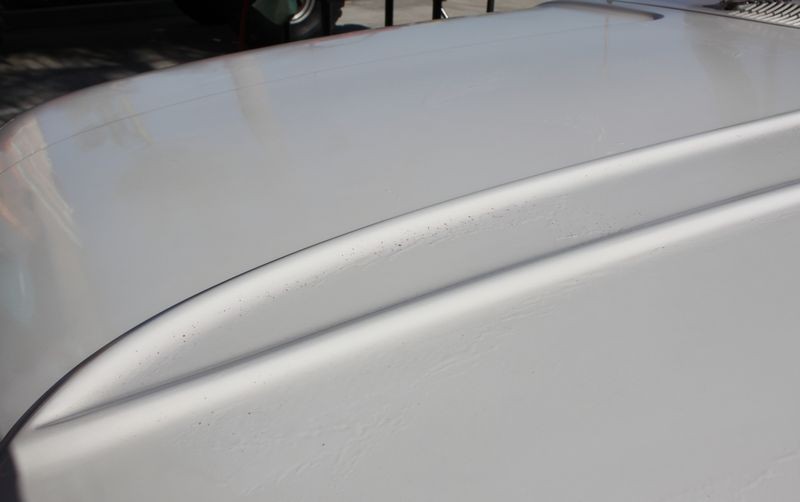
After a few seconds sections of the paint start to bleed...

2013_Jan_Detail_Class_090.jpg


Down the spear running the length of the hood...

2013_Jan_Detail_Class_091a.jpg


2013_Jan_Detail_Class_091.jpg


2013_Jan_Detail_Class_091b.jpg


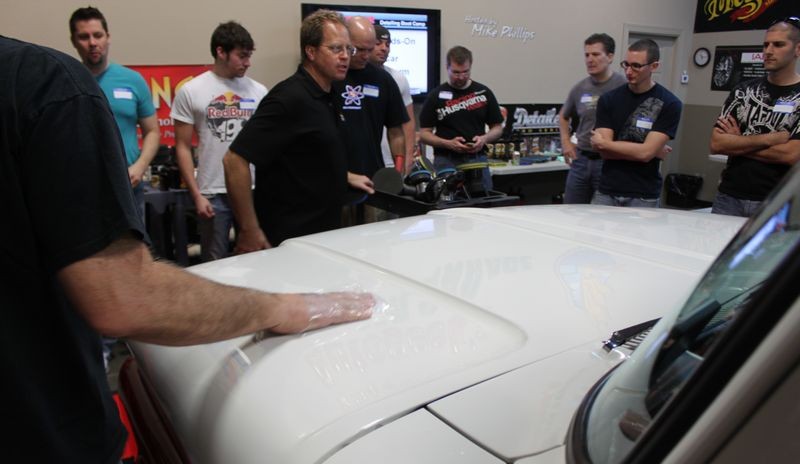
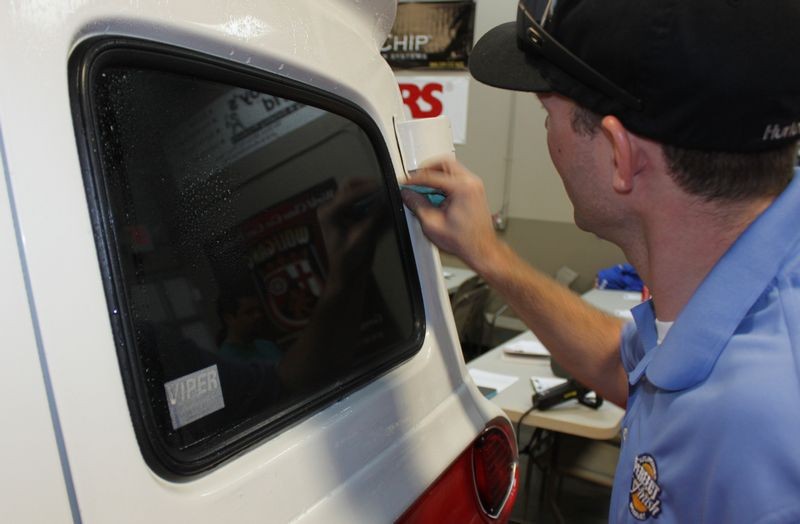
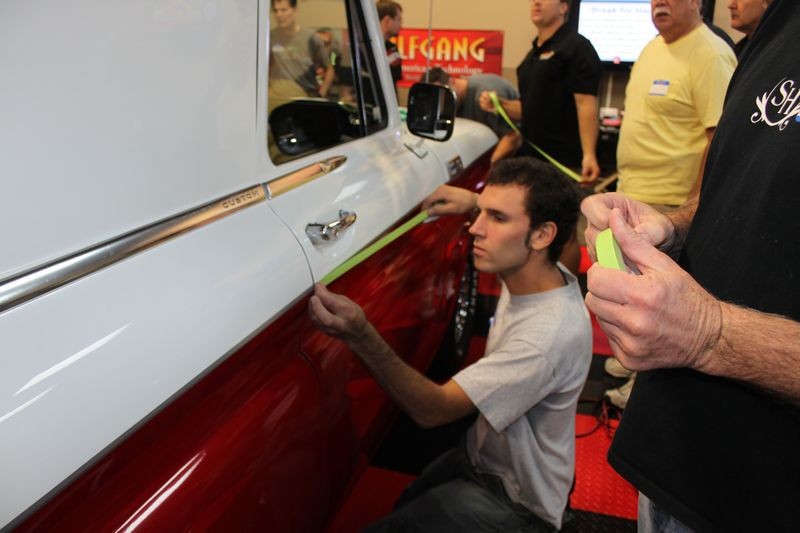
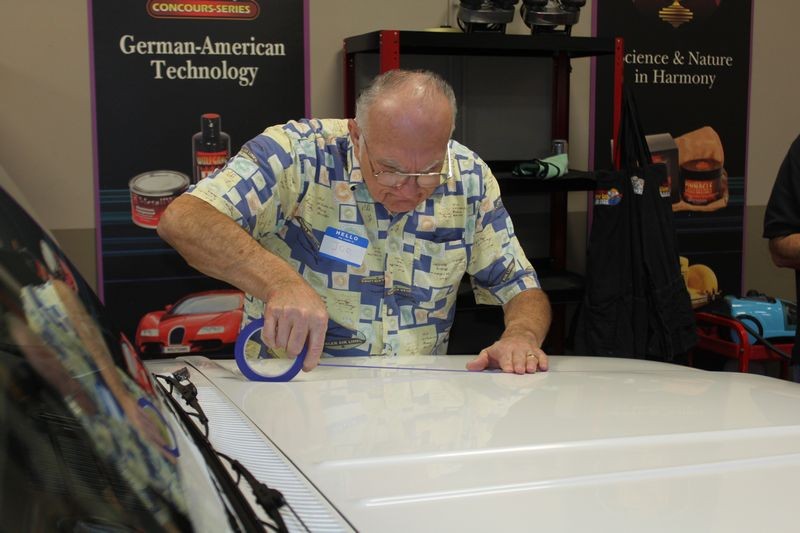
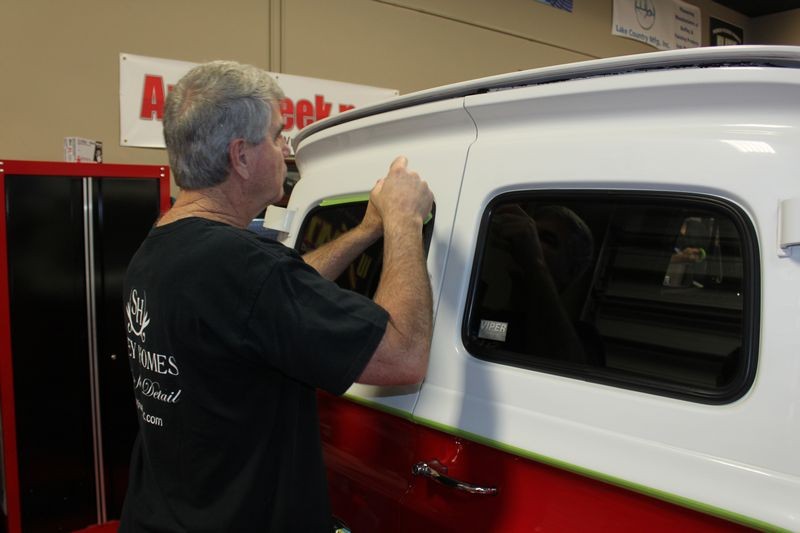
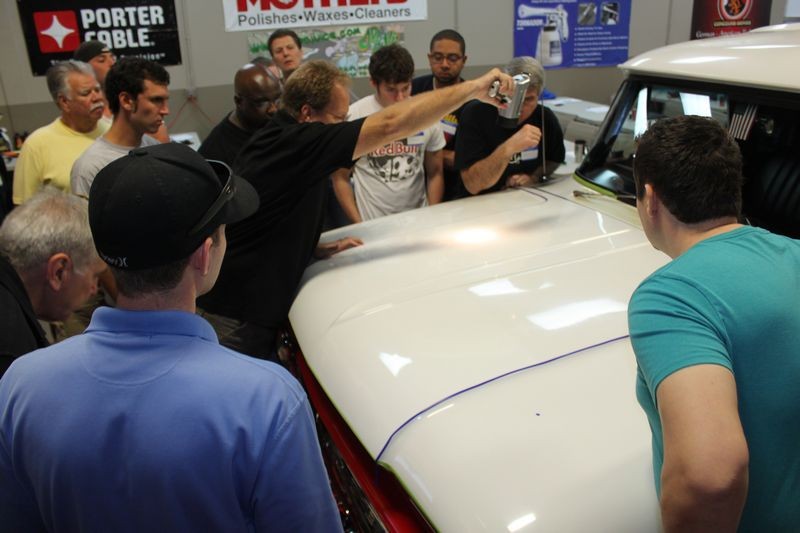
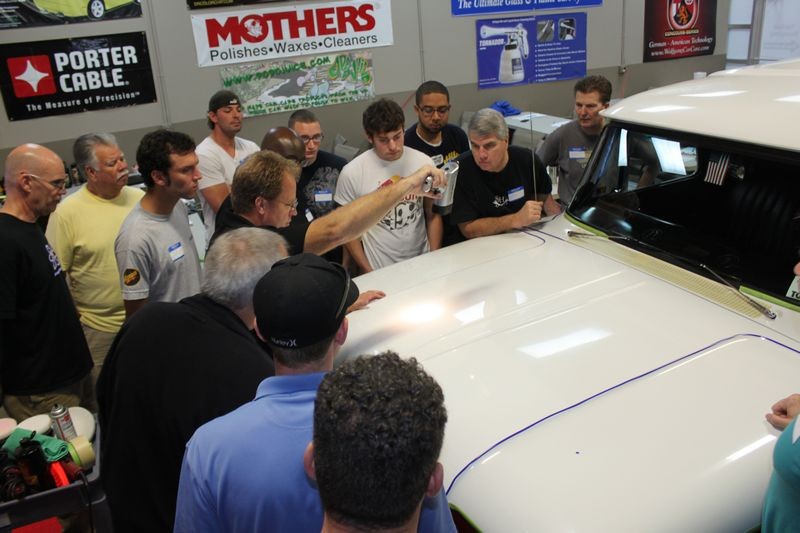
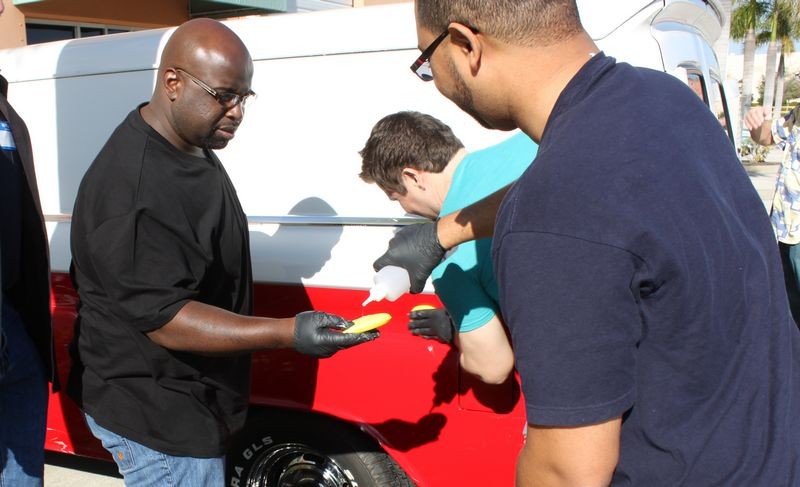
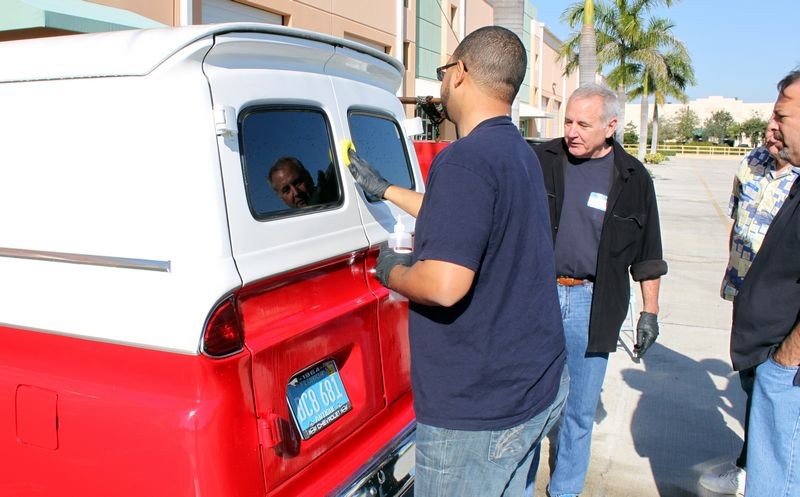
Now everyone applies the Iron X Paste to the entire exterior. Note the gloves?

My friend Renny Doyle always says,

"If it's on your skin it's in you"

So take the necessary health precautions when working with any car detailing chemicals.

2013_Jan_Detail_Class_092.jpg


2013_Jan_Detail_Class_093.jpg


2013_Jan_Detail_Class_094.jpg


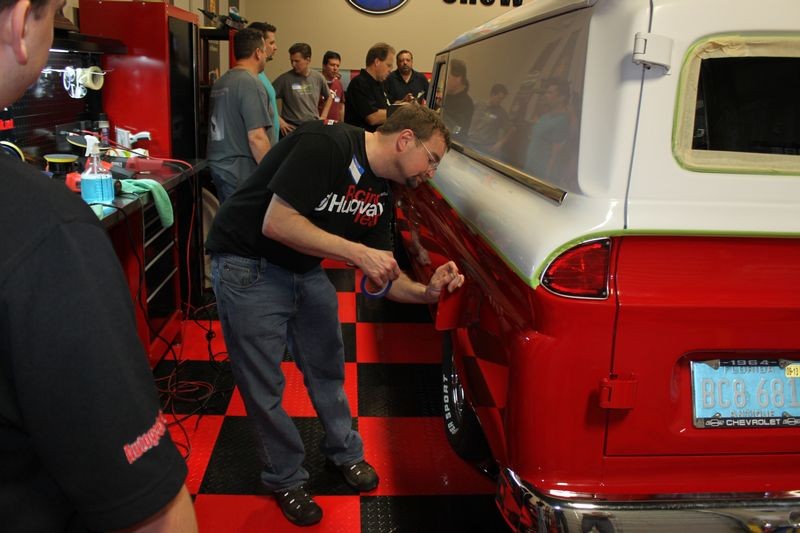
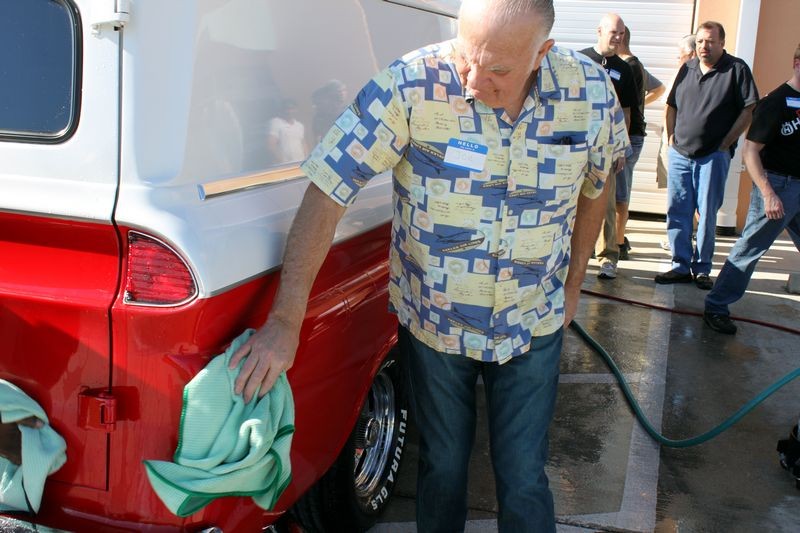
Here's the good news for the owner Carlos, we didn't find very much iron contamination on his classic ride...

2013_Jan_Detail_Class_095.jpg


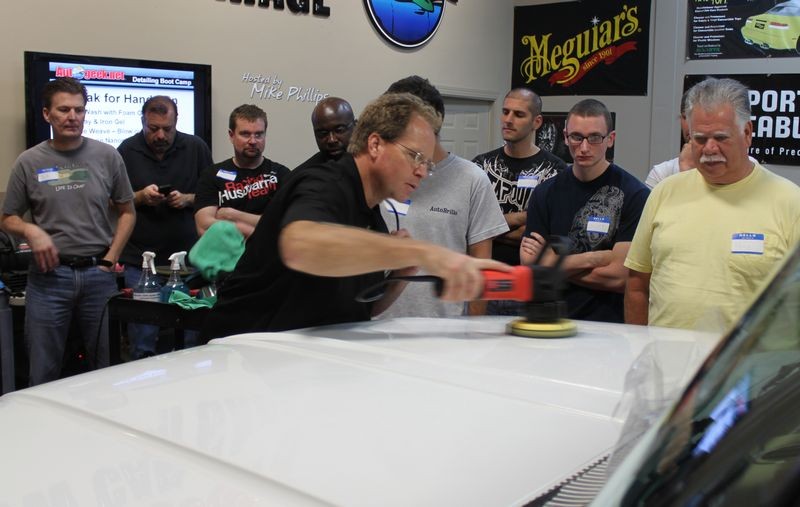
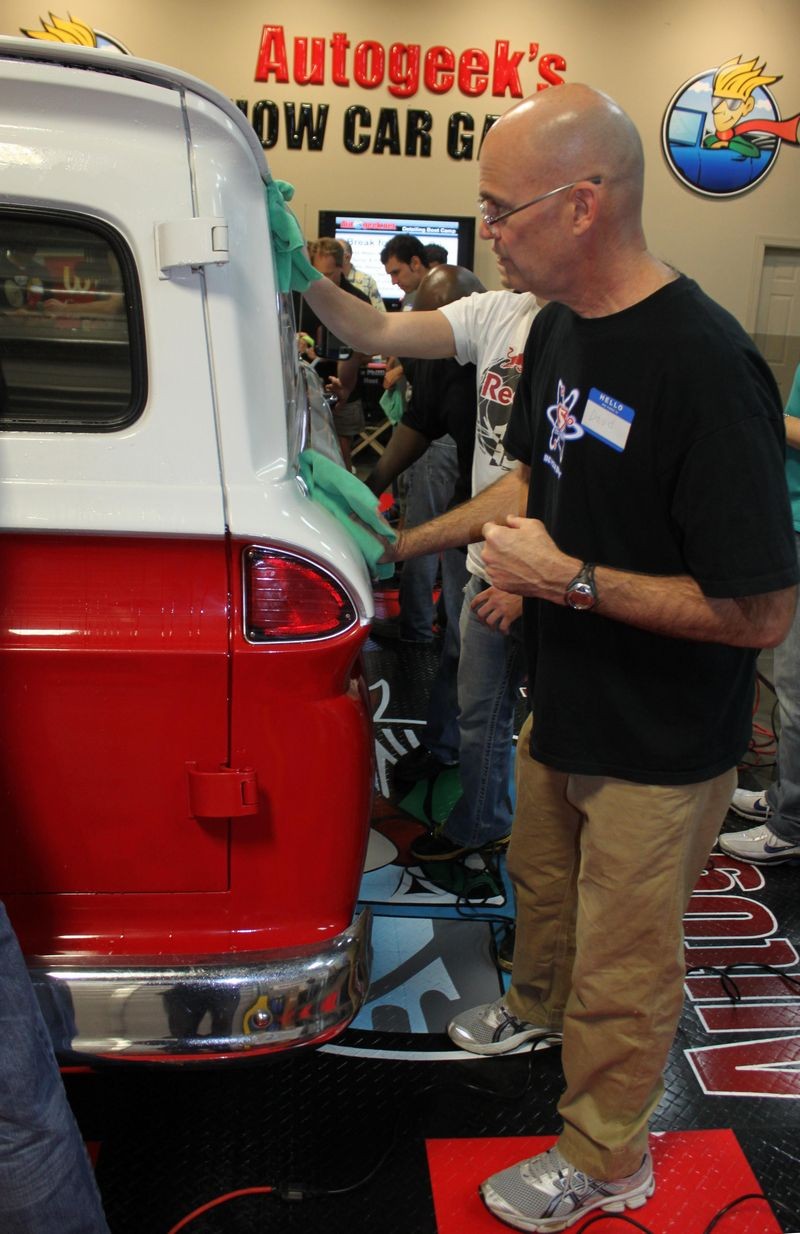
Next we dry the paint using Guzzler Waffle Weave Drying Chamois.

2013_Jan_Detail_Class_096.jpg


2013_Jan_Detail_Class_097.jpg


2013_Jan_Detail_Class_098.jpg


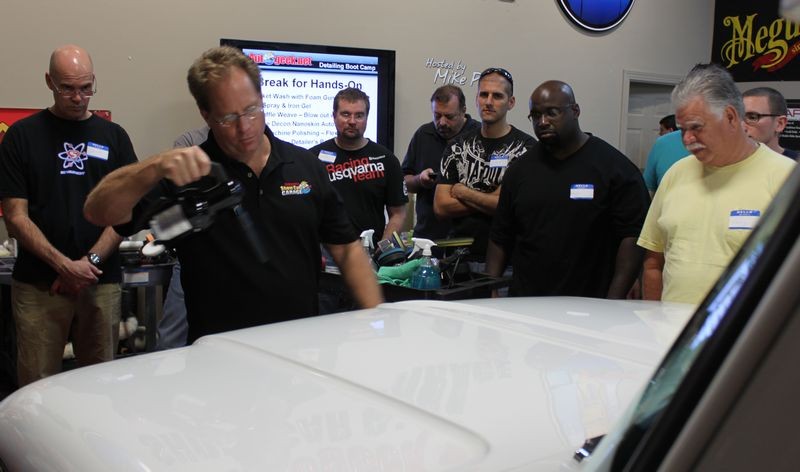
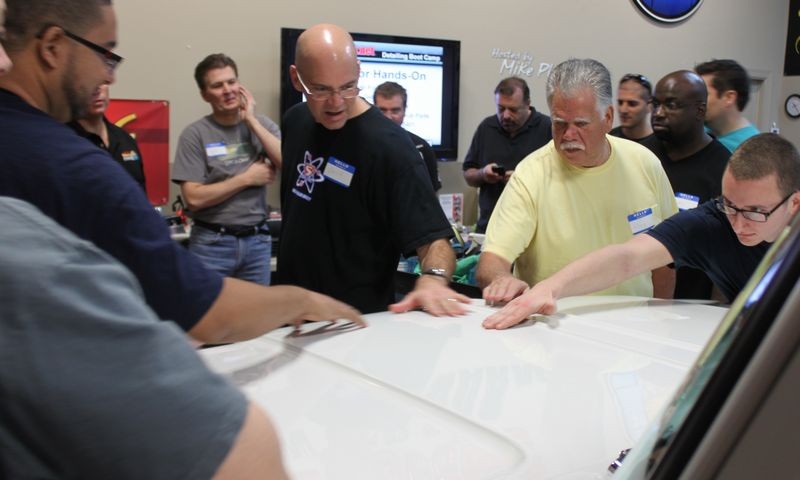
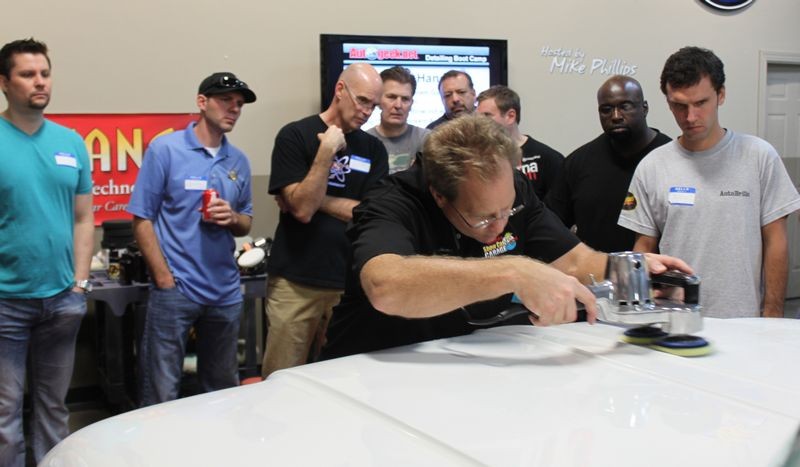
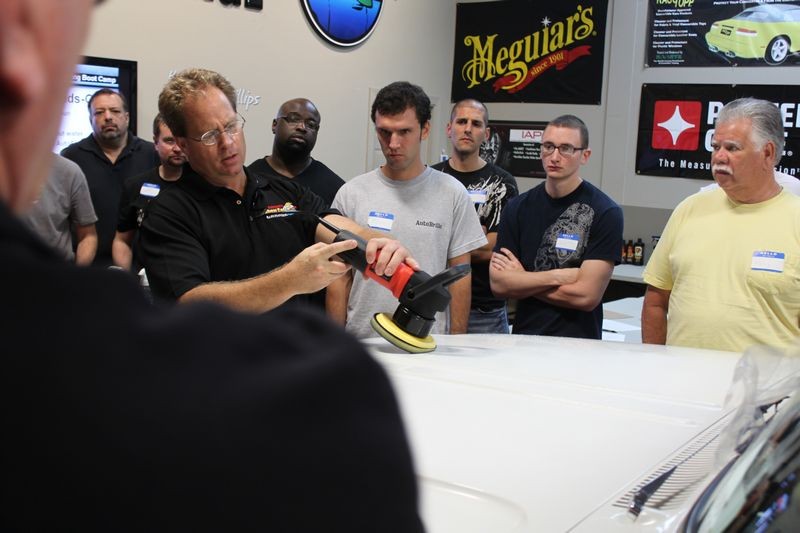
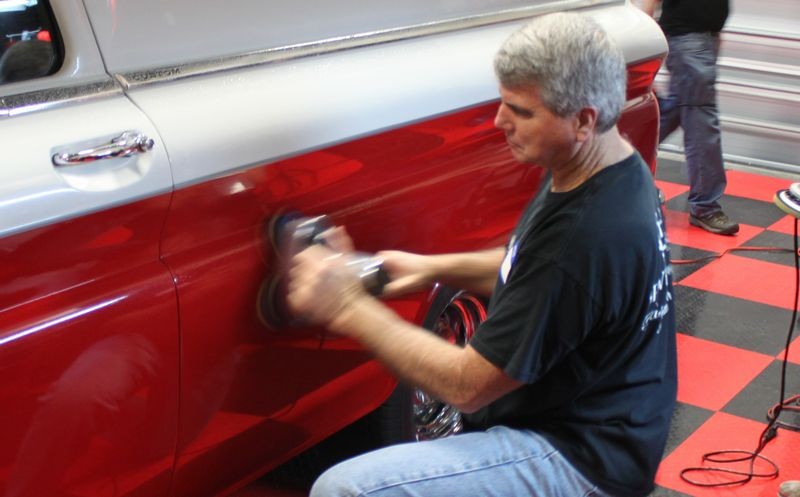
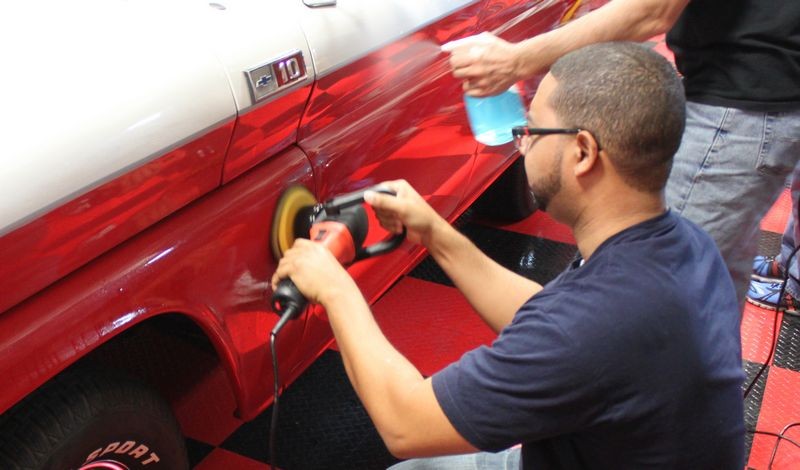
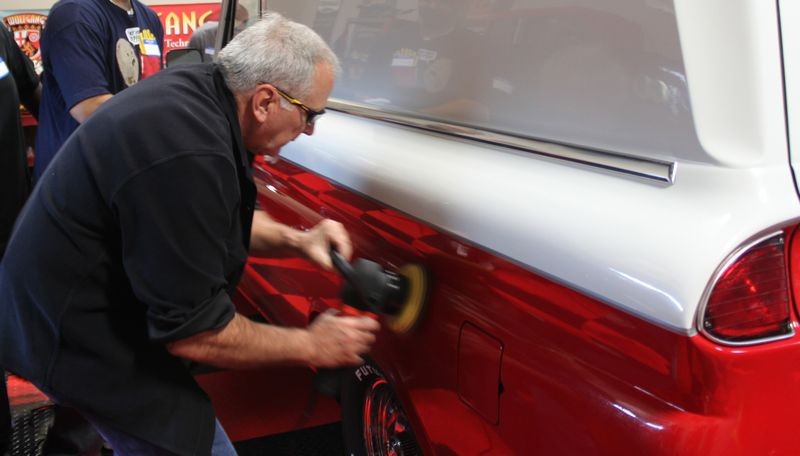
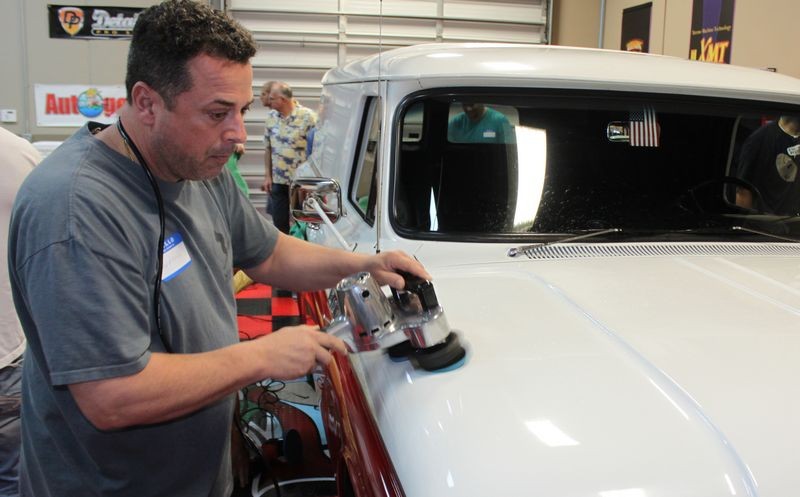
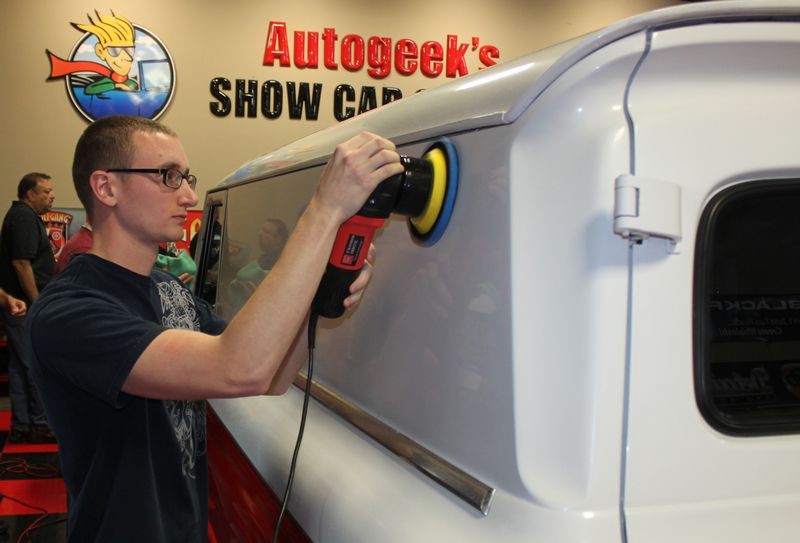
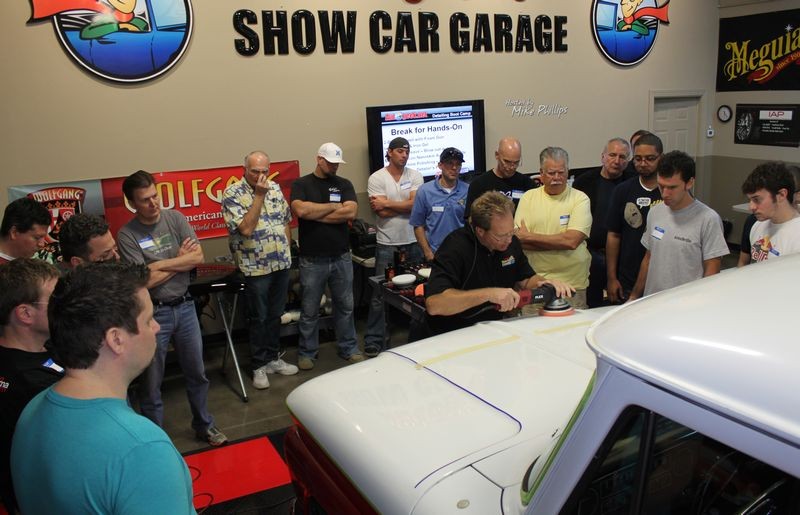
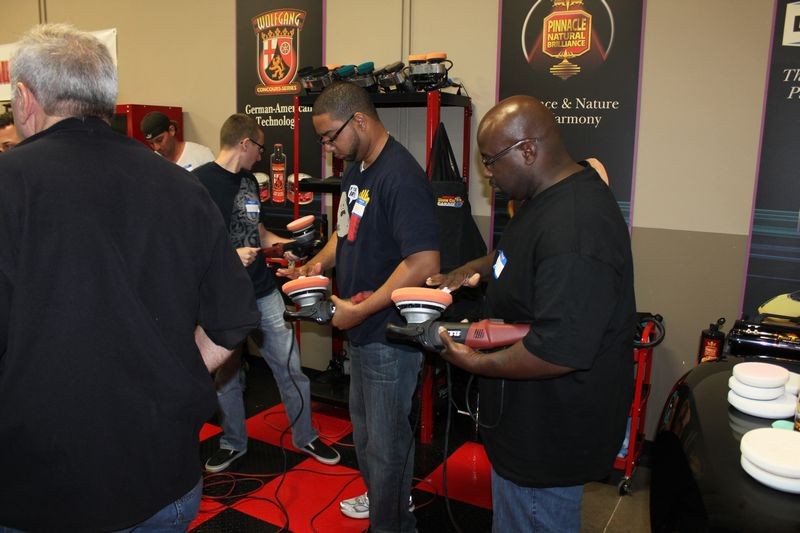
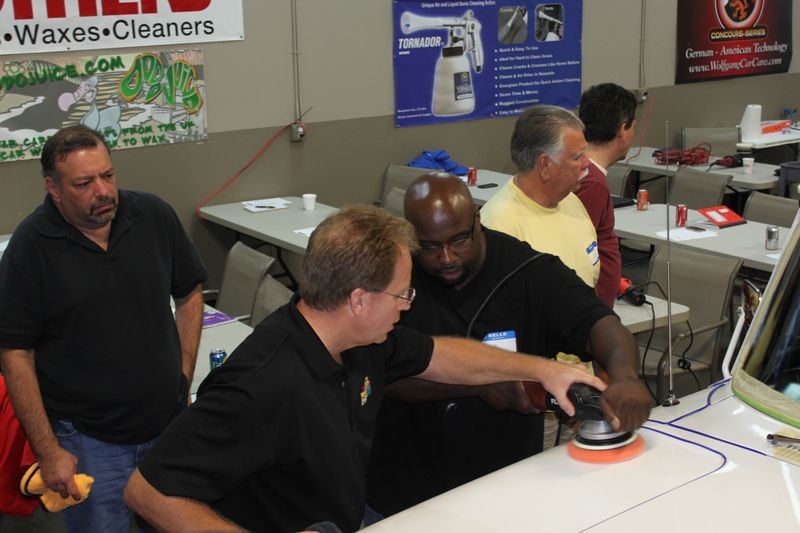
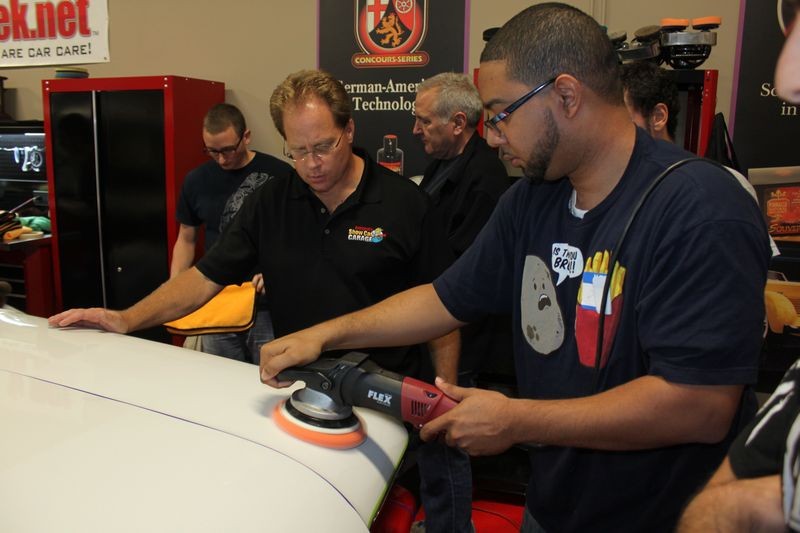
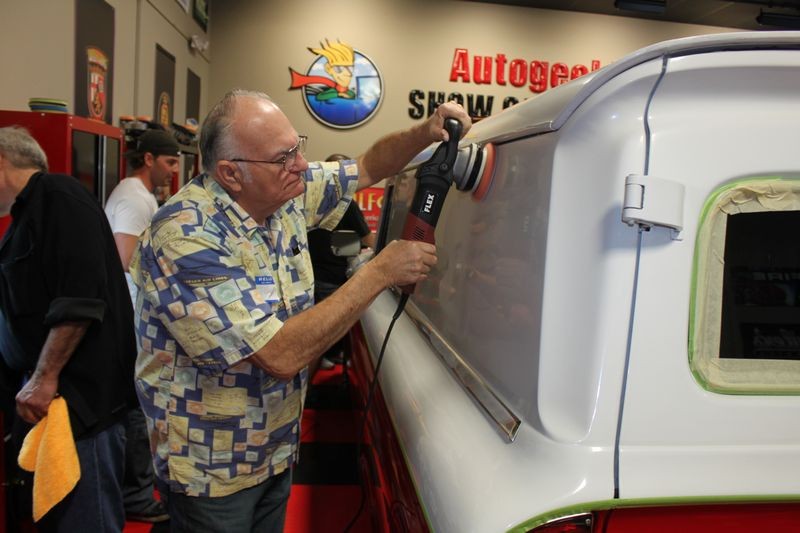
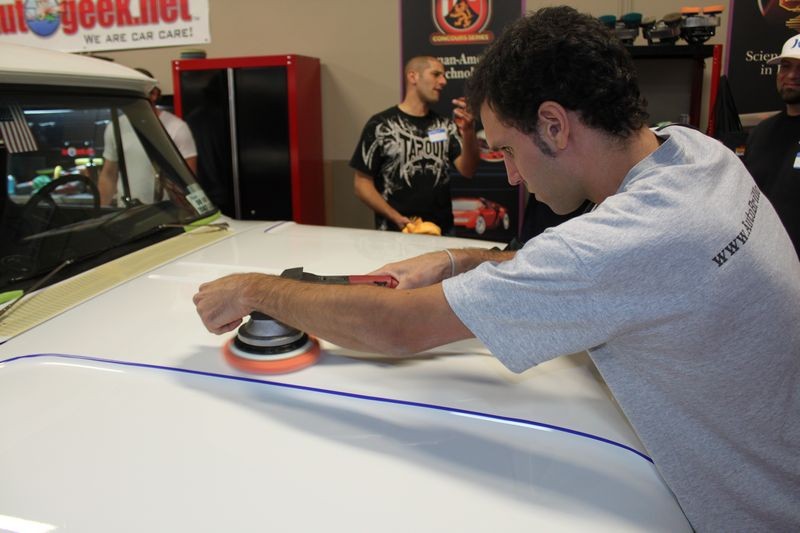
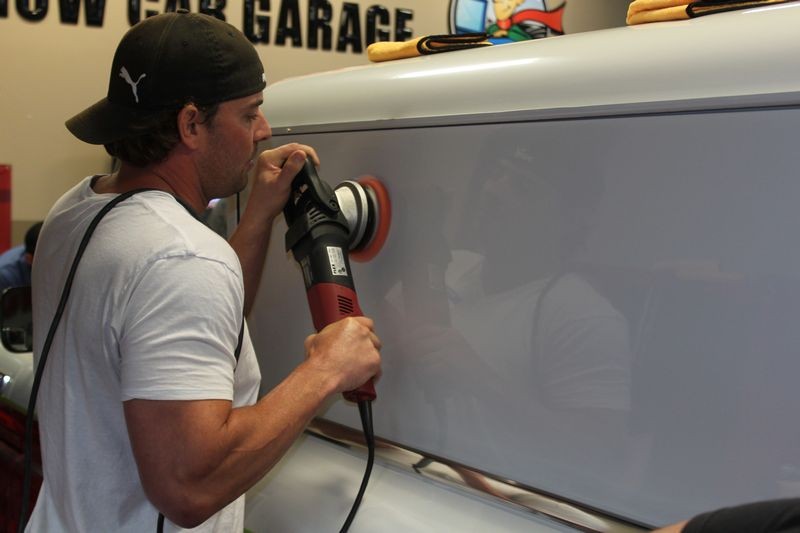
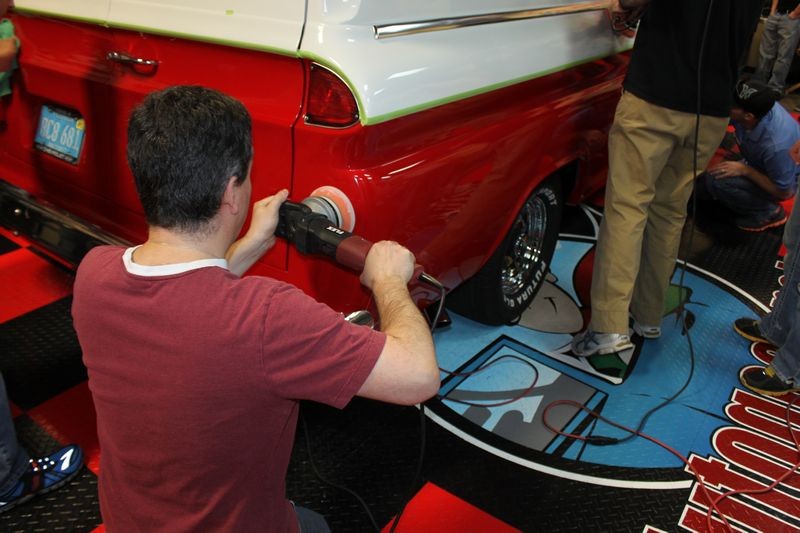
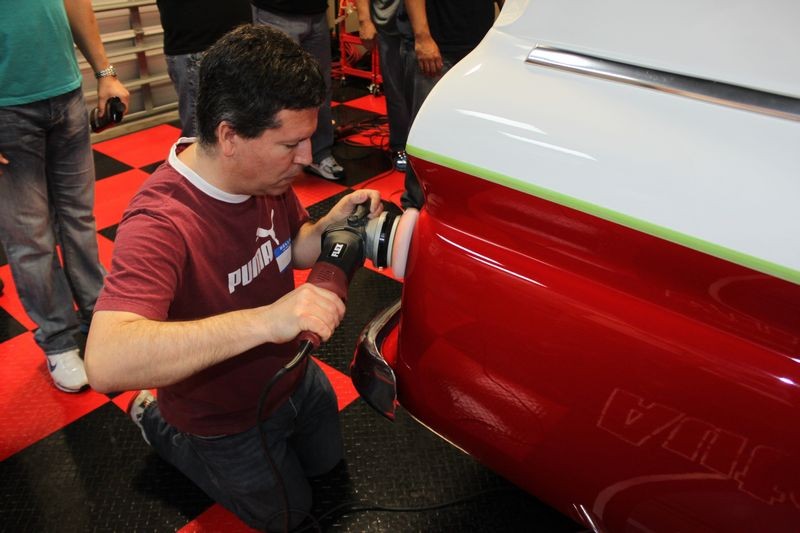
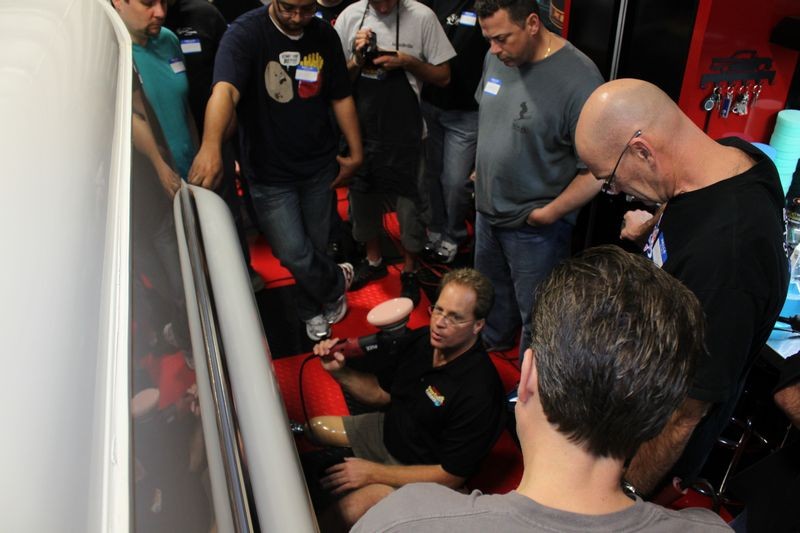
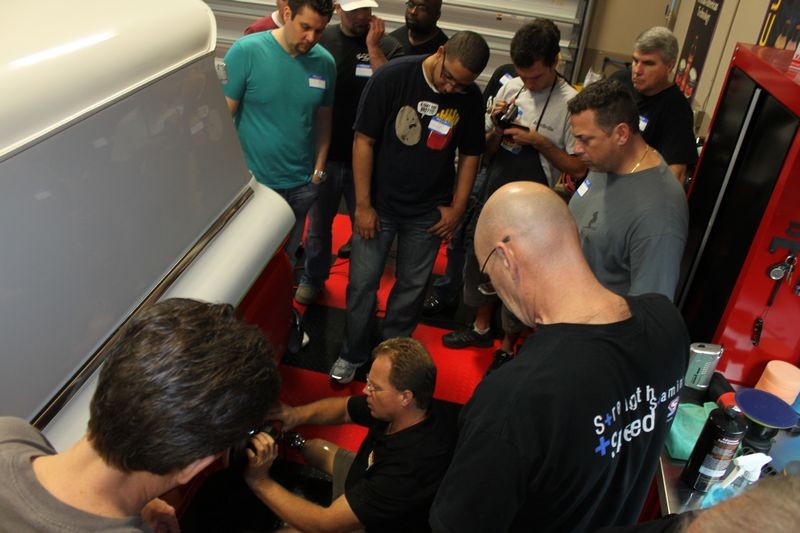
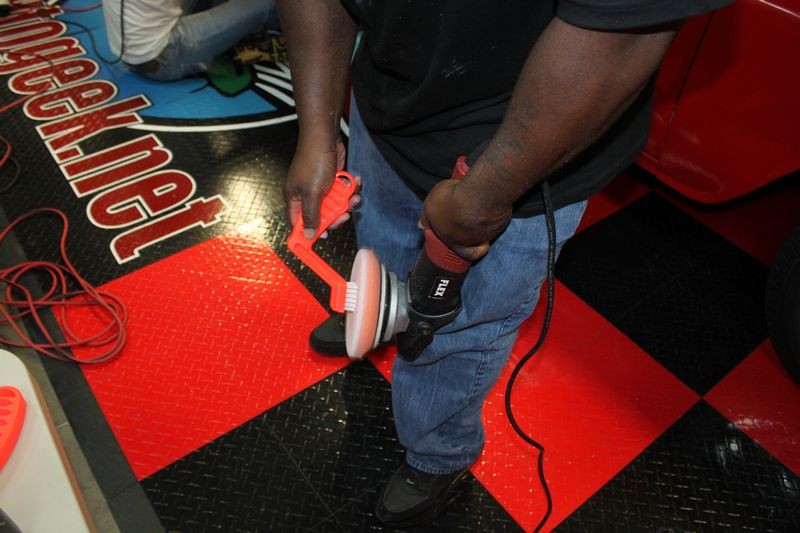
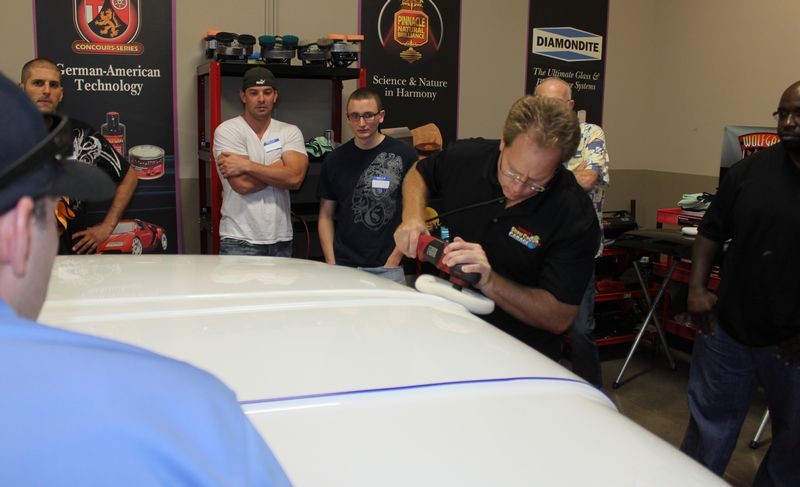
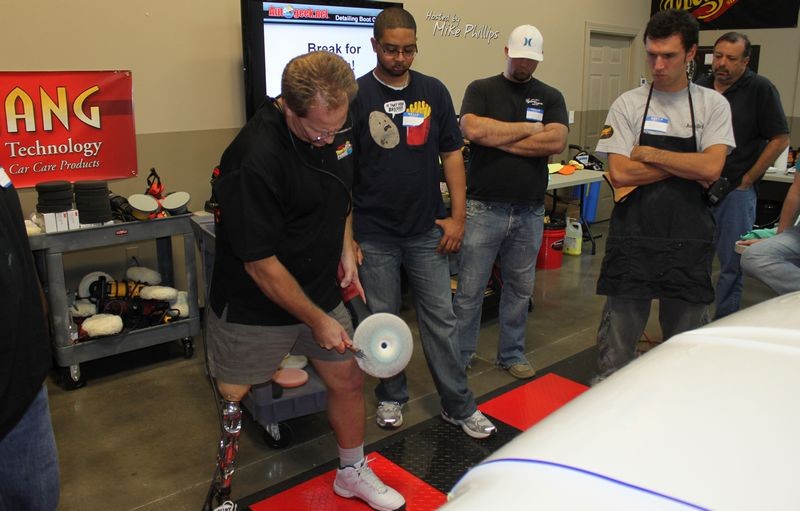
Next up we're going to decontaminate the paint by machine using Nanoskin Autoscrub Pads on Porter Cable, Griot's, Meguiar's DA Polishers, Cyclo Polishers and Flex 3401 DA Polishers. The guys find out real fast just how smooth paint is supposed to feel before you start doing any machine polishing.


More to come...


:)
 
These pictures were from day one and we were just getting started, wait to you see some of our later work.

Mike teaches an excellent class, 26 years of detailing knowledge scrammed into 2 days and it's a lot to soak up. Mike starts the class by telling us that he will pour his heart and soul into the class and he does. Mike has such passion and skill for this work and it was a pleasure learning from him.

I would highly recommend this class!! Thanks Mike, sorry I missed the beers at the meet and greet but maybe I'll catch you at DetailFest.
 
These pictures were from day one and we were just getting started, wait to you see some of our later work.

Mike teaches an excellent class, 26 years of detailing knowledge scrammed into 2 days and it's a lot to soak up. Mike starts the class by telling us that he will pour his heart and soul into the class and he does. Mike has such passion and skill for this work and it was a pleasure learning from him.

I would highly recommend this class!!


Thanks for the kind words it was really nice putting a face to your forum nickname!


Thanks Mike, sorry I missed the beers at the meet and greet but maybe I'll catch you at DetailFest.

We had a great time and believe it or not they really do have GREAT food at the Marriott-Courtyard here in Stuart close to Autogeek. And for sure both Stacy and I will be at the Meet & Greet for Detail Fest both Friday and Saturday night this year as we'll have just been married in Key West a few weeks before.

Here's a picture I took of the Meet & Greet last Saturday Night using Chris aka Italian Guy's iPhone 5 as it has a better camera than my iPhone 4

Good times!
Jan_Meet_Greet_1a.jpg


My favorite part of my detailing bootcamp camp is the "Meet & Greet" on Saturday night. It's fun to get out the garage, get some good food and some cold drinks and talk shop or anything else that comes up...


:dblthumb2:
 
Had a great time in class last weekend. Mike phillips is a good teacher and explains in great detail on getting a car to look great and keeping it that way.:xyxthumbs:
 
After we washed, decontaminated and dried the 1964 Chevy Sedan Delivery we brought her inside to inspect and remove above surface bonded contaminants.


In this picture Ray took you can see someone's hand in a plastic sandwich baggie feeling the paint...

2013_Jan_Detail_Class_099.jpg


In the Power Point Presentation we go over each step before doing the hands-on portion, in this case we're going over inspecting the paint AFTER washing and drying. You want the surface clean so when you feel the paint you don't scratch it or get a skewed reading and you look for swirls and scratches after you remove any dirt film that could be masking the true condition.

2013_Jan_Detail_Class_100.jpg


The paint had a course texture so bad in fact that you could easily feel a rough texture without doing the baggies test and you could really feel the contaminants when using the sandwich baggie.

To remove the above the above surface bonded contaminants we're going to use the Nanoskin Autoscrub pads using a variety of machine and also with the Nanoskin Glide.

2013_Jan_Detail_Class_101.jpg


When using the Nanoskin Autoscrub pads you want to use a liberal amount of lubrication...

2013_Jan_Detail_Class_102.jpg


As in use a lot of spray lubricant. The Glide comes as a concentrate so you can mix your own spray lube at 7:1

2013_Jan_Detail_Class_103.jpg


First up I'm going to demonstrate using the Flex 3401 and a Yellow/Medium Grade Nanoskin Autoscrub pad.

2013_Jan_Detail_Class_104.jpg


Wiping residue off to get the paint really dry so everyone can feel the difference...

2013_Jan_Detail_Class_105.jpg


Using the Metro-Vac Sidekick to completely dry the paint because if there's any moisture on the surface it keeps your hand from sliding and I wanted everyone to feel just how thorough the Nanoskin Autoscrub pads are at getting the paint completely flat and smooth.

2013_Jan_Detail_Class_106.jpg


Yeah... now they can see what I'm talking about... the proof is in the pudding...

2013_Jan_Detail_Class_107.jpg


Now it's time to demonstrate the Cyclo Polisher with 4" Autoscrub Pads. This is the standard Cyclo Polisher so it runs full out at 3000 OPM's. No problem just keep the pads moving and focus on the task at hand like you see here...

2013_Jan_Detail_Class_108.jpg


Next up is how to use the Autoscrub pads on the Griot's 6" DA Polisher, of course you can also use the PC and the Meguiar's G110v2

2013_Jan_Detail_Class_109.jpg


It's important to see the pad rotating so I show how to mark your backing plate to make it easy for your eyes to monitor for pad rotation.

2013_Jan_Detail_Class_110.jpg


Using the 2-3 speed setting on the Griot's...

2013_Jan_Detail_Class_111.jpg


Next up... time for hands-on training...


:)
 
These guys did so good... for every step on every car the jumped right in and got busy...

Dustin using the Griot's 6" DA with a Nanoskin Autoscrub pad

2013_Jan_Detail_Class_112.jpg


Willis using the Cyclo Polisher with a Nanoskin Autoscrub pad

2013_Jan_Detail_Class_113.jpg


2013_Jan_Detail_Class_114.jpg


Chris using the Griot's 6" DA with a Nanoskin Autoscrub pad

2013_Jan_Detail_Class_115.jpg


Mike using the Griot's 6" DA with a Nanoskin Autoscrub pad

2013_Jan_Detail_Class_116.jpg


Jeremy using the Griot's 6" DA with a Nanoskin Autoscrub pad

2013_Jan_Detail_Class_117.jpg


Sergio using the Cyclo Polisher with the Nanoskin Autoscrub Pads...

2013_Jan_Detail_Class_118.jpg


Maurris wiping a panel clean and dry...

2013_Jan_Detail_Class_119.jpg


Jeff using the Flex 3401 with a stick handle instead of the forward bail handle...

2013_Jan_Detail_Class_120.jpg


Here's Jeremy using Pinnacle Ultra Poly Detailing clay to get into tight areas where the pad cannot be safely used.

2013_Jan_Detail_Class_121.jpg


Same using the Griot's 6" DA with the Nanoskin Autoscrub Pad...

2013_Jan_Detail_Class_122.jpg


David and team wiping the paint clean and dry to get ready for the next steps...

2013_Jan_Detail_Class_123.jpg


Oh yeah....


:dblthumb2:
 
Next we learn the importance of taping off things like pint-striping, edges and raised body lines....


This 1964 Sedan Delivery has a good paint job and a fairly new paint job and the painter applied a silver vinyl pinstripe to separate the lower red portion of the truck from the upper white portion of the truck.

To avoid any mistakes for the rest of the machine polishing steps we taped this pinstripe off as well as any raised body lines and panel edges.


Pablo, my detailing friend from Buenos Aires, Argentina was a real asset at this class and it was easy to tell he has a real passion for perfection...

2013_Jan_Detail_Class_124.jpg


Willis taping off the pin stripe...

2013_Jan_Detail_Class_125.jpg


2013_Jan_Detail_Class_126.jpg


Chris aka the Italian Guy taping off the silver pin stripe...

2013_Jan_Detail_Class_127.jpg


Me taping off the front leading edge of the hood...

2013_Jan_Detail_Class_128.jpg


The hood has a number of raised body lines in its design and for these we're going to use the 3M Blue Vinyl Tape...

2013_Jan_Detail_Class_129.jpg


2013_Jan_Detail_Class_130.jpg


Here's a taping-off tip...
Pull out a measure of tape about a foot or two long and then use the roll of tape to guide or steer the tape by your other hand as it presses it down.

2013_Jan_Detail_Class_131.jpg


I also cover this in a video here.

Video: How to tape-off car trim before machine polishing


Here's Joe mirroring what I've done on the passenger side to the driver's side...

2013_Jan_Detail_Class_132.jpg


2013_Jan_Detail_Class_133.jpg


Willis taping off and protecting the "new" rubber window molding...

2013_Jan_Detail_Class_134.jpg


Looking good...

2013_Jan_Detail_Class_135.jpg


Beautiful...

2013_Jan_Detail_Class_136.jpg


Here's Jeff taping off the perimeter of the gas cap lid...

2013_Jan_Detail_Class_137.jpg


2013_Jan_Detail_Class_138.jpg


Excellent work guys...


:dblthumb2:
 
Time to break out the machines...


For this truck everyone is going to use the Flex 3401 and I brought out a couple of Cyclo Polishers too. First thing I do is show and share the features of this tool.

2013_Jan_Detail_Class_139.jpg


Next we do a Test Spot using the least aggressive pad and product approach. In this case I'm using a White Hybrid pad with Pinnacle Advanced Swirl Remover.

2013_Jan_Detail_Class_140.jpg


2013_Jan_Detail_Class_141.jpg


I've never worked on this truck before which is another way of saying,

"I've never worked on this PAINT SYSTEM before"

What we found out is the clear coat on this truck is on the hard side.
2013_Jan_Detail_Class_142.jpg


So I start a new Test Spot in a new section of paint this time changing over to a Orange Hybrid Cutting Pad.

2013_Jan_Detail_Class_143.jpg


2013_Jan_Detail_Class_144.jpg


This gave us the defect removal I was looking for for this project. The goal was to let everyone learn how to use the Flex 3401 as a priority and defect removal was second. What I didn't want to do is get too aggressive and have someone make a mistake.


2013_Jan_Detail_Class_145.jpg


If you look closely to the lower right hand side of the hood you'll see the paint is a BRIGHTER WHITE meaning the paint on this Sedan Delivery is stained with embedded dirt.

2013_Jan_Detail_Class_146.jpg


Now we inspect for defect removal using the Brinkmann Swirl Finder Light. First we inspect the ugly, that is the before section.

2013_Jan_Detail_Class_147.jpg


Then we inspect the after section... it's always that order...

2013_Jan_Detail_Class_148.jpg


After the test spot we have our system dialed-in and proven to produce the results we're looking for and it's time for lunch...

2013_Jan_Detail_Class_149.jpg


Everyone's hungry and earned their meal...

2013_Jan_Detail_Class_150.jpg


Next up, the guys go to work...


:)
 
Little late but wanted to add my 2 cents. Been considering attending this class for a few years, once my son moved within 40 minutes I decided it was time……..and I am very happy I did, as Mike simplified many processes for me.

My main goal was to understand the entire polishing process as there are so many variables - type and brand polisher plus polish & pad aggressiveness. In addition, polishing time, machine speed and amount pressure, on and on…….

I’ve read about on my own, saw many forum posts (that sometimes confused the issue as many have their own processes and favorite products) but spending a day (and some) learning how to use DA and rotary polishers was key as I was able to see everything up-close and live.

That, in combination with a huge amount of information from Mike both days (in addition, Nick and Ray answering random questions) were all taken in and noted (gotta love iphone Notes). My reactions to everything else shown over the weekend were “oh yeah, never thought of that” or “whew, I am doing that right”.

For those that have been on the fence about attending I highly recommend the class as it certainly provides you with a visual of the whole detailing process, in addition, access to Mike, Nick and Ray for specific questions that have plagued you.

Like to thank Mike, Nick and Ray for spending their weekend with us, I cannot wait till Spring to try everything out!! Also, thanks to Florida as my family enjoyed the sunny mid-70’s weather the 3 days we were there.

Howard
 
Had a great time in class last weekend. Mike Phillips is a good teacher and explains in great detail on getting a car to look great and keeping it that way.


Thanks Jeremy,

It was great having you in class, you really went above and beyond when it came to getting the inside of Tom's Taxi Van Clean and Tom was ecstatic!

Also, the power window switch was broke before the Van arrived. :xyxthumbs:


Little late but wanted to add my 2 cents.

Never too late... thank you for chiming in...


For those that have been on the fence about attending I highly recommend the class as it certainly provides you with a visual of the whole detailing process, in addition, access to Mike, Nick and Ray for specific questions that have plagued you.

Thank you Howard, I really appreciate your feedback posted to the forum.


Also, thanks to Florida as my family enjoyed the sunny mid-70’s weather the 3 days we were there.

Howard


That's great!

Win/Win for everyone!


:dblthumb2:
 
Hands-on is an understatement! I can count on one hand the number of car guys who can teach, talk, write, educate and actually sand, cut, polish and wax a special car - Mike Phillips is at the top of the list.

This was a high energy, fast paced, information filled and experience packed workshop. We were in the shop and on the cars for over eleven hours on Saturday and nine hours on Sunday. We talked shop for an additional two hours on Saturday evening.

Mike, Nick, and Ray were well prepared and the shop was loaded with hundreds of towels and pads, dozens of polishes, compounds, waxes, coatings, chemicals and what seemed to be unlimited equipment/tools. Each topic was introduced with a brief slide show reviewing the process, objectives and pitfalls and then we were turned loose on the cars.

This was not play-time but real serious work on someone's classic ride. If you were edging with a buffer, Mike would grab your hands on the machine and level you out and if you we're moving to fast he would slow you down. We then had a brief recap of the topic with questions and discussion.

Mike loves, lives and talks cars and paint polishing. "Cars" are the classics that deserve a three stage polish and a show car finish. With over twenty two hours of instructor contact time and unlimited tools, equipment and supplies, this workshop is easily under priced and over delivers. It was a fun and rewarding weekend and I recommend it to anyone interested in the art, science and application of auto detailing.
 
This was a high energy, fast paced, information filled and experience packed workshop. We were in the shop and on the cars for over eleven hours on Saturday and nine hours on Sunday. We talked shop for an additional two hours on Saturday evening.


And as the saying goes...

That's how we roll here at Autogeek! :cruisin:


Thank you so much Mike for joining the forum and chiming to share your feedback and experience. You know I appreciate it and it was genuinely fun hanging out at the Marriott lounge Saturday night getting to know everyone.


More pictures tomorrow as I continue to work through the 1,300 plus pictures on my memory card!


:dblthumb2:
 
Well I have settled back into my day job and I am missing hanging with the boys at the bootcamp getting our hands dirty.

Not only was this a great experience for a newbie but I think it was very beneficial to those of us with some experience. It gave me a chance to get all those burning questions answered and get my hands on some new stuff.

Mike, Ray and Nick dropped a ton of knowledge on us and worked very hard. They orchestrated the weekend to allow exposure to a number of different product lines. Heck, I learned a lot from the other guys in the course. Everyone brought something to the table.

My son Sam and I had a great time. It was definitely worth the investment and I would highly recommend signing up. The pearl to coin ratio was very high at this one!


:dblthumb2:
 
My son Sam and I had a great time. It was definitely worth the investment and I would highly recommend signing up. The pearl to coin ratio was very high at this one!


Hi David,

It was a genuine pleasure meeting and working with both you and your son Sam. Remember if there's ever anything I can do for either of you please feel free to drop me a line or give me a call.


More pictures going up today!


:xyxthumbs:
 
Hi everyone! I have to say that I really enjoyed the class, I had such a great time with Mike, Ray, Nick and all the guys that attended the class, specially with Alan and Jeff that where sitting right next to me.

I felt really comfortable using all the great machines and products, the DA'S are so easy to work with, the Nanoskin Autoscrub pads are awesome, I think that they really replace the clay bars in such an easy way.

As I said in the class, the Tornador guns, they rock the interior so great, specially the Black one, I was impressed by how the interior of the van changed from a darked and dirty upholstery to clear, good looking and also non smelly, because it smelled a lot like someone really smokes. I hope that the owner appreciates the job we all did on the interior and the exterior. I found funny that the front-right tire was made in Argentina!


I found very useful the microfiber pads, they are easy to clean and work with. I also liked the Sonax products, they worked excellent over the van, we where able to remove those swirls and water spots and bring back that smooth, glossy and shiny paint finish that used to have a long time ago.


I loved the sedan delivery how it turned to have that wet look and swirl free paint finish, specially those red parts, they turned so glossy and smooth.


The white Impala, as far as the paint finish allowed, we made a great improvement wet sanding it and removing those holograms and scratches, we gave back that shiny and smooth finish.


Hey Mike, did your fiance thank you for what we did to her lovely Accord?? ha ha


I would like to thank all the Autogeek stuff and all the guys that attended the class, for making me feel so comfortable and happy.


Mike, you are THE instructor. I think you have such an excellent knowledge and you demonstrate and transmit that passion for polishing and taking care of cars and give them that show car finish we all want. You encourage everyone to go and do something to make a car look the best we can. I learned so many tips and tricks that I will never forget. I absolutely enjoyed talking to you on Monday at your office, thank you for all of your time, I really appreciate it. I'm reading over all of your write up's on the forum.


Imagine that I flew 4500 miles from Buenos Aires to Miami, and it was definitely worth the investment and I would highly recommend signing up.

If someone ever flies to Buenos Aires, Argentina, feel free to contact me and will take you out for some nice dinner places and make you feel comfortable the same way everybody did during my stay.

:dblthumb2:
 
Mike / Nick / Ray / Autogeek:

Thank you for a great weekend of learning how to detail cars! I would, without reservation, recommend your Detailing Boot Camp Class because there is no substitute for hands-on experience with knowledgeable (and patient!) instructors.

The Class gives you two whole days using a wide variety of detailing tools and processes with the Autogeek team guiding you on which tool / process to select (and why) for a particular job, and then helping you to master the correct technique for applying that tool / process.

The detailing tools and processes are constantly advancing with new products becoming available all the time - the Boot Class Camp exposes you, with no bias, to a broad range of the very latest products so that you can quickly determine the most efficient and effective tool / process to achieve your detailing goals.

As very much a detailing beginner, I was so grateful to Mike, Nick and Ray for their clear instructions, tolerance of my errors and patience in helping me develop the correct techniques whilst at the same time ensuring that even professional detailers were always learning new approaches, tips and ways to provide the best detailing services for their customers.

And above all, I am grateful for the incredible energy, commitment and passion for detailing and for education that Mike and his team gave, unreservedly, for 20 straight hours so that we could all create show car perfect results!

Thank you all,

Sergio
 
Hi everyone! I have to say that I really enjoyed the class, I had such a great time with Mike, Ray, Nick and all the guys that attended the class, specially with Alan and Jeff that where sitting right next to me.

I felt really comfortable using all the great machines and products, the DA'S are so easy to work with, the Nanoskin Autoscrub pads are awesome, I think that they really replace the clay bars in such an easy way.

We've had a lot of positive feedback on the Nanoskin Autoscrub pads from everyone that attended this class and it was easy to feel how smooth they make the paint and as I cover in the Power Point Presentation

Gloss starts first with a smooth surface...

54Ford50.jpg


As I said in the class, the Tornador guns, they rock the interior so great, specially the Black one, I was impressed by how the interior of the van changed from a darked and dirty upholstery to clear, good looking and also non smelly, because it smelled a lot like someone really smokes. I hope that the owner appreciates the job we all did on the interior and the exterior. I found funny that the front-right tire was made in Argentina!

Tom LOVED the way both the inside and outside of the Van looked when he arrived to pick it up on Monday morning. We've really cemented our friendship with Tom and at my next Detailing Bootcamp Class we'll have his other Airport Van here for the next group to learn how to do exterior and interior detailing.

WAIT TILL YOU SEE THE BEFORE AND AFTER PICTURES OF THE VAN!


And "yes" it's amazing how much more power the BLACK Tornador Guns offer over the white Tornador Guns.


I found very useful the microfiber pads, they are easy to clean and work with. I also liked the Sonax products, they worked excellent over the van, we where able to remove those swirls and water spots and bring back that smooth, glossy and shiny paint finish that used to have a long time ago.

The paint on the Van looks better than new. SONAX has hit a home run with their new Fine Abrasive Paste and Nano Polish and they work great with Lake Country Ultra Microfiber Pads. I tested these specifically on black paint and after proving their performance on black paint I included them for this class. (They are new to the U.S. market).


I loved the sedan delivery how it turned to have that wet look and swirl free paint finish, specially those red parts, they turned so glossy and smooth.

Carlos bought this truck for $9000.00 sight unseen and it's a very high quality build for a streetrod at this price. All it needed was all the holograms removed and a deep, wet shine restored and now it's ready to cruise or show.

The white Impala, as far as the paint finish allowed, we made a great improvement wet sanding it and removing those holograms and scratches, we gave back that shiny and smooth finish.

The paint on the Impala is not as high as quality as on the 1964 Delivery Truck but it sure came out clear, glossy and wet looking.


Hey Mike, did your fiance thank you for what we did to her lovely Accord?? ha ha

Yes she did, bonus points for me!

I would like to thank all the Autogeek stuff and all the guys that attended the class, for making me feel so comfortable and happy.

Nick and Ray are great and helping out and making sure everyone is well taken care of. Behind the scenes we also had help from the entire staff here at Autogeek including Jason, Meghan and of course Max the President and CEO of PBMA.


Mike, you are THE instructor. I think you have such an excellent knowledge and you demonstrate and transmit that passion for polishing and taking care of cars and give them that show car finish we all want. You encourage everyone to go and do something to make a car look the best we can. I learned so many tips and tricks that I will never forget. I absolutely enjoyed talking to you on Monday at your office, thank you for all of your time, I really appreciate it. I'm reading over all of your write up's on the forum.

Imagine that I flew 4500 miles from Buenos Aires to Miami, and it was definitely worth the investment and I would highly recommend signing up.

Thank you for your kind words Pablo, I'm so very glad you were able to attend this class and I know I've made a friend for life.


If someone ever flies to Buenos Aires, Argentina, feel free to contact me and will take you out for some nice dinner places and make you feel comfortable the same way everybody did during my stay.

:dblthumb2:


I'm going to take you up on this offer sometime in the future and bring Stacy with me. I'll give you plenty of heads-up before the trip so you can line us up a cool car to tag-team.


Mike / Nick / Ray / Autogeek:

Thank you for a great weekend of learning how to detail cars! I would, without reservation, recommend your Detailing Boot Camp Class because there is no substitute for hands-on experience with knowledgeable (and patient!) instructors.

Take my word for it, we have just as much fun as everyone else.


The Class gives you two whole days using a wide variety of detailing tools and processes with the Autogeek team guiding you on which tool / process to select (and why) for a particular job, and then helping you to master the correct technique for applying that tool / process.

The detailing tools and processes are constantly advancing with new products becoming available all the time - the Boot Class Camp exposes you, with no bias, to a broad range of the very latest products so that you can quickly determine the most efficient and effective tool / process to achieve your detailing goals.

I tell everyone these classes are fast-paced and jam-packed full of information backed up by hands-on training and we don't ever let anyone down.


As very much a detailing beginner, I was so grateful to Mike, Nick and Ray for their clear instructions, tolerance of my errors and patience in helping me develop the correct techniques whilst at the same time ensuring that even professional detailers were always learning new approaches, tips and ways to provide the best detailing services for their customers.

And above all, I am grateful for the incredible energy, commitment and passion for detailing and for education that Mike and his team gave, unreservedly, for 20 straight hours so that we could all create show car perfect results!

Thank you all,

Sergio

And those long hours flew by!

Thank you Sergio for a well-written synopsis of your class experience, it was great to have you in the class and always remember if there's anything I can to for you in the future don't hesitate to call, e-mail or post to the forum.


:xyxthumbs:
 
After demonstrating how to use the Flex 3401 with 5" and 6.5" Hybrid Cutting pads and dialing-in the test spot it's time for everyone to busy...


David and Sam priming their pad before they start...

2013_Jan_Detail_Class_151.jpg


Dustin and Maurris priming their pads...

2013_Jan_Detail_Class_152.jpg


Jeremy working on the back of the truck to remove holograms and scratches...

2013_Jan_Detail_Class_153.jpg


Jeff working on the driver's side door...

2013_Jan_Detail_Class_154.jpg


Scott working on the hood to remove holograms...

2013_Jan_Detail_Class_155.jpg


Sam working on the passenger side panel...

2013_Jan_Detail_Class_156.jpg


Willis working on the passenger side panel...

2013_Jan_Detail_Class_157.jpg


A little hands-on training to show how much pressure to apply, which direction to move the polisher and how slow to move it over the surface really flattens out the learning curve.

Maurris will be going home to buff out a collection of all original muscle cars including 1960's era Corvettes and Camaros with the skills he's learned at our class...

2013_Jan_Detail_Class_158.jpg


2013_Jan_Detail_Class_159.jpg


Dustin using the Flex with a 6.5" Hybrid cutting pad on the hood...

2013_Jan_Detail_Class_160.jpg


Joe testing out the Cyclo Polisher on the driver's side panel...

2013_Jan_Detail_Class_161.jpg


Watching Jeff work up and down the edge between the door and the truck bed...

2013_Jan_Detail_Class_162.jpg


Joe using the Flex 3401 with the 6.5" Hybrid Cutting Pad to remove holograms out of the clear coat finish on this classy, classic 1964 Chevrolet Panel Delivery.

2013_Jan_Detail_Class_163.jpg


Here's Pablo working the hood over...

2013_Jan_Detail_Class_164.jpg


A little tweak to technique for Sergio as he works the lower portion of the passenger side fender...

2013_Jan_Detail_Class_165.jpg


:dblthumb2:
 
Hologram removal continued...


Sergio buffing along like a pro...

2013_Jan_Detail_Class_166.jpg


Here's Alan working on the hood...

2013_Jan_Detail_Class_167.jpg


In the front is Howard and behind him is David, both using the Flex 3401 with 6.5" Hybrid Cutting pads and Pinnacle Advanced Swirl Remover to remove the holograms inflicted into the paint by a rotary buffer and the last guy that buffed this streetrod out.

2013_Jan_Detail_Class_168.jpg


Sergio and Nick discussing how to approach raised body lines and edges between panels...

2013_Jan_Detail_Class_169.jpg


Jeff using the Flex 3401 with a 5" Hybrid pad on the Lake Country 4" Adapter Backing Plate.

2013_Jan_Detail_Class_170.jpg


Chris adding some "working product" to the face of Dustin's pad...

2013_Jan_Detail_Class_171.jpg


Willis running the pad along the tape-line to ensure all swirls are removed...

2013_Jan_Detail_Class_172.jpg


2013_Jan_Detail_Class_173.jpg


Sergio using the 5" Hybrid Pad for the narrow portion of the back of the truck bed...

2013_Jan_Detail_Class_174.jpg


2013_Jan_Detail_Class_176.jpg


Jeremy hard at it... this guy was a machine!

2013_Jan_Detail_Class_175.jpg


Towards the end of the first machine buffing step there were still some holograms on the lower portion of the truck bed, I explained like I do in all my classes that there's no glory in buffing out cars because it's hard, dirty work.

If you don't have a hydraulic lift to bring the car up to you... then you lower yourself to the car because you want to be looking across from the paint you're working on.

So here I am showing exactly what I mean and leading by example...

2013_Jan_Detail_Class_177.jpg


2013_Jan_Detail_Class_178.jpg


Anytime you're machine compounding or machine polishing paint you have two things building up on the face of your buffing pads,

  • Spent product
  • Removed paint


And you need to remove these two build-ups of gunk so you work at maximum efficiency.
2013_Jan_Detail_Class_179.jpg


When using the Flex 3401 the fastest and easiest way to remove the majority of any built-up gunk is using a Nylon Pad Conditioning Brush which you can get at Autogeek.net

2013_Jan_Detail_Class_180.jpg


Next up we're going to re-polish every square inch of paint using a less aggressive polishing pad and polish but already the paint is coming to life!


:)
 
After the hood was buffed out the RIDS showed up. That's normal, to remove some of these deeper scratches before going to the polishing step I spent a little time using the rotary buffer to chase them out...

2013_Jan_Detail_Class_181.jpg


2013_Jan_Detail_Class_182.jpg


That's a long reach getting out to the center of the hood...

2013_Jan_Detail_Class_183.jpg


Using a steel spur to clean a wool pad...

2013_Jan_Detail_Class_184.jpg


Here we've opened the hood to get the paint covered by the hood when it's closed...

2013_Jan_Detail_Class_185.jpg


Getting ready to pick up my bead of product using the 10 @ 10 Technique which everyone is going to learn next on the Impala...

2013_Jan_Detail_Class_186.jpg


Machine Polishing
Here we've moved on to the polishing step using the same tool, the Flex 3401 but now we've switched over to Lake Country White Hybrid Polishing Pads and Pinnacle Advanced Finishing Polish.

2013_Jan_Detail_Class_187.jpg


Dustin and Alan working the driver's side...

2013_Jan_Detail_Class_188.jpg


Dustin working on the Barn Doors...

2013_Jan_Detail_Class_189.jpg


Jeff working on the section of paint just below the stainless steel trim...

2013_Jan_Detail_Class_190.jpg


Chris working on the driver's side front fender...

2013_Jan_Detail_Class_191.jpg


Sealing the Paint
Next we're going to seal the paint using Detailer's Poli-Coat Paint Sealant. This truck is parked outside all the time so we want to use a long lasting synthetic paint sealant...

2013_Jan_Detail_Class_192.jpg


Sam and Jeremy knocking out the Barn Doors and rear valance and rear chrome bumper...

2013_Jan_Detail_Class_193.jpg


Joe really like machine sealing the paint much better than working by hand...

2013_Jan_Detail_Class_194.jpg


Same machine sealing the paint using the Meguiar's G110v2 DA Polisher...

2013_Jan_Detail_Class_195.jpg


2013_Jan_Detail_Class_196.jpg


Wiping-off Techniques
After you've machine polished the paint on any car to perfection it's important not to put scratches back in anytime you "touch" the paint and this includes when you wipe dried wax or paint sealant off the finish.

2013_Jan_Detail_Class_197.jpg


2013_Jan_Detail_Class_198.jpg


Dress the tires
Time to dress the tires and restore a deep, dark black satin look with Pinnacle Black Onyx Tire Spray. Remember, we REALLY cleaned the wheels and tires well so to ensure the entire truck has a "completed" look you can't leave out the details like dressing the tires.

2013_Jan_Detail_Class_199.jpg


2013_Jan_Detail_Class_200.jpg


Finished - Looking pretty good!
Time to move the Chevy outside and inspect our work and time to move the 1963 Chevy Impala inside and get ready to wetsand the paint.

2013_Jan_Detail_Class_201.jpg


:xyxthumbs:
 
Back
Top