 Thanks: 0
 Likes: 0
 Dislikes: 0
-
Re: Wetsanding and Rotary Buffer Pictures from Autogeek's Detailing Boot Camp Classes
 Originally Posted by Hoytman

Originally Posted by Mike.Phillips@Autogeek
This post is from months ago? Have you buffed out the paint yet?
IF not, then "yes" the M105/Wool Pad/Rotary Buffer approach would make quick work of removing the damaged paint and restoring clarity to the clear coat.
Just to note though, you could tackle this multiple ways... but the rotary buffer route would be the fastest as far as the correction step goes.
No, I haven't started the "Trashed Trailblazer" yet. I've been listening to you...and felt that I needed a good camera before starting the project so I could take good before and after photo's of my work. I posted on my link about the specifics of the camera I bought.
Well, I've used the w4000 pads/M67 combo on a boat with success. It was not the first time using a similar tool, as I've been around industrial grinders for a long time, but it was my first time using a rotary and wool set-up on a detailing project like my dad's boat. A 25' Baha Cruiser that I buffed out and it looked great. I really didn't have any trouble either, just kept it moving, and I kept the rpm's low. Using a tape line to tell where I was at and to make it clear to my dad the improvement being made.
Now I'm wondering that if I attempt to use the rotary on this trailblazer, on black paint, for the first time that maybe I should get the solo-cut wool pads to use. I'm not afraid to attempt using the wool, but at the same time I want to be cautious with how I approach this. Any tips are appreciated.Perhaps even going another route on this first black detail. I have a G110V2, some Meg's 6.5" pads (all 3) and a bunch of various B&S 5" foam pads, which may be a good route as well. I will be using a lot of tape either route I choose.
I could swear those look like egg cartons, but perhaps I need glasses. LOL! They're visible in a few of the other photo's as well, on the same cart. Is someone playing a prank on you, maybe?
-
Super Member

Re: Wetsanding and Rotary Buffer Pictures from Autogeek's Detailing Boot Camp Classes
Originally Posted by Hoytman
...
I could swear those look like egg cartons, but perhaps I need glasses. LOL! They're visible in a few of the other photo's as well, on the same cart. Is someone playing a prank on you, maybe?...
Aren't those water bottles? (those hard workers sure need them!)
-
Re: Wetsanding and Rotary Buffer Pictures from Autogeek's Detailing Boot Camp Classes
Originally Posted by RMM
Aren't those water bottles? (those hard workers sure need them!)
Yes, those are extra water bottles.
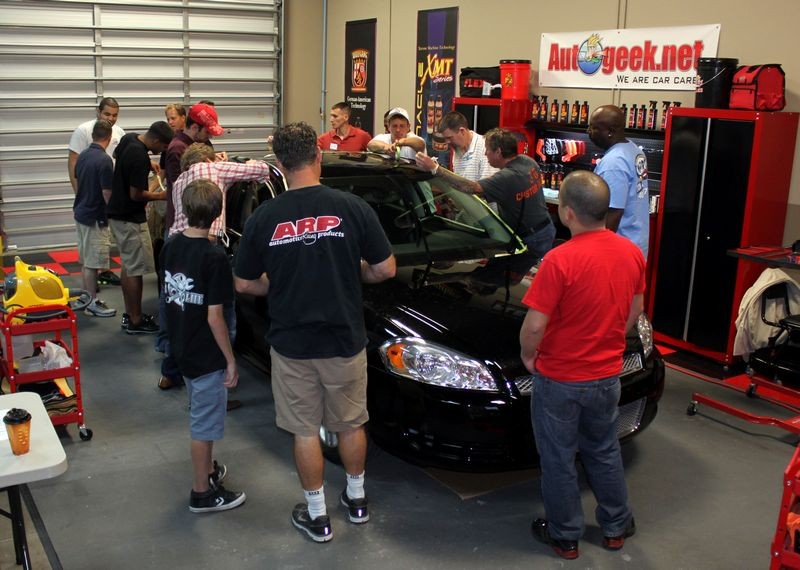
During our classes I try to get a variety of soda pop, both regular and sugar free, plus a fun flavor like Orange or Grape plus water bottles.
Something for everyone... did the same thing for years for my classes at Meguiar's in Irvine, California...


-
Re: Wetsanding and Rotary Buffer Pictures from Autogeek's Detailing Boot Camp Classes
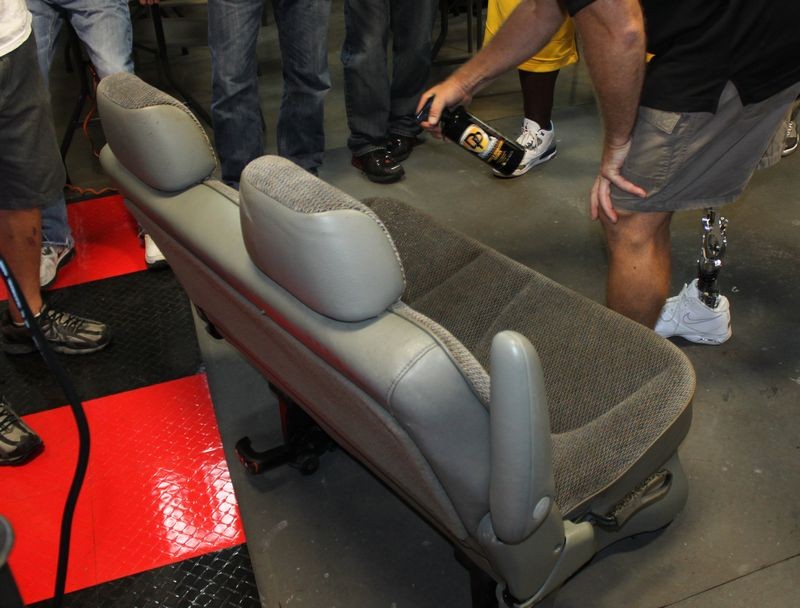
I must really need to make an appointment with the eye doctor huh? LOL! Those "egg cartons" weren't even sitting on that cart as I thought they were. I feel about as tall as Gimini Crickey lol.
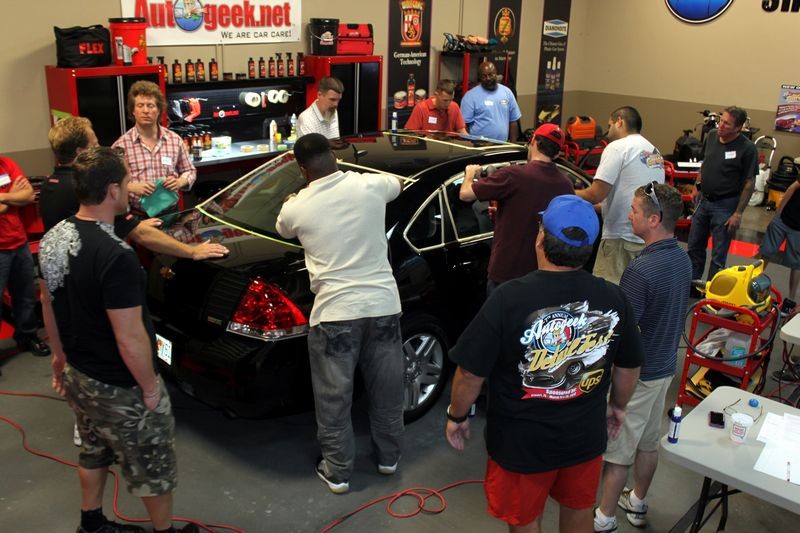
Here's a better picture next to the cooler that I missed that should have told me what they were. I couldn't figure out why Mike had "eggs" in his class.  Geez...LOL! Geez...LOL!

-
Re: Wetsanding and Rotary Buffer Pictures from Autogeek's Detailing Boot Camp Classes
Originally Posted by Hoytman
I couldn't figure out why Mike had "eggs" in his class. Geez...LOL!
Hmmm.... we could try to "duplicate" an Egg Imprint and then try to remove the defects or fill them in with touch up paint. I have an article on that...
Originally Posted by Mike Phillips
Imprint Chips - Chips in the paint caused by a thrown egg
When an egg is thrown at a car's painted panel, the force of the shell impacting and breaking up against the paint leaves a very specific type of chip pattern I call Imprint Chips.
Imprint Chips
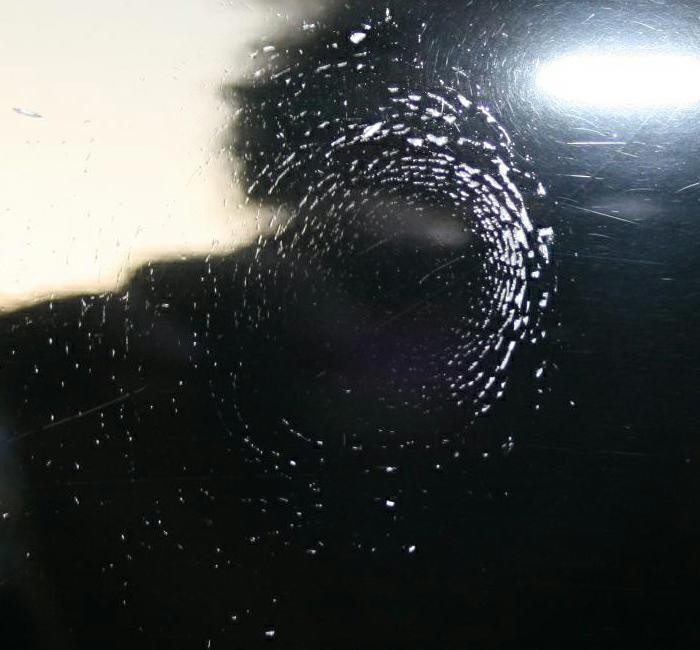
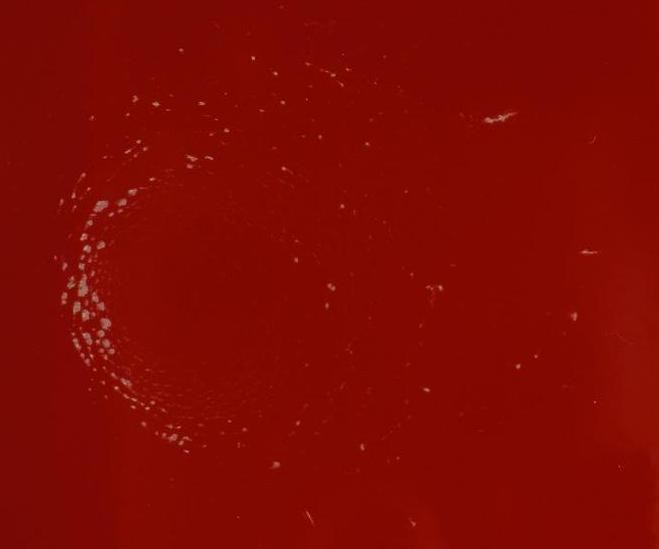
Fixing Imprint Chips is very difficult because there are usually lots of them in varying sizes including very tiny chipped areas.
We'll just need someone to volunteer their car so the students can throw eggs at it...

-
-
-
Re: Wetsanding and Rotary Buffer Pictures from Autogeek's Detailing Boot Camp Classes
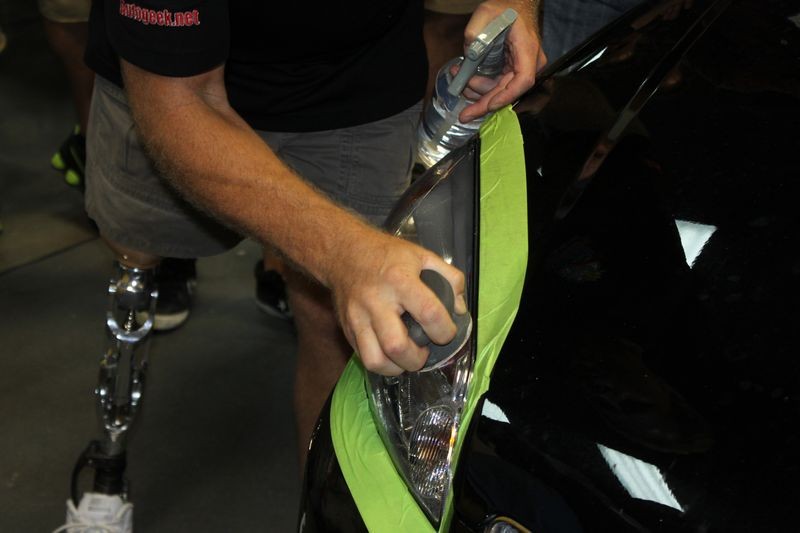
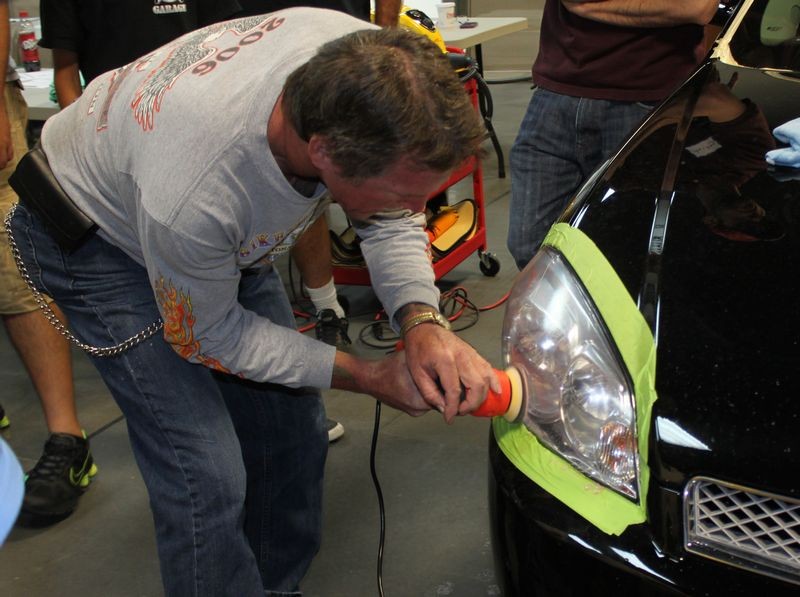
And headlight restoration by hand or machine and here's where the Griot's Garage 3" Mini Polisher really comes in handy...
Next up is headlight polishing, for this we used the Meguiar's Heavy Duty Headlight Correction System with a twist, I demonstrated the Meguiar's backing pad for the 3" Sanding Discs but then shared how they also fit on the Griot's Garage 3" Mini Polisher and how working by machine takes all the work out of the project.
Wetting the face of the #1000 Unigrit Sanding Disc with plain water...

Hand sanding... (elbow grease)
Machine sanding (no elbow grease)

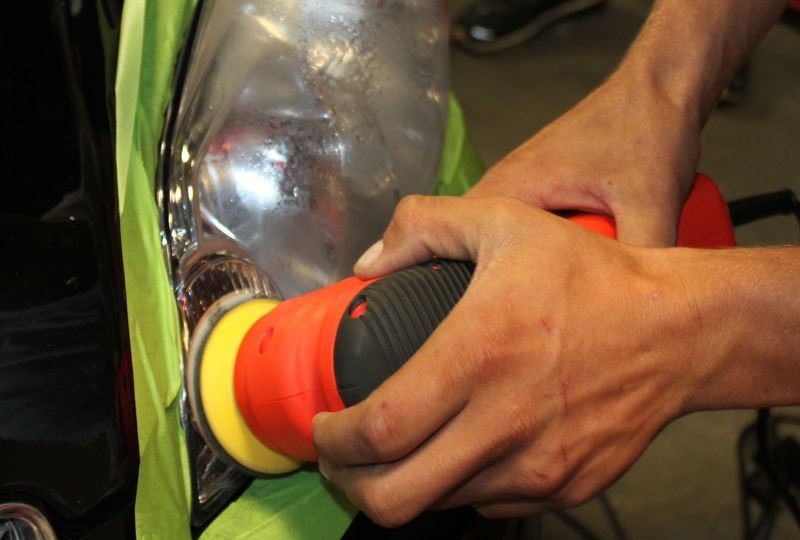
Everyone pretty much just wanted to work by machine... here's Jeff machine sanding a headlight lens...
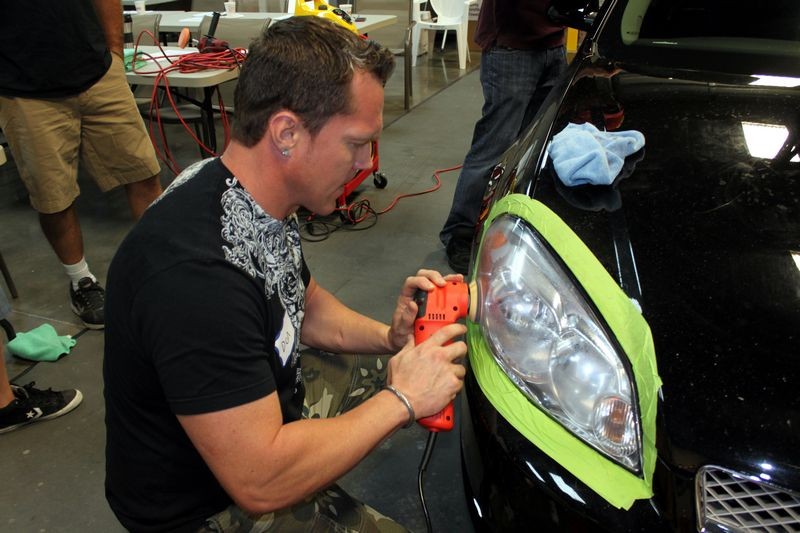
Here's Stephan misting some water onto the face of the sanding disc...

Stephan machine sanding a headlight lens

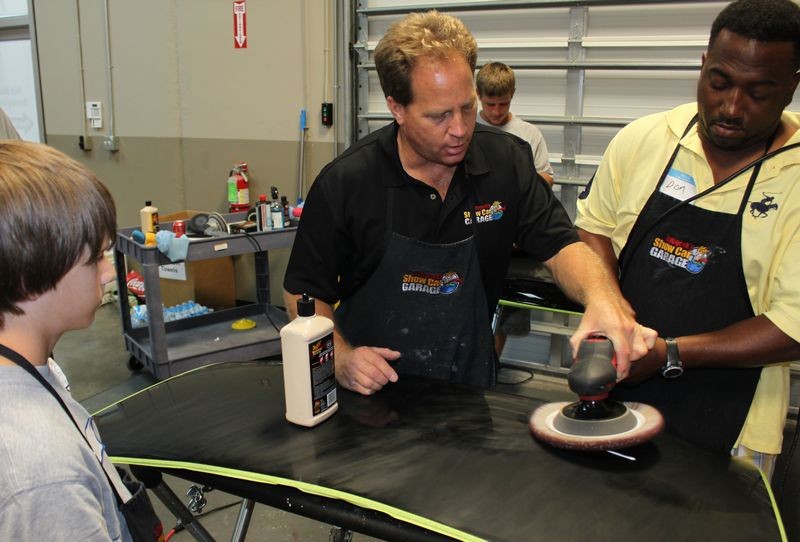
Don machine sanding...
Products used...
3" Griot's Garage Mini Orbital Polisher
Be sure to get the 3" Foam Interface Pad if you're planning on using the 3" Griot's Garage Mini Polisher for sanding headlights for dampsanding paint.
Meguiars Unigrit 3 Inch Foam Interface Pad
Meguiars Heavy Duty Two Step Headlight Restoration Kit - G3000
I also demonstrated the Flitz ScuffPads
The Flitz Mini ScuffPad is made of resin-coated non-woven abrasives in cut fiber strands. The flexible, durable sanding pads are perfect for contoured surfaces. Use the pads wet or dry.
The Flitz Mini ScuffPad is the equivalent to 1500 grit sandpaper. On scratched headlight lenses, plastics, wood, composite, and metal, the Mini ScuffPad sands down the scratched surface to create a more uniform surface. When you begin polishing, the entire surface is being leveled at the same rate. The results are uniform and smooth.
Flitz Mini ScuffPads 6 Pack, 1500 Grit


-
-
Similar Threads
-
By Mike Phillips in forum PICTURES: 3-Day CAR Detailing Bootcamp Classes
Replies: 44
Last Post: 04-14-2014, 10:34 AM
-
By Mike Phillips in forum PICTURES: 3-Day CAR Detailing Bootcamp Classes
Replies: 1
Last Post: 06-28-2013, 10:52 AM
-
By Mike Phillips in forum PICTURES: 3-Day CAR Detailing Bootcamp Classes
Replies: 23
Last Post: 12-26-2012, 12:07 PM
-
By Mike Phillips in forum PICTURES: 3-Day CAR Detailing Bootcamp Classes
Replies: 42
Last Post: 05-14-2012, 02:53 PM
-
By Nick McKees37 in forum PICTURES: 3-Day CAR Detailing Bootcamp Classes
Replies: 12
Last Post: 02-05-2012, 09:36 AM
 Members who have read this thread: 0
There are no members to list at the moment.
Posting Permissions
- You may not post new threads
- You may not post replies
- You may not post attachments
- You may not edit your posts
-
Forum Rules
|
| S |
M |
T |
W |
T |
F |
S |
| 31 |
1
|
2
|
3
|
4
|
5
|
6
|
|
7
|
8
|
9
|
10
|
11
|
12
|
13
|
|
14
|
15
|
16
|
17
|
18
|
19
|
20
|
|
21
|
22
|
23
|
24
|
25
|
26
|
27
|
|
28
|
29
|
30
| 1 | 2 | 3 | 4 |
|


 Reply With Quote
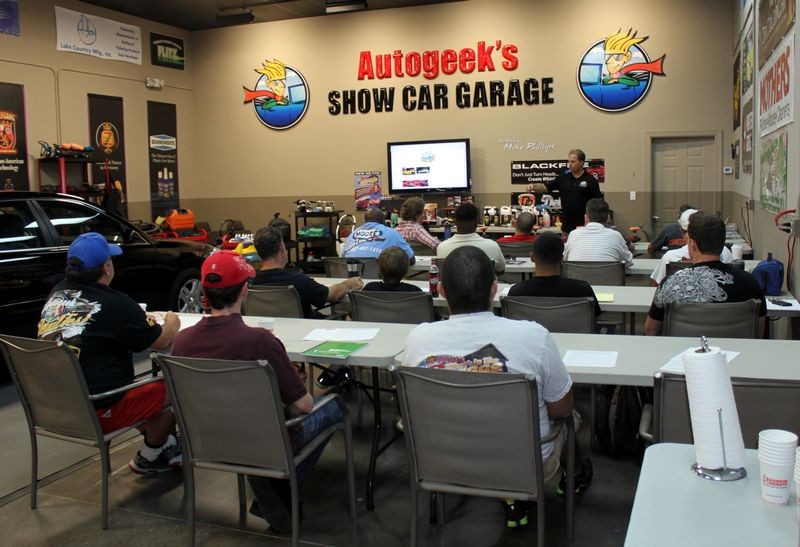


Bookmarks