 Thanks: 0
 Dislikes: 0
-
-
Re: What it's like to attend an Autogeek Roadshow Detailing Class - Lots of pictures!
.
NOTE: I'm creating this thread in real-time. I've already processed the pictures so now it's just a matter of inserting them and then adding the words.
As such, this thread is closed to comments WHILE I'm creating it. After I've added the last of the pictures the thread will be OPEN to questions, comments and feedback.
***Update***
I have a few more pictures and then I will "open" this thread for discussion, feedback, comments and questions...
Next up... the three d's
Daily Driver Detailing
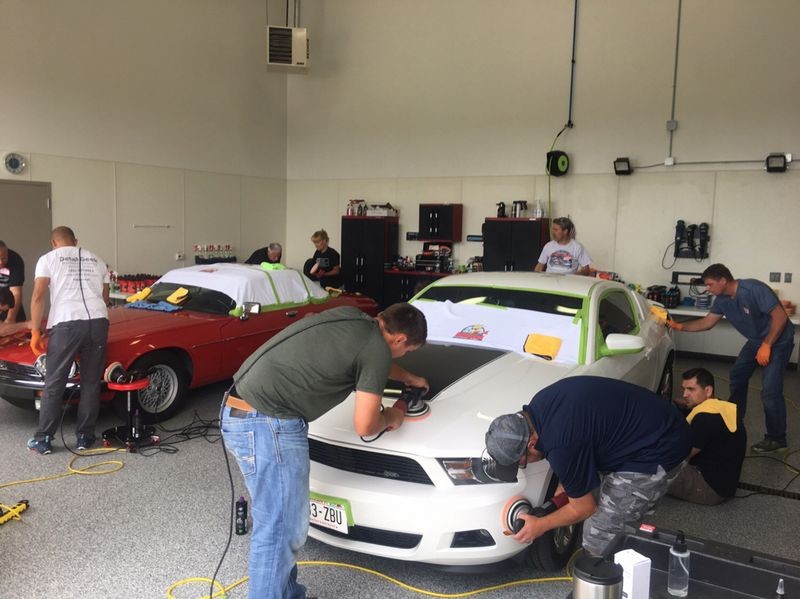
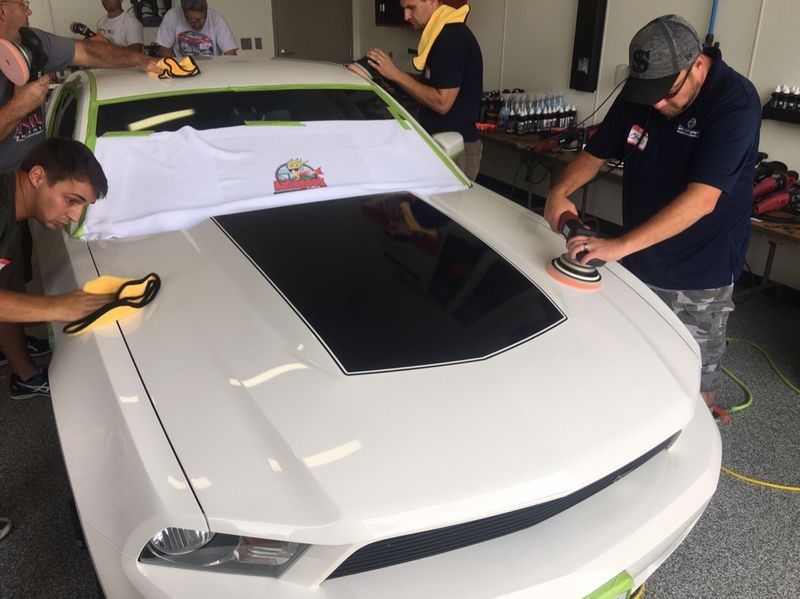
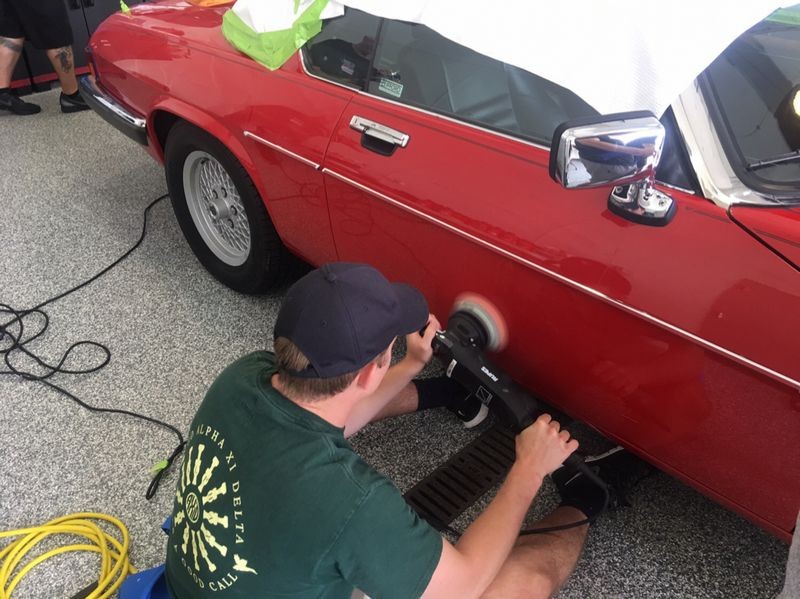
Or how to get pro grade results using a one-step cleaner/wax. If you look back at what has been done so far, all 8 cars have received multiple steps, that is show car detailing. It's important to know and it's also what most detailers like to do when working on cool cars.
But when it comes to daily drives, you need to know how to do high quality one-step detailing so you don't starve to death.
Or if it's your own cars.... you need to know how to do one-step details for own daily drivers.

-
Re: What it's like to attend an Autogeek Roadshow Detailing Class - Lots of pictures!
Continued....
One-Step Detailing
I've always called this production detailing but recently I've decided that's too narrow of a focus. Most of the car owning world that take care of their own car do one-step detailing, that is they use a one-step cleaner/wax when it comes to waxing the paint.
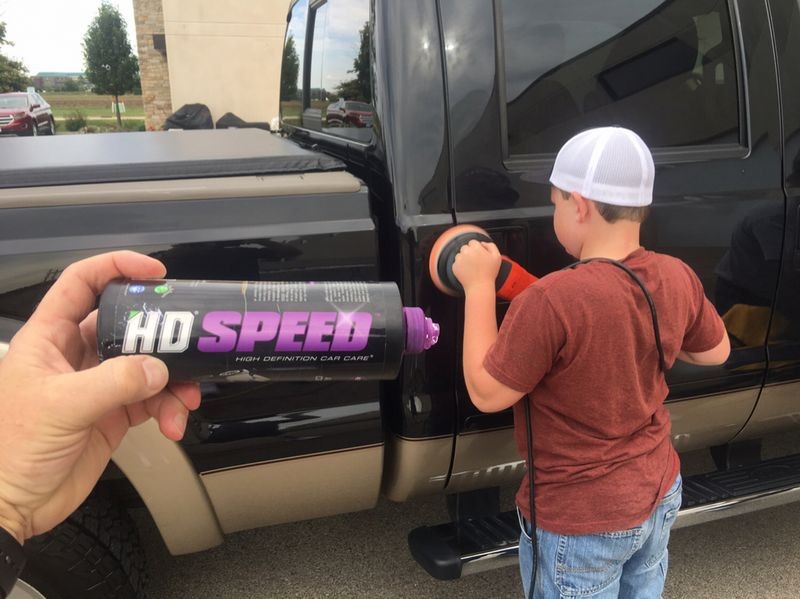
Cleaner/Wax
A cleaner/wax is any product that will do the below three steps in as single step.
- Cleans
- Polishes
- Protects
AIO
The acronym AIO stands for All-in-One and by this it is meant a product that,
- Cleans
- Polishes
- Protects
So the fact is, an AIO and a Cleaner/Wax are the same exact thing. There is no difference except the words used to describe the products.
Meguiar's recently introduced a "polishing wax" with their D166 so here's some more new words used to describe a cleaner/wax. McKee's has a Jeweling Wax and this too is a form of cleaner/wax. Griot's Garage BOSS system includes what they call a "finishing sealant" and if you read the fine print, it contains fine abrasives to further refine the finish so it too is technically a one-step cleaner/wax. And CarPro Essencce is technically a one-step cleaner/wax except the protection ingredients are not "wax" but ceramic coating particles.
What really separates cleaner/waxes is not the words used to describe them but are
1: The end results? Does the product leave a clear finish or does it micro-mar the paint?
2: The type of abrasive technology used for it's cleaning or abrading ability?
3: The type of protection ingredients used to leave the paint surface protected?
In the last 10+ years there has been HUGE advancements in both abrasive technology as well as protection technology. There are also a lot of mediocre products on the market. The trick to putting out high quality work that looks like you did show car detailing, (multiple step detailing), is to find and use a high quality one-step cleaner/wax.
Here's a tip... test on black paint
If it works great on black paint - it will work great on all paint. When I say black paint, I mean a basecoat/clearcoat paint system where the basecoat is black. Technically with a basecoat/clearcoat paint system you never work or touch the color coat just the clearcoat over it. And for anyone that isn't sure, when working on a basecoat/clearcoat paint system, the clearcoat portion is still PAINT. It's just clear paint.
Modern clearcoat paints are harder than traditional single stage paints like the 1969 Chrysler Newport Convertible we worked on previously, but they still scratch easily. It can be hard to wrap your brain around this fact but it is a fact. So their are two secrets to putting out high quality work while only doing one step to the paint.
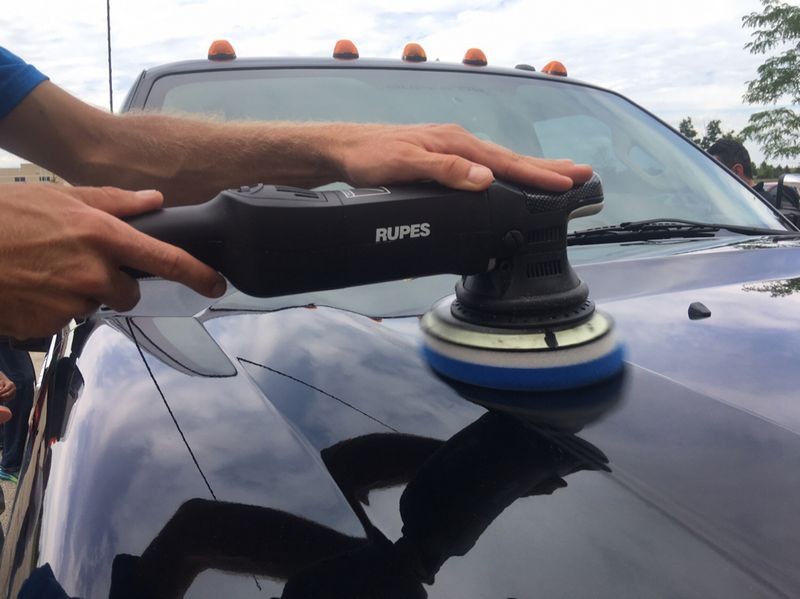
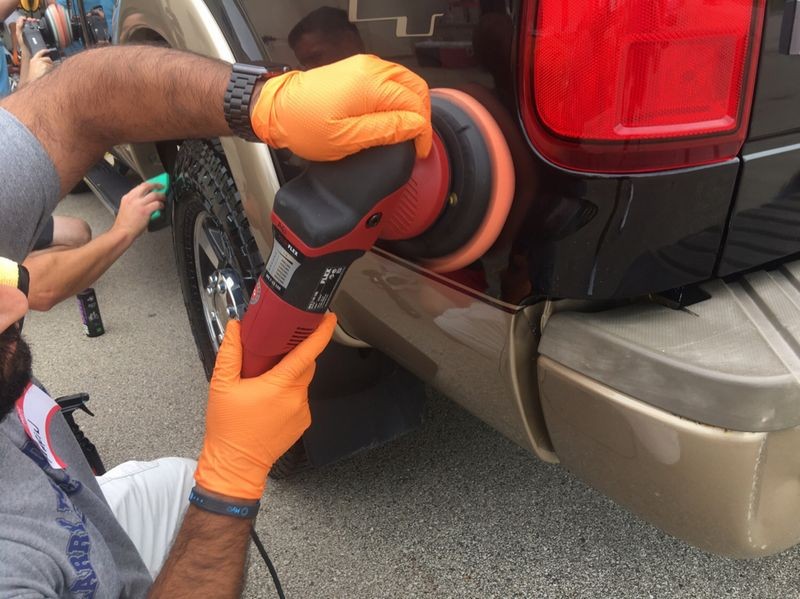
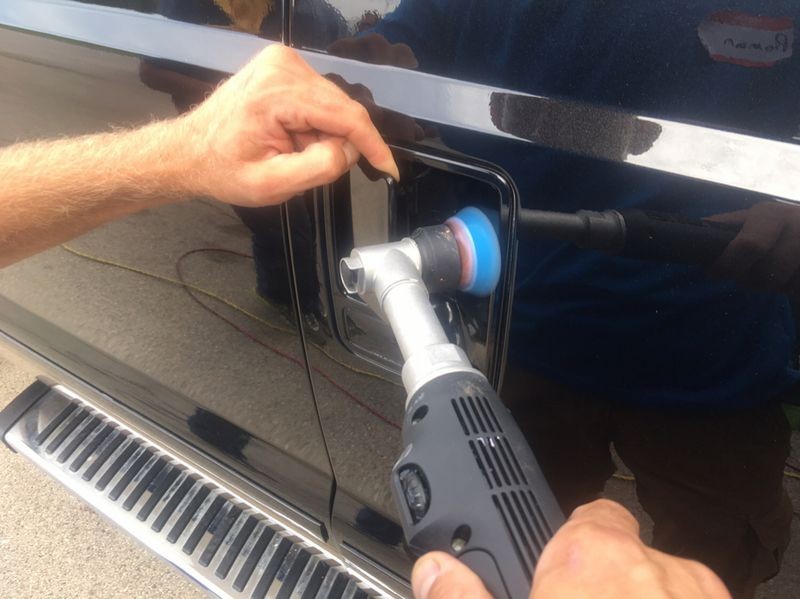
Secret #1 - Use a cleaner/wax that uses great abrasive technology.
If you don't you'll likely see micro-marring on dark and black paints and this is not acceptable in my world.
Secret #2 - Use the softest foam pad you can get away with.
I'm savvy to the online world of expert detailers and I already know that a lot of these experts are always recommending others to use aggressive foam cutting pads and even microfiber pads when using a one-step cleaner/wax. The problem with this is that on softer paints and/or dark colors and black paints, the pad itself can leave micro-marring. And... if it's happening to dark and black colored paints it's also happening to medium and light colored paints it's just your eyes can't see it. What it does mean is you're doing hack work or sub-par work.
This is why I say, TRY to use the softest foam pad you can get away with and still turn out great looking results without the risk of micro-marring. A foam finishing pad is too soft to do any real correction work to neglected paint. The next best option is to test and if it works, use a foam polishing pad. With a polishing pad you get some correction without the risk of micro-marring on most paint systems.
The above all said, if you opt to use a foam cutting pad then just be sure to test first and make sure you're not micro-marring the hell out of the paint. The good news is, after you buff a section or two, a foam cutting pad will get softer and reduce the risk of micro-marring.
I just want to point out all of the above because while there are a lot of great detailers in the blogosphere - there's not a lot of detailers that can type out the above information to "help you" to possibly avoid a mistake.
Here's one of my quotes...
Professional detailing starts with the brain... not the buffer -Mike Phillips
The above is simple education to bring you up to speed with the reality of using a one-step cleaner/wax or AIO or whatever the heck you or any company is calling it. 
Most people won't ever read the above, they'll just scroll down and look at the pretty pictures...
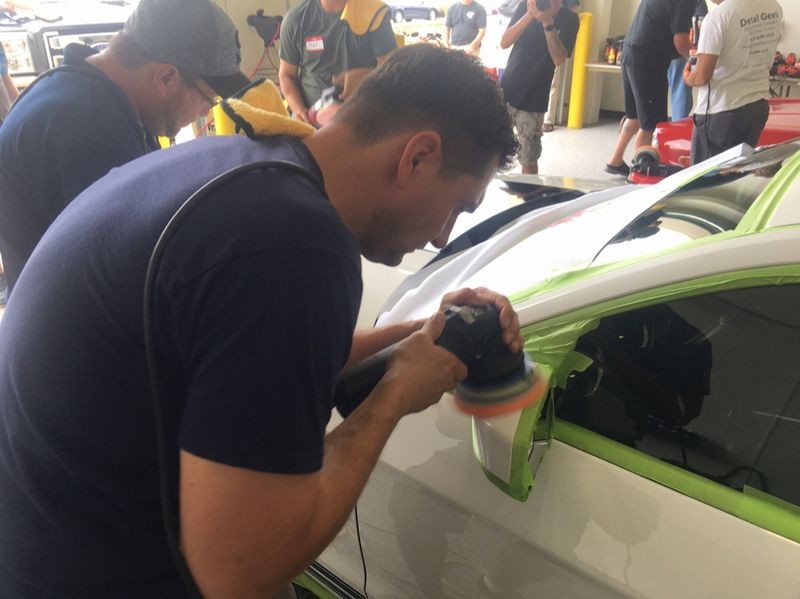
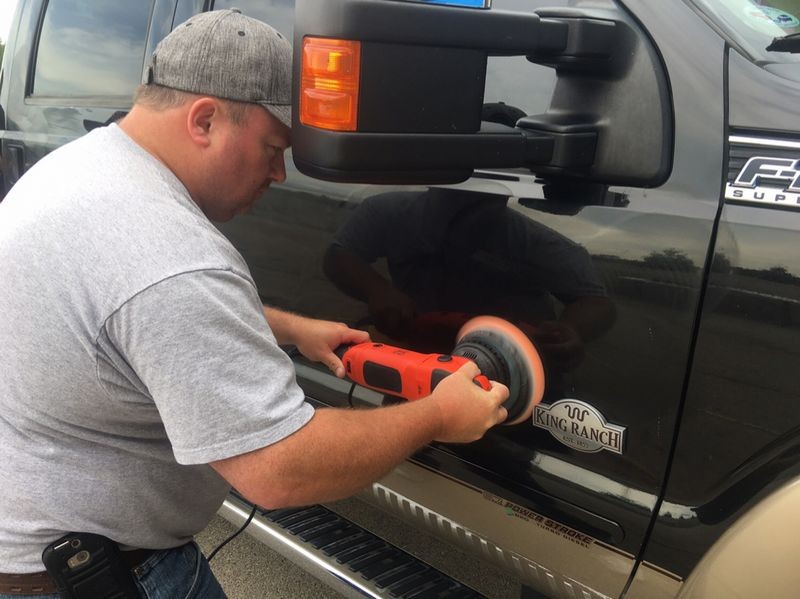
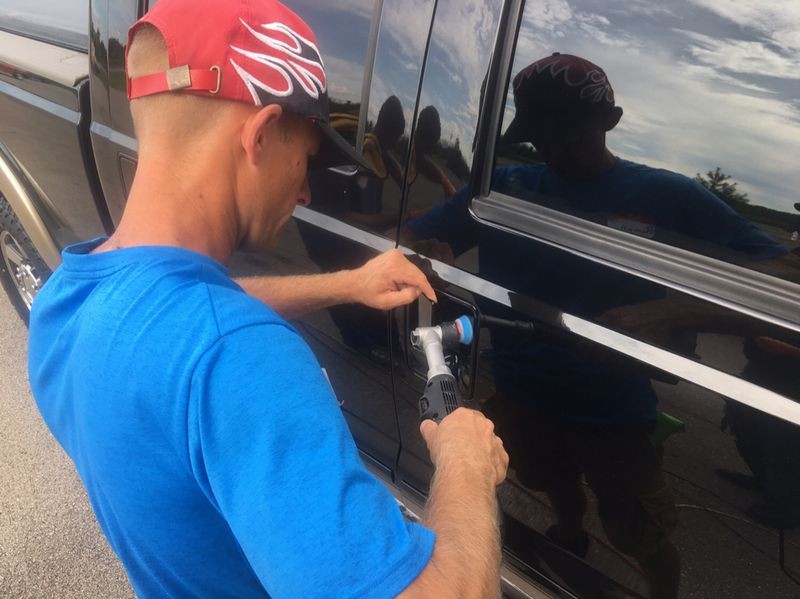
Daily Driver Detailing
Question: Why call it daily driver detailing?
Answer: Because doing multiple step detailing takes a LONG time, more pads, more products, more towels, more energy, more perspiration etc.
And if the car you're working on is in fact merely a mode of transportation or a grocery getter than outside of the owners passion for perfection, there's really no need or reason to invest tons of time into a car that is going to go right back to the normal type of wear-n-tear that puts swirls and scratches into the paint. It's a vicious cycle. Remove swirls, drive car, get swirls, back to removing swirls. Instead, just use a quality one-step cleaner/wax. With a quality one-step cleaner/wax you can get GREAT correction, excellent shine with good protection and be done with it.
I teach a lot more information about doing this type of work in the class than I'm going to share here for both professional detailers, (people that detail for money), and for enthusiasts that simply like to take care of their own car. You need to take a class to learn it all.
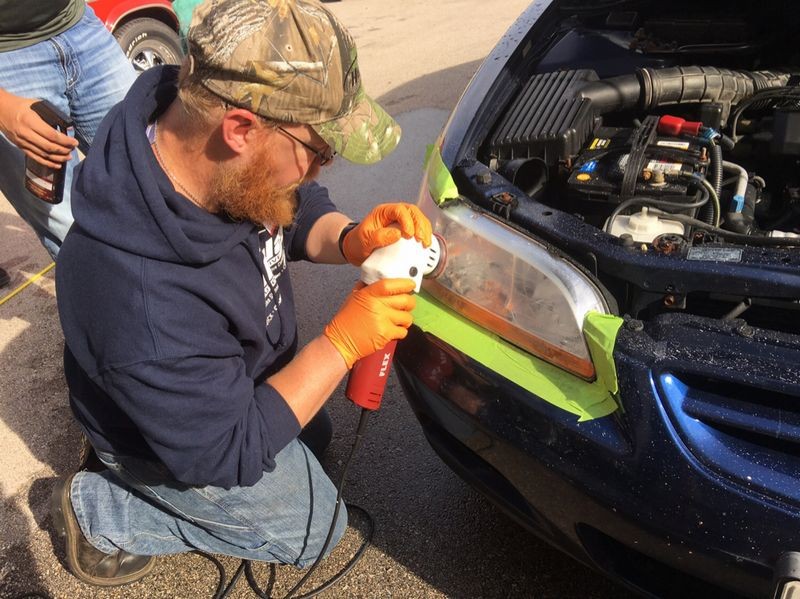
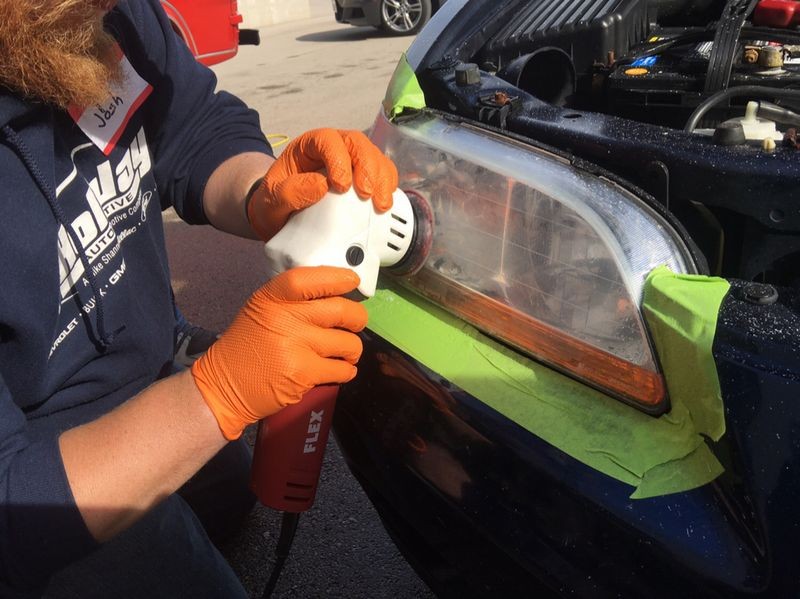
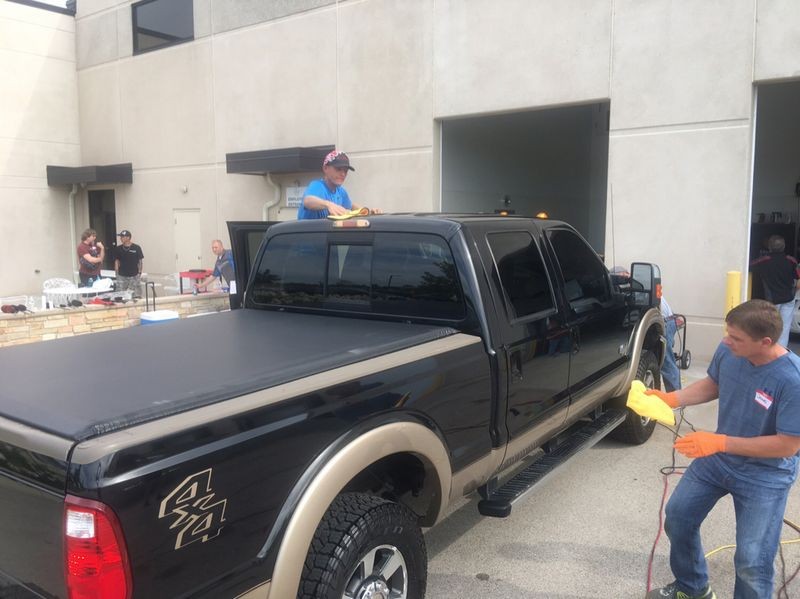
Here's how we start the class on doing daily driver detailing....
Do the messy steps first.
Yeah, that's right. Most people think you start by washing the car but they're wrong. That's working backwards in the process. I teach people to ALWAYS be working forwards in the process and that starts by doing the things that can and will get the car messy or dirty. Things like,
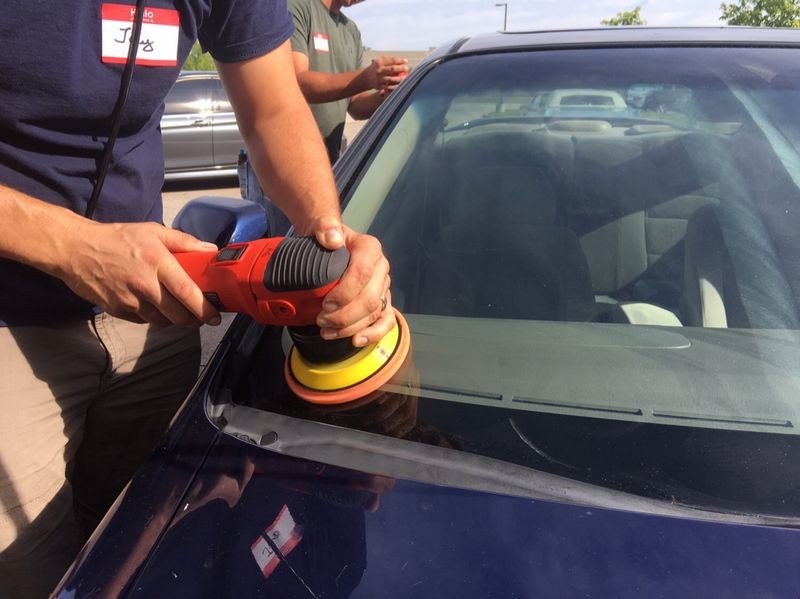
- Headlight correction
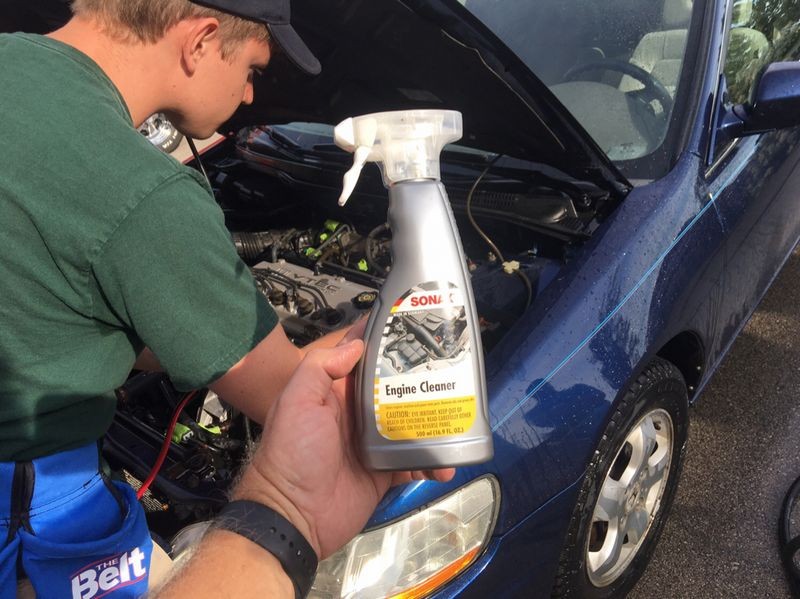
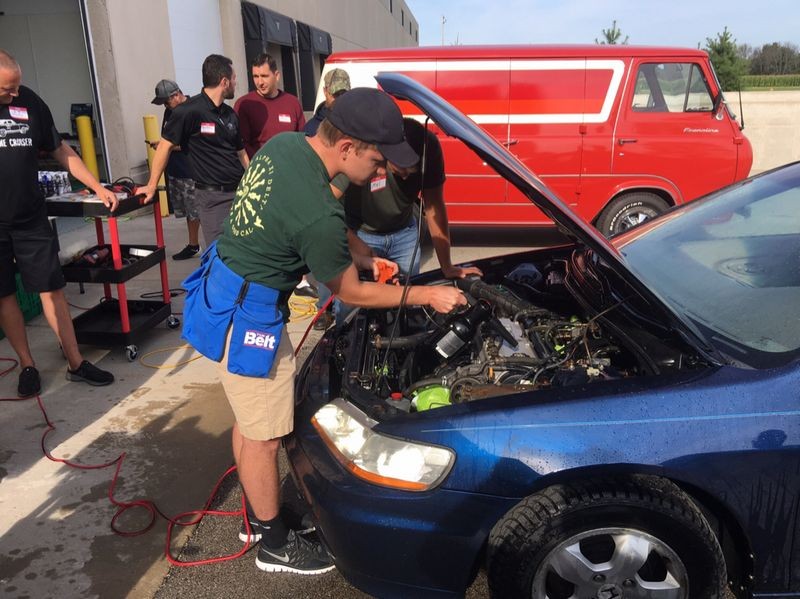
- Engine detailing
- Glass polishing
All three of the above can get product and chemical splatter on exterior body panel. So why wash the car first knowing you may have to wash it a second time due to the mess those three steps create? The answer is don't. Don't wash the car first. Do those three things first and then wash the car and when you wash a car, don't do it like all the big companies or big names tell you how to do it, do it the I do it. Do it the way I've always taught people to do it. Do it backward.
How to wash a car backwards
For as long as I can remember all the experts in the world tell you to,
Start at the top and work your way down
Wrongo buffalo breath. If you start at the top and work your way down the car will be all wet with rinse water which can and will cause water spots while you're washing 4 sets of wheel and tires. If you spend just 15 minutes on each wheel and tire to thoroughly wash and rinse each wheel and tire and that's average or fast for most people), that means the water standing on the car after the final rinse to remove car wash soap but before you start in on the wheels and tires will have been standing on, pooling and drying for 1 HOUR.
Starting at the top and working your way down is an ignorant way to wash a car unless you don't care about water spots in the paint and on the class. Some city water and well water is so polluted with corrosive substances that letting water drops dry on your car's finish can and will lead to a Type II Water Spot or more accurately named --> a crater etching. That's where the corrosive substances in the water actually EAT or ETCH a crate INTO the paint. Not on the paint but into the paint. And the ONLY way to remove a Type II water spot is to compound the car.
Guess what...
Car paint is thin... really thin.
Here's my article on that topic. Click the link and look at the pictures and then let it all sink in.
Clearcoats are thin by Mike Phillips
So starting at the top and working your way down is asking for trouble. And here's the good news... the order in which you wash your car is relative! It doesn't matter to the car if you start at the top or start at the bottom, the goal is to get the car clean without causing damage.
My way
Here's how I wash my own cars and teach others to wash their cars...
Step 1: If you're going to do any of the three messy steps listed above then do them first.
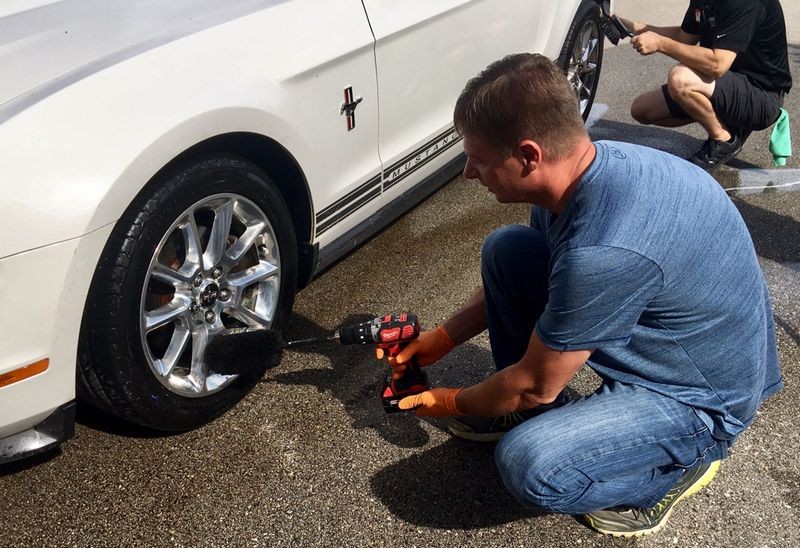
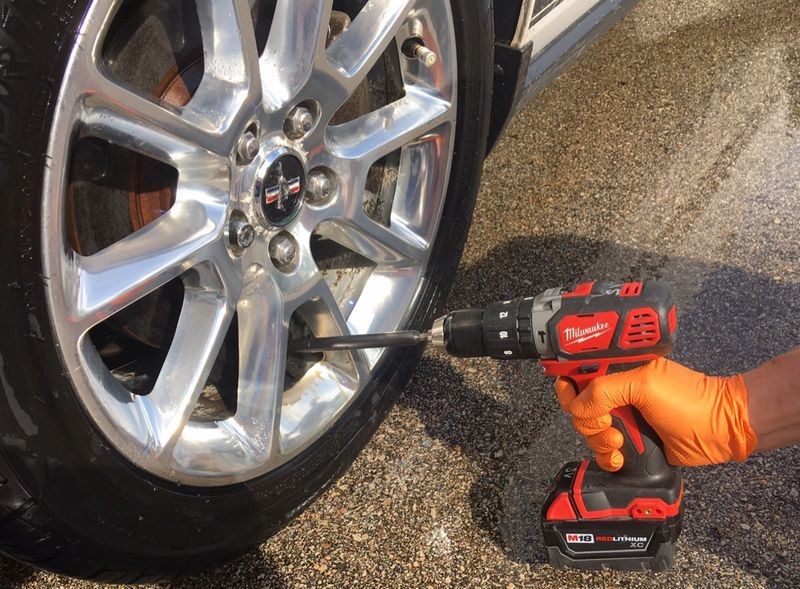
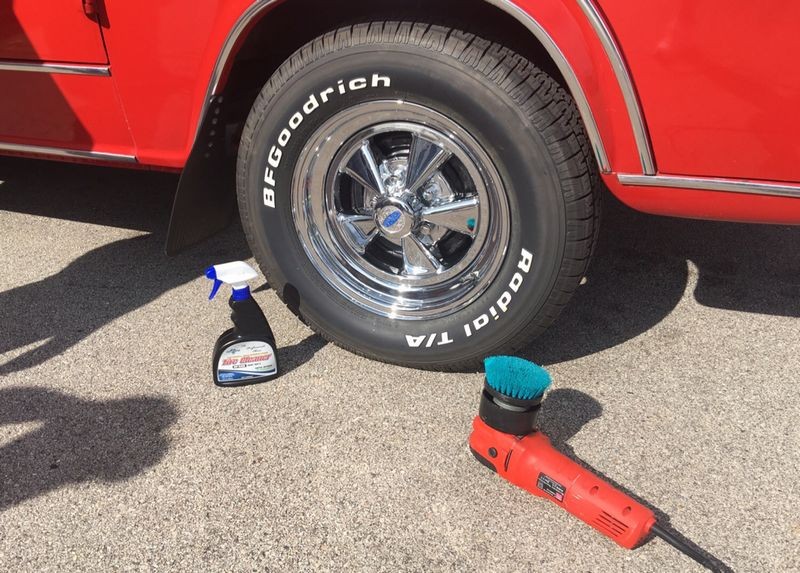
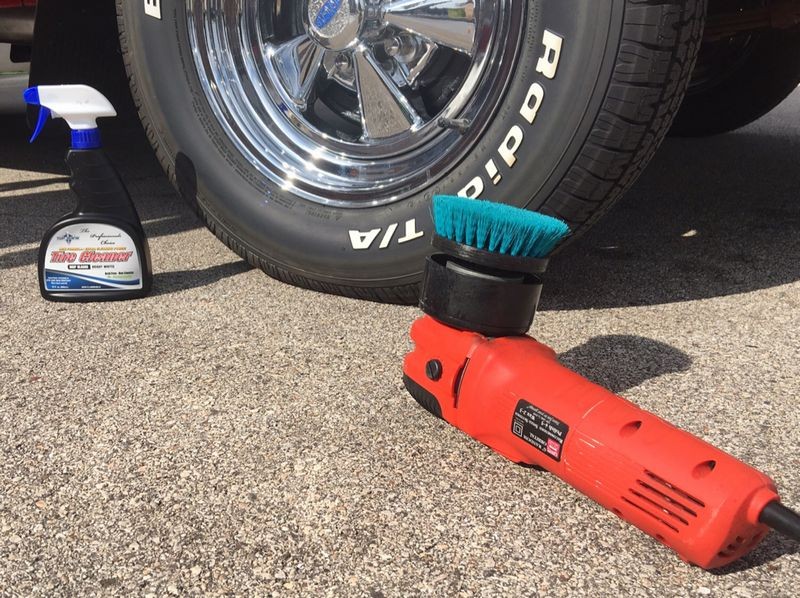
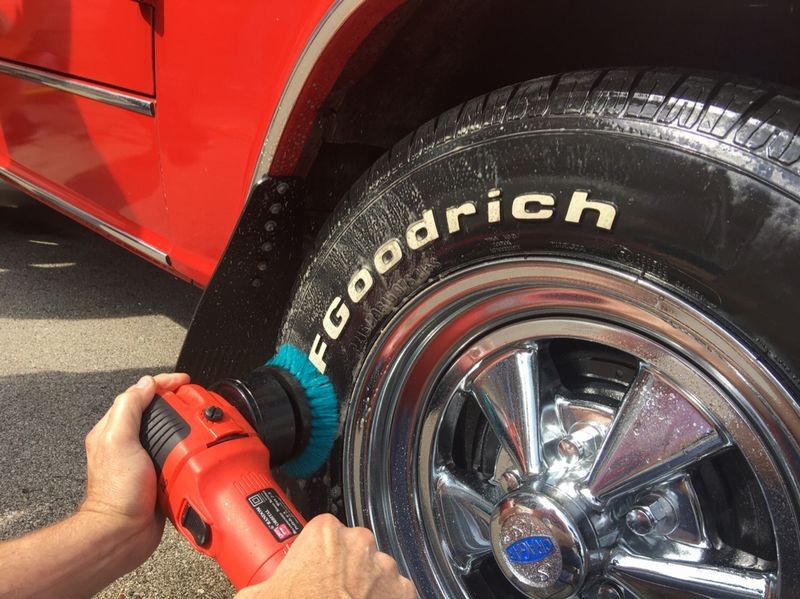
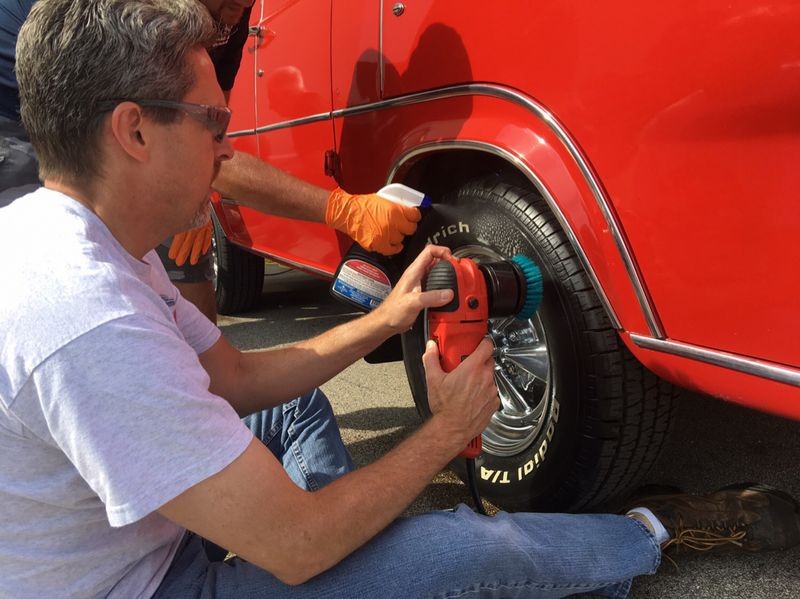
Step 2: Start with the wheels and tires first and then move to the top of the car and work you way down. When you wash a wheel and tire, start with the wheel first (wash it and rinse it), and then wash and rinse the tire. (there's a reason why)
Step 3: After the wheels and tires are washed and rinsed, NOT start at the top of the vehicle and work your way down.
There's actually a Step 4 for those that are completely bonkers OCD but that's another article.
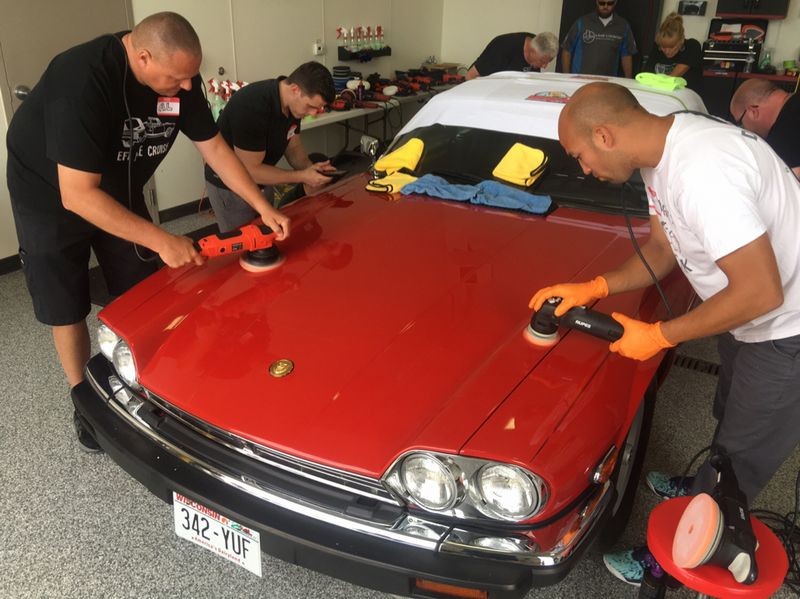
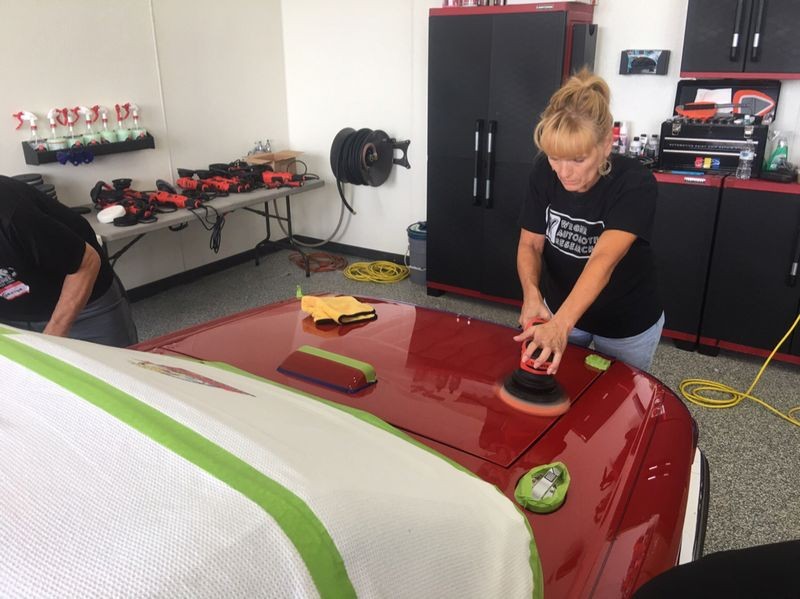
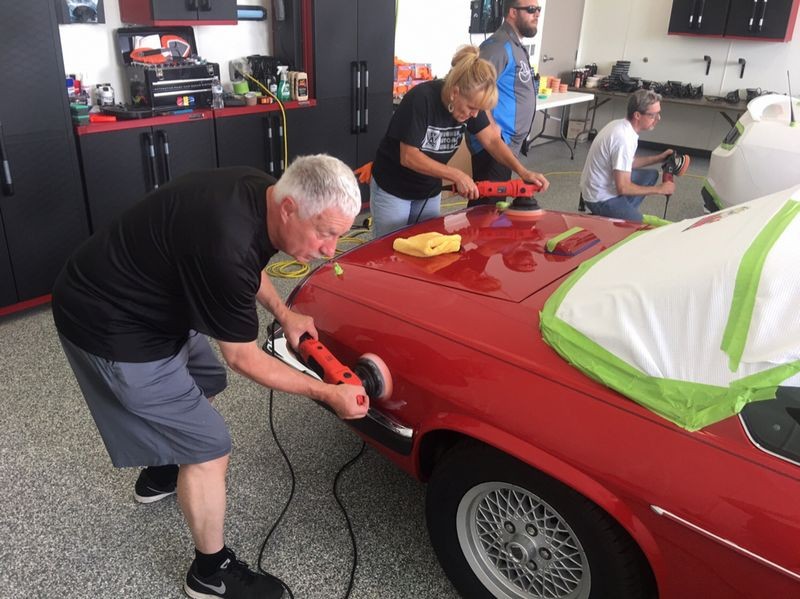
Now let me show you the class putting into action what I just described above...
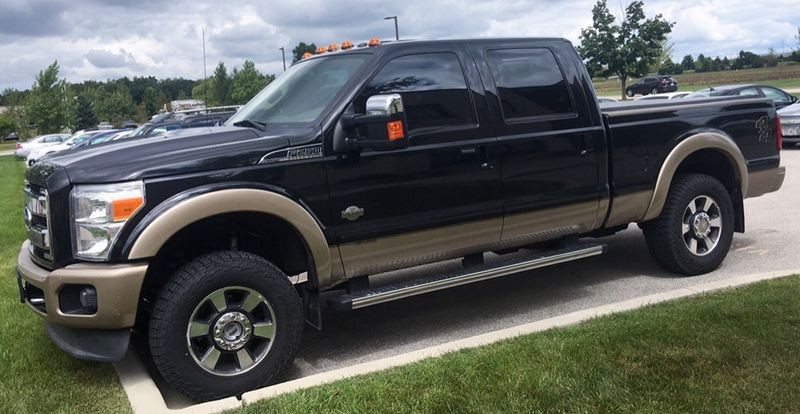
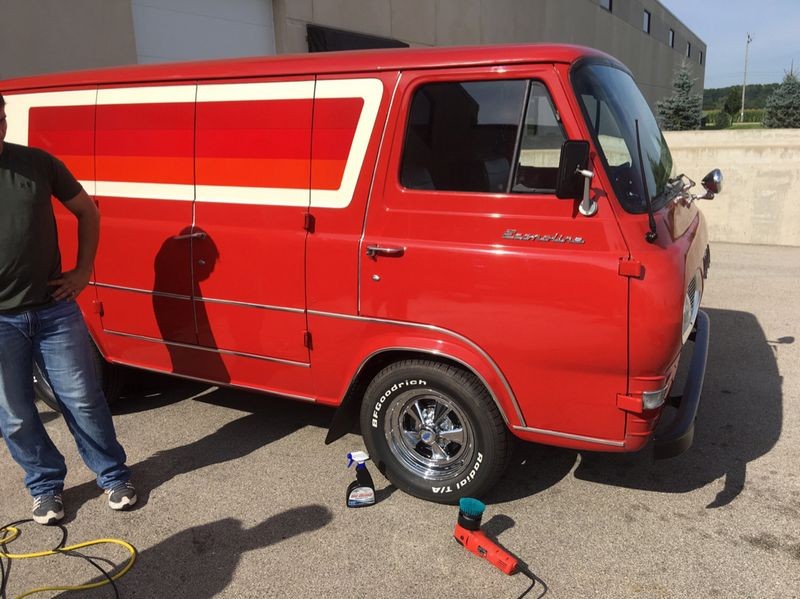
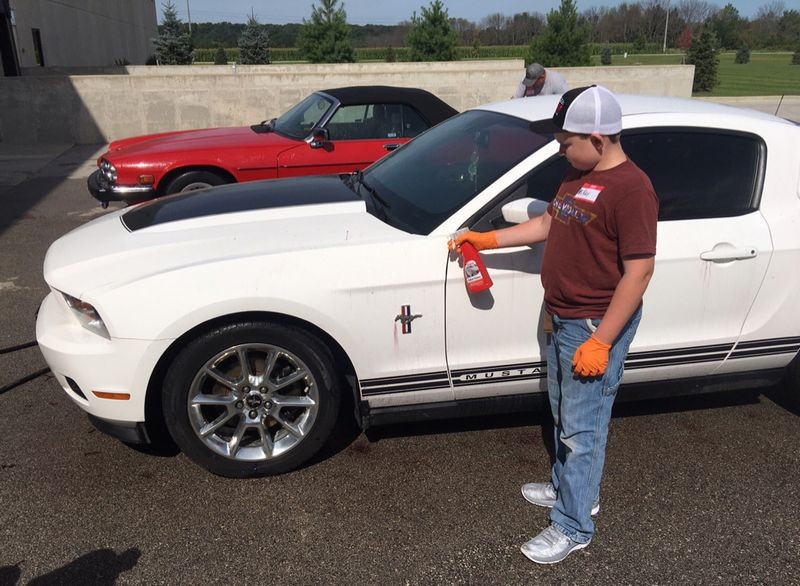
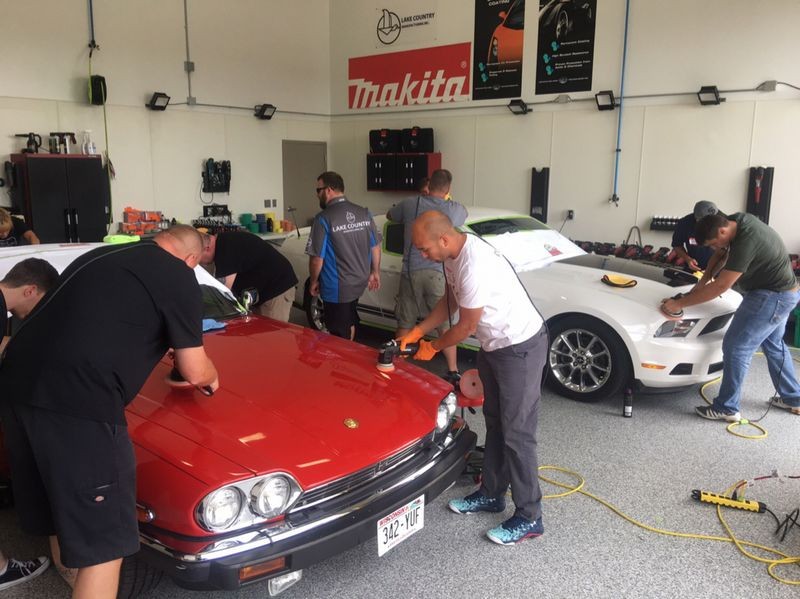
First - we need 3 daily drivers....
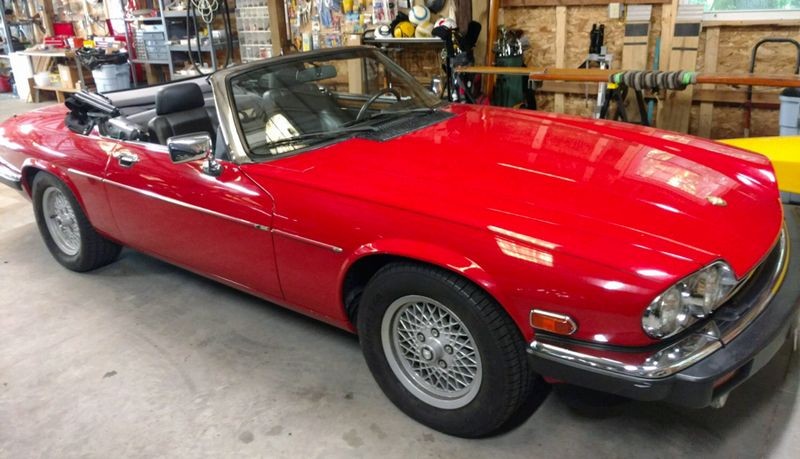
For this class I ended up with 2 daily drivers and one SIV
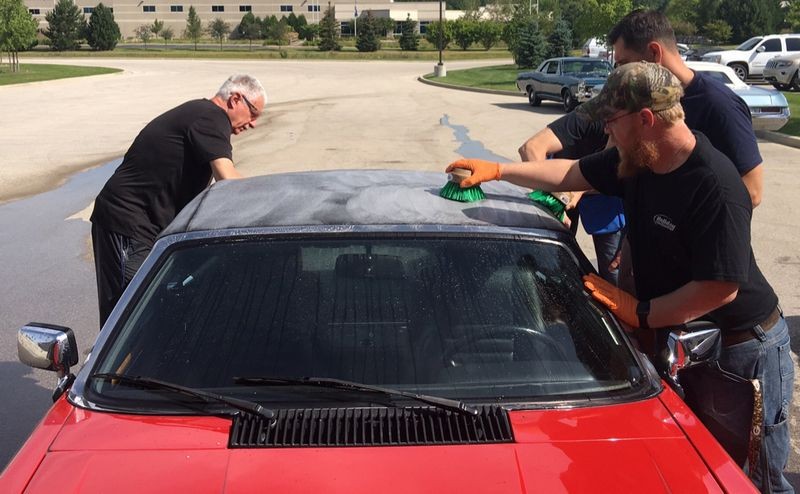
SIV = Special Interest Vehicle
I looked at the Jaguar as a BONUS for the class because it would let me how them how to do a great one-step to a SIV or "cool car" and also how to correctly wash a canvas convertible top.
Here's the two daily drivers....

Here's the SIV
-
Post Thanks / Like - 0 Thanks, 1 Likes, 0 Dislikes
-
-
Re: What it's like to attend an Autogeek Roadshow Detailing Class - Lots of pictures!
Continued...
My guess is moving into the future - other "new' detailing classes will at least in part be modeled after this class I'm share now.
Just a guess. Hard to know for sure as you can't find any threads like this one showing what a class looks like, the tools used the topics covered etc.
-
-
-
-
-
Similar Threads
-
By Mike Phillips in forum PICTURES: 3-Day CAR Detailing Bootcamp Classes
Replies: 30
Last Post: 08-12-2020, 08:19 PM
-
By Mike Phillips in forum 2-Day BOAT Detailing Classes - Info & Dates
Replies: 10
Last Post: 08-12-2020, 03:12 PM
-
By Mike Phillips in forum PICTURES: 2-Day BOAT Detailing Classes
Replies: 11
Last Post: 03-02-2020, 10:05 AM
-
By Mike Phillips in forum PICTURES: 3-Day CAR Detailing Bootcamp Classes
Replies: 10
Last Post: 03-28-2017, 09:20 AM
-
By Mike Phillips in forum PICTURES: 3-Day CAR Detailing Bootcamp Classes
Replies: 18
Last Post: 08-24-2015, 08:09 AM
 Members who have read this thread: 0
There are no members to list at the moment.
Posting Permissions
- You may not post new threads
- You may not post replies
- You may not post attachments
- You may not edit your posts
-
Forum Rules
|
| S |
M |
T |
W |
T |
F |
S |
| 26 | 27 | 28 | 29 | 30 | 31 |
1
|
|
2
|
3
|
4
|
5
|
6
|
7
|
8
|
|
9
|
10
|
11
|
12
|
13
|
14
|
15
|
|
16
|
17
|
18
|
19
|
20
|
21
|
22
|
|
23
|
24
|
25
|
26
|
27
|
28
|
29
|
|
30
| 1 | 2 | 3 | 4 | 5 | 6 |
|


 Likes:


 Reply With Quote


Bookmarks