 Thanks: 0
 Likes: 0
 Dislikes: 0
-
-
Re: Pictures and comments: Marine 31 Boat Detailing Class - February 6th, 2016
 Originally Posted by Mike.Phillips@Autogeek

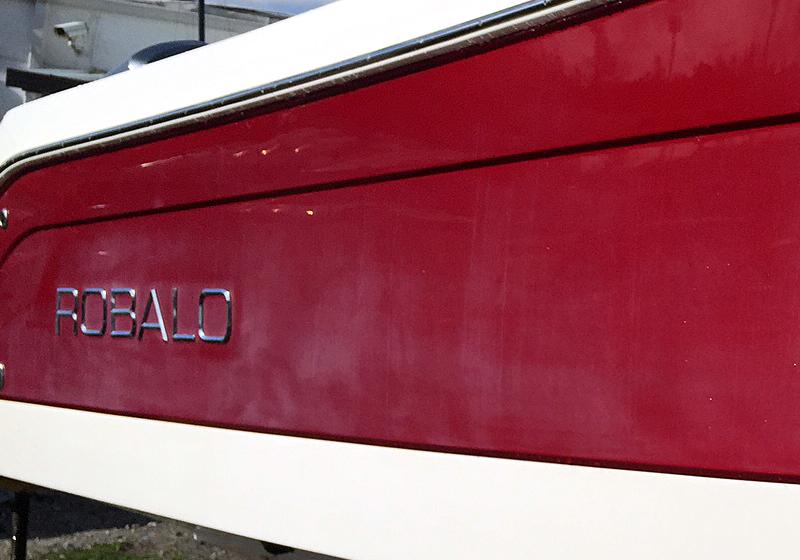
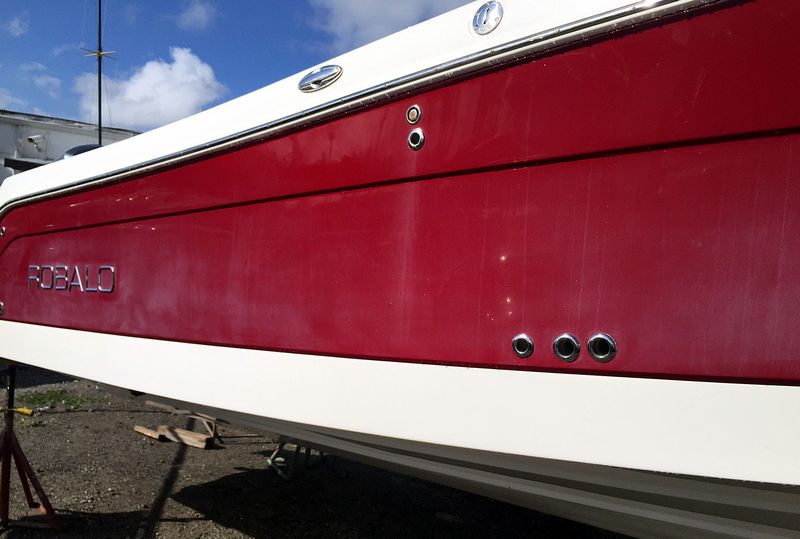
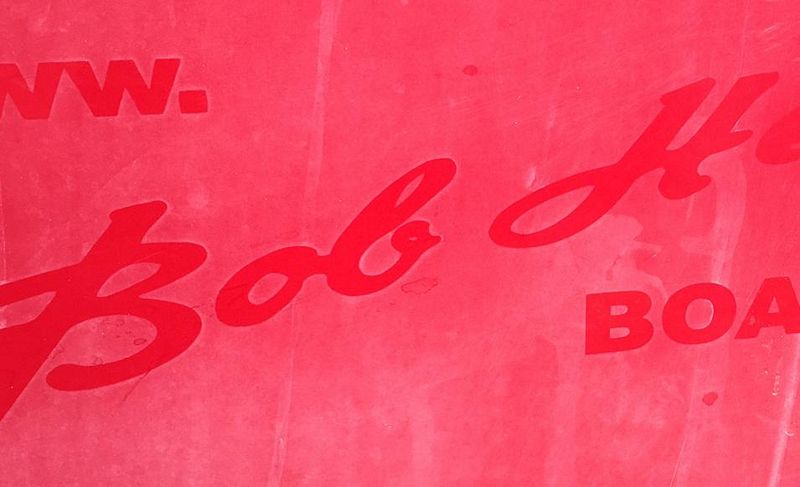
There used to be decals here, right? Certainly no one put red decals on red paint...can't wait to see the afters of this area!!!
-
-
Re: Pictures and comments: Marine 31 Boat Detailing Class - February 6th, 2016
Mike,
Are you going to post any more of the pictures from the class? Maybe I missed the thread but haven't seen any of the 1,000 pics that Andre took.
-
Regular Member

Re: Pictures and comments: Marine 31 Boat Detailing Class - February 6th, 2016
Hey Mike sorry to bug but was wondering if there were any updates on the pictures and maybe what was used? Summertime is approaching so want to make sure I have a game plan ha. As always thanks for your shared experiences and knowledge of the detailing game.
-
Re: Pictures and comments: Marine 31 Boat Detailing Class - February 6th, 2016
Continued....
Fully stocked
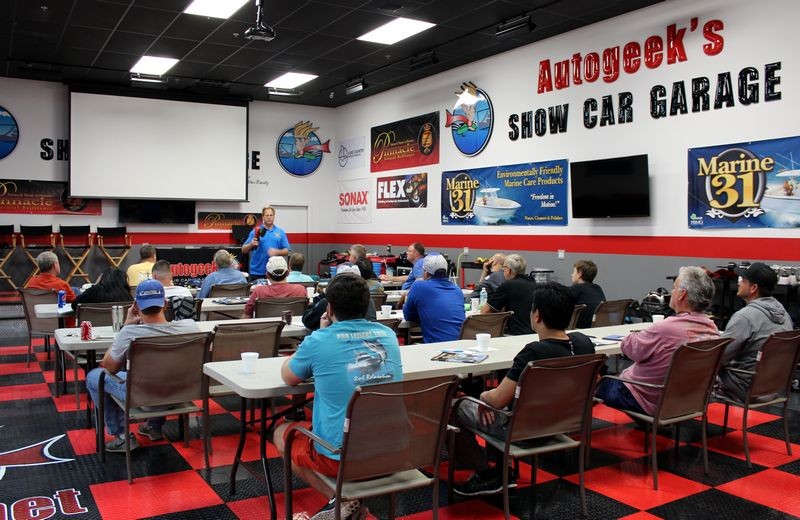
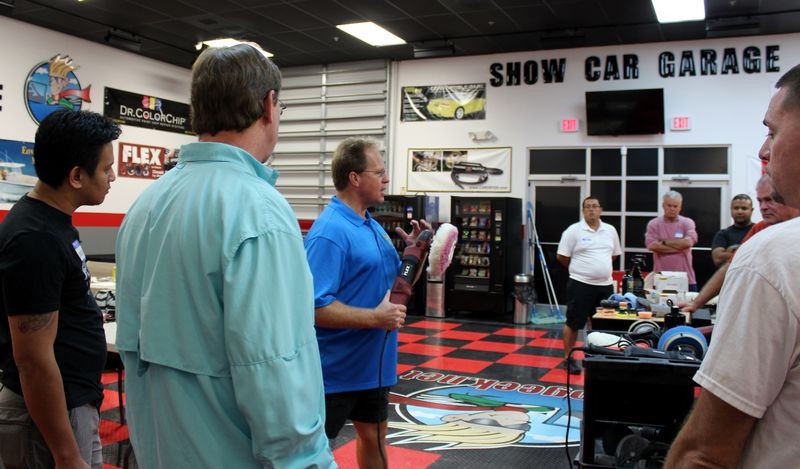
Here at Autogeek we have a fully stocked, ready to rock training center. Besides having ALL the coolest and newest tools, pads and product in the automotive and boat detailing industry we also have a spacious, well-lit training classroom with plenty of room for all the students to be comfortably seated and lots of elbow room for taking notes or simply having a place to set your cup of coffee.
Cool running
Our Training Center is also hyper air-conditioned. We can turn the temperature down to 68 degrees in the middle of a HOT South Florida summer and freeze meat. So rest assured, you're going to be comfortable as you're learning and working.
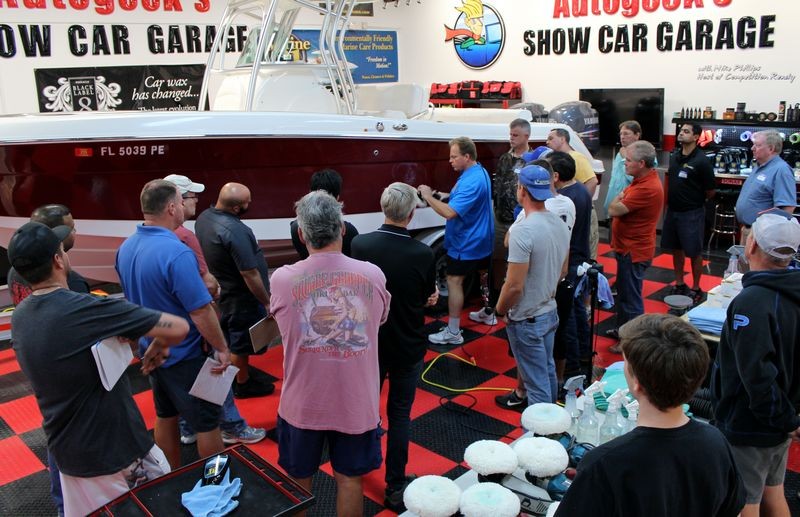
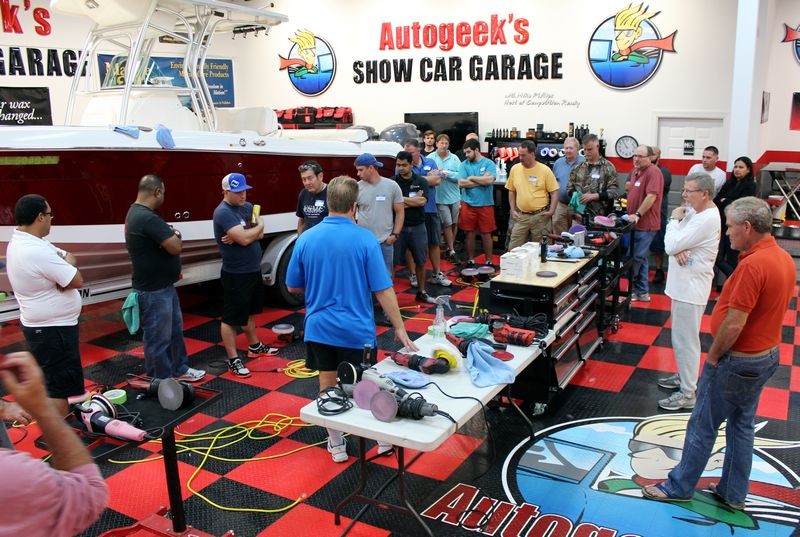
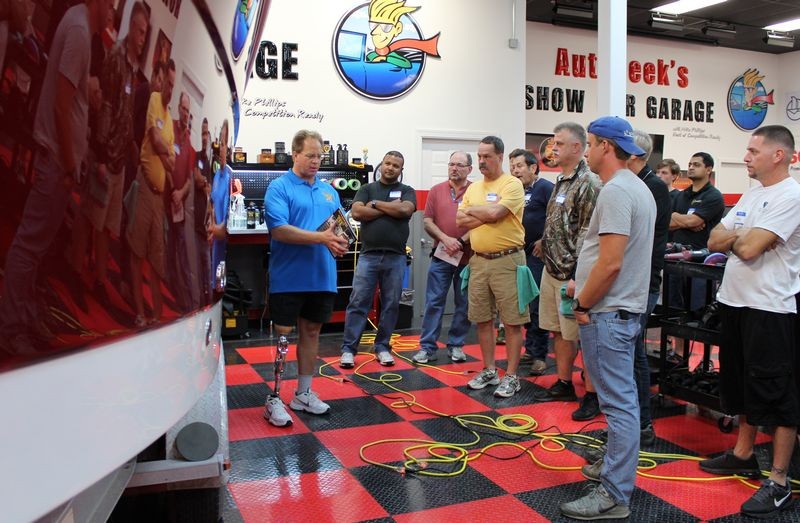
HANDS-ON
Look at the first picture below... see the people sitting in chairs? That's probably less than 10% of any class we hold here at Autogeek. By this I mean there's very little butt-time at any class I'm involved with as I know from years of experience teaching others the craft and art of detailing that people learn best by doing not sitting in a chair listening to someone drone on and on and on about how great they are or their products.
Powered-up!
Our Training Center isn't just a garage... it's purpose-built for training classes. What does this mean? Besides being air-conditioned and fully stocked, it's fully wired to handle having up to 30 buffers plugged-in and running under load at one time without blowing a breaker. Think about and let that sink in... this is what separates a pro-grade learning experience from the wannabes.
Comfortable training classroom
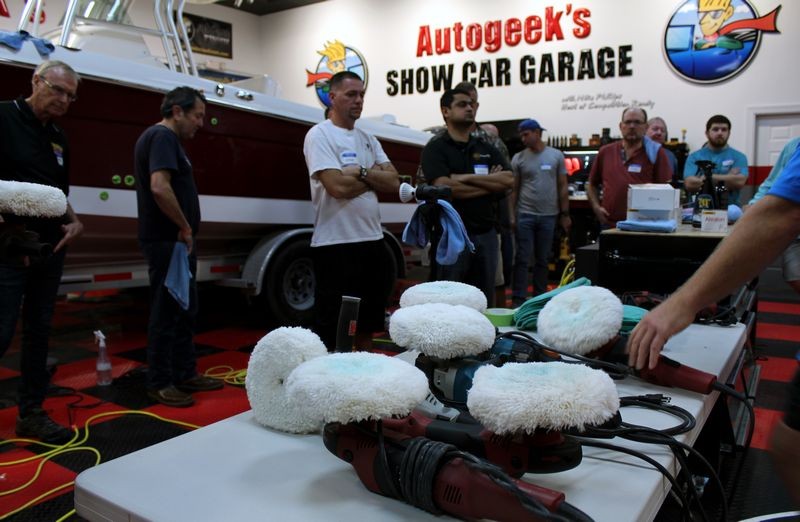
Tools, tools tools...
We have enough of every type of tool used in the industry for every student to have their own polisher and the power to back them up.

Wet sanding
At our classes we cover both hand sanding and machine sanding. You learn to work smarter instead of harder. Yeah I know that's a cute catch-phrase people throw around loosely but we walk the talk here at Autogeek's Show Car Garage.
Hand sanding
Hand sanding is an important skill to have under your belt because there are times and areas where it can be difficult if not impossible to machine sand. Hand sanding requires more skill than machine sanding as you're using the human hand to do the work and besides the human hand you're also power it up with both your muscles and your brain. This is why head knowledge is just as important if not more important than muscle power when it comes to hand sanding.


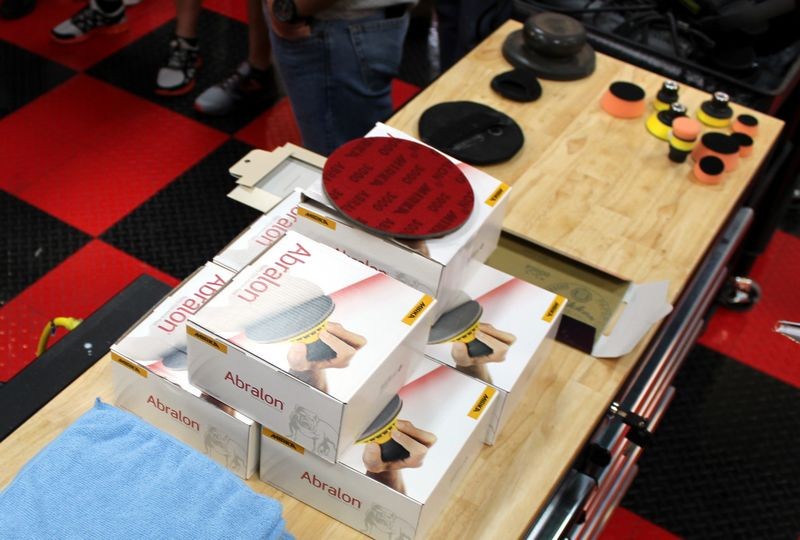
Nikken Finishing Papers
When it comes to hand sanding, one way to work smarter instead of harder stars with abrasive technology. Nikken is an electronics grade finishing paper not a basic wet/dry sanding paper. There's a difference and in the class I explain the difference and even demonstrate the difference.

Using your brain not your brawn....
How about not having to grip a sanding block when hand sanding to remove severe oxidation? I'll show you how in our boat detailing class.

Machine sanding
Gel-coats oxidize easy. Running a rotary buffer and pushing hard for hours is hard. Hard on you and hard on the buffer. I'll show you how to minimize the hardest part of gel-coat restoration by working smarter instead of harder. Plus you'll get better results that last longer.


The BEAST!
The FLEX 3401 is the only gear-driven orbital polisher on the market that's worth it's weight in gold. I nicknamed this tool the BEAST when I wrote my FLEX how-to book for car detailing. In our boat detailing classes I show you how to turn the FLEX 3401 into a BEAST of a machine sander that dramatically reduces the time it takes to remove severe oxidation.
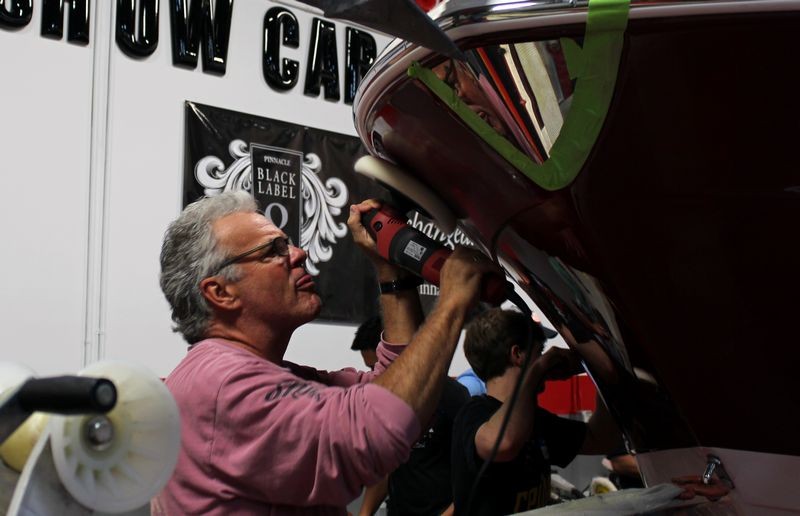
The way of the rotary buffer
The rotary buffer is the most difficult tool to learn how to use and master. That's two things, (use and master). I've been using and teaching others how to correctly use a rotary buffer as long and in most cases longer than anyone still breathing today. I'll show you how to use your body to run the buffer instead of your arms which means you'll save energy and this is important as in most cases, most of you will be buffing out a neglected boat by yourself or with only one or two others helping out. And while I have DeWALT, Makita and 3M brand rotary buffers in the classroom, the tool that gets grabbed first is the [b]FLEX PE14 Rotary Polisher.

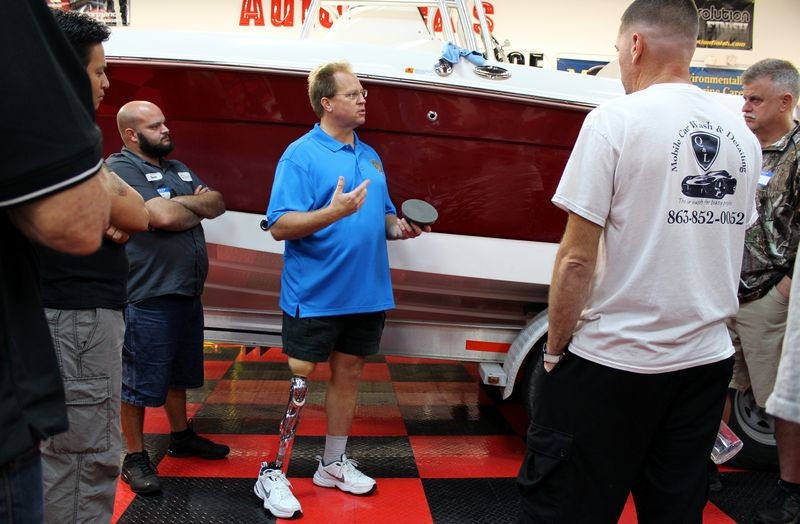
A Show Boat Finish
While most people simply want to remove the oxidation and slap on a coat of wax, I'll show you how to use the RUPES BigFoot 21mm Orbital Polisher to maximize the gloss and clarity of a gel-coat finish for show car or rather show boat results.
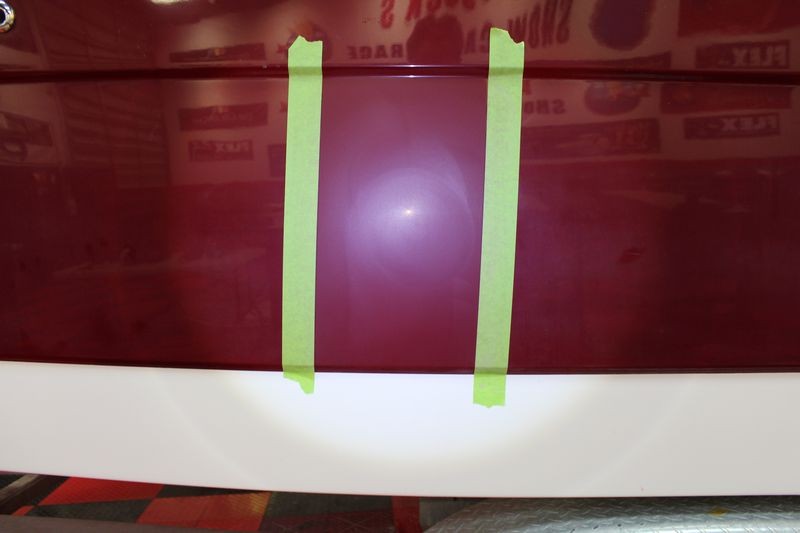
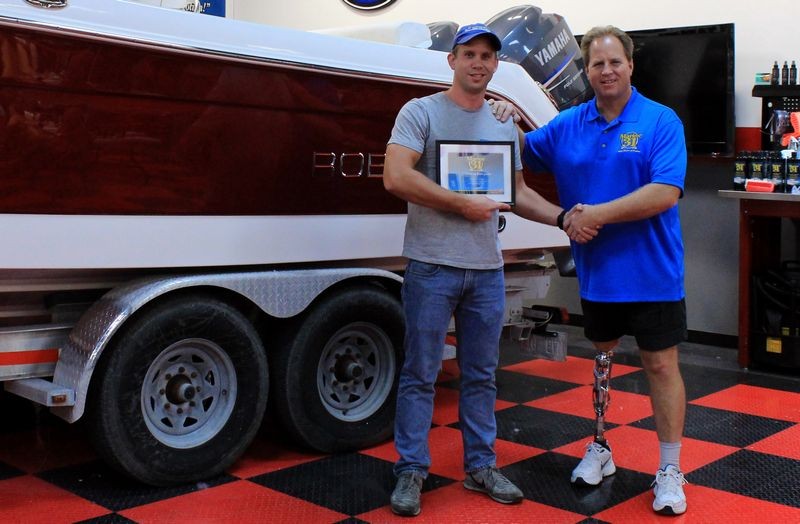
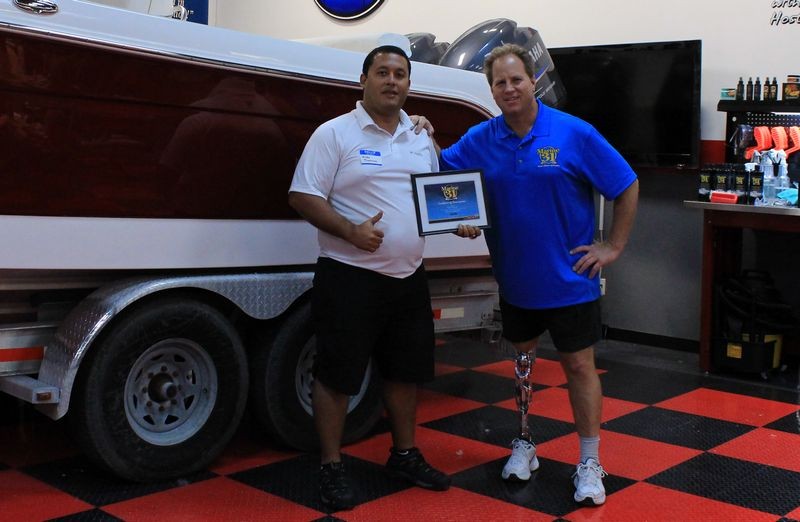
Don't take my word for it... take his word for it... Mike was right...

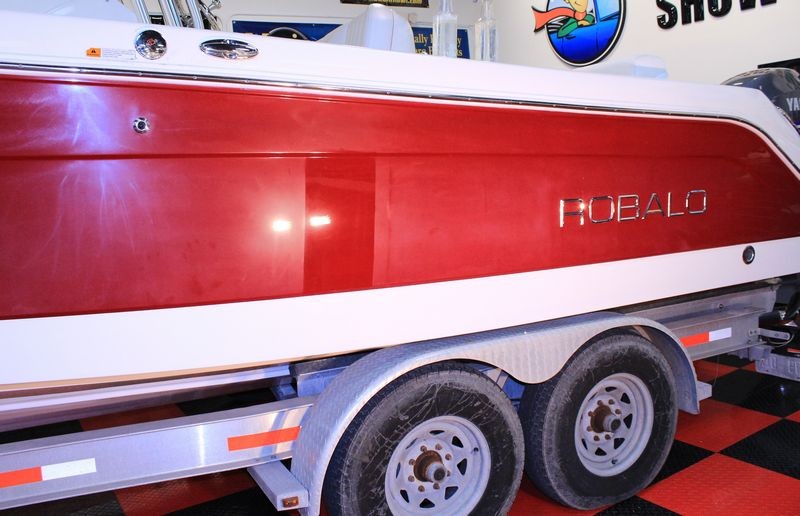
The results you see below were created ONLY after three steps....
- Sanding
- Compounding
- Polishing
No wax, sealant or coating has been applied. The process I just demonstrated to the side of this boat is what this class is now going to duplicate to the rest of the boat.

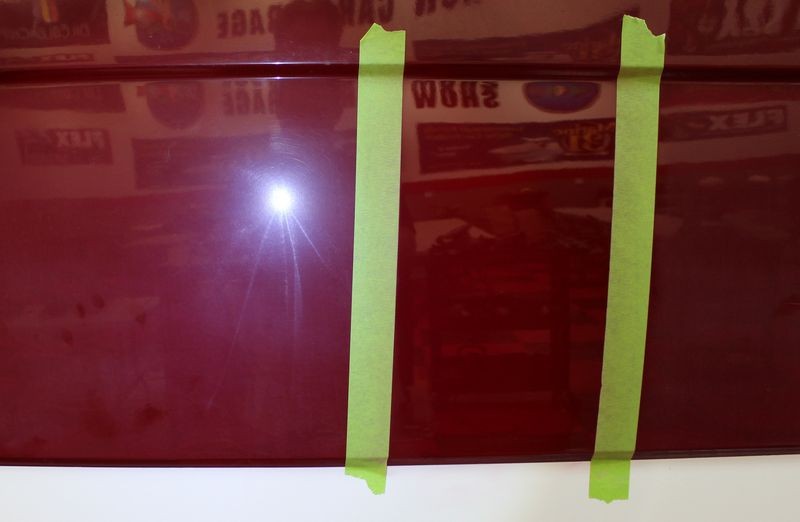
Remember, here's where we started...
Abrasive Technology - The most important factor
In my opinion and my experience, the most important factor when it comes to getting consistent, professional results the first time and every time starts with using products that use great abrasive technology.
We used the Captain's One-Step Compound & Polish for both the compounding step with the rotary buffer and wool pads and the polishing step with orbital polishers and foam pads. One product that consistently produces professional results.

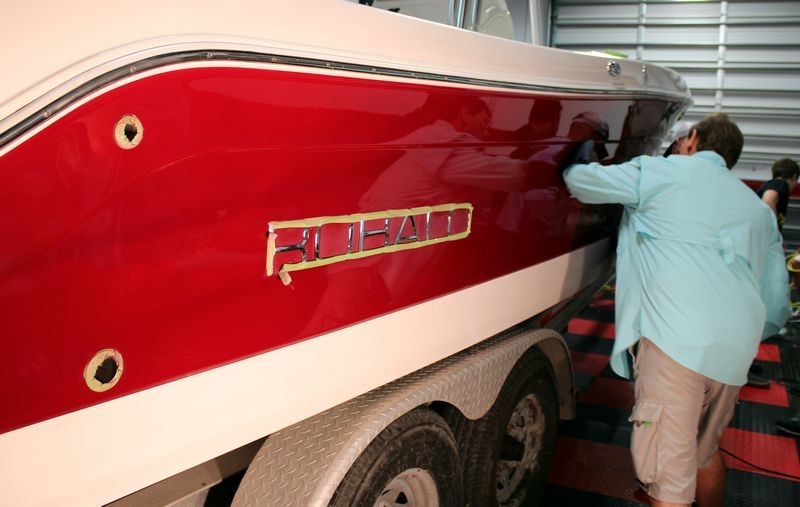
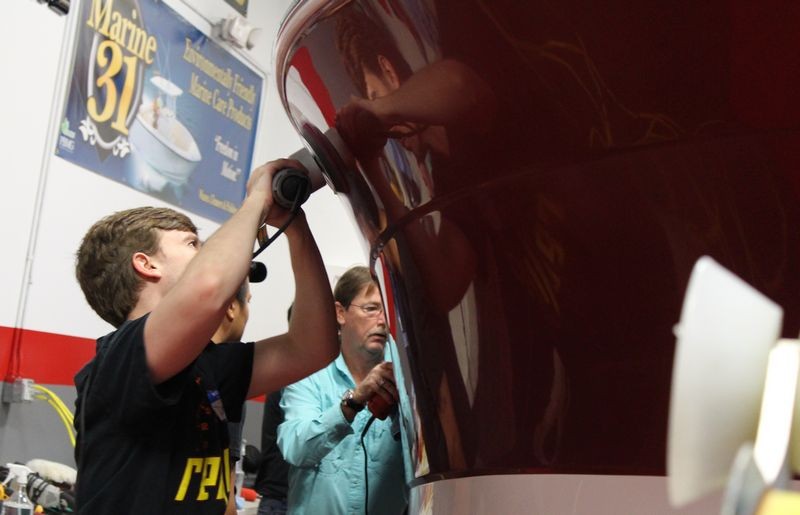
Major on the minors
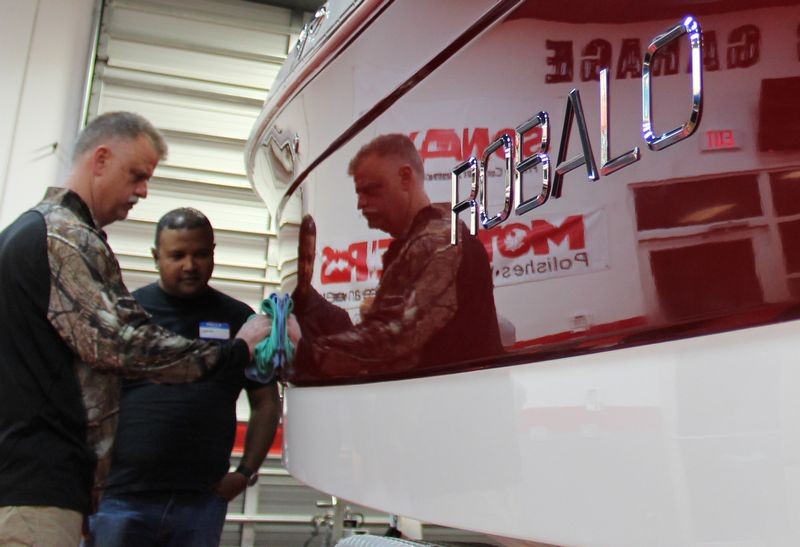
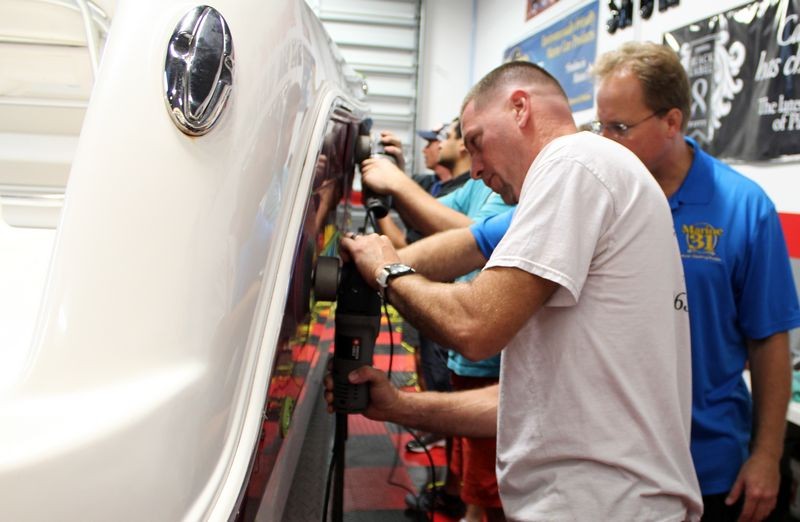
Besides going over the entire process from start to finish on how to restore a severely neglected gel-coat hull, we also go over important steps like protecting emblems and trim components.


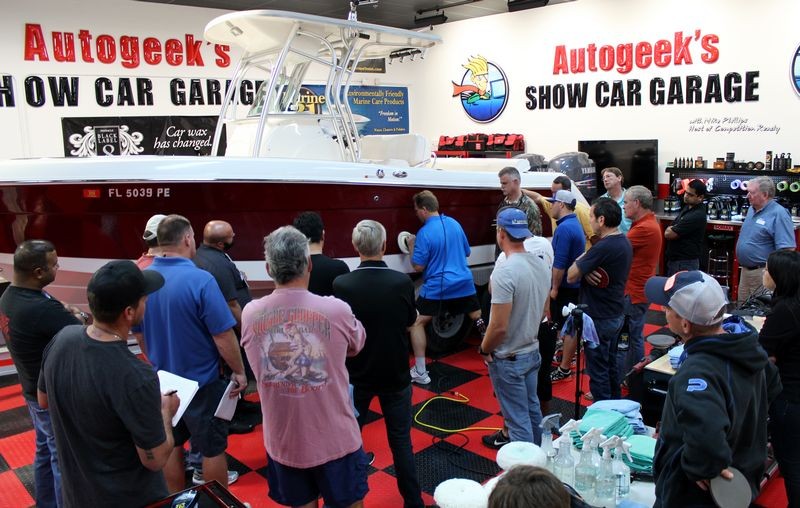
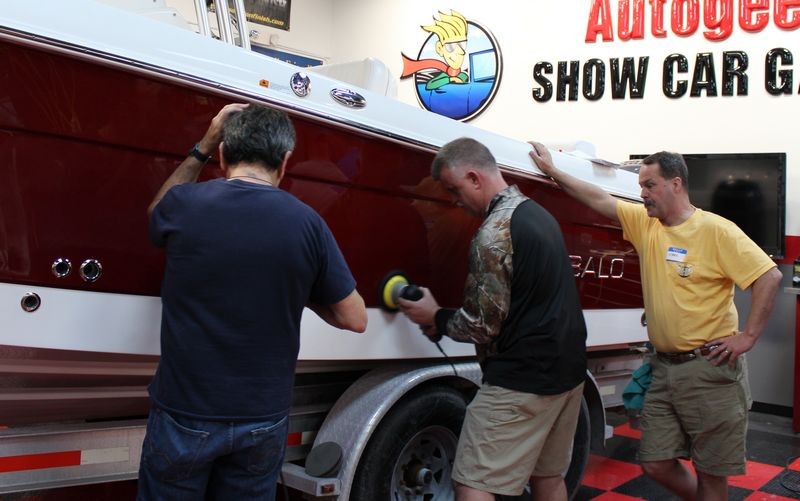
Next up... the class takes over and get to work
As they get busy I walk around and work with each guy individually, watching their technique and if and when needed offering suggestions for improvements. I tweak their technique to help turn them into a seasoned professional at our classes instead of them spending years making all the common mistakes most people make without attending our class.

-
-
Re: Pictures and comments: Marine 31 Boat Detailing Class - February 6th, 2016
Continued...
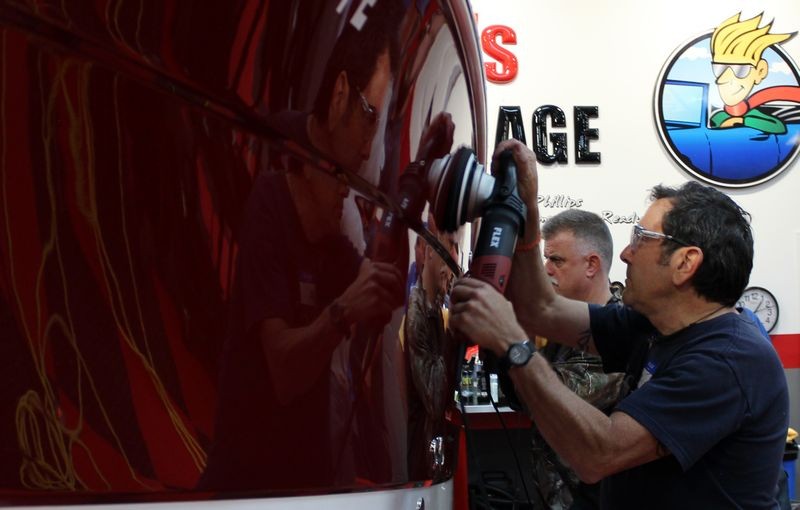
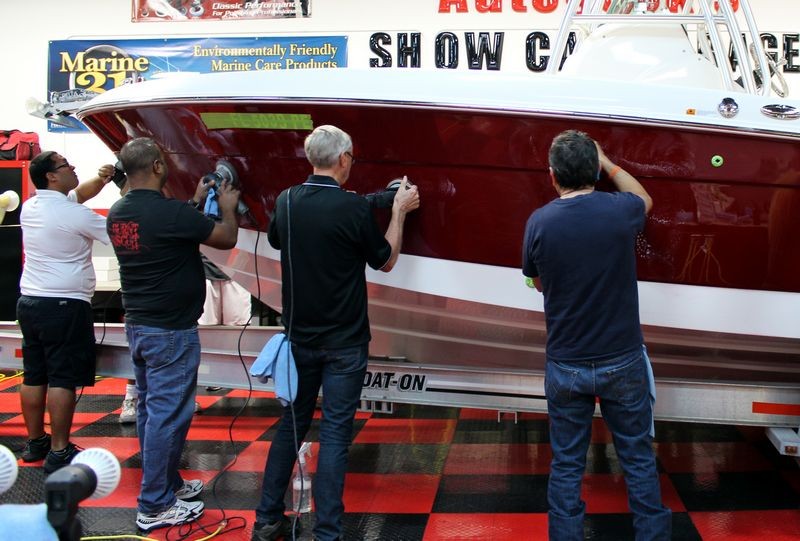
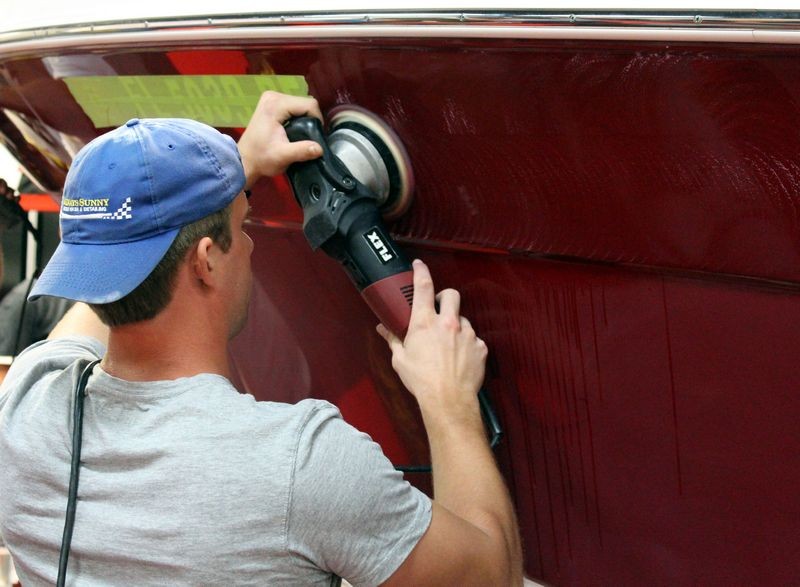
After all the machine sanding is completed it's time to remove the sanding marks. First there's a demonstration on all the important techniques for using a rotary buffer correctly and then the class is turned loose. As they are buffing I'll be walking around watching and when needed, offering suggestions or tweaking technique.


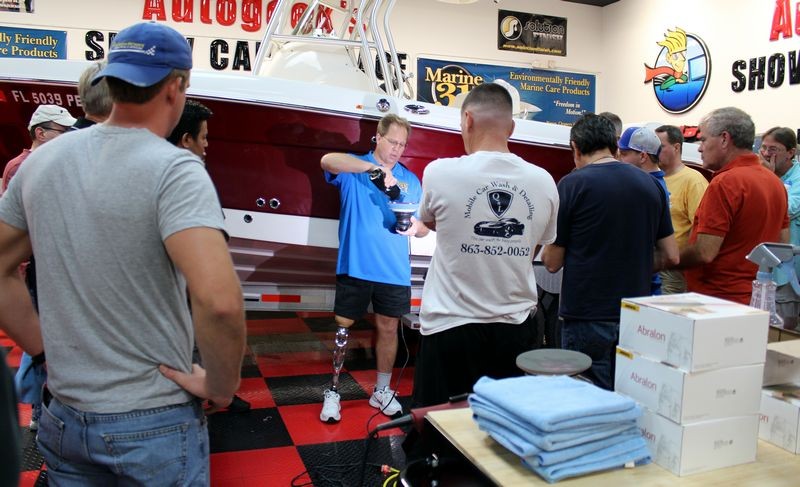
Working clean
Anytime you're doing an aggressive compounding step to gel-coat you're going to get 2 things building up on the face of your pad,
1: Spent product - Like the name implies, this is the compound that is spent or used-up. After buffing it the chemical make-up of the product changes to a residue that will build up on the surface of the hull and the face of the pad.
2: Removed gel-coat - Like the name implies, because you're abrading the hull you're going to remove particles of gel-coat or pigmented polyester resin. This residue will build up on the hull and on the face of the pad.
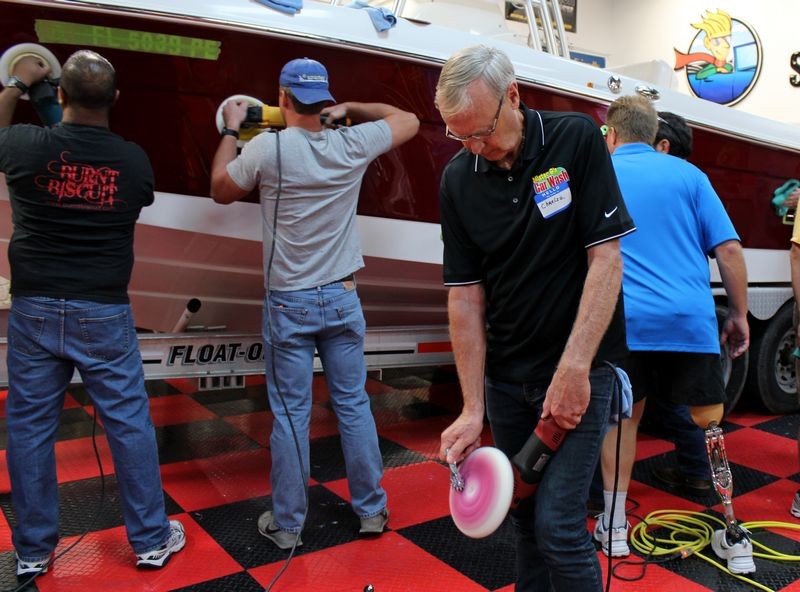
It's important to clean you pads often when compounding gel-coats boats with wool pads, aggressive compounds and rotary buffers. To clean you pads you use a steel pad cleaning spur like you see being used below.

You can find my article on working clean and residue control written in September of 2010, years before anyone else touched the topic in the link below,
Why it's important to clean your pads often...
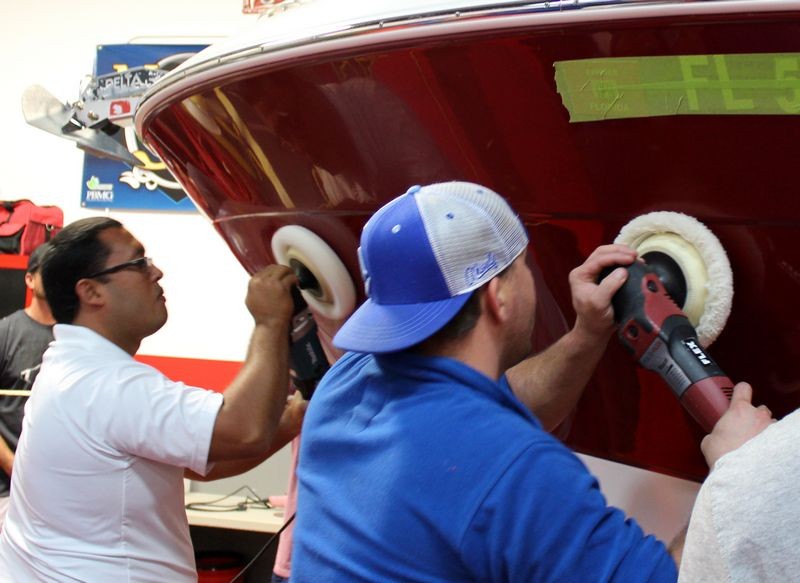
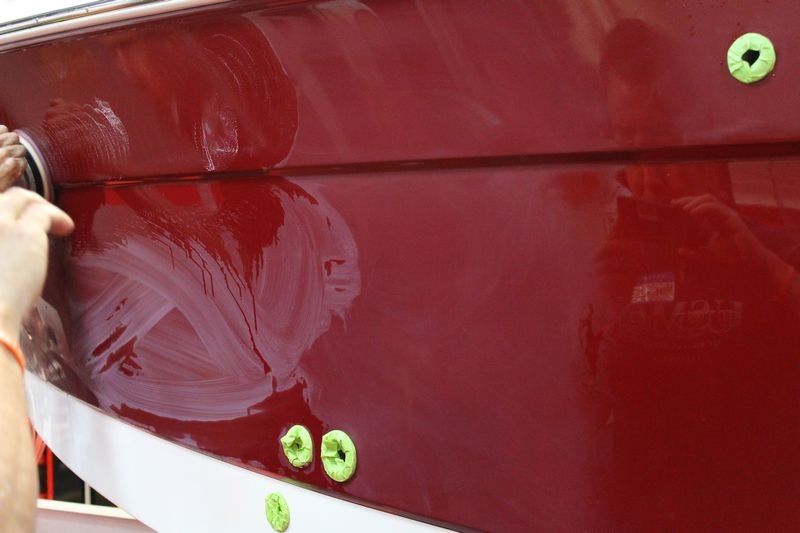
Products used for the compounding step
Here's what we used, Marine 31 Captain's One-Step Compound & Polish with a FLEX PE14 and a Lake Country wool 7.5" cutting pad. FLEX recommend no larger than an 8" pad be used on the FLEX PE14 to avoid overheating the motor but the good news is now days there's a lot of small wool pad options. Back in the old day all we had were 10", 11" and I believe there may have even been 12" pads and these would physically wear you out and the only reason guys used them was because that's all they had in the old days.

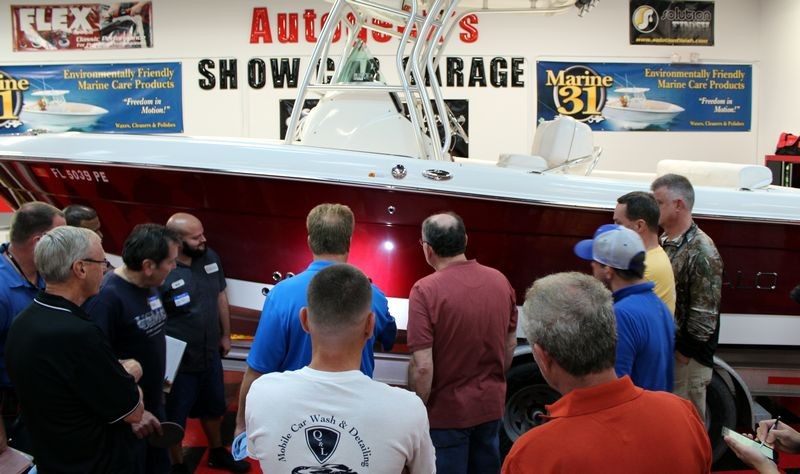
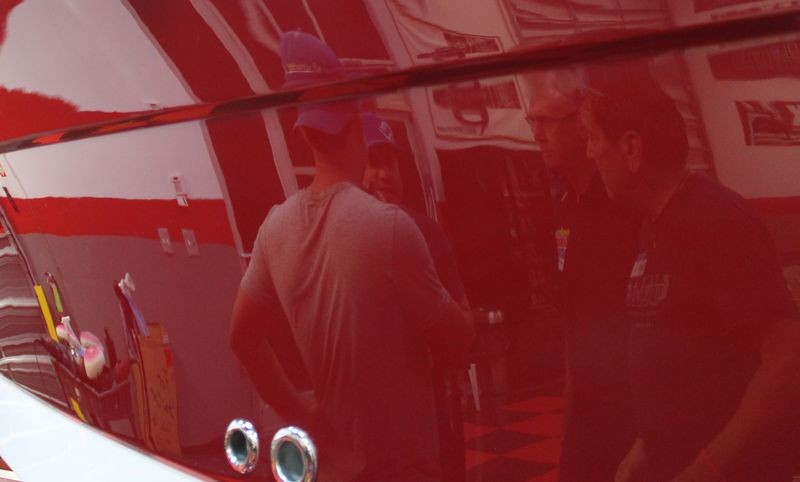
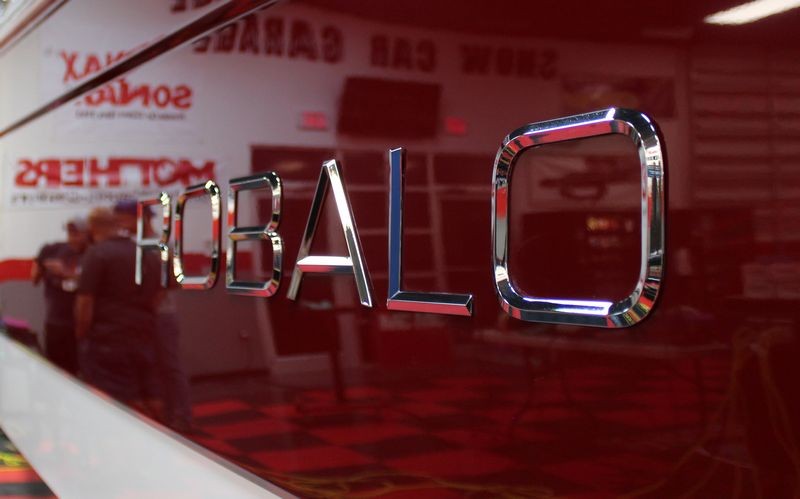
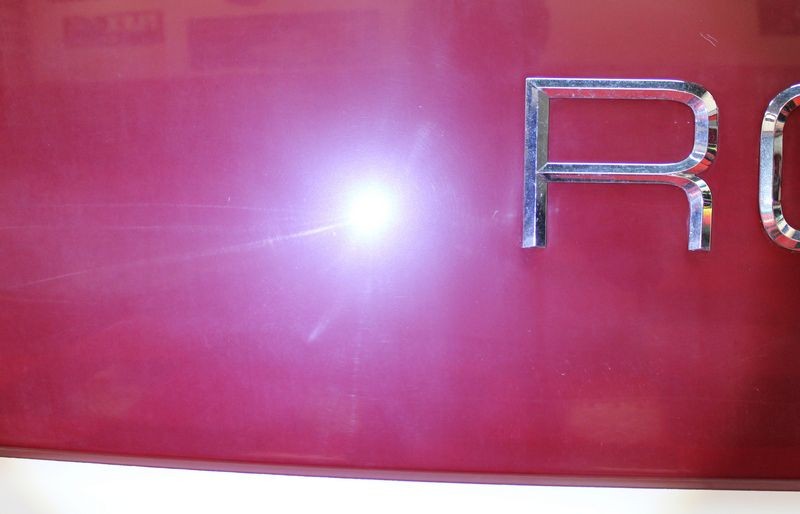
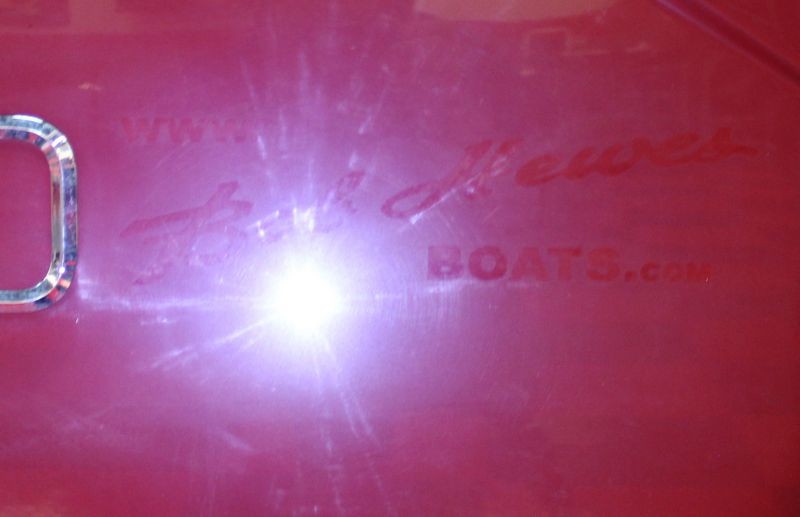
As the sanding marks are removed and the residue is removed the clarity can be seen via the reflections in the gel-coat and this is just the first step after sanding.


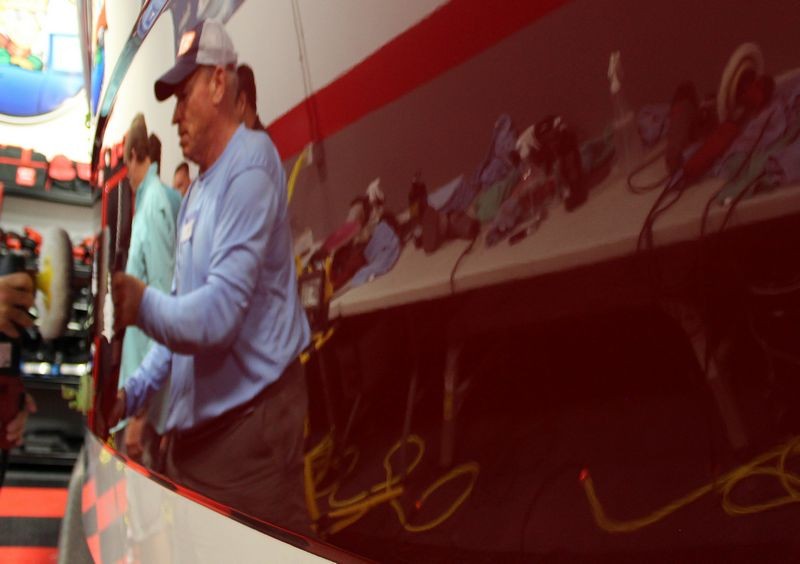
That's how you do it.
-
Re: Pictures and comments: Marine 31 Boat Detailing Class - February 6th, 2016
Continued....
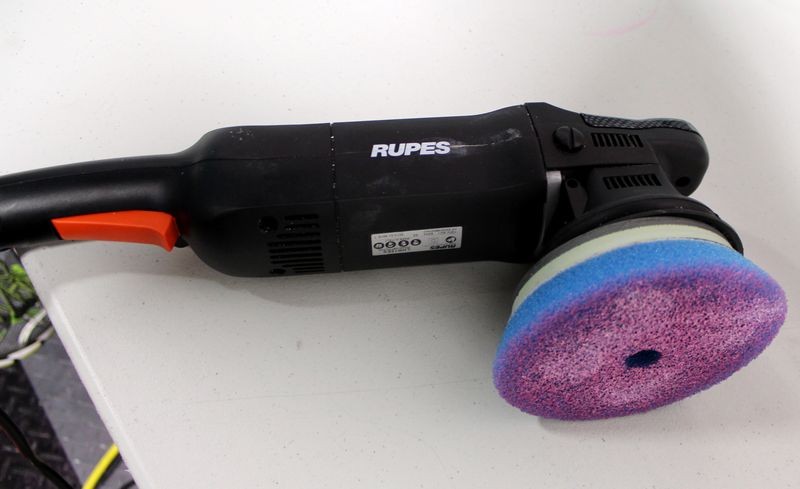
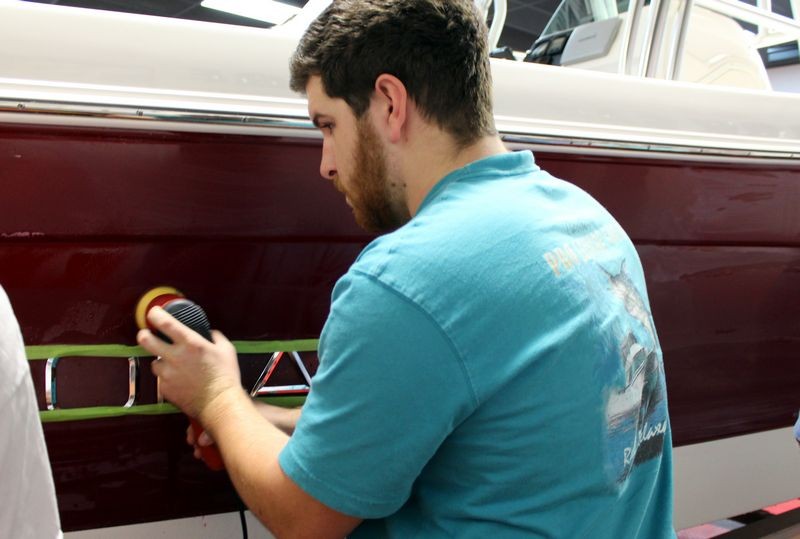
Next up... machine polishing
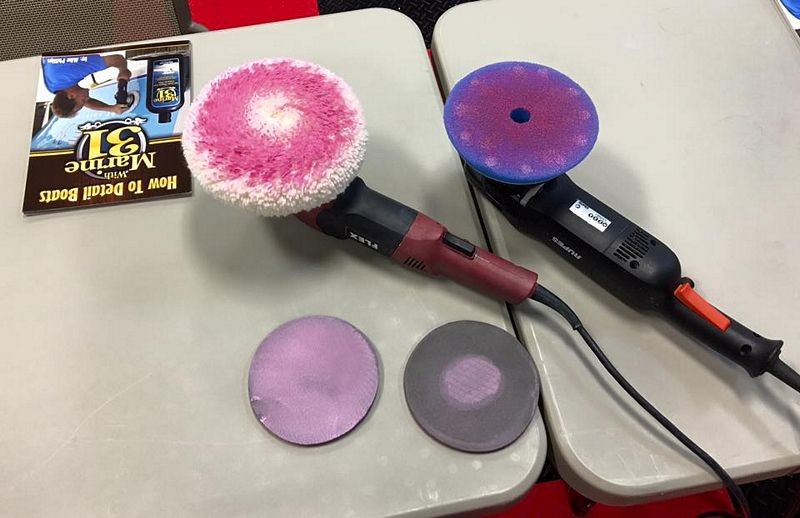
After the compounding step, the next procedure is to take the results achieved by the compounding step to a higher standard. For this we're going to use the same product, that is the Marine 31 Captain's One-Step Compound & Polish only we're going to switch over to the RUPES BigFoot 21mm long stroke orbital polisher and the RUPES course blue foam cutting pad.
Foam cutting pad for polishing to a high gloss?
Yes that's correct.
Until you've taken our class and seen this first hand or take what you've learned from this thread or what I share in my boat detailing how-to book it can be hard to believe that you actually get show car, or rather show boat results by using a foam cutting pad instead of what the normal practice would be and that is to switch over to a soft, gushy foam polishing pad.
As I state in my how-to book, I don't know the specific reason why gel-coat finishes, that is pigmented polyester resin doesn't like soft foam pads for polishing all I know is it doesn't. Gel-coats like a firm hard pad for both cutting and polishing. We switch over to foam because it is the nature of foam to remove the risk of hologram scratches. Unlike a wool cutting pad made up of millions of individual fibers, with each one of these fibers able to CUT into the gel-coat and leave a scratch, a flat foam pad has a uniform surface texture, the opposite of millions of individual fibers and it is this characteristic about foam that makes it better for finishing out hologram-free over even a soft lambswool finishing pad.
Fibers are a form of abrasive - Mike Phillips
Yes you can quote me on that....
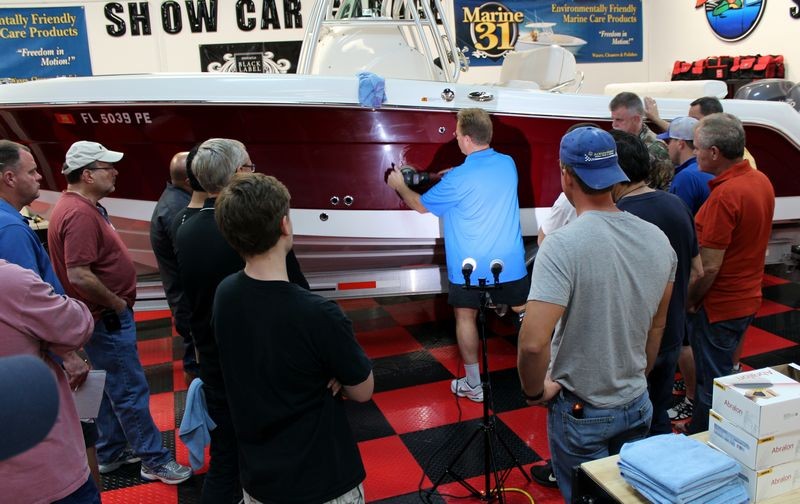
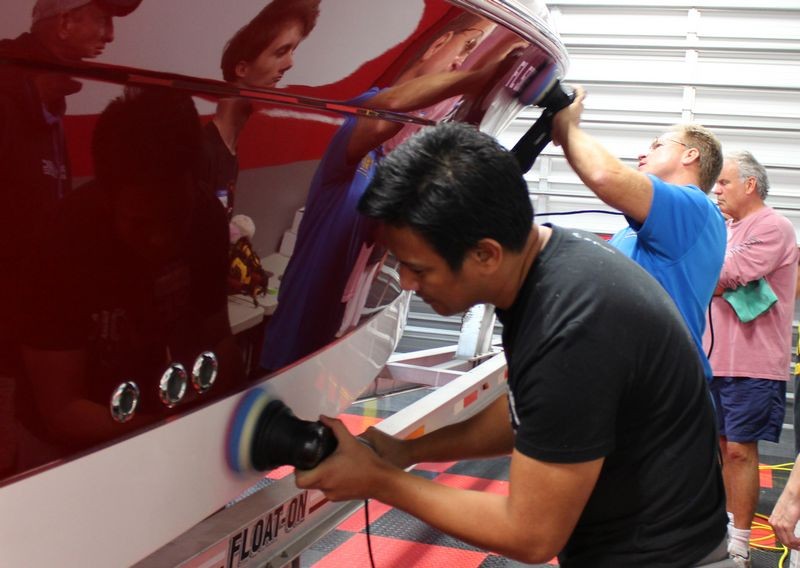
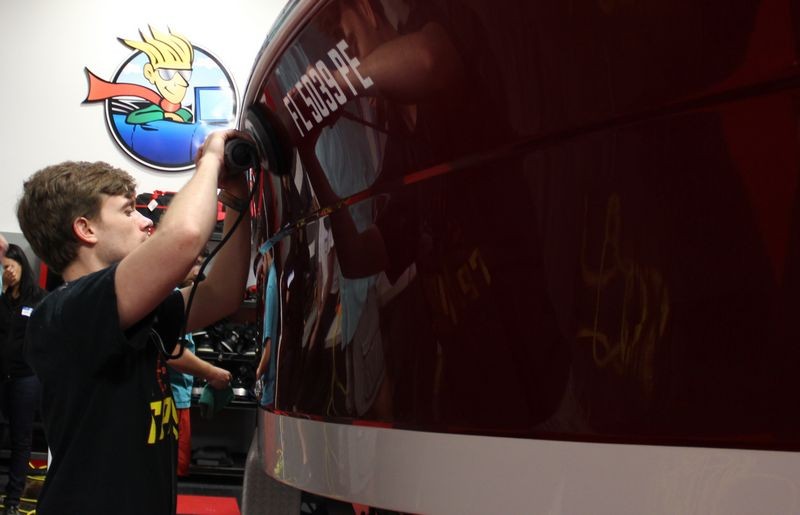
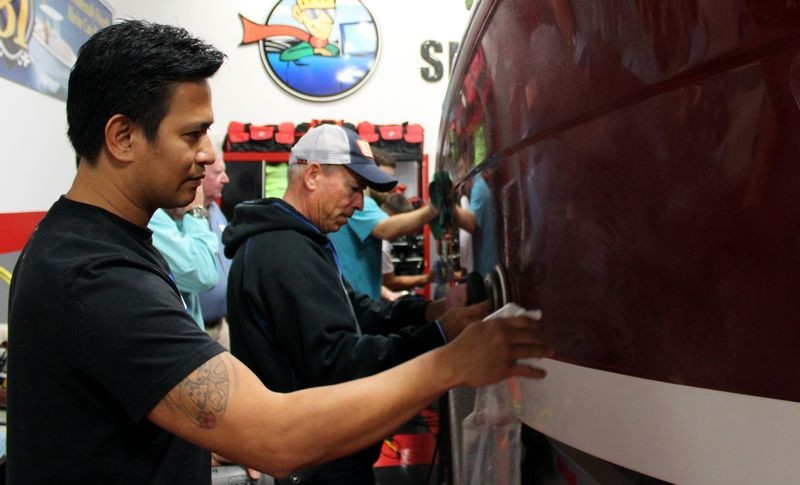
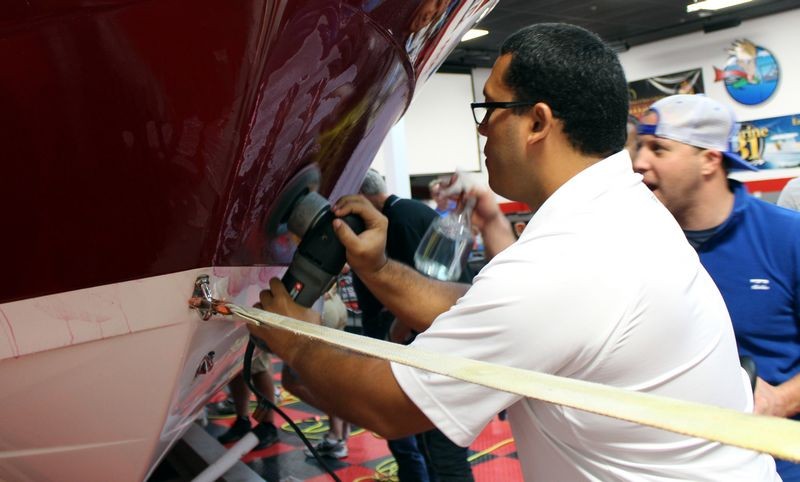
Below I go over the techniques for correctly using the RUPES BigFoot 21mm Orbital Polisher with the RUPES coarse blue foam cutting pad and the Captains Compound to refine the results from the compounding step and as the guys are working their magic I walk around and watch each guy to make sure they're using the correct technique. For anyone new to long stroke orbital polishers there's a few tips and techniques that go a long way to making this a very easy tool to use while getting maximum performance. I cover these in my RUPES how-to book here.


Don't be shocked or surprized... it's normal when working on pigmented gel-coats to pull color anytime you're compounding or polishing or even if you're using a one-step cleaner/wax or AIO. (cleaner/wax and AIO mean the same thing)
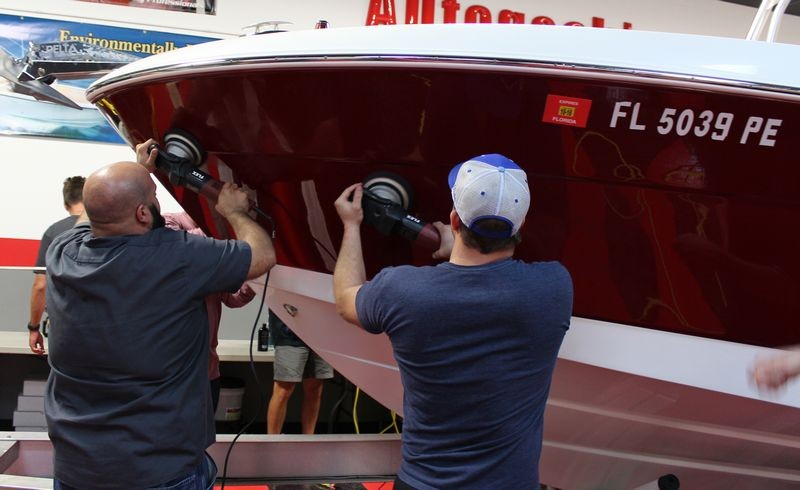
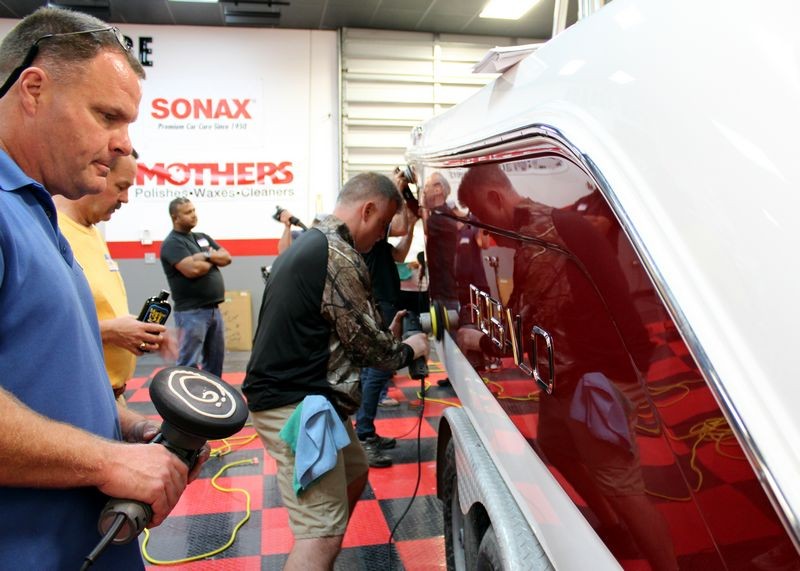
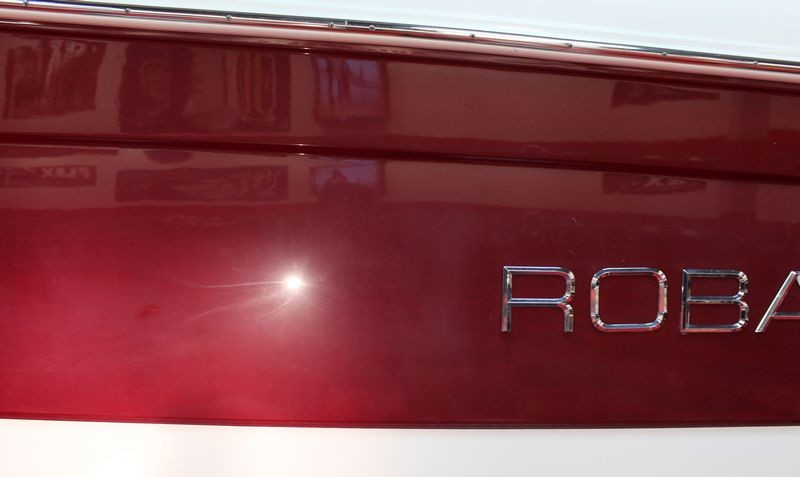
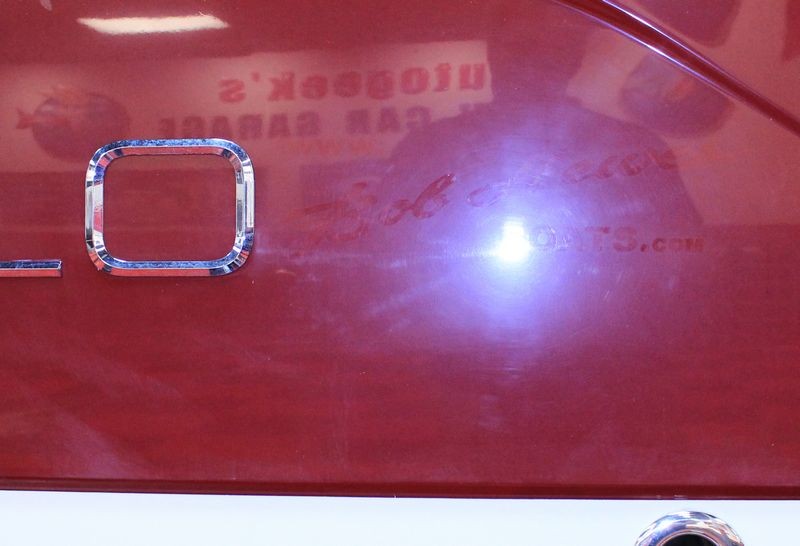
The RUPES MINI has a 3" backing plate and uses a 4" pad so you can get into tight areas

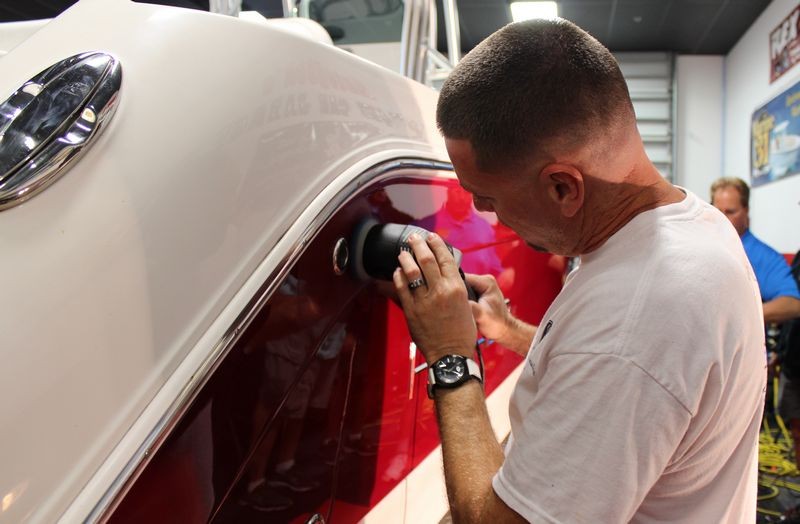


In the right hand side of the picture that's me buffing around the boat registration letters so the gel-coat in and around the lettering looks just as good as the larger sections of the hull. This type of surgical work with a 21mm long stroke orbital polisher requires you to use the technique I share on page 64 of my RUPES book.
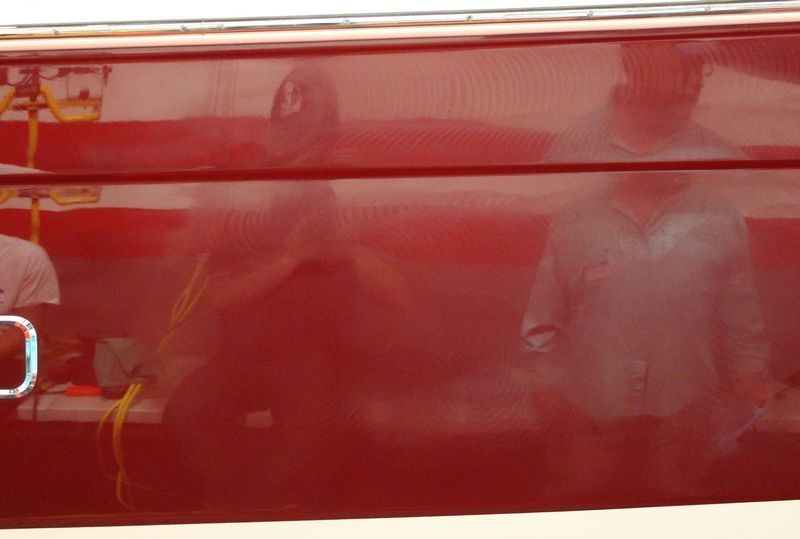
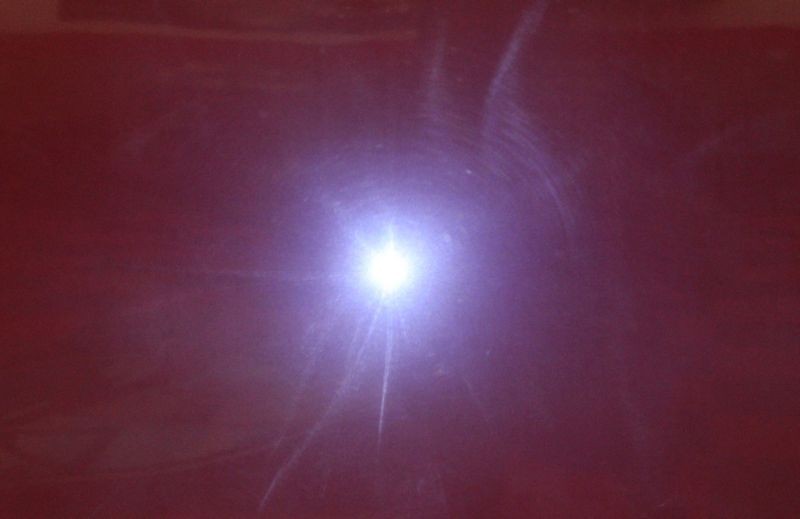
Starting look like a big read mirror!


The polishing step is over. Check out the red/blue pads in the bottom, left hand corner of the above picture.
-
Re: Pictures and comments: Marine 31 Boat Detailing Class - February 6th, 2016
Continued....
Last step for the hull...
Sealing the gel-coat
Sharing where to find the machine waxing chapter in the boat detailing book. When I wrote this book it was dual purpose,
1: To provide accurate information on how to detail boats in any condition from new to years of neglect and using any tool, rotary buffers an every type of orbital polisher. I even include in-depth sections on how to work by hand if a guy feels like getting a great work out.
2: To act as the course manual for this class.
Everything we do in the class is in the book. While the book showcases Marine 31 products, the tools, tips and techniques will work with any other brand of high quality products.

To seal the gel-coat we're going to use simple dual action polishers with black foam finishing pads from Lake Country. Looks like the Lake Country ThinPro pads by the pictures and these are great for machine waxing because they are thin and this means they won't absorb all your valuable wax like a thick pad will.

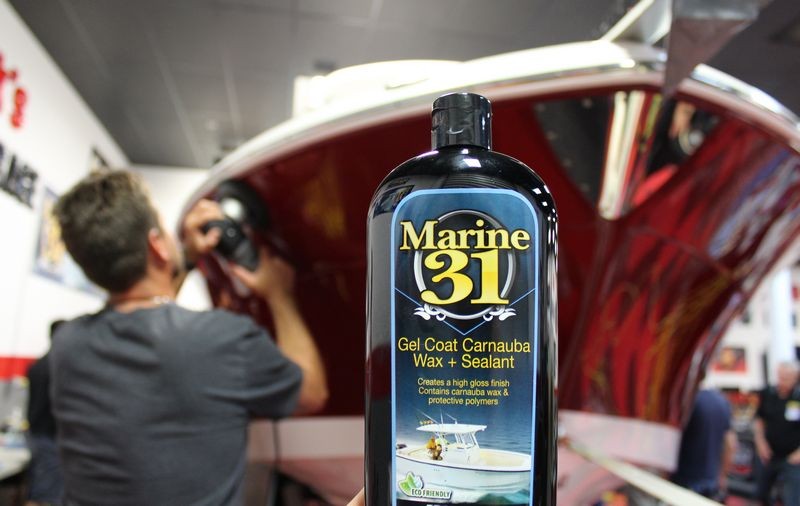
Marine 31 Gel Coat Carnauba Wax + Sealant
This is a non-cleaning blended product that uses both naturally occurring Carnauba wax plus man-made or synthetic protection ingredients. In my opinion, blended products also called hybrids, tend to last longer since you're getting benefits from multiple protection ingredients instead of a single ingredient.
Because this is a non-cleaning product, it can only be used on brand new boats or boats in like-new condition. This boat started out severely oxidized but because we saned, compounded and polished the gel-coat to perfection it is now the definition of like-new. Thus this is the appropriate product to use to seal the gel-coat. Remember, compounds and polishes tend to be water soluble, this means while they may create a great looking finish, the leaving nothing behind to coat over and protect the gel-coat. So it's important to always follow compounding and polishing with a dedicated product and a dedicated step to seal the surface.

Apply a thin layer and allow to dry to a haze
This is what you want... it's a thin layer or a thin coat of wax uniformly spread over the entire gel-coat surface. Always read the directions for any wax or sealant you use. The directions for this product state to allow the product to fully dry before removing and this is important. The lead guidance for directions starts with the chemist who creates the formula so due respect where respect is deserved.
Similar Threads
-
By Mike Phillips in forum PICTURES: 3-Day CAR Detailing Bootcamp Classes
Replies: 32
Last Post: 06-18-2018, 07:55 AM
-
By Mike Phillips in forum PICTURES: 3-Day CAR Detailing Bootcamp Classes
Replies: 32
Last Post: 04-10-2017, 09:10 AM
-
By Nick McKees37 in forum 2-Day BOAT Detailing Classes - Info & Dates
Replies: 5
Last Post: 04-05-2017, 10:07 AM
-
By Nick McKees37 in forum 2-Day BOAT Detailing Classes - Info & Dates
Replies: 10
Last Post: 02-05-2016, 06:15 PM
-
By Mike Phillips in forum PICTURES: 3-Day CAR Detailing Bootcamp Classes
Replies: 0
Last Post: 04-20-2015, 07:57 AM
 Members who have read this thread: 0
There are no members to list at the moment.
Posting Permissions
- You may not post new threads
- You may not post replies
- You may not post attachments
- You may not edit your posts
-
Forum Rules
|
| S |
M |
T |
W |
T |
F |
S |
| 28 | 29 | 30 |
1
|
2
|
3
|
4
|
|
5
|
6
|
7
|
8
|
9
|
10
|
11
|
|
12
|
13
|
14
|
15
|
16
|
17
|
18
|
|
19
|
20
|
21
|
22
|
23
|
24
|
25
|
|
26
|
27
|
28
|
29
|
30
|
31
| 1 |
|


 Reply With Quote


Bookmarks