 Thanks: 0
 Likes: 0
 Dislikes: 0
-
Super Member

-
Super Member
-
Super Member
-
Super Member
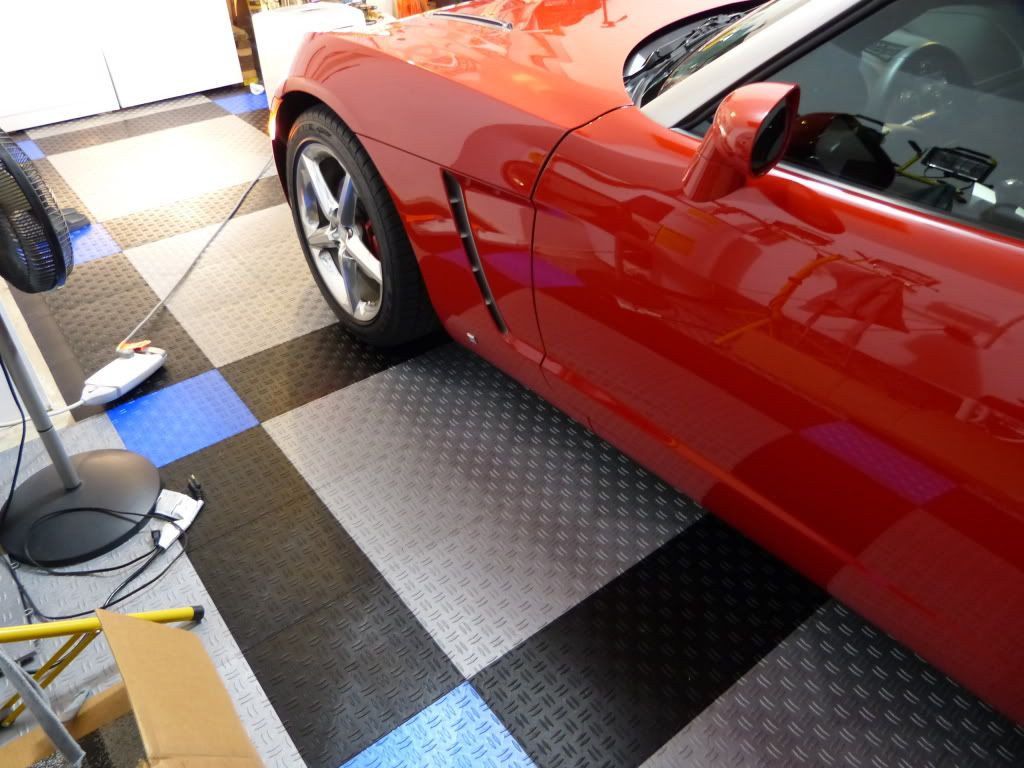
Re: Garage Flooring (Makeover Part II)
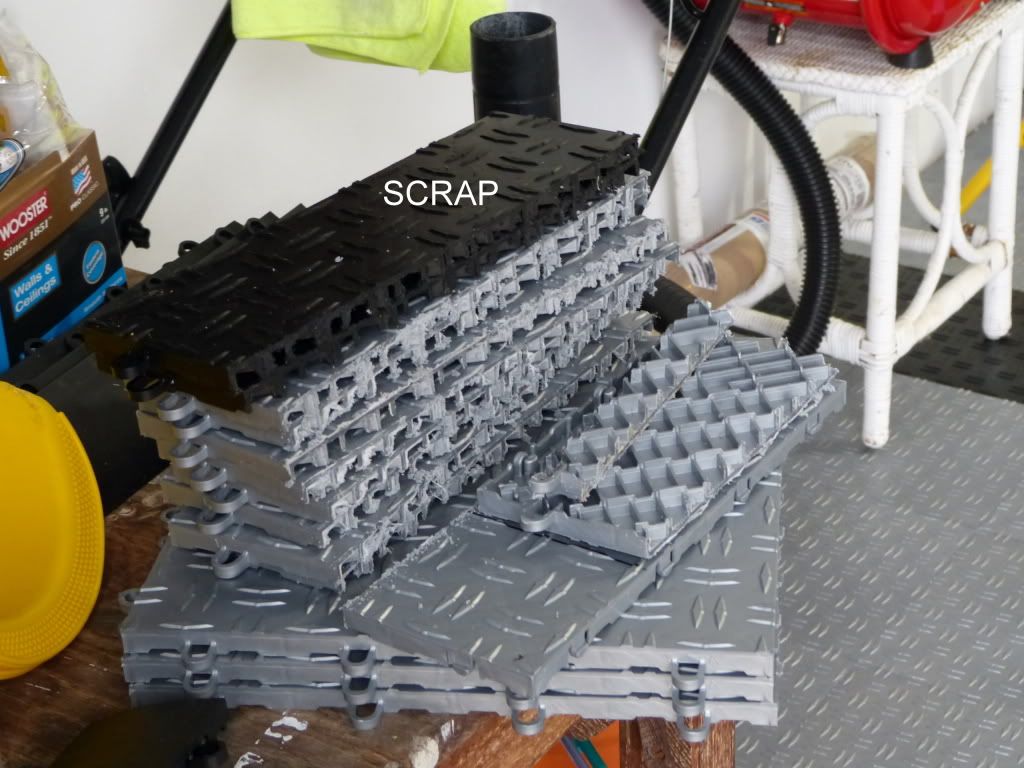
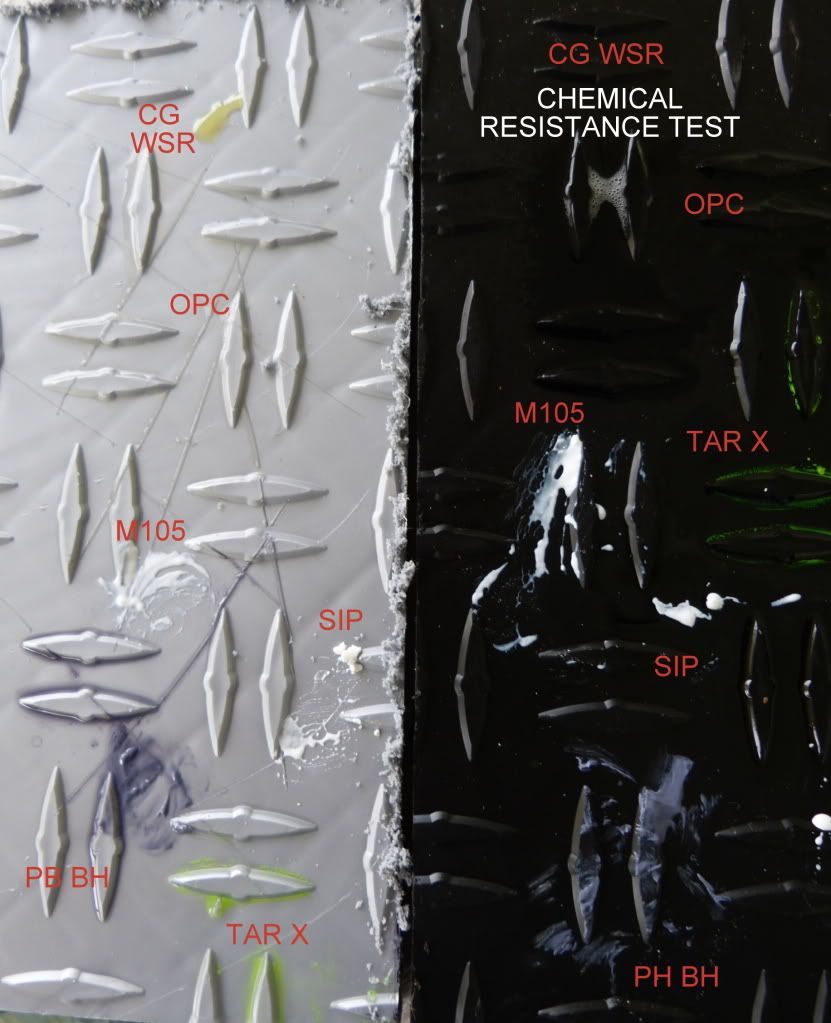
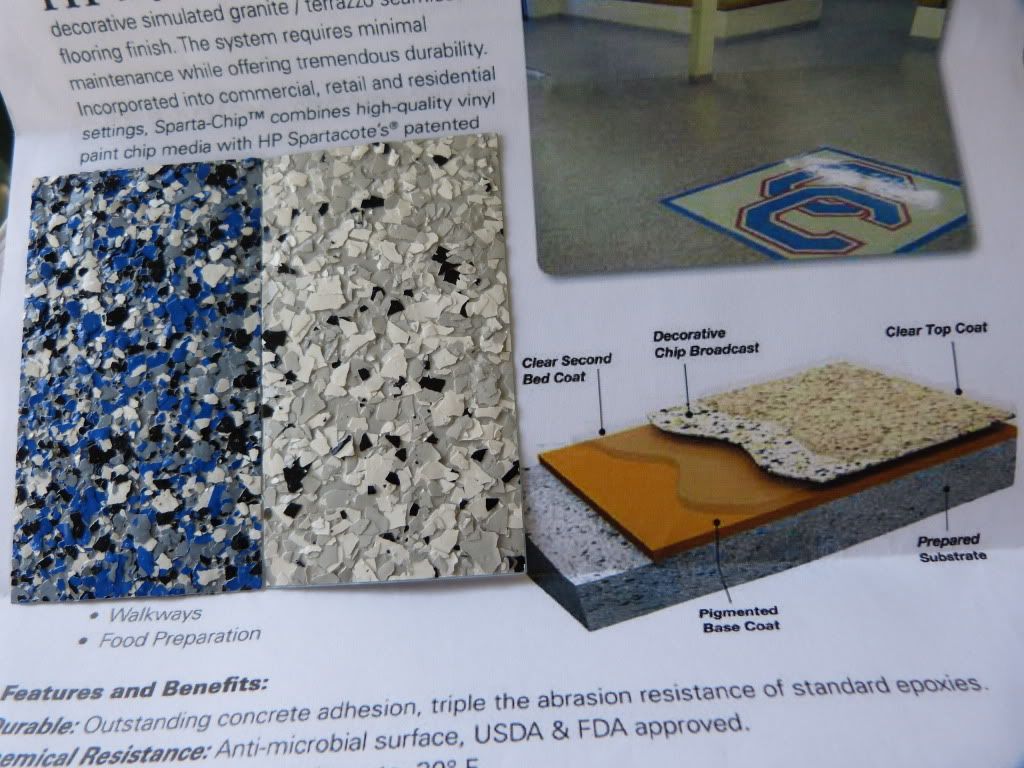
Chemical Resistance Testing:
#
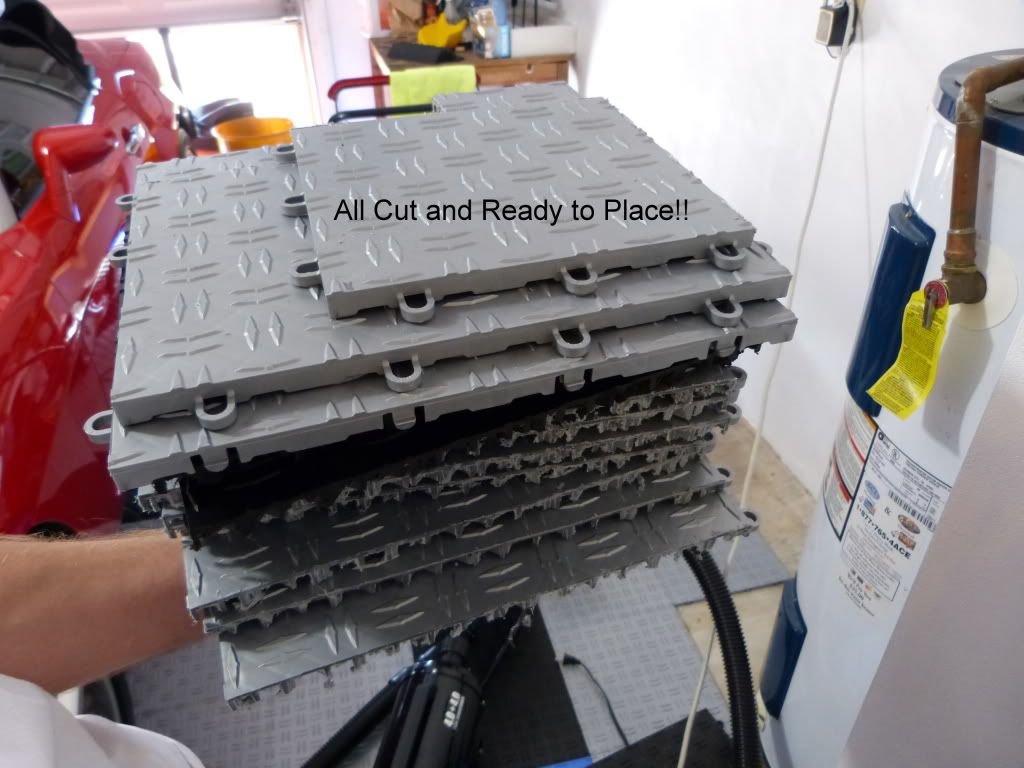
I applied OPC, TarX, SIP, M105, CG water spot remover, and PB black hole to a couple pieces of scrap. #We will wait a couple days and then rinse them off and see about staining.
#
#
#
#
#
#
#
#
#
#
#
#
#
#
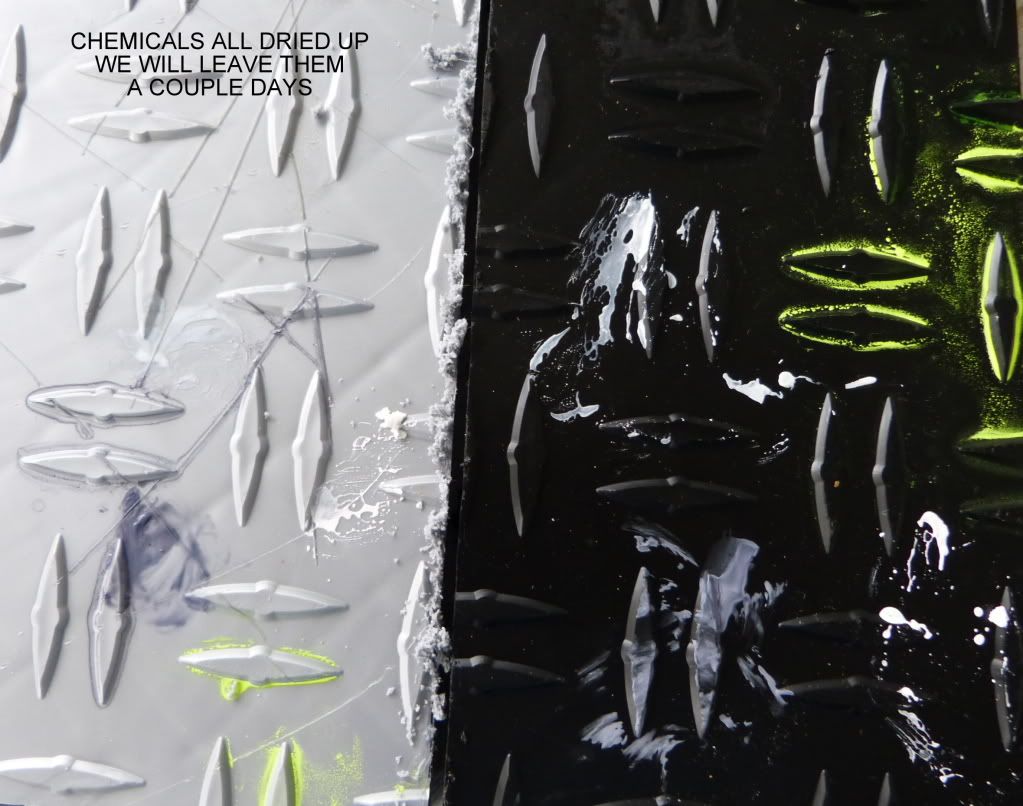
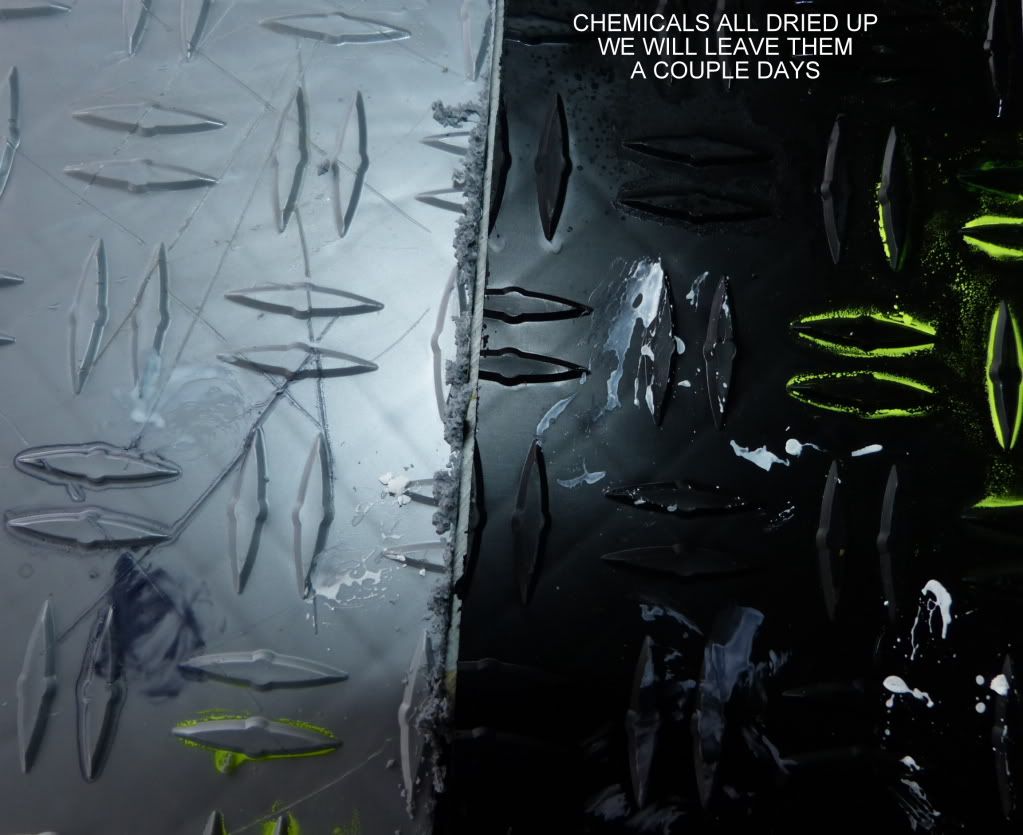
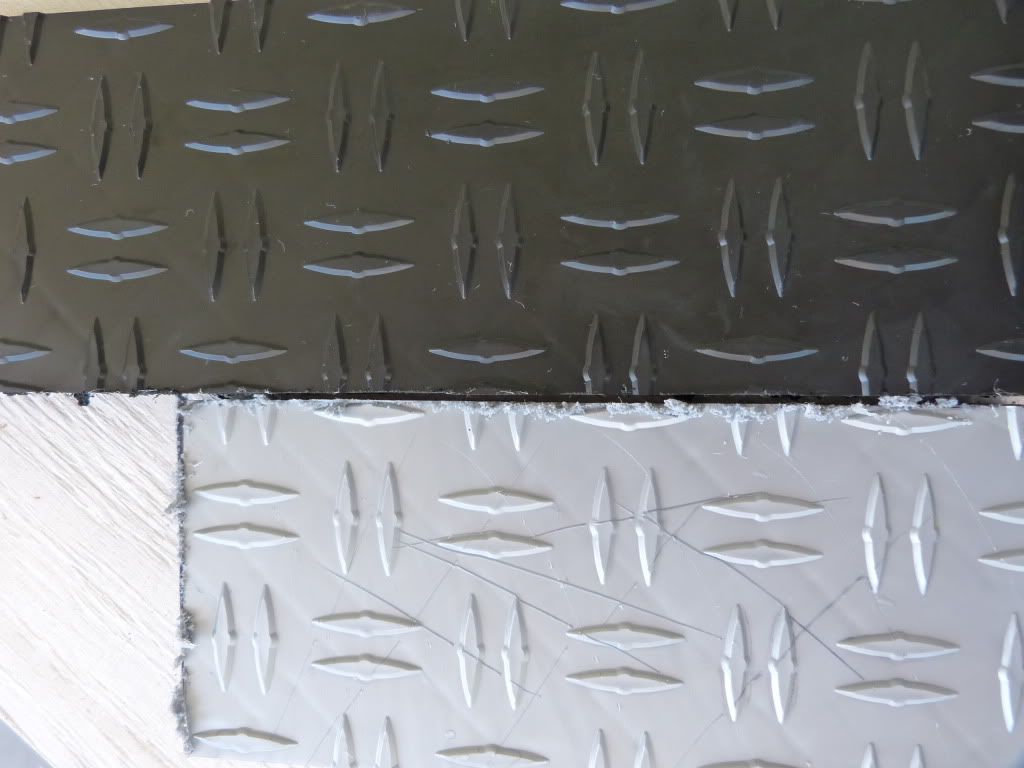
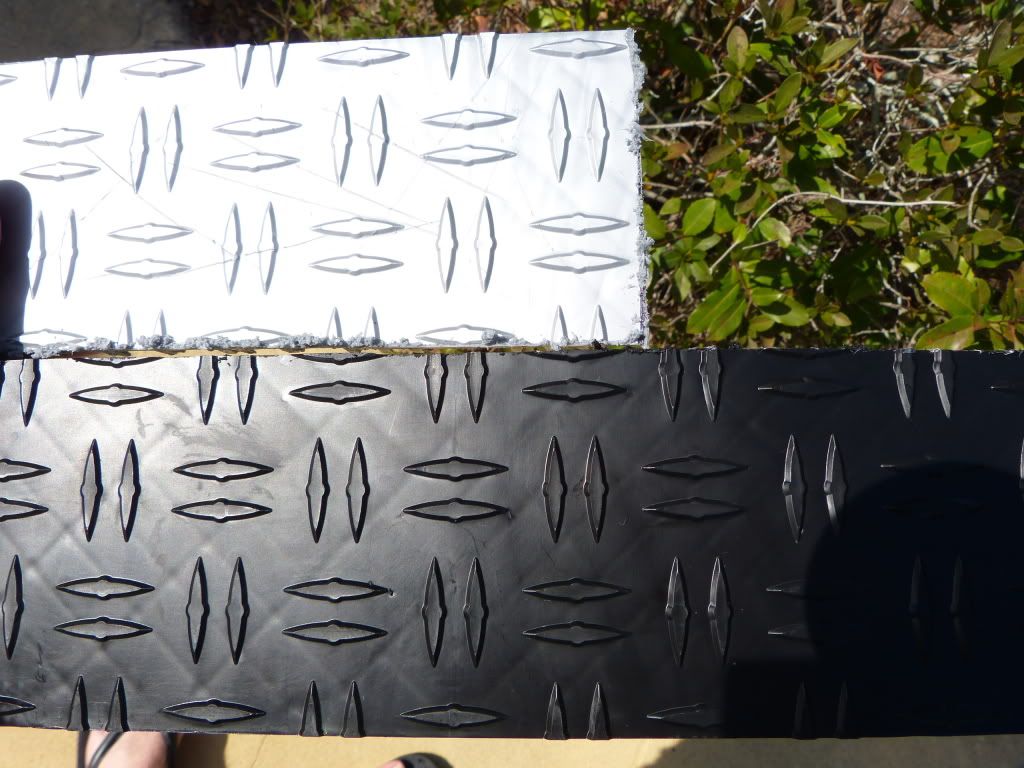
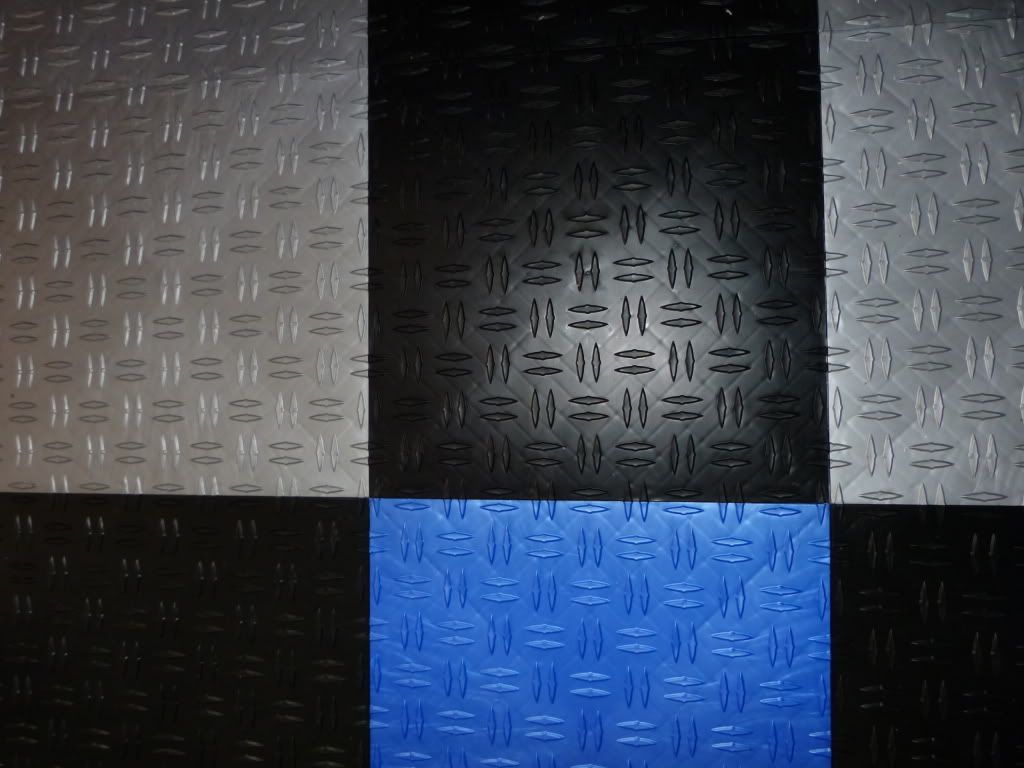
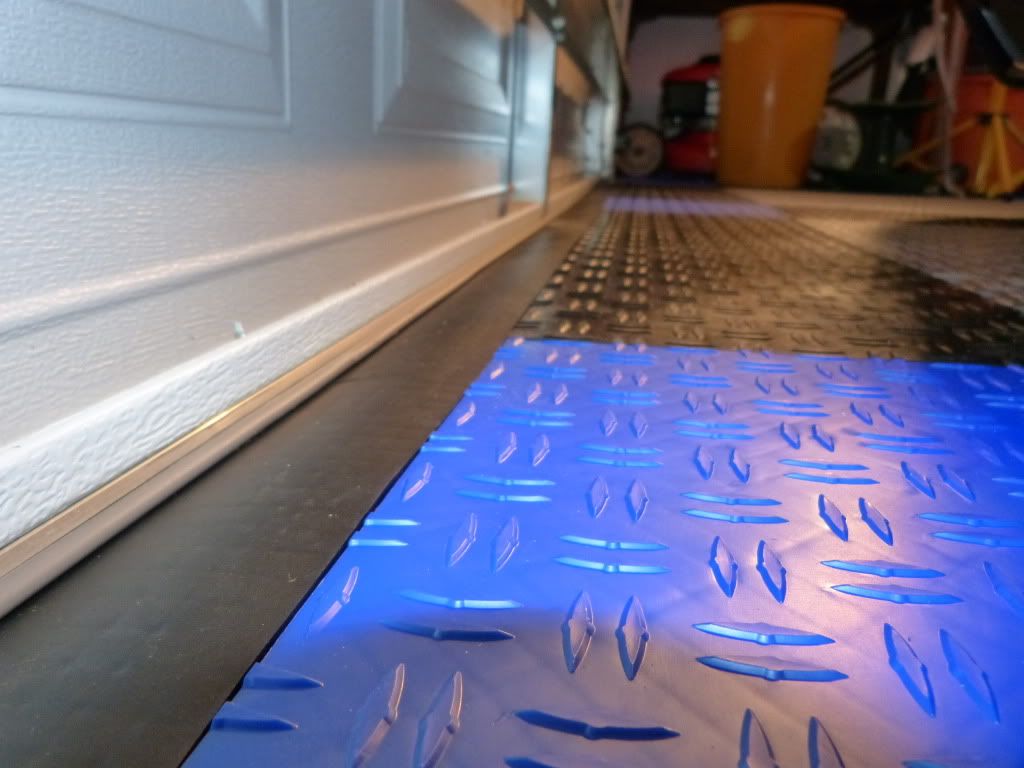
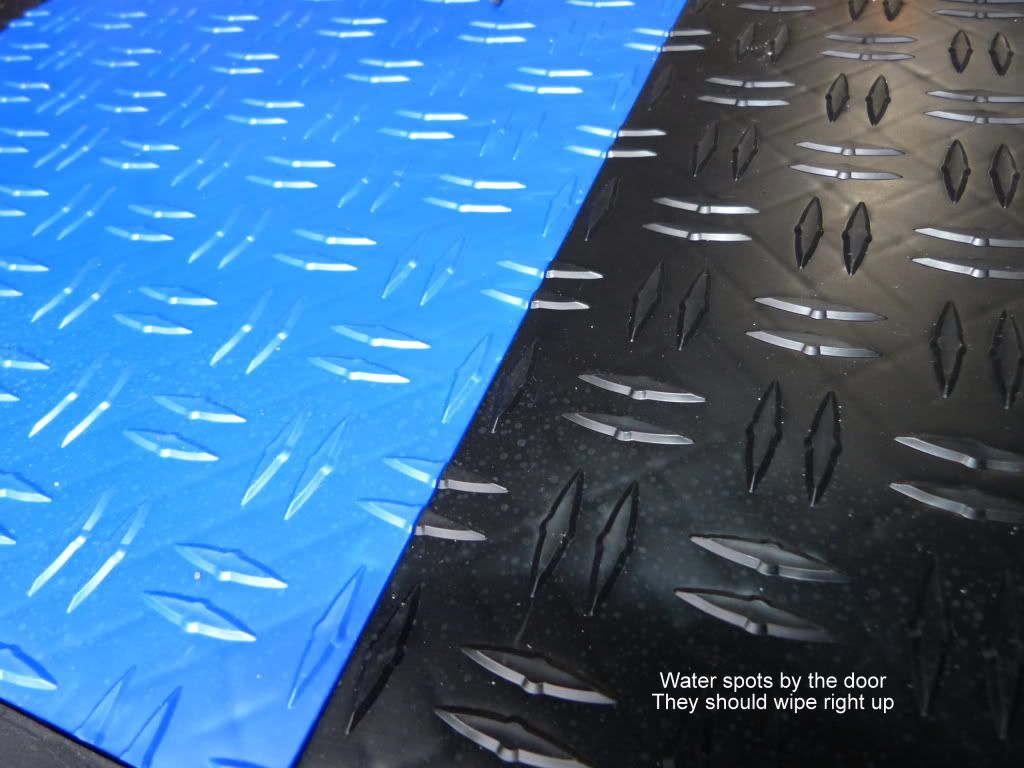
Here are the results after 2 days of letting the products fester and then washing them off. #Only water was used to clean them and all products wiped off easily. #
#
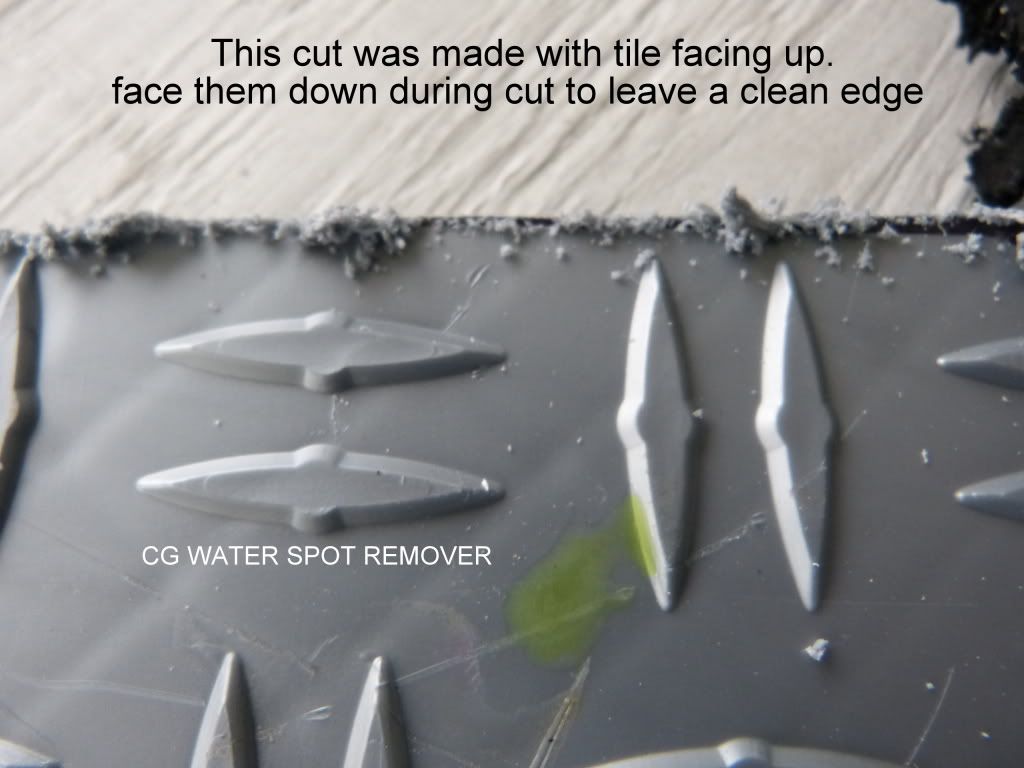
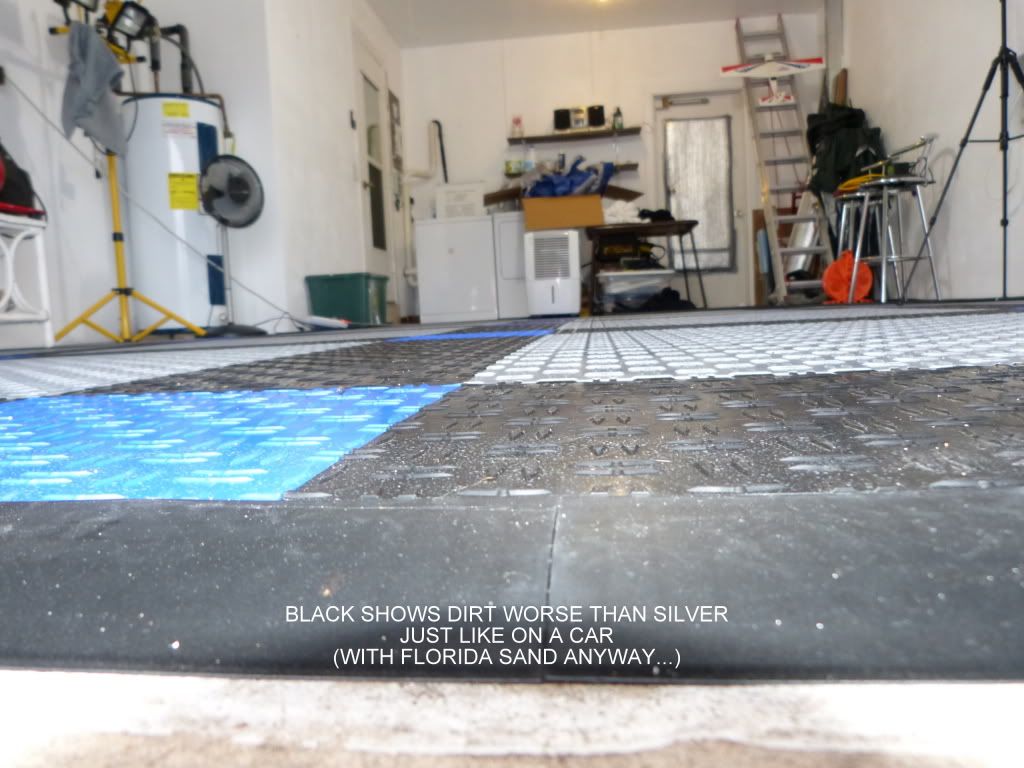
On the alloy colored tile I could find no stain or etching whatsoever in any lighting.
#
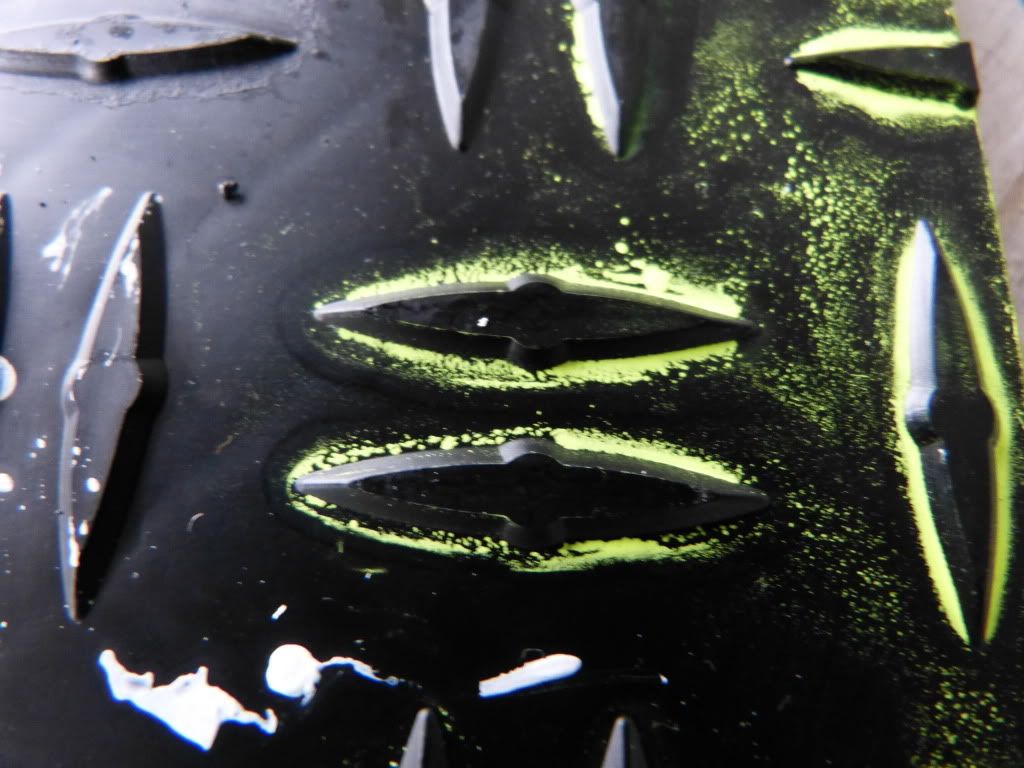
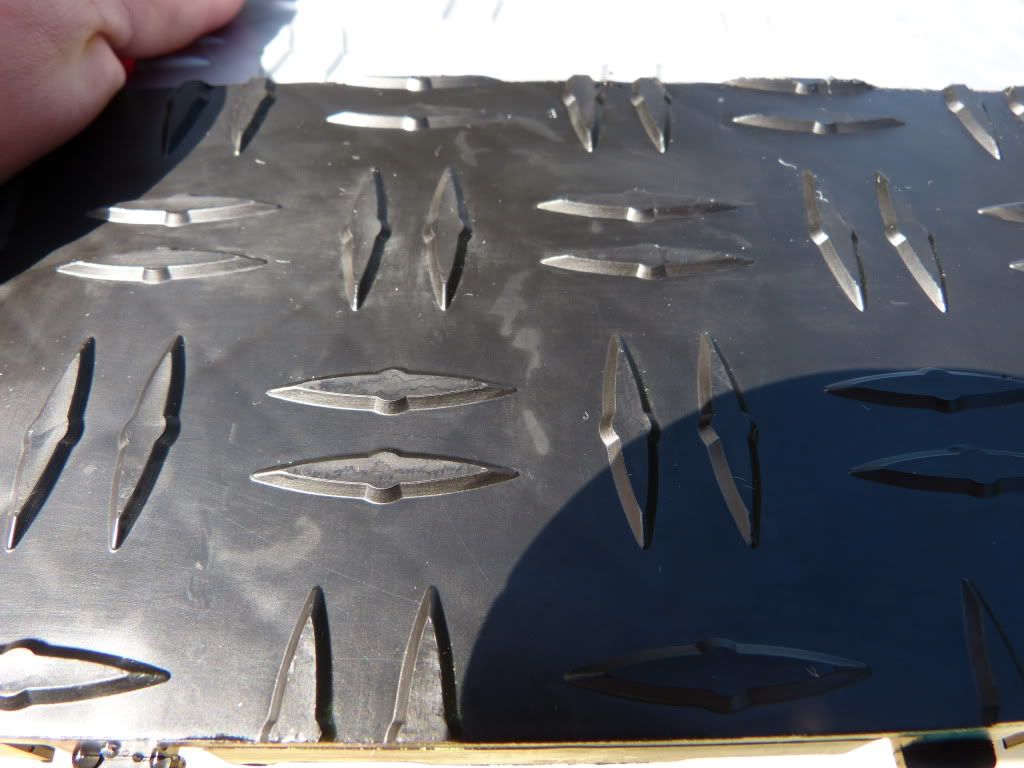
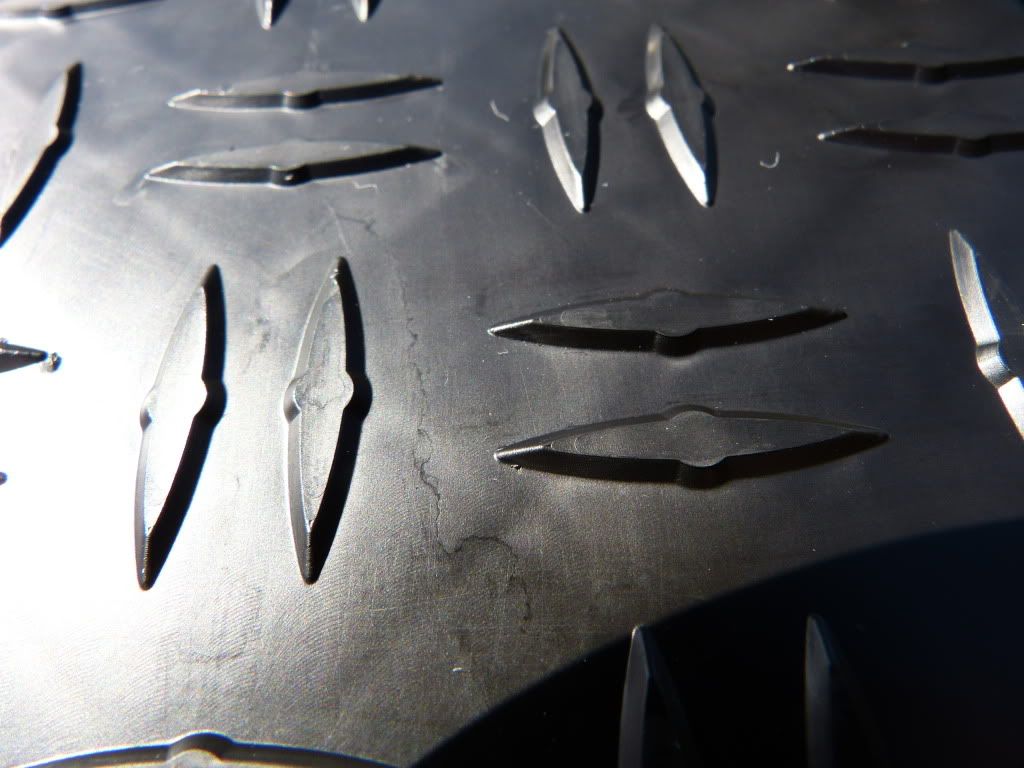
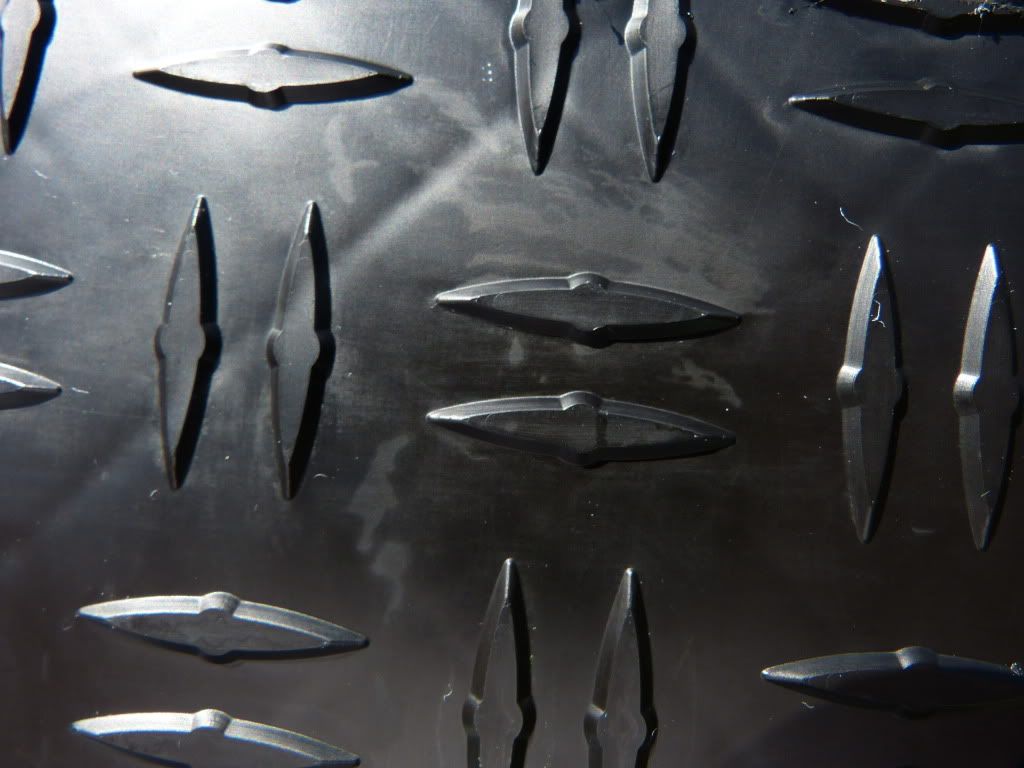
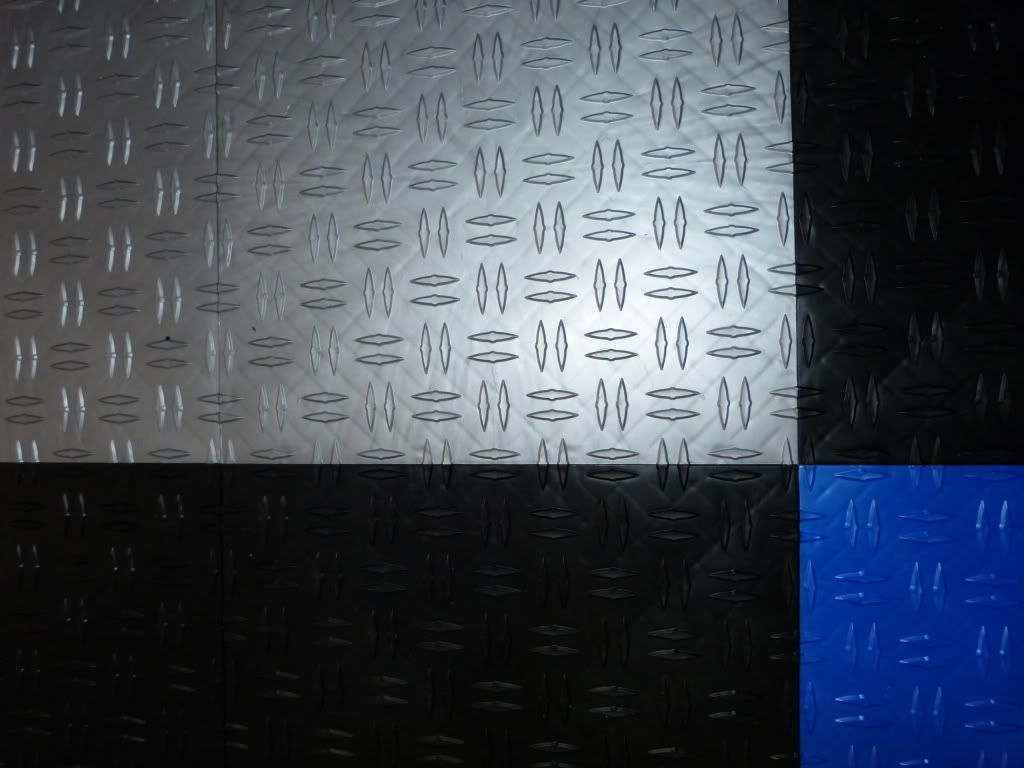
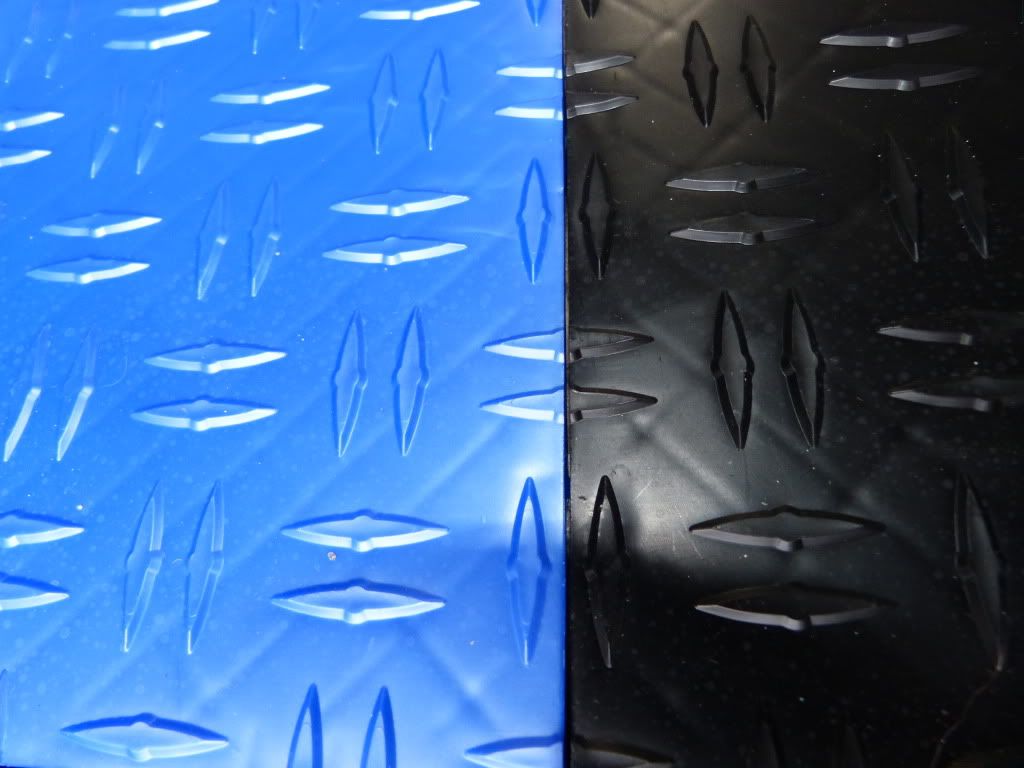
On the black tile at first I thought there was nothing either. #From more than a foot away it looked great! #On very close inspection however I could find some slight etching of some kind. #Surprisingly the CG water spot remover didn’t appear to affect it.
OPC and the polishes appeared to leave a slight outline but nothing you would notice from standing height. #I had to place it in full sun to show it in the photo.
#
#
#
#
#
#
#
#
#
#
#
#
#
Pros:
1.- Price
2.- Speed of installation
3.- Ease of installation
4.- Made in the USA
5.-High strength
6.-Stain resistance
7.-High load capacity. 44,000 pounds rolling load.
#
#
???:
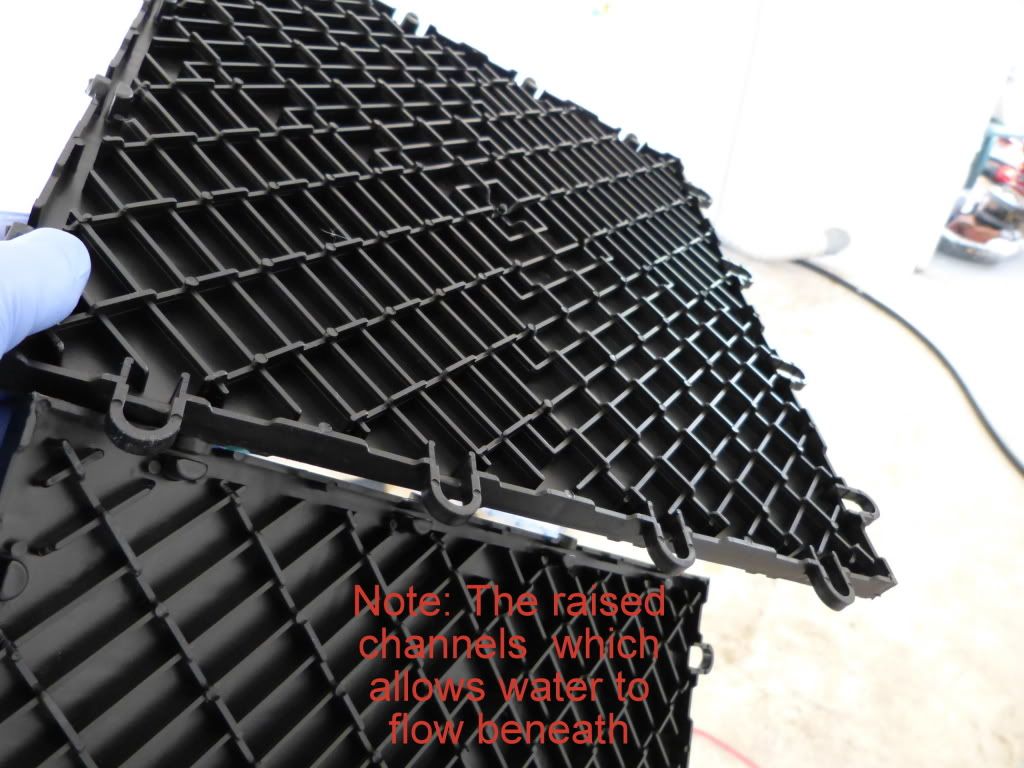
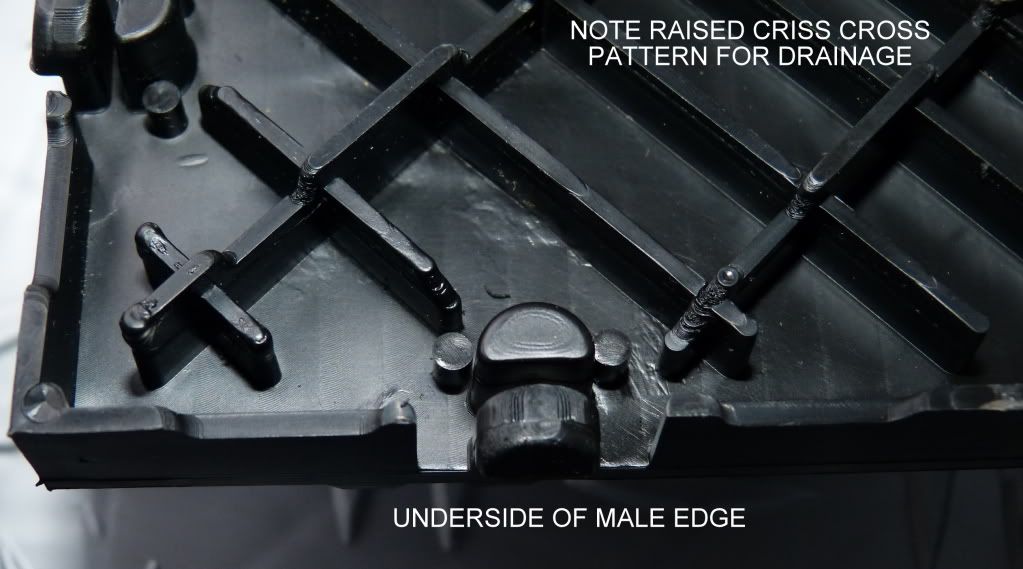
1.-Looking forward to testing the draining ability (Sorry Richy, couldn’t get to it today)
2.-Testing point loads (Jack stands)
#
Cons:
Noise – A little bit when walking on it with hard soled shoes.
#
#
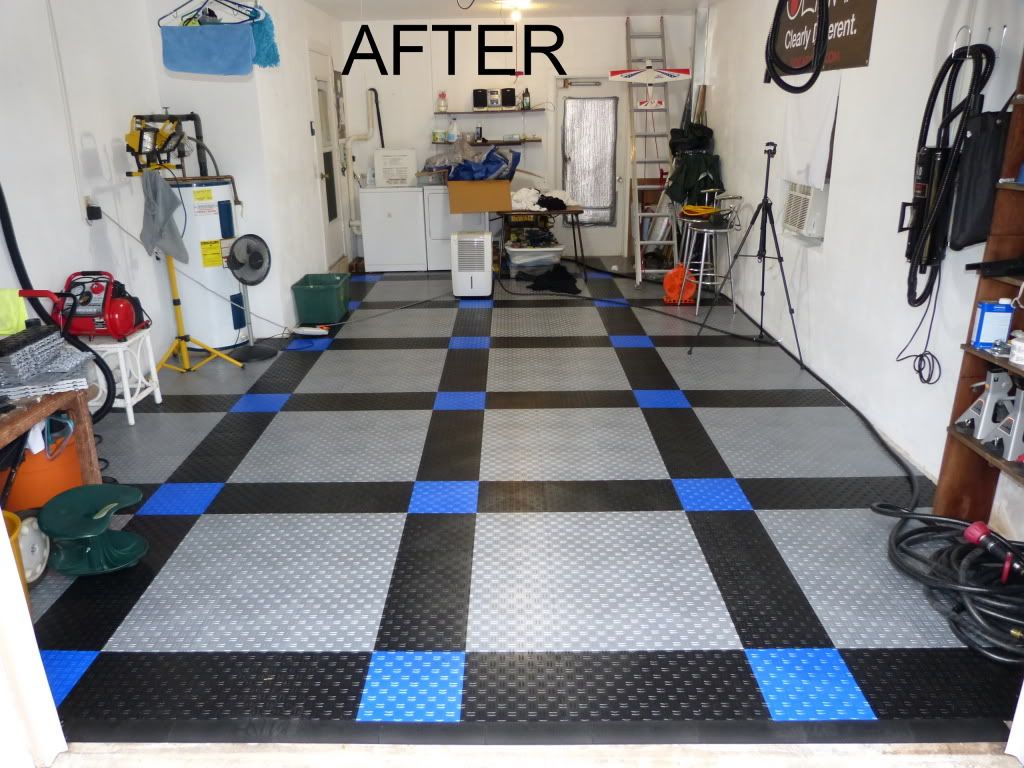
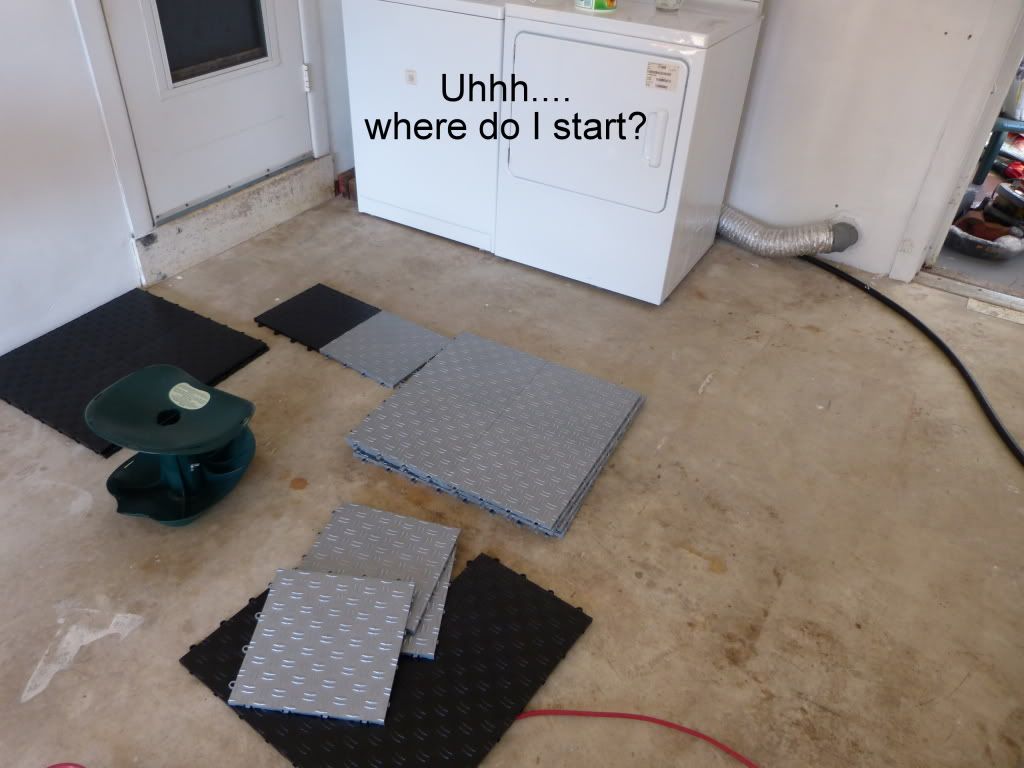
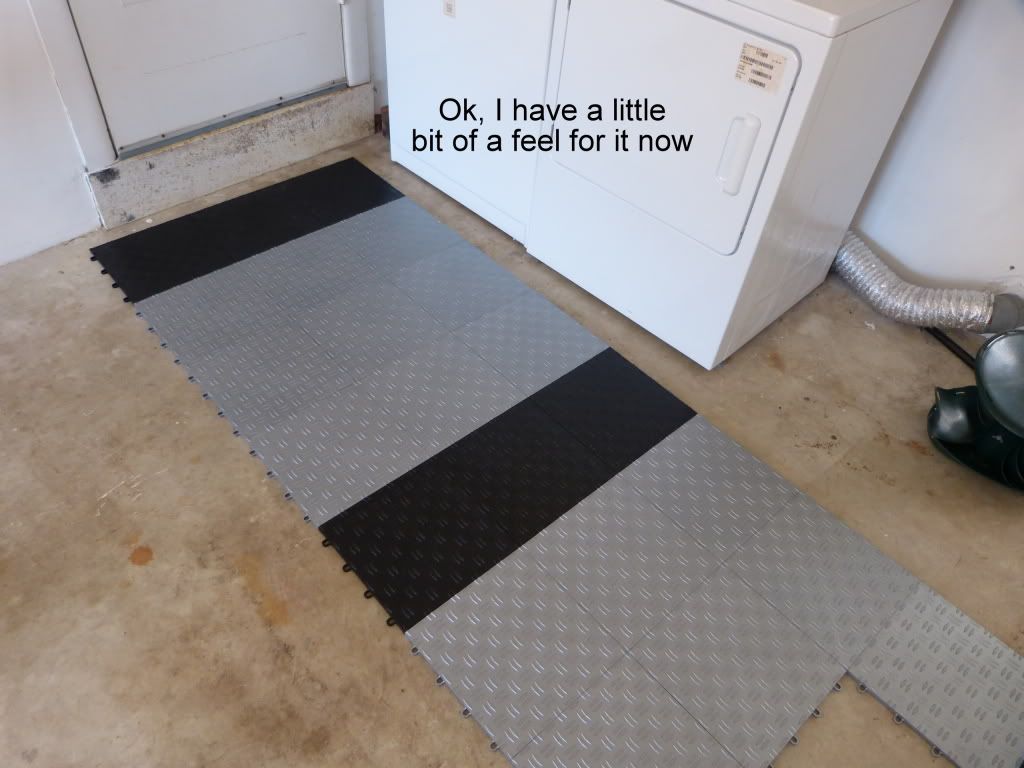
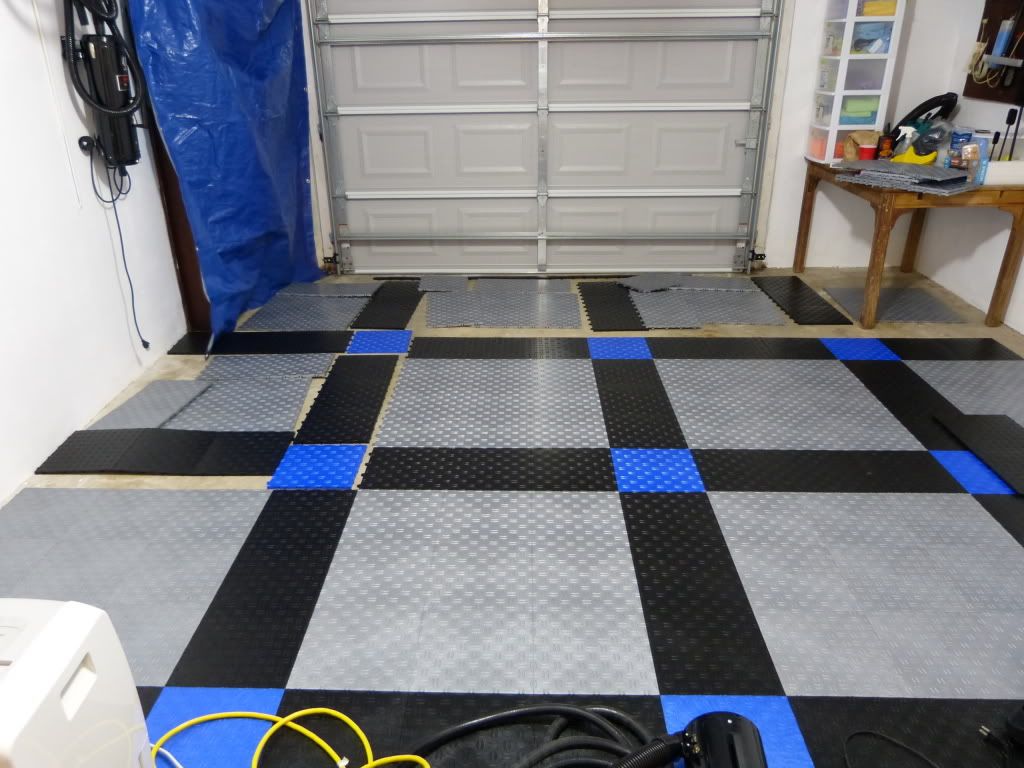
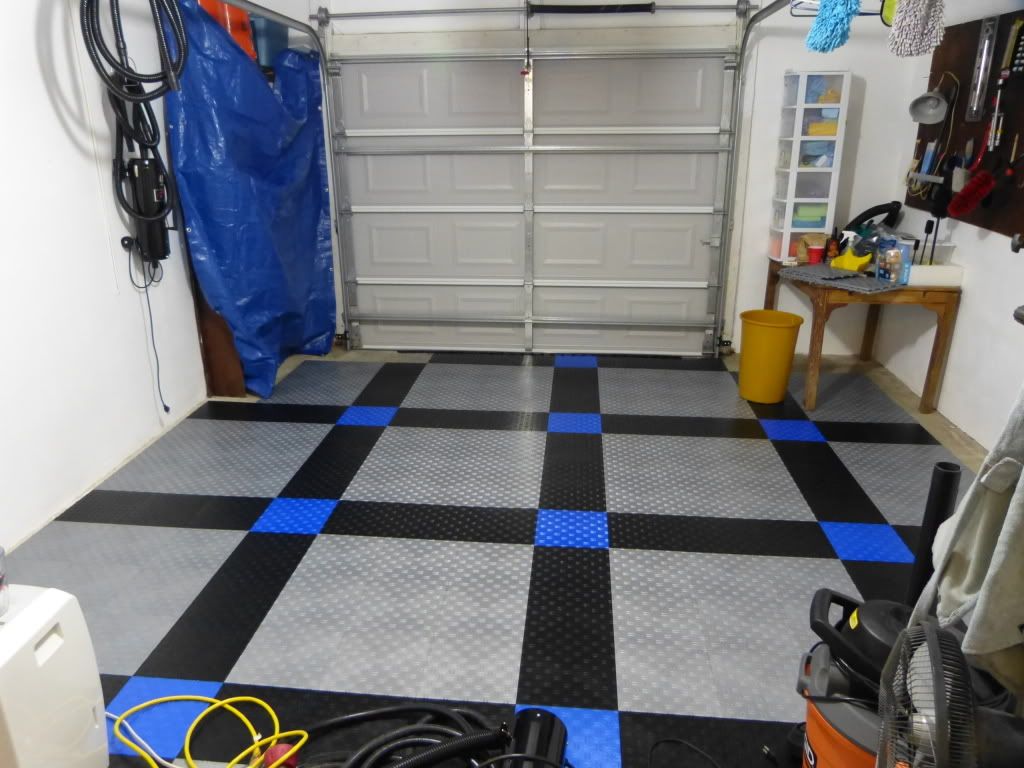
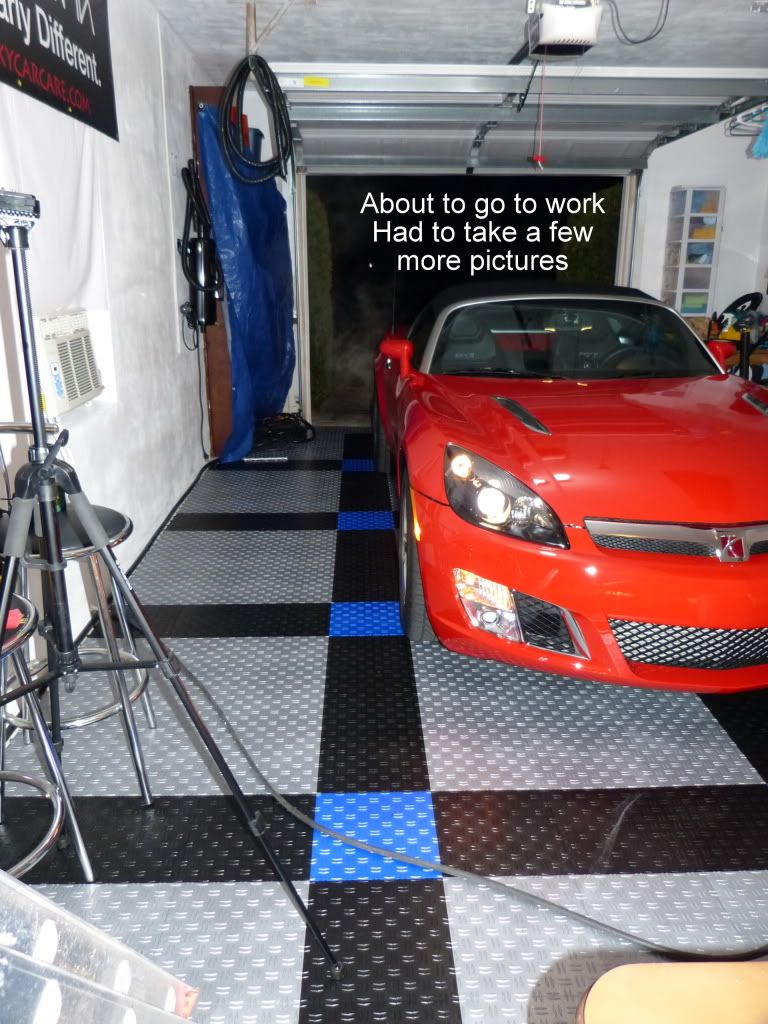
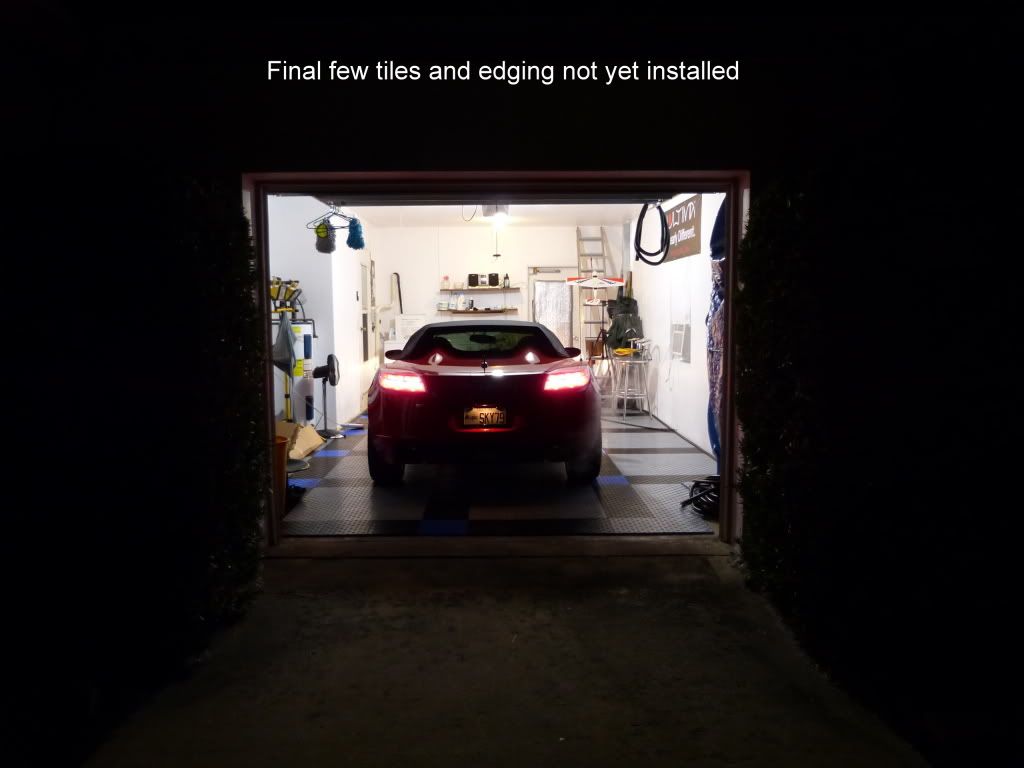
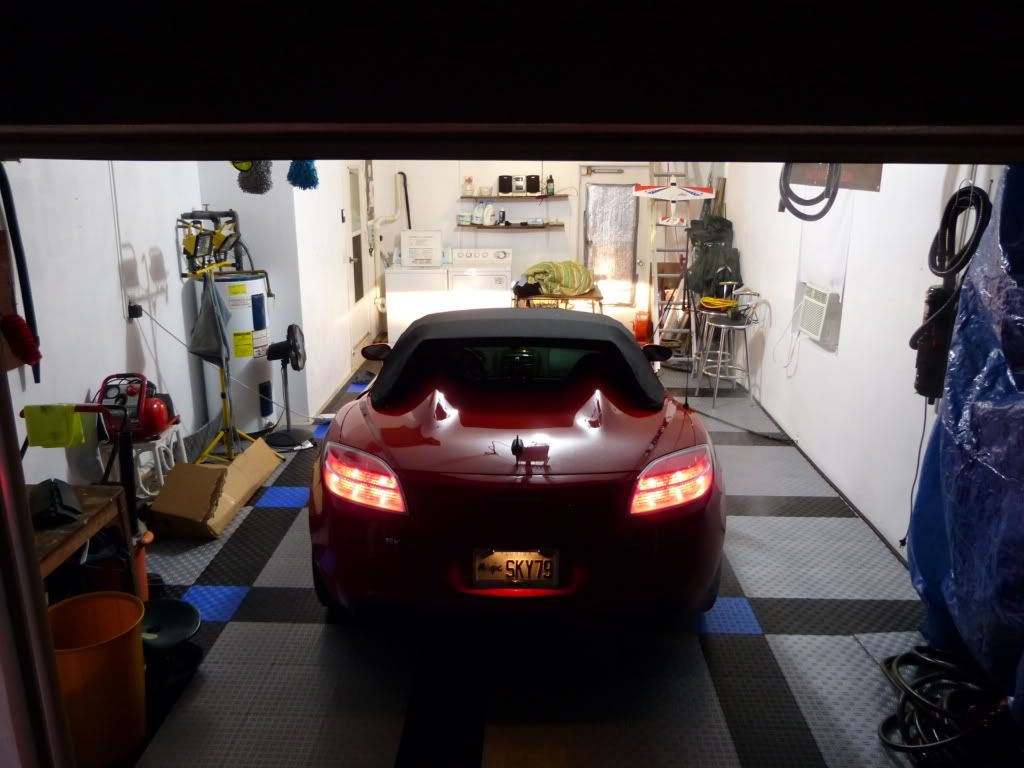
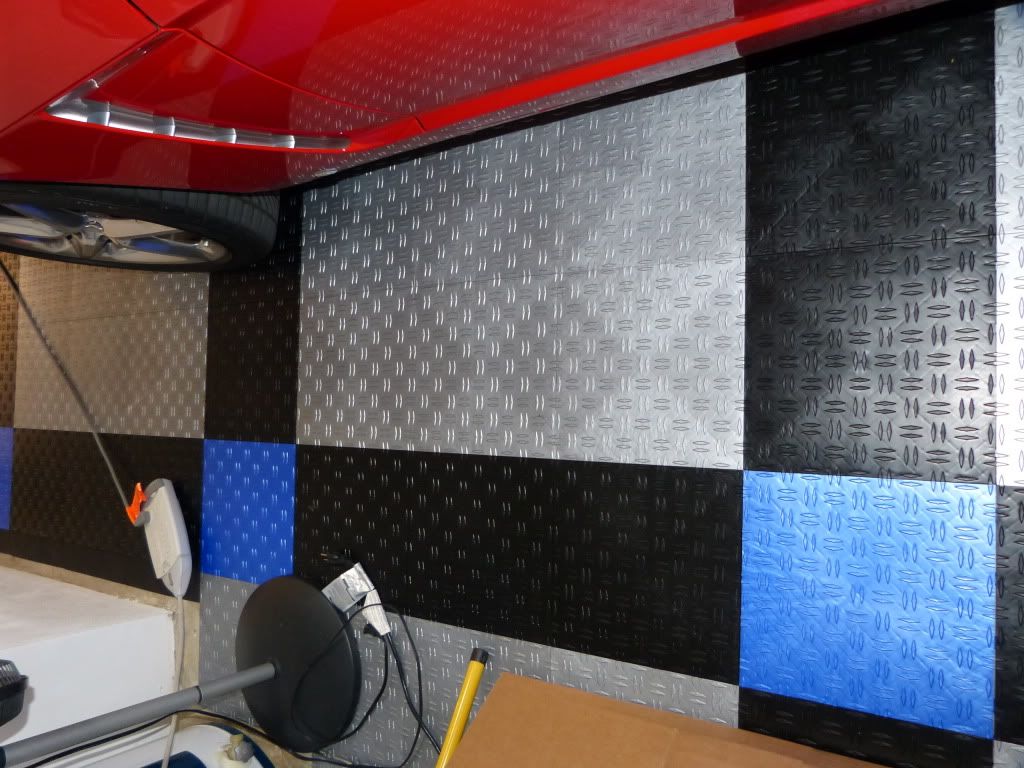
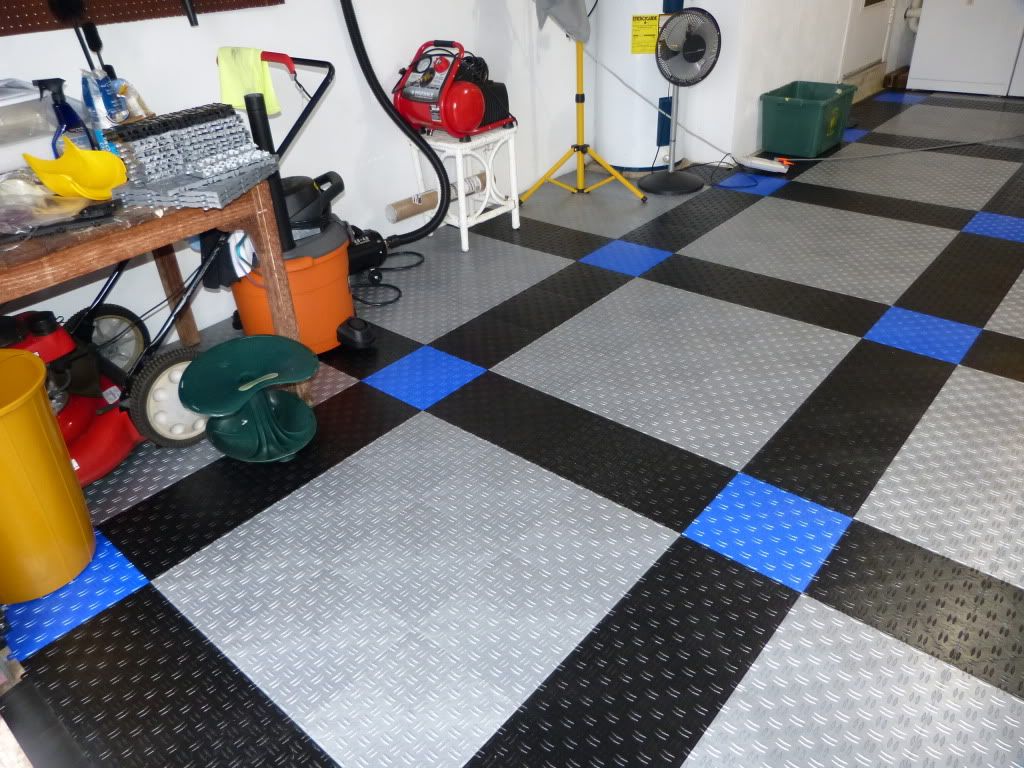
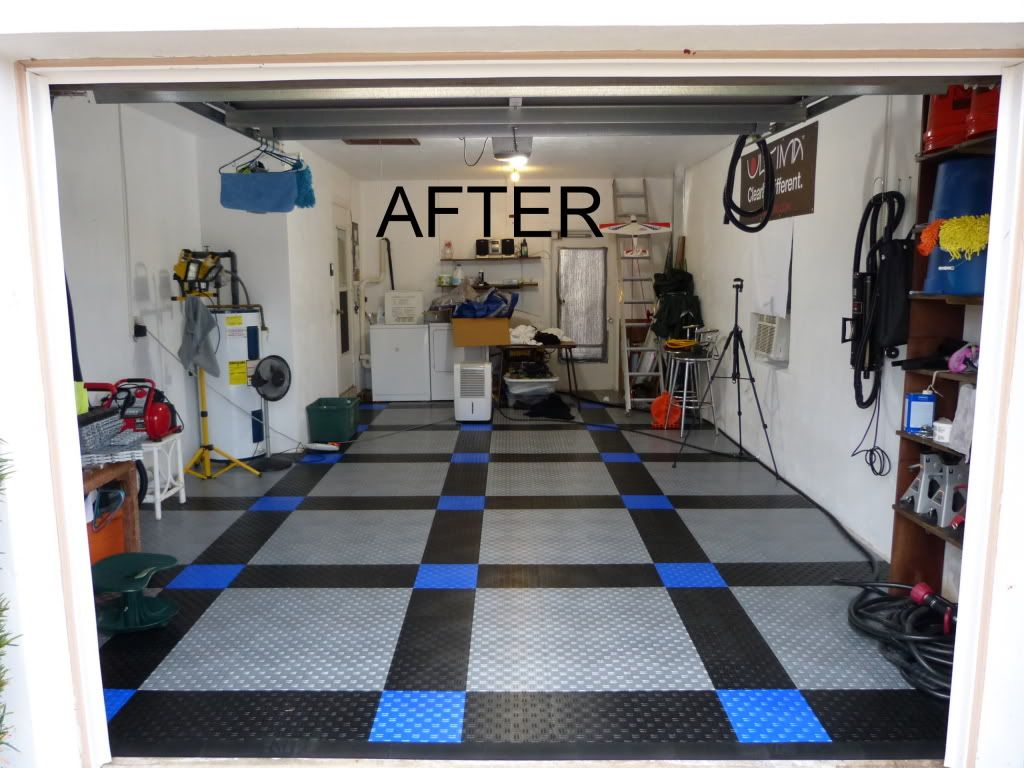
Final Observations and Summary:
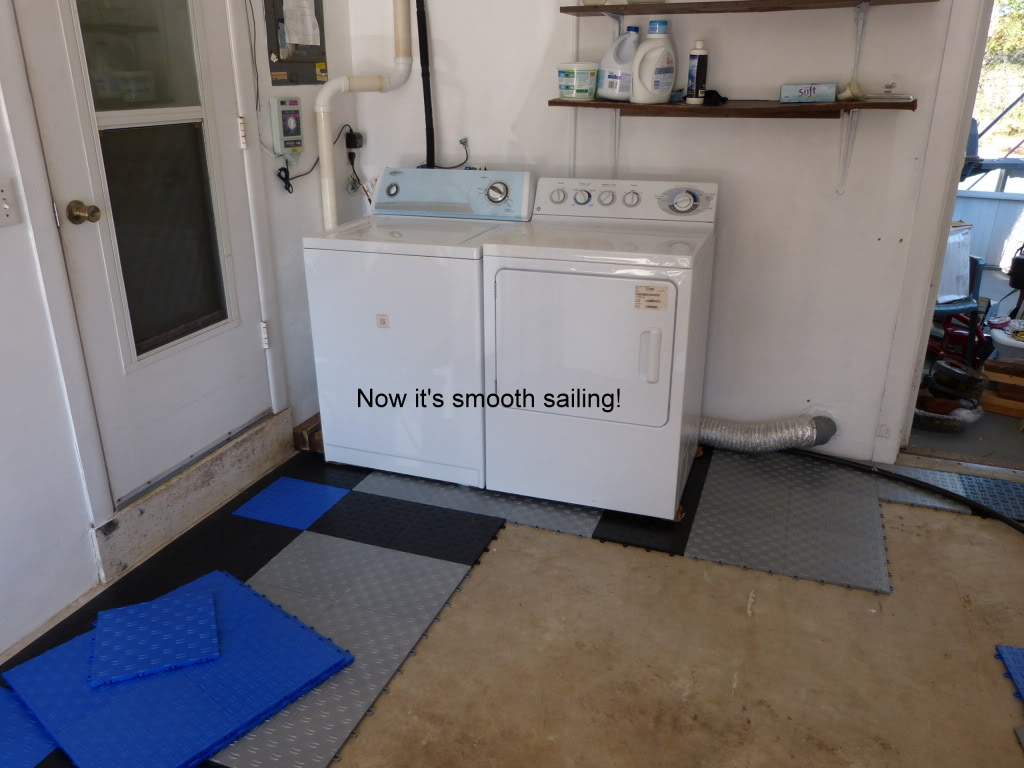
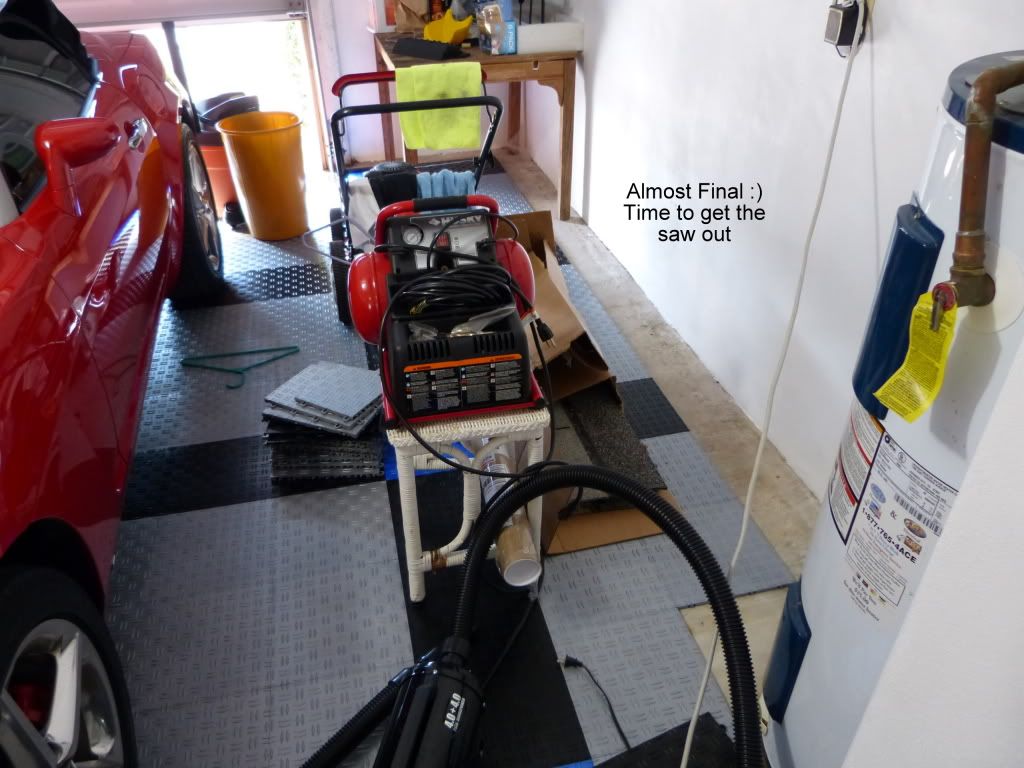
I am absolutely thrilled with my choice in flooring! #It could not be any easier to install and took approximately 5 hours if I take out dealing with the camera, etc.) #(sentence removed)
Now, before you have to pull out your raincoat let me chill out a little and admit I haven’t tested drainage yet which is important to me…. But I love this floor! #
#
The bit of noise is not an issue for me but may be for some. #I want to walk in my socks in there anyway now that it looks so great! #Dad tells me the noise does decrease a bit with time. #You could apply landscape fabric beneath to soften the sound but I am glad I did not. #In my opinion any moisture that gets in needs to be able to get back out and I would think that fabric would not allow the moisture out…
#
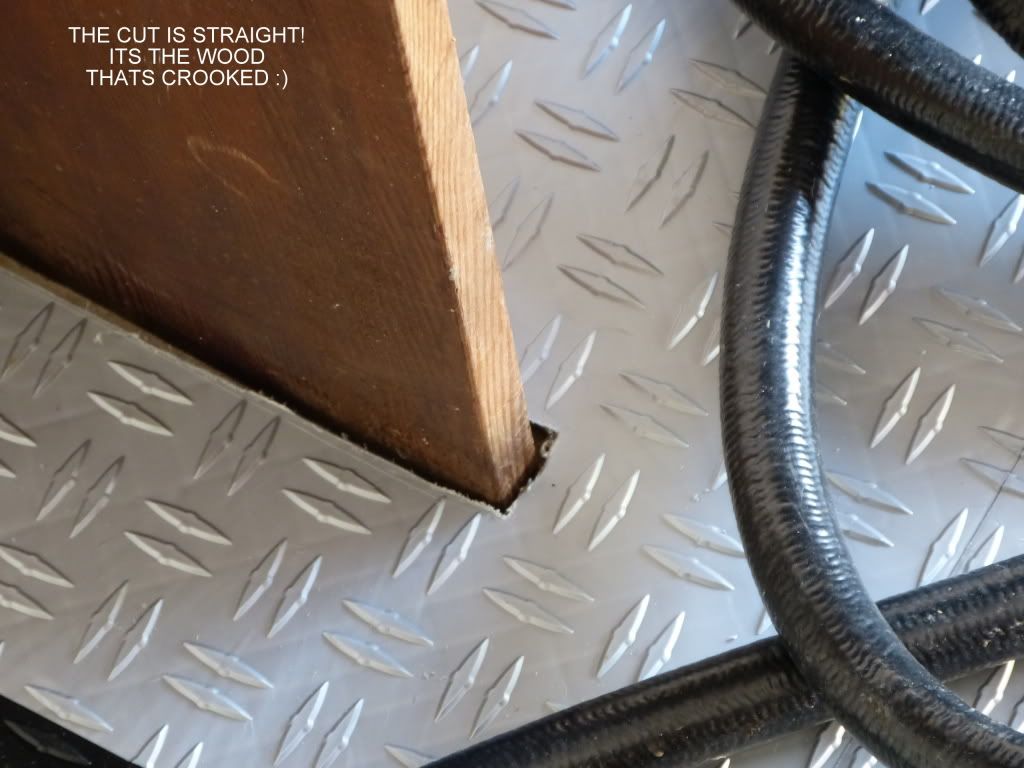
I’m going to test point loads directly on some scrap for jacking up my 3,000 lb Sky but on my actual floor I plan to place a sheet of wood under jack stands just to be safe.
#
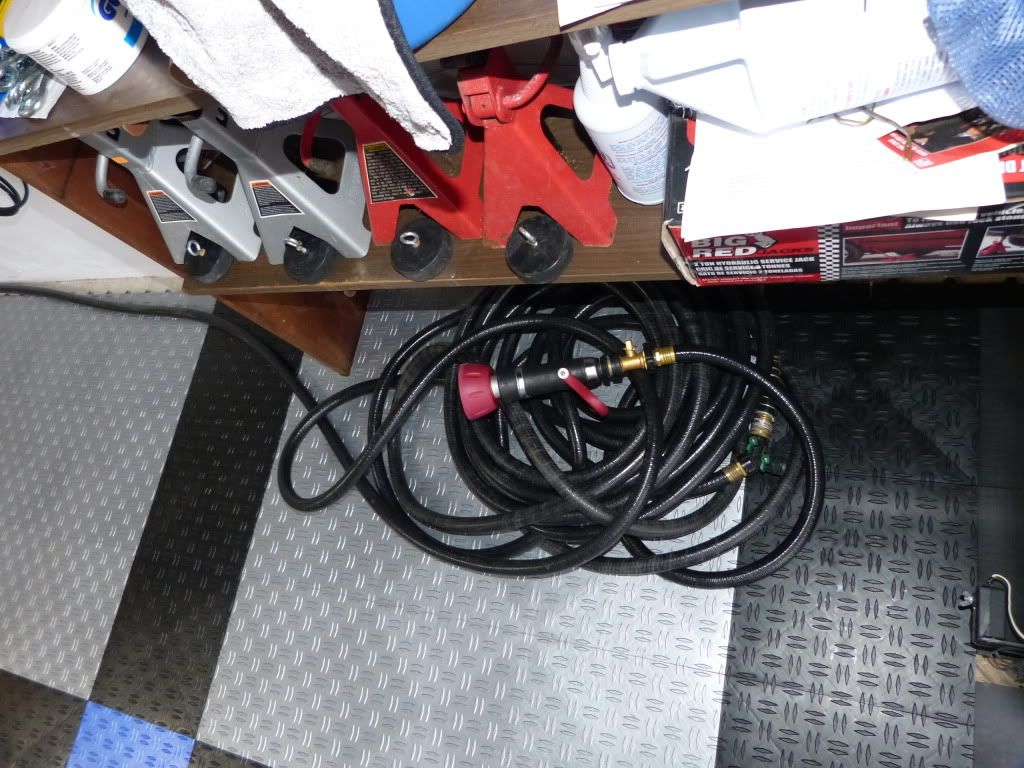
I will be washing the car soon (long overdue) and I always do my final rinse in the garage so I will be sure to watch for drainage and report back.
#
#
#
#
#
#
#
#
(Paragraph removed for AG)
#
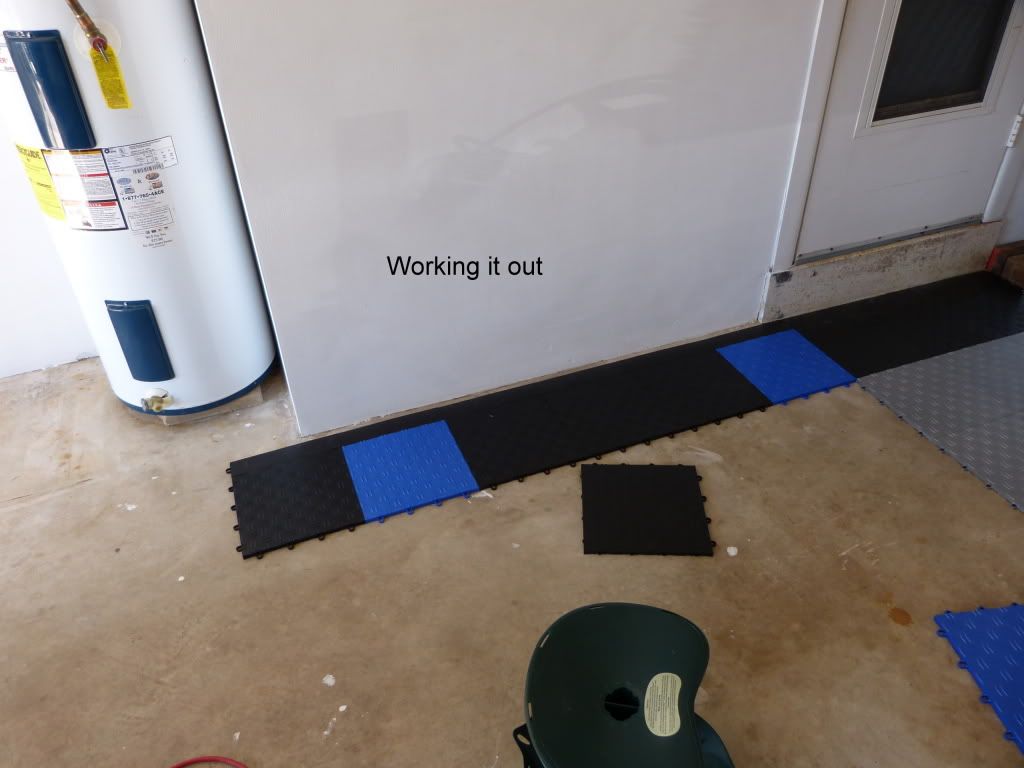
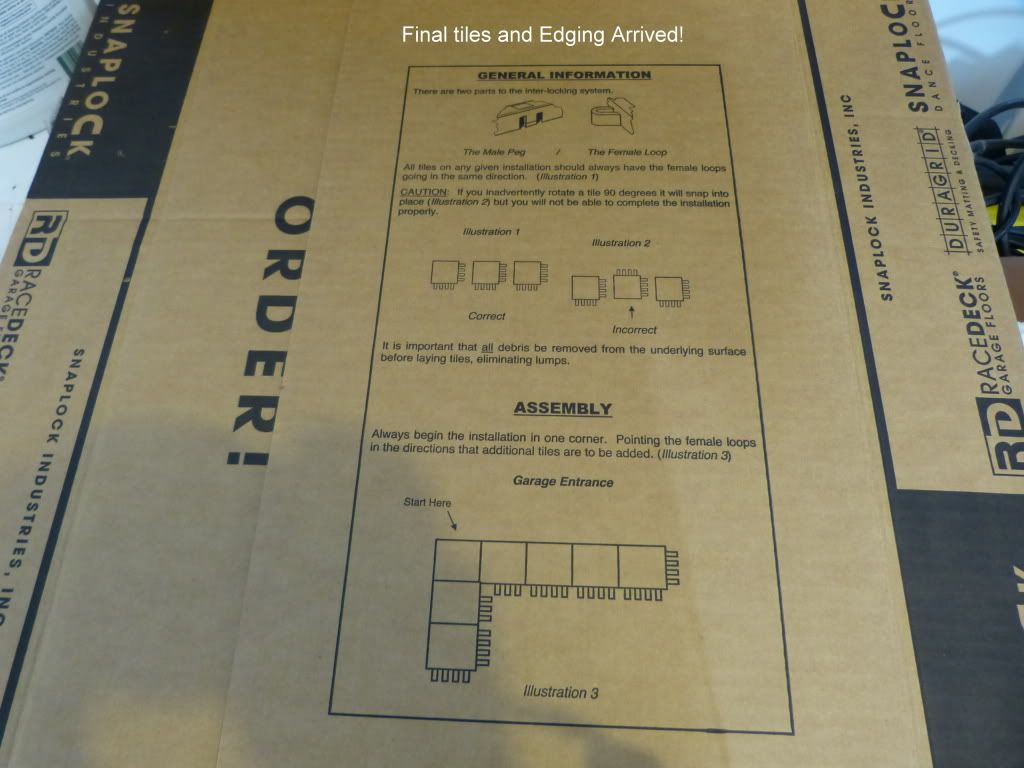
Below is a cool little us vs. them I found: #It’s actually for RaceDeck but#
(sentence removed for AG)
#
RaceDeck : 100% USA Made - When we say "USA Made" we mean it. Our floors are designed, engineered, tooled, molded, and manufactured under one roof in Salt Lake City, Utah.
• THEM : Virtually every competitor outsources their molding and manufacturing overseas. Quality, long-lasting, floors result from a combination of flawless manufacture and the best materials. Our multi-patented manufacturing process assures our floors have no flaws or weak points, which inevitably cause cracking and breaking later on. Our competitors fall behind in both manufacturing and materials.
RaceDeck : Superior Molding Technology - We have over 34 years experience in modular flooring manufacture. In that time, we have developed proprietary processes that result in the most durable floors in the world. Our patented single flow injection molding system ensures material flows consistently throughout the mold from a single point, leaving no break or flow points. This process is expensive, but the results are invaluable.
• THEM : Inferior products are made using a multi-point injection technique. With this process, material is injected at several points throughout the mold and flows unevenly until it hits the next mass of material and hardens, leaving severe structural flaws. Because of these flaws, multi-point injection molded floors can be easily cracked or damaged, even by gentle bending.
RaceDeck : PowerLock™ System : RaceDeck’s multi-patented PowerLock™ System is engineered to handle the heaviest loads. When engaged, the locks actually become part of the superstructure, strengthening the floor. #What’s more, the PowerLock™ System lets the floor expand and contract naturally in garages with big temperature variations.
• THEM : Many of our competitor’s floors do not have true positive locking systems. Instead, they have #flimsy “locking mechanisms” on the outer wall of each tile which loosely hook the modules together. These do not actually lock the tiles together, nor do they provide structural support or allow for expansion and contraction. Our competitor’s products simply cannot compete with ours because we hold the patent on the PowerLock™ System.
RaceDeck : Our flooring withstands rolling vehicle loads in excess of 50,000 pounds - The industry’s toughest!
• THEM : No other flooring system comes close to the RaceDeck line up in terms of sheer strength.
RaceDeck : We use premium grade high-impact copolymers in our manufacturing process. This means no fillers, foam agents, lead, or other foreign materials compromise the integrity of our flooring. This ensures they hold up in even the harshest garages.
• THEM : In an effort to save money and hide design flaws, many of our competitors use fillers and foam agents in their products. This comes at a huge cost to the quality and structural integrity of the flooring. Some imported products have also been known to contain toxic lead.
RaceDeck : We are the world’s leading manufacturer and supplier of modular garage flooring and the creators of the modular garage flooring industry you see today. We produce more modular flooring each month than our competitors produce in a year - combined! We have manufactured over 100 million feet of flooring since we began.
• THEM : No one has been in business longer than us. Many have come and gone and left their customers without warranties or customer service. Many of these companies disappeared because their products lacked the quality and consistency RaceDeck provides.
#
:dancebanana:
Sky's the Limit Car Care
-
Super Member

Re: Garage Flooring (Makeover Part II)
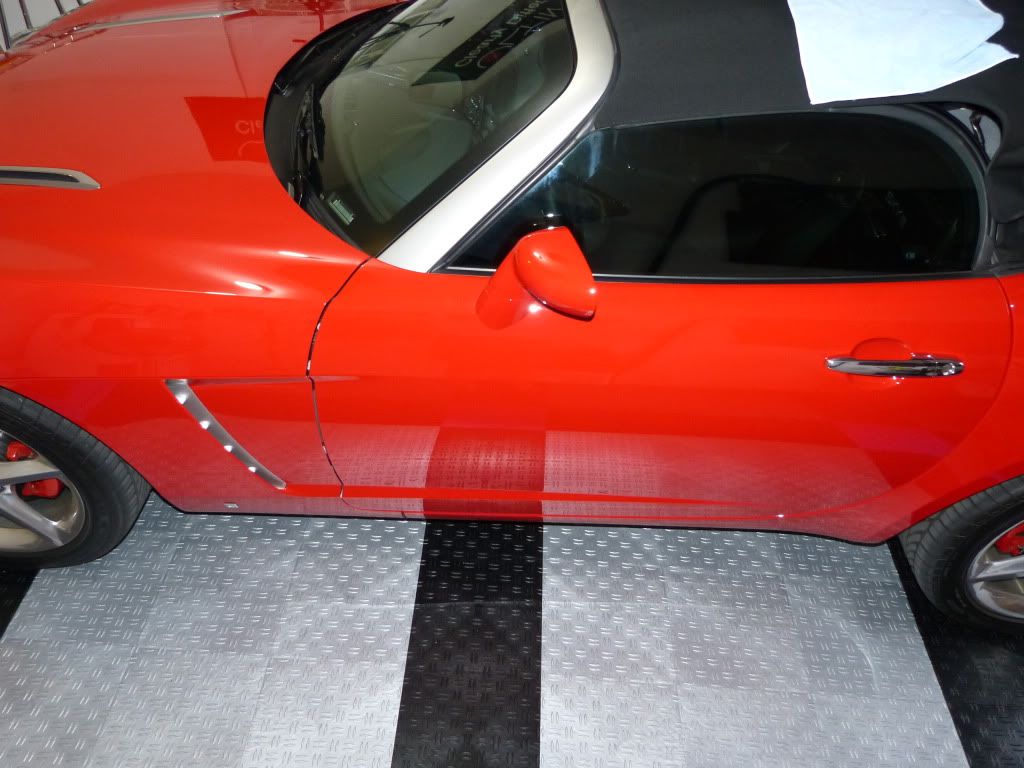
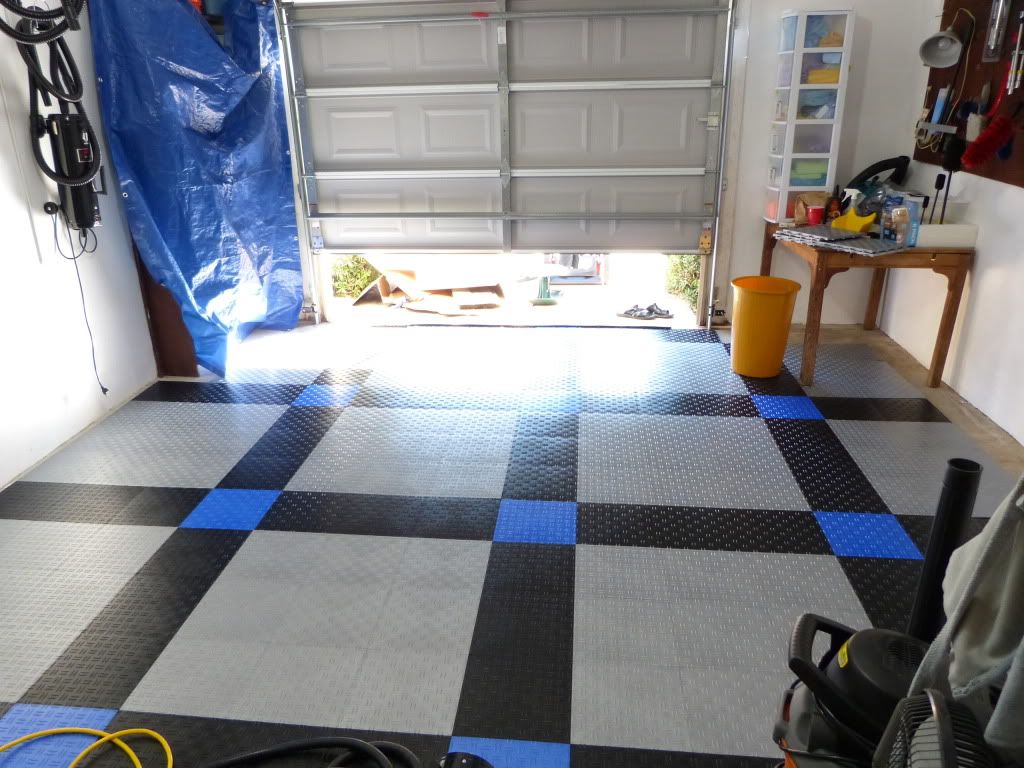
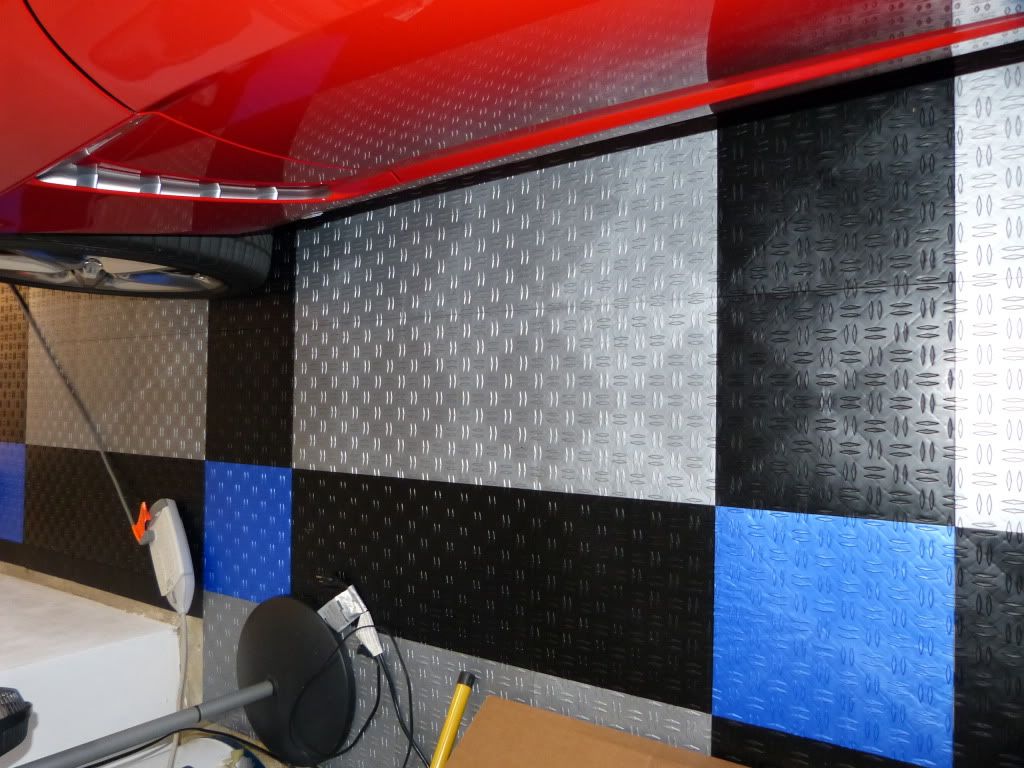
Great looking floor, Corey!! It's amazing how cool the car's tires look resting on the patterned floor!
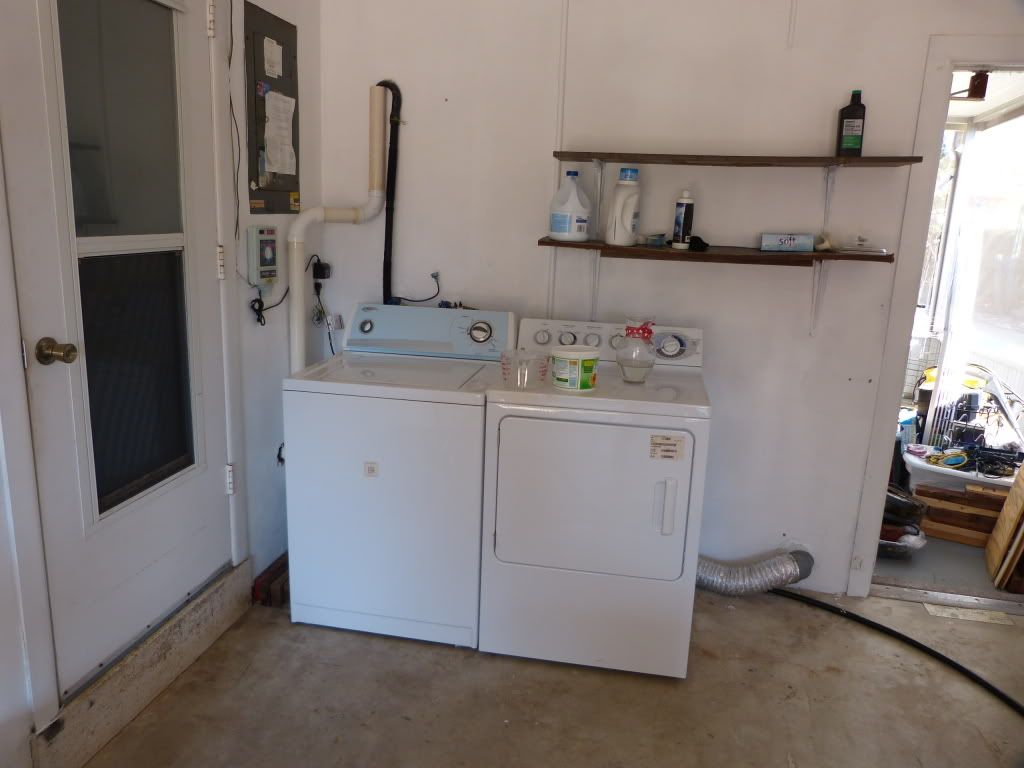
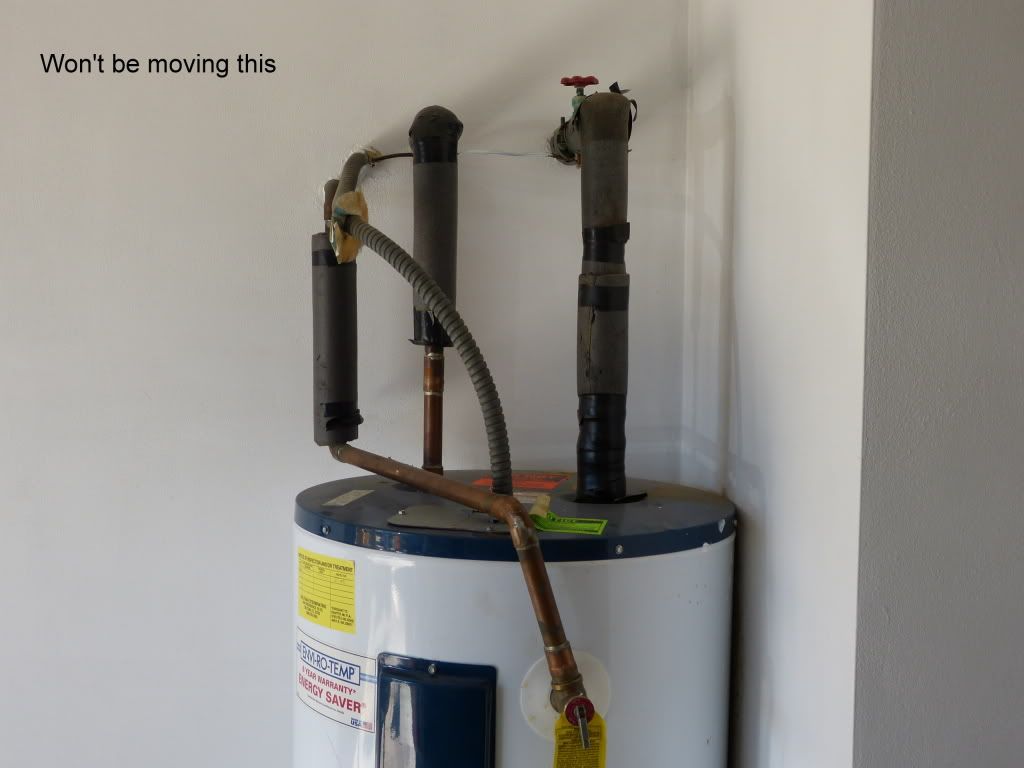
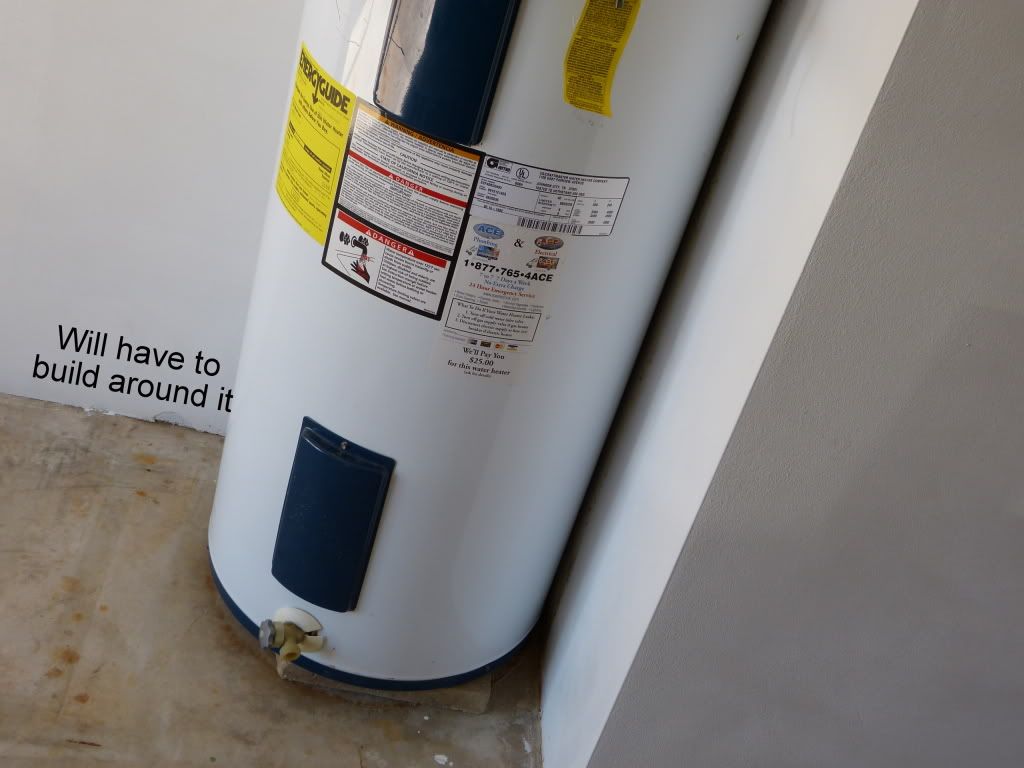
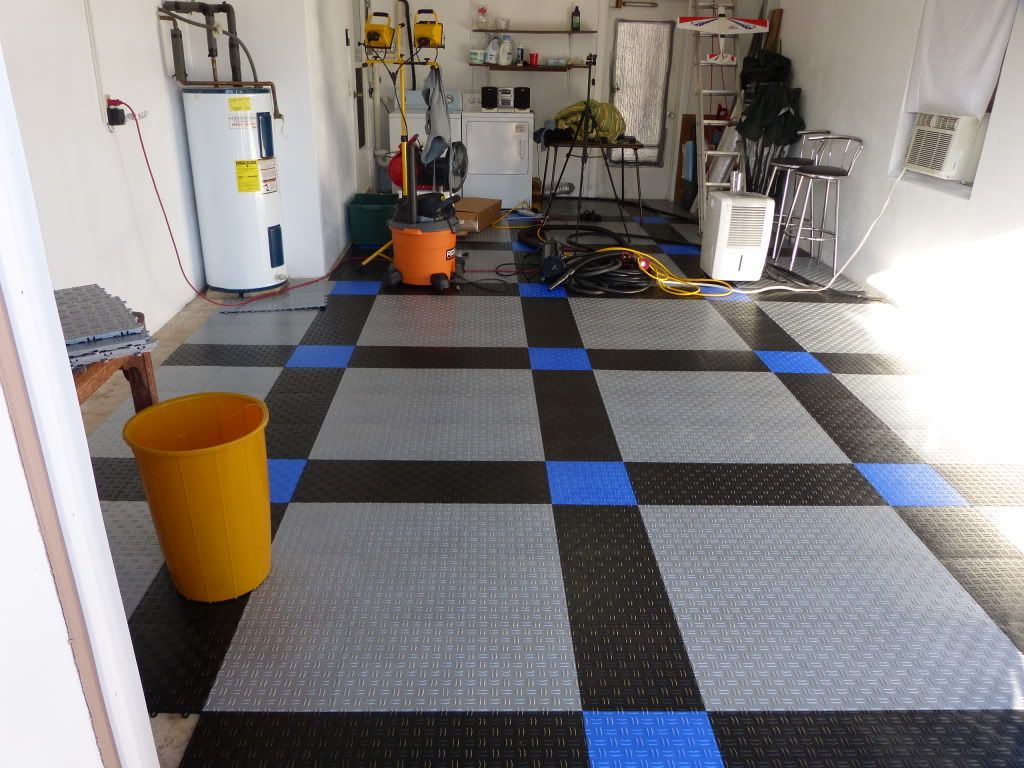
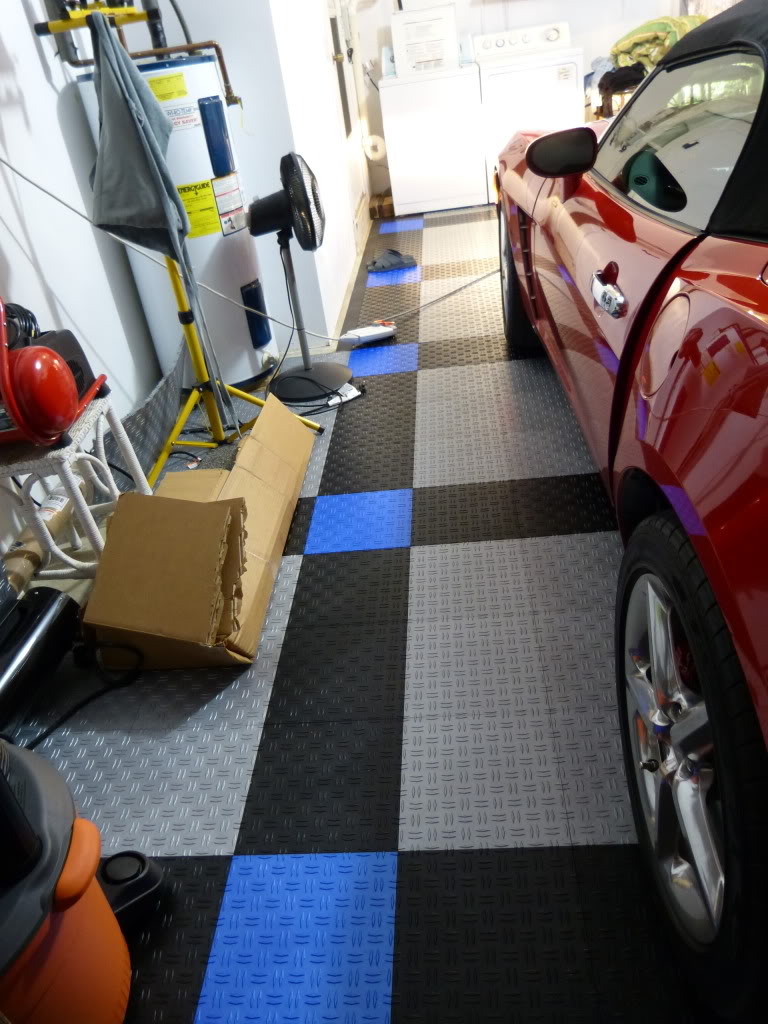
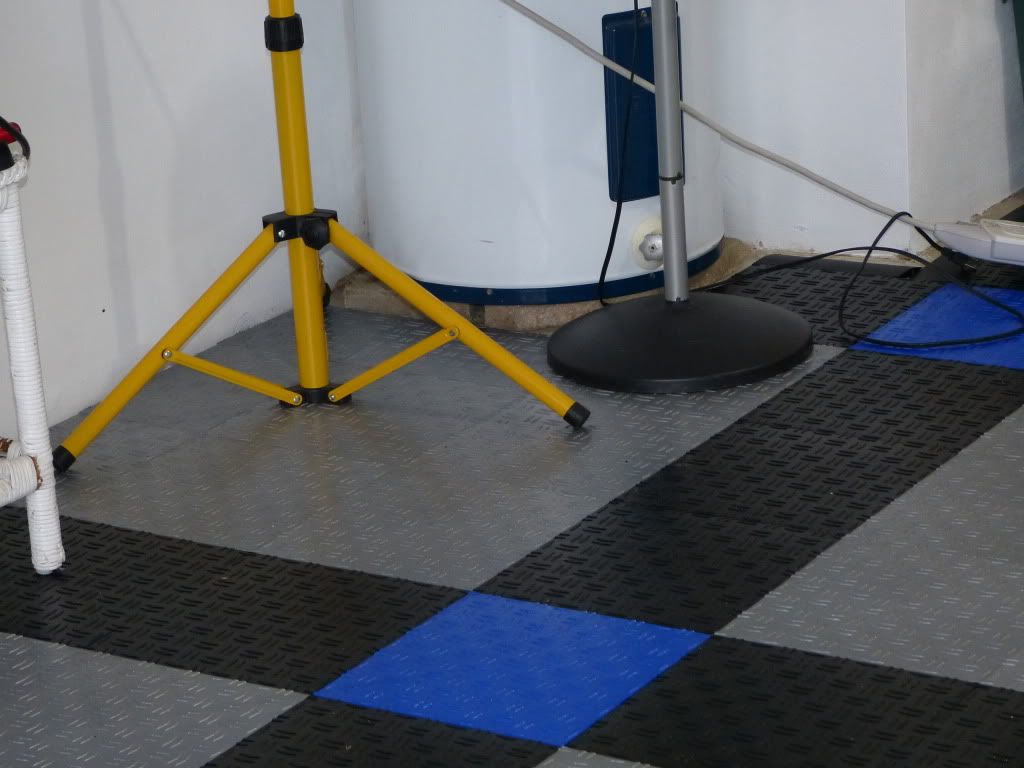
Hide some flooring away somewhere safe. When you need to replace the hot water heater you'll be able to extend the flooring to the corner if you want.
-
Super Member

Re: Garage Flooring (Makeover Part II)
Nice job Corey! How much space did you leave along the edge? You'll be surprised how much the tiles expand in direct sunlight. I have the same type of flooring and had to recut to leave a 1/2" gap to make up for the expansion.
Great write up as usual, good stuff!
-
Super Member

Re: Garage Flooring (Makeover Part II)
Looks fantastic Corey! Congrats on the new floor!
-
Super Member

Re: Garage Flooring (Makeover Part II)
looks great, I love tricked out garages and the floor made a dramatic improvement.
Mike
2012 Ford Mustang V6 Performance Package
2007 Dodge Ram 1500 Quadcab Hemi
-
Super Member
Re: Garage Flooring (Makeover Part II)
Thanks to all of you!! 
 Originally Posted by jpegs13

Nice job Corey! How much space did you leave along the edge? You'll be surprised how much the tiles expand in direct sunlight. I have the same type of flooring and had to recut to leave a 1/2" gap to make up for the expansion.
Great write up as usual, good stuff!
Thanks buddy!!!
I left a 1/2" as specified in most places but got tight on one wall. I had already cut them so I left it but I expect I'll have to remove about 7 of them and trim a bit off.
:dancebanana:
Sky's the Limit Car Care
-
Re: Garage Flooring (Makeover Part II)
The new flooring looks great!
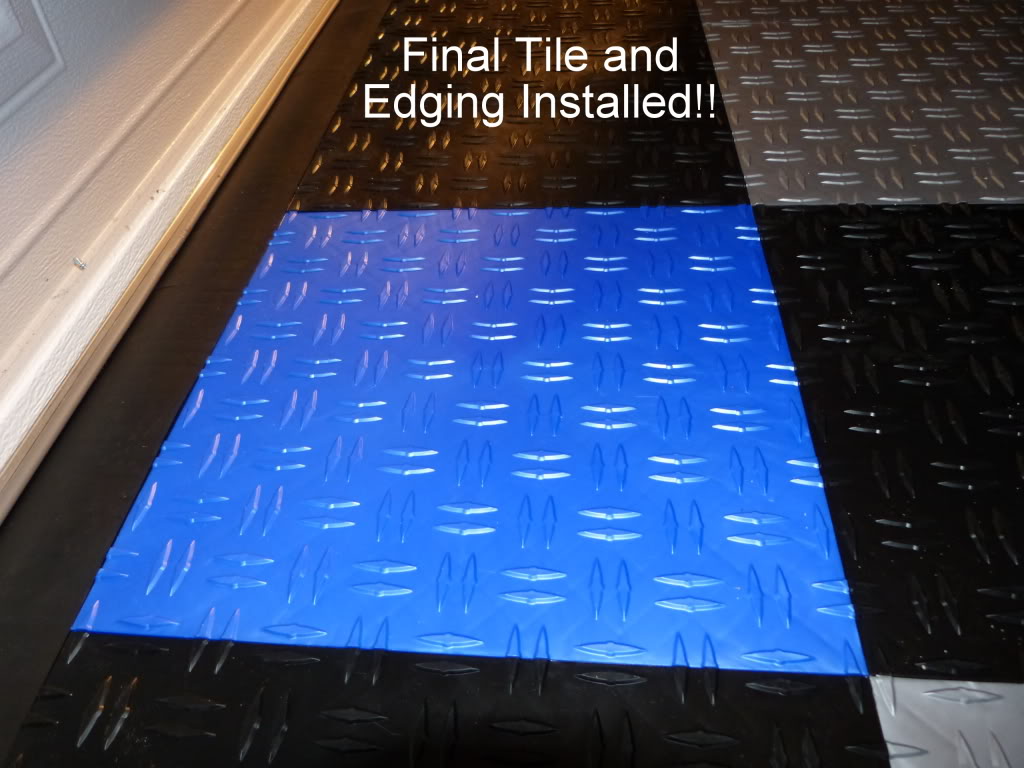
I didn't see it mentioned but does the tile have a glaze finish like the RaceDeck TuffShield tiles? Sure makes keeping the tiles clean a breeze...
I even used XMT Spray Wax on ours to clean and shine them before filming our TV show...
Tile Wax

Similar Threads
-
By Duy in forum Auto and Garage Accessories
Replies: 10
Last Post: 12-26-2017, 04:32 AM
-
By KMG in forum Auto and Garage Accessories
Replies: 25
Last Post: 01-27-2017, 07:20 AM
-
By Nick McKees37 in forum Show N' Shine
Replies: 23
Last Post: 03-21-2012, 11:53 PM
-
By CEE DOG in forum Auto Detailing 101
Replies: 39
Last Post: 01-12-2012, 08:34 PM
-
By darksparkz in forum Auto and Garage Accessories
Replies: 49
Last Post: 06-12-2007, 03:28 PM
 Members who have read this thread: 0
There are no members to list at the moment.
Posting Permissions
- You may not post new threads
- You may not post replies
- You may not post attachments
- You may not edit your posts
-
Forum Rules
|
| S |
M |
T |
W |
T |
F |
S |
| 31 |
1
|
2
|
3
|
4
|
5
|
6
|
|
7
|
8
|
9
|
10
|
11
|
12
|
13
|
|
14
|
15
|
16
|
17
|
18
|
19
|
20
|
|
21
|
22
|
23
|
24
|
25
|
26
|
27
|
|
28
|
29
|
30
| 1 | 2 | 3 | 4 |
|


 Reply With Quote


Bookmarks