 Thanks: 0
 Likes: 0
 Dislikes: 0
-
Super Member

1967 Chevy Camaro - Restoration Detail - Original Paint
1967 Chevy Camaro - Restoration Detail - Original Paint
Good Evening AG's,
Later this week, I'll be detailing a first year roll out, almost entirely original 1967 Chevy Camaro RS Convertible. The owner is having this vehicle detailed and then put it up for sale.
I completed a thorough walk around last week and here are a few things I noticed...
Color - Granada Gold (non bumble bee package)
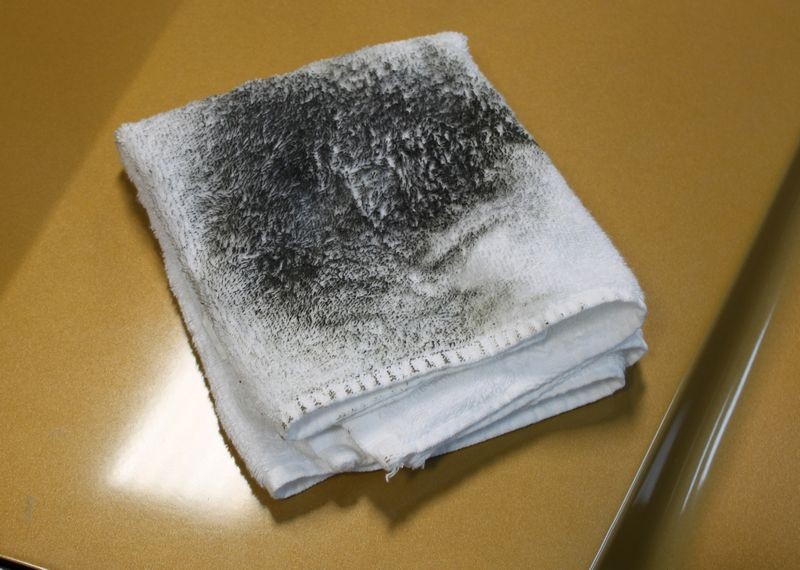
90% of the vehicles paint is original SS, it's heavily oxidized (zero reflection)
10% of vehicles paint is new(er), in the sense its a two stage paint job.
The chrome accents and wheels have some pitting, but I think its removable.
The convertible top and interior are both in good condition, although the polished metal on the steering wheel will need to be polished.
The engine bay is in good condition, but the their is an area on the engine block, in which the orange powder coating is rusted and pealing off.
What we discussed...
Premium Level Detail, Interior Detail, Polish Chrome
My Plan Of Attack...
Engine Detail*
Foam Cannon Soak (maybe...not 100% sure a pressure washer would be a smart choice for this vehicle.)
Wash
Clay
Meg's#7 (12+ hr soak), removal and then reapplication of Meg's#7
Polish Chrome Accents and Wheels
Meg's #7 removal
Test Exterior Paint for the least aggressive method towards removing the oxidation.
After removing oxidation, I will follow with one polishing step.
Seal Paint and Chrome Trim
303 Convertible Top Protectant
Interior Detail
and then all the little things...
*Engine Detail...the engine is in good condition, considering its age. The engine block is in the worst condition and that's contained to one area where the orange powder coating has rusted and is flaking off. This area is my biggest concern, because its 100% original and is the major selling point. I need to clean this well, but safely. What are your suggestions towards doing this properly...what do I need to cover or remove? Should I just clean via a rinseless method?
I'm hoping that those with a bit more experience working with a classic such as this, would be able to offer a bit of insight or things to be cautious about.
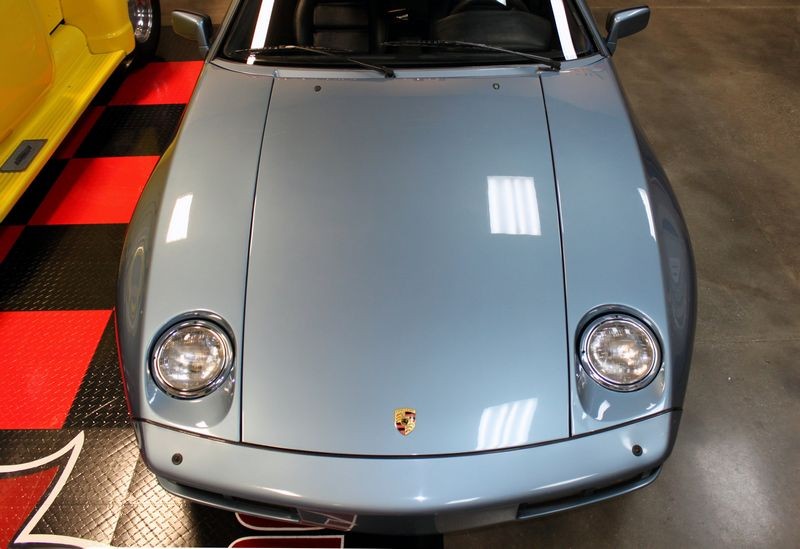
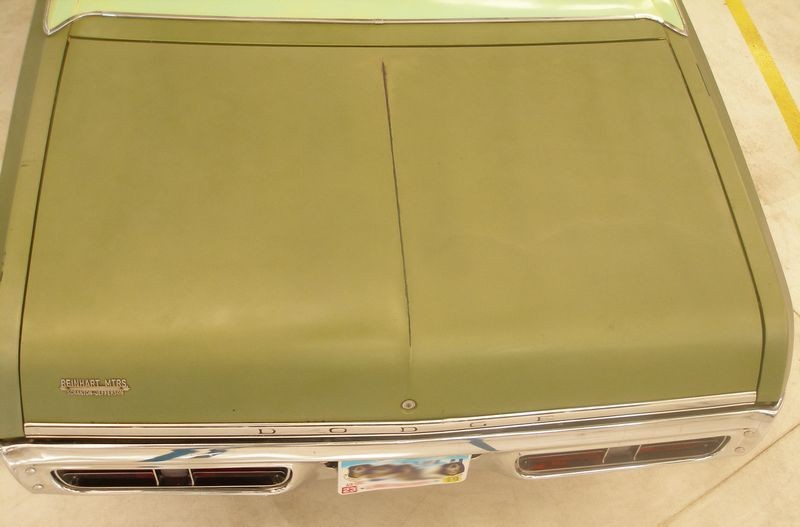
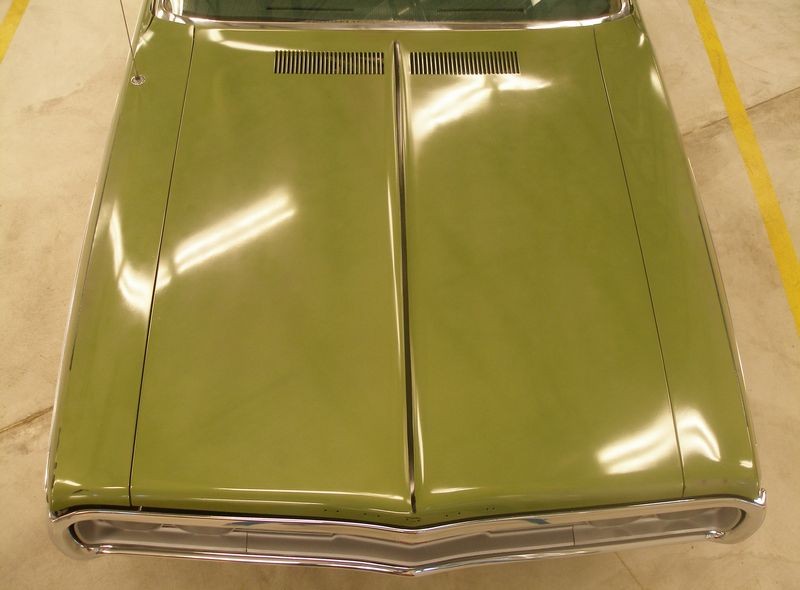
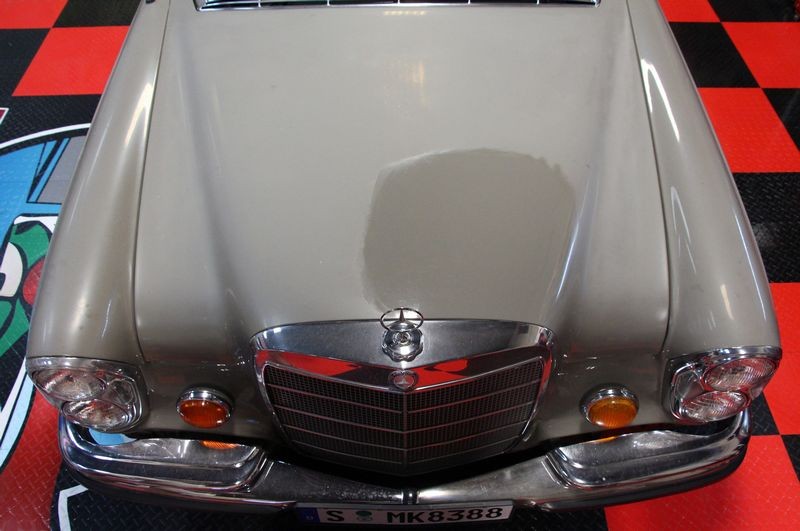
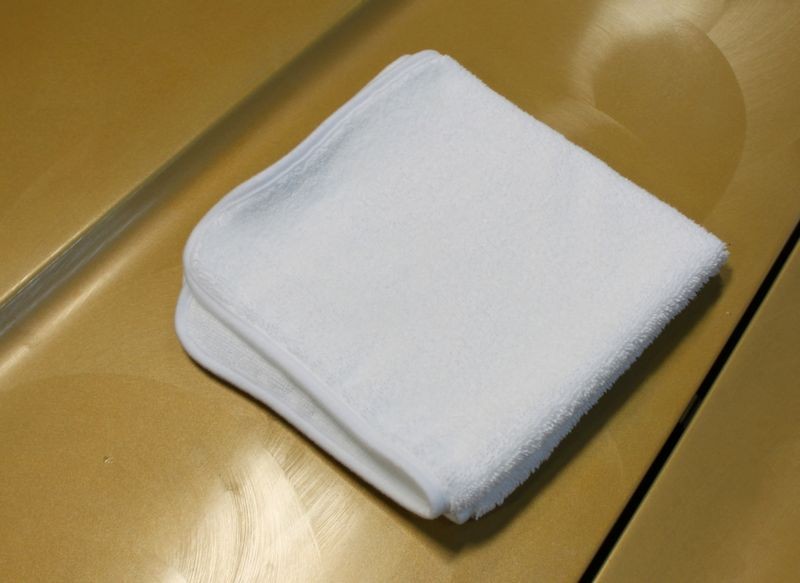
Below are a few teaser pictures.
Thanks, Kieran
-
Super Member

This looks like a soon to be beautiful Job
-
Super Member

Re: Classic Car Restoration Detail
The tail light housing and gas cap are pot metal not much you can do there except buy new.The hubcaps I believe are stainless and can be polished.Post a pic. on the steering wheel as they offered 2 or 3 as options that year.The engine is not powder coated it`s painted.I built several of these cars and own a 69 BB.
"Chrome wheeled, fuel injected and steppin' out over the line"
-
Super Member
Re: Classic Car Restoration Detail
The trim is stainless and can be polished as well yet it`s better done off the car.I have done it on cars but it`s not the same.
"Chrome wheeled, fuel injected and steppin' out over the line"
-
-
Re: Classic Car Restoration Detail
-
Super Member

Re: Classic Car Restoration Detail
The only real advice I can offer, which you probably already know, is cover the distributer, air intake, alternator, etc with a plastic bag and tape shut. I probably wouldn't use a pressure washer. Possibly clean an area at a time with something like meg's super degreaser, apc+ or opc. Aggitation is going to important since you won't be using pressure. I'm sure you have good detailing brushes. I'd maybe do a section at a time, rinse and then use compressed air to make sure you're not getting too much water in weird areas. I rarely work on classic cars, so somebody else may have some better advice.
Jeremy Wayne

-
Super Member
Re: Classic Car Restoration Detail
First, thank you for the replies and advise.
@Mike.Phillips I will certainly make sure to take an over head photo of both the trunk and hood. I would be shocked if I didn't take 100 before and after photos, just to make sure I got them all!
I will also make sure to thoroughly read through all of the threads you listed Mike.
@57BORNTORUN I will take a photo of the steering wheel when I begin the project. Thanks for the heads up on the different accents found around the vehicle. I will likely tape around the accents and polish to the best of my ability while still attached to the vehicle. Do you think Optimum Metal Polish and a Mothers Ball will do the trick?
Can anyone add to what statusdetailing said about engine detailing on this vehicle?
Thanks!
-
Super Member
Re: Classic Car Restoration Detail
 Originally Posted by KJW Detailing

First, thank you for the replies and advise.
@Mike.Phillips I will certainly make sure to take an over head photo of both the trunk and hood. I would be shocked if I didn't take 100 before and after photos, just to make sure I got them all!
I will also make sure to thoroughly read through all of the threads you listed Mike.
@57BORNTORUN I will take a photo of the steering wheel when I begin the project. Thanks for the heads up on the different accents found around the vehicle. I will likely tape around the accents and polish to the best of my ability while still attached to the vehicle. Do you think Optimum Metal Polish and a Mothers Ball will do the trick?
Can anyone add to what statusdetailing said about engine detailing on this vehicle?
Thanks!
If the owner requests and is willing to pay you I can walk you through the process of polishing the stainless on the car.Remind him it`s time consuming but it does make a difference on sale price.Just a thought as most people dont really know what polished stainless is suppose to look like.
"Chrome wheeled, fuel injected and steppin' out over the line"
-
Re: Classic Car Restoration Detail
Originally Posted by KJW Detailing
Can anyone add to what statusdetailing said about engine detailing on this vehicle?
Thanks!
Originally Posted by statusdetailing
The only real advice I can offer, which you probably already know, is cover the distributer, air intake, alternator, etc with a plastic bag and tape shut. I probably wouldn't use a pressure washer.
Possibly clean an area at a time with something like meg's super degreaser, apc+ or opc.
Agitation is going to important since you won't be using pressure. I'm sure you have good detailing brushes.
I'd maybe do a section at a time, rinse and then use compressed air to make sure you're not getting too much water in weird areas.
Jeremy aka statusdetailing gave some great advice, get a good degreaser and dilute it according to directions, don't use it overly strong or you can stain painted surfaces in the engine compartment like the fenderwells.
A buddy of mine, Mel Craig shared a really good technique with me a few years ago and that is to divide the engine compartment into 4 sections or quarter and then only apply your degreaser to one quarter and then "focus" all your scrubbing to only this quarter and then rinse and move to the next quarter.
Scrubbing the different areas and components in an engine compartment is clumsy at best and very time consuming if you really want to get her clean. So by only working a single quarter at a time "YOU" stay focused on the surfaces in that quarter and take my word for it that helps a lot.
Plus, by only applying degreaser to one quarter, as you work that quarter you won't have degreaser drying on you over the rest of the engine compartment and you won't find yourself hurrying to try to get to the other sections before the degreaser dries.
I tend to cover electrical components in this order, (I show this in my Detailing Boot Camp Classes also)
- Plastic bags or Saran Wrap
- Tin Foil formed over the plastic and component
- Painter's Tape or Duct Tape, depending upon the importance of the component staying covered.
I remove the air cleaner and cover the carburetor with microfiber towel first, just in case any water gets to it and the a plastic bag or Saran Wrap and the lots of tape and secure the tape around the base of the carburetor so no liquids can get under it.
Older cars have Electric Relays, you'll see this on the inside of the fenderwells, the firewall or the core support, cover and protect these two as when they get older the cork gaskets inside them get brittle and shrink away and it's easy to get water into them. If they are original, the points inside are already old and corroded and you don't want to make them any worse.
Cover:
- Distributor
- Carburetor
- Alternator
- Relays
- Any Breather Cap for air or oil on the valve cover
The above is probably good.
Get a boat load of different bushes, the new Daytona Speed Master Pro Wheel Brush works GREAT for cleaning engines but you can also use the Daytona Speed Master original style.
A couple of other things you can do to really "brighten-up" the engine compartment is to take a cleaner/wax to any glossy painted areas including the air cleaner, radiator hold down bracket, (if either had shiny paint at one time), all the parts of the fender that hang over into the engine compartment, and any shiny paint on the firewall around the fresh air grill and the wiper motors.
Install a new air cleaner and a radiator cap, install new hose clamps and clean the water hoses with the APC and then dress.
After you do all of the above, fire that motor up ASAP and let her run and get warm and burn off any left over residues and dry them out of places liquids shouldn't be.
I'd also warm up the motor first just to get the grease and gunk warmed up before you start.
And as always, take good before and after pictures...

Similar Threads
-
By Mike Phillips in forum Ask your detailing questions!
Replies: 4
Last Post: 04-08-2019, 04:01 PM
-
By Wills.WindowsAndWheels in forum Show N' Shine
Replies: 41
Last Post: 08-09-2016, 01:41 PM
-
By eShine Canada in forum Show N' Shine
Replies: 7
Last Post: 11-14-2015, 12:34 PM
-
By SODA CRACKER in forum How to Articles
Replies: 28
Last Post: 08-07-2014, 10:17 AM
-
By Alkay in forum Ask your detailing questions!
Replies: 20
Last Post: 05-15-2013, 03:59 PM
 Members who have read this thread: 0
There are no members to list at the moment.
Posting Permissions
- You may not post new threads
- You may not post replies
- You may not post attachments
- You may not edit your posts
-
Forum Rules
|
| S |
M |
T |
W |
T |
F |
S |
| 31 |
1
|
2
|
3
|
4
|
5
|
6
|
|
7
|
8
|
9
|
10
|
11
|
12
|
13
|
|
14
|
15
|
16
|
17
|
18
|
19
|
20
|
|
21
|
22
|
23
|
24
|
25
|
26
|
27
|
|
28
|
29
|
30
| 1 | 2 | 3 | 4 |
|


 Reply With Quote


Bookmarks