autogeekonline car wax, car care and auto detailing forum Autogeek on TV
car wax, car care and auto detailing forumAutogeekonline autogeekonline car wax, car care and auto detailing forum HomeForumBlogAutogeek.net StoreDetailing Classes with Mike PhillipsGalleryDetailing How To's
 
Thanks Thanks:  0
Likes Likes:  0
Dislikes Dislikes:  0
Page 6 of 8 FirstFirst 12345678 LastLast
Results 51 to 60 of 73
  1. #51
    Mike Phillips
    Guest

    Re: Rupes side by side detail - 1955 Crown Victoria

    Quote Originally Posted by TheCougarGuy View Post
    Mike, it looks like the blue pads are pretty beat up. Are they shot or will they be able to be used for more corrections?

    Yes. I use my cutting pads to the very last cell structure...

    When I used to detail cars full time as pads became tatty, I would save them for rough work like buffing out painted boat trailers, horse trailers, anything that you wouldn't call "nice" and "easy" to buffing out in the first place.


    I will hand wash these cutting pads and use them again.


    Keep in mind this is a HUGE car. For the 6" pad, I bumped the pad while buffing into a couple of trim edges a number of times... I try to be careful and buff like a surgeon but sometimes I might as well be blindfolded...


  2. #52
    Super Member ShaunD's Avatar
    Join Date
    Nov 2010
    Location
    Va Bch, Va
    Posts
    1,255
    Post Thanks / Like
    Thanks Yancy for the time lapse. The music really set the mood to make it feel epic.LOL Now you just need to get a better power source for the GoPro, or Mike needs to work even faster.JK LOL

    Sent from my SAMSUNG-SGH-I897 using AG Online
    Shaun Shines Automotive Detailing, VIRGINIA BEACH, VA. http://www.facebook.com/ShaunShinesDetailing

  3. #53
    Mike Phillips
    Guest

    Re: Rupes side by side detail - 1955 Crown Victoria

    Quote Originally Posted by ShaunD View Post

    Thanks Yancy for the time lapse. The music really set the mood to make it feel epic.LOL

    Don't feed his ego too much... we all have to work with this guy...


    Quote Originally Posted by ShaunD View Post

    Now you just need to get a better power source for the GoPro, or Mike needs to work even faster. JK LOL

    Next time we'll work on the power source and also use a faster capture rate to show more of the work being done.


    I'm sure if doing a "time capture" of a complete multi-step paint polishing process has ever been posted before? Regardless, there's a learning curve to everything...


    Although this car was a LOT of work due to its size it was also a lot of fun to polish out. At least to me... I like this kind of work.


  4. #54
    Super Member spiralout462's Avatar
    Join Date
    Dec 2012
    Location
    Eastern Shore, VA
    Posts
    1,771
    Post Thanks / Like

    Re: Rupes side by side detail - 1955 Crown Victoria

    I really enjoyed the thread guys! Thanks Mike and Yancy. Another quality job cranked out of the Show Car Garage!

  5. #55
    Super Member
    Join Date
    Apr 2008
    Location
    Clearwater, FL
    Posts
    240
    Post Thanks / Like

    Re: Rupes side by side detail - 1955 Crown Victoria

    Mike
    How many blue pads did you use on each side? Did you fully prime the pads during compounding step or just apply a few blobs? At one point during the beginning it looked like you laid a bead of product (roof)... did you "pick up the bead" or that's not what I seen (curious since this is a DA)? Thanks

  6. #56
    Super Member
    Join Date
    May 2010
    Location
    ankeny ia
    Posts
    1,301
    Post Thanks / Like

    Re: Rupes side by side detail - 1955 Crown Victoria

    never used hard candy,is there a reason you picked that over all the others you can pick from?beautiful work by the way

  7. #57
    Mike Phillips
    Guest

    Re: Rupes side by side detail - 1955 Crown Victoria

    Quote Originally Posted by g26er View Post

    Mike
    How many blue pads did you use on each side?
    One 7" for the Rupes 21/Passenger side

    One 6" blue pad for the Rupes 15/Driver's side

    One 3" blue pad on the LHR75 Mini Polisher for the tight areas on both sides.


    I could have used more pads but my goal was to put all the pads to the test. Lots of people new to machine polishing purchase the minimal amount of "products" when they are getting started.

    In a perfect world, and what I always recommend is...

    More pads are better...


    Let your budget be your guide.


    Quote Originally Posted by g26er View Post
    Did you fully prime the pads during compounding step or just apply a few blobs?

    At one point during the beginning it looked like you laid a bead of product (roof)... did you "pick up the bead" or that's not what I seen (curious since this is a DA)? Thanks

    I never primed a single pad with the Rupes system. A couple of times for,

    • Testing purposes
    • For vertical sides

    I applied 3 dime sized drops to the face of the pad but what I found worked best for me was a modification of the 10 @ 10 Technique I show for use with rotary buffers and used the 10 @ 3 technique.

    That's where I laid a strip of product onto the panel about the size of a pencil.

    Next I turned the polisher on and locked it into the on position with the 9 'O'Clock portion of the pad lightly touching the paint.

    Then in a sweeping fashion I picked up my my bead of product at the 3 'O'Clock position with the pad lifted about 10 to 15 degrees and then run the polisher over the bead of product and when you get to the end of the bead lay the pad flat against the surface and then spread the product out.

    After spreading the product out then start working the section.

    I do something similar with the Flex most of the time. About the only time I put drops on the face of the pad is with the PC type of polishers.


    Picking up a bead of product on the fly works best for me with this tool, just had to play around a little bit to see which direction, speed and angle.


    Good eyes...


  8. #58
    Mike Phillips
    Guest

    Re: Rupes side by side detail - 1955 Crown Victoria

    Quote Originally Posted by john b View Post

    never used hard candy,is there a reason you picked that over all the others you can pick from?beautiful work by the way


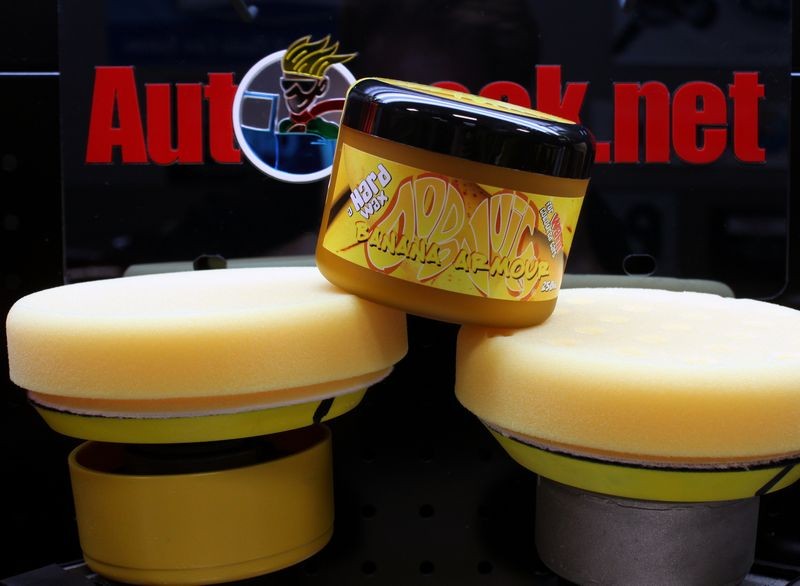
    I wanted to use a traditional Carnauba hard wax for sure because a good hard wax imparts a nice hard, glossy shine and there's a lot of white paint on this car and the goal for white paint is good gloss.

    Besides that, I like Dodo Juice waxes and haven't showcased one for a while. In the past I have shown these,

    1972 Corvette Stingray - Extreme Makeover - Process and Products Used


    Mike Phillips & pj Aass Show YOU How to Make Your Own Wax!


    1957 Chevrolet Bel Air


    It didn't wipe off too hard after drying all night long, which I was a little worried about. It did give me a good work out though...


  9. #59
    Super Member
    Join Date
    Apr 2008
    Location
    Clearwater, FL
    Posts
    240
    Post Thanks / Like

    Re: Rupes side by side detail - 1955 Crown Victoria

    Quote Originally Posted by Mike.Phillips@Autogeek View Post
    One 7" for the Rupes 21/Passenger side

    One 6" blue pad for the Rupes 15/Driver's side

    One 3" blue pad on the LHR75 Mini Polisher for the tight areas on both sides.


    I could have used more pads but my goal was to put all the pads to the test. Lots of people new to machine polishing purchase the minimal amount of "products" when they are getting started.

    In a perfect world, and what I always recommend is...

    More pads are better...


    Let your budget be your guide.


    I never primed a single pad with the Rupes system. A couple of times for,

    • Testing purposes
    • For vertical sides

    I applied 3 dime sized drops to the face of the pad but what I found worked best for me was a modification of the 10 @ 10 Technique I show for use with rotary buffers and used the 10 @ 3 technique.

    That's where I laid a strip of product onto the panel about the size of a pencil.

    Next I turned the polisher on and locked it into the on position with the 9 'O'Clock portion of the pad lightly touching the paint.

    Then in a sweeping fashion I picked up my my bead of product at the 3 'O'Clock position with the pad lifted about 10 to 15 degrees and then run the polisher over the bead of product and when you get to the end of the bead lay the pad flat against the surface and then spread the product out.

    After spreading the product out then start working the section.

    I do something similar with the Flex most of the time. About the only time I put drops on the face of the pad is with the PC type of polishers.


    Picking up a bead of product on the fly works best for me with this tool, just had to play around a little bit to see which direction, speed and angle.


    Good eyes...


    Nice, Thanks for the detailed reply.

  10. #60
    Super Member ShaunD's Avatar
    Join Date
    Nov 2010
    Location
    Va Bch, Va
    Posts
    1,255
    Post Thanks / Like
    Yeah Mike, thanks for the replies. I wasn't knocking you and Yancy about the battery issue. Just poking fun. God knows most of my life has been spent in the trial and error mode trying to catch-up to the learning curve.LOL
    With the busy schedule you carry Mike I am always just amazed out how much you pack into it and always at such high quality. Okay, now you and Yancy wont be able to fit in the same room with those big heads.LOL
    Maybe I missed it but did you clean the pad on-the-fly? Not critiquing either way just wondering how the Big Foot system performed with so much use on each pad. Guess either way that would be normal pad count/use. You used six pads total for compound and polish steps?
    BTW, What did the owners say when they picked up the Crown? Would bet they were excited to see it to say the least.

    Sent from my SAMSUNG-SGH-I897 using AG Online
    Shaun Shines Automotive Detailing, VIRGINIA BEACH, VA. http://www.facebook.com/ShaunShinesDetailing

Page 6 of 8 FirstFirst 12345678 LastLast

Similar Threads

  1. Picture - Mini Tools Side-by-Side - Griots - RUPES - FLEX
    By Mike Phillips in forum Ask your detailing questions!
    Replies: 16
    Last Post: 04-30-2020, 12:18 PM
  2. Rupes Polisher Time Lapse Video - 1955 Ford Crown Victoria by Mike Phillips
    By Mike Phillips in forum RUPES BigFoot Oribital Polishers
    Replies: 24
    Last Post: 07-26-2019, 02:48 PM
  3. 1994 Crown Victoria One Step Detail
    By BrentCherry in forum Show N' Shine
    Replies: 9
    Last Post: 10-27-2017, 02:59 PM
  4. Christmas Detail - 1955 Ford Crown Victoria with Black Label Surface Coating
    By Mike Phillips in forum Ask your detailing questions!
    Replies: 20
    Last Post: 12-28-2013, 09:39 AM
  5. Decontaminating a 1955 Ford Crown Victoria - Brilliant Shine Autoscrub Kit
    By Mike Phillips in forum Ask your detailing questions!
    Replies: 16
    Last Post: 07-31-2013, 07:42 AM

Members who have read this thread: 0

There are no members to list at the moment.

Posting Permissions

  • You may not post new threads
  • You may not post replies
  • You may not post attachments
  • You may not edit your posts
  •  

» May 2024

S M T W T F S
282930 1 2 3 4
5 6 7 8 9 10 11
12 13 14 15 16 17 18
19 20 21 22 23 24 25
26 27 28 29 30 31 1