 Dislikes: 0
-
Review: 3D Ceramic Coating on a Marine Gelcoat Boat
Review: 3D Ceramic Coating on a Marine Gelcoat Boat
It took 5 bottles of 3D Ceramic Coating to coat the inside and outside of the 23' Formula and that's 3 solid coats back-to-back with about 30 minutes drying time between each coat.
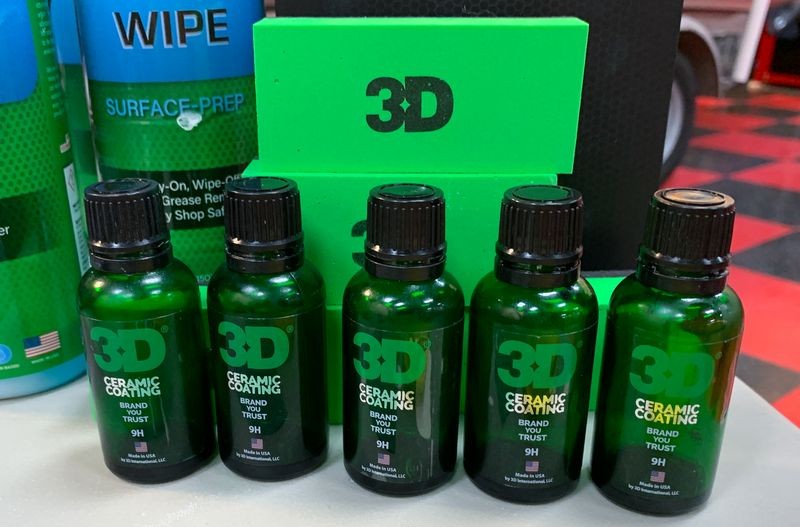
I spoke with Tunch Gorin about his new 3D Ceramic Coating. I previous used it here on a 2011 Corvette Z06 in Atomic Orange with phenomenal results. I asked him if it could be used on gelcoat and he said "yes".
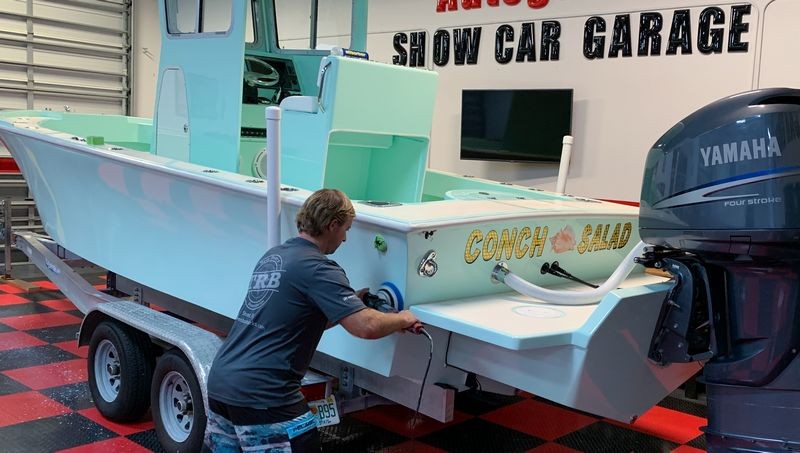
He recommended at least 2 applications, and even 3 applications because gelcoat is more porous than car paint. With his assurance for his own creation, (he's the head chemist for 3D Products), we used the 3D Ceramic Coating on a freshly restored and customized 23' Formula Center Console Boat. This boat has been completely restored with a LOT of new customizations and as a part of the restoration it was painted with new gelcoat.
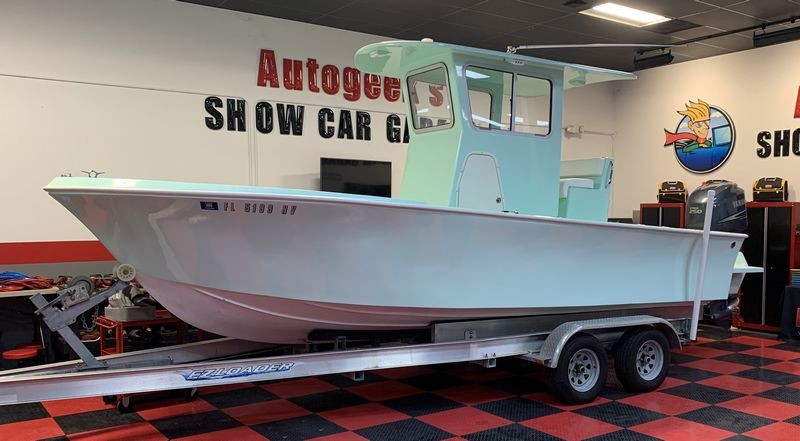
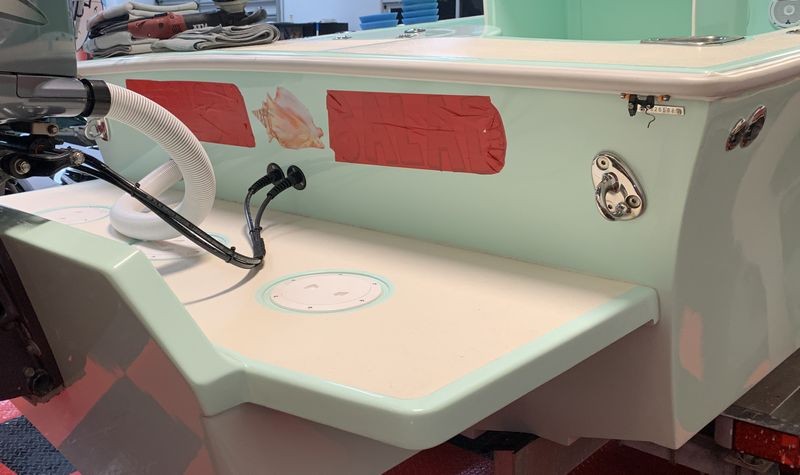
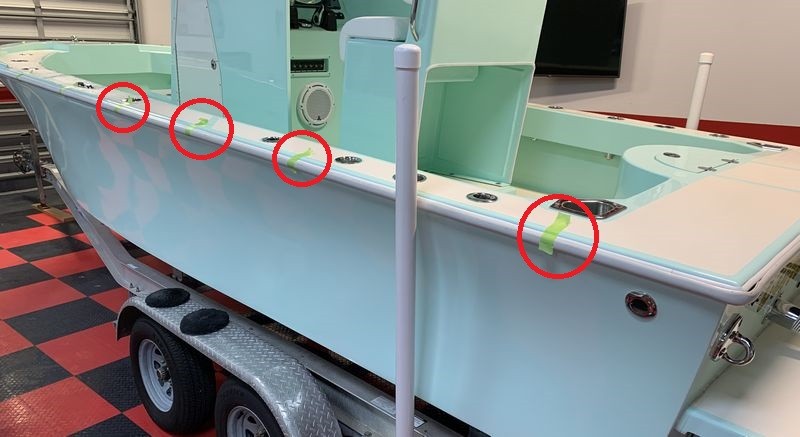
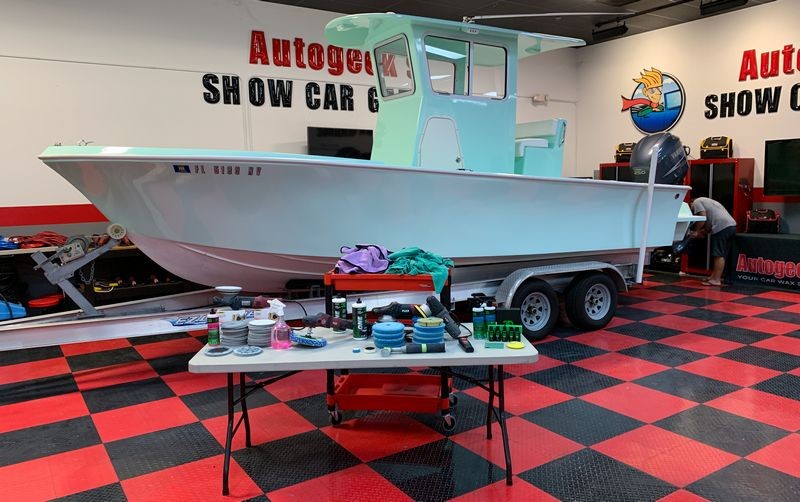
Here's our project boat.
Under just the florescent lights, the finish on the gelcoat looks good, at least it doesn't look horrible.
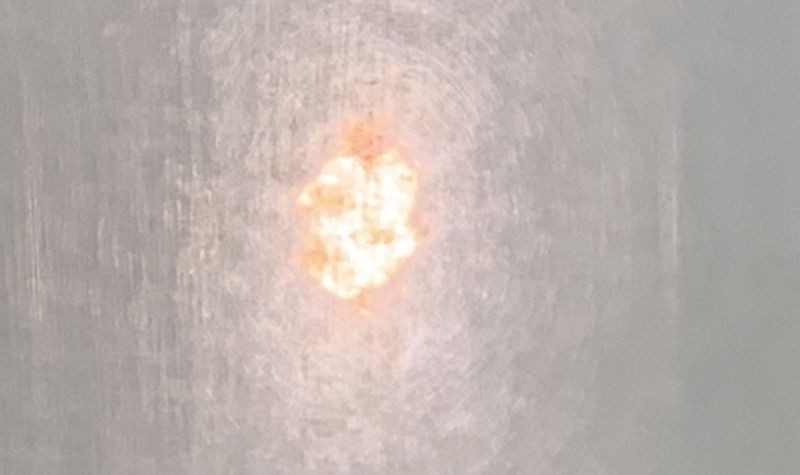
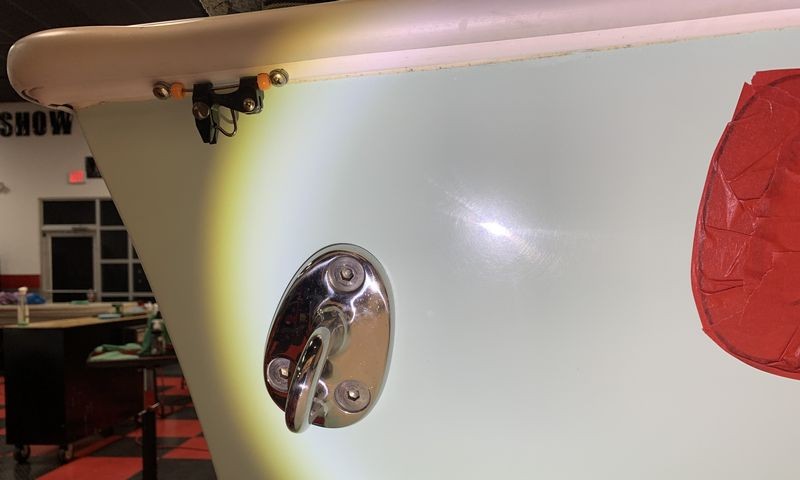
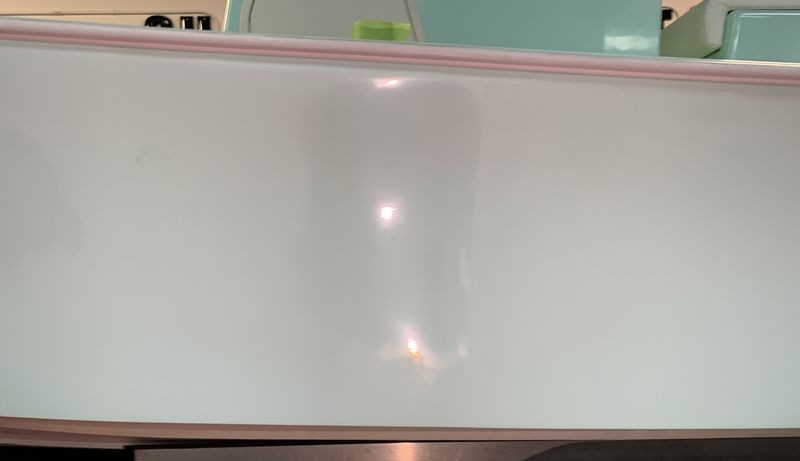
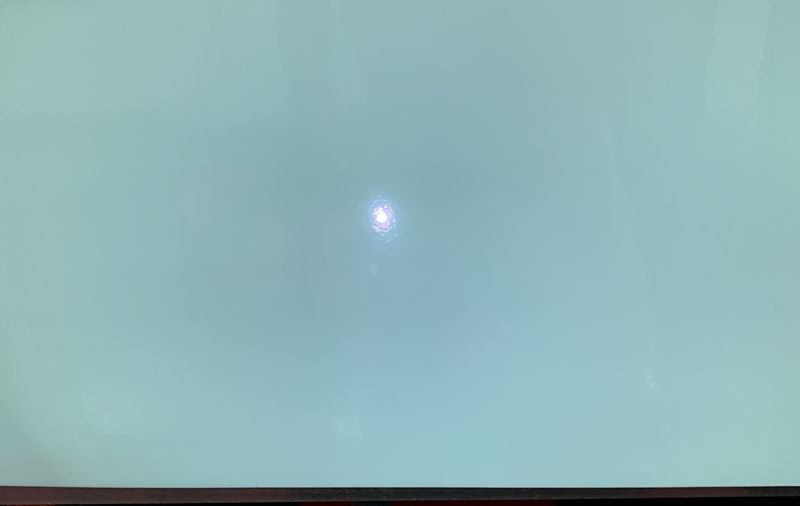
But when you light-up the gelcoat with a quality swirl finder light - then you can see the problem....

The entire boat looks like the section you see below or worse...

It was a tick difficult to capture the true level of swirls and remaining sanding marks in the hull due to the light color and curved design working against capturing the reflecting light.
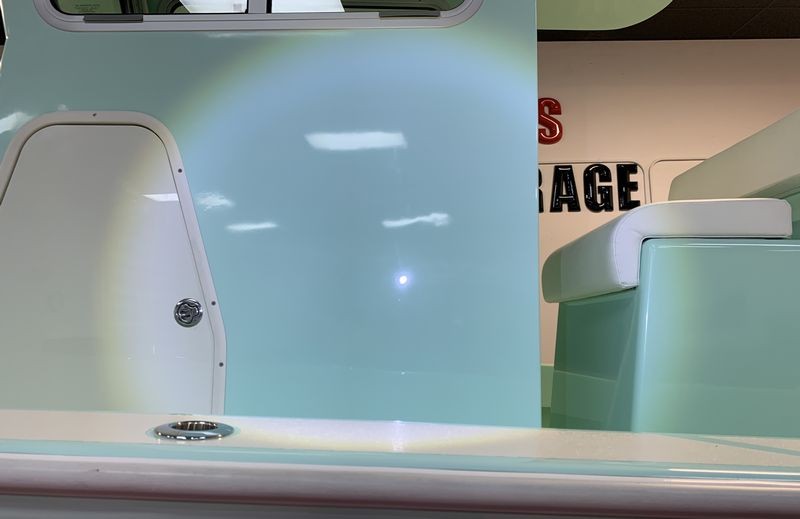
Here's the Port side of the Pilot House

Because the walls are flatter than the side of the boat hull it was easier to capture the hologram scratches from the rotary work done previously.
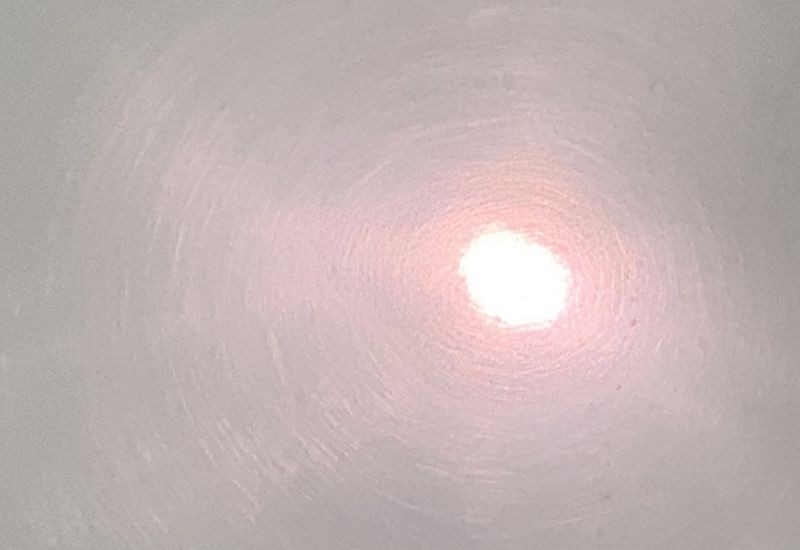
I took these shots to show the entire boat looked this way....


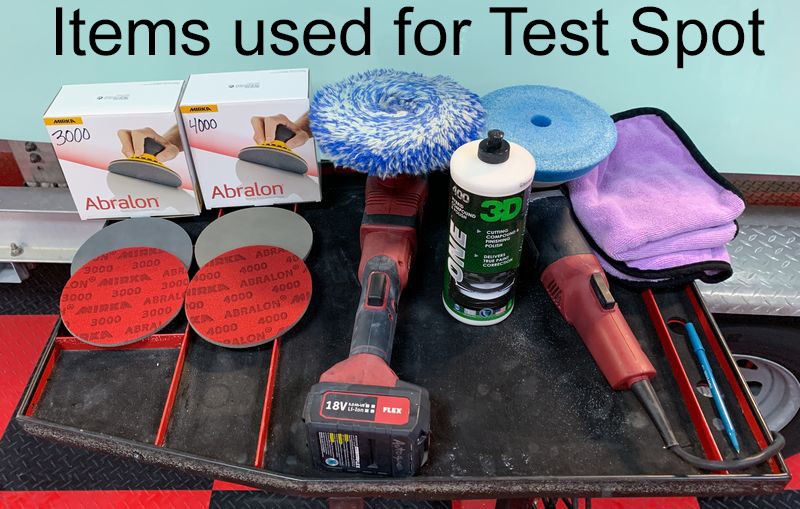
Doing a Test Spot on Gelcoat
In keeping with the practice of,
Use the least aggressive process to get the job done
2 -steps - Machine Damp Sanding
I chose to start my Test Spot using #3000 Mirka Abralon on the FLEX BEAST, (the FLEX 3401), followed by #4000 Mirka Abralon again on the BEAST - speed 5-6.
Compounding
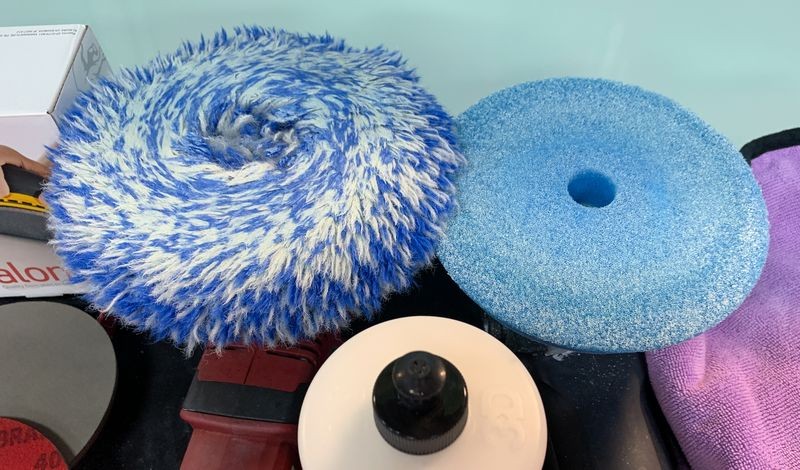
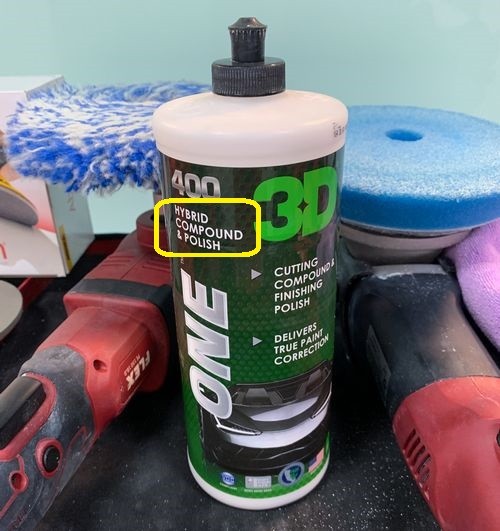
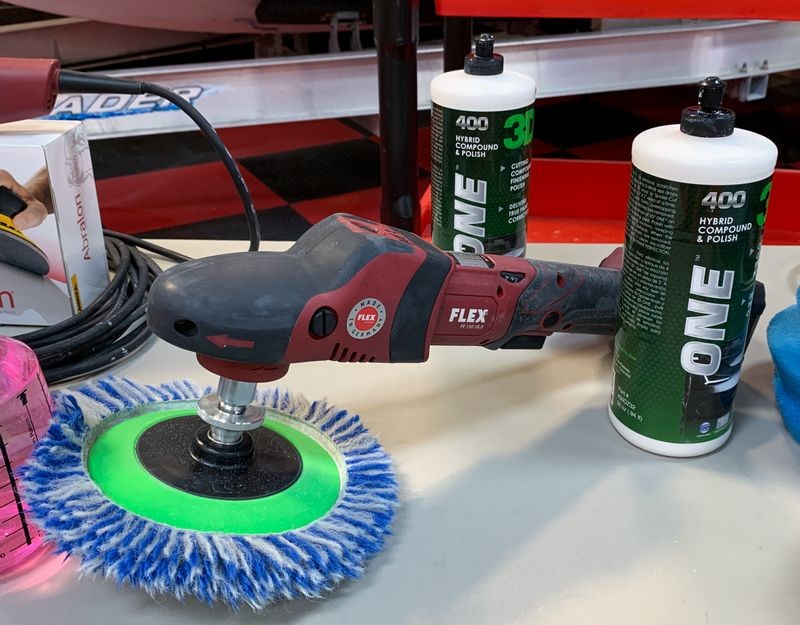
To remove the sanding marks we used the 3D ONE, a hybrid compound/polish with a RUPES wool pad on the cordless FLEX PE14 - Speed 3
Polishing
To remove the holograms left by the wool pad and rotary polisher, I used the same compound/polish but switched to the very coarse and aggressive RUPES blue foam cutting pad and the BEAST. - Speed 6

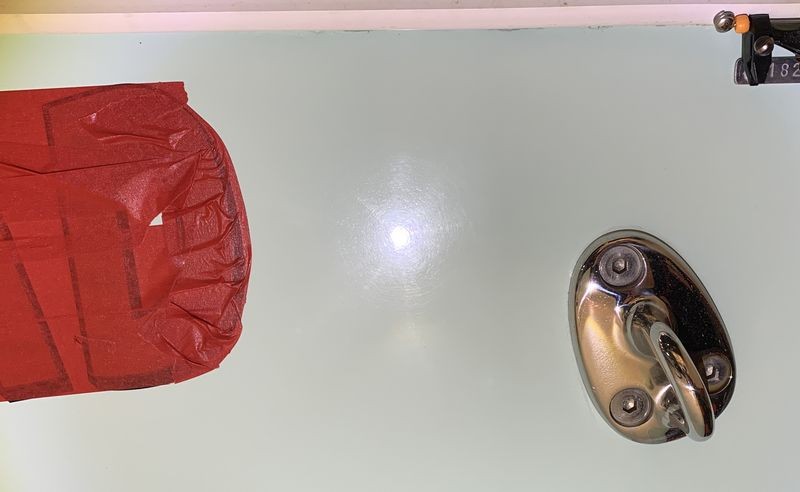
Here's the results....
I sanded, compounded and polished a section from the top to the bottom of the side of the hull about 2' across.
- For the 2 sanding steps I did 10 to 12 section passes using a crosshatch pattern.
- For the compounding step I did 12 section passes using a crosshatch pattern.
- For the polishing step I did 10 section passes using a crosshatch pattern.
I used the technique shared in this video for working each section.
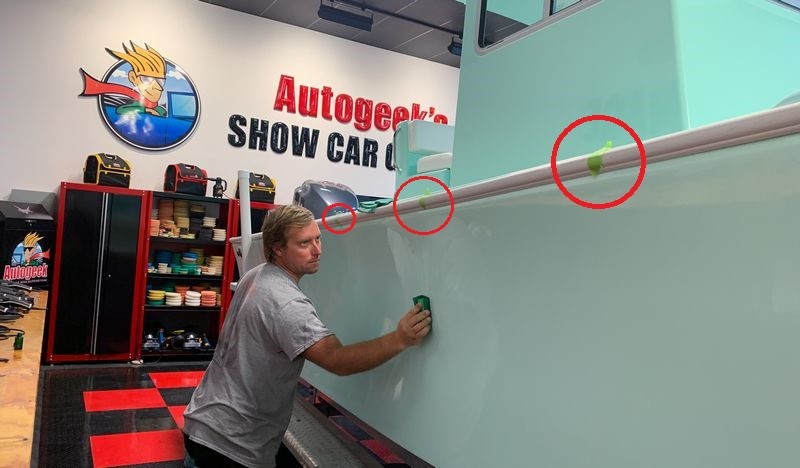
If you look closely - you can see the reflection of the red and black tile floor now reflecting in the side of the hull in the area I sanded, compounded and polished. It's not dramatic to your eyes (or to the camera) and this is WHY I don't bring in light colored boats for my normal 2-day boat detailing classes. I want my class to EASILY see the stark before and after difference from their training and the only way to do this is to bring in dark colored gelcoat boats in horrible condition. This alas is a light colored gelcoat boat in horrible condition. But I think you'll get the idea.

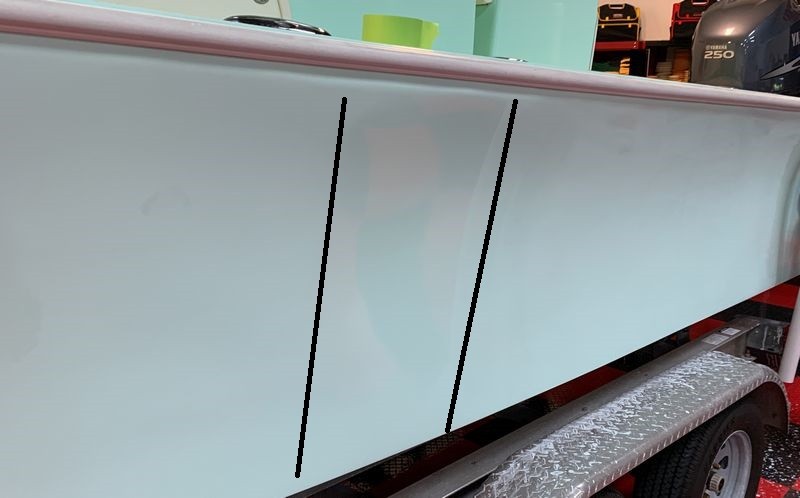
Both gloss and clarity have been restored.
Success! - Hand sanding marks and holograms removed
Something else you cannot see via a picture are the hand sanding marks or scratches that were throughout all the gelcoat panels. The goal was to preserve as much of the gelcoat as possible but also remove the maximum defects as possible. Because #4000 grit discs are pretty fine in the context of machine sanding, I chose to start with #3000 to remove as many of the sanding marks as possible and then to make the buffing easier - re-sand with #4000 grit.
Besides the hand sanding marks, there were holograms throughout the entire finish. This is because previously the boat was buffed out with an aggressive marine compound using a wool pad on a rotary buffer. Most marine compounds are very aggressive and for this reason they tend to leave DEEP hologram scratches or swirls in gelcoat. This is another reason I chose to use #3000 grit sanding discs for the first machine sanding step.

-
Post Thanks / Like - 2 Thanks, 2 Likes, 0 Dislikes
-
Re: Review: 3D Ceramic Coating on a Marine Gelcoat Boat
Continued...
Continued....
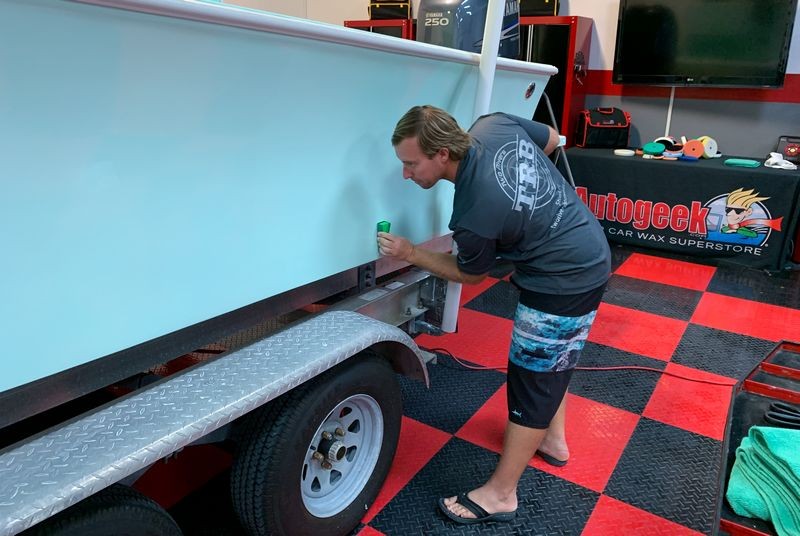
Once we dialed-in the process using the Test Spot procedure, next up was to machine sand the boat first with #3000 sanding discs followed by #4000 sanding discs.
Royce started at the bow and I started at the stern and then we worked towards the middle.
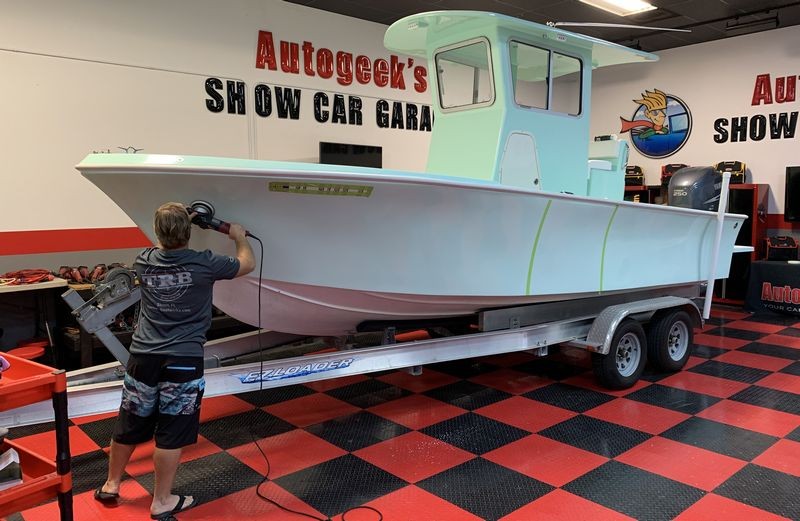
The BEAST as a sander
Never use the BEAST to sand car paint, it's too thin. For oxidized gel-coat or in this case, gelcoat with sanding marks and holograms, it's a great option because it's GEAR-DRIVEN thus no stalling of the sanding disc.


Machine Compounding
After sanding both sides of the hull, next we switched over to cordless FLEX PE14 rotary polishers and cut out the sanding mark pattern.
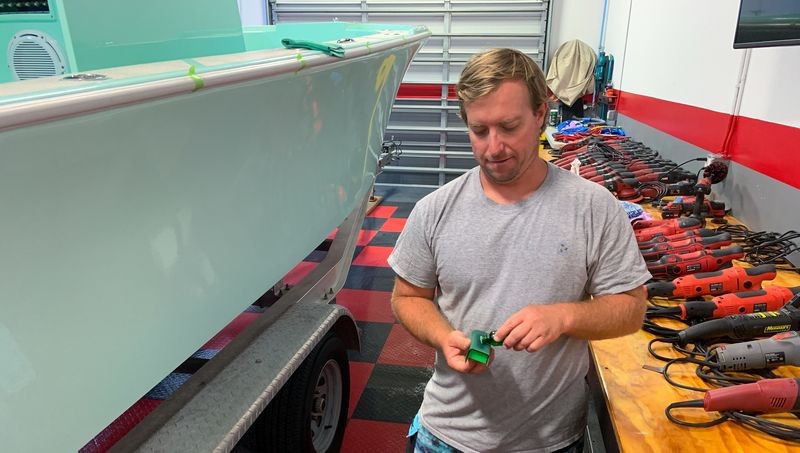
3D EZ-SWITCH backing plate adapter
Tunch Gorin, the owner, President and head chemist for 3D Products sent me his new gadget to test out.

With the EZ-Switch Backing Plate System you can set-up different size backing plates with different sizes and type of buffing pads and then instead of ripping apart velcro attached pads you simply swap backing plates. For this project I was only going to use one size of wool buffing pad BUT I really liked the new EZ-SWITCH Backing Plate System. Look for a future review.

Time to buff...
I know some guys would have sanded with #3000 and then started buffing. Heck some guys would have started with #2000 or skipped the sanding step altogether. My goal was to make Royce's boat look as good as possible while saving gelcoat and also saving ourselves. This was my way, everyone can find whatever way works for you and meets your criteria as well as your expectations for quality of finish results.
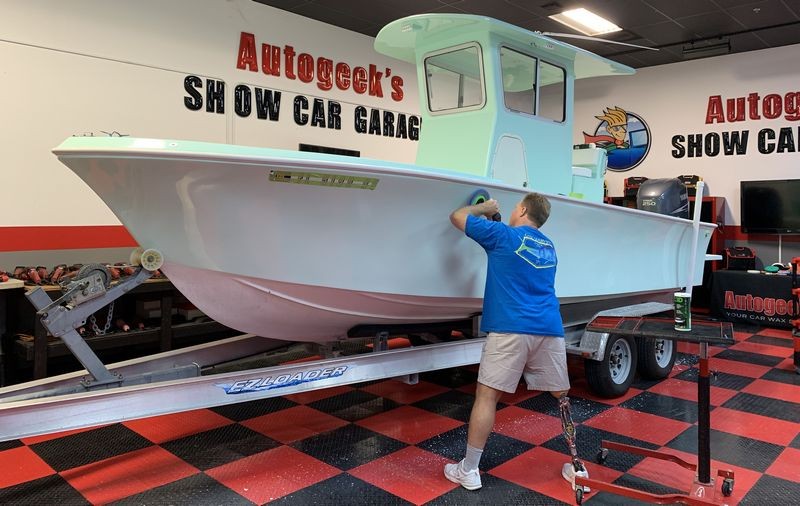
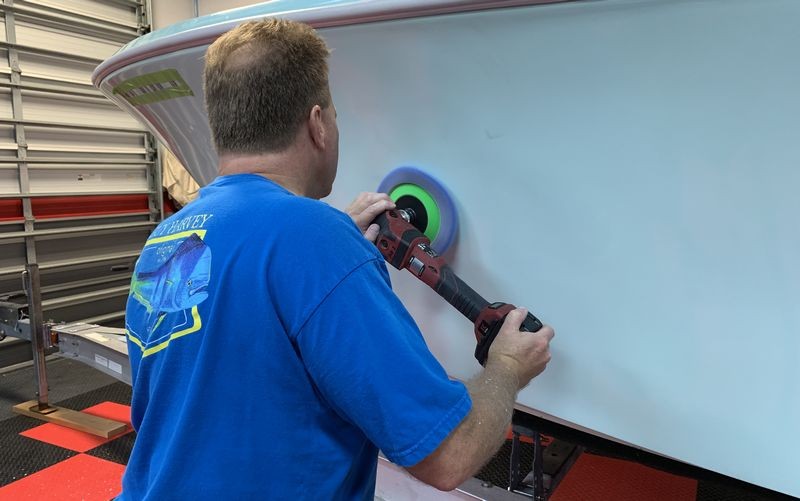
The cordless FLEX PE14 with a 6.5" wool pad has plenty enough brute strength to power through this job. And no cords.


Machine polishing - Hologram removal
Wool pads with compounds applied using a direct-drive, single rotation tools, aka the rotary polisher leaves hologram scratches. That's a known fact. Doesn't matter what brand of tool, pad or product you use. So the goal of the next step is to remove the hologram scratches to create a perfectly smooth hologram-free finish.
To ensure uniform results (because there was a LOT of sanding and buffing involved), Royce and I would switch from bow to stern though the process - this way no matter what our own personal styles were for running our polishers - the odds would be greater that every square millimeter of gel-coat was thoroughly sanded, compounded and polished and this means uniform end results.
Boat Detailing Classes
I teach a LOT of technique in my boat detailing classes. I only teach it once a year and it's always in February. Get this, 50% of the people that take this class are boat owners, that is boat enthusiasts, NOT Boat Detailers. So just because you don't detail boats for dollars doesn't mean you shouldn't attend the class. And if you are a boat detailer or want to add boat detailing to your car detailing business - then get signed-up. My car detailing and boat detailing classes are the MOST HANDS-ON classes on Planet Earth and also the most photo-documented for the longest time. You cannot find car and boat detailing classes anywhere that are photo-documented as well or as for long as my classes. And they all show the same thing - people on their feet working and learning by doing, not sitting in chairs.


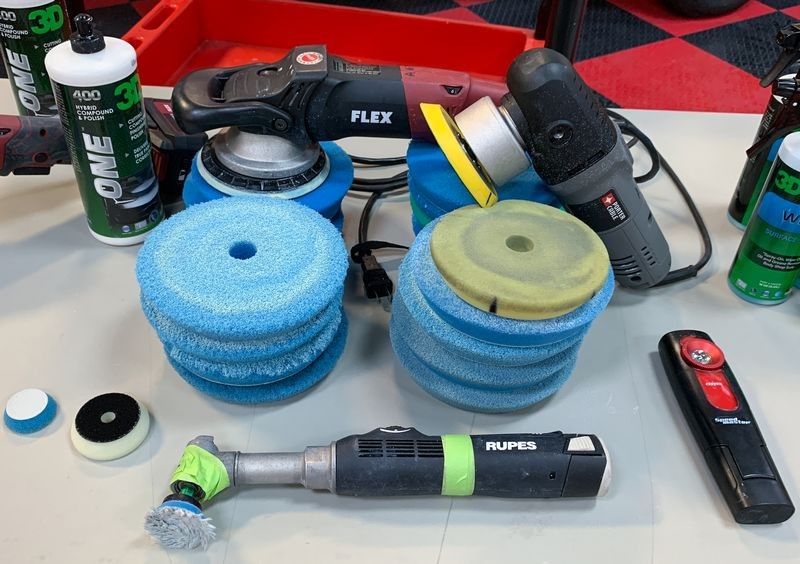
Gelcoat don't like soft, mushy pads for polishing
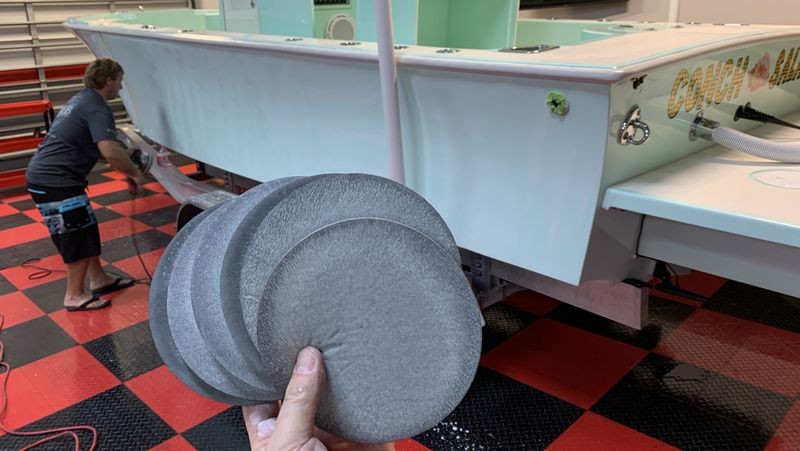
This is the NEW RUPES D-A Coarse Blue Foam Cutting Pad and it works just as great as the first generation BigFoot blue coarse pads, which by the way are being discontinued.

These are the pads from just ONE side of the boat. The small pads were from buffing around the graphics on the back of the boat using the RUPES Nano Long Neck.

-
-
Re: Review: 3D Ceramic Coating on a Marine Gelcoat Boat
Continued...
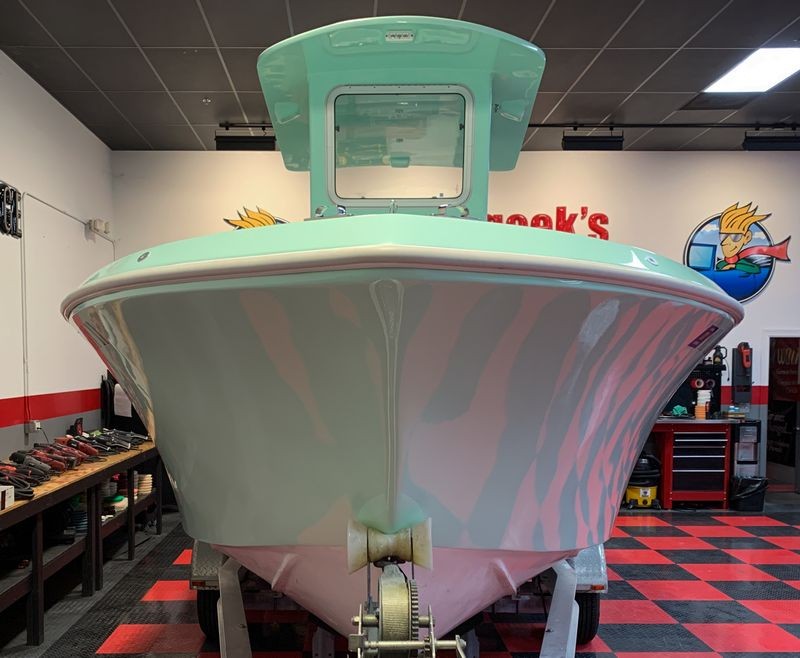
Here's final results....


Review
First - taking on a project like this is a huge undertaking. While there is something to be said for using high quality "finishing" sandpapers versus your basic wet/dry automotive sandpapers, (mostly a nicer overall finish), I think it was the original compound used after sanding that left the gelcoat so dull and scoured looking. It's not a brand we sell here but it is common to the boat detailing industry. I've used it, or at least I tested it and I was not impressed.
So to go back and do it over again, basically try to clean-up the first process results was simply a lot of work and time only for this second pass at it, we used products from 3D.
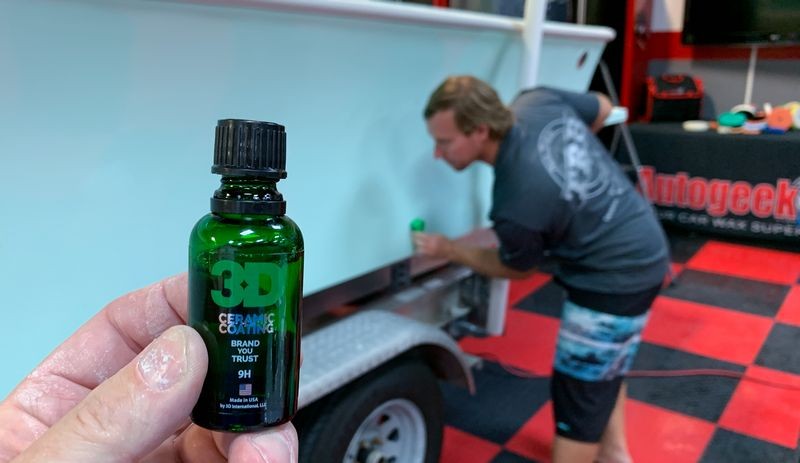
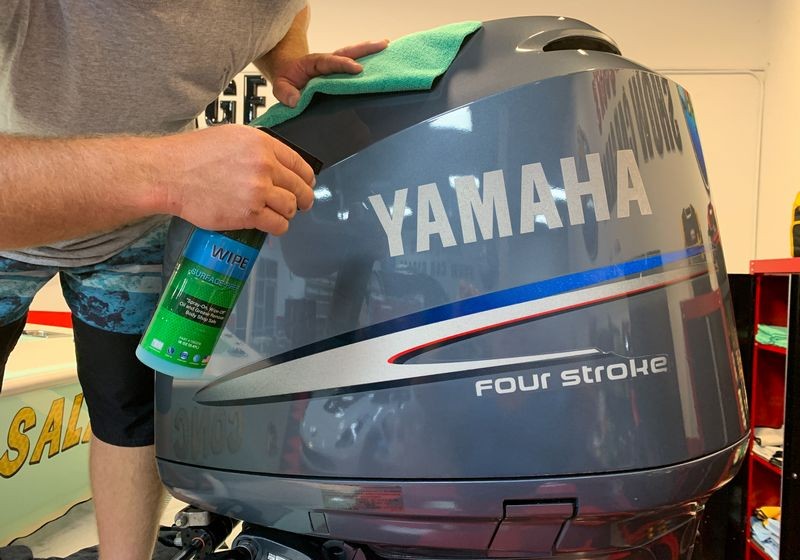
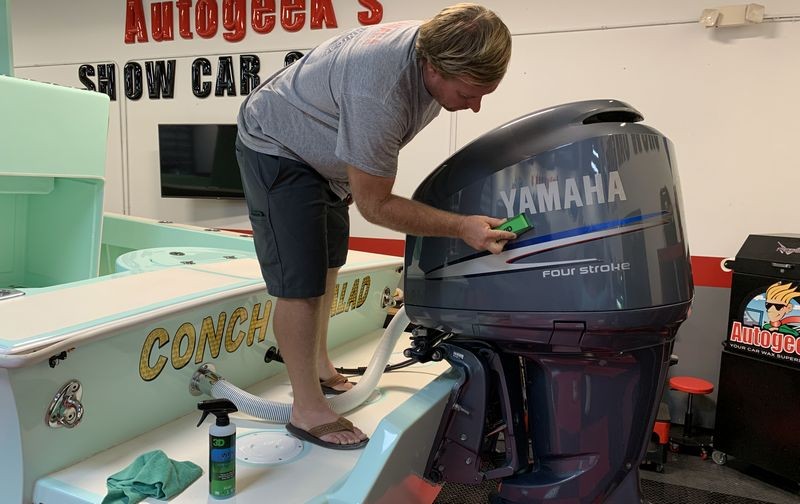
3D Wipe and 3D Ceramic Coating
While these are targeted for sale in the automotive world, I checked with Tunch to see if they could be used on gelcoat and he said "yes" but only on gelcoat in new or excellent condition. This boat was sprayed with new gelcoat within the last few months. It's only been in the water a half a dozen times. There is zero oxidation or staining in or on the gelcoat as it is meticulously washed and taken care of after each boating excursion. The fact that we machine sanded and then compounded made the gelcoat even smoother.
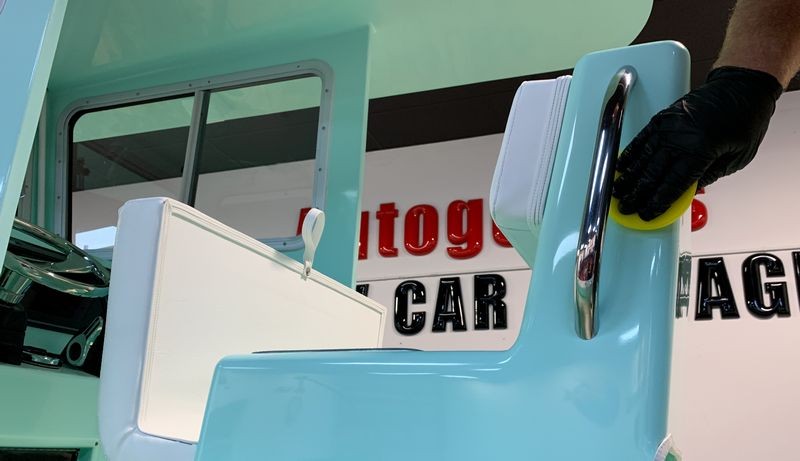
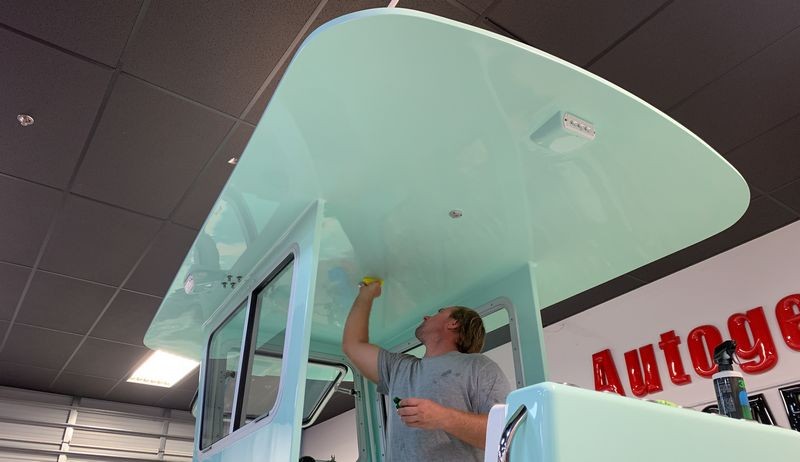
3 applications of the 3D Ceramic Coating
Tunch actually flew into Stuart to check out this project and after seeing the boat he recommended we apply 3 coats back to back of the 3D Coating. He told us to re-apply the second and third coats within 30 minutes to an hour for good adhesion and filling of the pores in the gelcoat.
RESULTS
It was like putting a clearcoat over the gelcoat
The results from applying the 3D Ceramic Coating to the gelcoat was like spraying a CLEARCOAT over the gelcoat. The clarity was increased dramatically. The gelcoat litteraly changed to a more clear, richer and vibrant color just from the first application of the coating. Tunch has a video showing before and after. If I can get it from him I'll add it to this thread.
Longevity & Protection
Often times when I detail a boat or a car, I never see the boat or car again as the owner moves on in life. This will be different as I stay in frequent contact with Royce. He's very good about washing his boat inside and the outside after a day on the water. He's keen to notice visible changes and characteristics and I'll check with him from time to time to get an update as to the coatings performance.
3D Products One
3D compounds and polishes use great abrasive technology. Instead of buying his abrasive technology from an outside company, Tunch buys the raw materials and creates his own abrasive technology from scratch. And "yes" no pun intended. The 3D One is on the lighter cutting spectrum in the context of dedicated compounds, but when you finish out at #4000 grit Mirka Abralon - you don't need rocks-in-a-bottle to pull them out. The plus side of using the 3D ONE is that it finishing out really nice. This moves your forward in the process, not backwards.
FLEX Tools
What can I say, I really like the cordless FLEX PE14 rotary polishers - they key is to use pads under 8" in diameter. Lots of power and no cord, what is there not to like. The BEAST, aka the FLEX XC 3401 VRG, (that's the accurate part number or name for the BEAST), is one of my favorite polishers simply because I find the 8mm gear-driven aspect to provide all the power and speed I need for whatever I use this tool for.
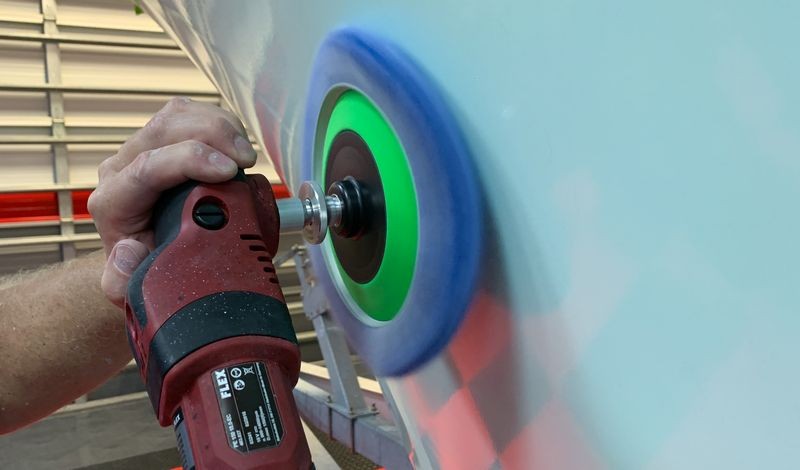
RUPES wool and foam pads
Last year when RUPES introduced their 5", 6" and 6.5" twisted natural wool cutting pads at SEMA - my first thought was,
These pads are perfect for the cordless FLEX PE14
And they are perfect not only for the cordless FLEX PE14 but for any compact rotary polisher. And the fiber or pile length is just right. Excellent cutting and easy to clean and not super hard like short pile length pads. If you use traditional wool pads on rotary polishers for cutting, give the 6.5" a try, I'm confident you'll like it.
I've been showing, teaching and writing about why to use hard, sharp foam cutting pads to "polish" gelcoat versus the normal softer foam polishing pads we all use to polish car paint. For some reason, gelcoat simply doesn't react well to soft foam when abrading it. The MOST aggressive foam pads I've ever seen or used are the RUPES Coarse Blue Foam Pads that were introduced when the RUPES BigFoot 15 and 21 free spinning long stroke polishers were introduced.
I show these pads in all my boat detailing classes for the final polishing step. These current pads and the specific foam formula used to make them are going to be discontinued and a new blue foam formula is being introduced AS I TYPE. RUPES was so kind to send me some for testing and I'm happy to say they work just as well and even BETTER than the originals. You can read about these new pads and the new D-A system from RUPES here.
Mirka Abralon Sanding Discs
There's a real art and science to machine sanding. I normally only use this type of sanding disc to remove years of deep oxidation. But out of the two choices I had for cleaning up the previous hand sanding marks and holograms, I chose Mirka over Trizact due to cost and efficiency for sanding gelcoat.
Here's a tip...
If you own a boat - take care of it so you never had to machine sand it. If you buy a boat used and the previous owner did not take care of it - I hope you got a good deal because part of the good deal to remove years of neglect is going to be a lot of hard work on your part. When it comes to boats, it's like a lot of things in life - 2 words.
Preventative Maintenance

-
Post Thanks / Like - 1 Thanks, 1 Likes, 0 Dislikes
-
-
Re: Review: 3D Ceramic Coating on a Marine Gelcoat Boat
Continued....
Here's the LIVE Detailing Class video
-
-
Post Thanks / Like - 1 Thanks, 1 Likes, 0 Dislikes
-
Super Member

Re: Review: 3D Ceramic Coating on a Marine Gelcoat Boat
Kicking this up...
Going to be asking questions later...!
Tom
Mr Tommy's
Wash, Buff, Wax
Website: mrtommyshine.com
-
-
Re: Review: 3D Ceramic Coating on a Marine Gelcoat Boat
Similar Threads
-
By Mike Phillips in forum Live Detailing Classes - How-to Videos
Replies: 4
Last Post: 04-21-2021, 08:09 PM
-
By Mike Phillips in forum Product Reviews by Mike Phillips
Replies: 5
Last Post: 10-27-2020, 09:15 AM
-
By Mike Phillips in forum Product Reviews by Mike Phillips
Replies: 12
Last Post: 12-17-2019, 12:02 PM
-
By Mgavin1985 in forum Auto Detailing 101
Replies: 3
Last Post: 09-04-2019, 09:09 PM
-
By Nac in forum Boat & Marine Craft Detailing
Replies: 4
Last Post: 07-27-2017, 05:54 AM
 Members who have read this thread: 1
Posting Permissions
- You may not post new threads
- You may not post replies
- You may not post attachments
- You may not edit your posts
-
Forum Rules
|
| S |
M |
T |
W |
T |
F |
S |
| 28 | 29 | 30 |
1
|
2
|
3
|
4
|
|
5
|
6
|
7
|
8
|
9
|
10
|
11
|
|
12
|
13
|
14
|
15
|
16
|
17
|
18
|
|
19
|
20
|
21
|
22
|
23
|
24
|
25
|
|
26
|
27
|
28
|
29
|
30
|
31
| 1 |
|


 Thanks:
  Likes:


 Reply With Quote


Bookmarks