 Dislikes: 0
-
Super Member

1979 Trans Am - all original SS paint questions
Hi Mike - the next job I have lined up is an all original 1979 Trans Am. I'm excited for the opportunity but have a couple questions for you before I begin the process.
Here is my plan for the paint:
1. Rinseless Wash
2. Clay with real clay bar, not a clay mitt or towel.
3. #7 Rub down - as many rounds as it takes. I've read your articles but never completed this technique before. Should be interesting.
4. Measure the paint with PTG
5. Machine polish to remove imperfections. Use the least aggressive polish/pad combo that can remove swirls and scratches, I'm not going to chase any rids.
6. Polish again if needed with fine polish and finishing pad
7. Seal and Wax
My questions are regarding the large hood decal and what appears to be cracking on the front bumper.
How should I treat the hood decal? Can it be clayed and polished or should I tape it off and go around it?
The cracking on the bumper - I tried to blow up the picture so you can see it. How would you tackle this area?
If you have any suggestions that would improve the process I shared above please let me know. Thanks for your time, I look forward to your response.


2018 Ford F150 - Ruby Red Metallic
2019 Honda Odyssey - Obsidian Blue
-
Post Thanks / Like - 0 Thanks, 1 Likes, 0 Dislikes
-
Super Member

Re: 1979 Trans Am - all original SS paint questions
I have an 81 Bandit and have gone over the decal very gently with a light polish and HD Speed, but have never tackled a cracked bumper like that. Itll be interesting to find out how to do that.
Sent from my SM-N950U using Autogeekonline mobile app
-
Re: 1979 Trans Am - all original SS paint questions
Man that thing is in incredible shape, the bumper color matches perfectly, it looks like. Usually those fade.
-
Re: 1979 Trans Am - all original SS paint questions
 Originally Posted by lane5515

My questions are regarding the large hood decal and what appears to be cracking on the front bumper.
How should I treat the hood decal? Can it be clayed and polished or should I tape it off and go around it?
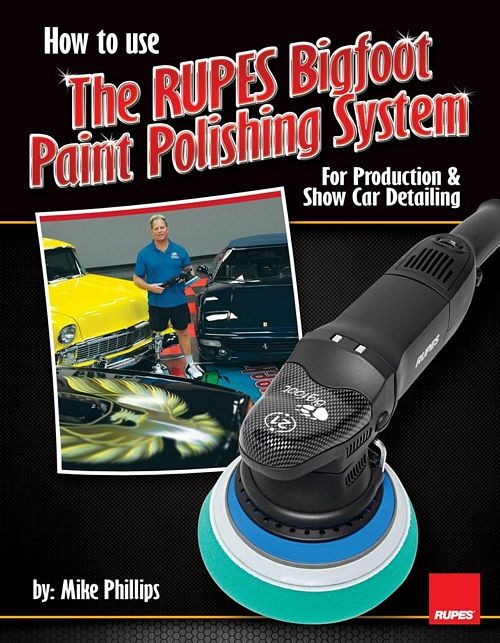
When I buffed out the ORIGINAL PAINT and original graphic on the 1978 Trans Am on the cover of my RUPES how-to book, I don't remember claying the graphic, (maybe I did but I don't remember), I did clay the paint. I think you could clay the graphic as long as you were uber careful and used an ultra fine grade clay with a good slippery lube. The idea being to remove any contamination without scratching or marring the graphic.
The black paint surrounding the graphic was WHITE with oxidation. I remember going up on edge with the RUPES Bigfoot 21 and compounding off all the white oxidized paint with about 3/4" of RUPES green foam pad. That was tedious but worked perfectly.
Then I machine polished the Rising Phoenix with the RUPES Bigfoot 21 and the RUPES 7" ultra soft white foam finishing pad and the RUPES Diamond White Ultra Fine Polish. This combo was VERY safe and it removed the same amount of years of oxidation off the antique vinyl graphic to reveal a VIBRANT and colorful Rising Phoenix.
You can see the Rising Phoenix on the cover and in the book and I know I have lots of before and after pictures of this buff-out somewhere. I'd say the 3D HD Speed would also be a safe choice with a soft polishing pad and a free spinning polisher. Just use a careful touch and be very careful around the TIPS of the feathers and other edges.
Originally Posted by lane5515
The cracking on the bumper - I tried to blow up the picture so you can see it. How would you tackle this area?
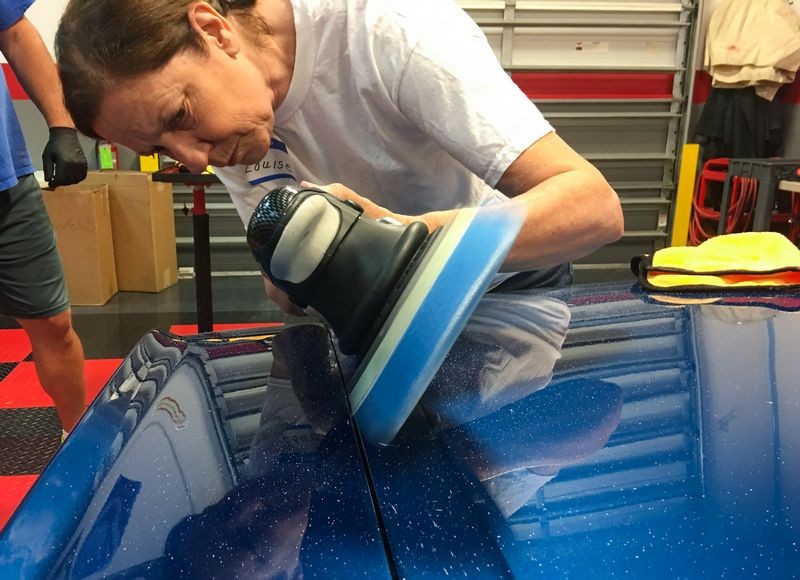
Zero you can do about the cracking but I've had good luck buffing this type of urethane component using foam pads on orbital polishers to bring the paint back to life. Again, just be careful.
Originally Posted by lane5515
If you have any suggestions that would improve the process I shared above please let me know.
Thanks for your time, I look forward to your response.
I think you have a great process outlined.
Me?
I'd document the hell out of the before condition. I have an article on capturing the before pictures for projects like these because after you do the work you can never go back in time and get the before pictures.
Looks like a fun project, I'm looking forward to your write-up.

-
Post Thanks / Like - 1 Thanks, 0 Likes, 0 Dislikes
-
Re: 1979 Trans Am - all original SS paint questions
Just to note...
The guy that owns the Trans Am on the cover of my book, Mark Lewis, he called me the other day ago. He met with Burt Reynolds and had Burt sign the visor and the glove box on his car. In June, there's going to be a "Bandit Run" taking place here in Florida for a large club of Trans Am Bandit owners. He's going to join the Bandit Run with his Trans Am and I told him if he brings his Trans Am back to Autogeek I'd freshen it up for him. It's been a few years since I did the extreme makeover and I'm sure antique single stage paint could use a touch-up by now. Probably take place in the next few weeks.

-
Post Thanks / Like - 0 Thanks, 1 Likes, 0 Dislikes
-
-
Post Thanks / Like - 1 Thanks, 0 Likes, 0 Dislikes
-
Re: 1979 Trans Am - all original SS paint questions
Wow Mike, what a huge difference! When I first looked at those pictures, I guess I've seen too much clearcoat failure, because I said to myself "you can't fix that!"
And then the next thought was...that I had a 70's car where the paint looked like that at the time I got rid of it in the 90's (different color), and that if I knew what I know now, I could have shined it right up! Thanks for the lacquer lesson!
-
Re: 1979 Trans Am - all original SS paint questions
-
Post Thanks / Like - 0 Thanks, 1 Likes, 0 Dislikes
-
Junior Member

Re: 1979 Trans Am - all original SS paint questions
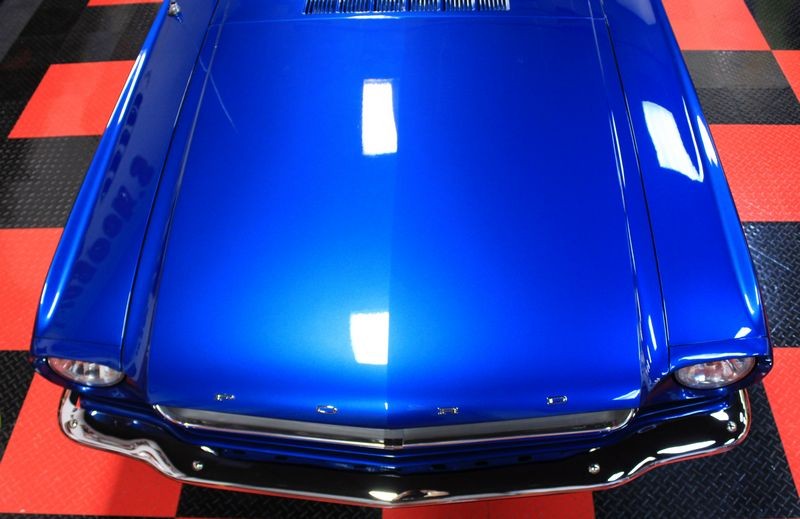
Dang, that Mustang looks fine! Hey, Mike, do you have any videos posted showing the edge riding technique? I have a similar body line on the hood of my car, and I was pondering how to approach it without being too aggressive.
-
Re: 1979 Trans Am - all original SS paint questions
Originally Posted by Mike Phillips
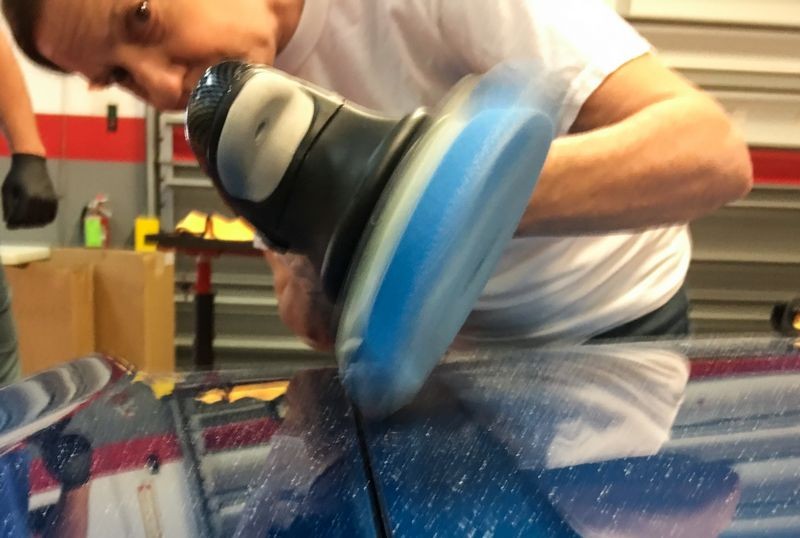
It was a LOT of work. To get the 7" RUPES Green Foam pad on the RUPES BigFoot 21 --> on the paint right next to the edge of the graphics
I had to go up on edge and force the pad to reverse rotate. Like I share in all my classes.
Wow, I can't even wrap my head around doing that with a long-stroke machine at all, let alone what you are describing...just learning that technique by itself sounds like a reason to attend one of your classes.
Similar Threads
-
By rpms111 in forum How to articles
Replies: 4
Last Post: 05-28-2020, 09:24 AM
-
By DetailDrivenEugene in forum Ask your detailing questions!
Replies: 4
Last Post: 04-03-2019, 10:32 AM
-
By lane5515 in forum Show N' Shine
Replies: 21
Last Post: 06-02-2018, 07:15 PM
-
By Justin at Final Inspection in forum Show N' Shine
Replies: 19
Last Post: 04-03-2018, 10:22 AM
-
By t-topTA in forum Auto Detailing 101
Replies: 12
Last Post: 04-28-2013, 12:07 PM
 Members who have read this thread: 0
There are no members to list at the moment.
Posting Permissions
- You may not post new threads
- You may not post replies
- You may not post attachments
- You may not edit your posts
-
Forum Rules
|
| S |
M |
T |
W |
T |
F |
S |
| 31 |
1
|
2
|
3
|
4
|
5
|
6
|
|
7
|
8
|
9
|
10
|
11
|
12
|
13
|
|
14
|
15
|
16
|
17
|
18
|
19
|
20
|
|
21
|
22
|
23
|
24
|
25
|
26
|
27
|
|
28
|
29
|
30
| 1 | 2 | 3 | 4 |
|


 Thanks:
  Likes:


 Reply With Quote


Bookmarks