 Dislikes: 0
-
How to use the Dr. ColorChip Paint Chip Repair Systems
How to use the Dr. ColorChip Paint Chip Repair Systems
Dr. ColorChip how-to videos here,
Dr. ColorChip How-To Videos with Dan McCool and Mike Phillips
Begin Article
Have you ever been driving down the road, having a great day and then all of a sudden here that dreaded sound....
Ting..... 
There's nothing more annoying than a rock chip in the paint on your brand new car except for having to deal with the rock chip once you discover it.
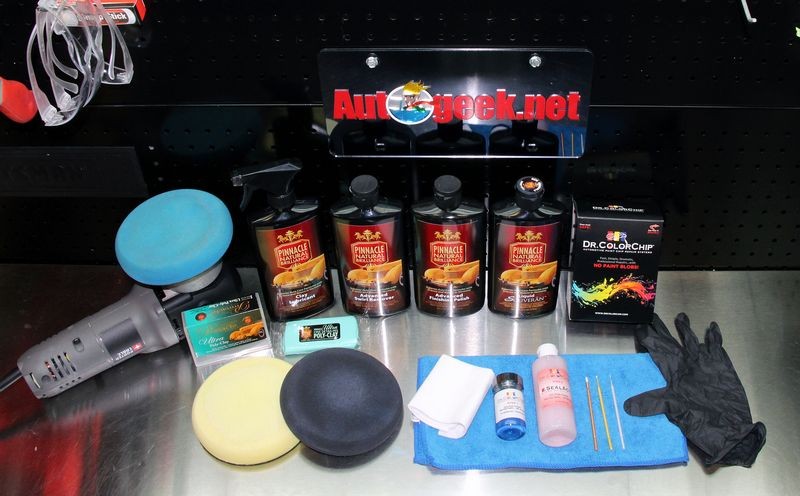
The folks at Dr. Color Chip have created a kit that makes fixing rock chips fast and easy, so easy anyone can do it. It's really as simple as 1, 2, 3 just follow the directions that come with the kit and before you know it the unsightly rock chips will have disappeared and you can get on with your life.
Question
Do I do the rock chip repair first or do the paint correction, polishing and waxing first?
Answer
Probably the most common question I get about doing rock chip repair goes like this,
My car has rock chips and there's also swirls, scratches, water spots and oxidation in the paint. Should I polish the paint before using the Dr. ColorChip Rock Chip Repair Kit or after I fix the rock chips?
The answer is, for most people you'll be better off to polish the paint first.
By polishing the paint first you'll already be starting with a clean, polished finish and you might even locate rock chips you were not previously aware off. You will also have cleaned via abrading all of the paint including the paint surrounding the chips or scratches and the surface that is chipped or scratched. Then wiping the chips or scratches with IPA will remove any trace compound, polish or wax residues.
Also, by compounding, polishing and waxing first you won't risk removing any of the touch-up paint via the compounding and polishing process.
More info
To learn more about polishing your car's paint before using the Dr. ColorChip Rock Chip Repair Kit, see how we polished the paint on Mitch's Mustang Mach 1 before fixing the rock chips.
From working by hand to working by machine - You can do it.
How to use the Dr. ColorChip Paint Chip Repair Systems
See the detailed pictures below to see exactly how to use the Dr. ColorChip Rock Chip Repair Kit as we walk through the steps to Mitch's 2003 Mustang Mach 1 in Azure Blue.

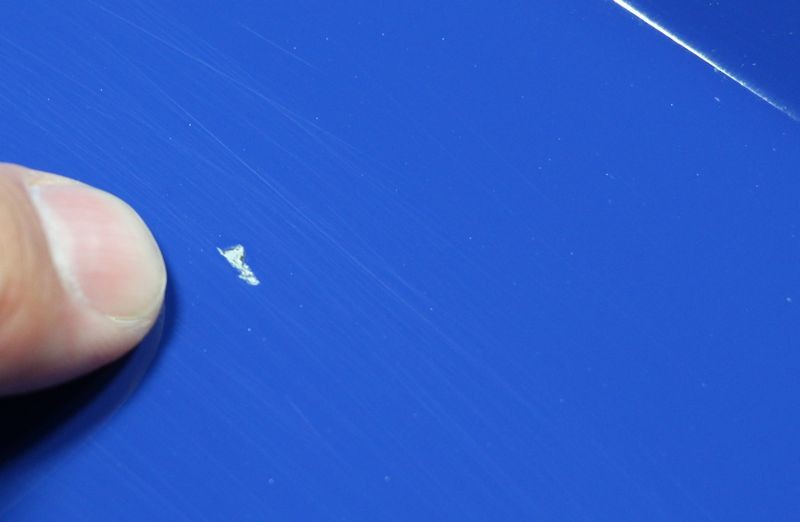
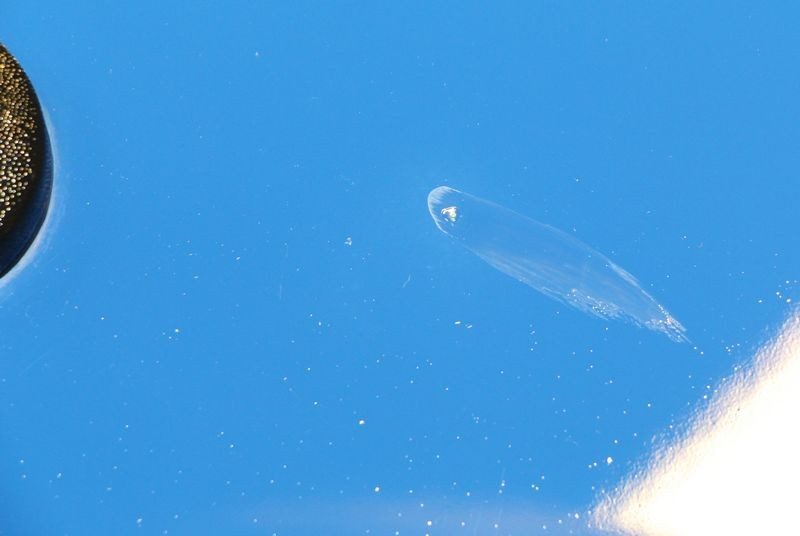
There were about a dozen rock chips randomly located over the front clip of Mitch's Mustang from large to very small...
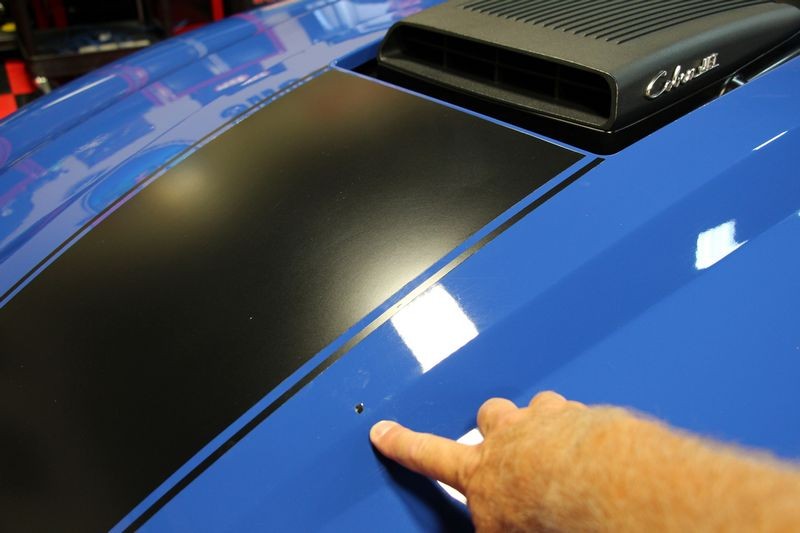
This was the largest rock chip and because it was so large and deep we used a modified technique to fill this chip in that I'll share below.


-
Post Thanks / Like - 0 Thanks, 1 Likes, 0 Dislikes
-
Re: How to use the Dr. ColorChip Paint Chip Repair Systems
Continued.....
Three simple steps!
Here is a list of the steps you want to follow in this order, below this list I'll go over each step with pictures.
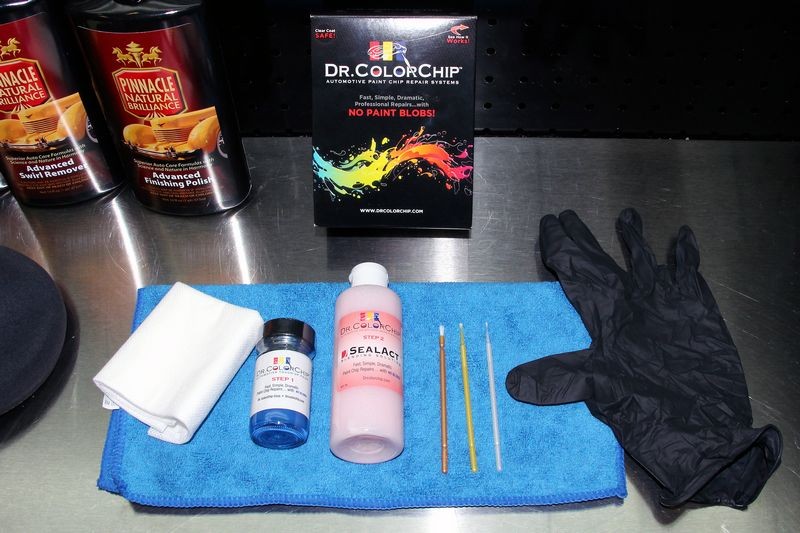
Step 1 - Use IPA or Isopropyl Alcohol with a clean, microfiber towels and gently clean the rock chipped area as best you can. Feel free to improvise for example use a Q-tip swab to really get into the chip and wipe it clean. It's important to have a clean surface for the touch-up paint to adhere.
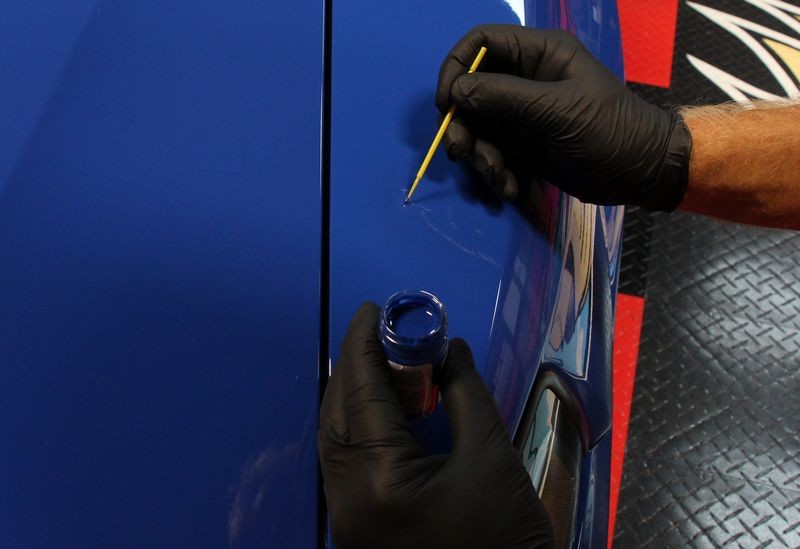
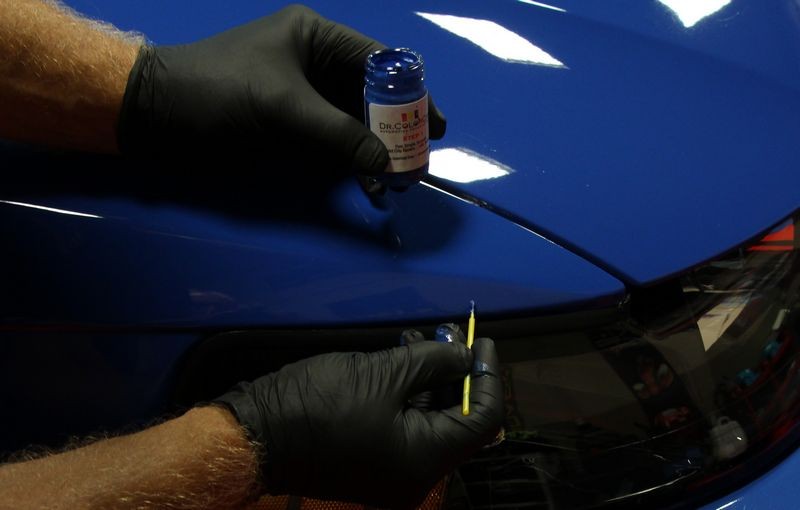
Step 2 - Shake up the bottle of touch-up paint to ensure a uniform paint mixture. Then after selecting the appropriate brush, dip the end of the brush into the touch-up paint and dab the paint into the rock chip. After dabbing the paint into the rock chip, use the side of your thumb to lightly wipe over the chipped area and thus level the surface by smearing any excess paint onto the paint surrounding the rock chip.
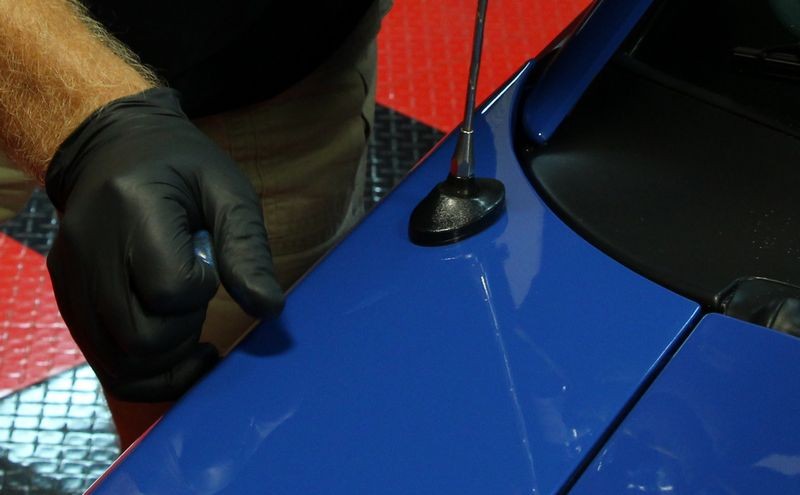
Step 3 - Use the SealAct blending solution with the included flat surface microfiber towel to wipe off the excess touch-up paint.
-
-
Re: How to use the Dr. ColorChip Paint Chip Repair Systems
Continued...
Step 2 - Shake up the bottle of touch-up paint to ensure a uniform paint mixture. Then after selecting the appropriate brush, dip the end of the brush into the touch-up paint and dab the paint into the rock chip. After dabbing the paint into the rock chip, use the side of your thumb to lightly wipe over the chipped area and thus level the surface by smearing any excess paint onto the paint surrounding the rock chip.
Tip...
To avoid accidentally spilling the entire bottle of touch-up paint while applying it to the rock chips, it's a good idea to pour off a small amount into either the cap or another small container of some type like a clean lid off another small bottle. Me? I'm just going to be careful... (famous last words) 
Select the right brush by selecting the right size tip
The kit comes with 3 fine tipped brushes of various sizes,
Choose the appropriate size brush for your rock chips.
Tip...
If you're new to doing touch-up paint repair I would recommend starting with the Fine tipped brush until you hone your skills. It takes a steady hand to place touch-up paint only in the rock chip. If needed, brace your arm on the body panel you're working on to help steady your hand.
Small rock chips = The Dab & Smear Technique
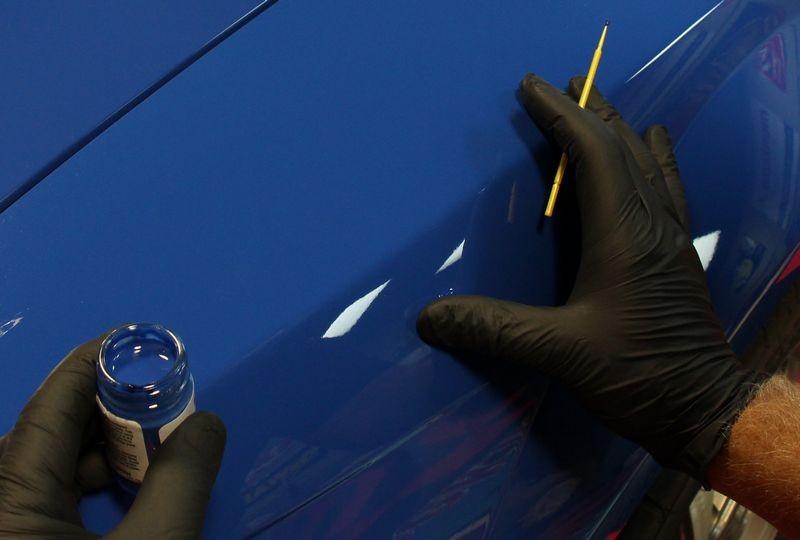
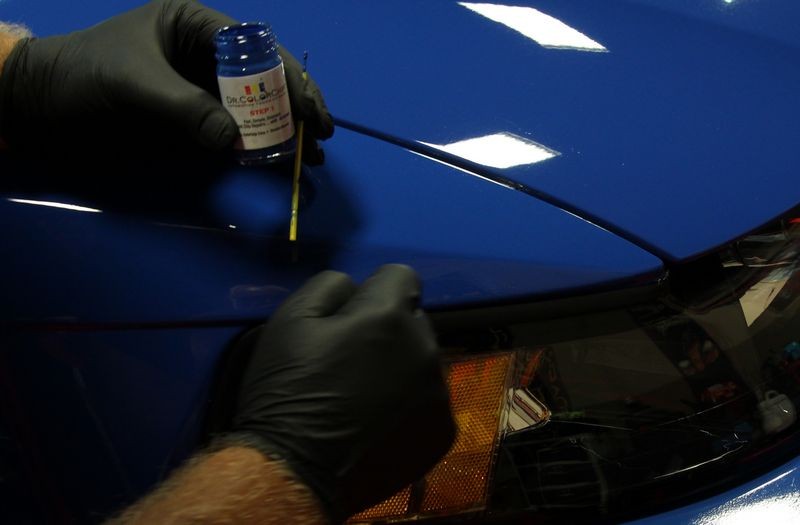
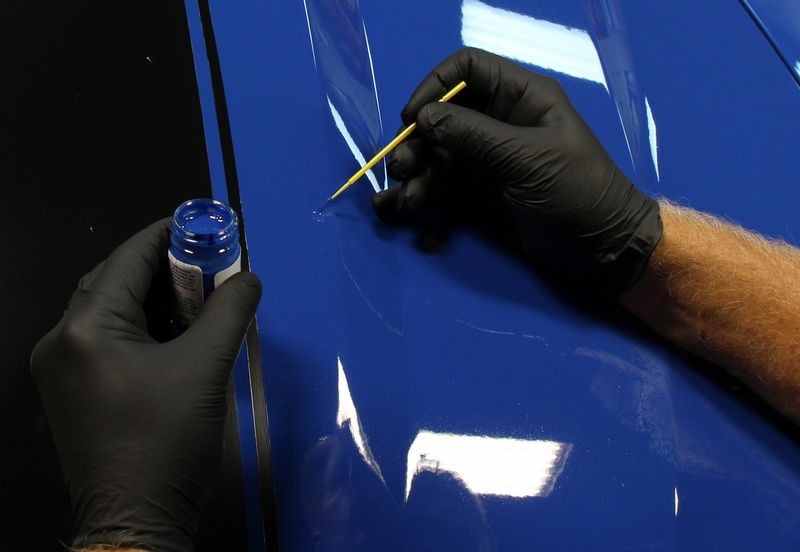
Here I'm dabbing touch-up paint into a small rock chip on the driver's side front fender...
After dabbing in the touch-up paint, I take the side of my thumb and briskly and also lightly, wipe my thumb across the paint which levels the chipped area but also creates an ugly smear ON the surrounding paint.
Don't fret... this is okay as this is how the system works. We'll come back and remove the excess touch-up paint off the paint surrounding the chip in the next step. What's important is to,
A: Get touch-up paint into the chipped area.
B: Use your thumb to smear and level the paint in the chipped area. 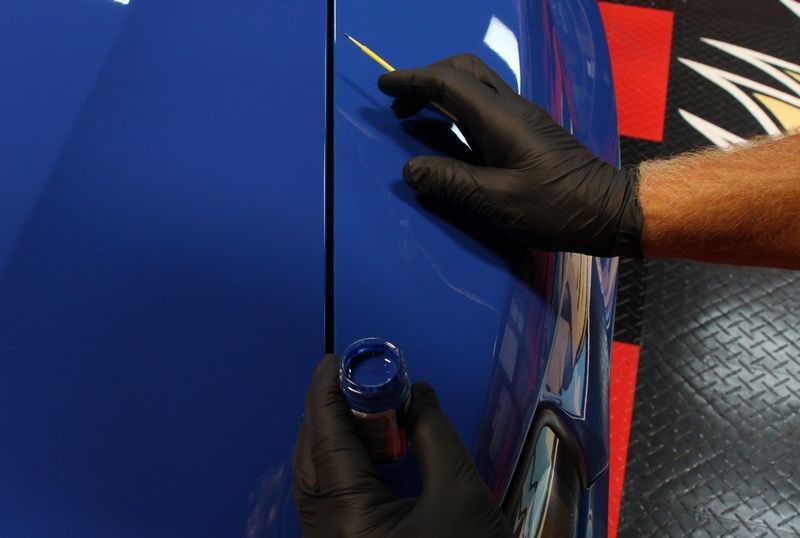
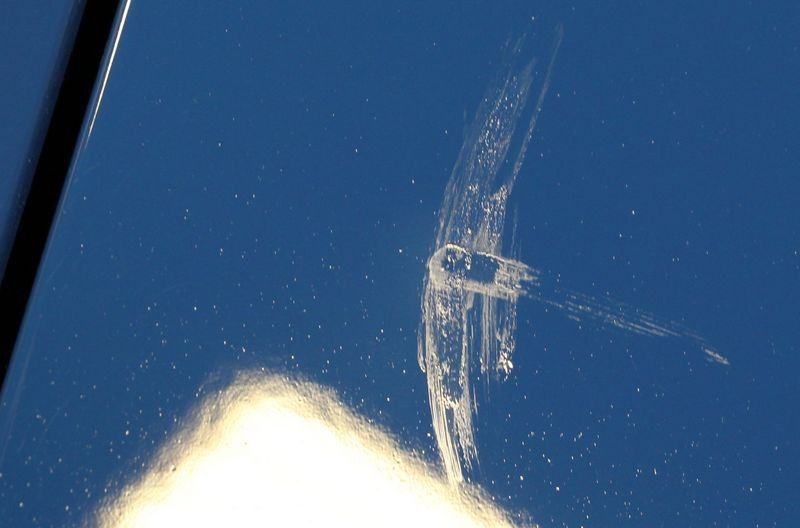
This is a close-up of the above rock chip after I smeared it with my thumb. You can see I smeared it in two directions. Don't do this. Only smear with your thumb once and in one direction. Smearing in two directions won't hurt anything, it just creates a larger smeared area that you'll have to come back and wipe off in the next step.
Dab...

And smear...
Dab...
And smear...

In the below pictures, this is what the smear should look like, this is normal.
Dab...
And smear...
Dab...

And smear...
In the below pictures, this is what the smear should look like, this is normal.
In this extreme close-up shot of the above picture, you can see where I pressed too hard when smearing and removed some of the touch-up paint out of the rock chip area and you can actually see the primer in the middle of the chipped area. No problemo, I just added another tiny dab of touch-up paint. The more you do this the better you get.

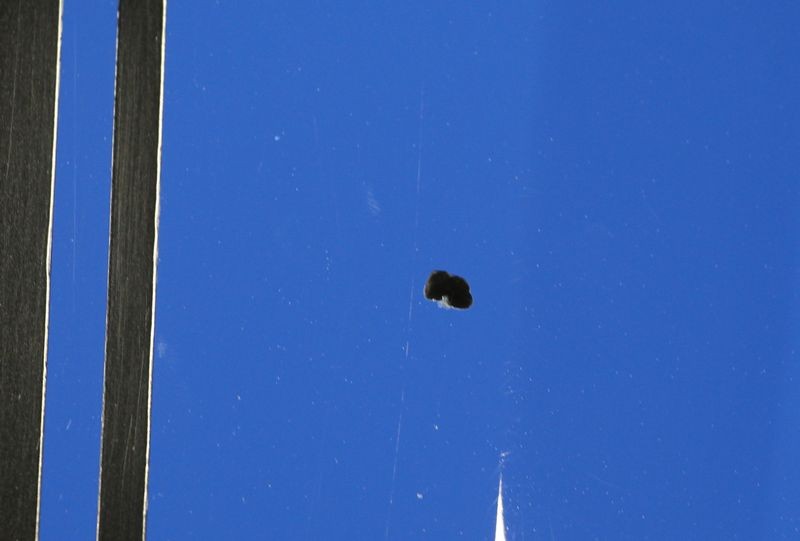
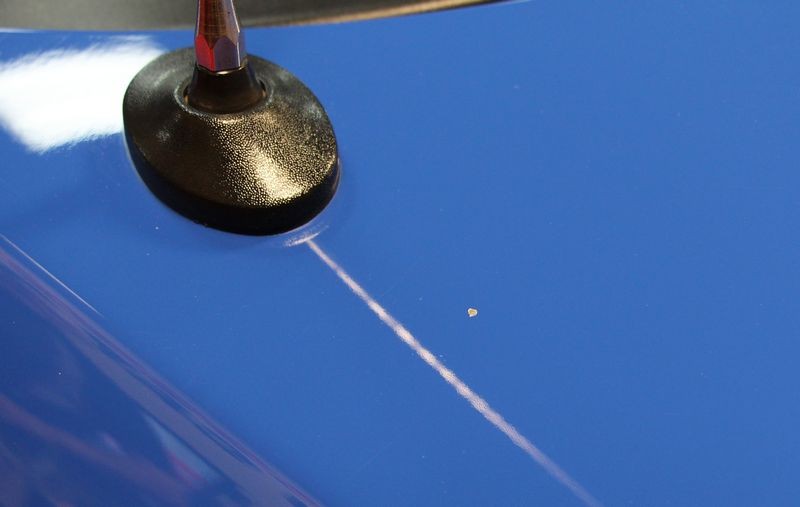
Extra Large Rock Chips
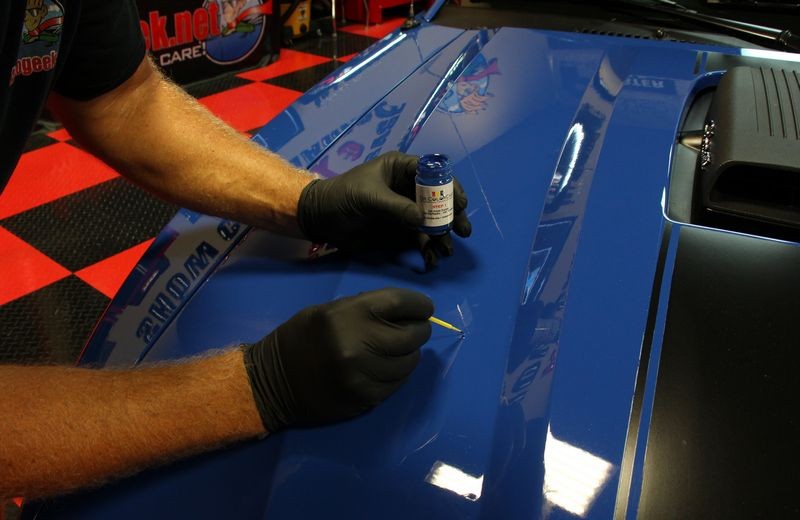
This extra large chip on the hood is going to require extra paint to fill it in. Instead of the smearing technique recommended by Dr. ColorChip, for this extra large chip we're going to fill the chipped area with paint but only enough to cover the chipped area NOT CREATE A BLOB. We're also not going to smear this chip as we're going to come back and add some more touch-up paint till the paint is level with the surrounding paint surface.
Dab the tip of the brush into the touch-up paint...
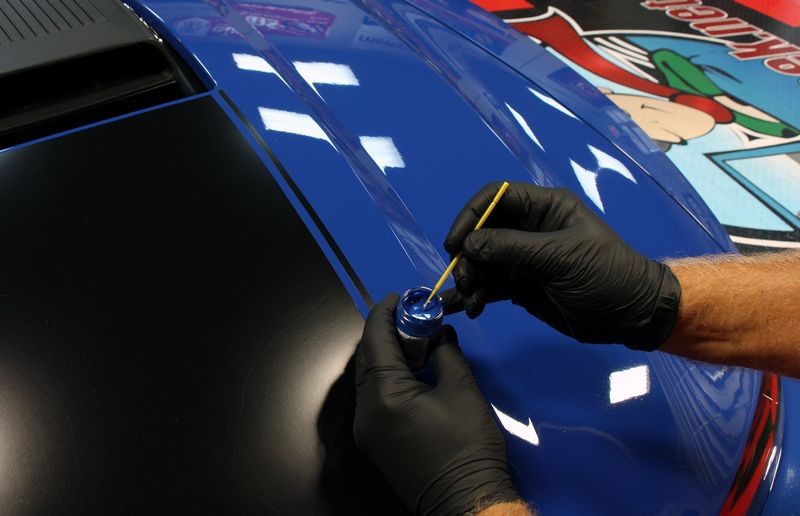
Next, dab the tip of the brush into the rock chipped area....

Continue adding small amounts of the touch-up paint till all the chipped area has a uniform layer of paint covering it but no so much that it's escaping the crater area or becomes a blob.

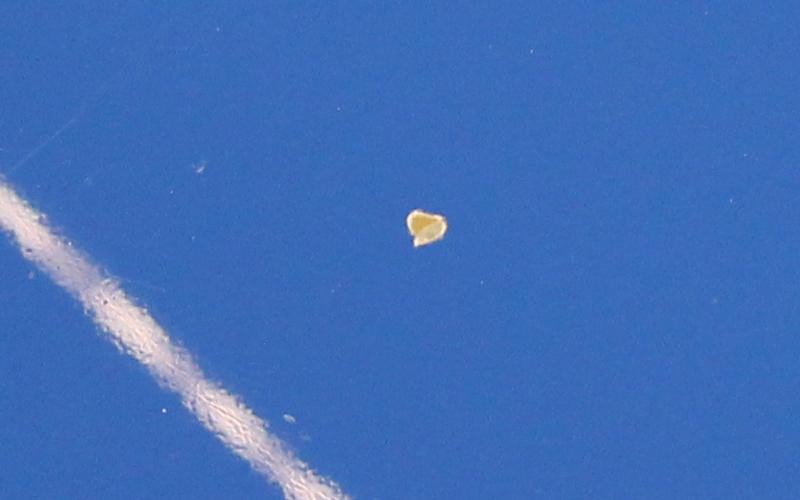
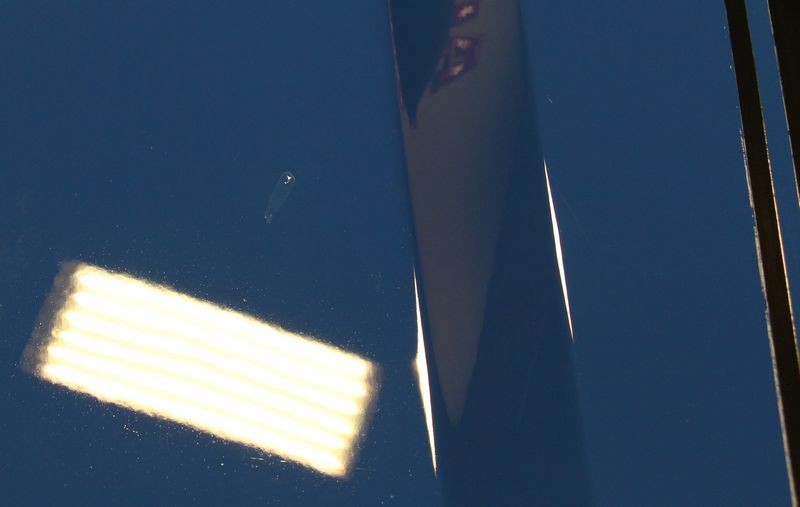
Here's a close-up of the above large rock chip that has the first application of touch-up paint. I'm using the reflection of the overhead florescent lights to show the touch-up paint fill level.
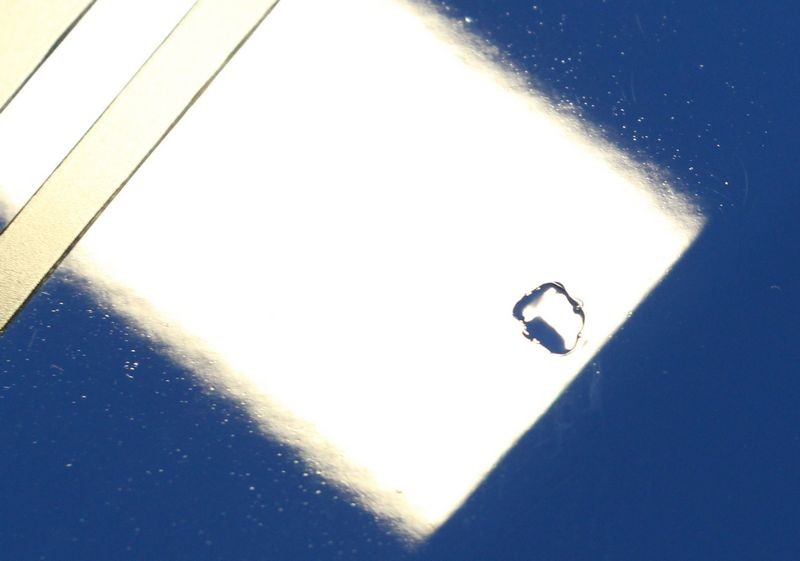
In this shot you can see there is fresh touch-up paint inside the chipped area but no touch-up paint has escaped the perimeter of the chipped area. This is what you want to do for large chips and scratches. Next you're going to want to let this first application of touch-up paint fully dry before applying any more touch-up paint. This will take a few days. As the touch-up paint is drying it will shrink back a little, this is normal.

-
-
-
Post Thanks / Like - 1 Thanks, 0 Likes, 0 Dislikes
-
Re: How to use the Dr. ColorChip Paint Chip Repair Systems
-
Post Thanks / Like - 1 Thanks, 1 Likes, 0 Dislikes
-
Super Member

Re: How to use the Dr. ColorChip Paint Chip Repair Systems
Fantastic write-up! Thanks for sharing!!
-
Re: How to use the Dr. ColorChip Paint Chip Repair Systems
 Originally Posted by PreludeVTEC01

Fantastic write-up! Thanks for sharing!!
Thank you...
I'm pretty confident that it took more time to take the pictures, upload them to the gallery and then create this how-to article than it took to clean the rock chips, apply the touch-up paint and wipe off the excess.
Years ago I watched a guy use this system to repair the rock chips on one of the Meguiar's company Tahoe's while I worked at Meguiars. He did everything just like I showed in the above how-to pictures. Took him less than 20 minutes tops.
I think he then turned in a bill for either $60.00 or $75.00 dollars and was promptly paid. I told myself,
"That's the way you do it"
(Dire Straights chorus from Money for Nothing)
To anyone reading this thread... it takes less skill to use the Dr. ColorChip Paint Chip Repair System than it takes to detail a complete car, especially doing paint correction and interior detailing.
If you're looking to either add on another profit center to your existing detail business or you're looking to start a part time business.... I'd highly recommend getting into doing rock chip repair.
The key to success with a business like this is a couple of things,
One is under promise and over deliver.
DON'T promise your customer they'll never be able to see where the rock chips were... because it's not that type of perfectionist work. It's vitally important that you set your customer's expectations accordingly.
If a person never wants to see where the rock chips were... tell them to get a paint job.
Keep it real. After using this system the owner can stand back about 5' from the car and not see the previously unsightly rock chips and that's what it's all about.
Second is you would have to treat this as a real business, that means get out their and hustle.
You'll be mobile and calling on new and used car dealerships as well as residential areas.
One thing for sure, people with nice cars hate rock chips, most don't know what you know, (hey you're on the AGO forum, you already know more than most people), they just want the paint to go away.
I could see adding this to my detail boot camp classes in the future... it's faster and easier than headlight repair and makes just as dramatic appearance effect.
Now to go order some red paint for my own truck... I don't have any rock chips... I have Mike chips...
-
Super Member

Re: How to use the Dr. ColorChip Paint Chip Repair Systems
Excellent write-up Mike and good timing as I was going to order some Dr. ColorChip soon for a couple of cars that need some touch up.
I have this situation on one of the cars, it's larger than a rock chip.

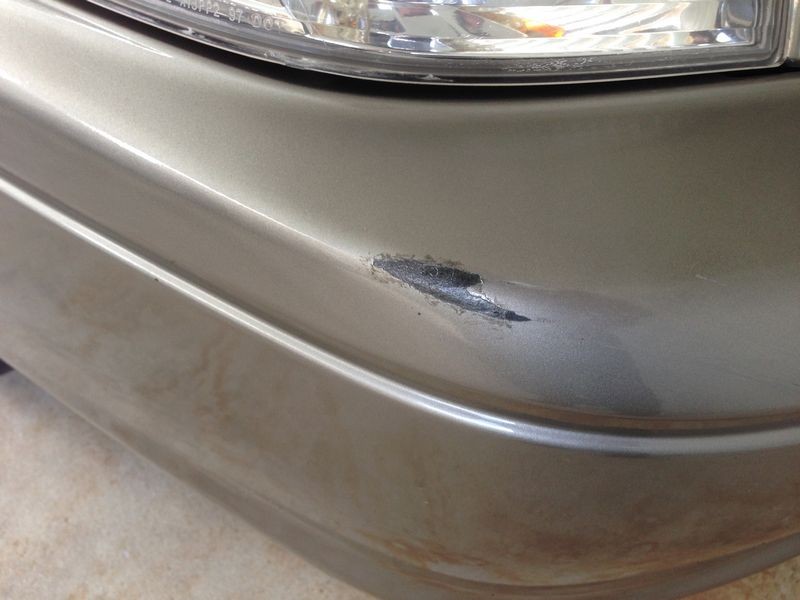
Do you think Dr. ColorChip would work on this? I don't need it to look perfect, would just like to somewhat match the repaired area to the surrounding paint.
Similar Threads
-
By Dwayne in forum New Car Care Products
Replies: 50
Last Post: 08-21-2015, 07:51 PM
-
By Tekken in forum Auto Detailing 101
Replies: 2
Last Post: 03-15-2015, 07:58 PM
-
By beercanbilly in forum Ask your detailing questions!
Replies: 8
Last Post: 03-05-2012, 08:50 AM
-
By unclestu in forum Auto Detailing 101
Replies: 1
Last Post: 08-19-2009, 10:01 PM
-
By tamvegas in forum Auto Detailing 101
Replies: 3
Last Post: 02-17-2007, 02:18 PM
 Members who have read this thread: 2
Posting Permissions
- You may not post new threads
- You may not post replies
- You may not post attachments
- You may not edit your posts
-
Forum Rules
|
| S |
M |
T |
W |
T |
F |
S |
| 31 |
1
|
2
|
3
|
4
|
5
|
6
|
|
7
|
8
|
9
|
10
|
11
|
12
|
13
|
|
14
|
15
|
16
|
17
|
18
|
19
|
20
|
|
21
|
22
|
23
|
24
|
25
|
26
|
27
|
|
28
|
29
|
30
| 1 | 2 | 3 | 4 |
|


 Thanks:
  Likes:


 Reply With Quote

Bookmarks