 Dislikes: 0
-
Super Member

DIY Pad Washer
I came across a thread recently, on another website, where a guy built his own pad washer. It was comparable in functionality to the Grit Guard Universal Pad Washer. Unfortunately he did not take measurements as he went, so instructions were limited. He did however provide enough pictures that I tried to replicate his design. I'm going to post the full instructions here. The original designer said he did it for about $35. Unfortunately, my process required a bit of trial and error, so it wasn't quite so cheap. Hopefully, using these instructions you guys can build your own quickly, easily, and for far less than buying a $130 pad washer.
Here is the link to the original thread:
My $35 Pad Washer
I'm going to do this in 2 parts:
- Pad Washer
- Optional Splash Guard Lid
-
Post Thanks / Like - 1 Thanks, 0 Likes, 0 Dislikes
-
Super Member
Re: DIY Pad Washer
Part 1 - Pad Washer
Tools
The tools needed for this are pretty minimal. Basically you need:
- Something to cut
- Something to make a tiny hole in PVC
- Something to pound the pieces together
- Probably a wrench
Now obviously there are better and worse ways to do this, but here are the tools I used and recommend:
- Ratcheting PVC cutter from Harbor Freight
It's only $6 and it'll give you smooth cuts without all the rough edges and flakes of PVC you would get from any kind of saw. You won't get square cuts, but we're not building the space shuttle here. - Drill with 3/32" bit (could be a different size, but you want something small)
- Rubber Mallet
- An adjustable wrench... Not required, but preferred. You'll see why when we get there.
-
Super Member
-
Post Thanks / Like - 1 Thanks, 1 Likes, 0 Dislikes
-
Super Member
-
Post Thanks / Like - 1 Thanks, 0 Likes, 0 Dislikes
-
Super Member
Re: DIY Pad Washer
Assembly
You'll notice all of the pieces in this section are wet. This is due to the fact I just cleaned them all, but I was too lazy to dry.
- Build a Base
- Use one of the 1-1/4" x 1" pieces to connect a Tee to an Elbow

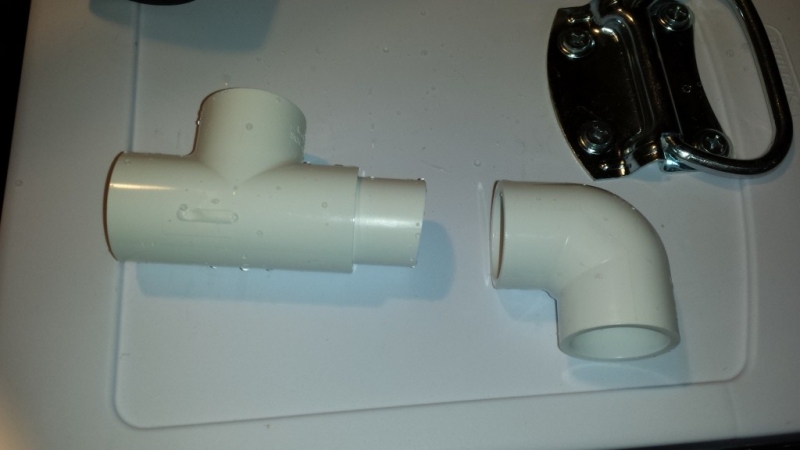 - The Tee should be at a 90 degree angle to the elbow when laying flat.
 - Repeat this, alternating between Tee and Elbow, until you have a square shape.


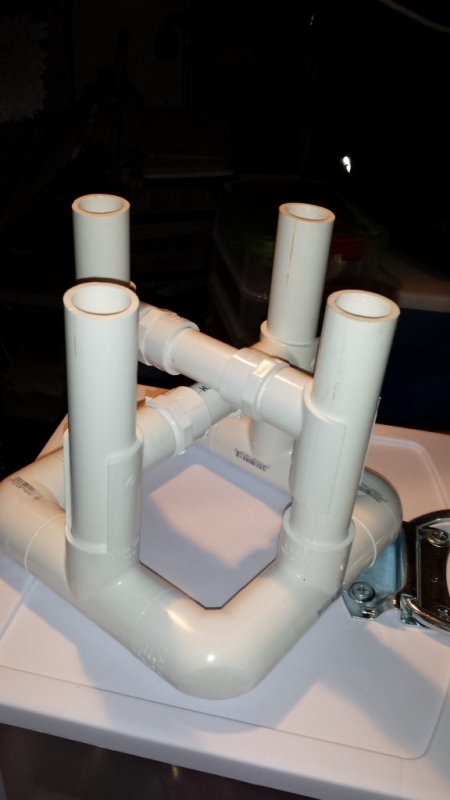
- Horizontal Braces & Vertical... Things
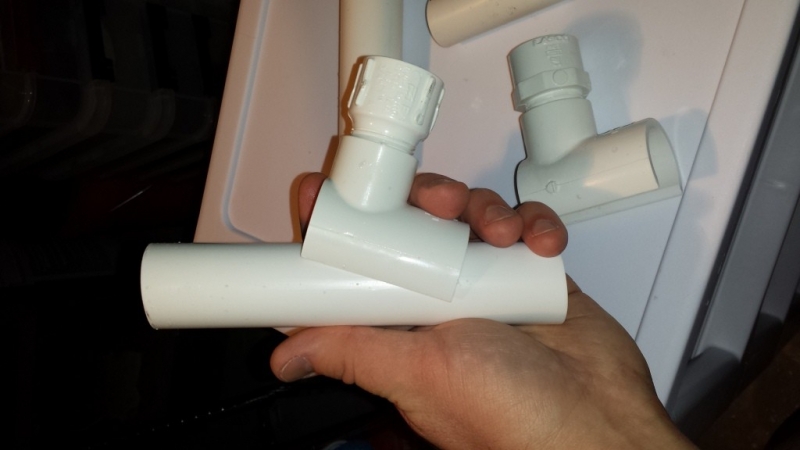
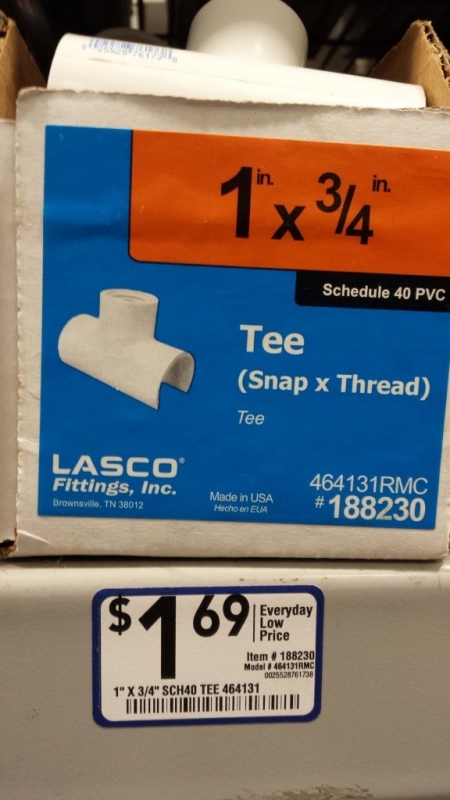
- For this part you are going to need the four 3/4" Adapters (Slip X Thread) and the Tees (Snap X Thread).
You'll notice I have 2 different kinds of adapters. They are the exact same thing, except one is from Home Depot because I had trouble counting to four at Lowes.

 - Now to get it to look like the picture above, take one of the adapters, and screw it into one of the snap Tees.
The easiest way to do this is to snap the tee onto your left over piece of pipe to give you more torque.
 - Screw all 4 adapters into the snap tees, as far as you can.
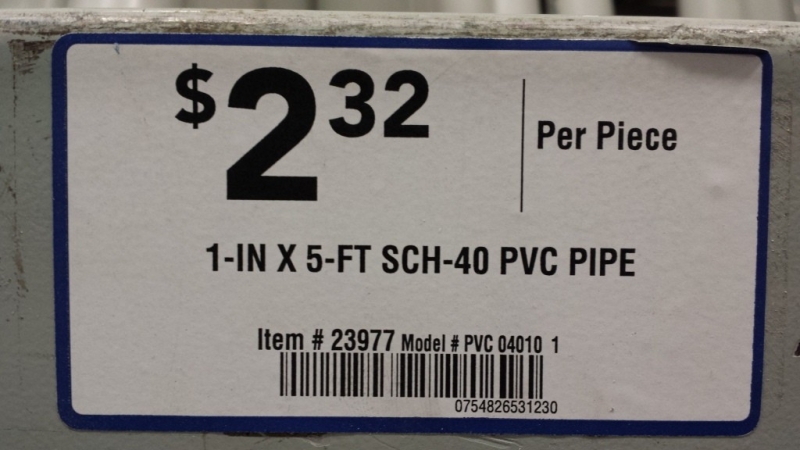
- Next, snap the tees onto the 6-1/2" x 1" pieces of pipe.
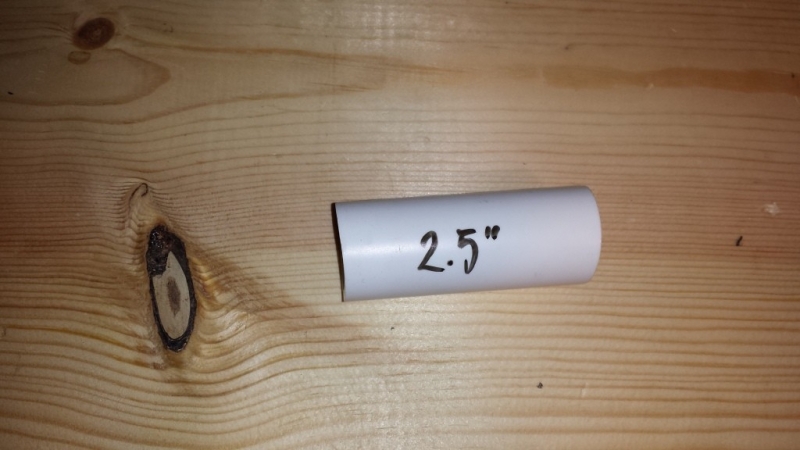
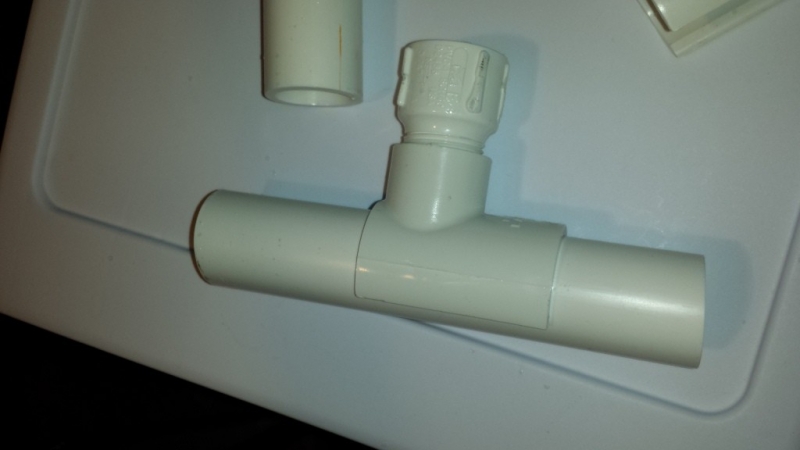 - Now connect two of the adapters by attaching them to the 2-1/2" x 3/4" piece of pipe.
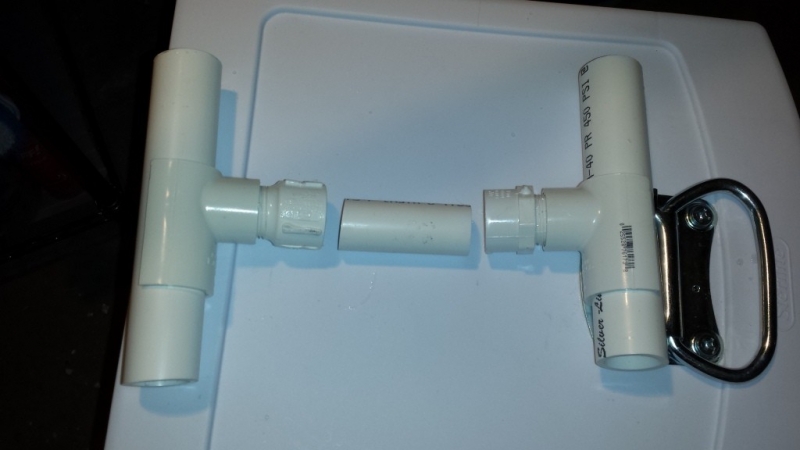 - Take this piece and insert it into the slip Tees on the base.
When you do this, make sure the part of the snap tee that you cut off is pointed up.
If for some reason you cannot get the adapters screwed in far enough (lack of a wrench) for the pieces to line up, then you can trim the 2-1/2" x 3/4" piece until it is correct.
 - Push the horizontal brace down until the snap tees are touching the tees on the base.
 - Repeat these steps for the other horizontal brace.
Again, the cut part of the snap tee should be pointed up.
Push the brace down until it contacts the lower horizontal brace.
 - Hammer Time!
PVC doesn't like you, and it plays by its own rules. So while you're attaching horizontal braces, the base is trying to come apart. Whenever it gets out of line, teach it a lesson with the rubber mallet.
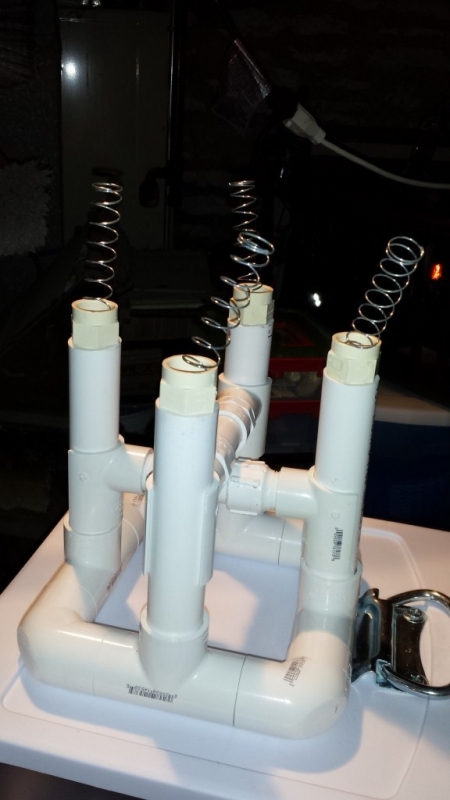
- Springs & Caps
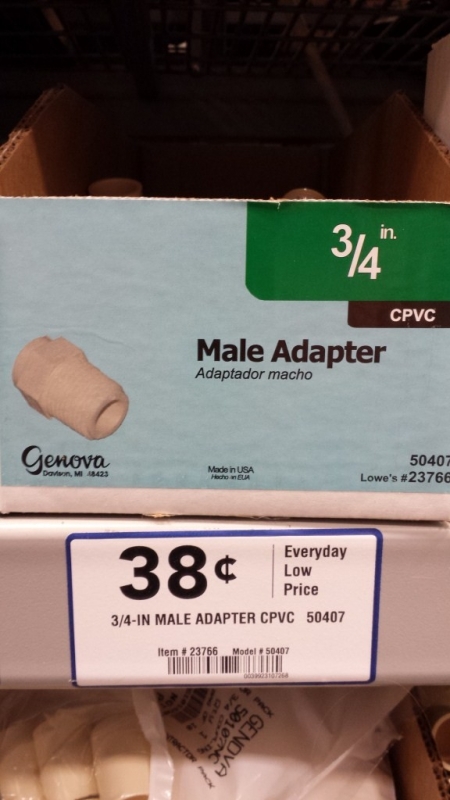
- Now we need the 3/4" CPVC Male Adapters.
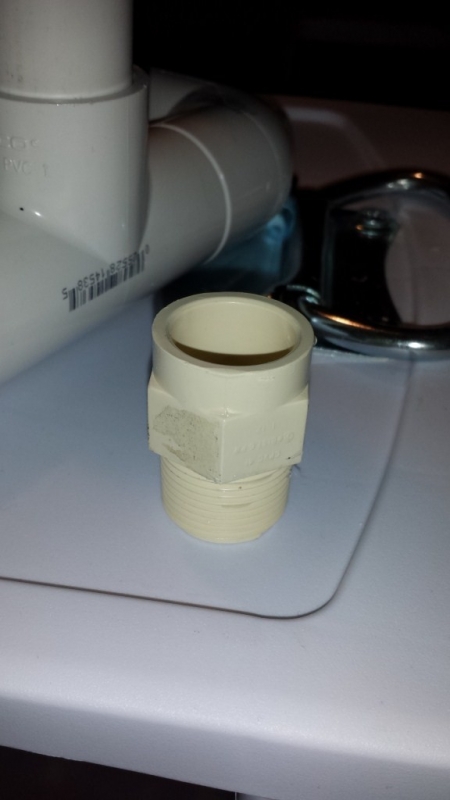 - Insert the male adapters, thread side down, into the vertical 1" pipes.
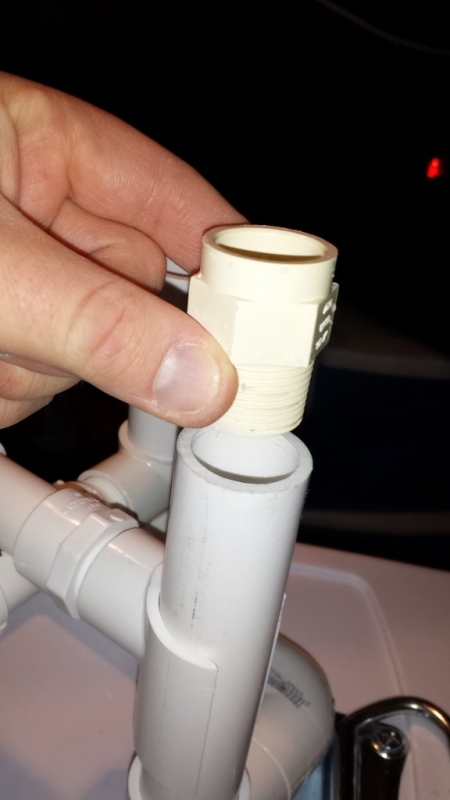 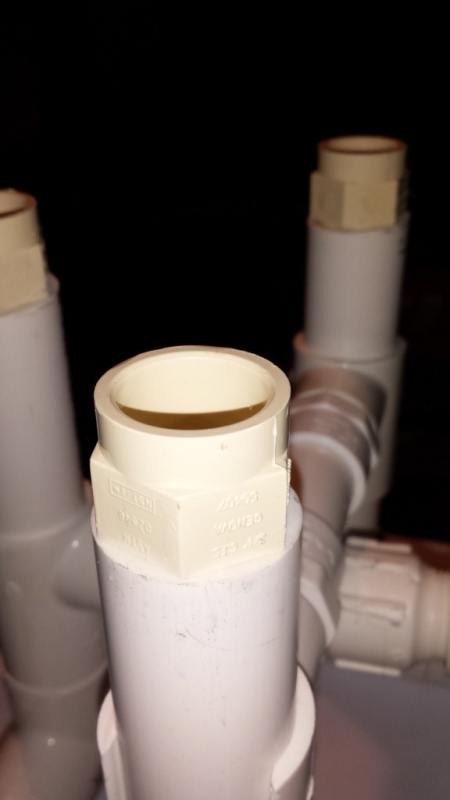 - Notice that inside the CPVC adapters, there is a small ledge.
 - We need the compression springs to sit on that ledge. Unfortunately they aren't quite wide enough. Simply bend one end of each spring to make the diameter slightly larger, so that it will sit on this ledge without getting pushed through.
 - Now place the set the springs in the adapters, with the wider side on bottom.
Do not push them down into the adapter. It is okay that they are not standing straight up.
 - Next take the caps and attach them to the 4" x 1-1/4" pieces of pipe.
 - Slide the cap and pipe over the spring. It will overlap with the 1" pipe just a bit, so that it is less wobbly.
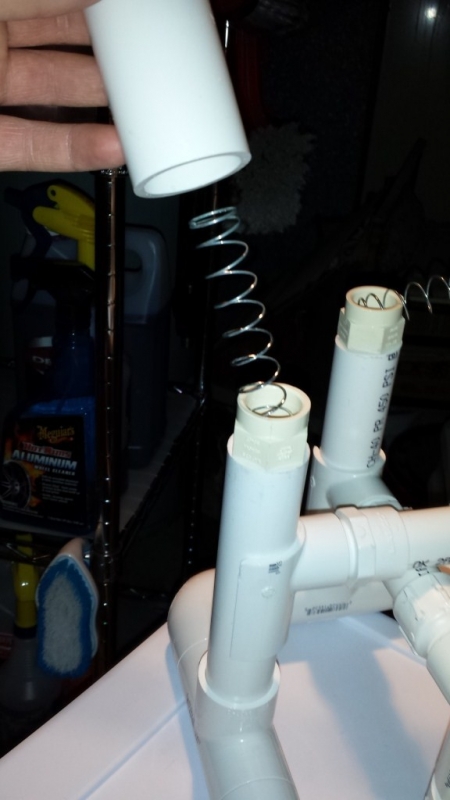 - If your wife is getting on your case, this would be a good time to appease her by showing her your progress so far.
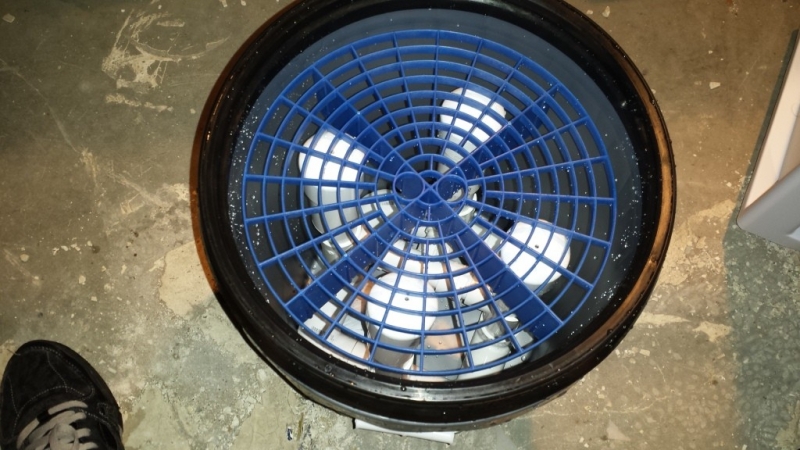
 - Now it's time to place the contraption into the bucket.
 - Here you might run into trouble. It's a tight fit, but you should be able to get it all the way down. If not, or if you're worried about putting too much force on the sides of the bucket, you can try what I did. You may have noticed throughout this that the elbow pieces on mine look a little rough. This is because I sanded them down to give a more round shape. Just make sure you don't go too far or you'll go through the pipe, or possibly make it so thin it will eventually break.
 - Now set the Grit Guard on top.
Press down on it a few times to make sure it has even pressure and that the springs don't get forced down into the adapter. You may need to adjust them. You should hear air coming out through the caps.
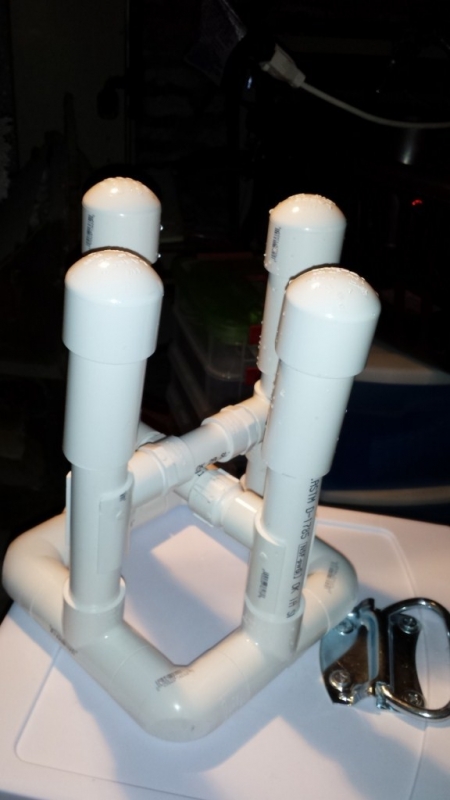
 - If you did everything right, it should look like this!

...like a bucket. - To test it with water, follow the same instructions as with the Grit Guard Universal Pad Washer. Press the grit guard down all the way and fill to just above the top of the grit guard. When you press down on it, water should spray out of the holes in the tops of the caps.
Now if you want to make a splash guard, continue reading below...
-
Super Member
Re: DIY Pad Washer
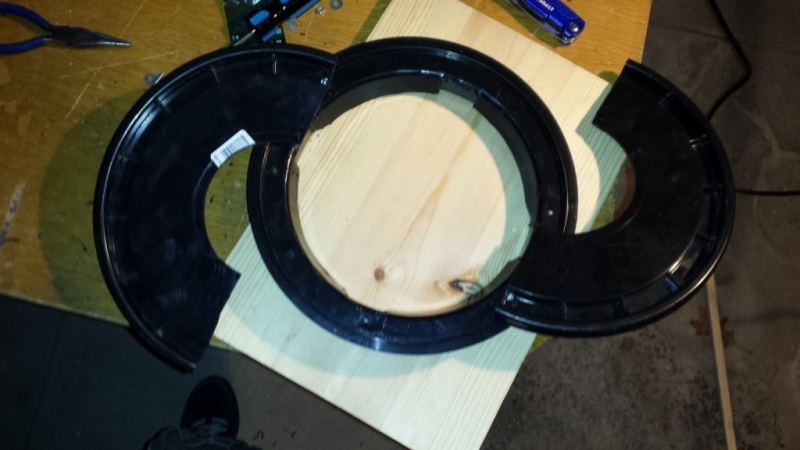
Part 2 - Splash Guard
This part isn't super necessary, but it's nice to have, so I did not inlcude it in the main instructions.
I don't think this part came out nearly as nicely as the real thing, so this would be a good time to dial back your expectations.
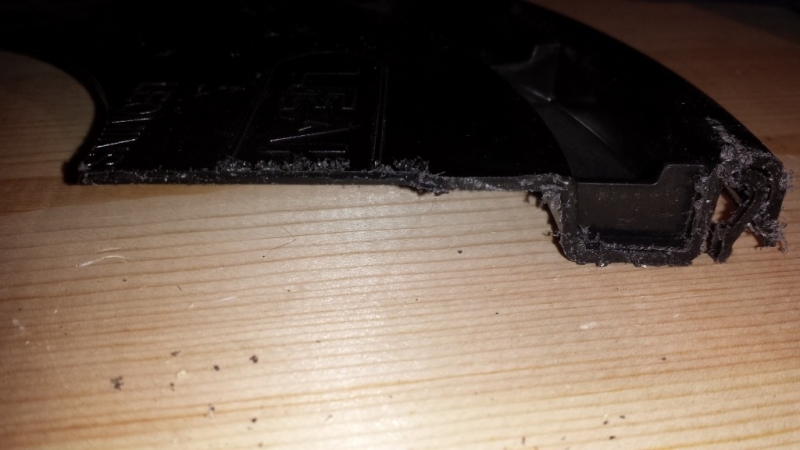
I cannot stress this enough. If you don't want to do this part, then don't. Please read ahead and make sure this is something you feel is worth it to you, or find some cheaper way of doing it. I really don't want to be responsible for someone destroying a gamma seal lid then complaining to me that it didn't work and they're out 10 bucks.
Also, be careful. The list of tools just went from "your hands" to "nothing but sharp objects."
Tools
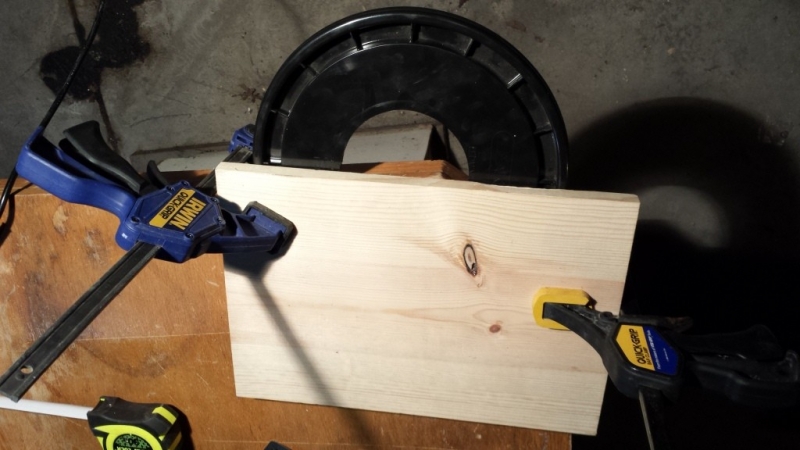
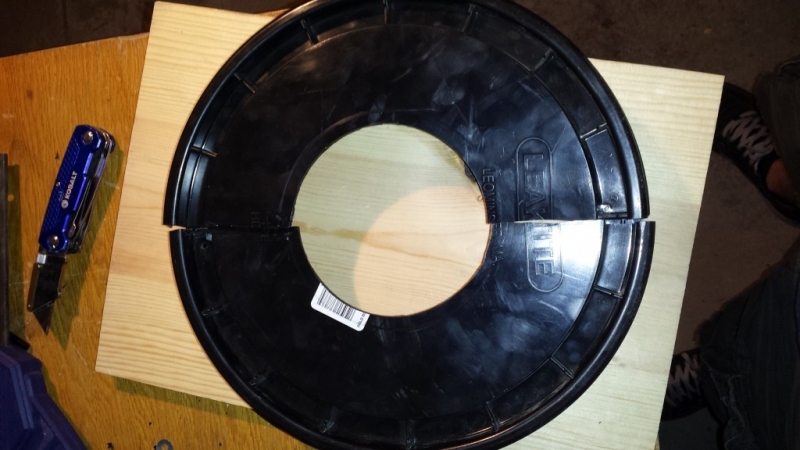
- Something to cut a circle
- Something to cut a [preferably] straight line
- Razor
- Screw driver
- Plyers unless you have tiny fingers
-
Super Member
Re: DIY Pad Washer
Parts
This is simple enough, and prices can vary, especially depending on how you decide to tackle this thing, so I'm not posting them for this section.
- Cheap, easy on-off, 5 gallon bucket lid
- Gamma seal lid
- Screws and nuts - size is up to you
-
Super Member
-
Super Member
-
Post Thanks / Like - 1 Thanks, 0 Likes, 0 Dislikes
-
Super Member

Re: DIY Pad Washer
wow...
-
Post Thanks / Like - 0 Thanks, 1 Likes, 0 Dislikes
Similar Threads
-
By josher in forum Auto Detailing 101
Replies: 12
Last Post: 12-13-2017, 08:25 AM
-
By ndsports in forum Auto and Garage Accessories
Replies: 11
Last Post: 02-04-2017, 03:09 PM
-
By CC268 in forum Auto Detailing 101
Replies: 0
Last Post: 08-14-2016, 12:59 PM
-
By fotomatt1 in forum Products Guides
Replies: 2
Last Post: 08-12-2016, 09:03 AM
-
By bmwgeek in forum Auto Detailing Tools and Accessories
Replies: 6
Last Post: 10-28-2011, 03:11 PM
 Members who have read this thread: 3
Posting Permissions
- You may not post new threads
- You may not post replies
- You may not post attachments
- You may not edit your posts
-
Forum Rules
|
| S |
M |
T |
W |
T |
F |
S |
| 28 | 29 | 30 |
1
|
2
|
3
|
4
|
|
5
|
6
|
7
|
8
|
9
|
10
|
11
|
|
12
|
13
|
14
|
15
|
16
|
17
|
18
|
|
19
|
20
|
21
|
22
|
23
|
24
|
25
|
|
26
|
27
|
28
|
29
|
30
|
31
| 1 |
|


 Thanks:
  Likes:


 Reply With Quote


Bookmarks