Mike Phillips
Active member
- Dec 5, 2022
- 51,004
- 6
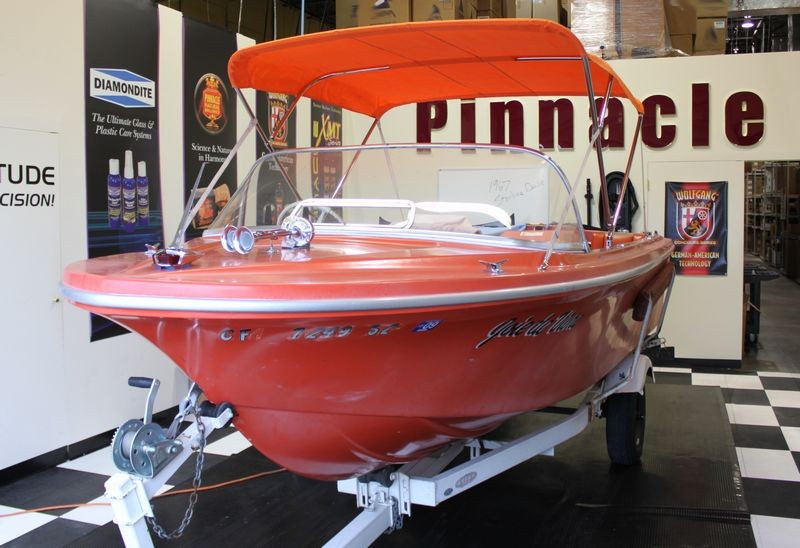
1967 Starline Deville - Extreme Makeover
I bought this boat last summer from a car collector that purchased it at an Estate Sale. Practically speaking, I'm the second owner as the gentleman that purchased it at the Estate Sale only did so because he saw that it was a real "Survivor" from the 1960's and his purpose was to re-sale it for profit, not take the family water skiing.
Since I've owned it I've only taken it out a few times but it runs great and planes out around 50 mph, which isn't' bad for a 120 horsepower Iron Duke from the 1960's.
Here's a shot taking my boy and two of his buddies Tubing on Big Bear Lake in the high Desert of Southern California last summer.
Pulling my son and two other boys on the O'Brien Double Tube

Beached...

Back at the campground, the O'Brien Dual Tube barely fits in the boat. I used to drag this behind my Sanger Drag boat and hit speeds of, well you don't want to know, it sets a bad example.

Anyway, I had my boat and truck shipped out here from SoCal, which was a project unto itself.

And in the last few weeks I've got the truck all dialed-in and pounding pavement sporting a new Bikini top for this wacky Florida weather as the hardtop never goes back on once I take it off.

So now it's time to get the boat spruced up and ready to go fishing. This will include removing all the oxidation and polishing the original, 42, almost 43 year-old gel-coat back to a deep, wet shine and then installing a Pertronix Electronic Ignition. She runs really well just like she sits but I've installed a number of these Pertronix Electronic Ignitions into projects that still run points-style ignitions and it really helps a lot with starting and acceleration over the entire RPM range.
The exterior has a lot of oxidation, to the point that some places have actually turned white. I've tried a number of different compounds all with wool pads on the rotary buffer and had good luck.
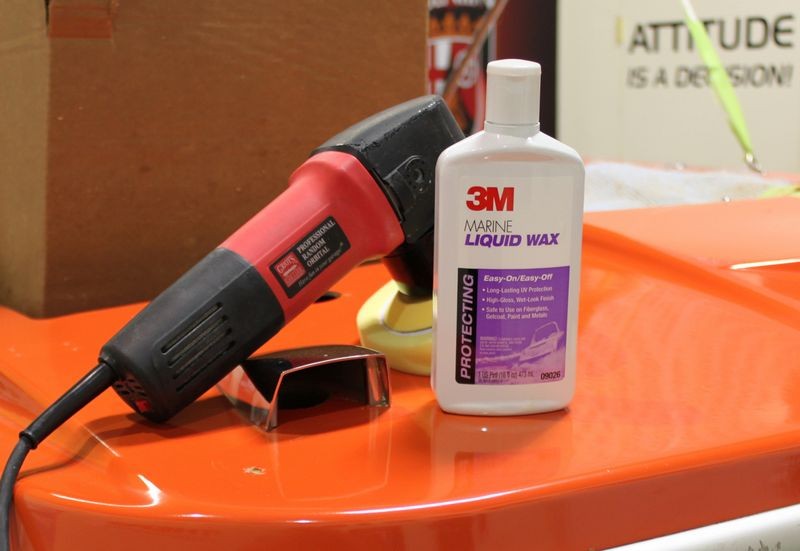
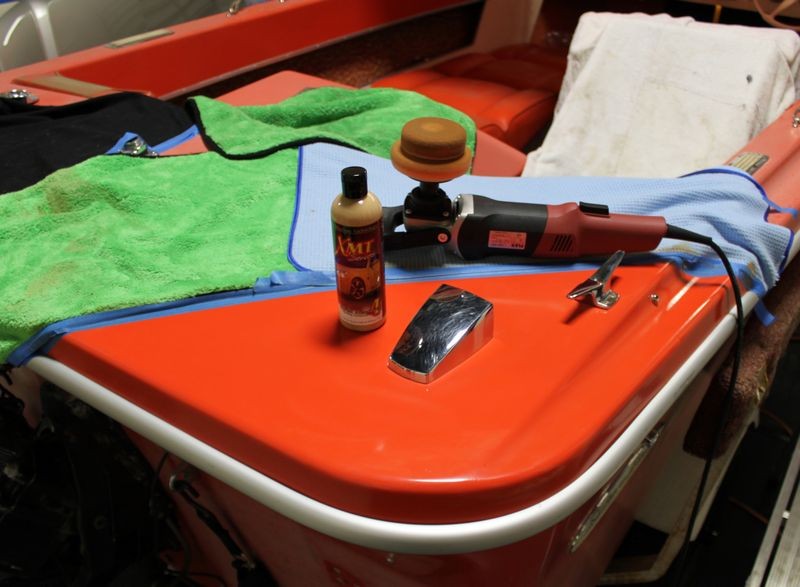
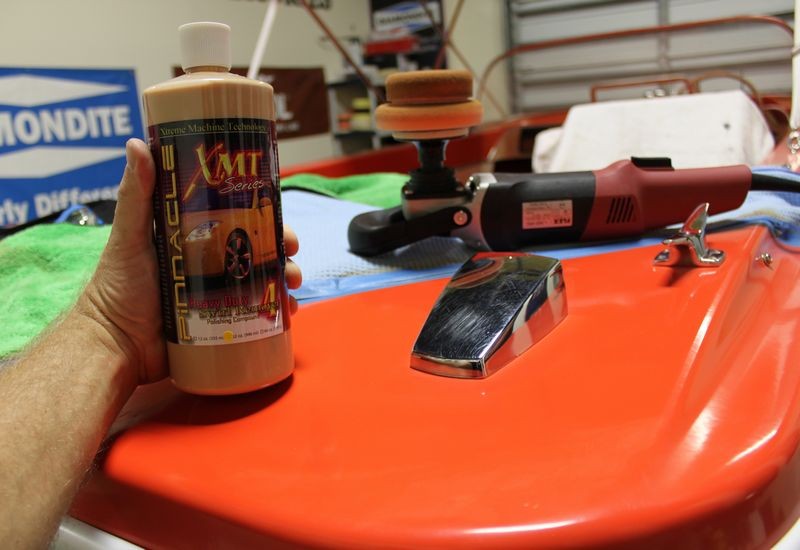
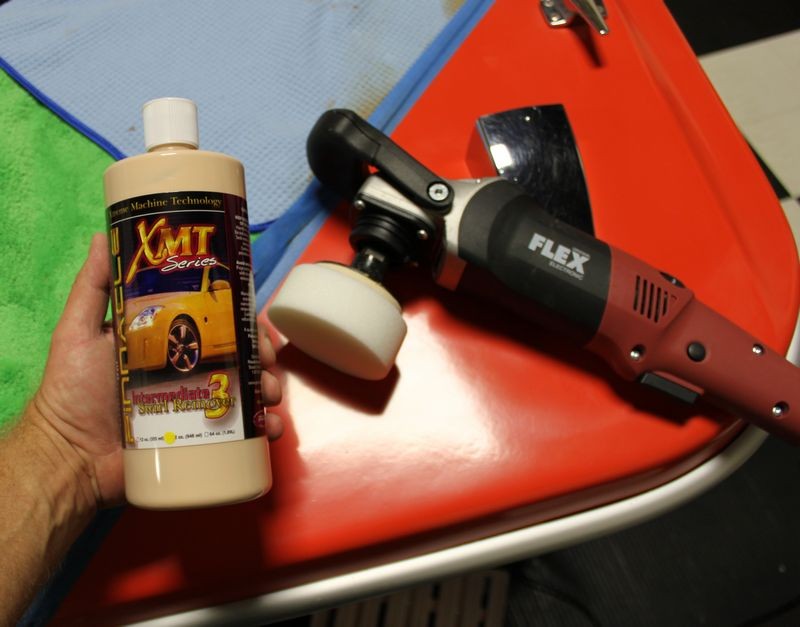
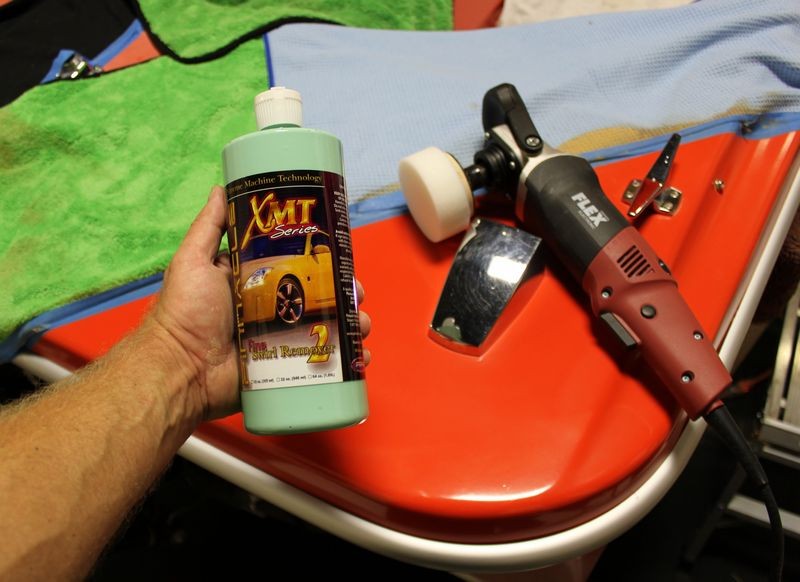
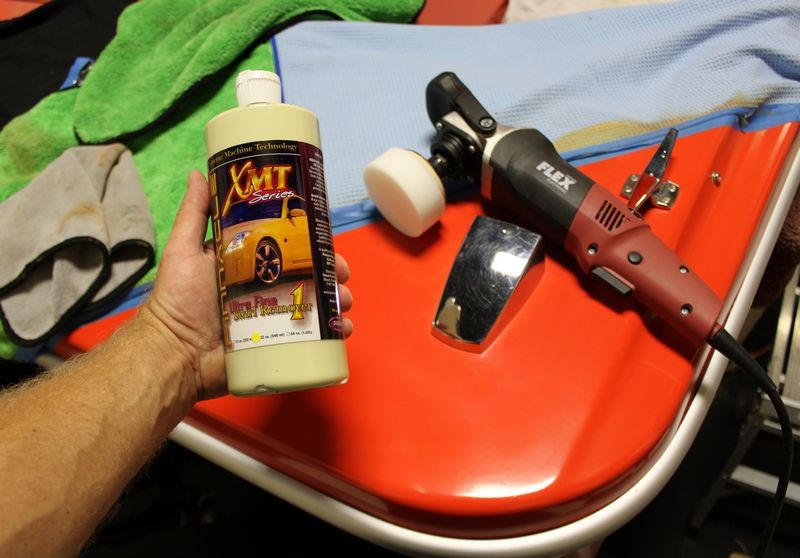
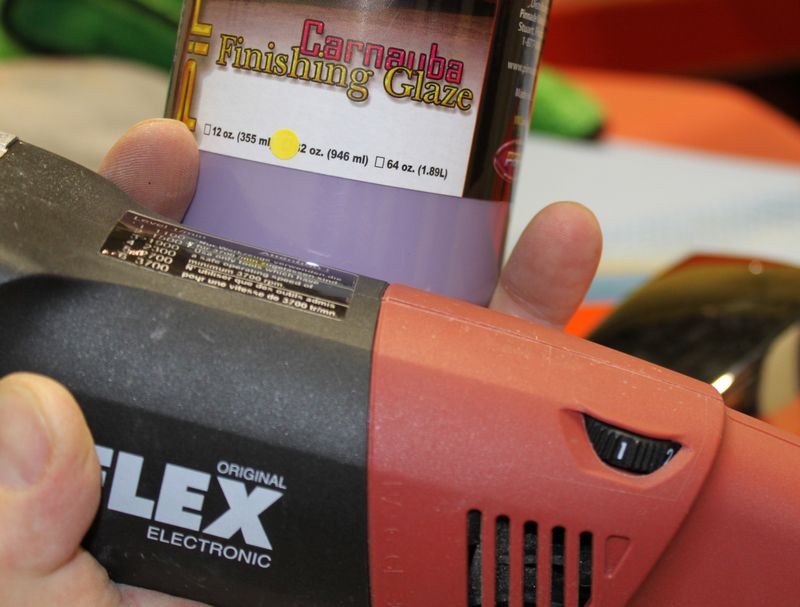
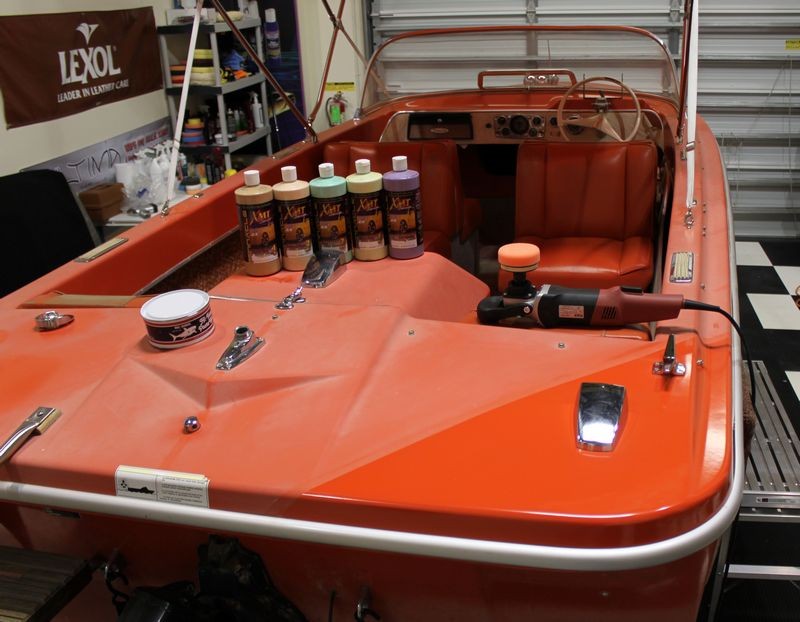
For this Extreme Makeover we're going to use the Pinnacle XMT Series with a rotary buffer and selection of different sizes and materials for buffing pads. Afterwards we're going to machine seal with the XMT Carnauba Finishing Glaze and then top with the
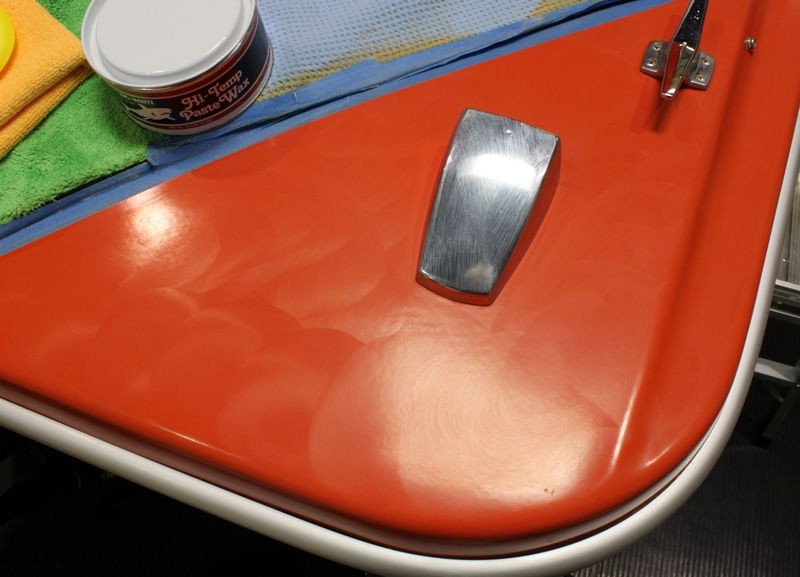
I started this project Saturday morning, then took off for a car show at 2:00pm, (pictures to come later), and now it's Saturday night and I'm just now finishing my Test Spot.
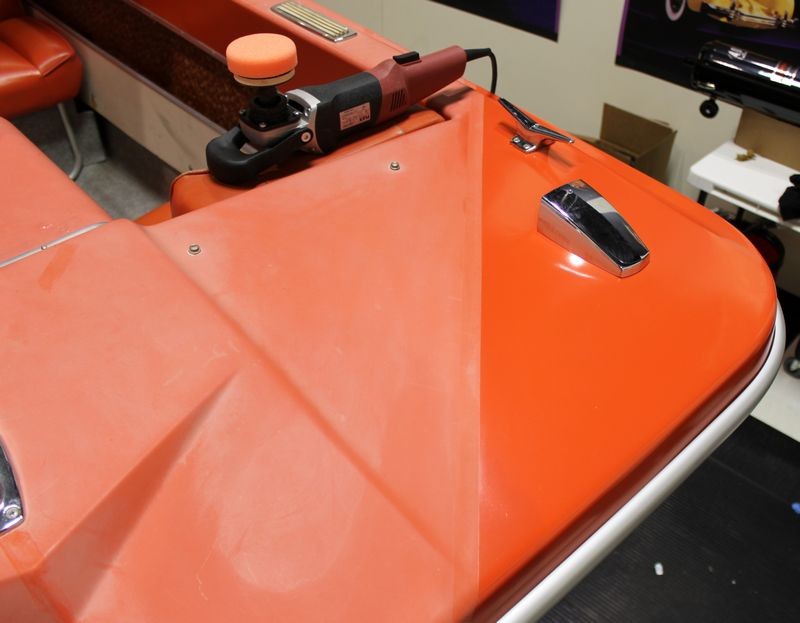
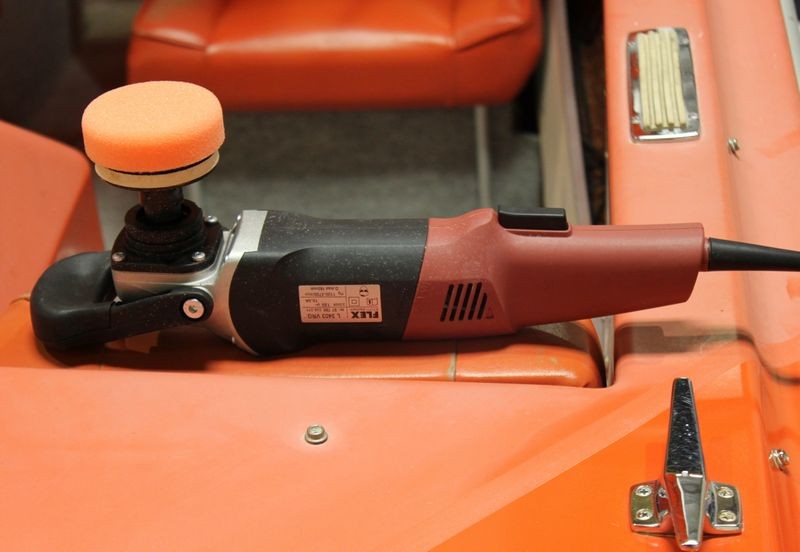
Here's the pictures so far and small video showing how nice these Griot's Garage 3" mini polishing pads are for thin panels, especially with the Flex Lightweight Rotary Buffer. My technique isn't like it would be if I could hold the rotary buffer with both hands but I think you'll get the idea as I had to use my other hand to hold the camera and take the video. (It's Saturday night, the rest of the gang here at Autogeek have already gone home)
Without further ado...
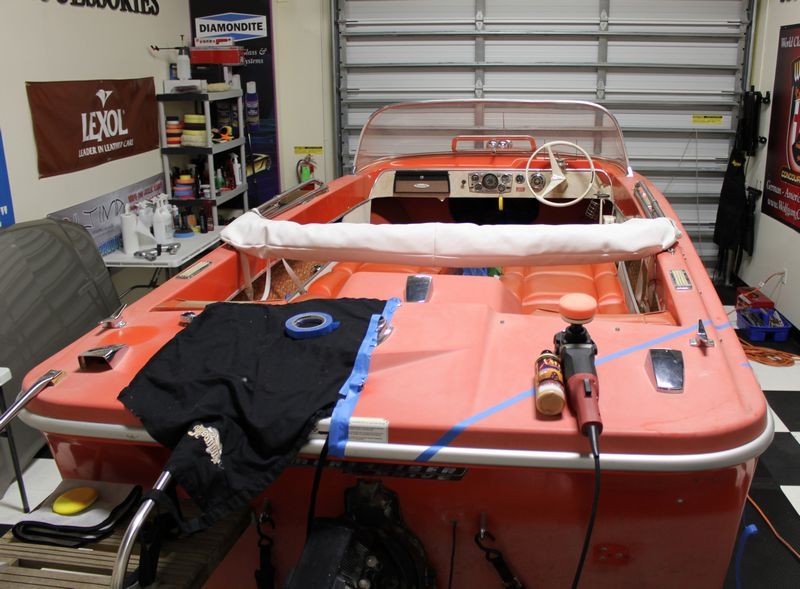
1967 Starline Deville Family Ski Boat with a brand new Bimini Top in matching orange Sunbrella material. They guy that built this lives in Hesperia and has been making customer Bimini tops for around 40 years. The bows are all Stainless Steel so they won't flex, bend or rust.

The Plexiglas windshield is original, with no cracks or crazing, and in mint condition.

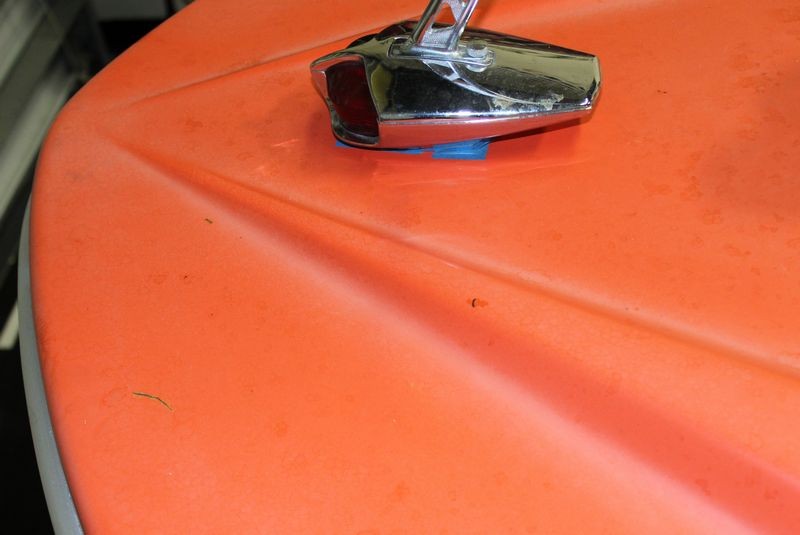
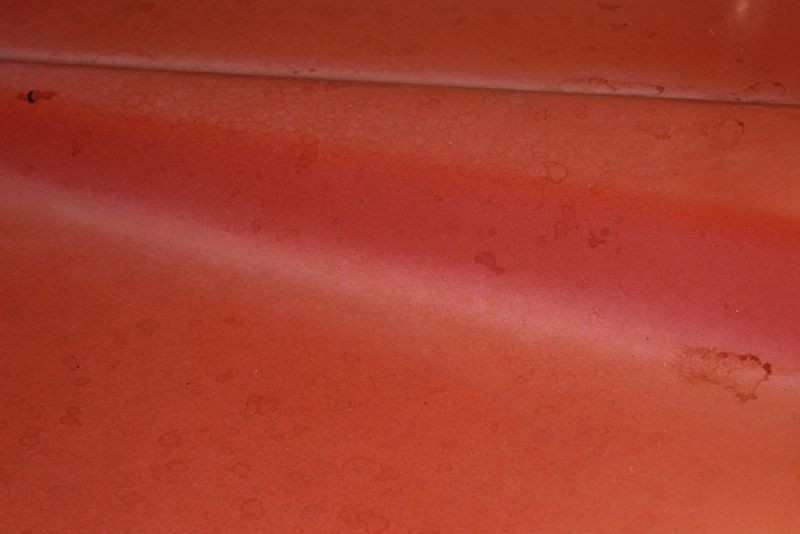
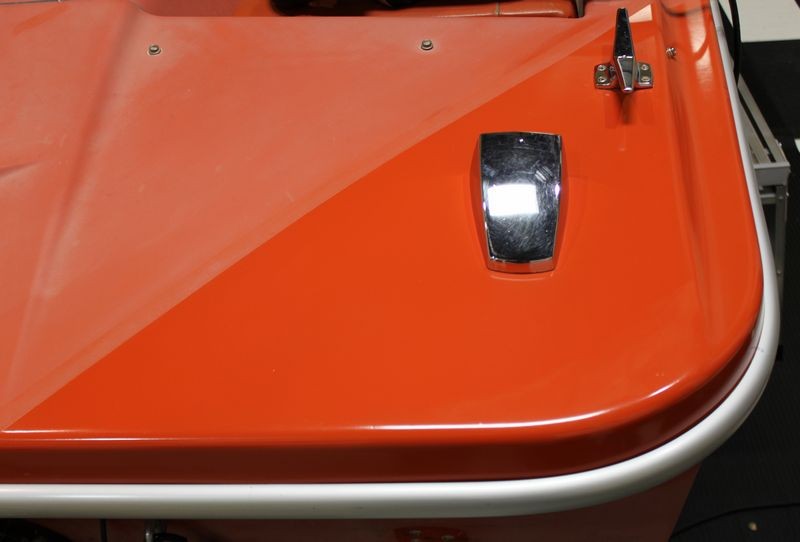
Severe oxidation

I had a tarp covering the boat and you can see a line where the tarp ended; you can also see how the gel-coat that's not covered has oxidized more than the rest of the boat after only a few weeks exposed to Florida weather.

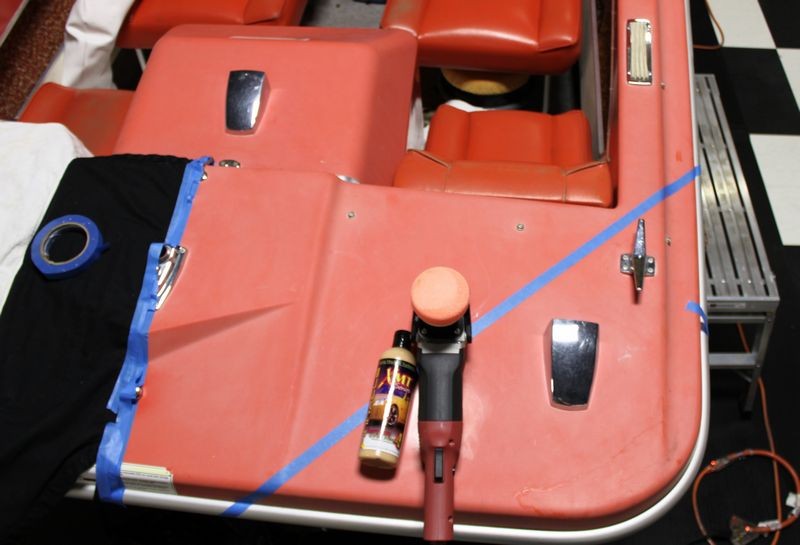
Lot's of oxidation on the rear of the boat. The Meguiar's apron was torn so it's now being used as a shield for another before & after section. To the right you can see a diagonal taped-off section and this is where I'm going to do my machine test spot using the XMT #4
Look at the gel-coat below the water line! It's like this all the way around the lower hull of the boat.

I bought this boat last summer from a car collector that purchased it at an Estate Sale. Practically speaking, I'm the second owner as the gentleman that purchased it at the Estate Sale only did so because he saw that it was a real "Survivor" from the 1960's and his purpose was to re-sale it for profit, not take the family water skiing.
Since I've owned it I've only taken it out a few times but it runs great and planes out around 50 mph, which isn't' bad for a 120 horsepower Iron Duke from the 1960's.
Here's a shot taking my boy and two of his buddies Tubing on Big Bear Lake in the high Desert of Southern California last summer.
Pulling my son and two other boys on the O'Brien Double Tube
Beached...
Back at the campground, the O'Brien Dual Tube barely fits in the boat. I used to drag this behind my Sanger Drag boat and hit speeds of, well you don't want to know, it sets a bad example.
Anyway, I had my boat and truck shipped out here from SoCal, which was a project unto itself.
And in the last few weeks I've got the truck all dialed-in and pounding pavement sporting a new Bikini top for this wacky Florida weather as the hardtop never goes back on once I take it off.
So now it's time to get the boat spruced up and ready to go fishing. This will include removing all the oxidation and polishing the original, 42, almost 43 year-old gel-coat back to a deep, wet shine and then installing a Pertronix Electronic Ignition. She runs really well just like she sits but I've installed a number of these Pertronix Electronic Ignitions into projects that still run points-style ignitions and it really helps a lot with starting and acceleration over the entire RPM range.
The exterior has a lot of oxidation, to the point that some places have actually turned white. I've tried a number of different compounds all with wool pads on the rotary buffer and had good luck.
For this Extreme Makeover we're going to use the Pinnacle XMT Series with a rotary buffer and selection of different sizes and materials for buffing pads. Afterwards we're going to machine seal with the XMT Carnauba Finishing Glaze and then top with the
I started this project Saturday morning, then took off for a car show at 2:00pm, (pictures to come later), and now it's Saturday night and I'm just now finishing my Test Spot.
Here's the pictures so far and small video showing how nice these Griot's Garage 3" mini polishing pads are for thin panels, especially with the Flex Lightweight Rotary Buffer. My technique isn't like it would be if I could hold the rotary buffer with both hands but I think you'll get the idea as I had to use my other hand to hold the camera and take the video. (It's Saturday night, the rest of the gang here at Autogeek have already gone home)
Without further ado...
1967 Starline Deville Family Ski Boat with a brand new Bimini Top in matching orange Sunbrella material. They guy that built this lives in Hesperia and has been making customer Bimini tops for around 40 years. The bows are all Stainless Steel so they won't flex, bend or rust.
The Plexiglas windshield is original, with no cracks or crazing, and in mint condition.
Severe oxidation
I had a tarp covering the boat and you can see a line where the tarp ended; you can also see how the gel-coat that's not covered has oxidized more than the rest of the boat after only a few weeks exposed to Florida weather.
Lot's of oxidation on the rear of the boat. The Meguiar's apron was torn so it's now being used as a shield for another before & after section. To the right you can see a diagonal taped-off section and this is where I'm going to do my machine test spot using the XMT #4
Look at the gel-coat below the water line! It's like this all the way around the lower hull of the boat.


") These are the kinds of details I LIVE for!!!
These are the kinds of details I LIVE for!!!
")