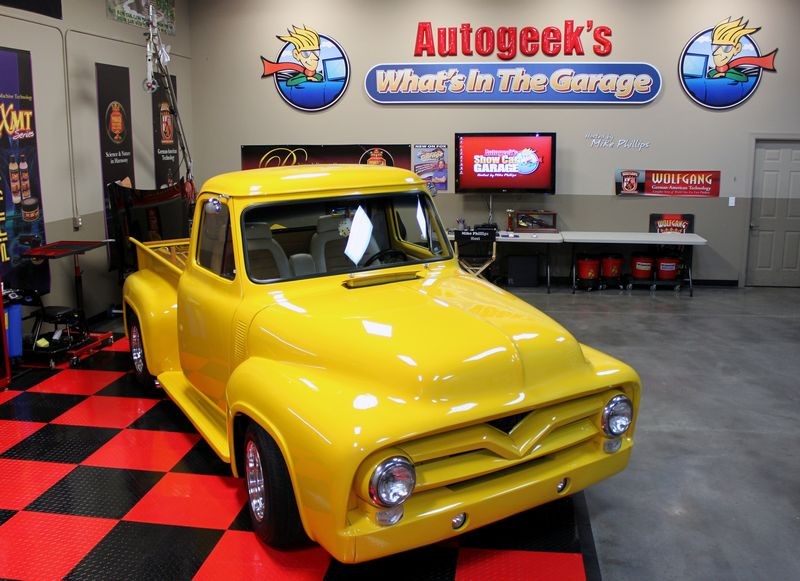
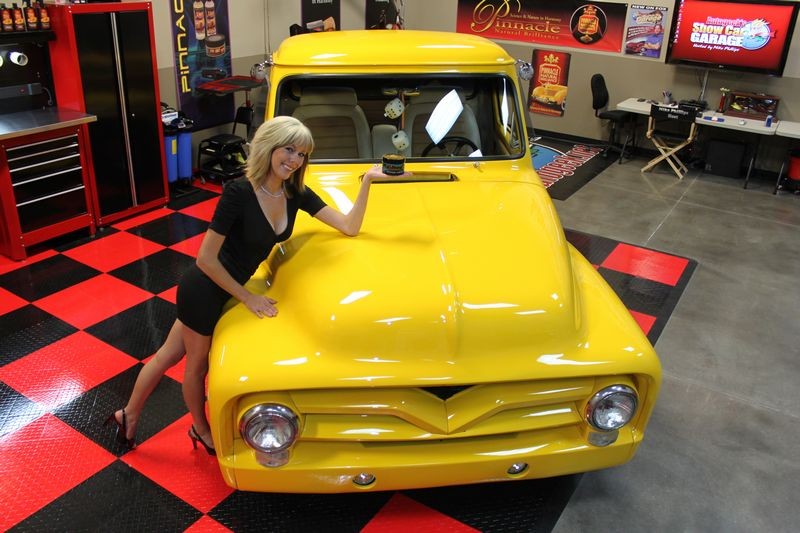
Re: 1954 Ford F-100 - Extreme Makeover - Modeled by Janna
The Test Spot
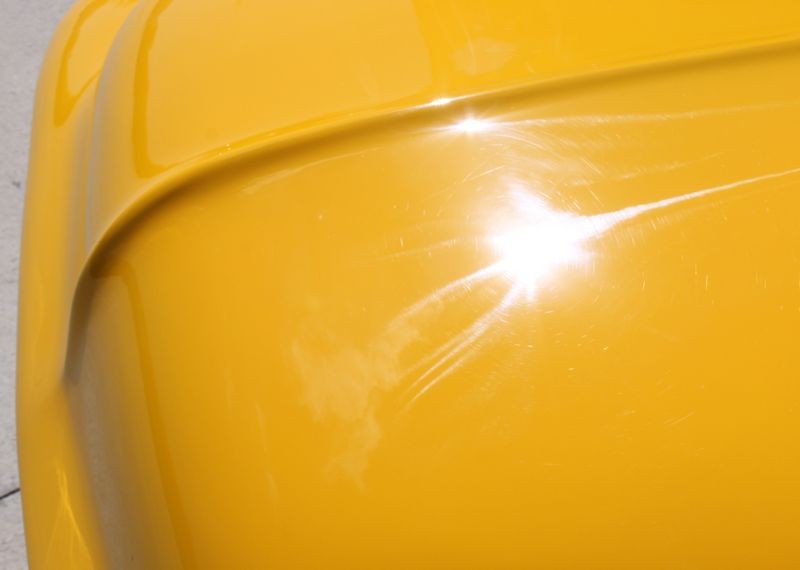
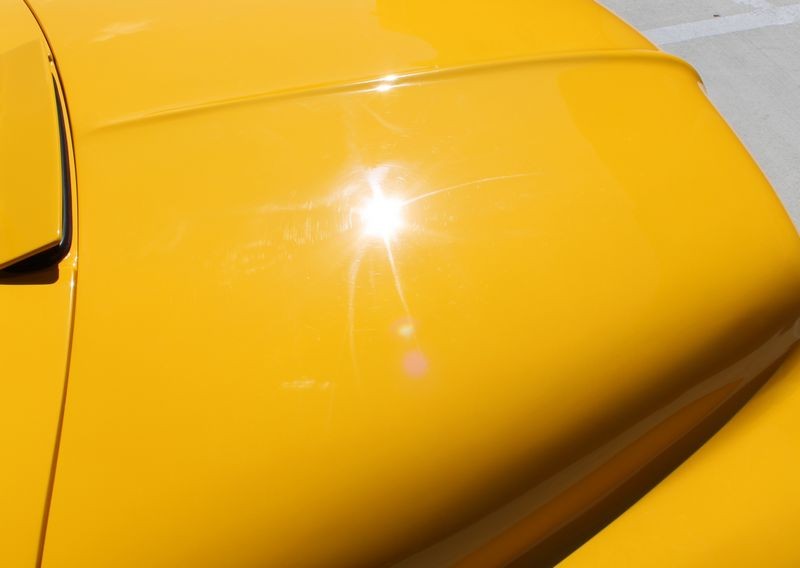
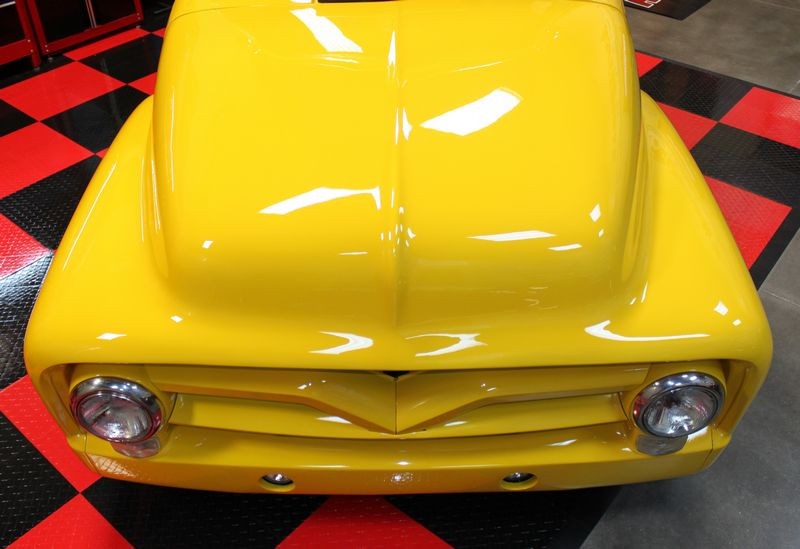
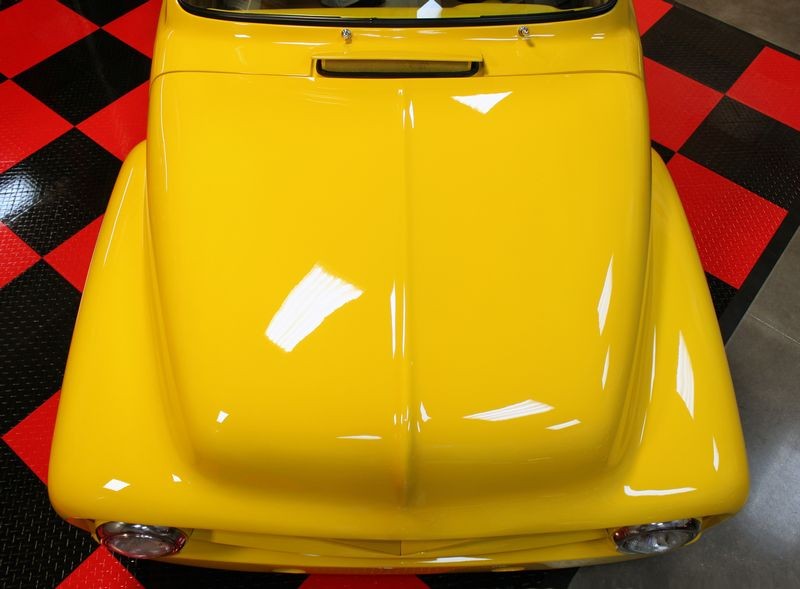
Since I've already inspected the paint and documented it is filled with holograms from a rotary buffer the next step is to do a Test Spot to see what it will take to remove the swirls and level the surface of the paint.
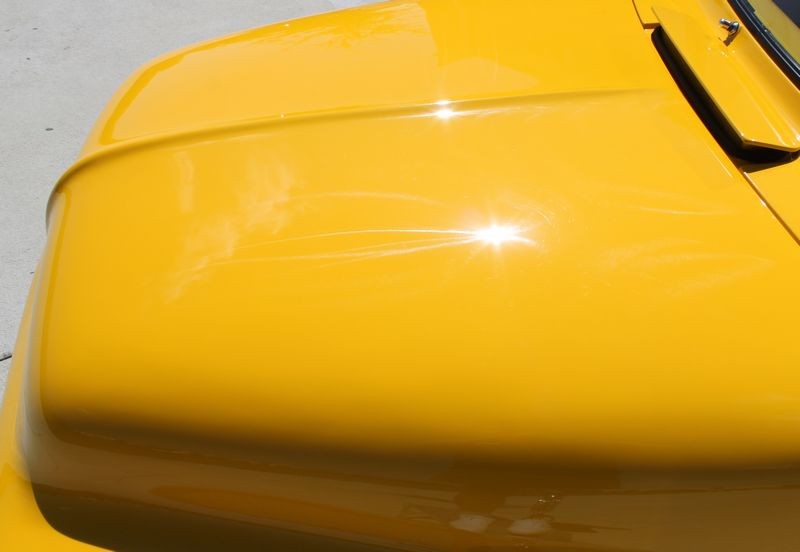
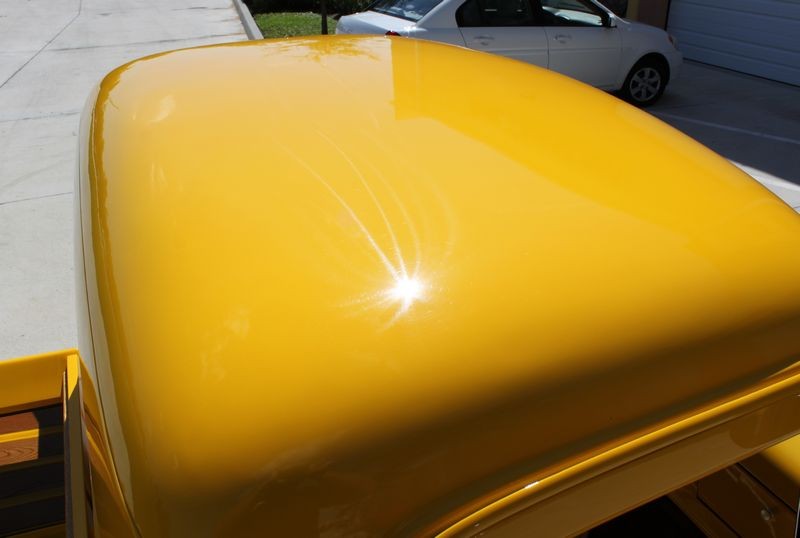
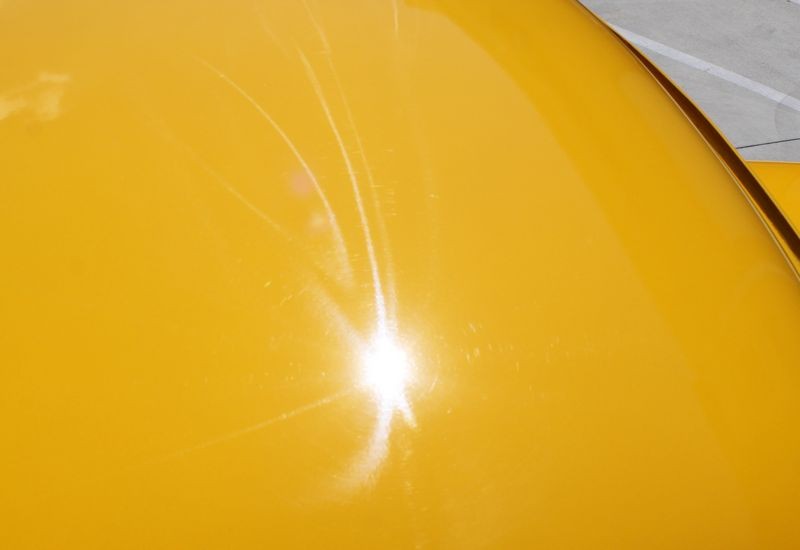
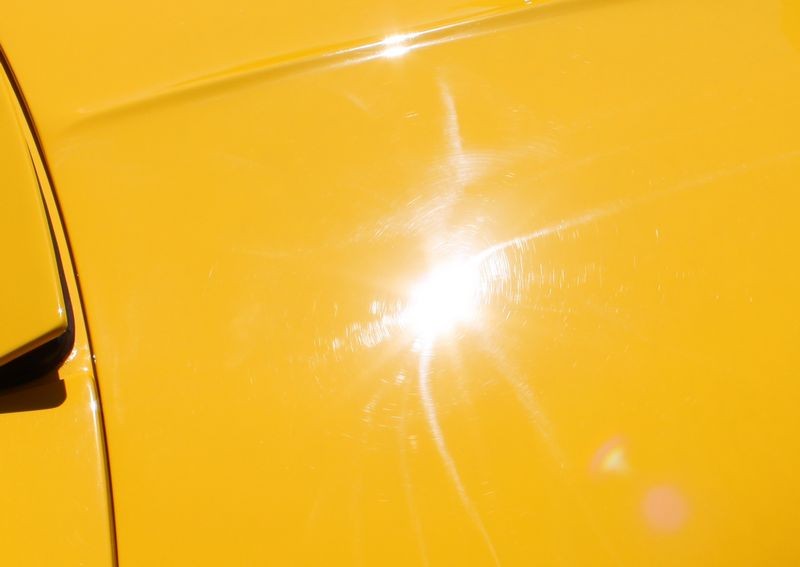
1954 Ford F-100 with swirls and holograms
[ame=http://www.youtube.com/watch?v=KAxyDNQjG5I&hd=1]1954 Ford F100 Show Truck Remove Holograms Swirls - YouTube[/video]
One comment on the rotary buffer swirls...
This truck was painted by a custom painter and we don't blame him for the swirls. The fact is, it's not how GREAT the painter is... it's the guy that does the wetsanding, cutting and buffing that makes or breaks the end-results.
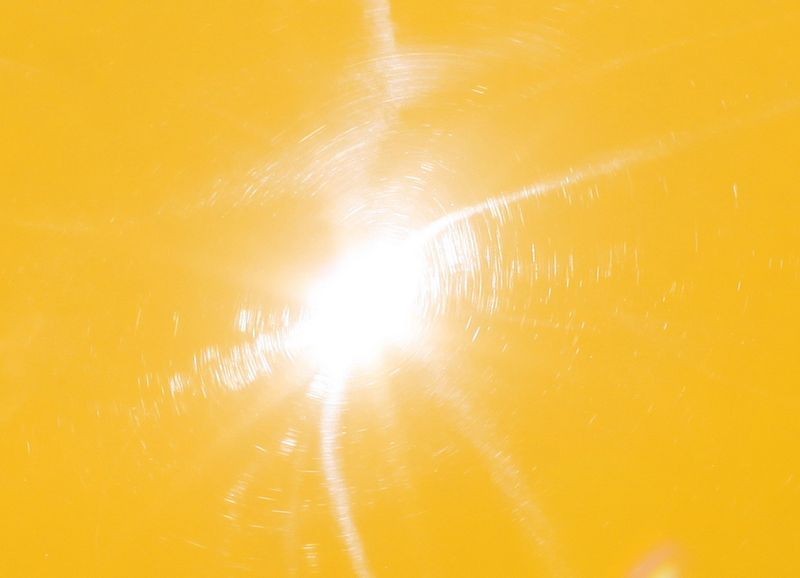
It looks like the guy that did the sanding and buffing used a rotary buffer and likely a wool finishing pad for his last machine step.
This is the norm for the kind of work done at the majority of body shops across the world. Most people getting their car painted have no idea as to what to ask for and just take what they get when they pick up their freshly painted car.
Most body shops only use a rotary buffer for all their buffing work and don't charge enough money to cover the cost for extra steps whether they be doing a final rotary buffing step using a foam finishing pad and an ultra fine cut polish or using a DA Polisher to ensure the swirls are all removed. The the swirls I documented in this custom paint job or the norm for this industry. That's okay as it give Pro detailers plenty of work undoing the damage.
For our Test Spot we're hoping to use Optimum's brand new Microfiber Finishing Pads with the Optimum Hyper-Polish on DA Polisher. This is keeping with the philosophy of,
Use the least aggressive product to get the job done which is also covered in my e-book on page 84 of both the e-book and the paperback version of The Art of Detailing and how to do a Test Spot starts on page 94
Doing a Test Spot
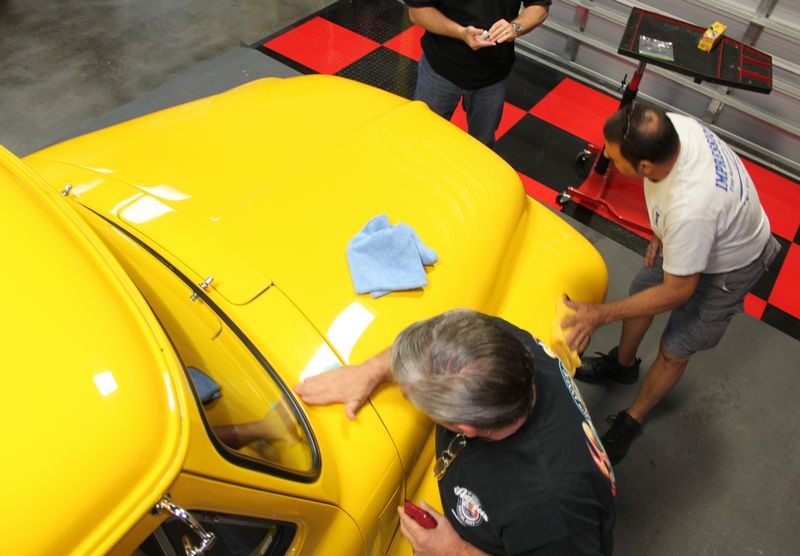
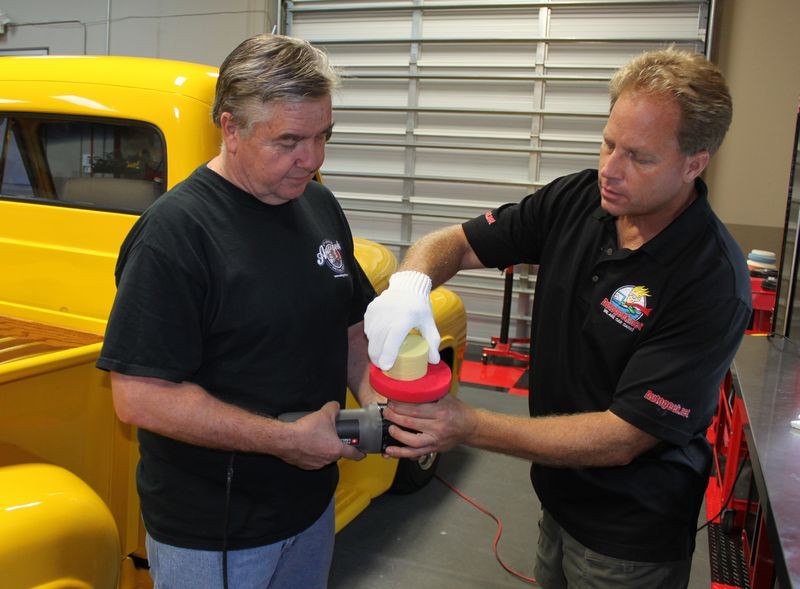
Here's Robert spraying Hyper-Polish onto a brand new, clean Optimum Microfiber Pad on a Porter Cable 7424XP
Note that Robert is using some painter's tape to make a tape-line on a horizontal panel and then only buffing on one side of the tape line. By doing this he will make it real easy to inspect the results on other side he's buffing on and compare it to the "control" side to gage the effectiveness of this combination of pad, product, tool and of course his expert technique.
After performing the Test Spot we inspect the results and the combination of Optimum Hyper-Polish with the new Optimum Microfiber Finishing Pads on the Porter Cable on the 6.0 speed setting removed 99.9% off all the swirls and scratches and left the paint simply
AMAZING looking with no micro-marring even after chemically stripping the paint with IPA.
Diluting and using IPA to inspect results
How to properly dilute and use IPA to inspect your results is covered on page 115 of my how-to e-book and paperback version.
Since our Test Spot confirmed our process everyone joined in using the same combination of pads and product with various DA Polishers including the Porter Cable 7424XP, Meguiar's G110v2 and the Griot's Garage DA Polisher.
These are are the same "type" of tool in that they all use a Free Floating Spindle Assembly for a drive mechanism but they each have different power configurations. Not that it's a HUGE deal but here are the speed settings we used for the different tools with the microfiber pads....
Porter Cable 7424XP = 6.0
Meguiar's G110v2 = 5.0
Griot's Garage = 5.0
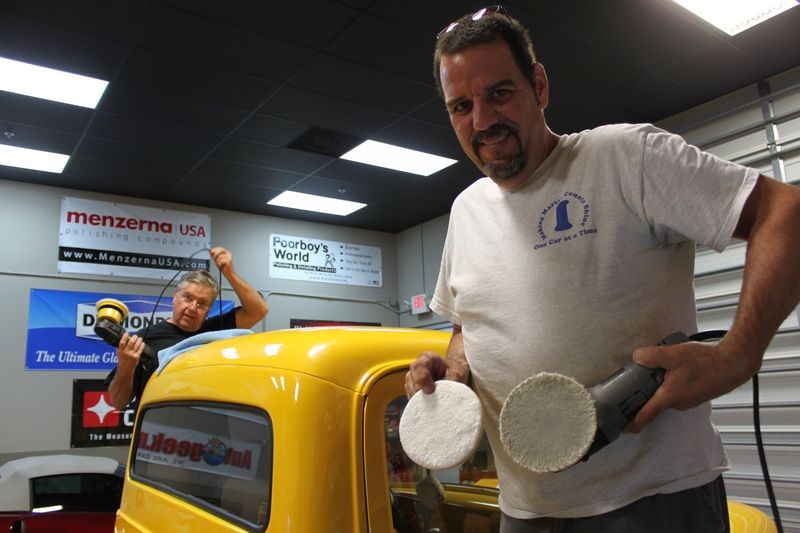
Robert from Impression's Detailing
Here's Robert with the PC tackling the rest of the hood... Robert is booked all the time doing show car work and his shop in in Palm City, Florida called Impression's Detailing. I often get asked by locals for a true professional to both detail their car and to also maintain it and I know I can always trust Robert to completely take care of all his customer's needs.
Jeff
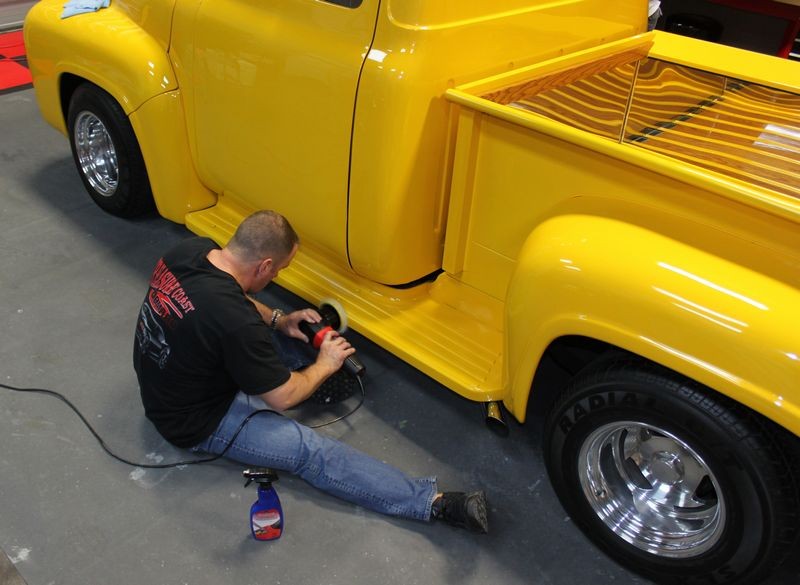
Here's Jeff using the Porter Cable 7424XP to tackle the rear passenger fender, Jeff works in our Tech Support division and is a true car guy owning 2 Mustangs and a classic
1978 El Camino
Glen
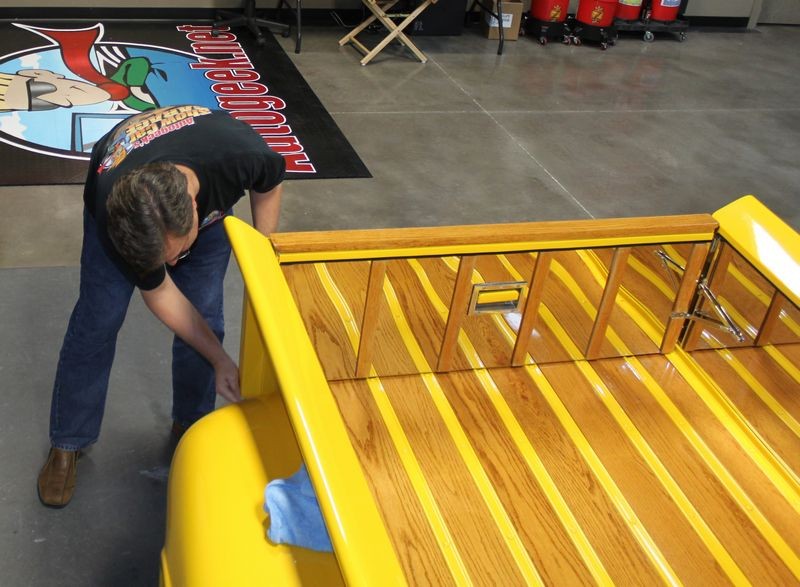
Here's Glen using a Meguiar's G110v2 to remove the swirls out of the tailgate. This is the first time Glen has ever used a machine to polish paint and he did a superb job!
Me using the Griot's Garage 6" Random Orbital Polisher
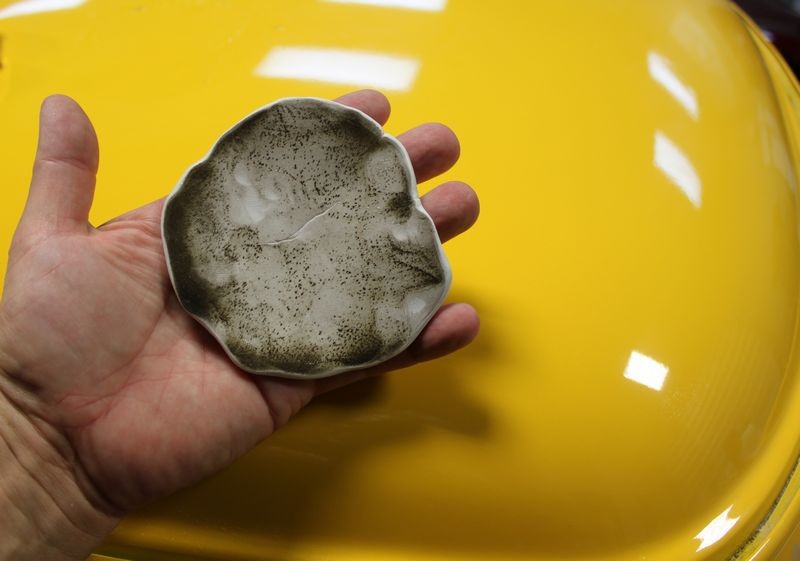
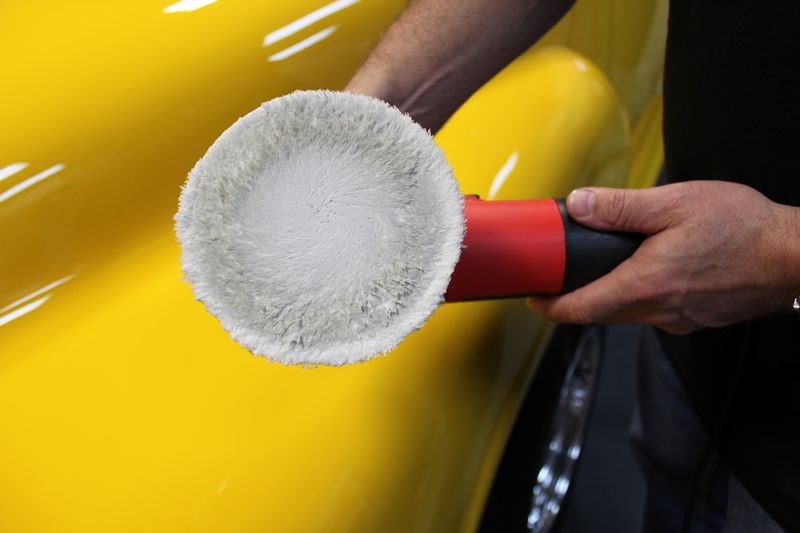
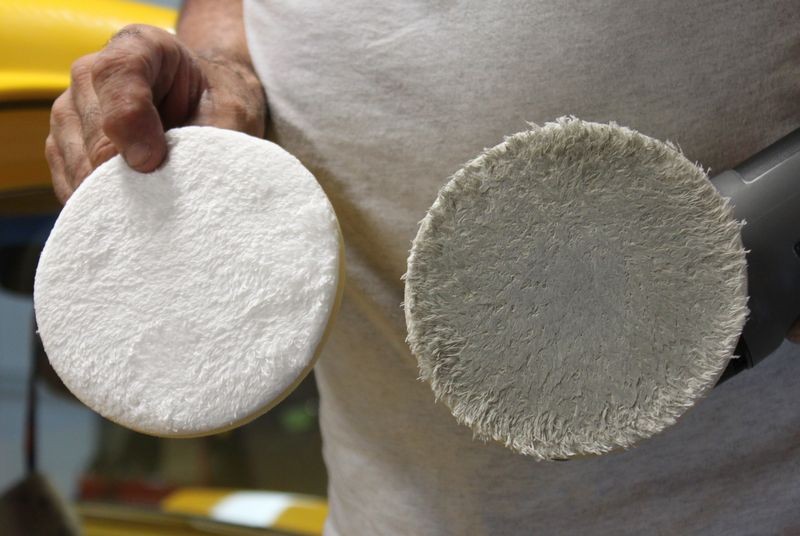
As you use a microfiber pad the fibers will lay down flat at become matted with both spent product and the paint you're removing anytime you're abrading the paint. You can also see a grayish color on the pad, this is staining of the paint caused by road grime and air-borne pollution. Staining is both topical and to some degree embeds into the paint so when you do any type of compounding or polishing you remove the staining and restore a more clear and brighter finish as you can see as we buff out this truck
To clean the microfiber pads we use a Pad Conditioning Brush with the tool OFF and simply hold the pad from spinning with the hand that's holding the polisher. I cover all the ways to clean both foam pads and fiber pads starting on page 76 of my book.
Here you can see the fibers have bee fluffed up and this pad is ready to go back to work...
Robert tackling the passenger door...
Rene
I first met Rene when we needed a cool car for a video Matt Steel and I made a few months ago. Rene was interested in learning how to machine polish paint so after we made the videos I invited him back to buff out his car. You can see the results from that project here,
Rene's 2011 Camaro with a Mirror Finish!
Rene tackling the running boards, door and rear fender...
Safety First
Here's Robert and Glen tackling the roof, not they are standing on stable work platforms to protect both themselves and the truck.
Robert using the PC and Glenn using the Meguiar's G110v2
Remember how dirty the clay was after claying just one half of the roof? Clay remove ABOVE surface bonded contaminants but it doesn't remove embedded staining of the paint. You can see abrading the paint with a light polish and a microfiber pad has removed the staining effect and restored a very bright and shiny finish.
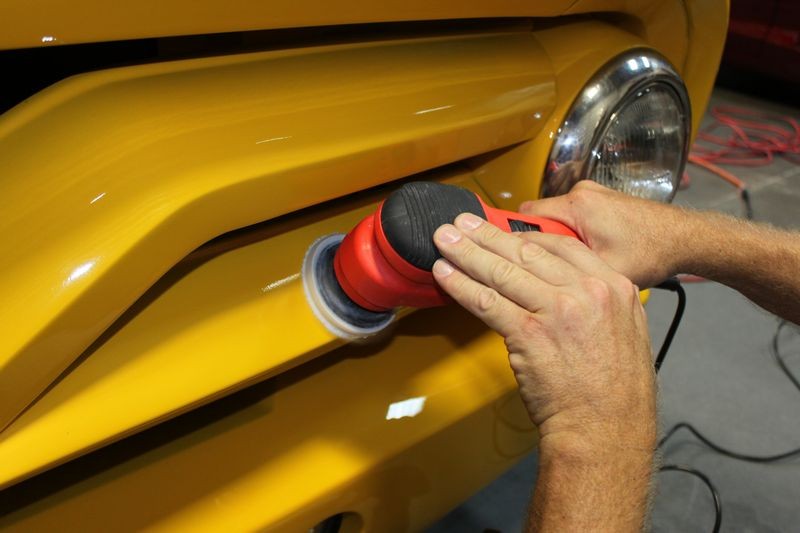
This is me tackling the iconic front grill using the Griot's Garage 3" Mini Polisher using an Optimum 3.25" Microfiber Pad with Hyper-Polish.
I now the question everyone wants to ask and here is the answer...
YES the 3" Mini Polisher was able to maintain pad rotation. I started with the upper potions and worked downward and wiped the residue off as I worked... look how shiny and glossy the paint is after using the 3" Mini Polisher. The 3" Mini Polisher also makes a great
Dampsander for spot repair.
Dampsanding with 3" Griot's Garage Mini Polisher


")


")

