 Thanks: 0
 Likes: 0
 Dislikes: 0
-
First post, first detail w/pics. Hello all!
First post, first detail w/pics. Hello all!
Just wanted to say hello to the Auto Geek community, and I'm so very glad to be a part of it. Special thanks to Mike Phillips for his instructional videos, they helped me tremendously with my first detail ever. Please, tell me what you guys think!
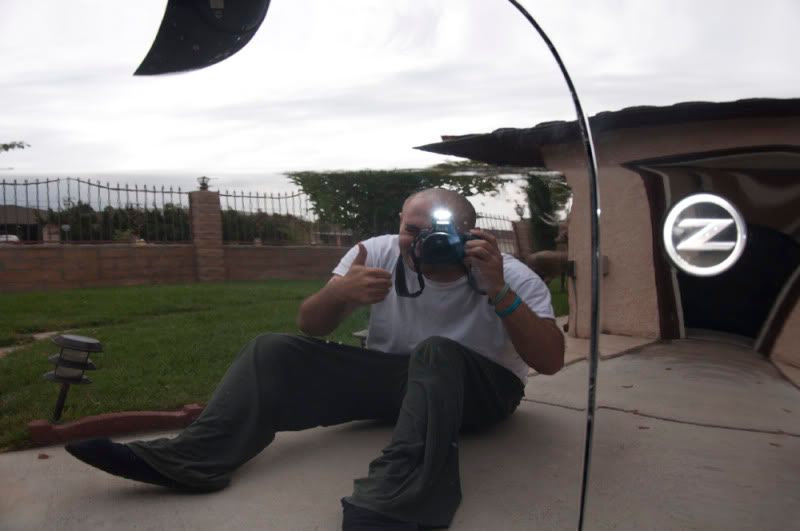
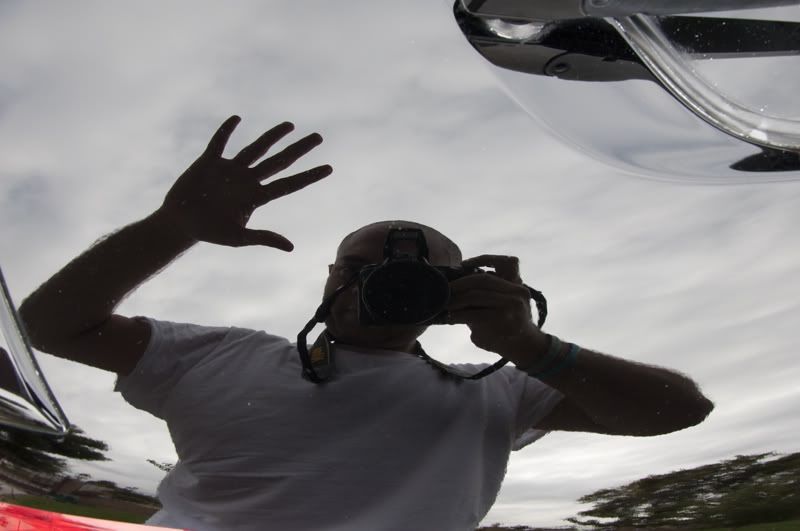
The whole car looked like this, you can see my test spot to the left and the untouched paint to the right.
lol don't mind my face!
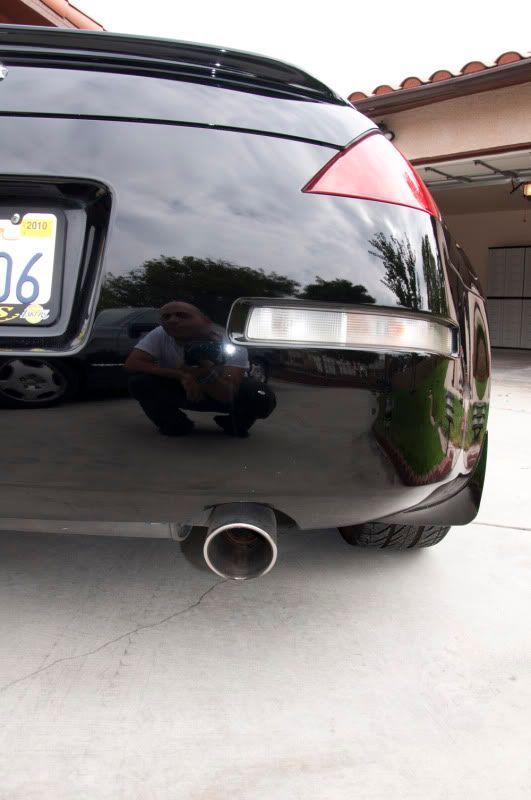
Couple things.......... I still have some polish residue here and there, I don't have a brush to clean off small cracks and whatnot, so there's still some compound dust lying around here and there in between cracks/small areas.
This car is an 03 with 73k miles on it. My front bumper is absolutely thrashed and I was not able to get much shine off it. So I settled with just removing swirls, and it made me happy. Too much road damage to really shine 
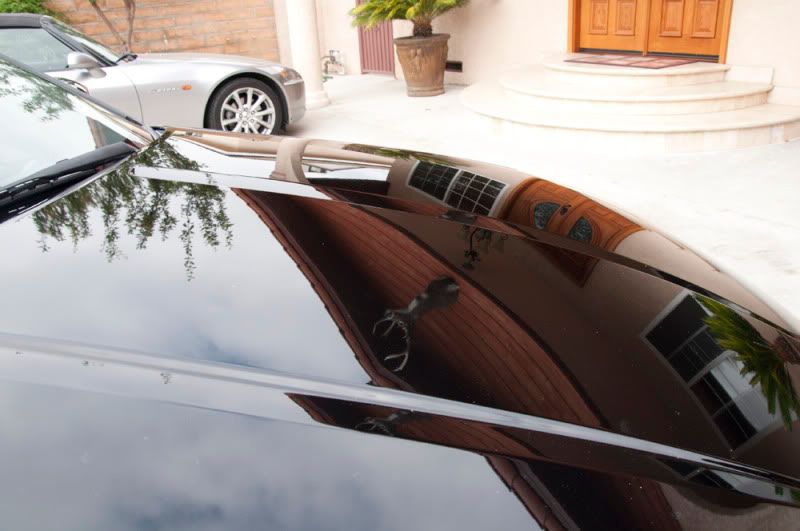
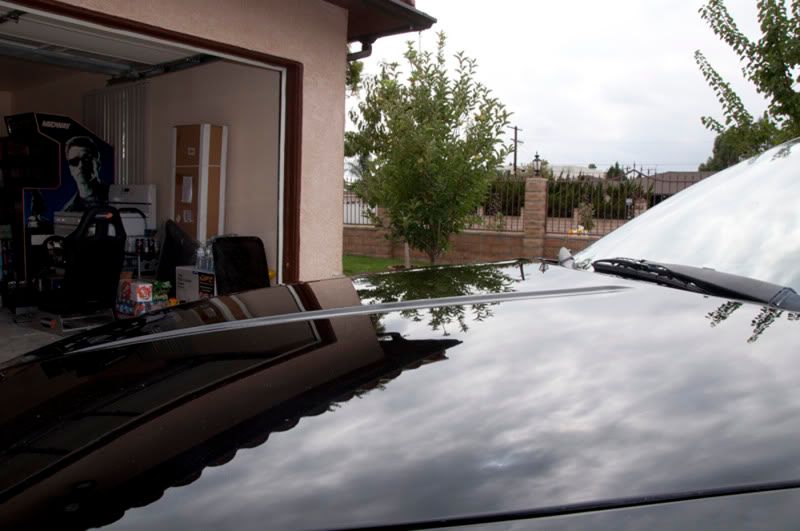
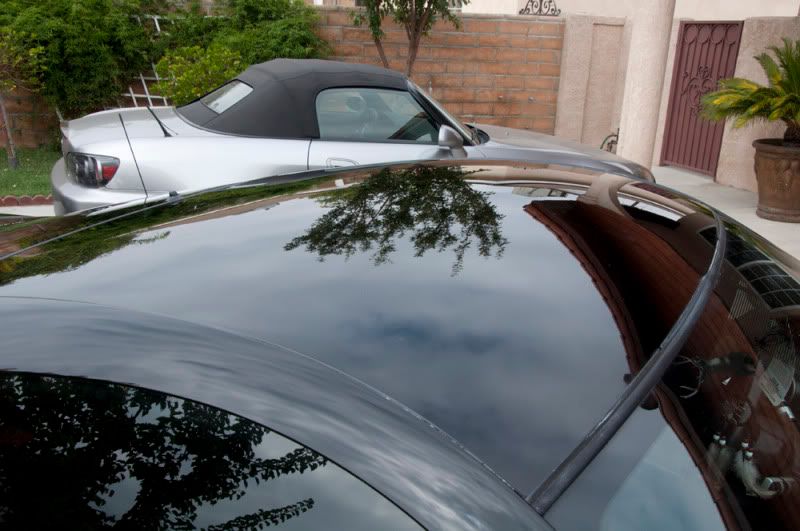
There are a bunch of white spots all over the car, especially on my hood and my roof. These white spots would not come off no matter what I did. I haven't a clue what they are. They're not rock chips either. I have several of those on my hood, and I plan to fill them in with touch up paint soon.
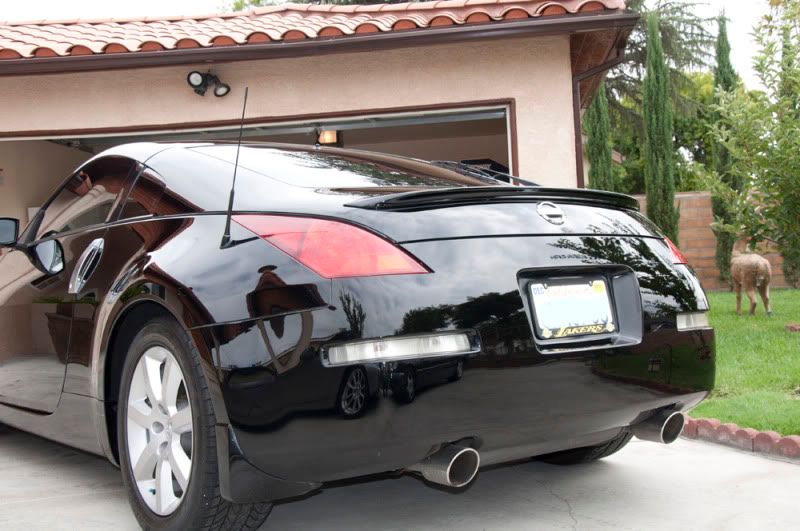
The car was in incredibly bad condition before I did this....... I'm so pleased. This took me two full days. Polishing a black car is extremely difficult. I did not remove every imperfection. The car is swirl free, but there are still some nicks here and there that did not buff out completely (and these scratches were not down to the metal. They're removable, but I did not have an aggressive enough polish).
About halfway through doing this I got the hang of it. I found my own technique to remove swirls, by just using an orange pad as opposed to the more aggressive yellow. This made me really happy because my yellow pad started deteriorating on me.
I was delayed about a week because when I began, the orange pad I was using had completely snapped to my shock and surprise. I noticed as it was rotating there was a bulge on the edge of the pad and it confused me. People, be careful. I, being the n00b at all this, had the Porter Cable at the 6 speed setting and turned on the machine to inspect the pads rotation WITHOUT having it in contact with the car. It spun, way too fast, expanded, and snapped, sending a chunk of foam flying. It hit me slightly, and it actually hurt. So be careful, for those of you who want to detail. I bought a new orange pad, and yellow one along with it. And the yellow pad is now shot...... there's what I call a "crater" in the middle of the pad. It curves inwards, and is now too soft to be considered a cutting pad. I don't know why it happened, maybe I was applying too much pressure with it during the time I was using it.
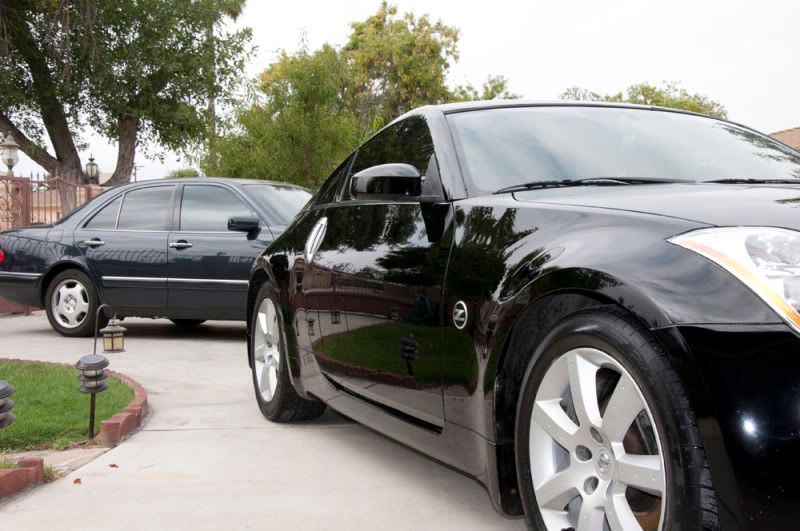
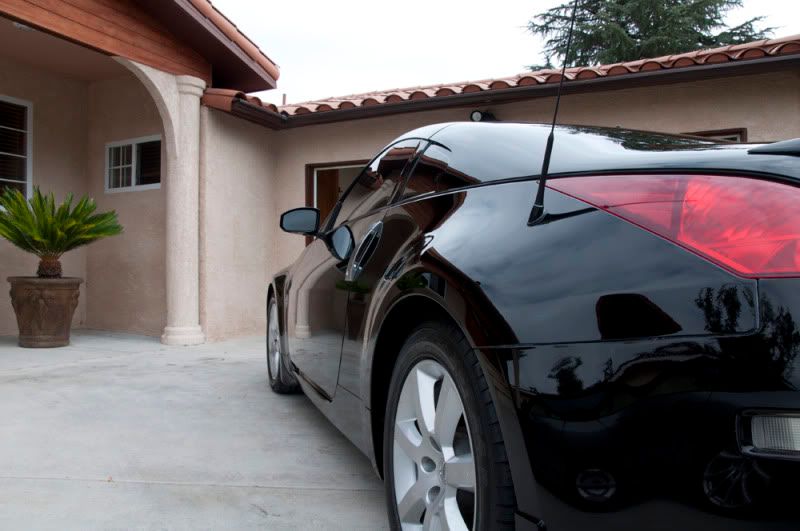
It took forever, but the results are PHENOMENAL (to me, especially it being a Super Black 350Z and it's my first time polishing a car). Be patient, guys. So very patient.
I welcome any tips for future detailing. I still consider myself a big learner, I know I could have probably done better or had a better combination of products! I used mainly an orange pad + Menzerna Power Gloss for cutting, a green pad + Menzerna Power Finish for correcting the minor imperfections left behind after the aggressive polish, and Menzerna Super Finish + blue pad for final polish. Sealed it up with Menzerna Polymer Power Lock Sealant + black pad.  Waxed with Poorboy's Natty Blue Paste Wax, by hand application. Waxed with Poorboy's Natty Blue Paste Wax, by hand application.
Mike Phillips, thank you. Your videos allowed me to do this. I hope to learn more from you. Thanks again, Auto Geek community 
-
Super Member

Re: First post, first detail w/pics. Hello all!
Nice ride and very good job. Is that your s2000 also? If so, man I am jealous of your rides!
-
Super Member

Re: First post, first detail w/pics. Hello all!
Looks awesome! Nice pics!!!!
-
Super Member

Re: First post, first detail w/pics. Hello all!
Beautiful work there on the 350z.
 Originally Posted by MikeBit

The car was in incredibly bad condition before I did this....... I'm so pleased. This took me two full days. Polishing a black car is extremely difficult. I did not remove every imperfection. The car is swirl free, but there are still some nicks here and there that did not buff out completely (and these scratches were not down to the metal. They're removable, but I did not have an aggressive enough polish).
Powergloss is an aggressive compound, haven't tried it but based on the chart AG has, it's as aggressive as you can get aside from the true extremely gritty rubbing compounds.
Originally Posted by MikeBit
And the yellow pad is now shot...... there's what I call a "crater" in the middle of the pad. It curves inwards, and is now too soft to be considered a cutting pad. I don't know why it happened, maybe I was applying too much pressure with it during the time I was using it.
Same here, i have a yellow flat pad that is no longer flat..lol. Used it once on my XP and it got soft and had developed a curve inwards. Also had the same thing happen on a white flat pad. But my oranges are still all good.
As far as the white spots go, did you clay the paint prior to polishing? Try to figure out what the spots are, do they look like paint splatter or overspray? I can't think of any other white spots, i'm sure Mike and the other can think of other possibilities. Once again, great job, i'm happy for you sir!!!
Stop whining and crying like a baby! Life sucks...deal with it!
-
Re: First post, first detail w/pics. Hello all!
Many thanks Rohn. It makes me somewhat relieved to hear someone besides me is having pad issues, haha.
Yes I completely clayed the car prior to polishing. You have to! It COULD be white paint or something.... I really don't know. On a sunnier day, I'll take more pictures and show you. I can't put my finger down on it. You can't feel them in the paint at all, with your finger nail or anything! I also have these weird marks here and there, can't really describe them. If I had to try, I'd say it looks like bird crap that wont come off. Too difficult to explain, I'll just upload some more pictures for you guys. I have I think three on the hood, and two on the roof, two on the hatch area (one on spoiler). But yeah, these imperfections really burn me out but hey the car is an 03 and it's been around for quite some time....
-
My 04 Accord had the same white spots all over the front bumper and hood before I painted the car. I still don't know what they were. And please don't suggest I should have clayed the paint as well. Give me a little more credit that that. It was almost like ash imbeded in the paint. I'm wondering if it was the begining of paint failure?
Josh
"Work smarter, not harder"
-
Re: First post, first detail w/pics. Hello all!
Originally Posted by Jumpingbean
My 04 Accord had the same white spots all over the front bumper and hood before I painted the car. I still don't know what they were. And please don't suggest I should have clayed the paint as well. Give me a little more credit that that. It was almost like ash imbeded in the paint. I'm wondering if it was the begining of paint failure?
This is exactly what I'm talking about right here. It DOES look like ash imbeded into the paint. You can't feel them, you can't clay them, you can't buff them out. They're just there. My front bumper has them all over the place, my roof, parts of my hood. If they were not there, my roof would be spotless! Thanks for sharing!
-
Super Member
Re: First post, first detail w/pics. Hello all!
 to AGO by the way, Mike. to AGO by the way, Mike.
To both of you, I'm sorry i wasn't trying to step on anyone's toes or question your abilities and skills. I was just trying to probe to provide better assistance on your questions.
I've experienced some stains that would not come out. But this was because of a repaint. We sanded the basecoat prior to spraying the clear (helps in keeping the orange peel at a minimum; we call it double finishing), since we forgot to wet the floor with water, as we were spraying the clear we did not notice black elements (something like burnt paper) sticking to the paint until the clear has flashed. We waited a few days before wetsanding and buffing, but that "something" was still there. We had to sand more to coompletely remove them and sprayed a few more clear coats after to fix it. Since your paints are oem, they were sprayed bare metal and dried in the factory oven, and outside elements are kept at bay there. So that is highly unlikely to be the same case.
Last edited by rohnramirez; 09-09-2010 at 03:40 AM.
Reason: added a welcome
Stop whining and crying like a baby! Life sucks...deal with it!
-
Re: First post, first detail w/pics. Hello all!
First, welcome to Autogeek Online!
Originally Posted by MikeBit
Just wanted to say hello to the Auto Geek community, and I'm so very glad to be a part of it. Special thanks to Mike Phillips for his instructional videos, they helped me tremendously with my first detail ever. Please, tell me what you guys think!
Second, thank you for the kind words and allow me to thank Max because he's the real power behind any video or TV work we do now and into the future and also Yancy, our Creative Director, he's the guy that edits out all my mistakes and does his best to make our videos look good...
Originally Posted by MikeBit
Couple things.......... I still have some polish residue here and there, I don't have a brush to clean off small cracks and whatnot, so there's still some compound dust lying around here and there in between cracks/small areas.
That's normal for most detail projects and with black cars it stands out like a sore thumb...
Here's a tip, keep a nylon brush like a toothbrush with your and any other favorite detailing tool you can find or create, (toothpicks, cotton swabs, matchbook cover), and anytime you're standing around the car talking wit someone, or waiting on someone, instead of dilly-dallying, find a little residue and remove it. Pretty soon you'll have her all cleaned out.
Originally Posted by MikeBit
This car is an 03 with 73k miles on it. My front bumper is absolutely thrashed and I was not able to get much shine off it. So I settled with just removing swirls, and it made me happy. Too much road damage to really shine
Wrote an article about this, sometimes all you can do is all you can do...
"Taking your car's paint to it's maximum potential"
Originally Posted by MikeBit
There are a bunch of white spots all over the car, especially on my hood and my roof. These white spots would not come off no matter what I did. I haven't a clue what they are. They're not rock chips either. I have several of those on my hood, and I plan to fill them in with touch up paint soon.
Carefully feel them, are they below the surface craters in the paint?
or
Can you feel some time of substance bonded on top of the surface?
Originally Posted by MikeBit
The car was in incredibly bad condition before I did this....... I'm so pleased. This took me two full days. Polishing a black car is extremely difficult. I did not remove every imperfection. The car is swirl free, but there are still some nicks here and there that did not buff out completely (and these scratches were not down to the metal. They're removable, but I did not have an aggressive enough polish).
They could be RIDS, that is Random Isolated Deeper Scratches and I explain all about RIDS in this article.
RIDS - The Definition of RIDS and the story behind the term...
Originally Posted by MikeBit
About halfway through doing this I got the hang of it. I found my own technique to remove swirls, by just using an orange pad as opposed to the more aggressive yellow. This made me really happy because my yellow pad started deteriorating on me.
I always tell my son...
Practice makes perfect
And over the last 8+ years, I'll see different types of forum members, there's those that do and those that talk about doing... you obviously "do" as in get out in the garage and do some detailing.

Originally Posted by MikeBit
I was delayed about a week because when I began, the orange pad I was using had completely snapped to my shock and surprise. I noticed as it was rotating there was a bulge on the edge of the pad and it confused me. People, be careful. I, being the n00b at all this, had the Porter Cable at the 6 speed setting and turned on the machine to inspect the pads rotation WITHOUT having it in contact with the car. It spun, way too fast, expanded, and snapped, sending a chunk of foam flying. It hit me slightly, and it actually hurt. So be careful, for those of you who want to detail.
This is one of those things where you only do it once and then forever you lock into your brain not to run the polisher in the air with a pad on it.
Same thing goes for lifting the pad off the surface with polish on it before you turn the polisher off and allow the pad to slow down.
See this thread,
What not to do when detailing a car!
Originally Posted by MikeBit
I bought a new orange pad, and yellow one along with it. And the yellow pad is now shot...... there's what I call a "crater" in the middle of the pad. It curves inwards, and is now too soft to be considered a cutting pad. I don't know why it happened, maybe I was applying too much pressure with it during the time I was using it.
It's pressure + heat + time + violent oscillating action = pad failure.
It's not a quality issue with the pad, it's pushing technology as far as it will go...
That's where Autogeek.net comes in... we sell replacement pads...
Originally Posted by MikeBit
It took forever, but the results are PHENOMENAL (to me, especially it being a Super Black 350Z and it's my first time polishing a car). Be patient, guys. So very patient.
You're making us proud!
With the right tools, products and technique, you can create a show car finish in you're garage and we'll show you how!
You're story reminds me of "Joe the Detailer", same kind of story and same kind of success... I saw the Porsche yesterday and it still looks fabuous...
Proof You Can Do It! - Joe The Detailer - Black Porsche Turned into Black Pearl!
Originally Posted by MikeBit
I welcome any tips for future detailing. I still consider myself a big learner
Hang out on the forum, we'll be introducing new things into the future that have never been done before in the online detailing world.
Maybe get a business car made up and detail a few of your buddy's cars and then use the profits to pay for your new hobby... as well as get all your friends respect as someone that knows the art of polishing pad and knows how to create a work of art!
Originally Posted by MikeBit
Mike Phillips, thank you. Your videos allowed me to do this. I hope to learn more from you.
Thanks again, Auto Geek community
On behalf of all of on Autogeek, thank you for your feedback. We've made a lot of videos this year with more to come and surprisingly, I just don't see a lot of feedback from our forum members like I thought would happen.

-
Super Member

Re: First post, first detail w/pics. Hello all!
Great work Mike! Oh, Love the Z
:dancebanana:
Sky's the Limit Car Care
Similar Threads
-
By DogRescuer in forum Auto Detailing 101
Replies: 23
Last Post: 02-28-2017, 12:18 PM
-
By luv a shine in forum Auto Detailing 101
Replies: 34
Last Post: 12-02-2013, 10:33 AM
-
By RoyalBlUE08 in forum Show N' Shine
Replies: 6
Last Post: 03-22-2012, 02:15 PM
-
By mobiledr.detail313 in forum Auto Detailing 101
Replies: 36
Last Post: 06-03-2009, 08:18 AM
-
By mliebs8 in forum Auto Detailing 101
Replies: 7
Last Post: 07-20-2007, 03:18 PM
 Members who have read this thread: 0
There are no members to list at the moment.
Posting Permissions
- You may not post new threads
- You may not post replies
- You may not post attachments
- You may not edit your posts
-
Forum Rules
|
| S |
M |
T |
W |
T |
F |
S |
| 31 |
1
|
2
|
3
|
4
|
5
|
6
|
|
7
|
8
|
9
|
10
|
11
|
12
|
13
|
|
14
|
15
|
16
|
17
|
18
|
19
|
20
|
|
21
|
22
|
23
|
24
|
25
|
26
|
27
|
|
28
|
29
|
30
| 1 | 2 | 3 | 4 |
|


 Reply With Quote
Bookmarks