 Thanks: 0
 Likes: 0
 Dislikes: 0
-
Super Member

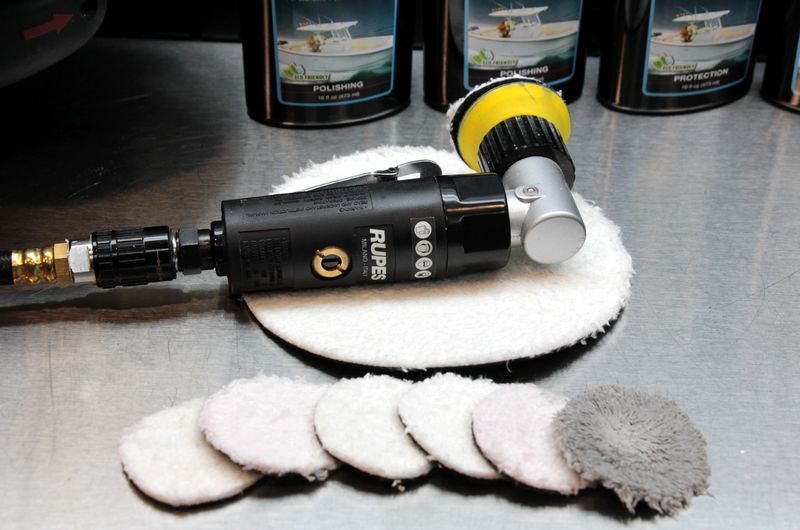
2" pads
Who here has made their own? Just got my 2" unit and looking to whip up some homebrew pads. I have both MF and hydro's I was thinking about cutting down. Did you make the foam pads any thinner? What did you use to cut?
-
-
-
-
Super Member
-
Re: 2" pads
Just to note...
Cutting up larger pads to make smaller pads is kind of tricky when using just a pair of scissors.
I've done this recently and they never come out very round looking.
Back about 20+ years ago I would make my own small pads using a rotary buffer, a box cutter knife and a screwdriver. This wasn't pretty either but back at the time the smallest foam pad on the market was the W5000 by Meguiar's. Back then this was a 6" pad about 2 inches thick with the backing plate made out of plastic and glued on.
I would put the pad on the rotary, lock the rotary against my leg with the polisher locked onto high speed and then dig the screwdriver into the back of the plastic backing until it carved all the way through it.
Then carefully remove the pad off the rotary and then use the scissors to trim the foam to match the new size of the backing plate. I remember making 3" and 4" pads, mostly for buffing out tight areas and things like the plastic on instrument gauges on muscle cars.
Times have changed....

-
Super Member

Re: 2" pads
 Originally Posted by Mike.Phillips@Autogeek

Just to note...
Cutting up larger pads to make smaller pads is kind of tricky when using just a pair of scissors.
I've done this recently and they never come out very round looking.
Back about 20+ years ago I would make my own small pads using a rotary buffer, a box cutter knife and a screwdriver. This wasn't pretty either but back at the time the smallest foam pad on the market was the W5000 by Meguiar's. Back then this was a 6" pad about 2 inches thick with the backing plate made out of plastic and glued on.
I would put the pad on the rotary, lock the rotary against my leg with the polisher locked onto high speed and then dig the screwdriver into the back of the plastic backing until it carved all the way through it.
Then carefully remove the pad off the rotary and then use the scissors to trim the foam to match the new size of the backing plate. I remember making 3" and 4" pads, mostly for buffing out tight areas and things like the plastic on instrument gauges on muscle cars.
Times have changed....
I tried doing that when I was making my 2" bp, but didn't keep going after I turned on the machine and put the exacto knife to the spinning bp on a drill. (too scary to proceed, plus didn't have safety goggles on lol)
I do love detailing, but I love my fingers and eyes a lot more 
You gut some guts Mike 
oh and if anyone wants to try something similar, get some safety goggles. 
-
Re: 2" pads
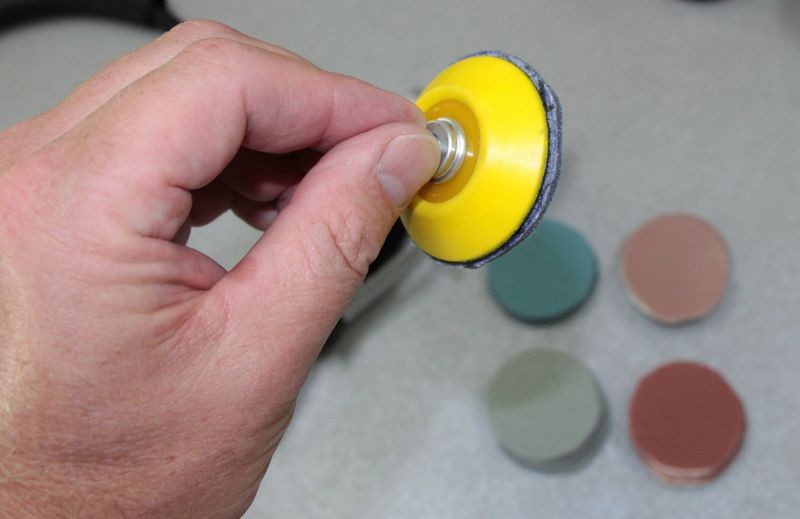
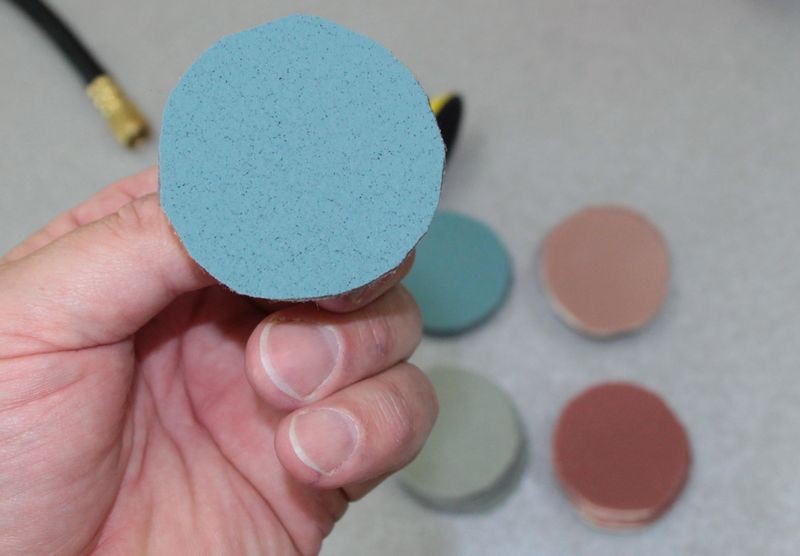
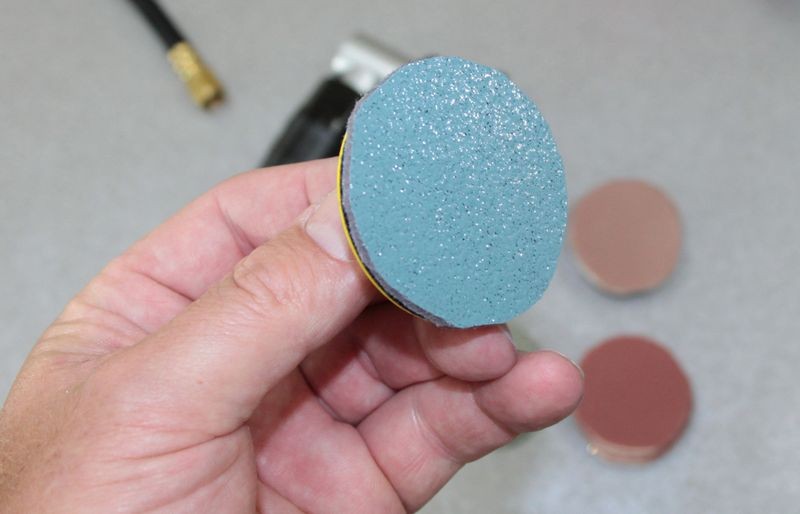
Another trick for 'resizing'...find a piece of pipe with an OD of the correct size. Hold said pipe on the back side of the pad/sanding disks and gently cut around the outside with an Xacto knife, Perfect? No, but seems (to me) better than fighting it with a pair of scissors.
Bill
In dog beers, I've only had one.
-
Super Member
^ That's actually a great idea.
Similar Threads
-
By bedop63 in forum Auto Detailing 101
Replies: 9
Last Post: 06-06-2019, 09:18 PM
-
By allenk4 in forum Wool & Foam Buffing Pads
Replies: 31
Last Post: 11-08-2014, 02:50 PM
-
By dennis hiip in forum Auto Detailing 101
Replies: 17
Last Post: 09-16-2014, 05:01 PM
-
By Mike Phillips in forum How to articles
Replies: 40
Last Post: 08-31-2011, 07:48 AM
-
By WRAPT C5Z06 in forum Auto Detailing 101
Replies: 5
Last Post: 06-09-2010, 05:58 PM
 Members who have read this thread: 0
There are no members to list at the moment.
Posting Permissions
- You may not post new threads
- You may not post replies
- You may not post attachments
- You may not edit your posts
-
Forum Rules
|
| S |
M |
T |
W |
T |
F |
S |
| 31 |
1
|
2
|
3
|
4
|
5
|
6
|
|
7
|
8
|
9
|
10
|
11
|
12
|
13
|
|
14
|
15
|
16
|
17
|
18
|
19
|
20
|
|
21
|
22
|
23
|
24
|
25
|
26
|
27
|
|
28
|
29
|
30
| 1 | 2 | 3 | 4 |
|


 Reply With Quote


Bookmarks