 Thanks: 0
 Likes: 0
 Dislikes: 0
-
Re: How to wetsand to remove orange peel
 Originally Posted by jimbeaux911

I am uncomfortable with allowing anyone to sand it down with a machine at this point in time. I asked Mitch if he didnt mind, that we sand the orange peel out by hand, I prefer hand sanding to machine at this point mainly due to the feedback one gets when handsanding. You know when it is smooth instantly.
After sanding, I understand the best way to apply the smooth finish will be with a machine.
so perhaps the red flag concern about the owner can be changed to yellow?
When I posted my information and recommendations it was in the context of sanding by hand but using machines to remove the sanding marks. That's because Mitch wrote this,
 Originally Posted by MitchLiving
He wants the job done by hand, I don't think he is keen on the idea of a machine spinning on his car paint...
That reads like you wanted the "job" done by hand including sanding and removing sanding marks. That's all the "detail" I had to go by. When I type, I tend to always pick every single word carefully and specifically as I'm used to people trying to find fault in my work after posting to the Internet since 1994.
So no harm intended Jim. I can only go by the information presented and I'm more than happy to help with any info I can provide for doing all the sanding by hand.

-
Re: How to wetsand to remove orange peel
Basic Hand Sanding Techniques
Soak your papers at least 15 minutes before use.
The Nikken Finishing papers have a latex rubber impregnated paper backing that is waterproof and this prevents the finishing paper from breaking-down into pulp from over soaking. I've personally soaked these paper in water for over 2 years with no visible sign of deterioration. (This was by accident as I lost a sealed Tupperware container filled with water and Nikken papers I used to take with me to demonstrations)
It's possible for grit particles to enter into your water source so if you can, use Grit Guards in the bottom of your bucket.
If you want to get really D.O., you can place your papers in dedicated buckets and also use dedicated backing pads for the different grits. The idea is to avoid instilling deeper scratches as you work upward to less aggressive products and to avoid any kind of abrasive particle trapped between your sandpaper and the finish to avoid Tracers.
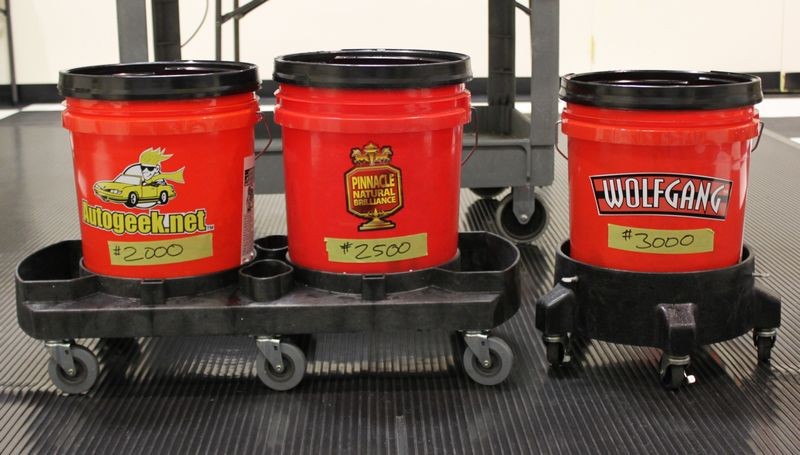
Dedicated buckets for specific grits of paper. Grit Guard Inserts in the bottom of each bucket.
(You could theoretically use 2, even 3 Grit Guard inserts in each bucket for even more protection)
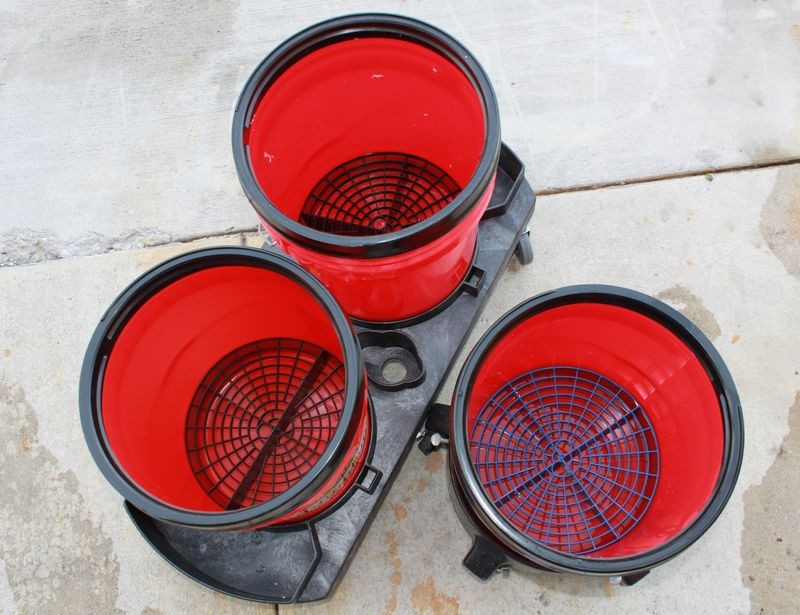
Try to place your papers in water and soak them at least 15 minutes before sanding. I usually soak my papers overnight and sometimes a few days before sanding.

Place different grit papers in their own dedicated water bucket
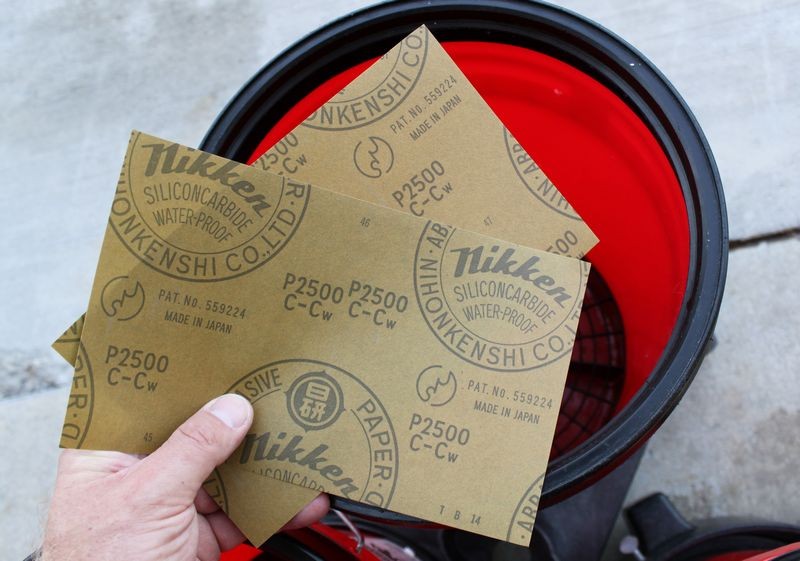
Final sanding should be done with the highest quality grit particle size paper you can obtain. At this time with Nikken that's #3000 grit.
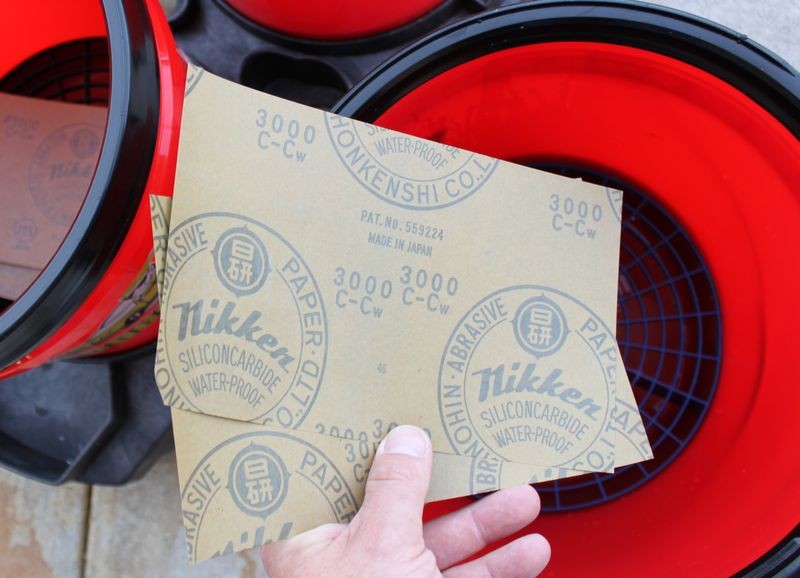
Add just a few drops of a quality car wash soap to help add lubricity to your water. If you're working on Fresh Paint and/or in a Body Shop, (Fresh Paint Environment), then you want to make sure you're using a body shop safe soap.
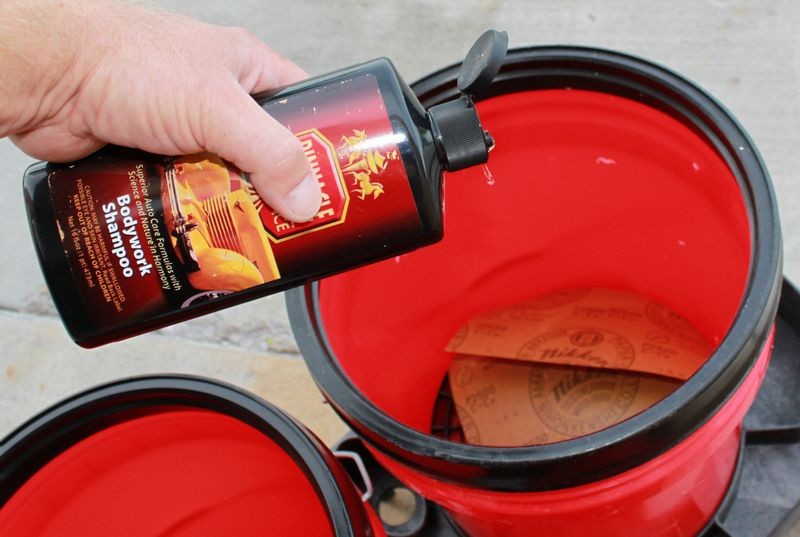
Add fresh, clean water. Also be sure to wash and rinse out your buckets before starting, everything must be surgically clean before placing your papers into the buckets.
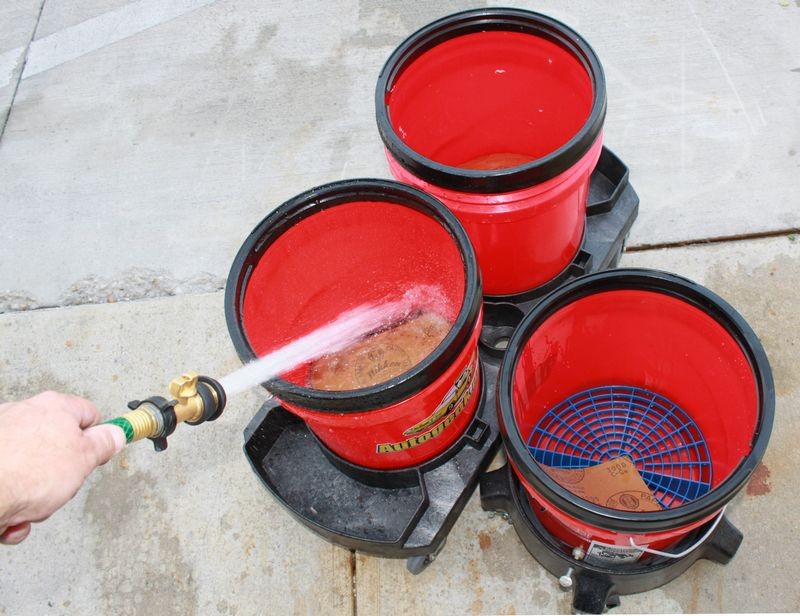
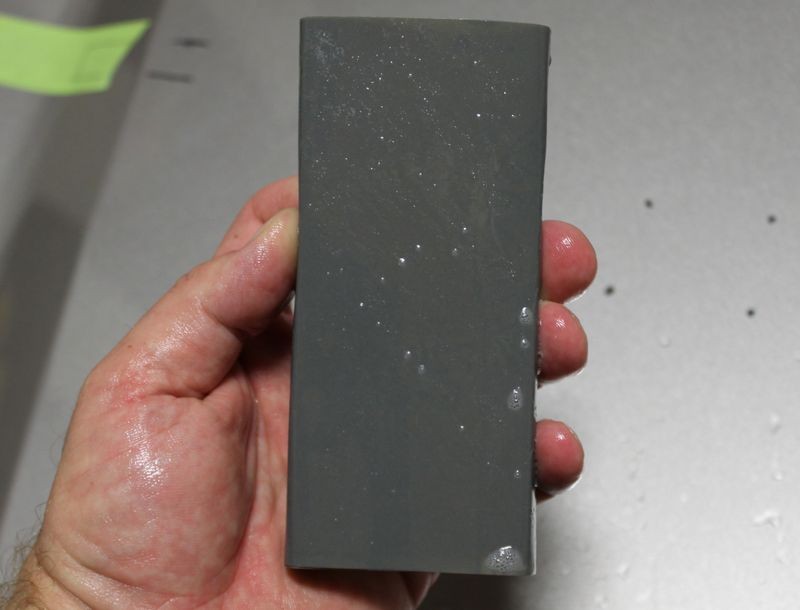
It's normal for your papers to roll up like this,


Mark you buckets so you can quickly and easily identify which buckets hold which papers.
There are two common ways to wrap your paper around a backing pad, my personal preference is to wrap each half-sheet around completely around the backing pad.

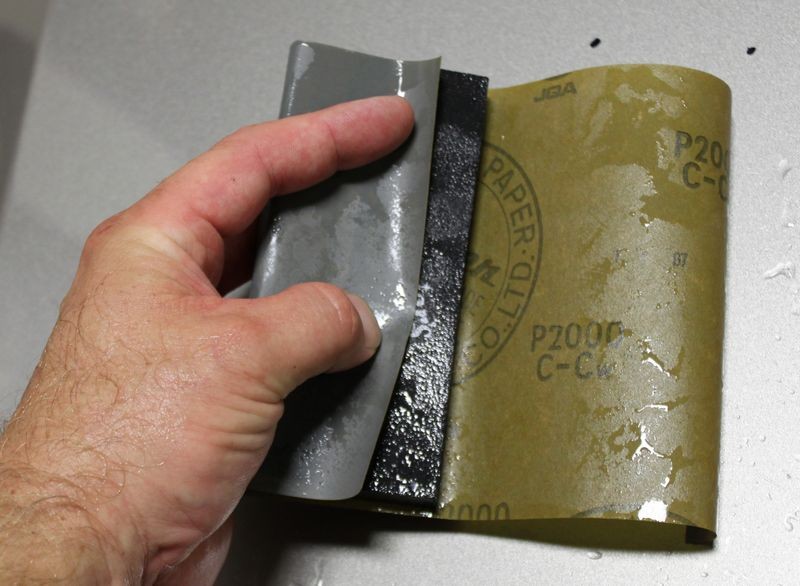
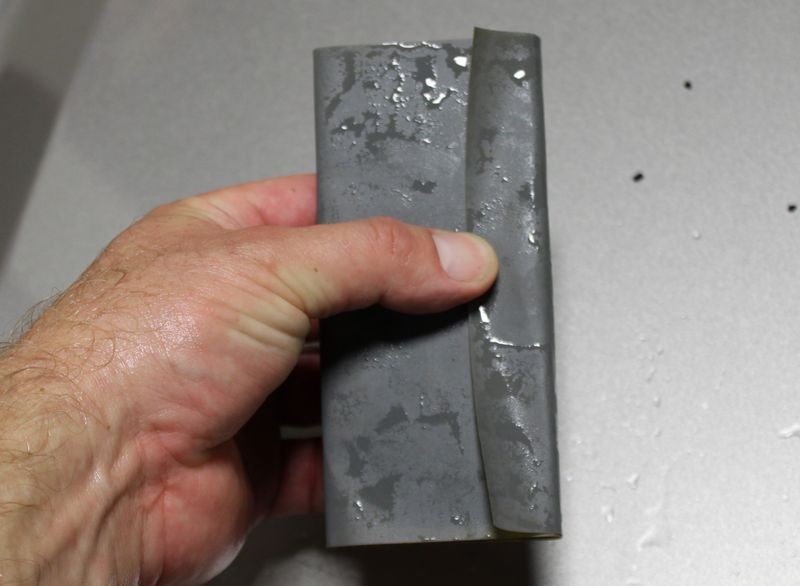
One side is covered with a seamless portion of sandpaper. This of course is the side you sand with.
Another option is to fold a single half-sheet of paper in half once and then fold this around your backing pad. Some people like this method better and there are some that say it's possible to put deeper scratches in the paint from the sides of the backing pad due to the way the paper will tend to bow. If you hold your backing pad at an angle when sanding this shouldn't be a problem but most people don't concentrate enough on the task-at-hand and sand with the backing pad perpendicular to the direction they are sanding or moving their hand. So if it can happen, then it might be an issue and I just wanted to point this out in an effort to be thorough.
Folding a sheet in half and wrapping it around a backing pad.

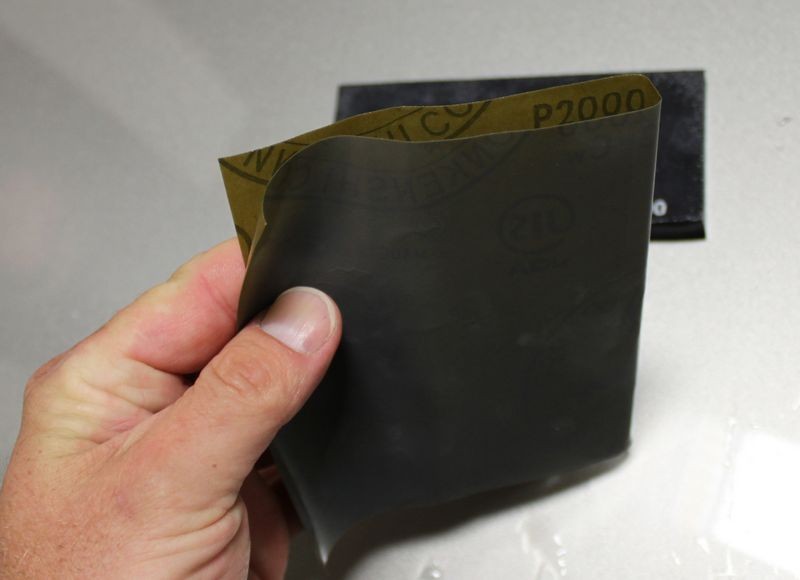
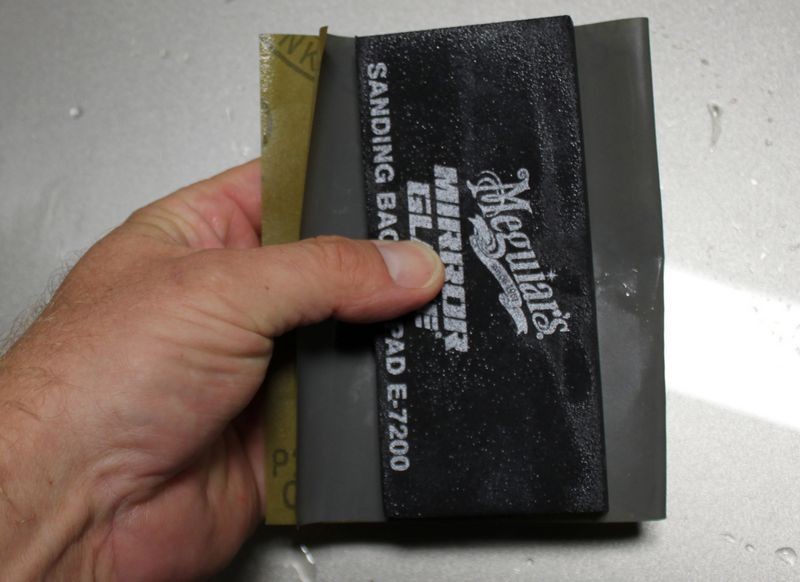
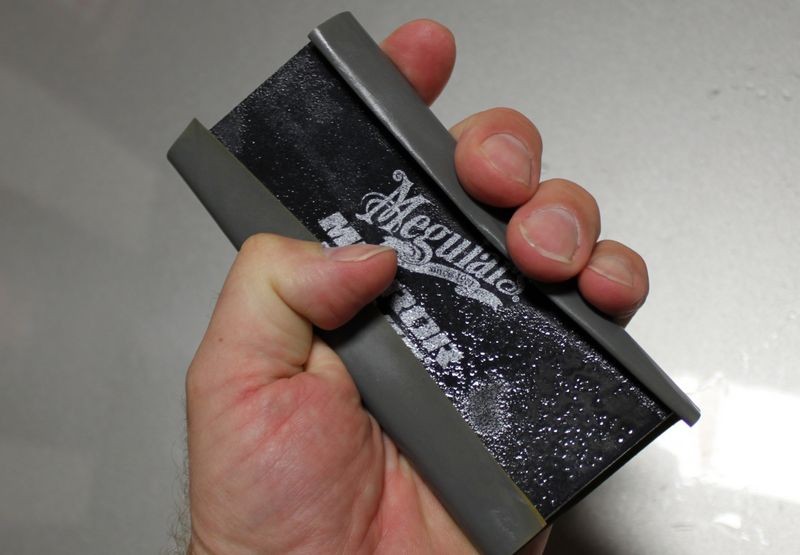
One side is completely covered, this if course is the side you sand with.

Half sheet folded around the backing pad.
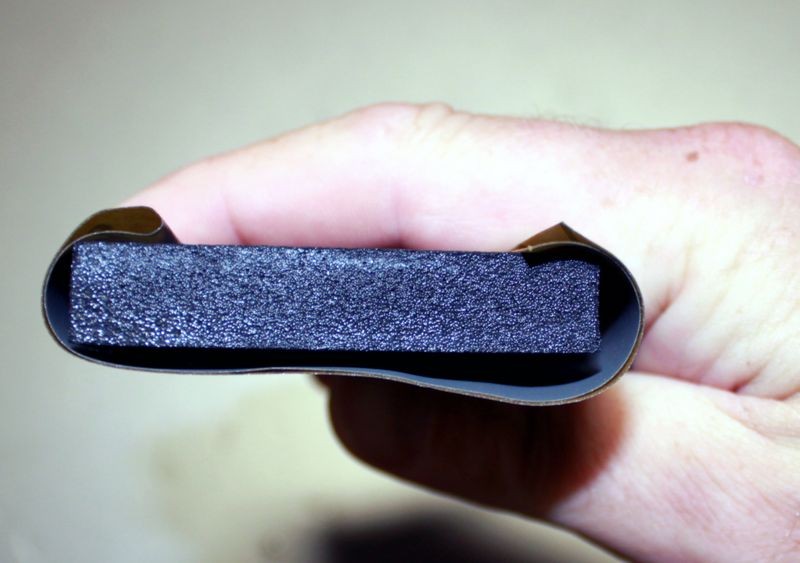

What it looks like from a top view.

Each person should try both ways and decide for themselves which method works best for them. Also, finding a way to grip the backing pad and at the same time place equal pressure over the top surface of the backing pad is tricky. I find I have to grip the sides with a pinky and a thumb and then use my 3 middle fingers to apply pressure to the back face of the pad in order to sand without losing grip or control. Practice and find a way that works for you.
Next, use plenty of water from a clean source to lubricate the surface while sanding. Add a little soap, (a few drops is all that's needed, don't go crazy with the soap), and as you sand, continually spray water to the section you're sanding as this will make each stroke easier. Seriously, spray water onto the surface after every other stroke or two you'll find the paper will cut a lot smoother.
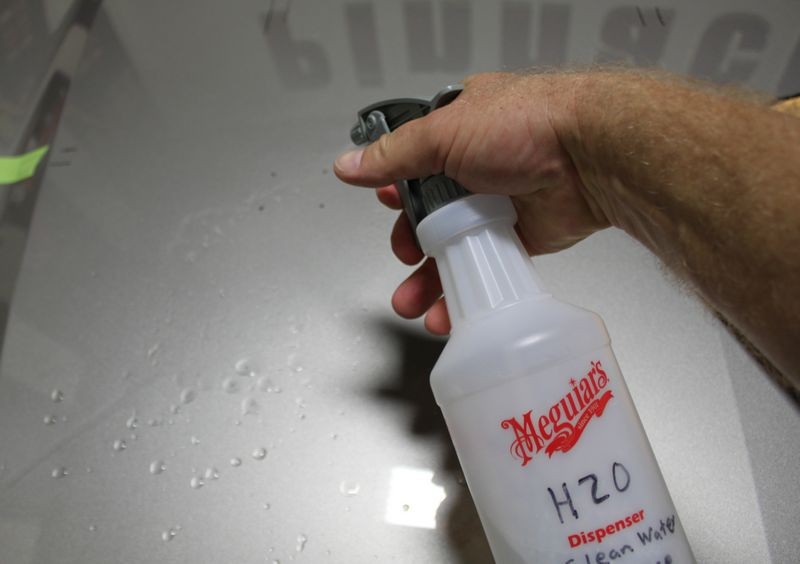
Hold the backing pad canted, or at an angle, see how the tip of the paper-wrapped backing pad is leading as I move my hand forward. Don't hold the pad squared-up as you sand because you'll tend to cut deeper ruts if you sand with the pad in perfect perpendicular alignment in the direction of your strokes.
Right - Hold backing pad at a little bit of an angle while making front to back strokes.

Wrong - Don't sand with the backing pad in a perpendicular alignment with your front to back strokes, you risk gouging or putting in deeper scratches where the paper is cutting on the outside edges of the length of the backing pad.

Note the direction of my strokes and note the angle at which my pad is laying on the paint with one of the edges leading. This is correct backing pad alignment for hand sanding.
You should see paint residue in your sanding water
The white stuff in the water is clear paint particles that have been sanded off. If this were a single stage paint you would see the color of the pigment in the water.

After
Close-ups with the overhead florescent tube light reflection on each section.
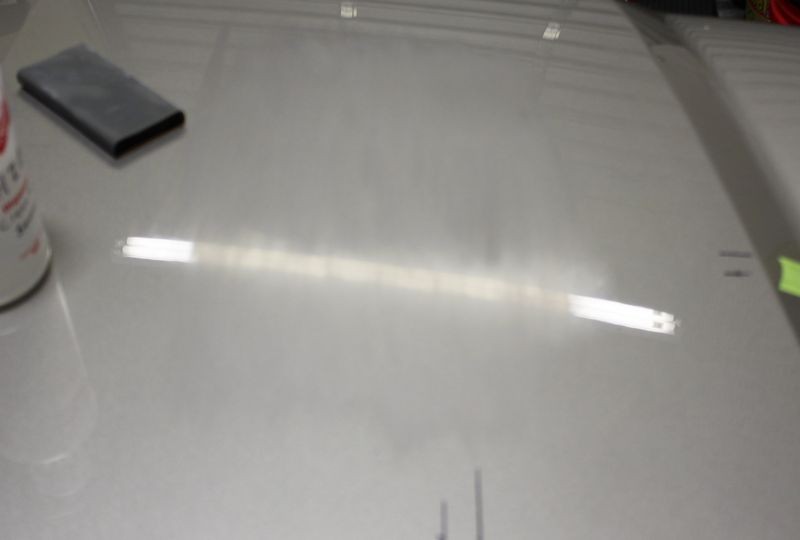
Size of area to hand sand
The size of the area you want to sand comes down to two rules of thumb,
- 20" by 20"
- Let the panel be your guide
20" by 20"
For taking off the greatest portion of material you want to keep your work area to a manageable size of about 20" square or so... the reason for this is because,
- You want to carefully remove only the necessary amount of material
- You want to remove a uniform amount of material
While the above two listed items can read and sound like the same idea they are in fact different ideas.
1. Only remove the necessary material
Sanding removes paint and compounding removes paint, because you only have a limited amount of material or film-build to work with you only want to remove the minimum amount of paint to get the job done. An example would be removing Orange Peel. When removing orange peel you sand till the surface goes flat and then stop. There's no need to continue sanding after the surface goes flat as there is no more benefit, only loss of material, (material is the paint).
2. UMR = Uniform Material Removal
Since your sanding section by section, the ultimate goal will be to remove the same amount of material in a uniform manner over the entire panel and/or the entire car. This takes practice and concentration on the task at hand.
Back to the 20" by 20" size section...
Now let me explain how this ties into the size of area you sand. In the case of the general rule of thumb of sanding a section 20: by 20" the farther away from your body you move your hand, the more likely you'll exert less pressure than when your hand is closer to your body. So the longer your stroke, the more likely that you'll remove less paint the farther your hand moves away from your body. This makes for uneven material removal. It can also lead to removing too much material in the area closer to your body. By keeping your sanding area to a arm's manageable area you'll improve the likely hood that you'll only remove the necessary amount of material to get the job done and you'll remove material equally over the section your sanding.
"Let the panel be your guide"

(When you read the above sentence, use your best Yoda impersonation)
You won't always be working on a perfectly square, flat hood, there are many places where you'll be sanding thin panels of paint like around the top portion of a fender, the A and B pillars, complex panels that make up the design of a body style that have raised or hard body lines. In these case you need to let the panel be our guide and this may mean sanding very small areas or areas that are longer than they are wide.
Here's an average size hood that I've taped off into 6 section which is how I would knock down or remove the majority of paint off this panel. After sanding the first section, all future sections would also overlap into the previous section(s) for good UMR.
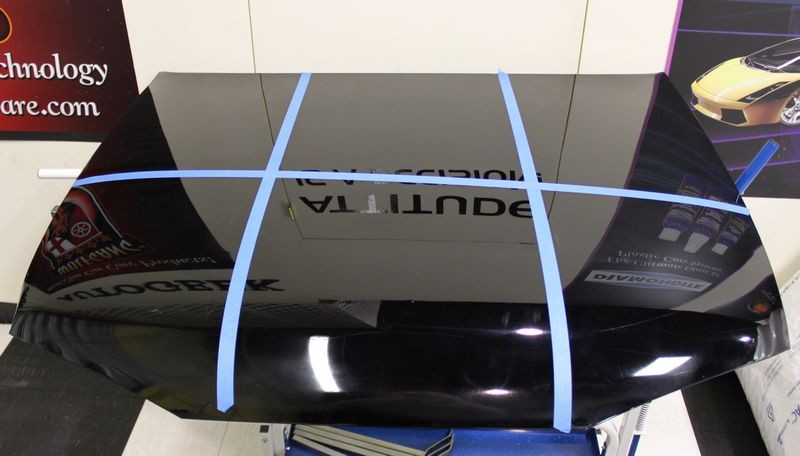
For the final sanding work I would larger section using higher grits as a way of tying all the sections together for even UMR. After wiping the hood clean and inspecting then I would compound the paint to remove the sanding marks.
This is just my way, please feel free to find your own way and if it's different than mine, please feel free to start your own thread documenting your approach with pictures and your explanation of your process.
Further Resources
How long will a half sheet of wet/dry sandpaper last before it stops cutting and you need to replace it?
Wet-sanding - Fresh Paint vs Factory Paint
RIDS and Feathersanding - A Highly Specialized Technique by Mike Phillips
Removing Orange Peel & Sanding Marks with the Griot's ROP and the Wolfgang Twins

-
-
-
Re: How to wetsand to remove orange peel
Mike,
Sorry if I wasn't clear about the process we were going to take. I do agree removing sanding marks by hand is not something I see happening and now re-reading what i posted does sound like he wanted everything done by hand..sanding and polishing and that is not the case and i aplogize not being more clear about that. Jim did understand the marks would be removed by machine but sanded my hand.
Sorry for the confusion and thank you for the plethora of information on hand sanding.
Mike, can the GGC 3" remove sanding marks at 2000 grit level on a 2 stage paint? Or better use a rotory?
-
Super Member

Re: How to wetsand to remove orange peel
"Try to place your papers in water and soak them at least 15 minutes before sanding. I usually soak my papers overnight and sometimes a few days before sanding."
Mike, is there an advantage in soaking the sandpaper overnight versus a few minutes?
-
Re: How to wetsand to remove orange peel
 Originally Posted by MitchLiving

Mike,
Sorry for the confusion and thank you for the plethora of information on hand sanding.
No problemo.... 
 Originally Posted by MitchLiving

Mike, can the GGC 3" remove sanding marks at 2000 grit level on a 2 stage paint? Or better use a rotory?
Most people agree that the Griot's Garage 3" Mini Polisher is kind of on the weak side when it comes to removing any substantial paint defects. In most cases I'd say they are comparing and using as a reference any full size tool they also own and when comparing to full size tool then "yes" the Griot's 3" Mini Polisher is never going to be as effective.
I mostly use the 3" Griot's Polisher as a 3" machine sander and have a number of articles on this topic. I also teach how to use this tool as a machine sander at Mobil Tech Expo each year.
A rotary buffer will always be the fastest and most effective way to remove sanding marks. You can get 3" backing plates and 3.5" wool pads for getting into tight areas, working on thin panels or edging.
Here's three different articles where the pictures will tell the story....
How to buff in tight spaces using a rotary buffer
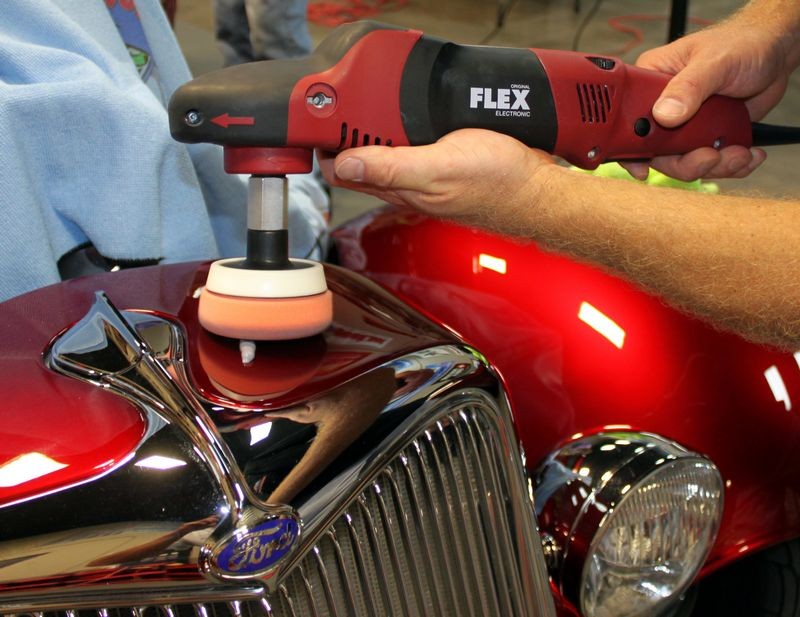
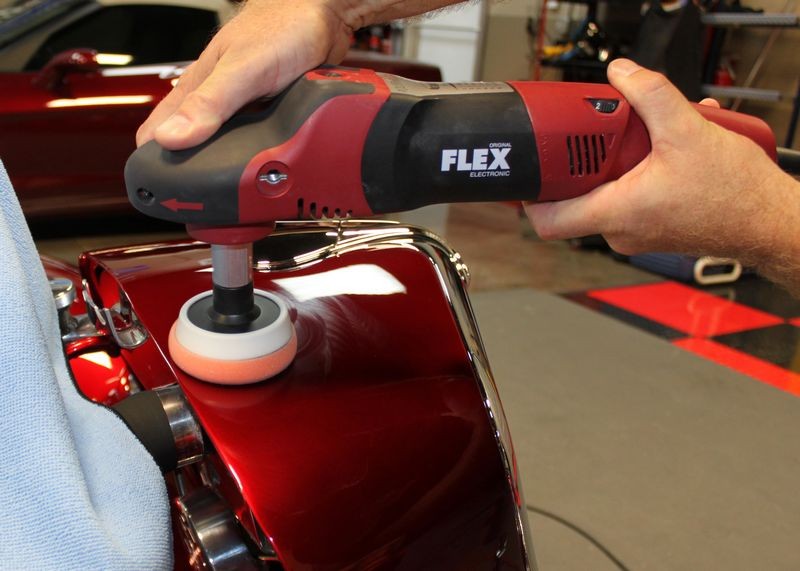
For doing correction work in tight areas and on thin panels I use the Flex PE14 with a small pad. I call this surgical or precision buffing. To do this you need,
- Lightweight, compact rotary buffer
- Rotary Buffer Backing Plate Extension(s)
- Small backing plates
- Small buffing pads, both foam and fiber
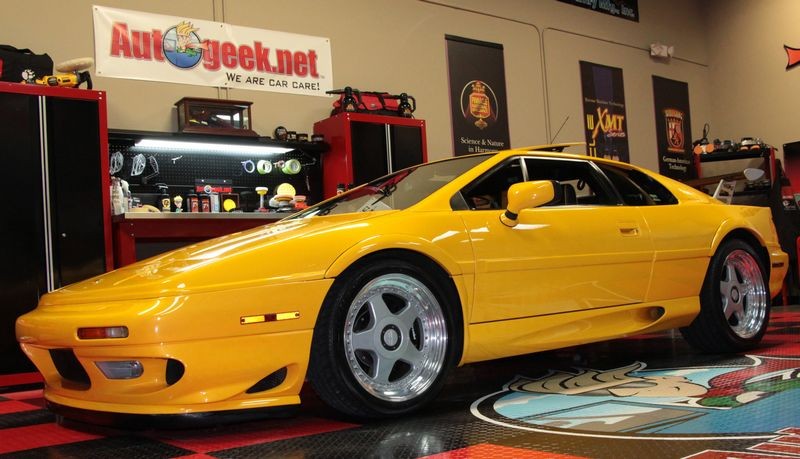
Here's an example on the Lotus Esprit I recently buffed out. I used these pictures for my class at Mobile Tech Expo, "How to use the rotary buffer".
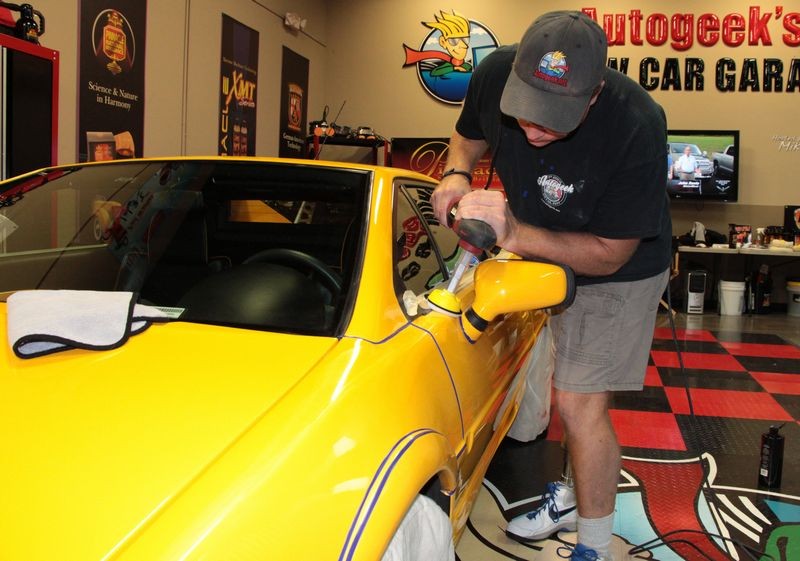
Surgical or Precision Buffing
I could have done this type of precision buffing using a FULL SIZE DeWALT, or Makita or 3M or Milwaukee Rotary Buffer but it's the compact size, that is no bulky body in the way of my view or in the way of body components, plus the lightweight plus the slow RPM that makes the Flex PE14 the perfect tool for this type of work.
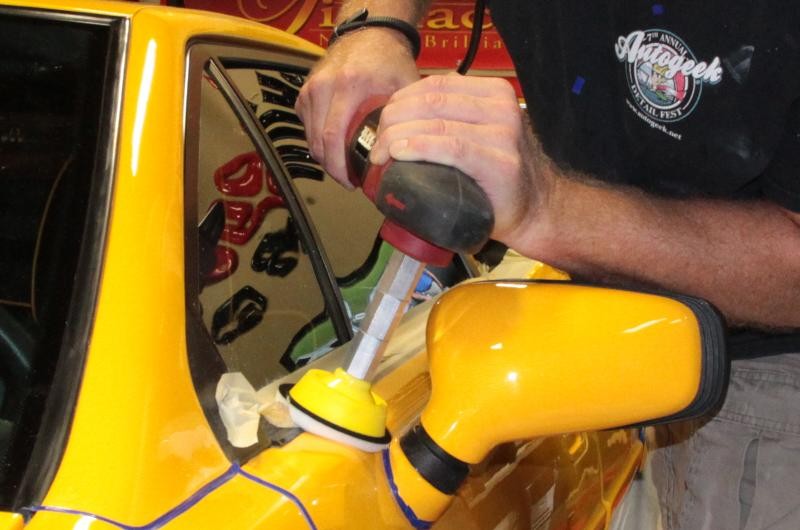
- You want power?
- You want ease of use?
- You want to buff out thin panels or get into tight areas to do correction and polishing work?
The Flex PE14 and small pads, backing plates and an extension or two and you're good to go...
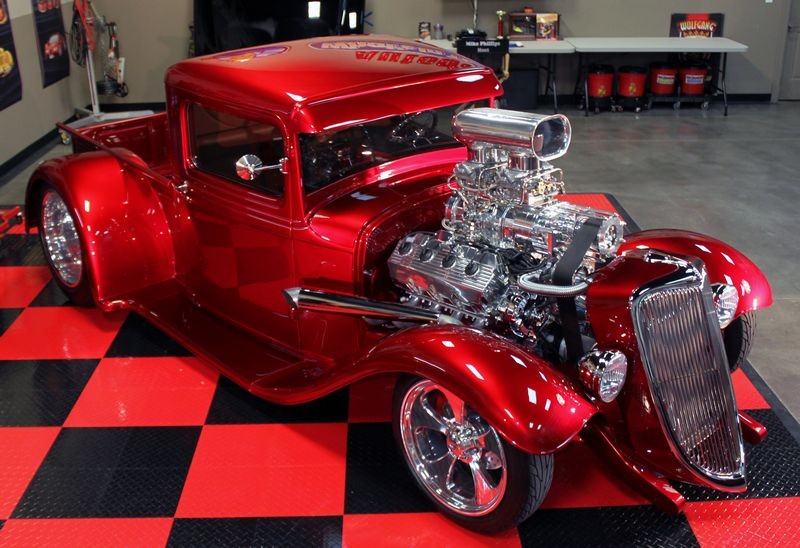
Blown 1934 Ford Pick-up - Show Car Makeover - Modeled by Kristin
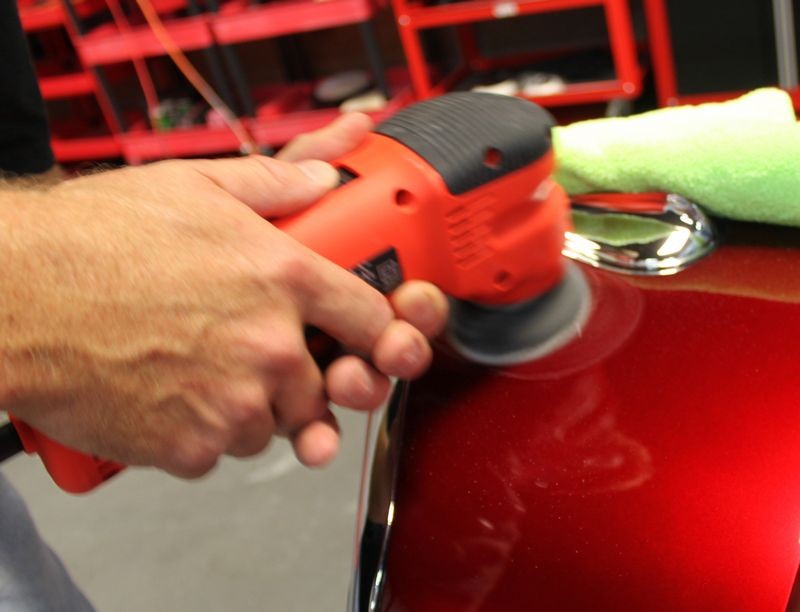
I got the other guys going with the Meguiar's, Porter Cable and Griot's Garage full size DA Polishers polishing all the major panels and set up the Griot's Garage 3" Mini Polishers for the smaller, tighter hard to reach areas.
Meanwhile I tackled the random, isolated deeper scratches, some by dampsanding with Meguiar's #3000 Finishing Discs and some just using the new Optimum 3" Microfiber Pads on a Flex PE 14 Rotary Buffer using Pinnacle Advanced Swirl Remover.
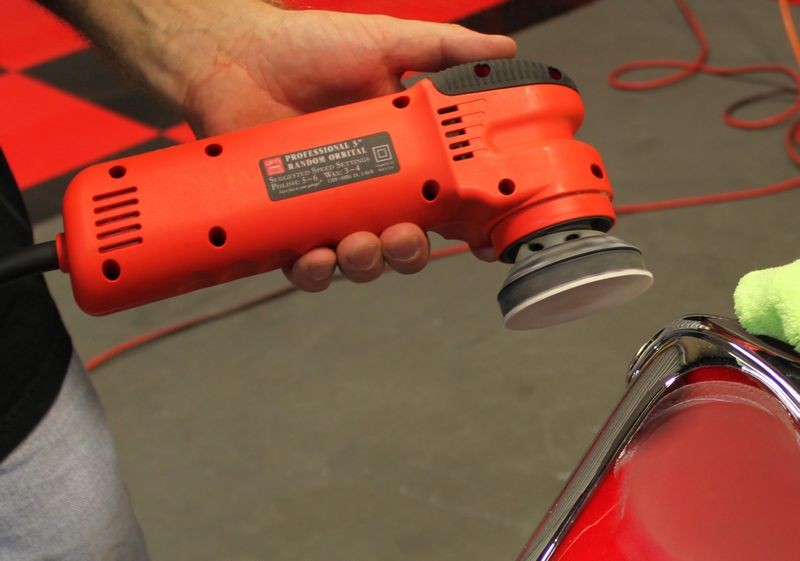
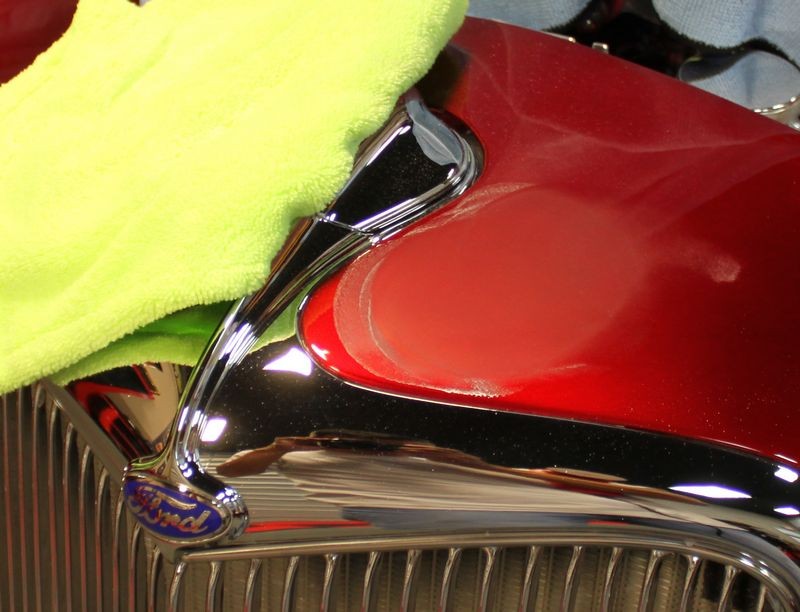

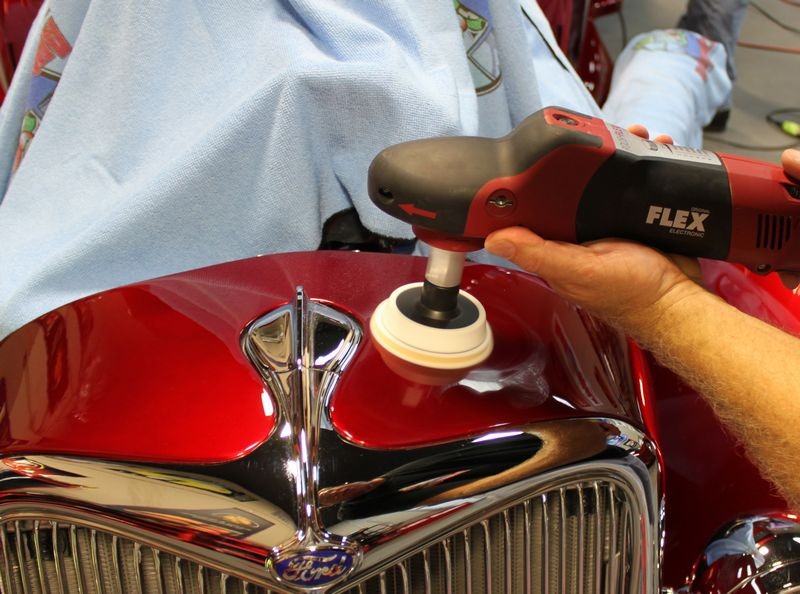

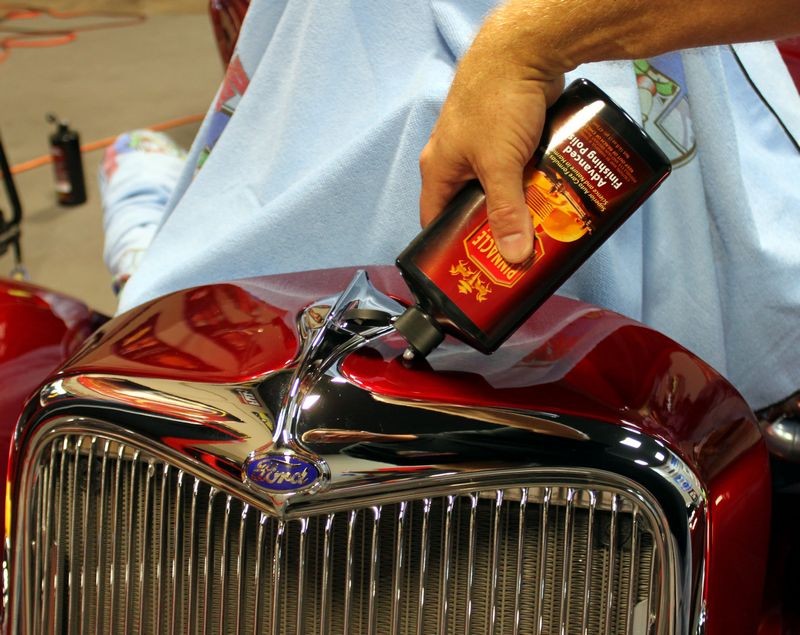



Pictures: The Art of Polishing Paint Advanced Detailing Classes
After completely buffing out this Impala using both the Rupes System and the Flex 3401 with Wolfgang products, there were still a few RIDS in the hood as well as orange peel.
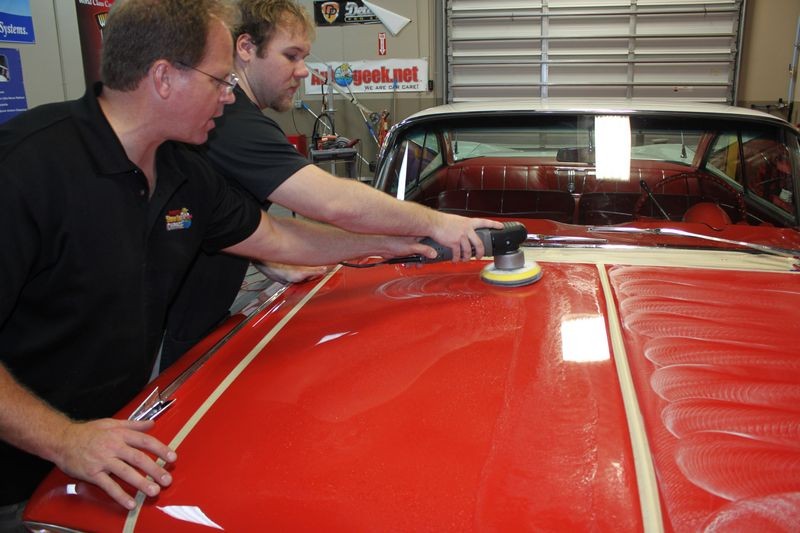
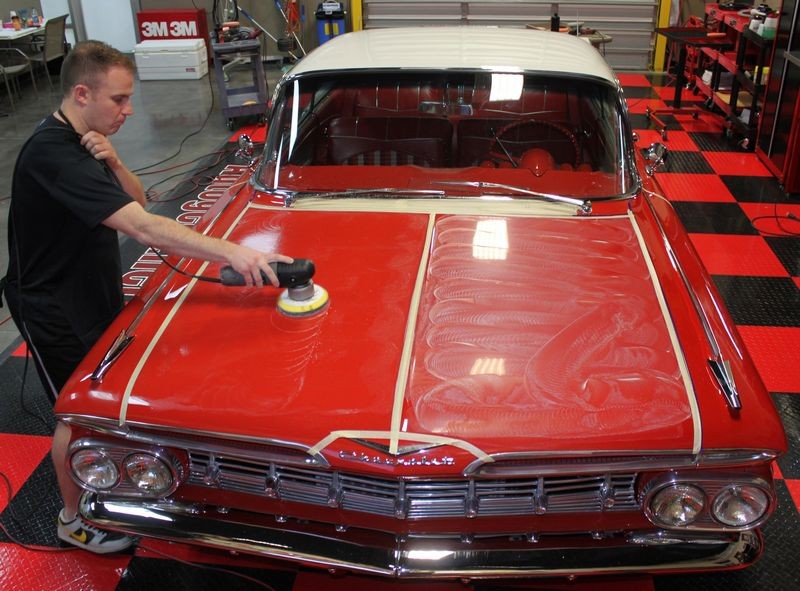
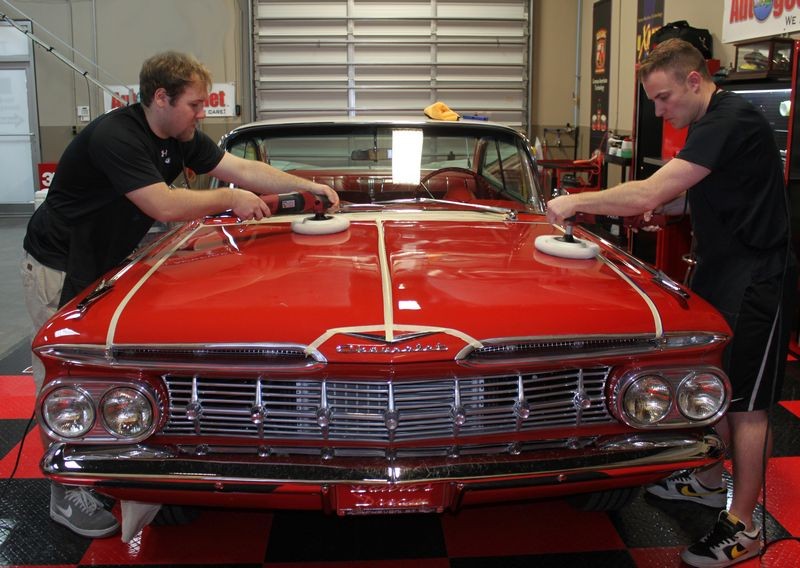
Because the hood is a dark color and what I call a "Gloss Panel", that is a panel that gets a lot of attention, I decided to use the hood to train the guys on how to machine sand using a very fine grit sanding disc and then the art of using a rotary buffer to remove their sanding mark and finish out hologram free.
Training on this 1959 Impala would perfectly prepare them for the next car, wetsanding the new paint job on the 1964 Chevelle Malibu.
Here's the Porter Cable with 3M #5000 Grit Sanding Disc. The cut is so light it's PERFECT for anyone brand new to machine wetsanding, especially on a restored classic car.

I demonstrated the technique on the driver's side...
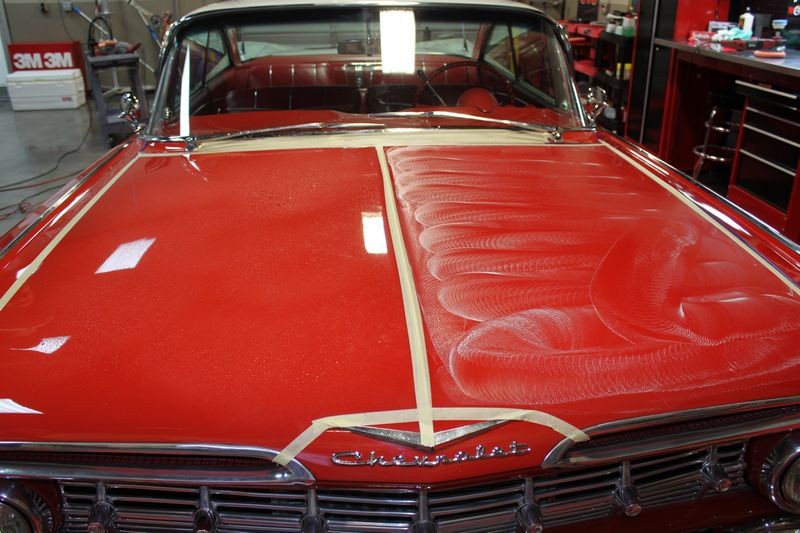
Then taught the guys using the passenger side...



PERFECT
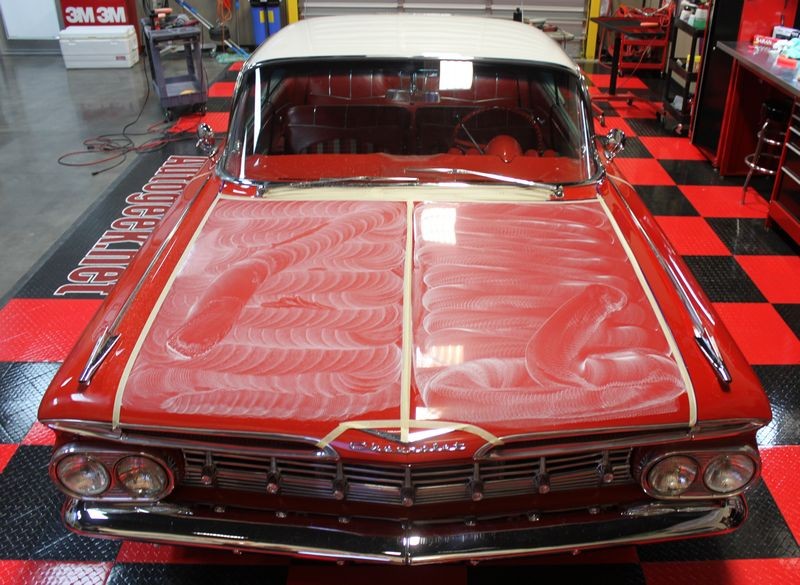
Edging
Now the guys are using 3" wool pads with Meguiar's M100 Pro Speed Compound to surgically remove their sanding marks around the perimeter of the panel. I call this edging.


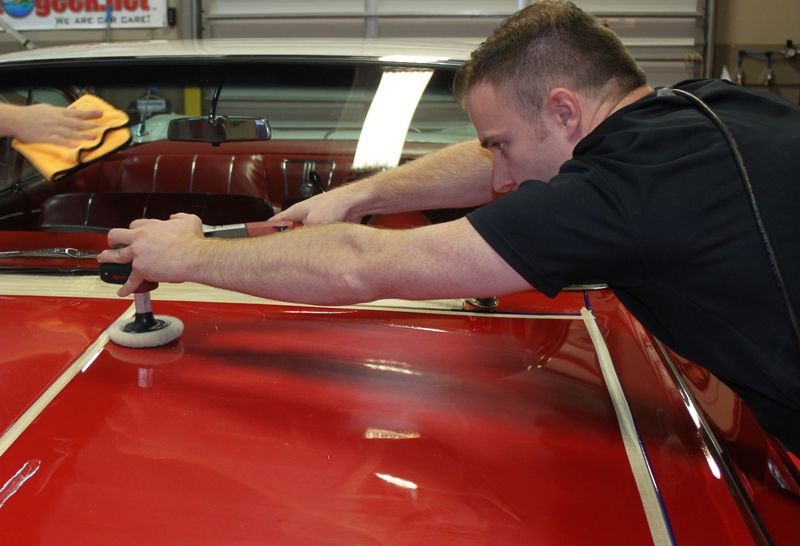

Major on the majors
Now that the perimeter of this panel has been edged, it's time to knock out the major portion of the panel, I call this majoring on the majors.

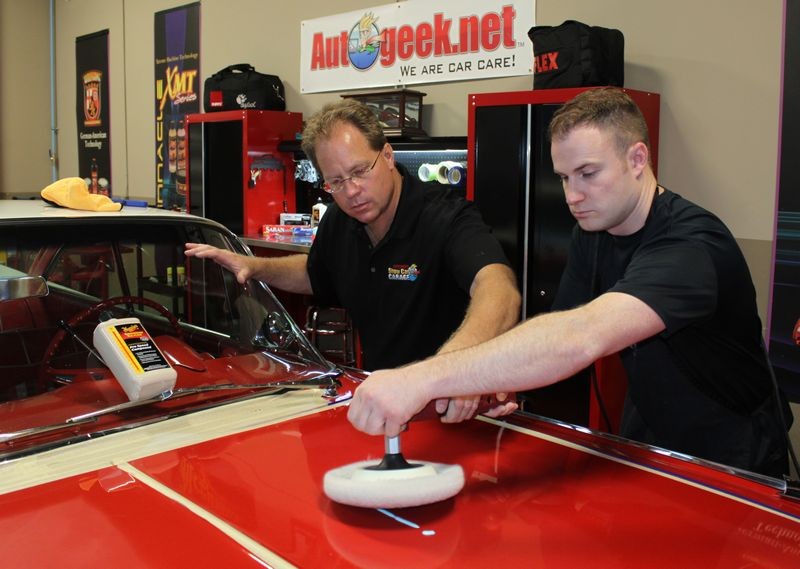


After a little hands-on training the guys have it down, they thought they wouldn't like using rotary buffers and found out they really like using them...

Grit Guard Universal Pad Washer
I stress working clean in all my classes and this is especially true when working wetsanding, cutting and buffing a show car. Here's the guys using a pad washer to remove the spent compound and abraded paint.

Back to the task at hand removing 100% of the sanding marks as that's my criteria.


Next up... foam pad polishing and foam pad jewelling...
Pictures + Video of 1932 Ford Highboy Extreme Makeover
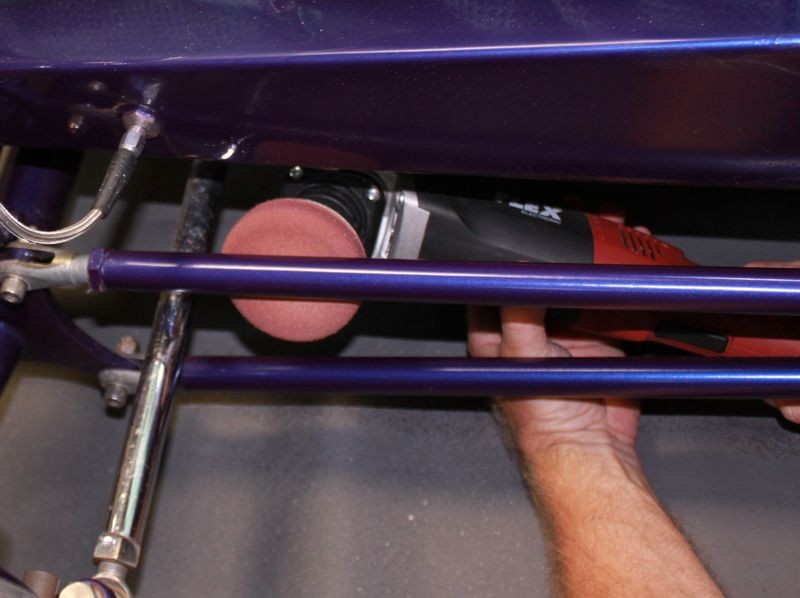
The Flex 3403 with a Griot's Garage 3" Polishing pad comes in so handy for working on thin panels and there were plenty of thin panels on this car to buff out.
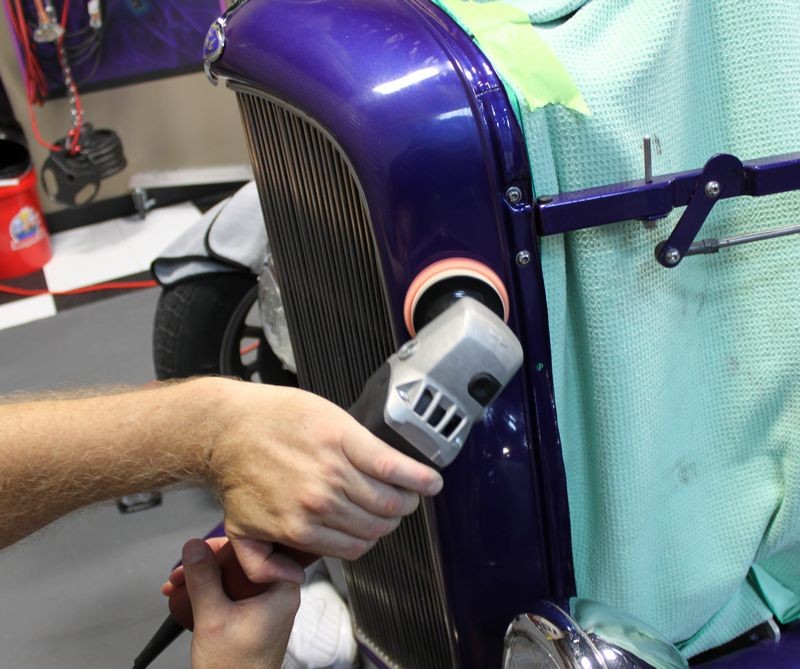

Being very careful, it was possible to run the thin, Flex 3403 in-between the side of the grill and the headlight bucket.

We could even work on the hairpins for the front suspension...


-
Re: How to wetsand to remove orange peel
-
Re: How to wetsand to remove orange peel
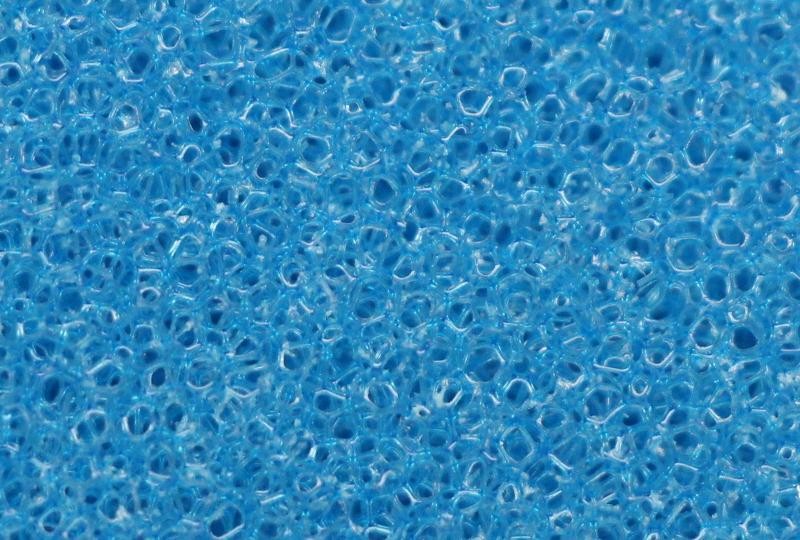
If you already own the Griot's 3" Mini Polisher, my favorite go to pad for correction work with this tool is the 4" RUPES Blue Foam Cutting Pad.
These pads are made by RUPES and their blue foam cutting pads are killer and they fit the 3" backing plate on the Griot's Garage 3" Mini Polisher. Because they are light and airy they maintain good pad rotation and combined with a great compound like the RUPES Zephir Gloss Compound I think you get the best performance possible out of this tool.
RUPES 4" Blue Coarse Foam Cutting Pad
Here's an article I wrote about the RUPES blue foam pads a few years ago....
Mind Blowing - Rupes Blue Foam Cutting Pad and Zephir Gloss Coarse Gel Compound
Lots of pictures in the article and the story behind the article.

-
Re: How to wetsand to remove orange peel
 Originally Posted by Rsurfer

Mike, is there an advantage in soaking the sandpaper overnight versus a few minutes?
There is with Nikken brand but I don't know of any reason why to do this with automotive grade wet/dry papers.
Nikken brand is an electronics grade finishing paper. It's not an automotive grade wet/dry paper. There's a huge difference in quality and design and the good news is you can use electronics grade papers for sanding paint. You don't have to use automotive grade.
The backing for Nikken isn't just paper like automotive grade wet/dry papers. In fact with most automotive grade paper backed sandpaper if you soak it for too long it will fall apart.
Not so with Nikken. I once lost a Tupperware container of Nikken papers and water for over a year. I used to keep this with me when I called on body shops so I always had papers that were soaked and ready to use. After over a year in water there was no breakdown in the paper and they were just as ready to use as the day I placed them in the container.
When you let them soak in water they absorb water and completely saturate. This allows them to cut cooler, resist loading up and last longer.
I think somewhere on this forum I tell the story behind the story for Nikken brand papers. Has to do with Bill Stuart and his product called....
The Absorber

Similar Threads
-
By Mike Phillips in forum How to articles
Replies: 30
Last Post: 06-17-2021, 08:51 AM
-
By Rifay in forum Ask your detailing questions!
Replies: 26
Last Post: 01-28-2017, 06:41 PM
-
By rob_v in forum Ask your detailing questions!
Replies: 13
Last Post: 09-26-2013, 08:04 PM
-
By jamores23 in forum Auto Detailing 101
Replies: 26
Last Post: 05-24-2011, 12:20 PM
-
By rainmancp in forum Hot topics & Frequently Asked Questions
Replies: 13
Last Post: 06-14-2010, 09:08 AM
 Members who have read this thread: 0
There are no members to list at the moment.
 Posting Permissions
- You may not post new threads
- You may not post replies
- You may not post attachments
- You may not edit your posts
-
Forum Rules
|
| S |
M |
T |
W |
T |
F |
S |
| 31 |
1
|
2
|
3
|
4
|
5
|
6
|
|
7
|
8
|
9
|
10
|
11
|
12
|
13
|
|
14
|
15
|
16
|
17
|
18
|
19
|
20
|
|
21
|
22
|
23
|
24
|
25
|
26
|
27
|
|
28
|
29
|
30
| 1 | 2 | 3 | 4 |
|
Originally Posted by MitchLiving


 Thanks:
  Likes:
  Dislikes:

 Reply With Quote




Bookmarks