 Thanks: 0
 Likes: 0
 Dislikes: 0
-
-
Re: Pictures: The Art of Polishing Paint Advanced Detailing Classes
When it come to working on antiques, classics and streetrod here at Autogeek, I teach people to never wash these types of cars but instead, use either a rinseless car wash or a waterless car wash with the best option being the waterless car wash.
The reason for using a waterless car wash is to reduce the amount of water being introduced to the car where it can get into places where it can be a rust issue.
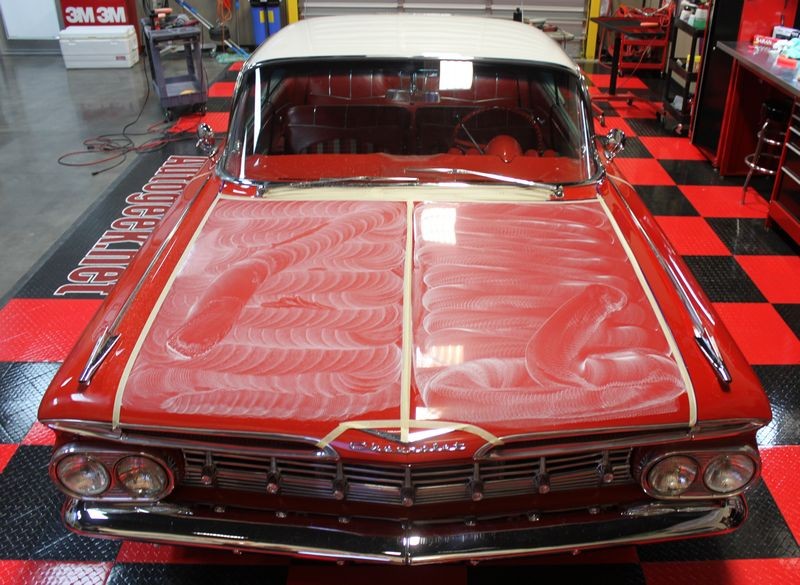
We started the 1959 Impala project by wiping the paint clean using Detailer's Waterless Auto Wash Concentrate poured off into Kwazar Mercury Pro 33 ounce bottles because they will lay down a lot of product very fast which is what you want when doing a waterless wash.


Exterior Paint Inspection and Evaluation
Next up I introduced the guy to,
The Baggie Test - How to inspect for above surface bonded contaminants
Not only so they can get an accurate feel for the true condition of the paint but to also use to market their business and educate their customers.

Even the sides of the car were contaiminated...

Speedy Prep Surface Towel to Decontaminate the Paint
To remove the above surface bonded contaminants, we used the Speedy Prep Surface Towels with Detailer's Universal Clay Lube.


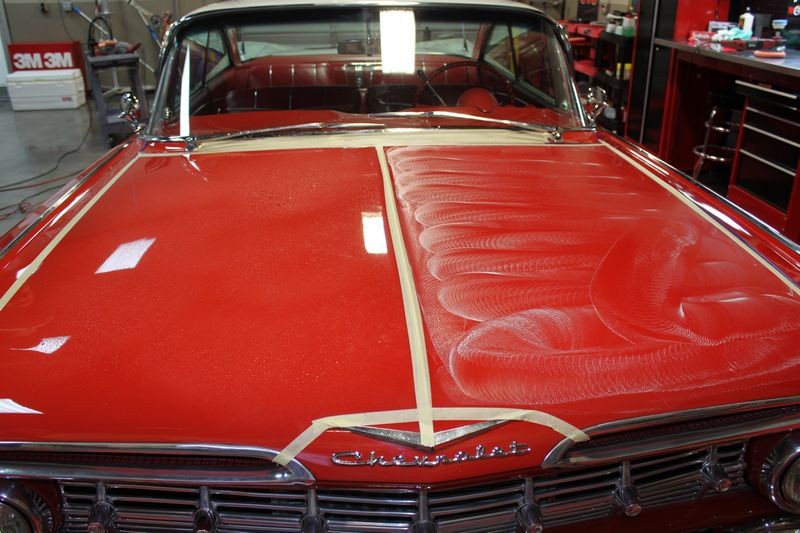
How to tape-off and cover up a car before detailing
Before we stared machine polishing, I pointed out to the guys that you almost always find compound and polish splatter down inside the fresh air intake grill because this area was not taped-off.
I teach my students to always cover this area and to also tape-off any panel edges and raised body lines, especially if you're going to be doing major correction work and especially wetsanding.


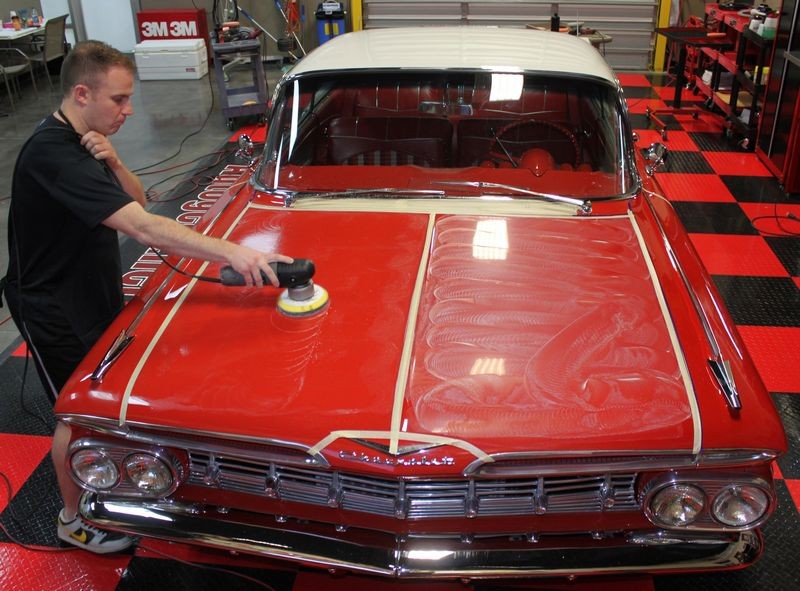
Removing Swirls and Scratches
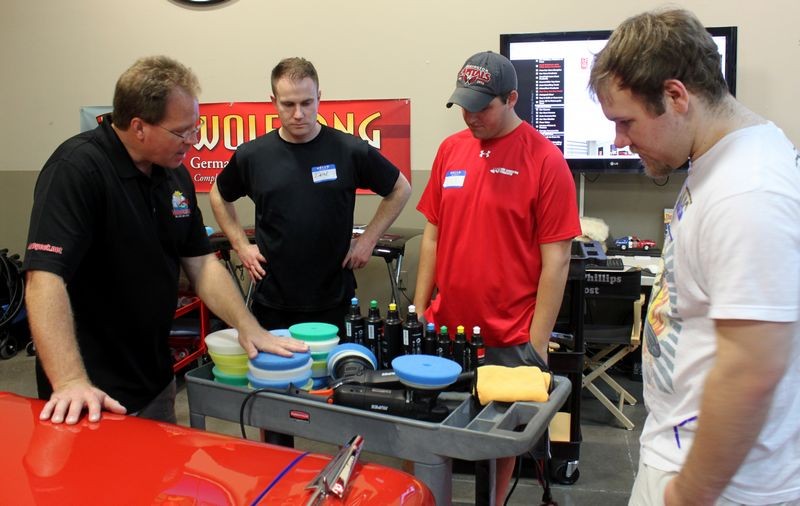
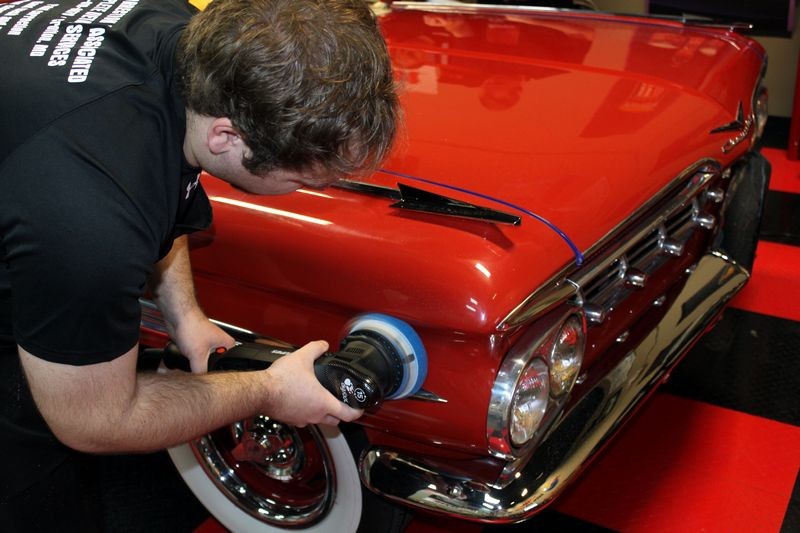
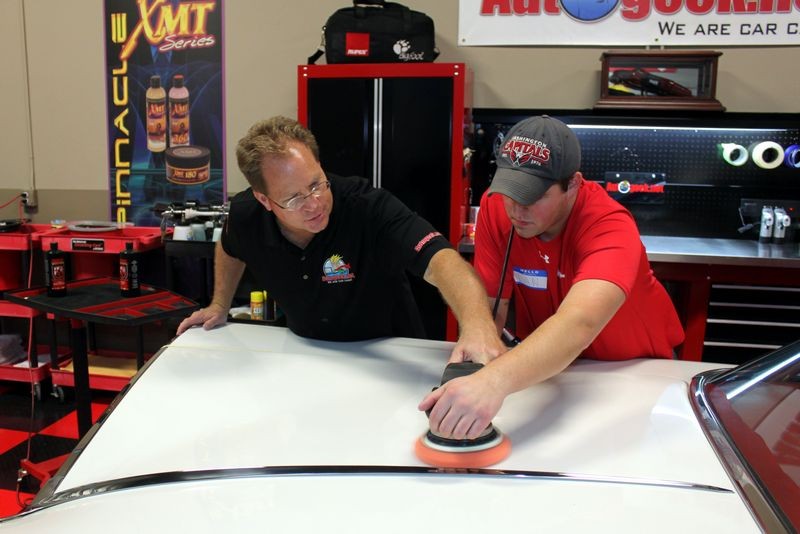
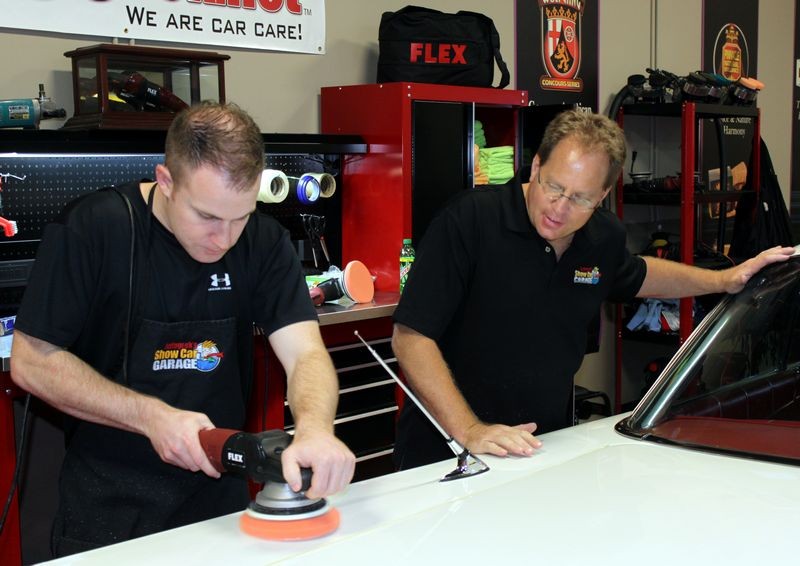
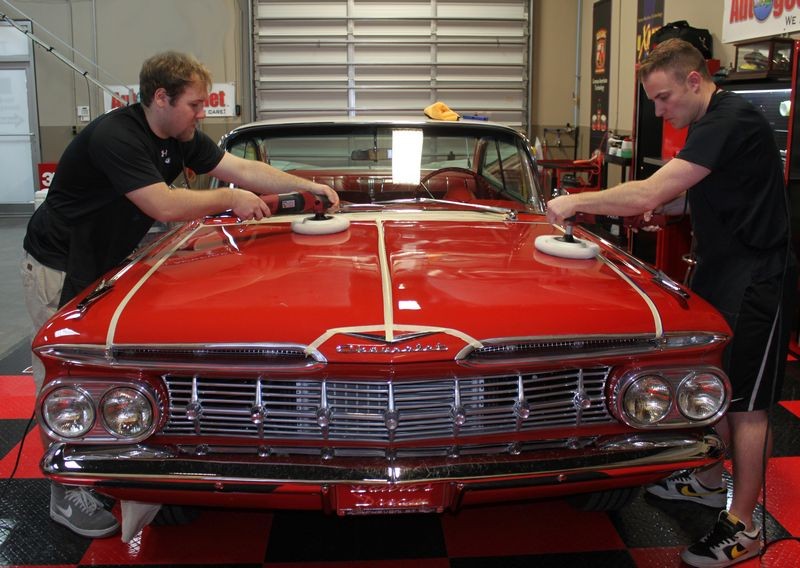
Next up, the guys are going to get some hands-on time behind the pneumatic 15 and pneumatic Mini Polishers.
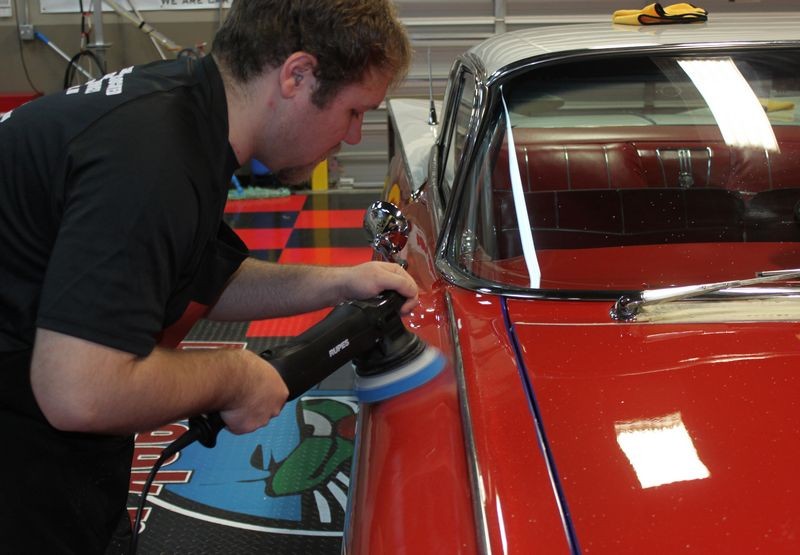
Rupes 21
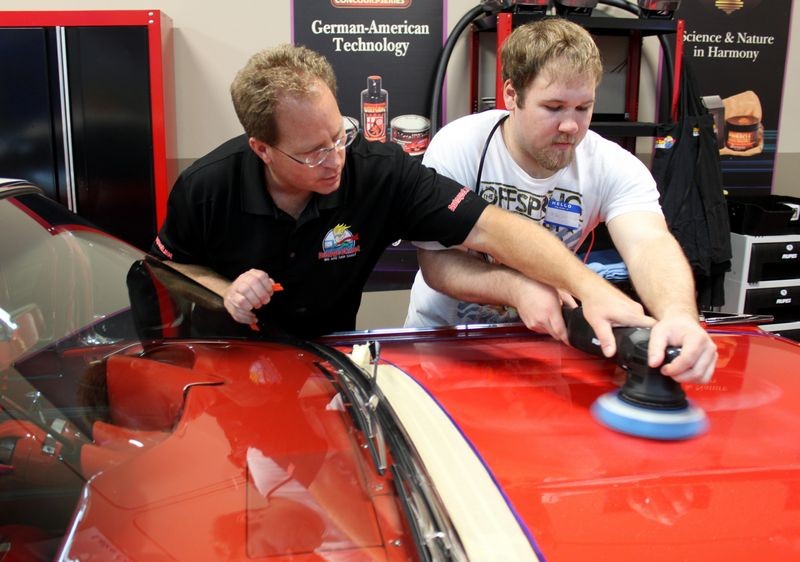
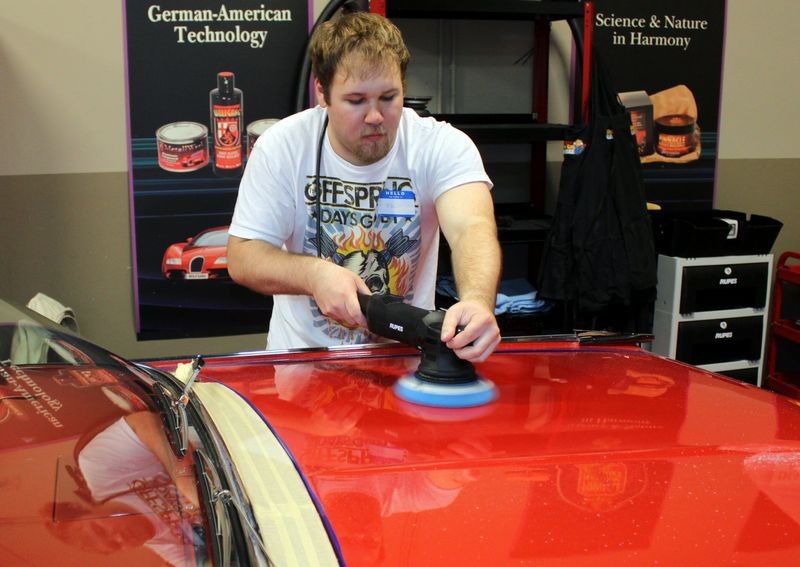
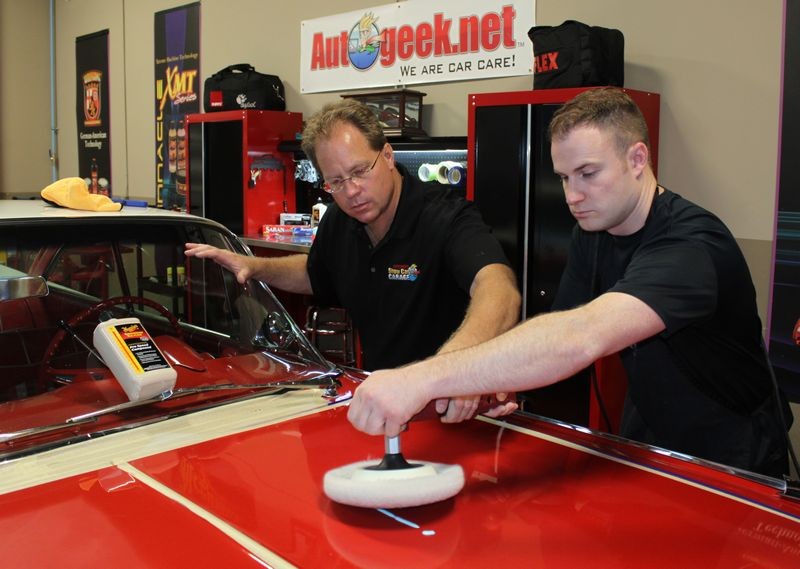
Giving Mike a little hands-on training on arm speed, pattern and downward pressure, this is the first time Mike had ever used the Rupes 21 polisher...
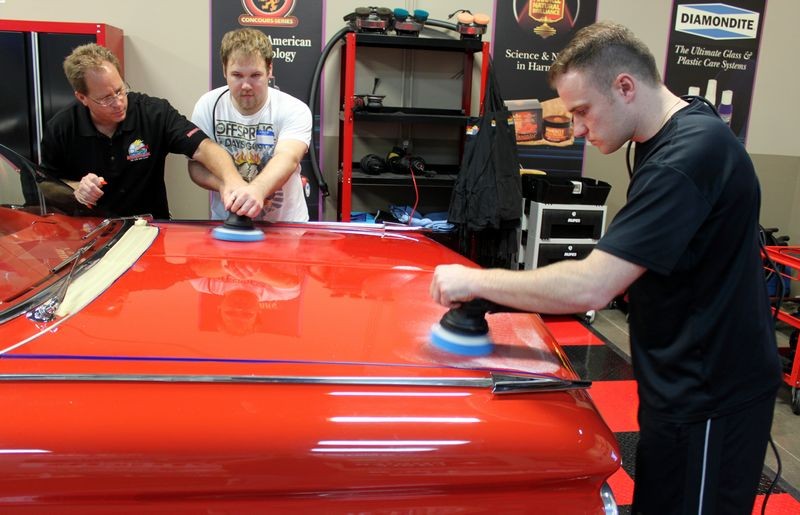
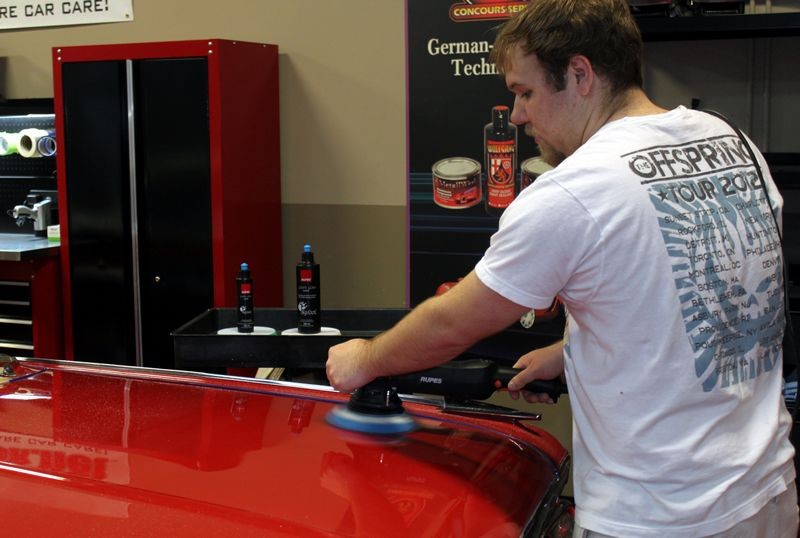
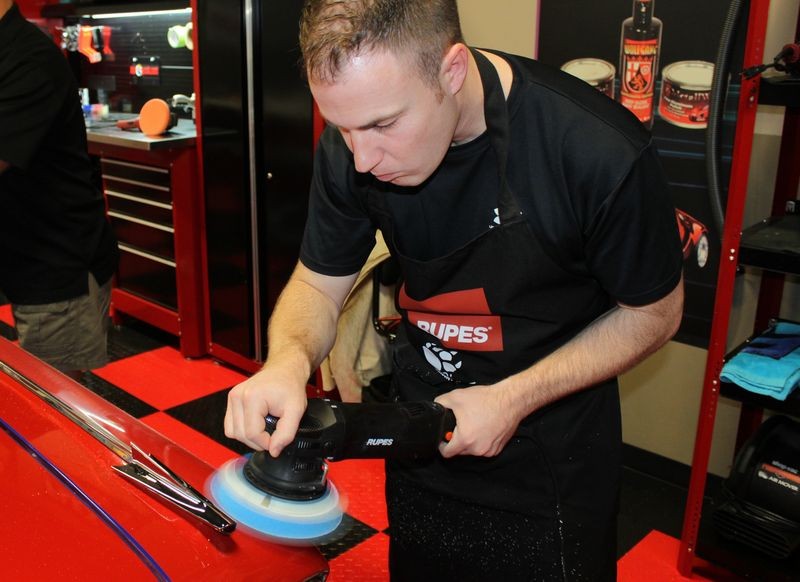
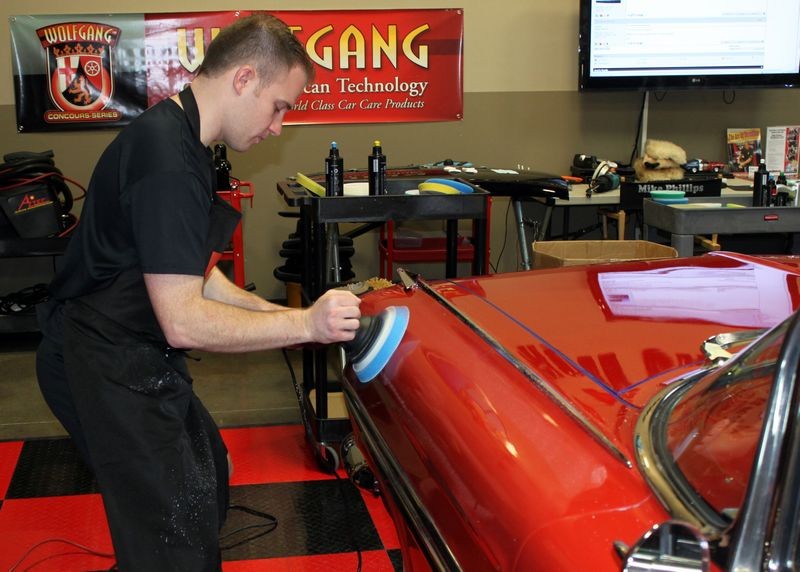
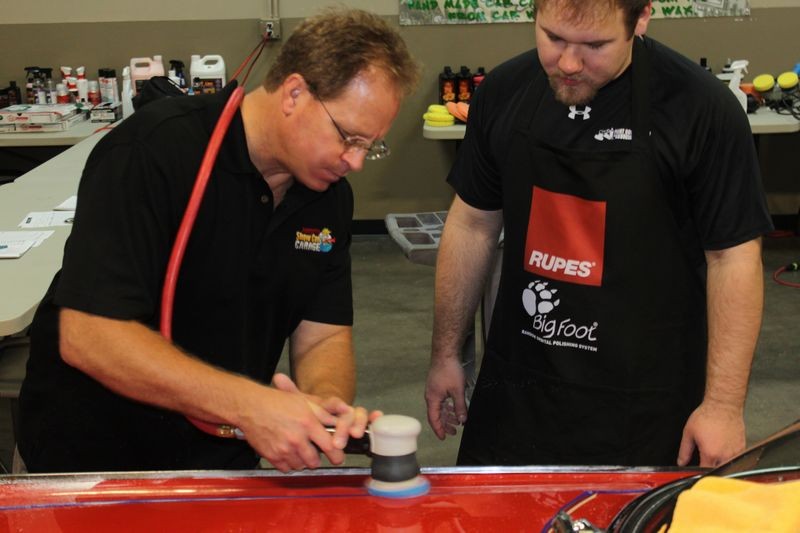
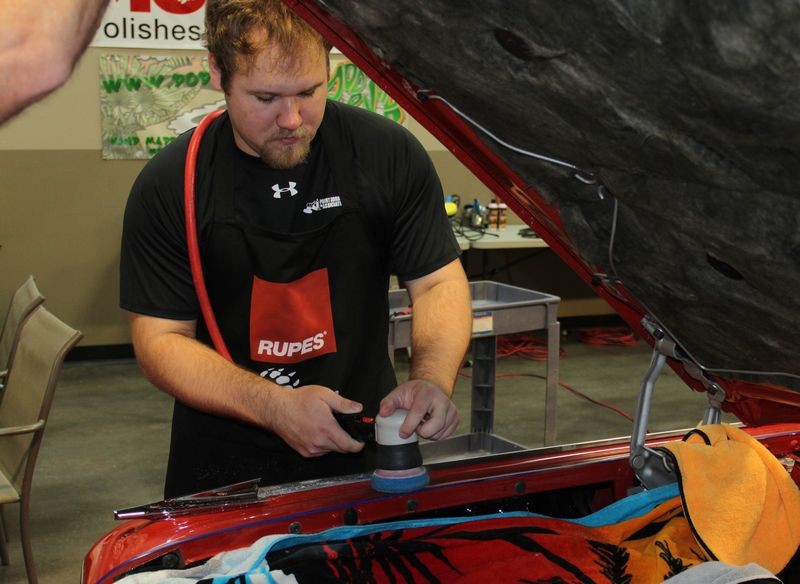
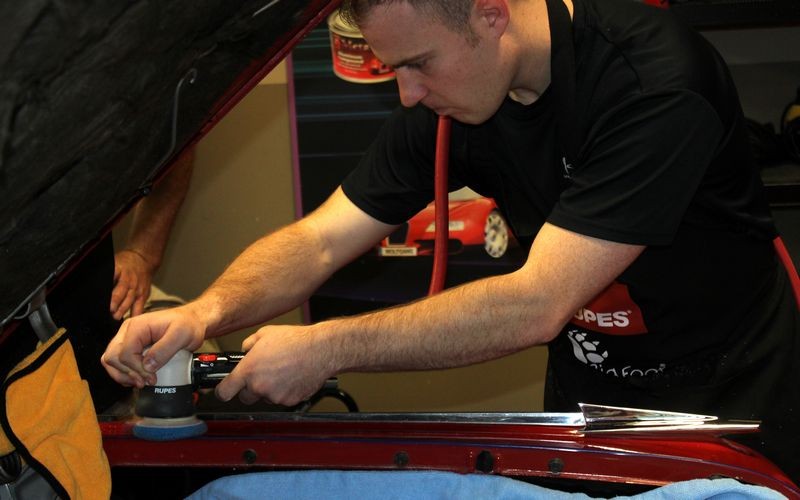
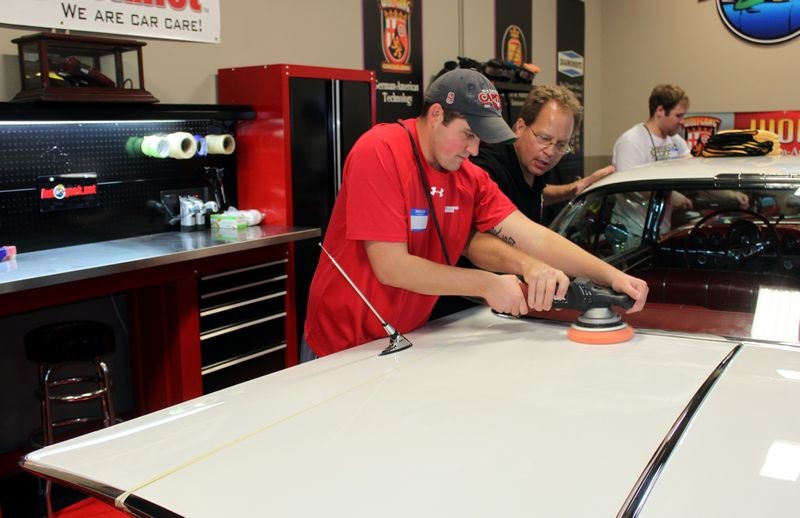
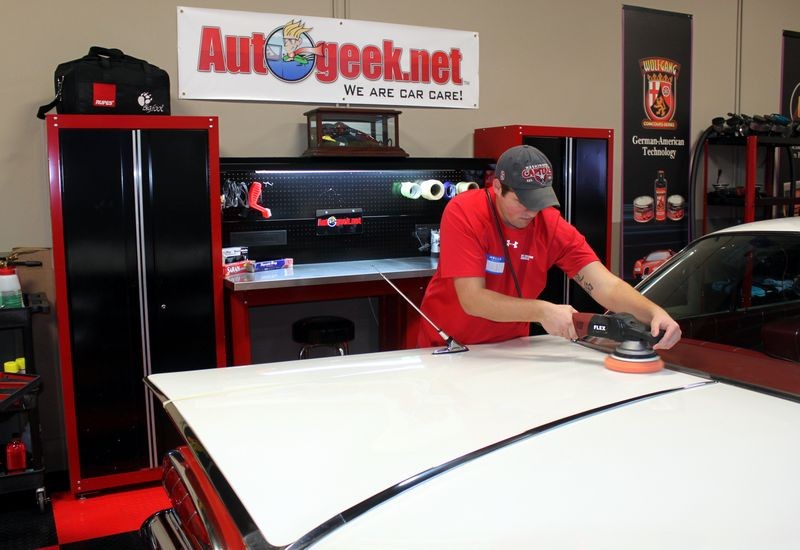
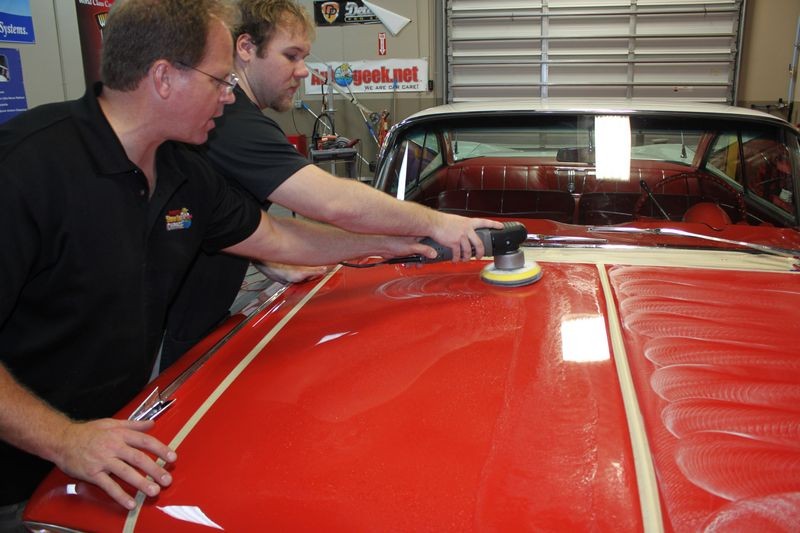
Rupes 15
Working with Derek and the Rupes 15 Polisher...

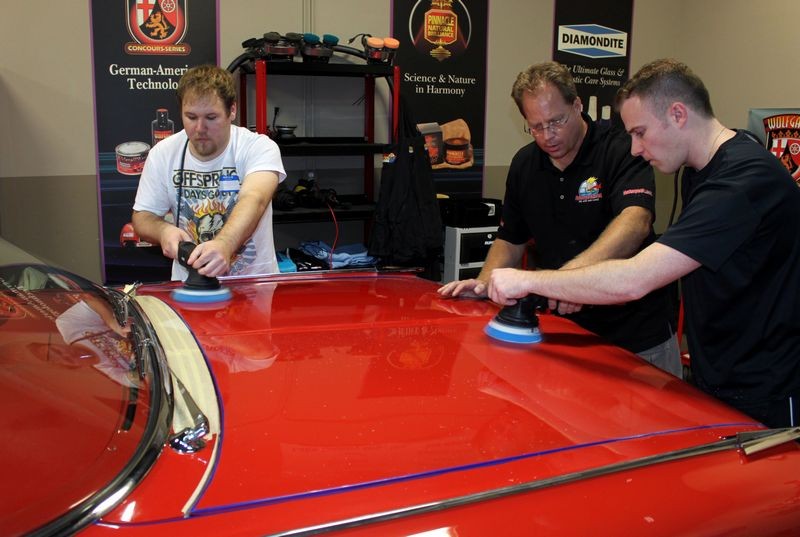
Both guys have experience using Porter Cable and Griot's Garage DA Polishers and picked up really quick on how to use the Rupes polishers...


-
-
-
Super Member

Re: Pictures: The Art of Polishing Paint Advanced Detailing Classes
Pictures look great, how many guys did you have total in the class, I know you said it was going to be small.
-
Super Member

Re: Pictures: The Art of Polishing Paint Advanced Detailing Classes
I saw the 55 Ford on Sunday at a car show.It came out great.
"Chrome wheeled, fuel injected and steppin' out over the line"
-
Re: Pictures: The Art of Polishing Paint Advanced Detailing Classes
Would be interesting to hear their comments on the flex 3401 and rupes.
-
Re: Pictures: The Art of Polishing Paint Advanced Detailing Classes
 Originally Posted by Italian Guy

Pictures look great, how many guys did you have total in the class, I know you said it was going to be small.
My new advanced classes are limited to 8 or less people. We had five people signed up and two late minute cancellations due to travel arrangements. I have another advanced class in the works with more cool cars and a focus on the art of polishing paint.
Anyone reading this that wants to be notified for my next advanced class, these are $1000.00 for the two-day weekend class and you need to send me an e-mail and I'll put you on my contact list for these classes.
mike.phillips@autogeek.net
Originally Posted by 57BORNTORUN
I saw the 55 Ford on Sunday at a car show. It came out great.
Good to hear, that was a fun car to work on and it's also the car I did the Rupes Polisher Time Lapse video with...
Rupes Polisher Time Lapse Video - 1955 Ford Crown Victoria
Here's the time-lapse video Yancy took for me as I buffed this classic out from start to finish...
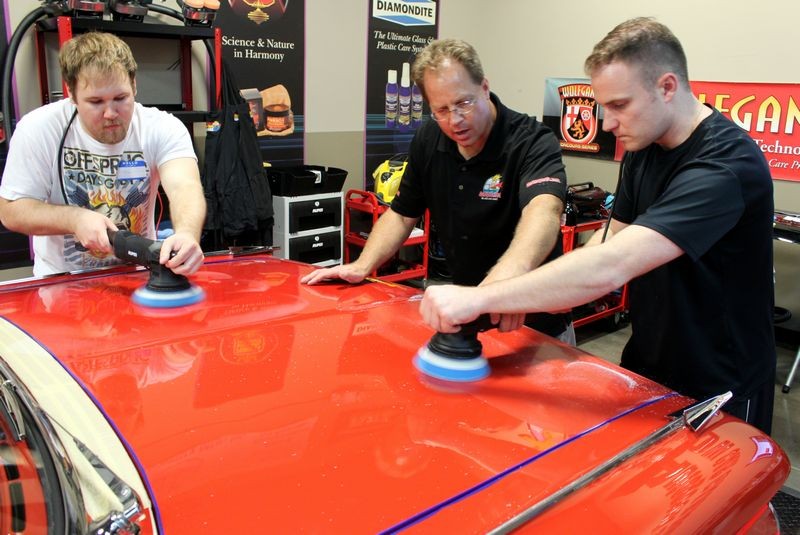
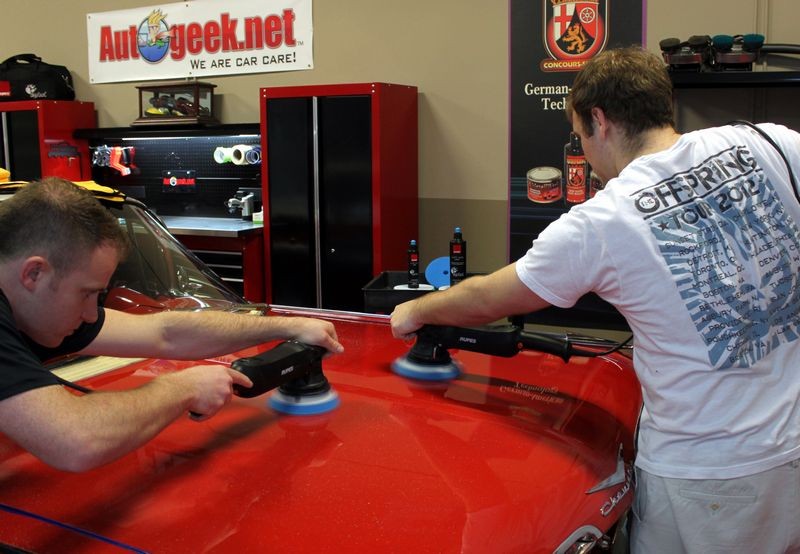
On the passenger side I used the Rupes 21 and on the driver's side I used the Rupes 15. There was about a 20 minute time savings using the larger pad, larger stroke machine over the smaller pad, smaller stroke machine but my opinion is that for most body panel designs on modern cars the 6" pad will be a better match.
This tool definitely has a lot more correction ability plus power over a traditional DA Polisher like the Porter Cable 7424XP.
I did find that when buffing a curved panel, either concave or convex, the uneven pressure applied to the face of the pad will slow down and even stop pad rotation. The key is to focus on the panel and keep the pad as flat as possible to the surface.
Came out nice...

Originally Posted by bmwgeek
Would be interesting to hear their comments on the flex 3401 and rupes.
Interestingly, none of the guys that attended this class are members of this forum... yet. I've asked them to join and when they return home and get caught up I'm confident you'll see them chime in on this thread with their thoughts on my advanced class.
-
-
Re: Pictures: The Art of Polishing Paint Advanced Detailing Classes
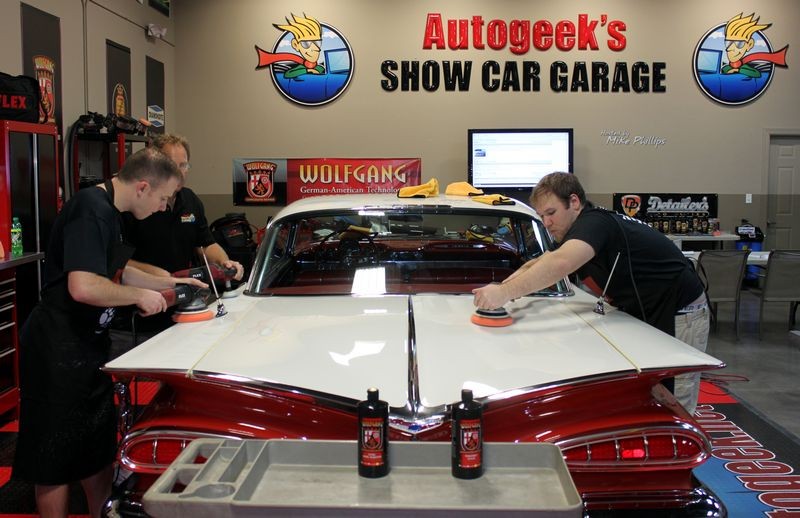
As you read through this thread and look at all the pictures, keep in mind...
This is just ONE of the cars these guys learned on. We still have two more cars to go through...
Similar Threads
-
By Mike Phillips in forum PICTURES: 3-Day CAR Detailing Bootcamp Classes
Replies: 25
Last Post: 11-27-2016, 03:13 PM
-
By Mike Phillips in forum PICTURES: 3-Day CAR Detailing Bootcamp Classes
Replies: 15
Last Post: 08-08-2015, 05:04 AM
-
By BostonSam in forum Ask your detailing questions!
Replies: 2
Last Post: 08-04-2014, 10:10 PM
-
By Mike Phillips in forum 3-Day CAR Detailing Bootcamp Classes - Info & Dates
Replies: 2
Last Post: 02-12-2013, 04:01 PM
 Members who have read this thread: 0
There are no members to list at the moment.
Posting Permissions
- You may not post new threads
- You may not post replies
- You may not post attachments
- You may not edit your posts
-
Forum Rules
|
| S |
M |
T |
W |
T |
F |
S |
| 31 |
1
|
2
|
3
|
4
|
5
|
6
|
|
7
|
8
|
9
|
10
|
11
|
12
|
13
|
|
14
|
15
|
16
|
17
|
18
|
19
|
20
|
|
21
|
22
|
23
|
24
|
25
|
26
|
27
|
|
28
|
29
|
30
| 1 | 2 | 3 | 4 |
|


 Reply With Quote
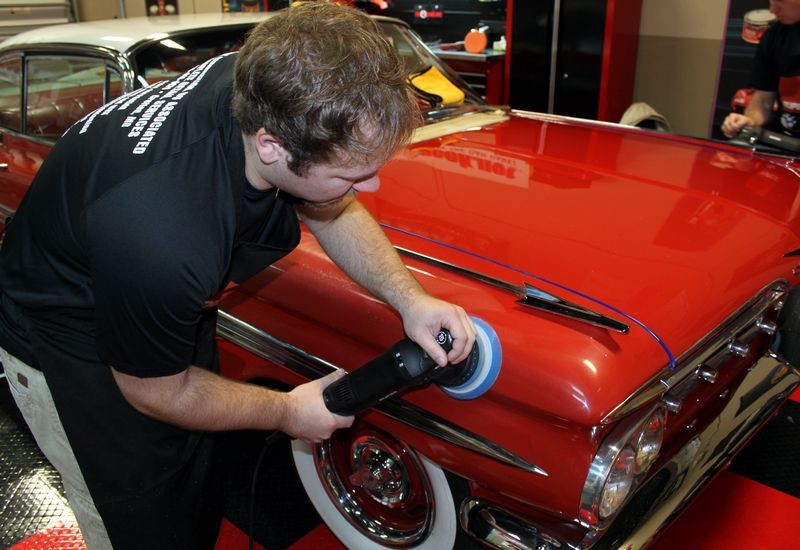


Bookmarks