 Thanks: 0
 Likes: 0
 Dislikes: 0
-
How to use the SONAX CC36 Ceramic Paint Coating
How to use the SONAX CC36 Ceramic Paint Coating
SONAX History
In 1903, Franz Hoffmann, the great grandfather of Manfred Hoffmann extracted Neuburg siliceous earth in Neuburg, Germany. This very fine mineral was used as a polish in many household cleaning products including a silver polish called SONA.
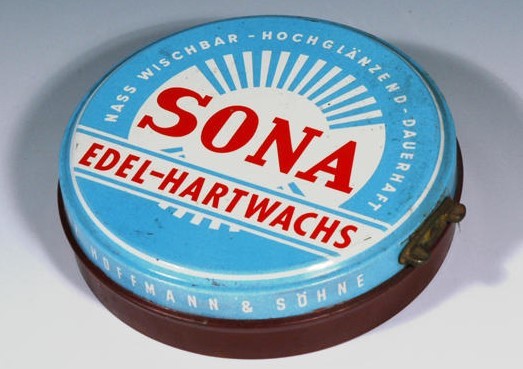
After the second world war another branch for manufacturing products was added to the company. The brand SONA was registered to protect the household line of products and the brand name SONAX was registered to protect car care products. The letter “x” was added to the end of SONA as a synonym for the word “wax” as the early SONAX products for their automotive line were primarily car waxes.

You can red the entire history of the SONAX company here.
Fast forward to the year 2016 when SONAX introduced their ceramic paint coating at the U.S. 2016 SEMA show in Las Vegas. I've had the good fortune to visit the SONAX headquarters in Neuburg, Germany and tour their manufacturing plant and even better, met with their chemists. They are the real deal. While many Americans may be new to the SONAX brand, one way I use to give people an idea of how big and how popular SONAX is in Europe goes like this,
SONAX is the Meguiar's of Europe
I think it's safe to say that here in the U.S. Meguiar's is a trusted and popular brand of car care products and that's because they have a LONG history of providing high quality products that do what they say they'll do and that's perform at a high level no matter what the category. The same thing applies to SONAX products. They formulate all their own products, manufacture them and bottle them. This hold true for their new ceramic paint coating, it is their own in-house chemistry and formulations.
Recently I used the CC36 Ceramic Paint Coating on a modern muscle car, a 2012 Dodge Challenger SRT8 392 Hemi Yellow Jacket. You can read about this project and see the CC36 ceramic coating results here,
Review: - LC HDO Foam Pads - Makita PO5000C - Supercharged Dodge Yellow Jacket
When I detailed that car and by the word detail I mean I did a multiple-step show car detailing process, I was under a tight time constraint and unlike my normal practice, I did not take a lot of pictures. Currently I have another show car in the garage that is very different than the Yellow Jacket. They are both MOPARS and they both have Hemi Engines, only this current product is from 1956 and was built by the late famous custom car builder, Richard Zocchi. We actually had this car here for one of our 3-day detailing classes back in 2014. Here's the link to the write-up for that class.
Richard Zocchi Kustom 1956 Dodge Lancer - Detailing Class at Autogeek
Since that class I'm sad to say this car was in an accident and hit in the front end by another car. It's since been repaired and repainted and the good news is the quality of the rebuild and repaint are incredible. The shop, a buddy of mine usually does the wetsanding and the initial compounding step and then lets me take over the polishing and finishing steps. So the car arrived here with holograms from the compounding step which give me the perfect condition paint to showcase tools, pads and compounds and polishes and also the SONAX CC36 Ceramic Paint Coating.
Below are the steps to follow to chemically strip car paint to remove residual polishing oils and other substances after compounding and polishing and then how to apply the 2-step coating.

-
-
Re: How to use the SONAX CC36 Ceramic Paint Coating
Step 1 - Do any paint correction and polishing before applying the coating
The thing about a coating is it's going to seal the paint like a car wax or synthetic paitn sealant only it's going to
Last a lot longer
Protect longer
Create a very glassy appearance
Resist dirt better than a car wax or a synthetic sealant
Wash faster as dirt will release easier
Dry faster as water will try to leave the surface
That said, a ceramic coating will not remove swirls, scratches, water spots or oxidation. You must remove these types of paint defects first. For our demo car, we'll need to remove the holograms, which are a specific type of scratch pattern instilled into the paint by the use of a rotary buffer, wool pad and usually a cutting compound. Holograms are common when cars are repainted as the body shop will sand the paint and then compound and polish the paint but do both of these step using only a rotary buffer. To ensure holograms are removed, the final machine polishing step is best performed by an orbital polisher.
The word holograms means a specific scratch patern inflicted into paint using a rotary buffer
The discussion about holograms comes up all the time in the car detailing world. The word holograms means,
a specific scratch pattern inflicted into paint using a rotary buffer
The pattern of swirls you see are actually scratches and the pattern you see in the paint mimic the direction a rotary buffer was moved over the surface.
Sometimes people will refer to micro-marring caused by the abrasive technology and/or the pad used on an orbital polisher as holograms. But these scratches are not holograms but micro-marring. It is true that on darker colored paint you can see a pattern in the paint that mimics the way an orbital polisher was moved over the surface but even so, this pattern and these scratches are not the same as the scratches instilled by the single rotational direction of a pad spinning against the paint when using a rotary buffer.
One reason it's important to distinguish between the two types of scratch patterns is so that everyone in our industry is on the same page when discussion paint defects. While a Ford Truck and a Chevy Truck are both trucks, they at the same time they are very different merely because they are built by very different companies.
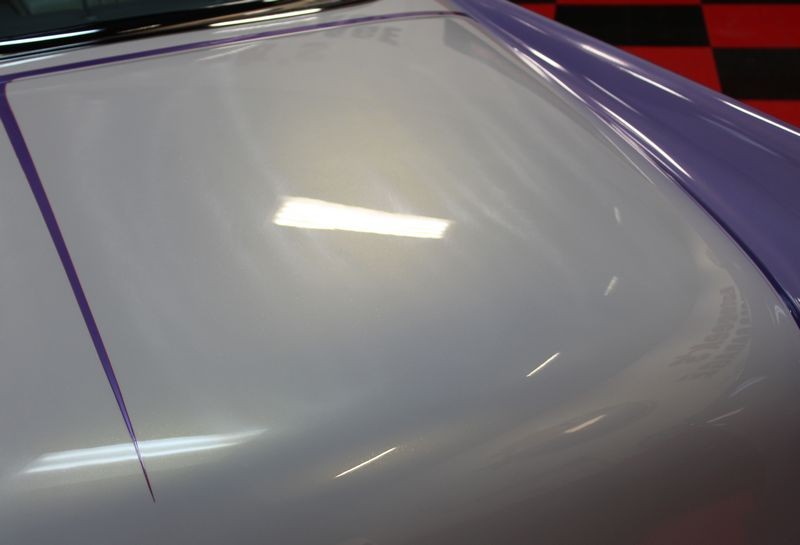
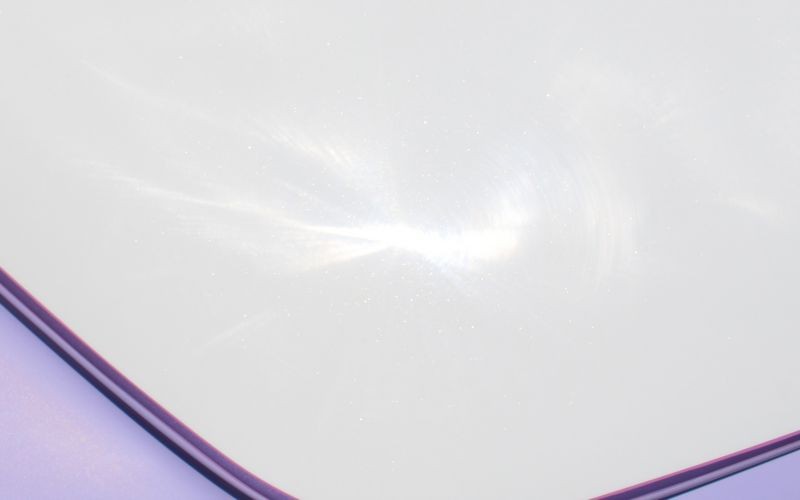
Hologram Scratches
These are holograms instilled into the paint by a rotary buffer and a wool pad. Because this car is painted in light colors, it's not only harder to see the hologram scratches but it was challenging to capture them with a camera. The important point being that all colors of cars can have holograms scratches it's just lighter colors make them more difficult to see.


Here you can see the pattern which looks like fat lines of scratches in the paint running in a back and forth pattern.

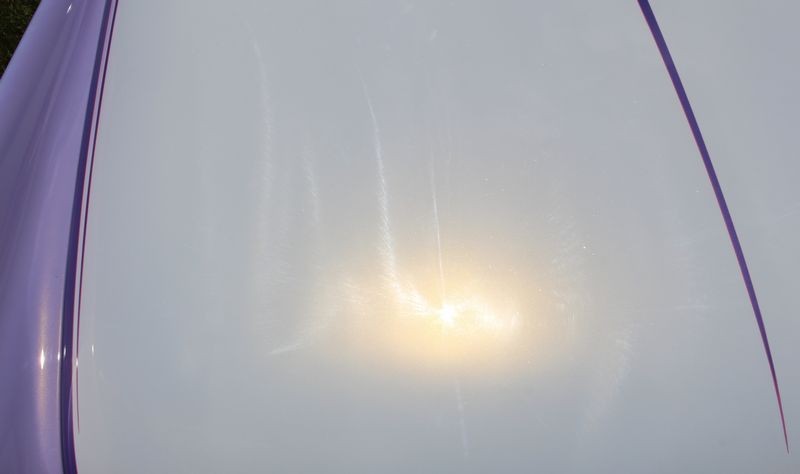
It's usually easier to see holograms outside with bright overhead sunlight


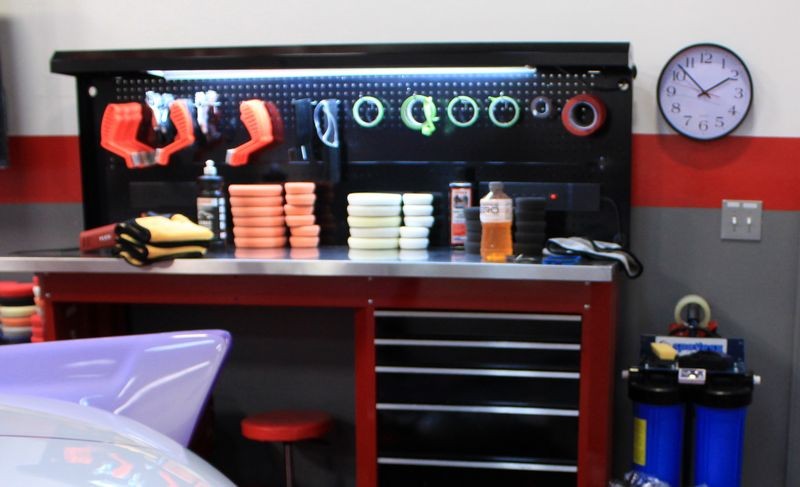
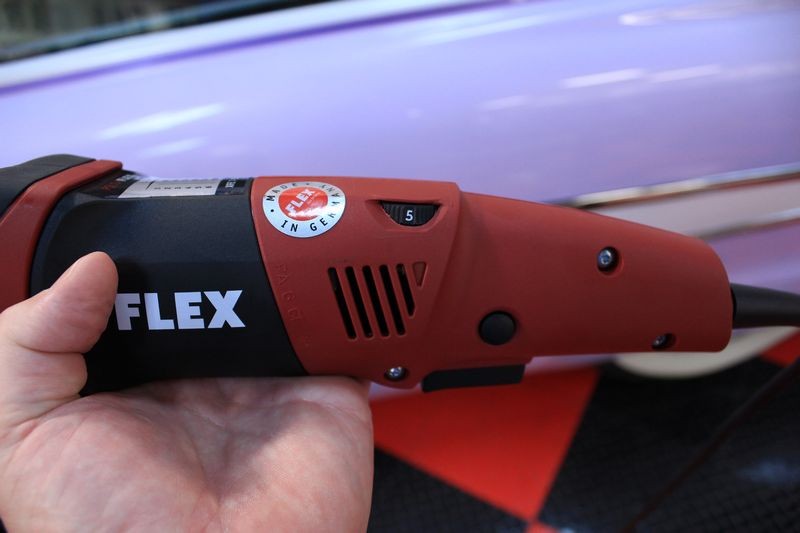
FLEX tools - SONAX products - Lake Country Pads
There are a lot of tool, products and pads on the market, here's two of those options that I'll use for this project. If you can find anyone else in the cyberworld that writes how-to articles for tools, pads and products, feel free to read those too.
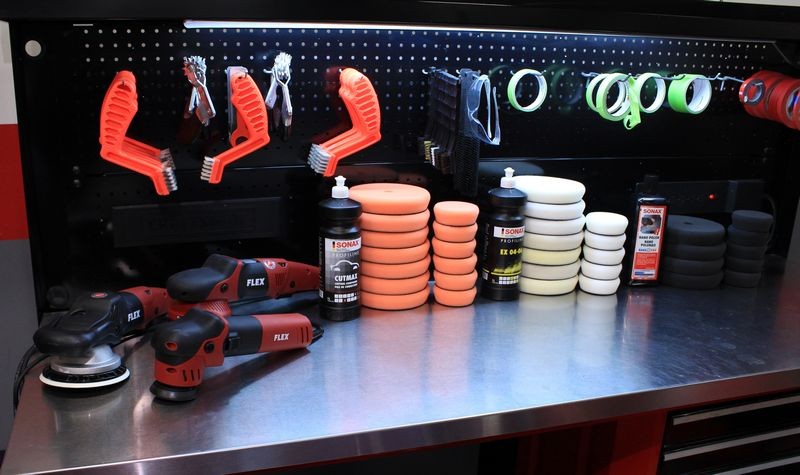
Pictured below are the FLEX 3401, FLEX XFE7 and the FLEX 3" Mini Polisher

SONAX CutMax Compound with Lake Country Force Hybrid Foam Cutting Pads

SONAX EX 04-06 Polish with Lake Country Force Hybrid Foam Polishing Pads
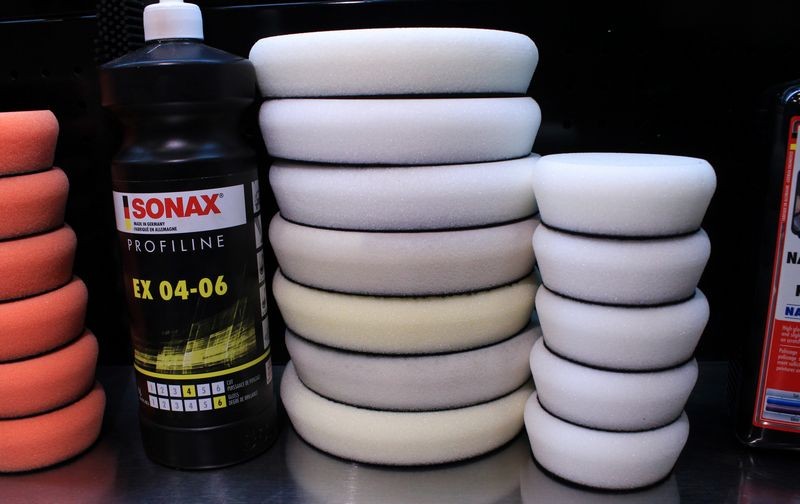
SONAX Fine Cut Polish with Lake Country Force Hybrid Foam Finishing Pads

The compounding step
For this first step I tried to document how long it took to compound the paint on just the roof to remove the holograms. Most of the time when buffing out a car you start at the highest point and work downward. When I do show car work, I'll tend to knock out the roof all the way through the process, that is compound, polish and the seal before moving to the hood and trunk lid. Then I'll work through the entire process for the hood and trunk lid. The reason why is because often times show cars or SIVs (special interest vehicles), are cool and cool means classics, customs, muscles cars or streetrods and these types of vehicles are LARGE. In order to reach all the way out to the center of the roof I'll have to lean against the side panels. In order to reach all the way out to the middle of the hood or trunk lid I'll have to lean on the fenders.
If I compound these panels first and then move to the veridical panels, later when I go back to polish the horizontal panels I have to lean on the vertical panels again. If I've already compounded the vertical panels and then lean on them again I RISK putting scratches back into them. I call this,
Working backwards
I never work backwards in the paint polishing process, only forwards and I teach this same practice in all my classes. So when doing show car work on cool cars I knock out the roof all the way through the process and the move down and knock out the hood and trunk lid all the way through the process. After these horizontal panels then I tackle the vertical panels. This is my technique, you can use it if it works for you or develop your own method to the madness. Been there done that a long time ago and I don't work backwards.

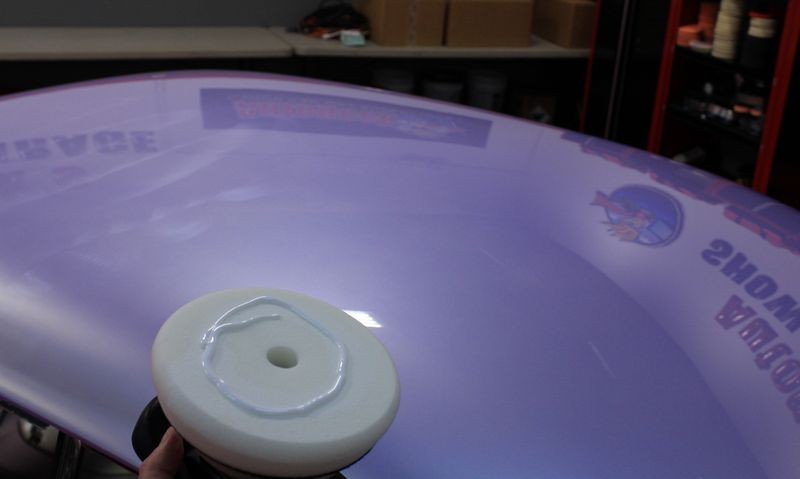
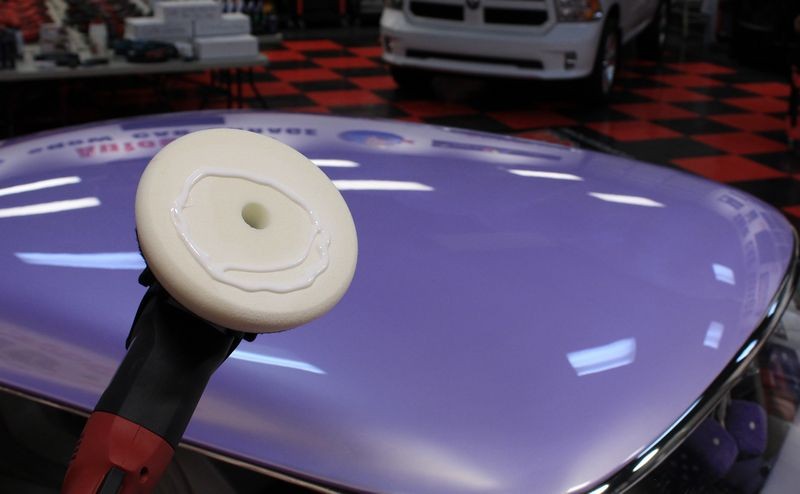
I almost always go full-out when compounding paint with a FLEX 3401
Why?
Sometimes there's just something to be said for speed

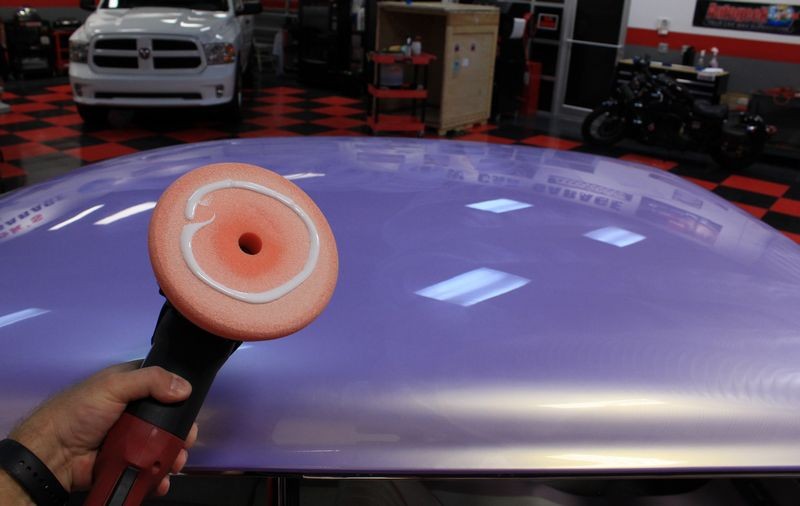
One pad per panel
You will do your best work the fastest when using foam pads to use one pad per panel. The exception is when working on LARGE panels then sometimes it's better to have 2 pads per panel. As foam gets wet, (that's normal), it's cutting performece drops off. This means you will be less effective, (remove defects less effectively), and it will take you longer.

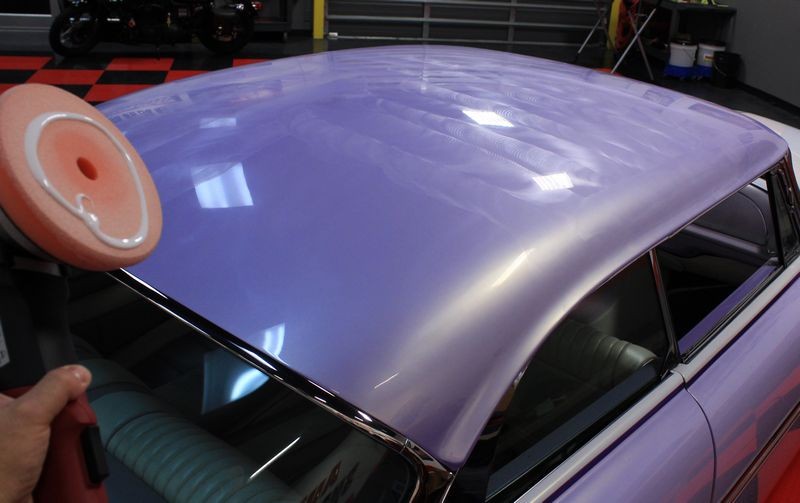
It's 1:20 when I start compounding the roof.

First section is compounded, moving on to the second section. The roof is so large I will divide it into 6 sections. 3 sections on the driver's side and 3 sections on the passenger side.

Second section is compounded, moving on to the third section on the driver's side of the roof.

Driver's side is compounded....

Took me 10 minutes for 3 sections or about 3 minutes per sections. This speed is possible when using a gear-driven 8mm stroke orbital polisher and this is why I say,
"With a FLEX 3401 you can POWER through a detail job"

Time for the passenger side....
Switching to a clean, dry pad....

Fourth section is done, moving onto the fifth section....
Fifth section is done, moving on to the sixth and last section for the roof.
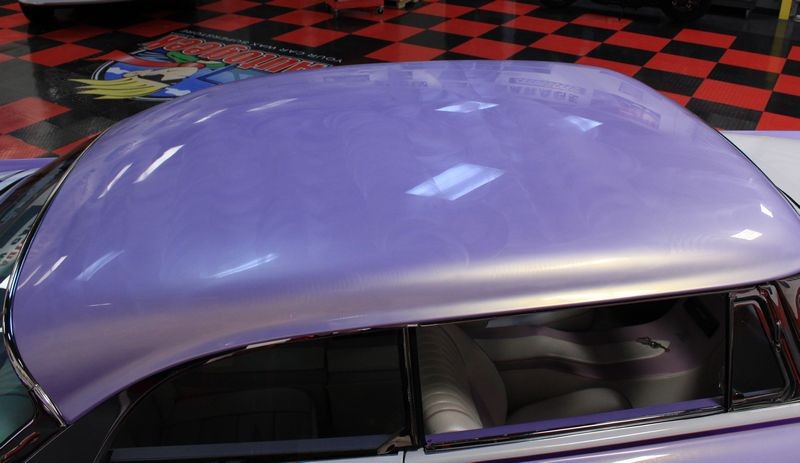
The roof is all compounded. I left the compound on so you could see it.
It's now 1:45pm so the passenger side took about the same amount of time.
Don't go too deep on me, remember I have to move my extension cord around plus my roll-around cart, plus grab my camera and take pictures so there's some fluff time in-between al of this stuff. I'm mostly trying to give newbies a sense for how long this type of work takes if you don't goof-off and stay busy.


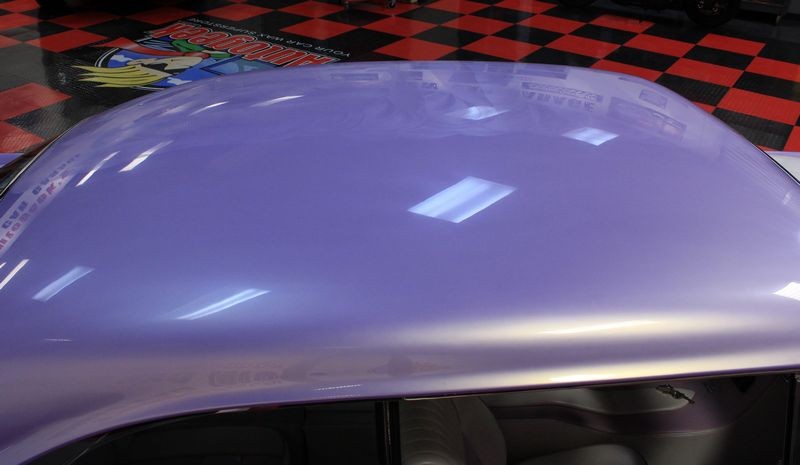
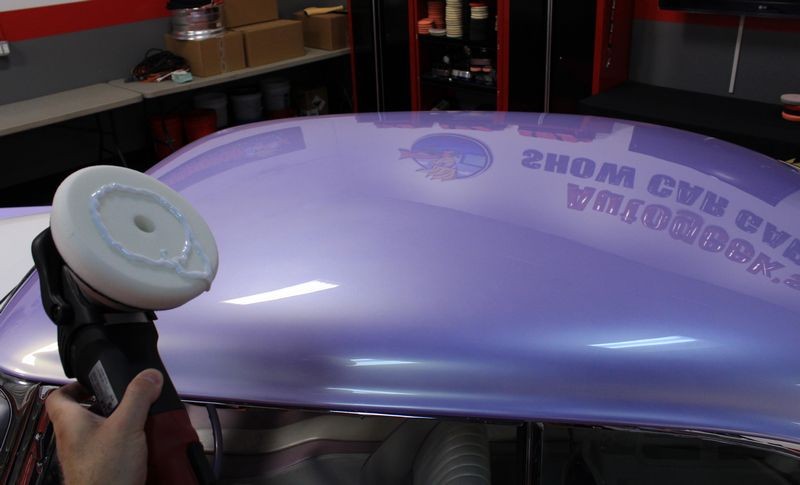
Here's the hood compounded, if you look carefully I wiped off compound residue to show how large the sections were that I worked....

In this same shot as above, I drew lines to show you the approximate size of the sections I worked. With a gear-driven orbital polisher you can tackle larger sections than you cold with a free spinning orbital polisher AND still work effectively. When I use the word effectively I mean remove defects, not leave them behind....

-
-
-
Re: How to use the SONAX CC36 Ceramic Paint Coating
Continued.....
How to chemically strip your car's paint to prep it for a ceramic paint coating
Next up, I need to remove any polishing oils or any other residual substances off the paint so the coating can form a proper bond.
This isn't as scientific as it might seem and remember, we just compounded and polished the paint twice so the surface is incredibly smooth and there's really not anywhere for the polishing oils to hide. Whatever oils or other substances did not get wiped-off when I wiped the polish off after the last polishing step is miniscule.
Minuscule = means not very much
The two step wipe method
First wipe - The first wipe will or at least should remove the majority of any residues off the paint.
Insurance wipe - The second wipe is a term I coined called the Insurance Wipe. This second wipe using a clean, dry microfiber towel is to remove any trace oils or other substances you may have missed with the first wipe or you may have left behind via cross-contamination with oils removed onto your towel.
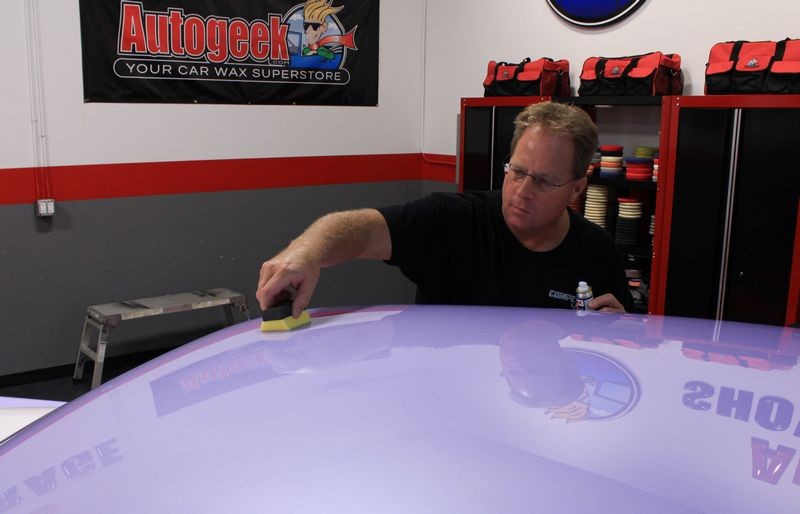
I like to start by dampening my microfiber towel with the product I'm using to chemically strip the paint. there's a number of these product on the market, the BLACKFIRE Crystal Coat Paint Prep works great and smells good too. A lot of times my favorite product is simply whatever is closets to my hand. That's a joke, all it means is if it's by me I like it otherwise I would have to walk out of the garage to get a product and that's more work.

Then I spray an ample amount of product onto the paint itself, basically wiping the 6 same quadrants I buffed.

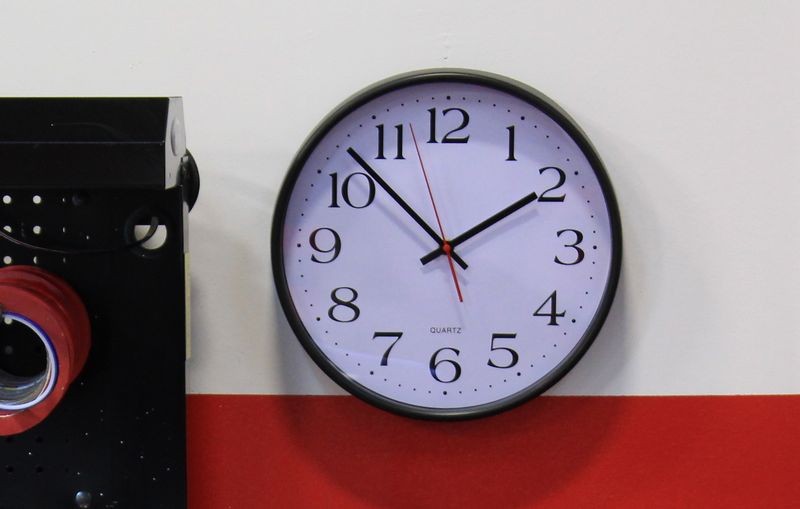
I took a break in between the last polishing step and the chemical stripping step. My co-worker Elliot was taking some of the below pictures and I asked him to snag one of the clock....

Moving around to the driver' side. (I started on the passenger side)

Wipe carefully - it's important to NOT put scratches back into the paint at this stage of the game....

I used 4 microfiber towels to chemically strip just the roof...

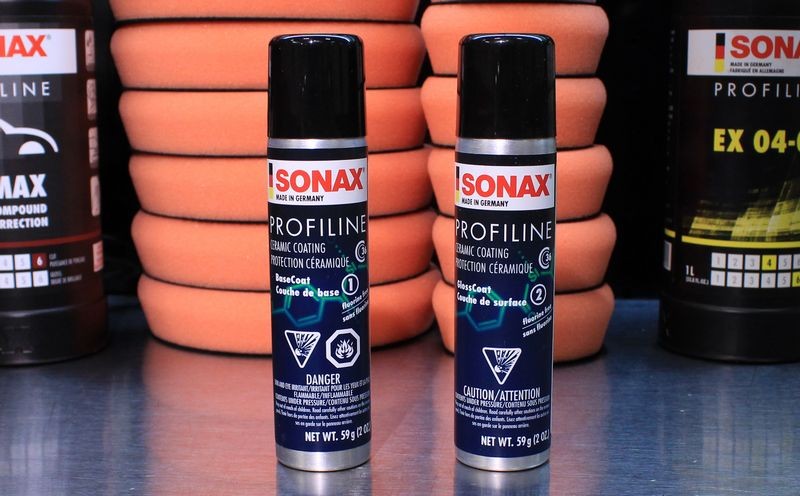
How to apply the SONAX CC36 Ceramic Paint Coating
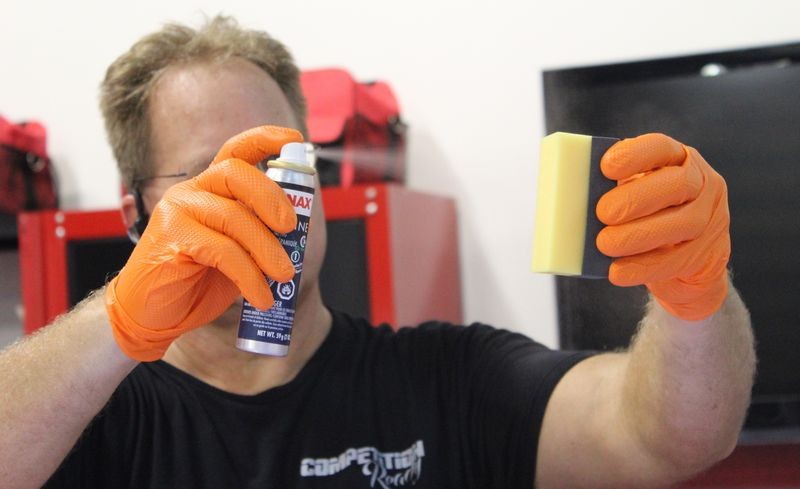
There's two parts to the CC36 system, there's the Basecoat and the Glosscoat. When you buy the kit it also comes with included SONAX applicators that are marked with a 1 and a 2 and these correspond with the numbers 1 and 2 on the cans to make the system goof-proof.
For this project I'm using the Lake Country Coating Applicators as this is the applicator that I have a LOT of and I'm going to be using these in the upcoming Autogeek Roadshow Classes where I need a lot of applicators for all the students to use. At this time SONAX doesn't offer or sell separate applicators so this is my work-around for the classes and before I teach this in a class I'm going to dial in my process on this old 2-door Dodge.
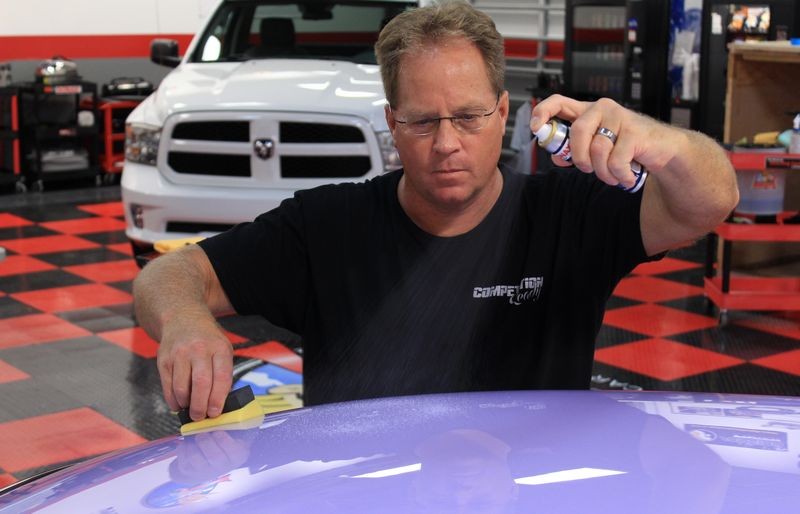
Start by misting a little of the Basecoat directly onto the face of the applicator to moisten it and thus lubricate it so it will more easily glide over the paint.
This is the tricky shot - capturing the spray mid-air
(good job Elliot )
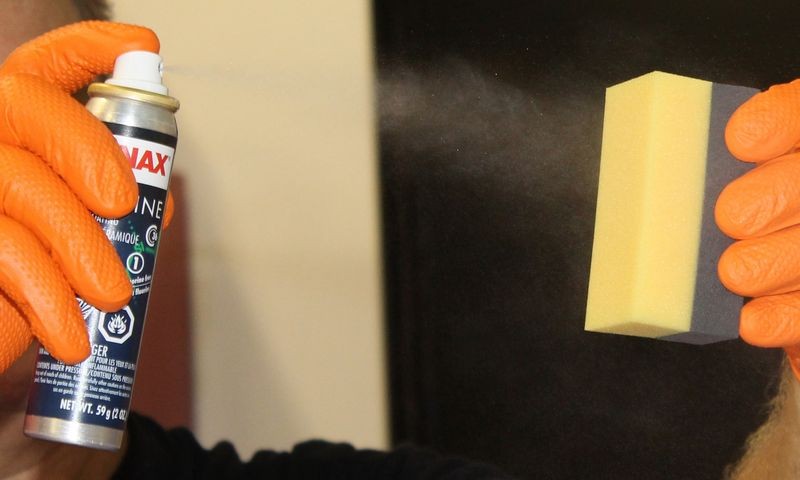
Then spray some onto a section of paint. Here's a tip... hold the can higher than you see me holding it in the picture and you'll disperse a little bit of product over a larger section and this will help you to spread and coat the section better, faster and easier.

WRONG WAY
First I'm showing you the wrong way to move the LC Coating Applicators over the paint. Don't hold it like you see me holding it and try to move it from side to side as it will tend to tip over on itself. (when you do it you'll see what I mean)
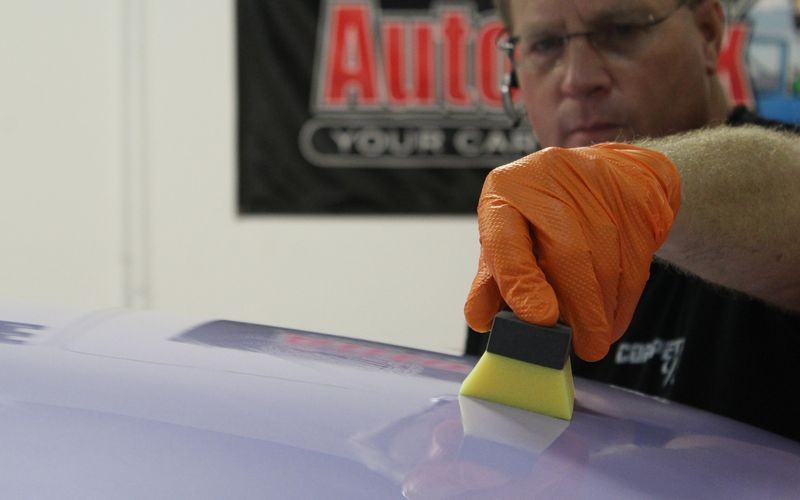
RIGHT WAY
The right way to move the applicator is to move the length of the applicator from side to side. The length of the face of the foam pad keeps it from tipping over on itself.
Move the applicator in a crosshatch pattern over an area about 20" squarish or so... don't try to tackle to large of an area as the coating will be trying to flash dry and this makes it hard to spread. This is true for all coatings by the way. You only apply to small areas and the wait about a minute or less and wipe off.
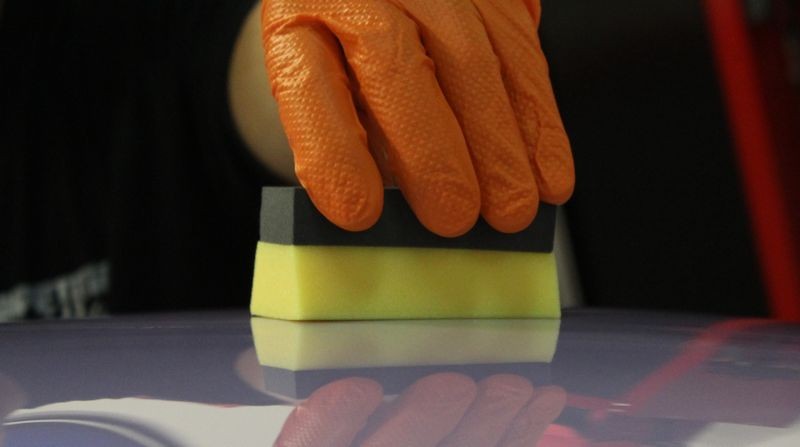
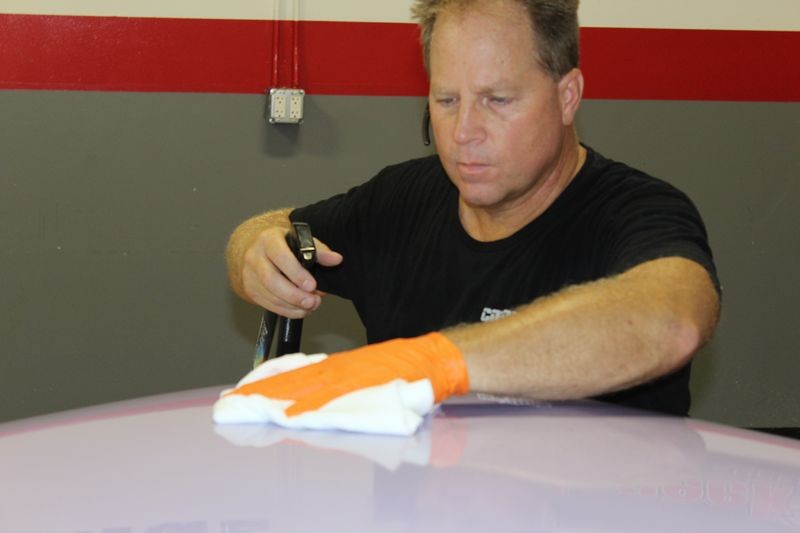
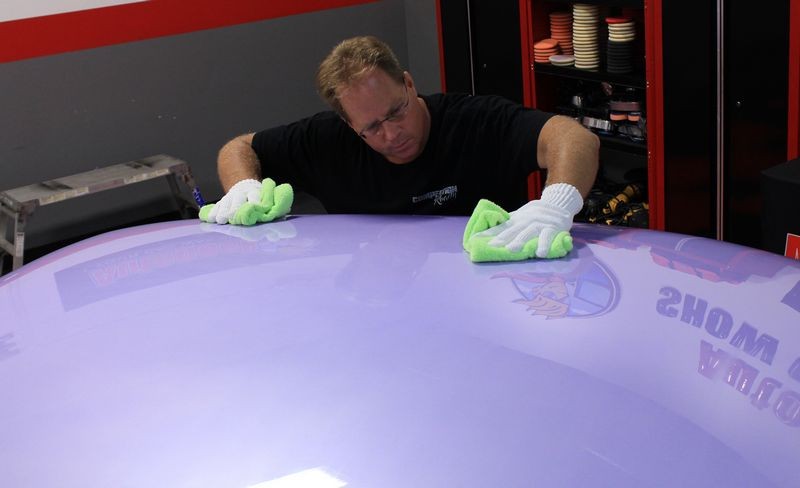
After applying to a section, wait about a minutes and then wipe any high spots, or excess residue off. I like to wear microfiber gloves when I do this to help me grip my microfiber towels and to ensure I don't touch the paint with my skin potentially contaminating the process.
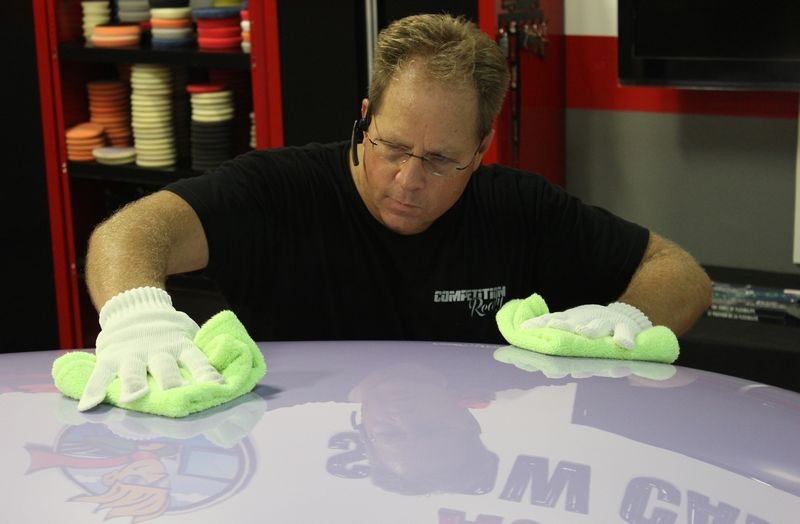
What I'm doing in the below pictures is tilting my head and using the overhead light - looking for high spots (excess residue), on the surface so I can wipe it off. If you don't do this and miss a spot it will dry on the paint and be difficult to remove.


Here I've moved to the other side of the roof and repeated the first step, applying the Basecoat.
It was 3:45pm when I finished wiping off the first step of the coating, the step 1 Basecoat. Now I need to wait for 1 hour before applying the step 2 Glosscoat.
-
-
Re: How to use the SONAX CC36 Ceramic Paint Coating
Continued....
On Autogeek.com
SONAX CC36 Ceramic Paint Coating
For any of the other tools, pads and products, call any of our Customer Care staff and cite this thread and they can help you to get everything you need to do a professional job of applying a ceramic paint coating to you show car... or to your everday car....
1-800-869-3011
-
Super Member

Re: How to use the SONAX CC36 Ceramic Paint Coating
-
Re: How to use the SONAX CC36 Ceramic Paint Coating
Great looking results Mike!
A concern comes up when I watch/read those jobs since I live in a dusty area, our climate -almost year round- has fine dust flying around. Should this worry me when performing such ceramic coatings or sealants/waxes? Are there any solutions for such climates?
Regards,
Ali
Similar Threads
-
By jdeday in forum Auto Detailing 101
Replies: 8
Last Post: 11-14-2018, 05:56 PM
-
By The Guz in forum Product Reviews
Replies: 36
Last Post: 06-22-2018, 07:10 PM
-
By bryanviper in forum Auto Detailing 101
Replies: 10
Last Post: 04-24-2017, 03:24 AM
-
By The Guz in forum Auto Detailing 101
Replies: 27
Last Post: 03-13-2017, 09:30 AM
-
By Mike Phillips in forum Company & Forum News Headlines
Replies: 24
Last Post: 01-14-2017, 04:41 PM
 Members who have read this thread: 0
There are no members to list at the moment.
Posting Permissions
- You may not post new threads
- You may not post replies
- You may not post attachments
- You may not edit your posts
-
Forum Rules
|
| S |
M |
T |
W |
T |
F |
S |
| 31 |
1
|
2
|
3
|
4
|
5
|
6
|
|
7
|
8
|
9
|
10
|
11
|
12
|
13
|
|
14
|
15
|
16
|
17
|
18
|
19
|
20
|
|
21
|
22
|
23
|
24
|
25
|
26
|
27
|
|
28
|
29
|
30
| 1 | 2 | 3 | 4 |
|


 Reply With Quote


Bookmarks