autogeekonline car wax, car care and auto detailing forum Autogeek on TV
car wax, car care and auto detailing forumAutogeekonline autogeekonline car wax, car care and auto detailing forum HomeForumBlogAutogeek.net StoreDetailing Classes with Mike PhillipsGalleryDetailing How To's
 
Thanks Thanks:  0
Likes Likes:  0
Dislikes Dislikes:  0
Page 1 of 2 12 LastLast
Results 1 to 10 of 11
  1. #1
    Super Member DetailedByPrecision's Avatar
    Join Date
    Sep 2009
    Location
    SF Bay area, Cali
    Posts
    807
    Post Thanks / Like

    Not your usual paint correction nor interior show&shine:--S.F Bay Area

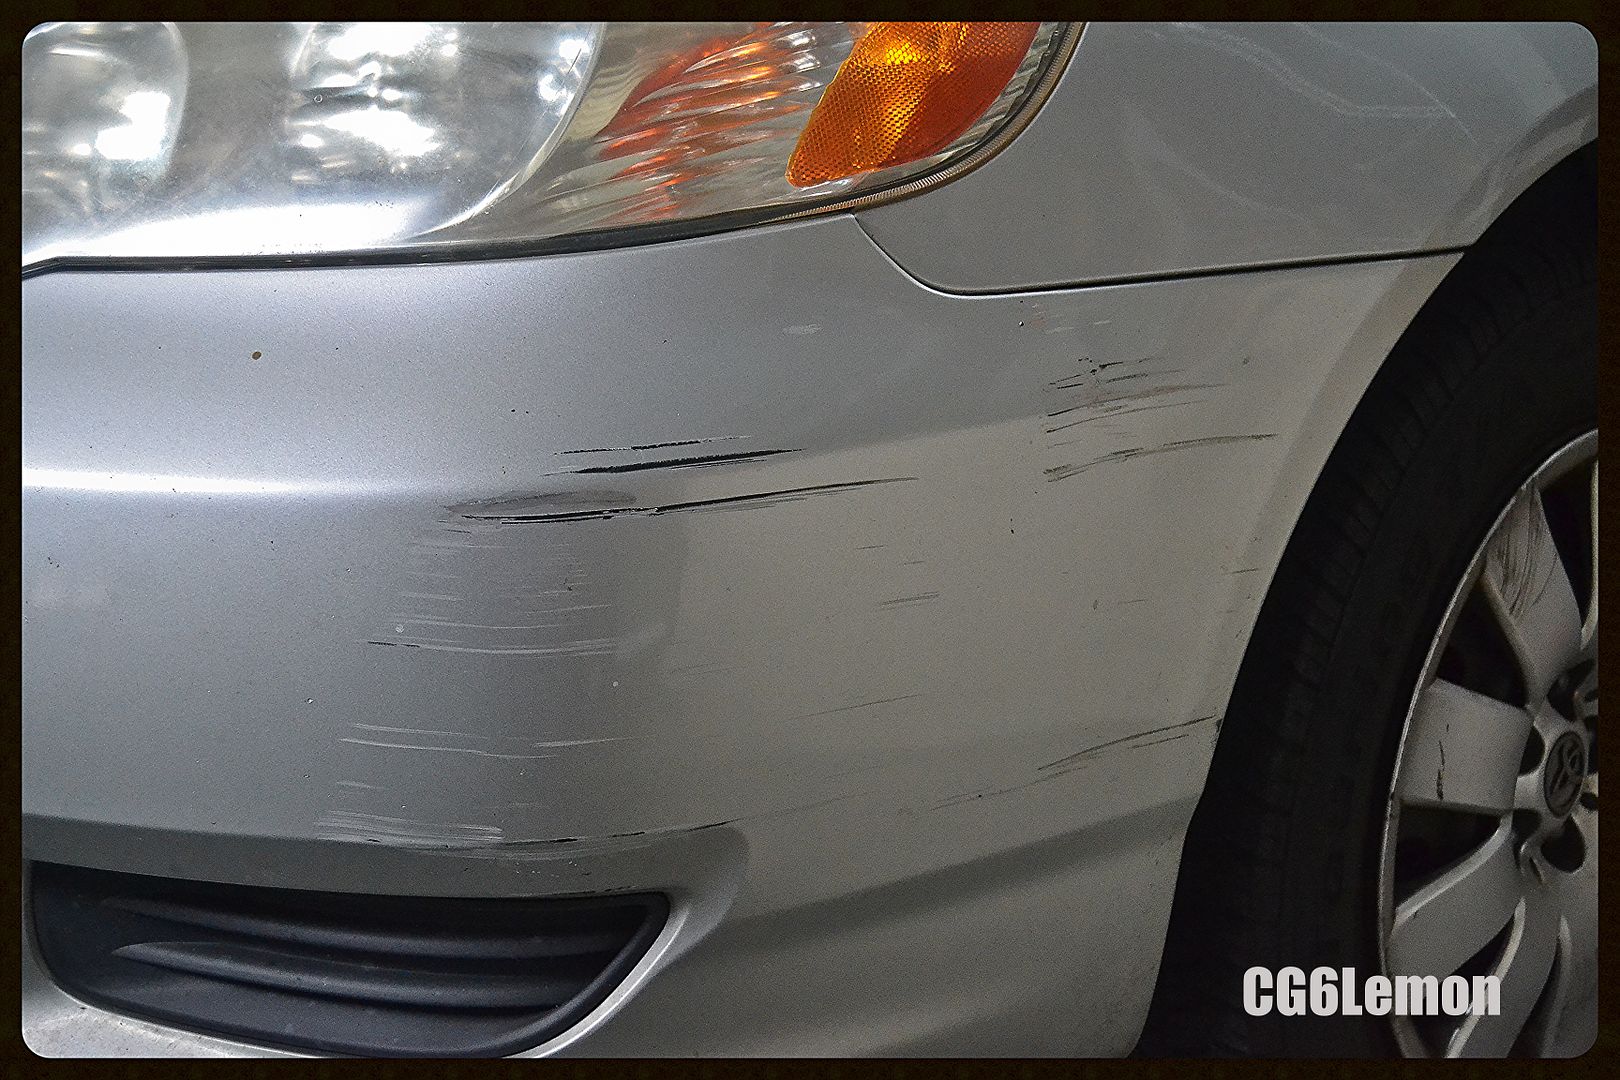
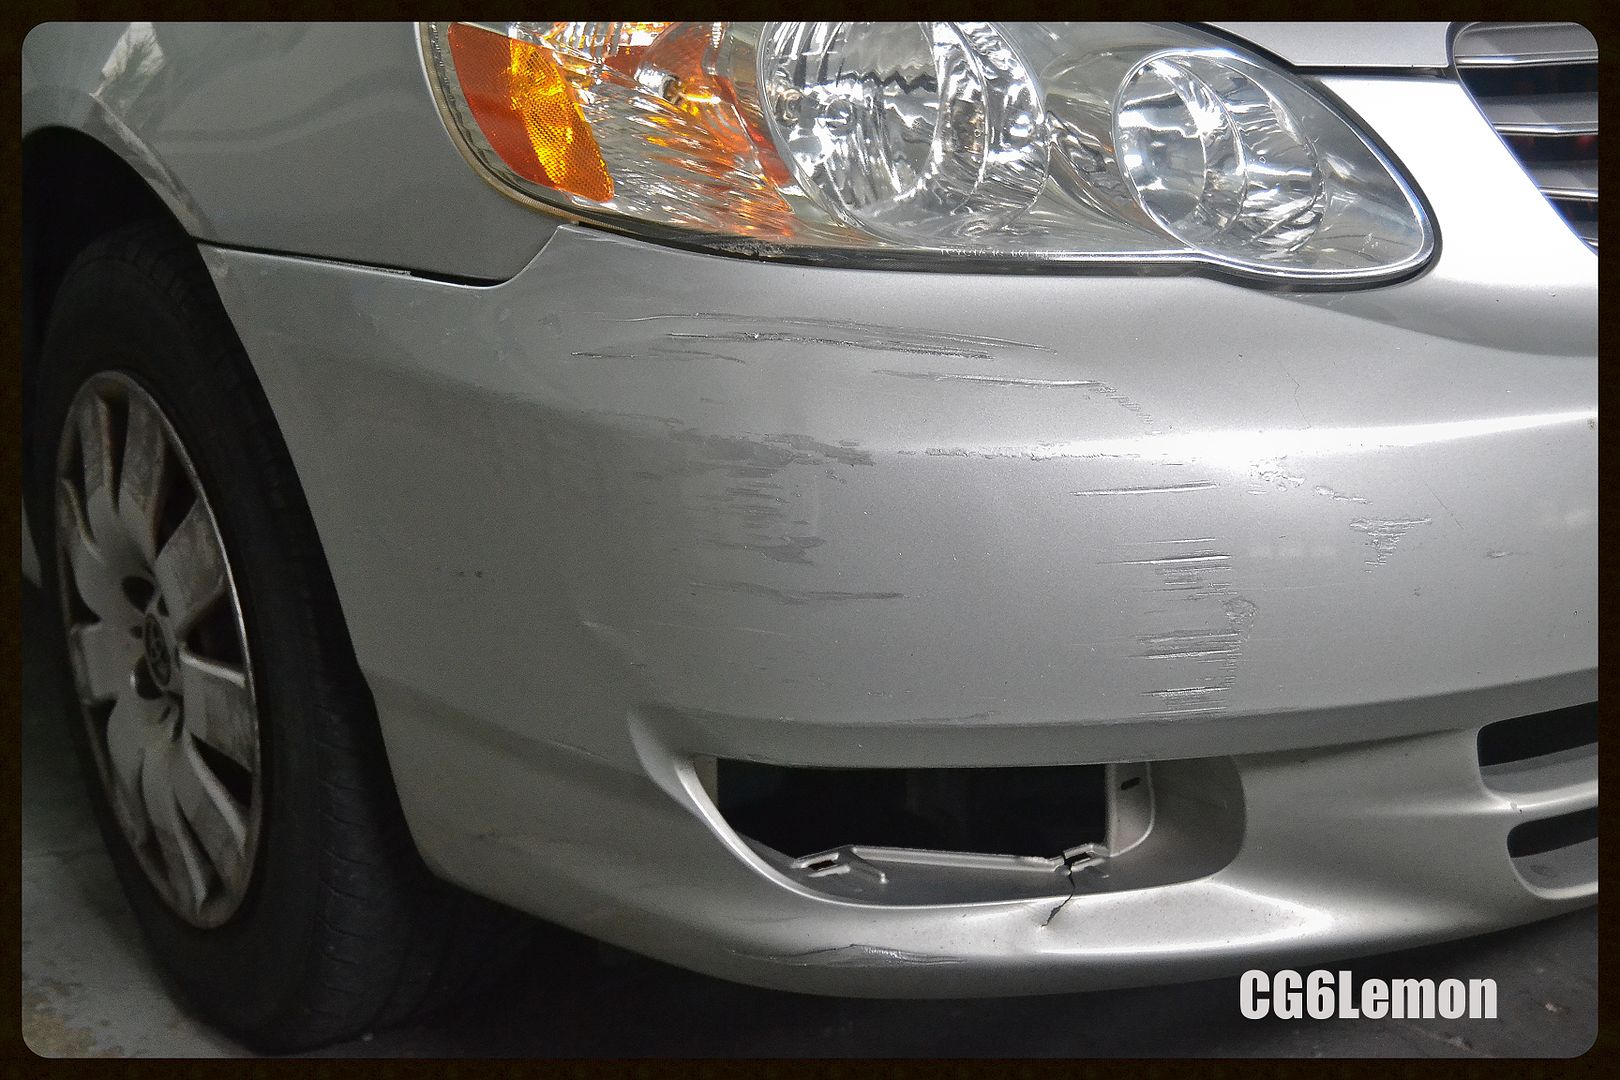
    An aunt recently came over to my house for a Christmas lunch party, and heard I do detailing work. She asked if anything could be done about some scrapes and damage on her cars front bumper. She texted some pics and I told her only option was to touch it up. Otherwise it will require a respray at the body shop. She dropped off the car, and I started inspecting and assessing the damage which was worse than what I imagined in my head.


    Starting point for driver side


    Zoomed in at the corner. Upon inspected I see some paint transfer.


    Applied some paint thinner on a towel and took the paint transfer off.


    Went to the dealer and grabbed a bottle of touch up. I applied 3 thin coats on this area to achieve the results.


    -Tip: Use a brush with soft bristles. Preferably a small size brush as well like the one that comes with the touch up bottle. I don't like the brush that comes with the touch up bottle because I can't do fine lines without it getting blobby.

    -Tip: Use thin coats, but don't be cheap.

    -Tip: Use a hairdryer to blow each coat, but do it from 1 feet away on lowest setting with heat for a couple mins.


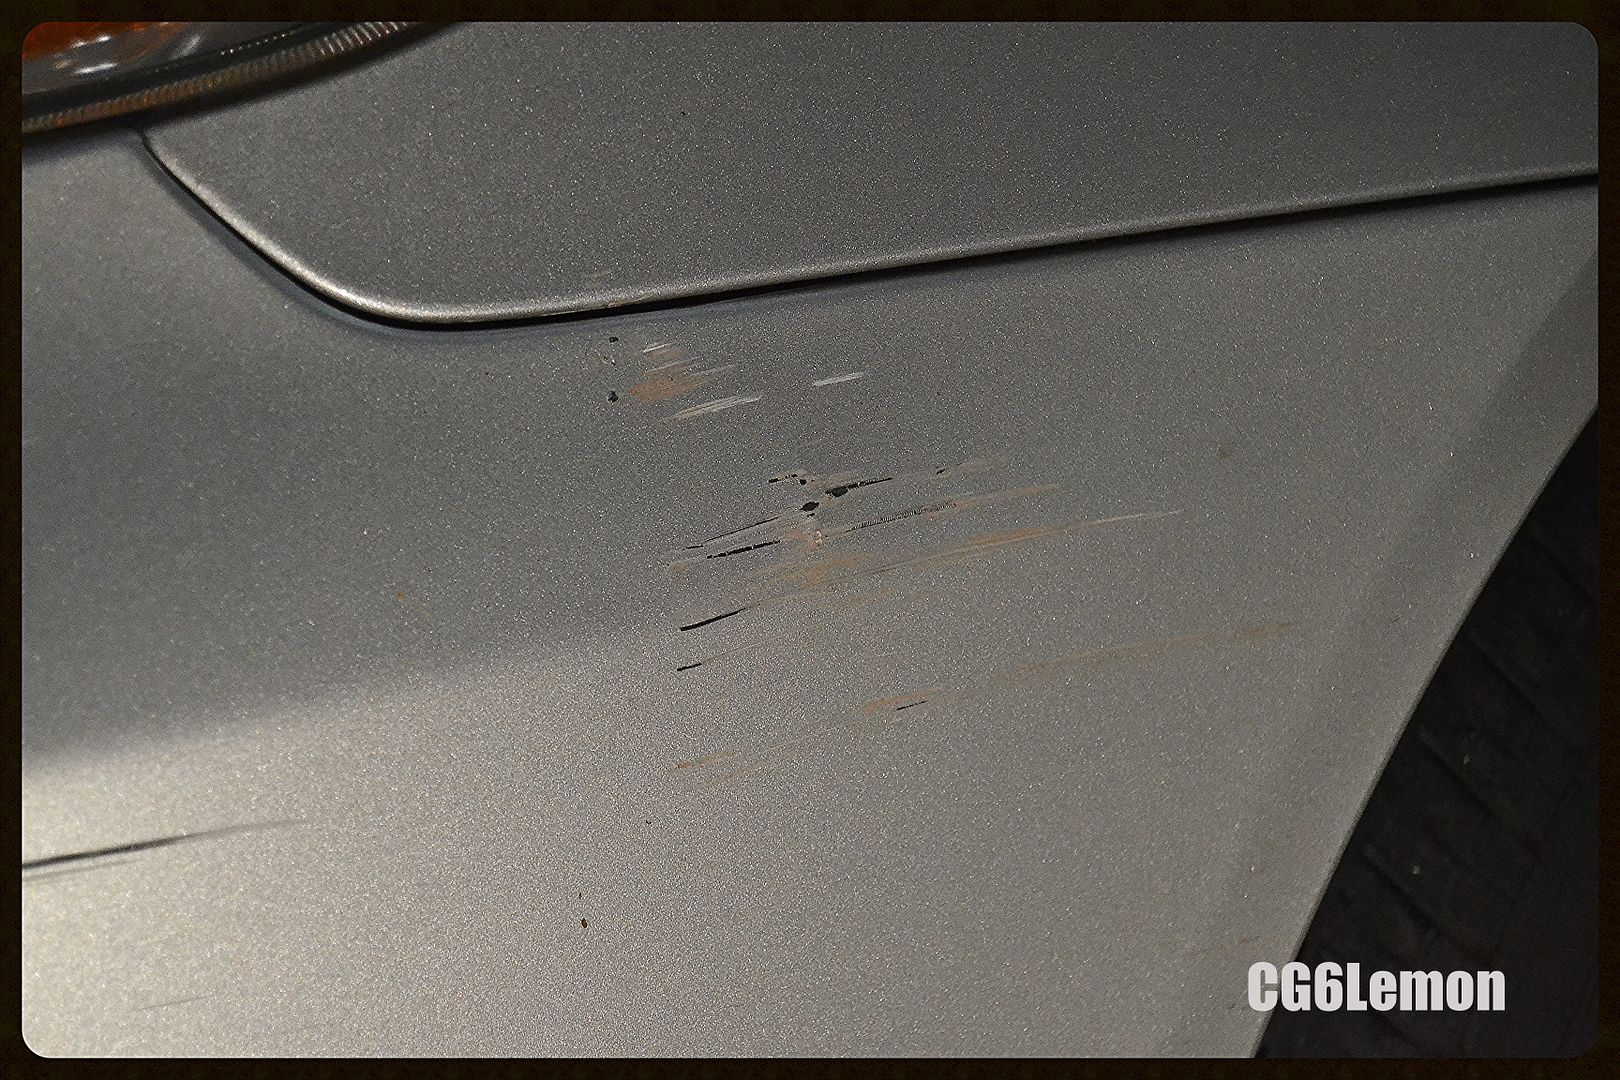
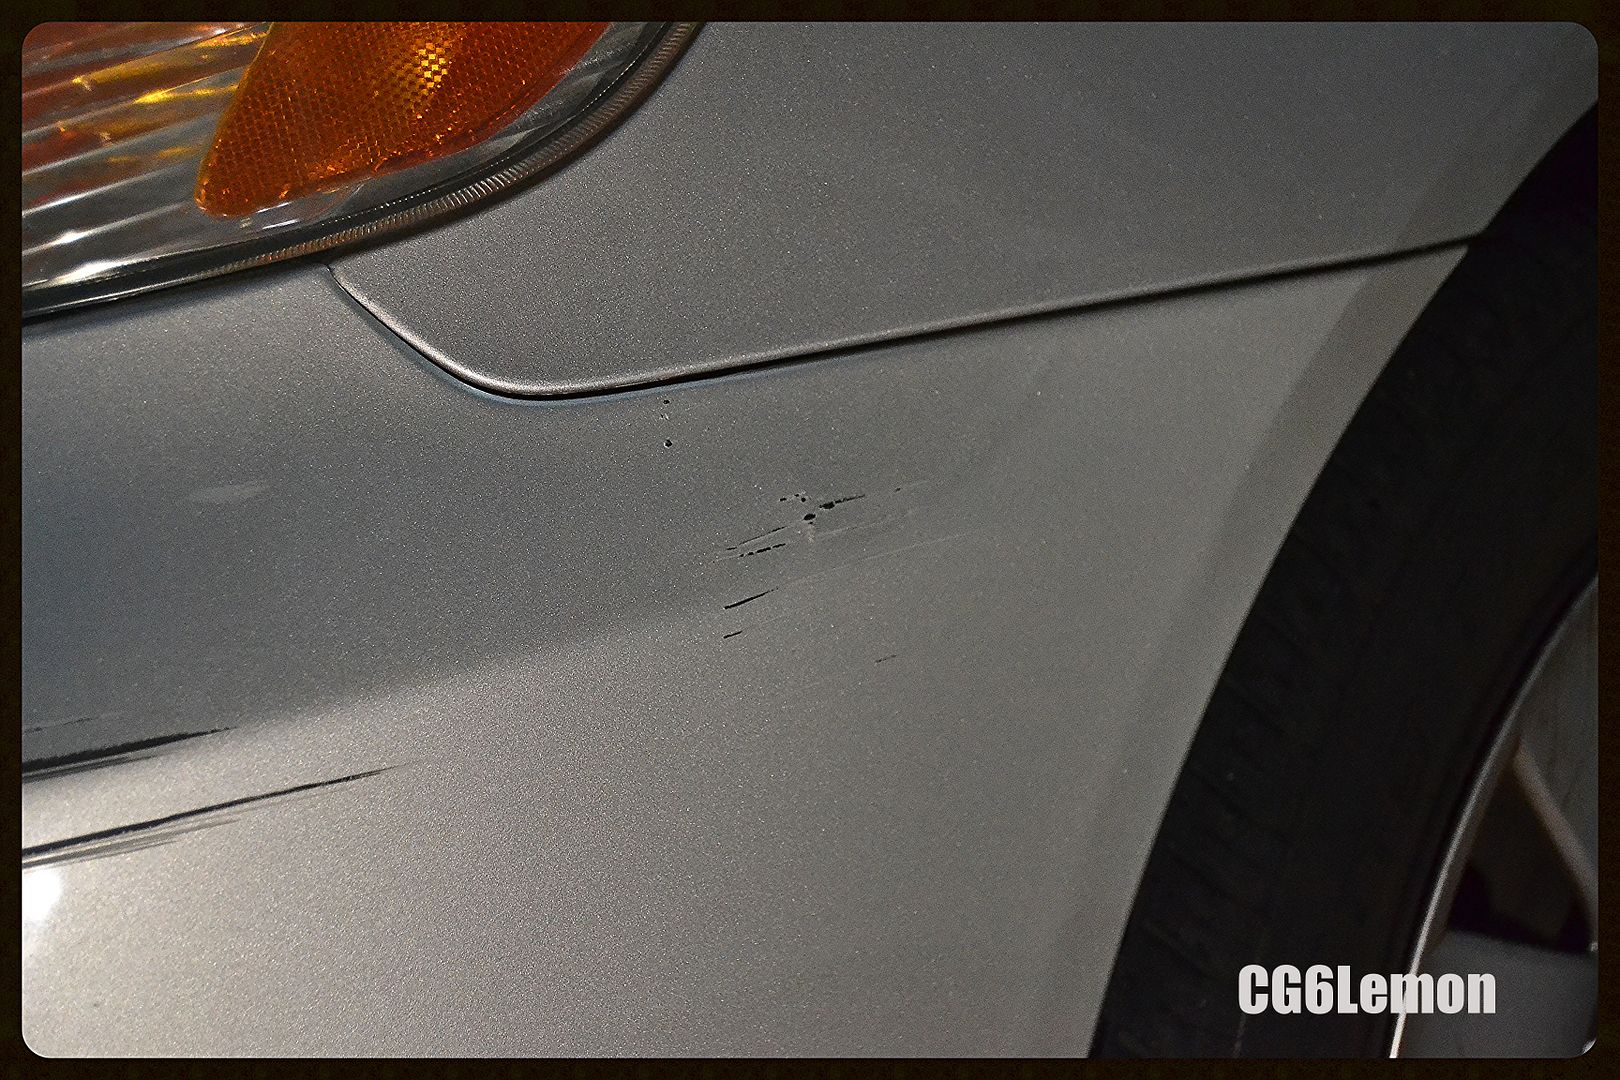
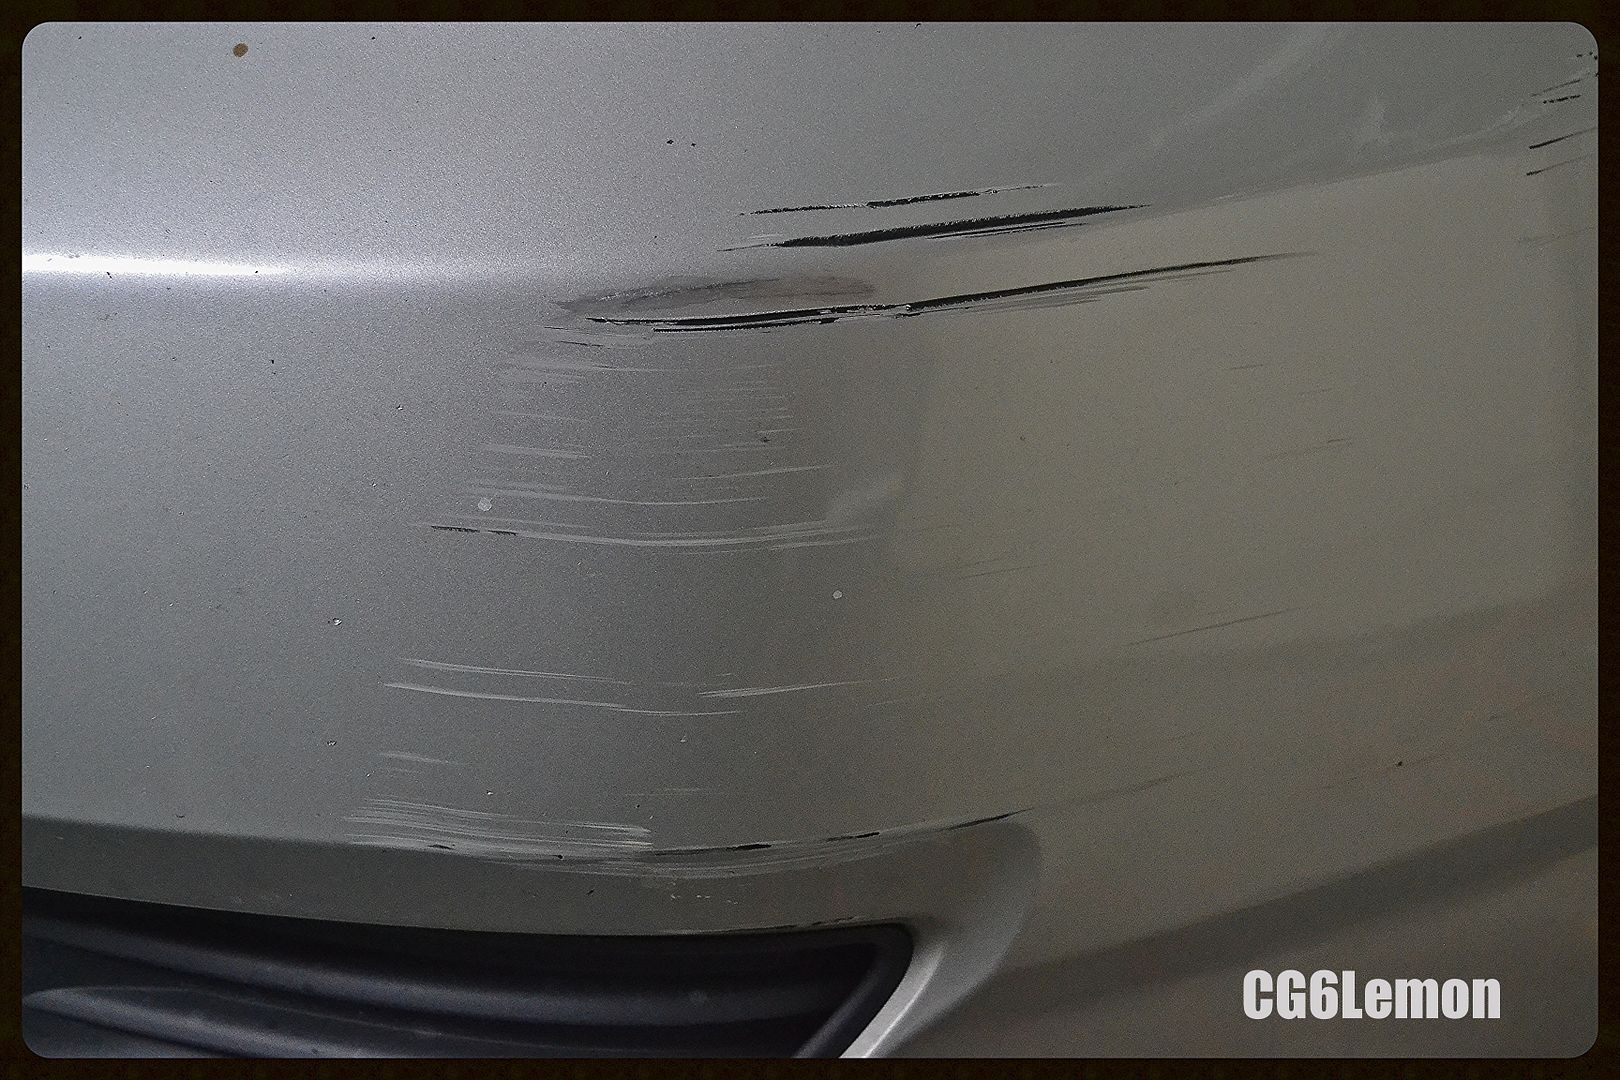
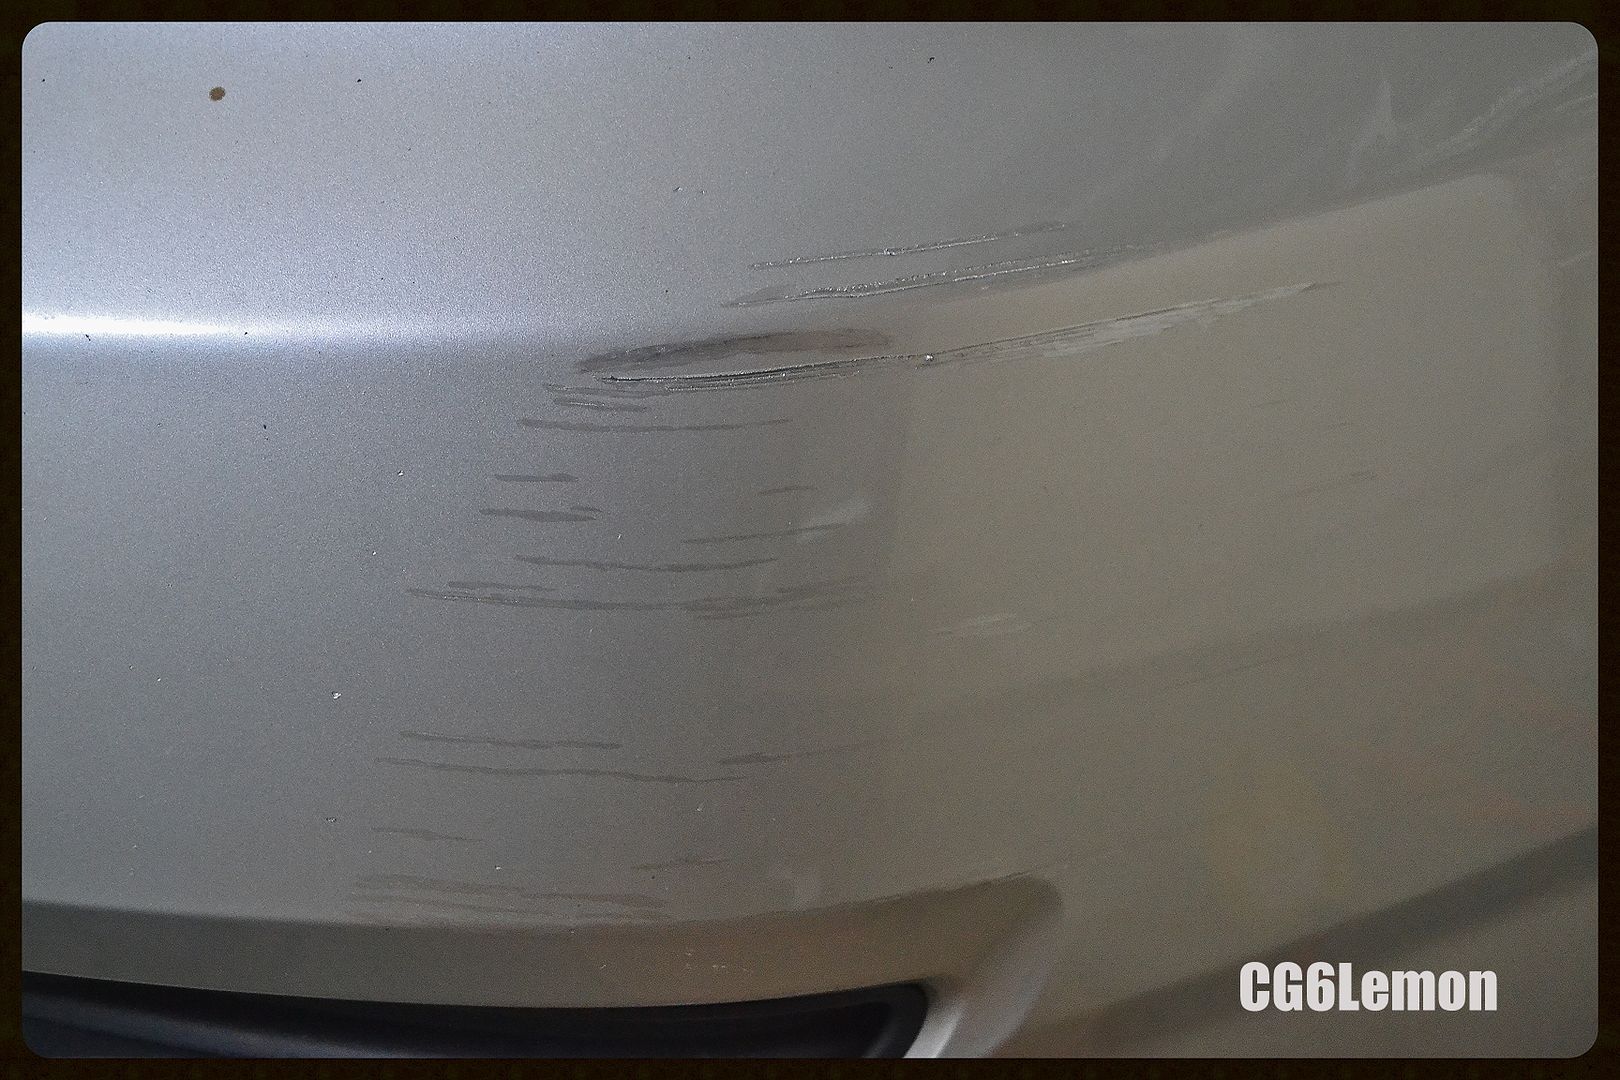
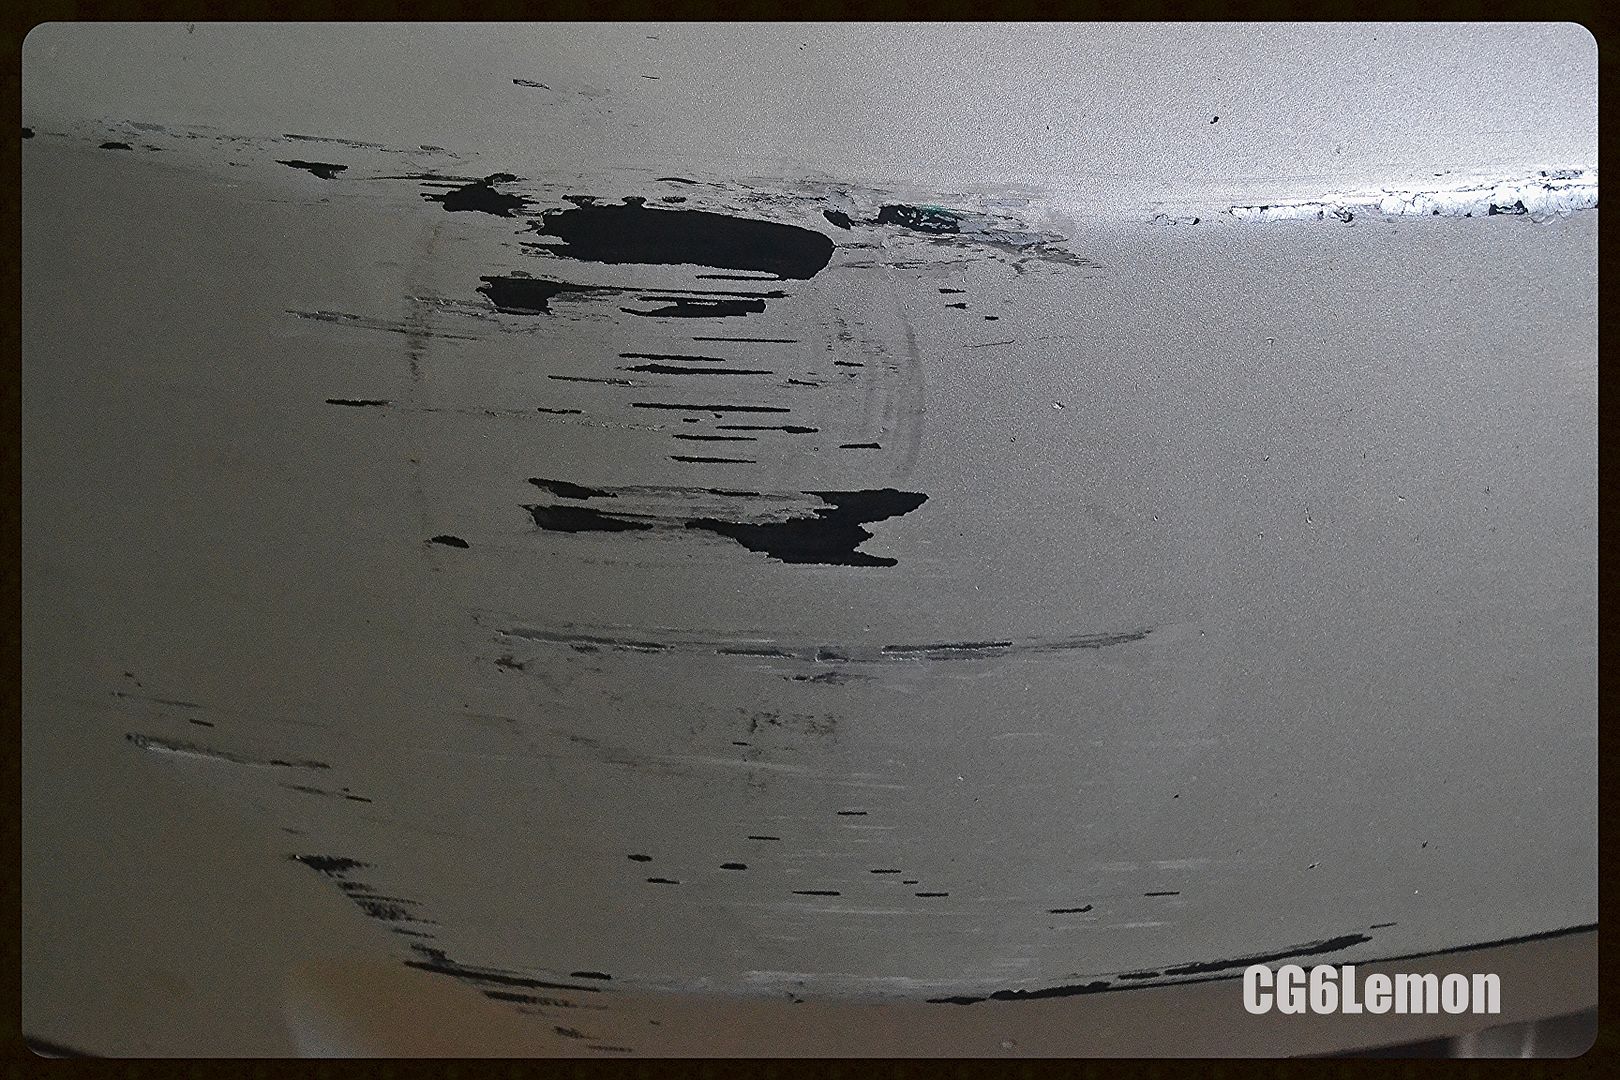
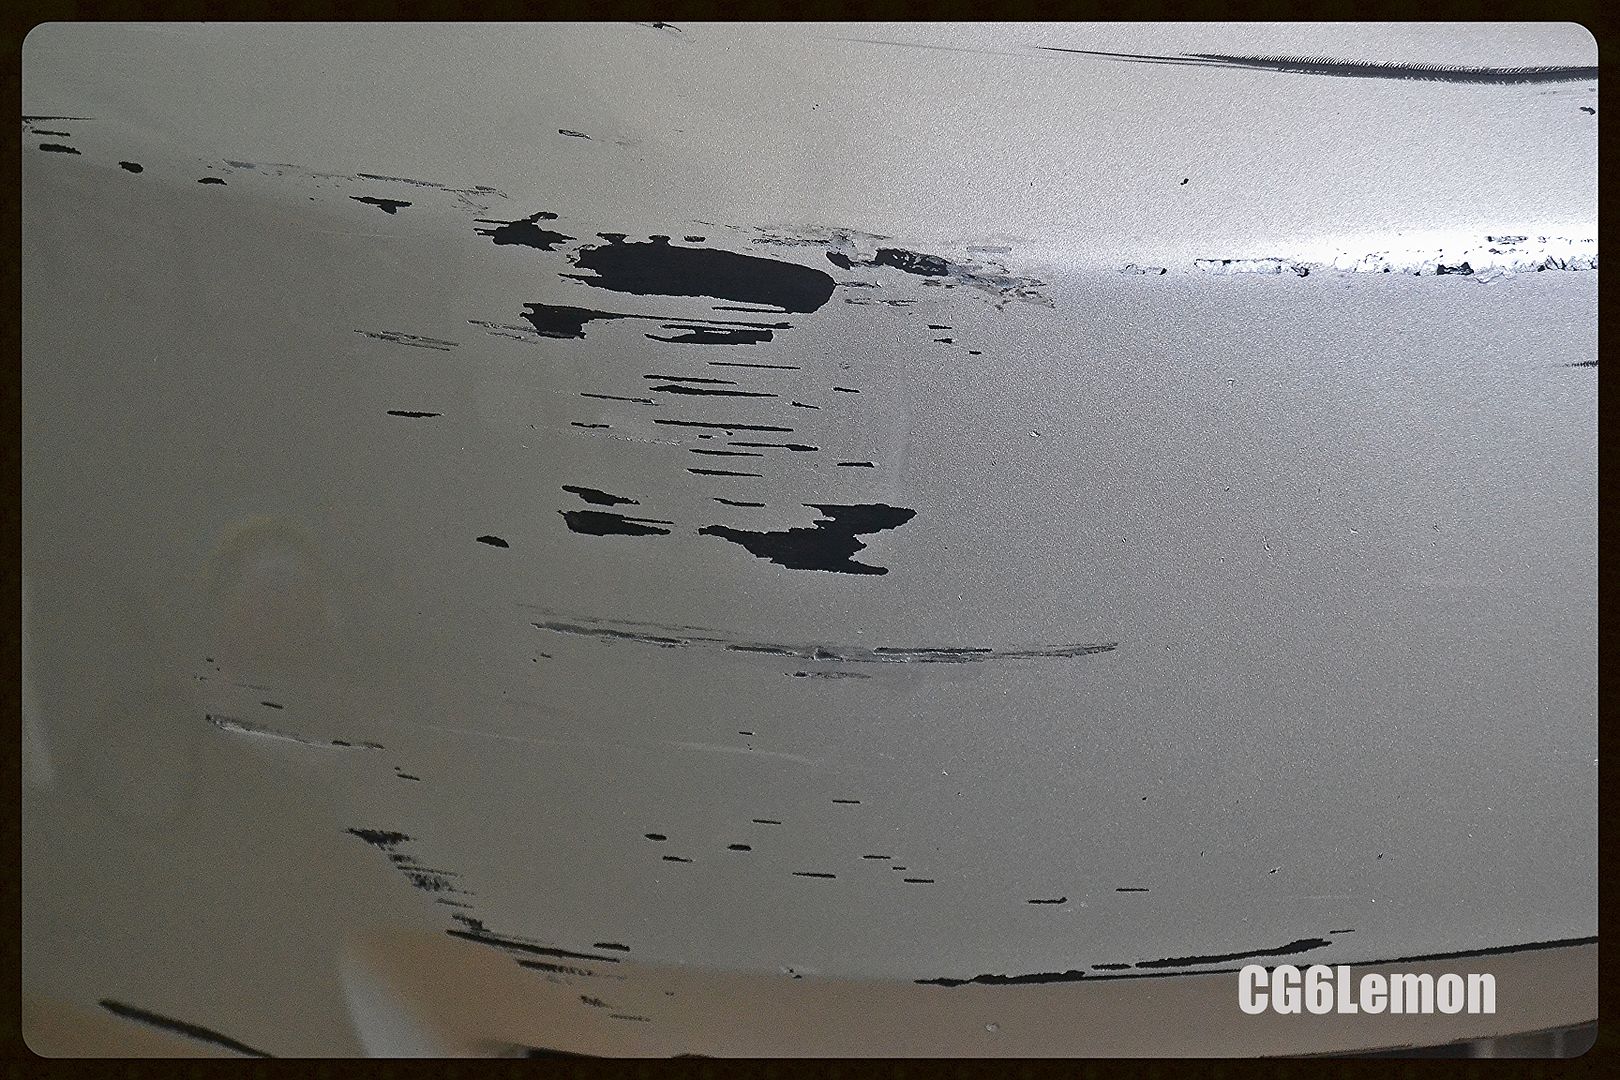
    Now I start working on the bigger damaged area. Upon inspection, I did not need to polish or use thinner for this area. My main concern were the 3 big black gashes up top. Because silver is a lighter color, it takes more coats to hide the black from showing.


    Turned out better than expected after I was done.


    -Tip: If the area that requires touch up have a deep gash try to fill it up as much as possible to get a flat result overtime with each layer of touch up.

    -Tip: Be patient on the finer marks or it will not come out good.


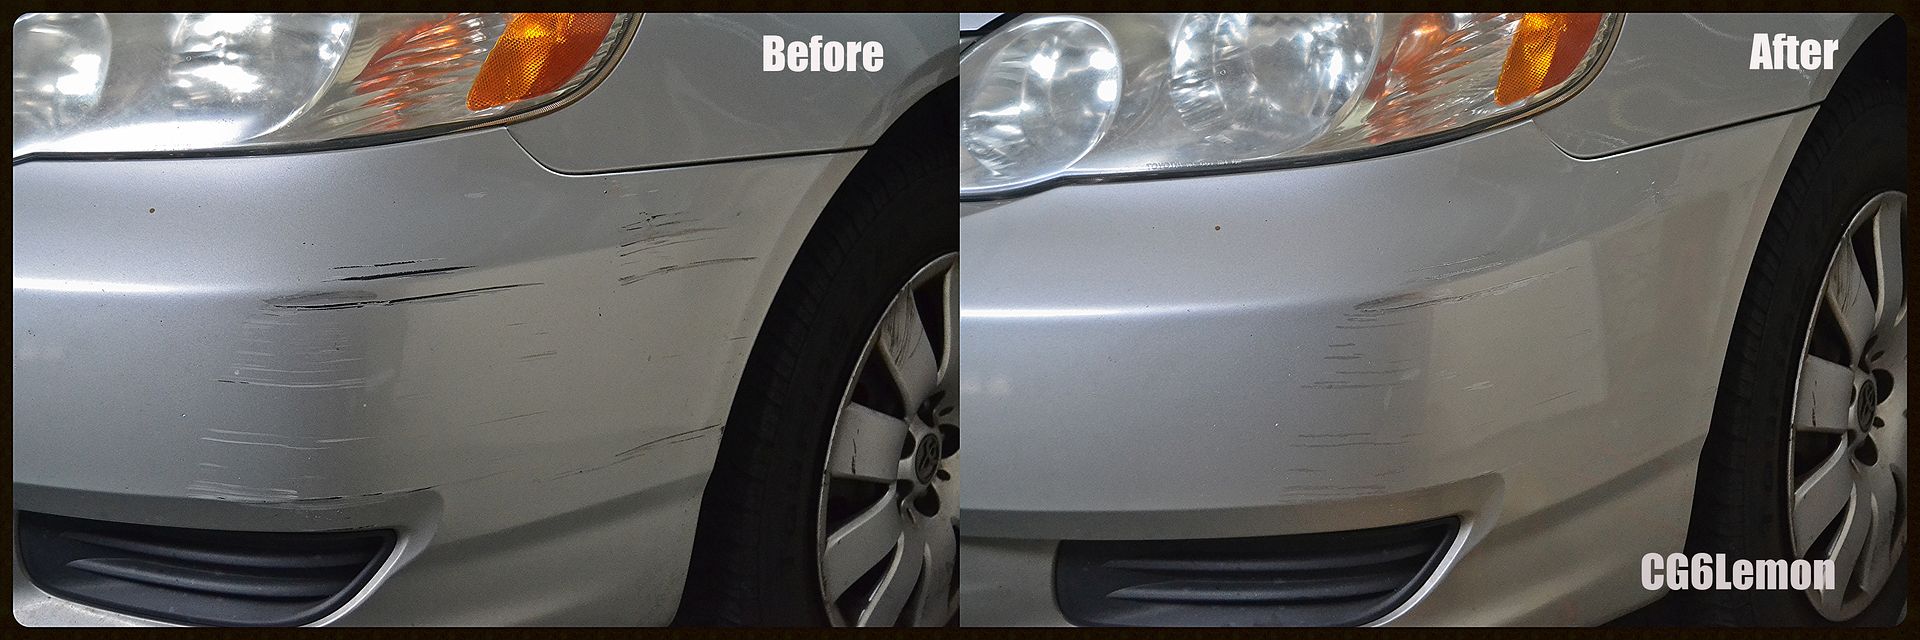
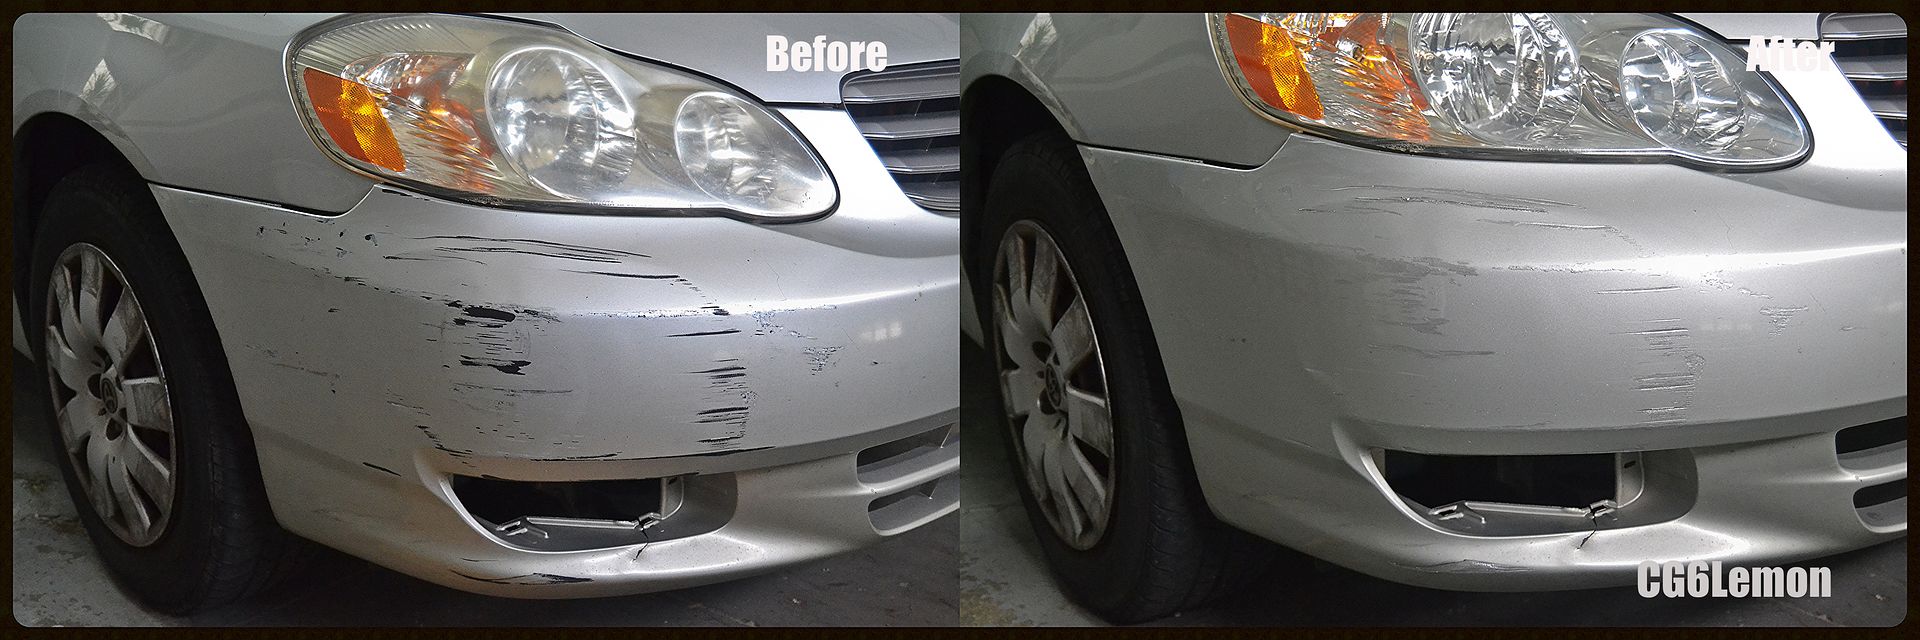
    Before and After


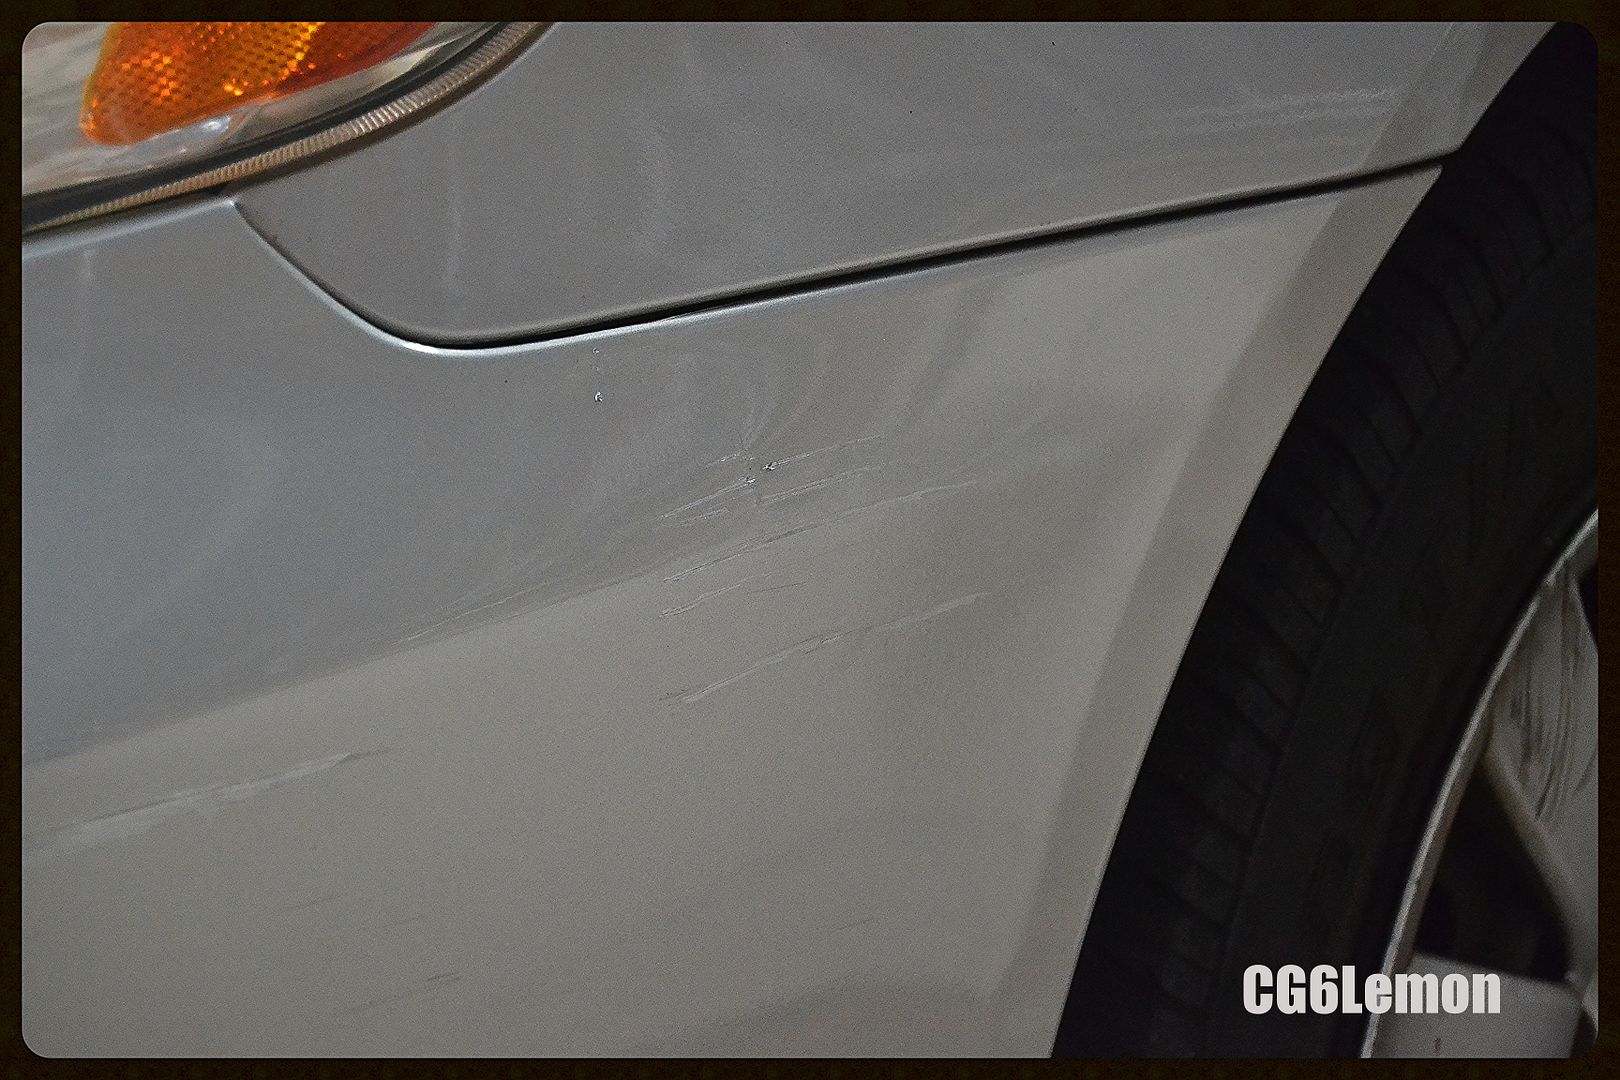
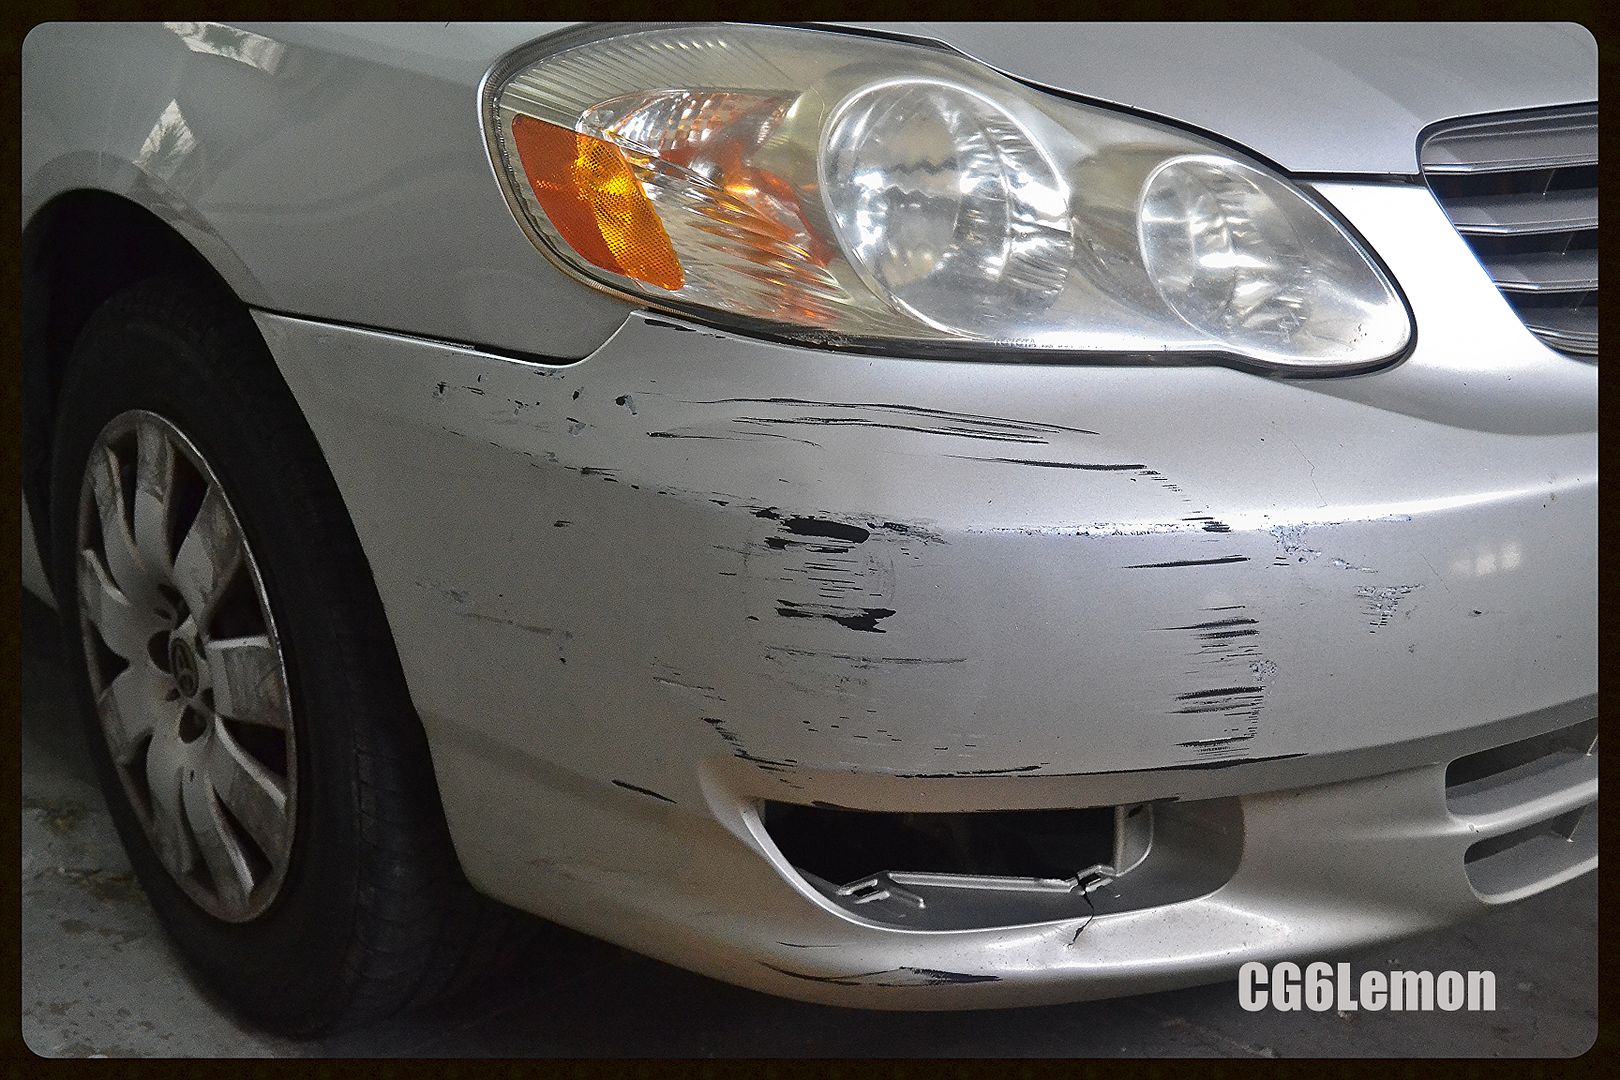
    Now for the other side which is easily 5 times as bad.....


    Close up revealed some scuffs that can be polished off.


    Taken care of.


    After doing 5 coats with a lot of patience and not going crazy..... I am happy with the outcome, and so was my aunt.


    Total time spent: 3 hr 30 mins


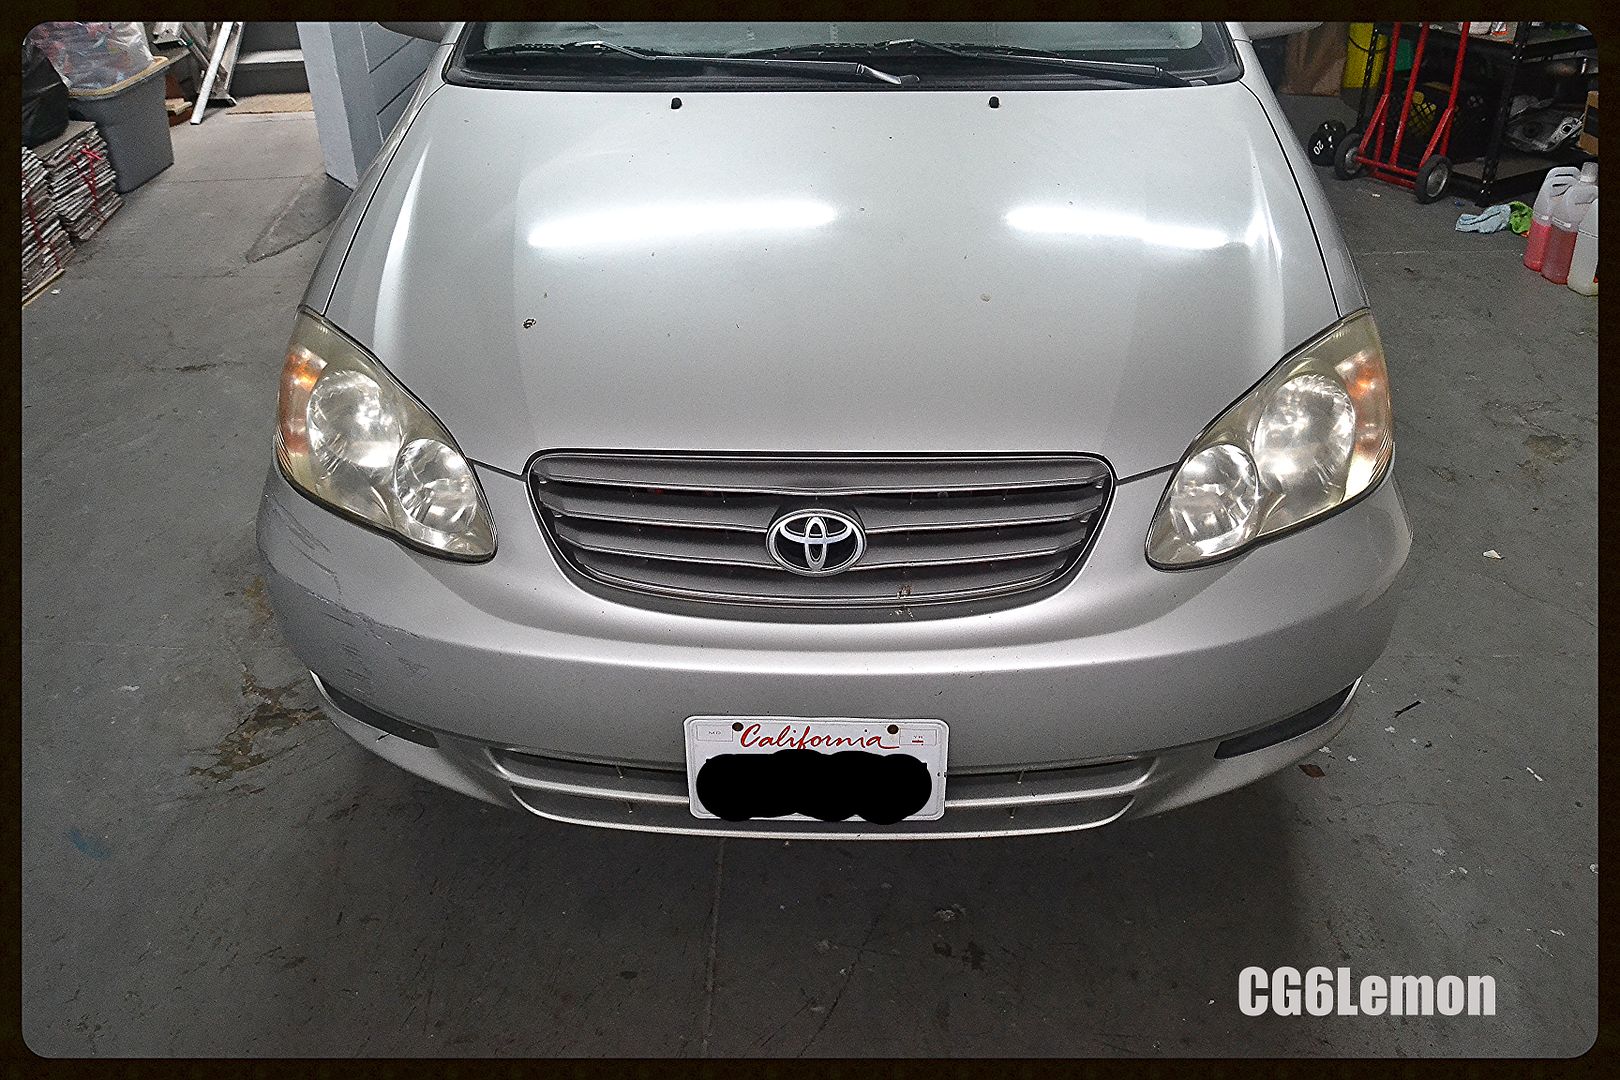
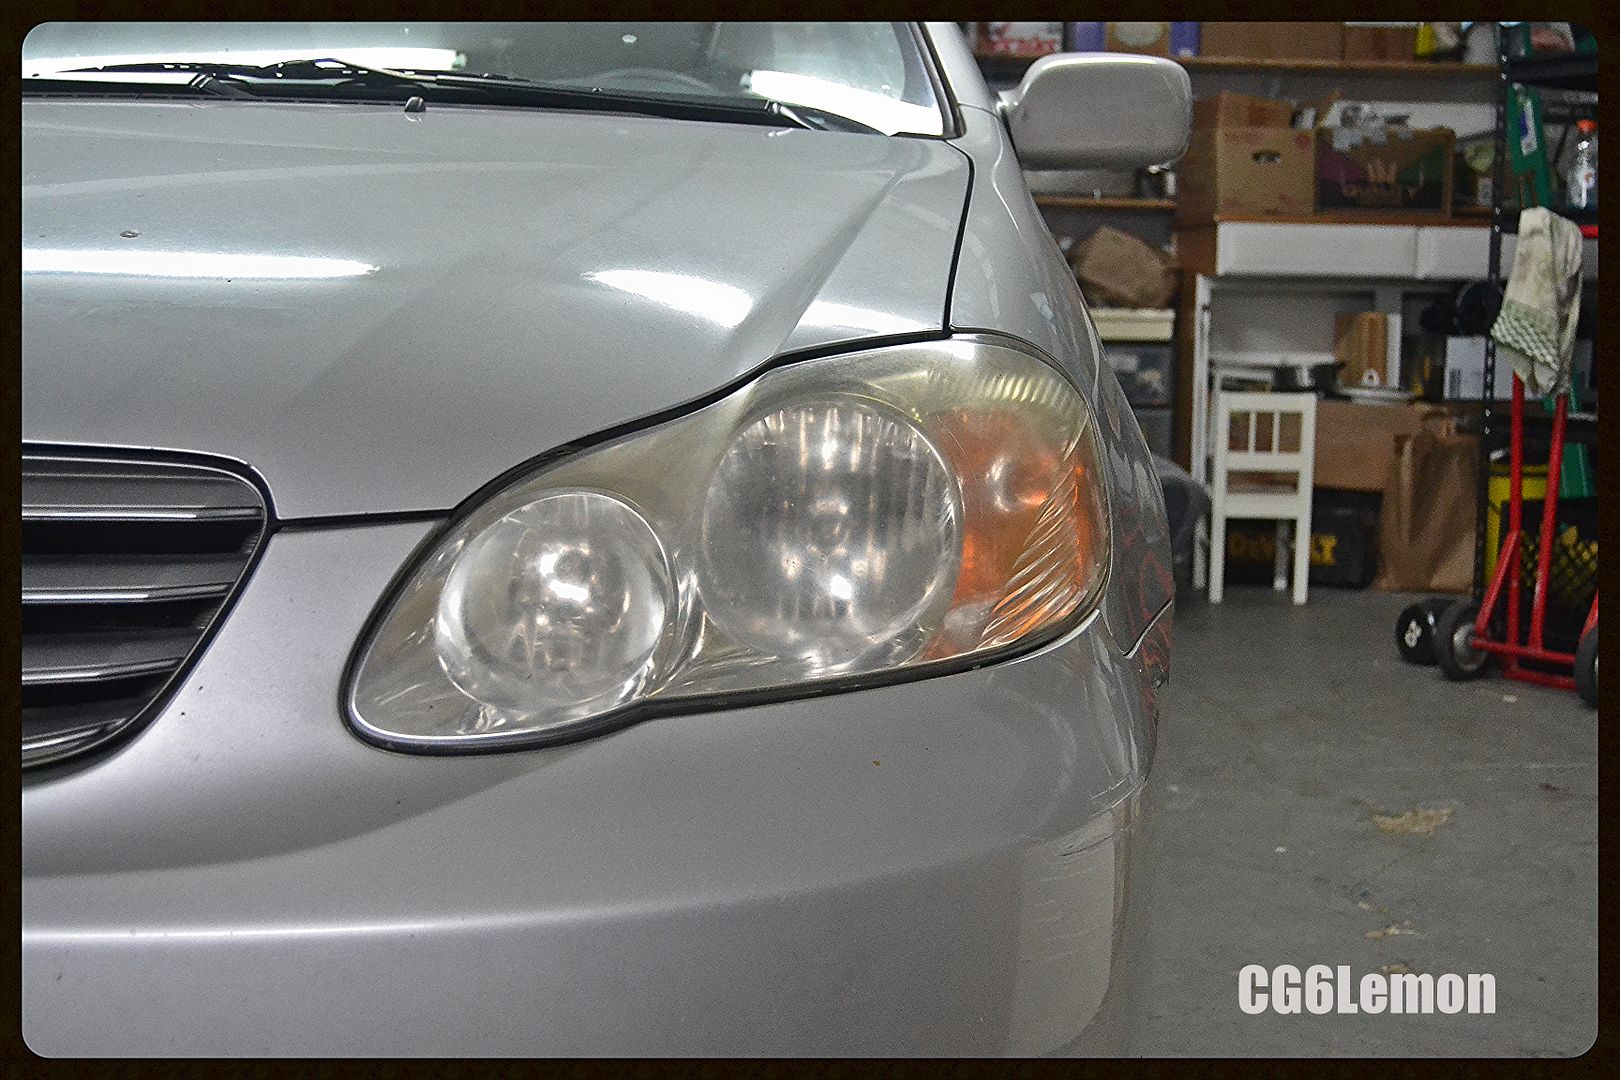
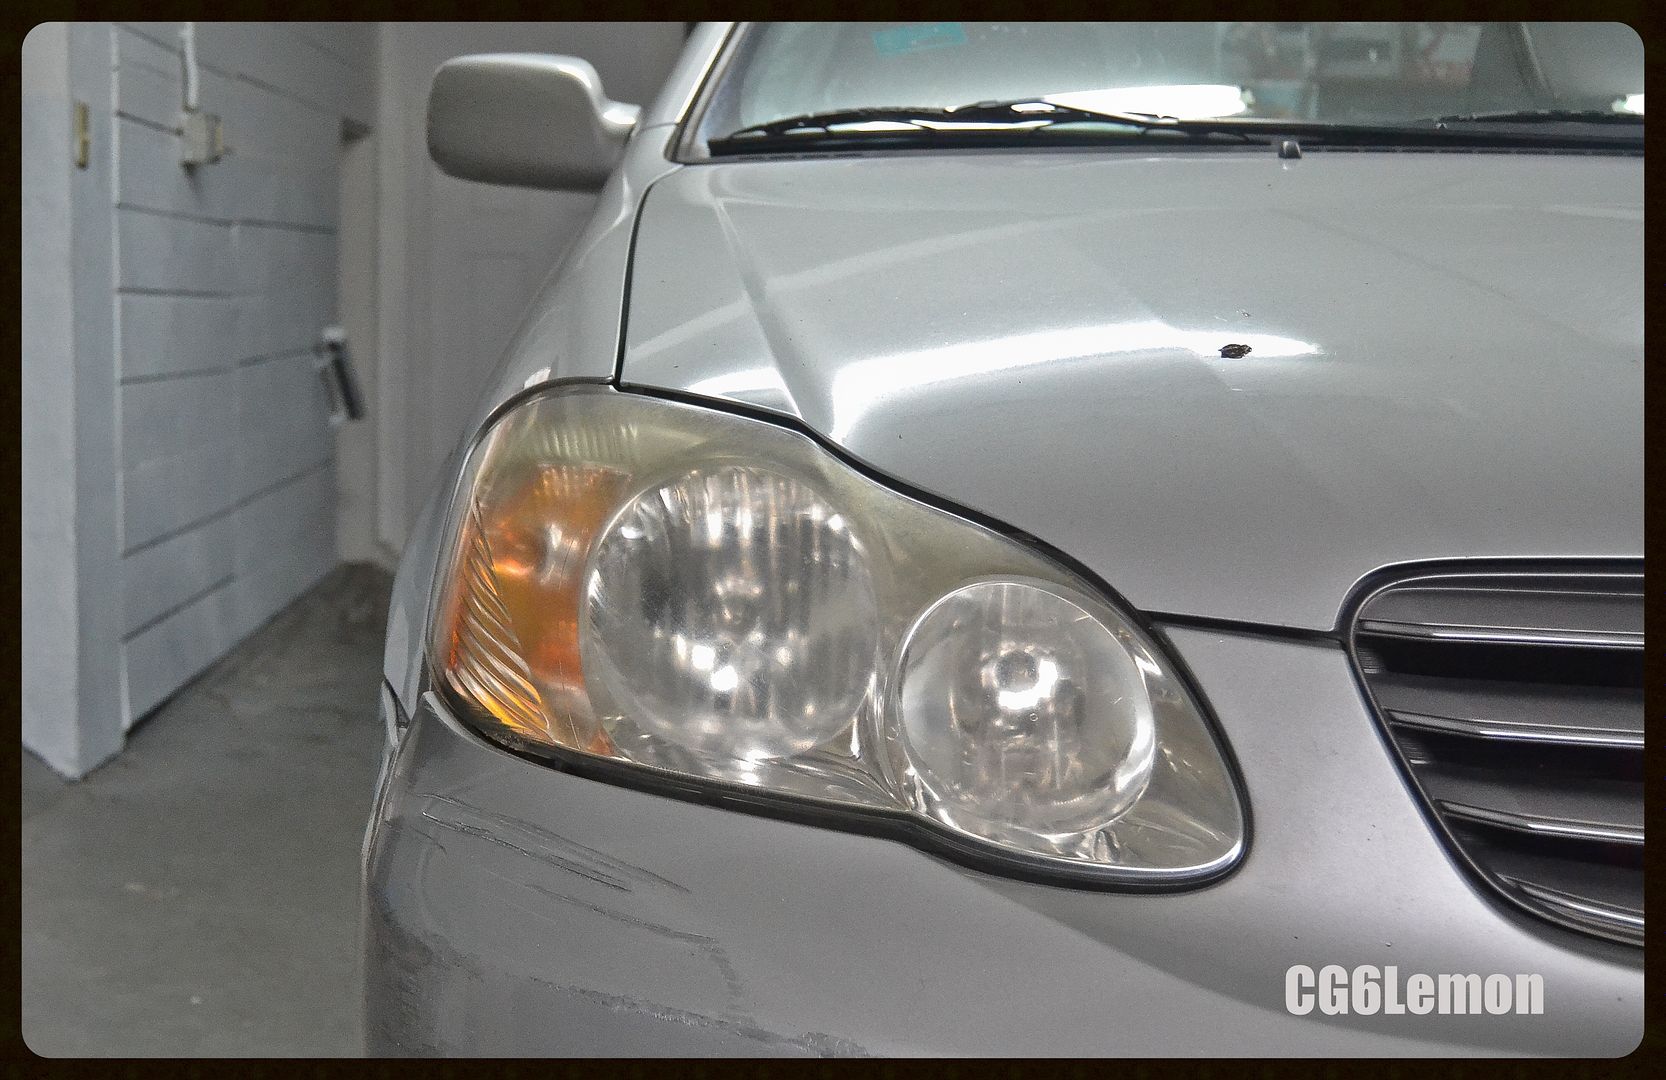
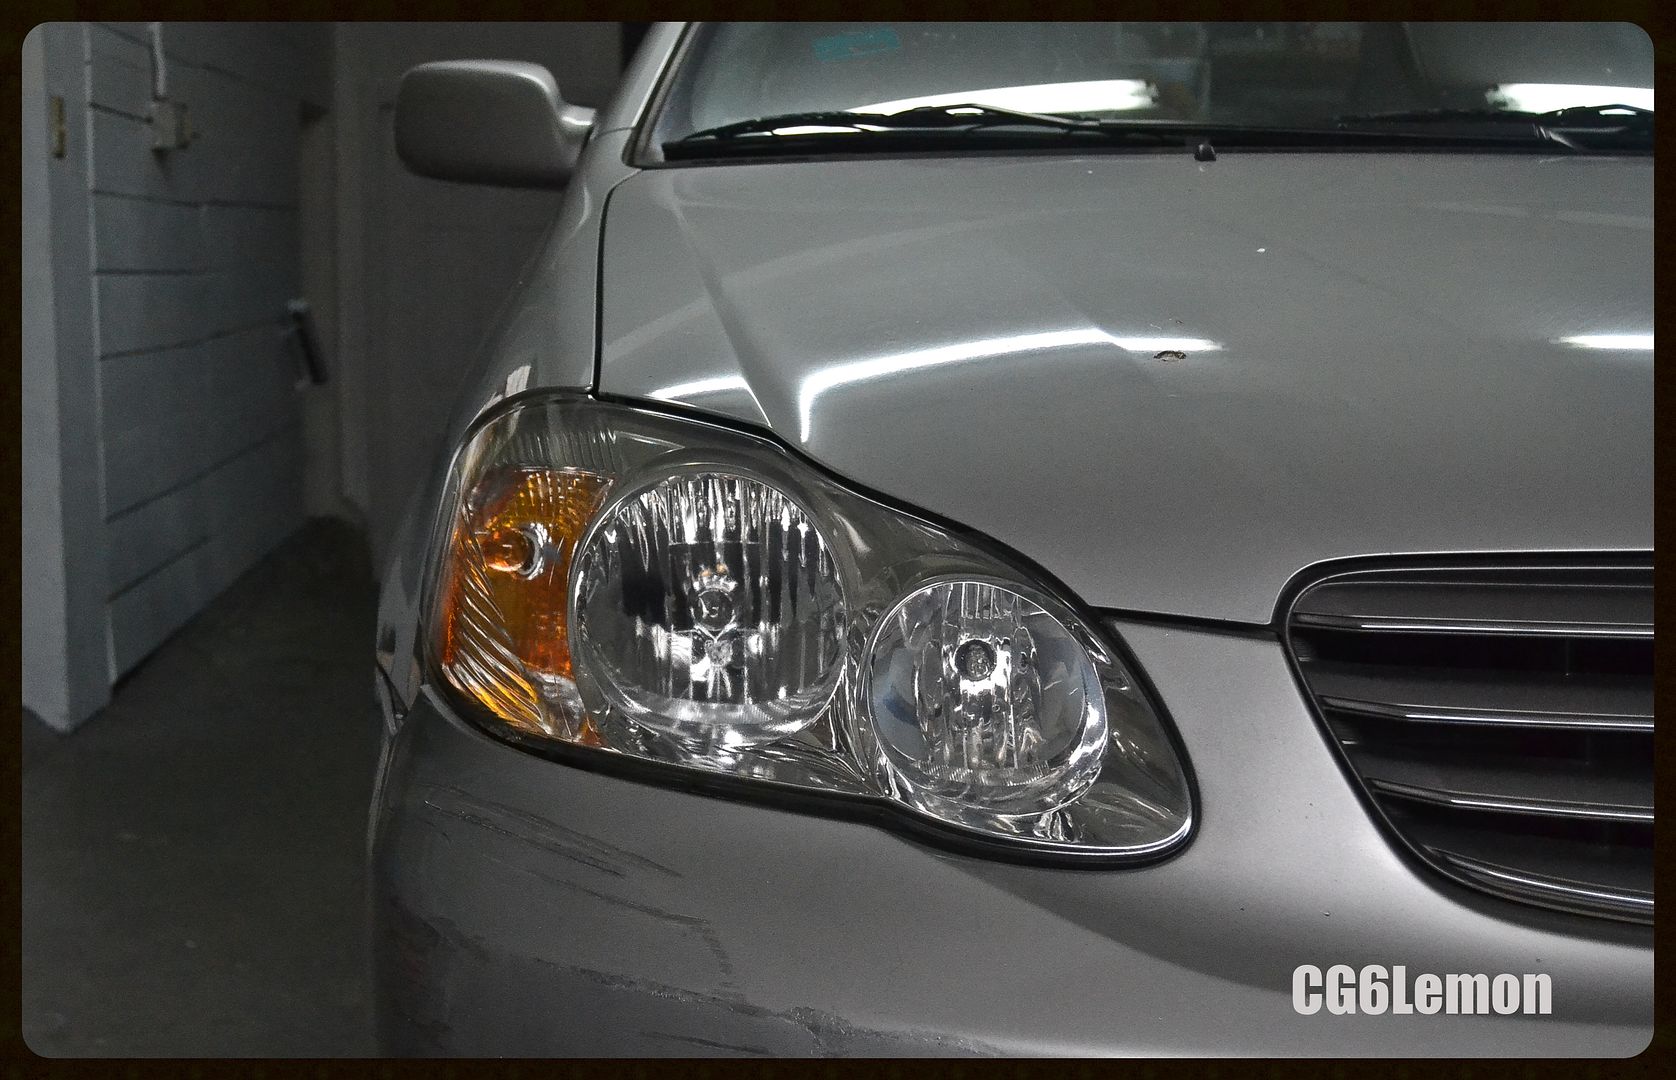
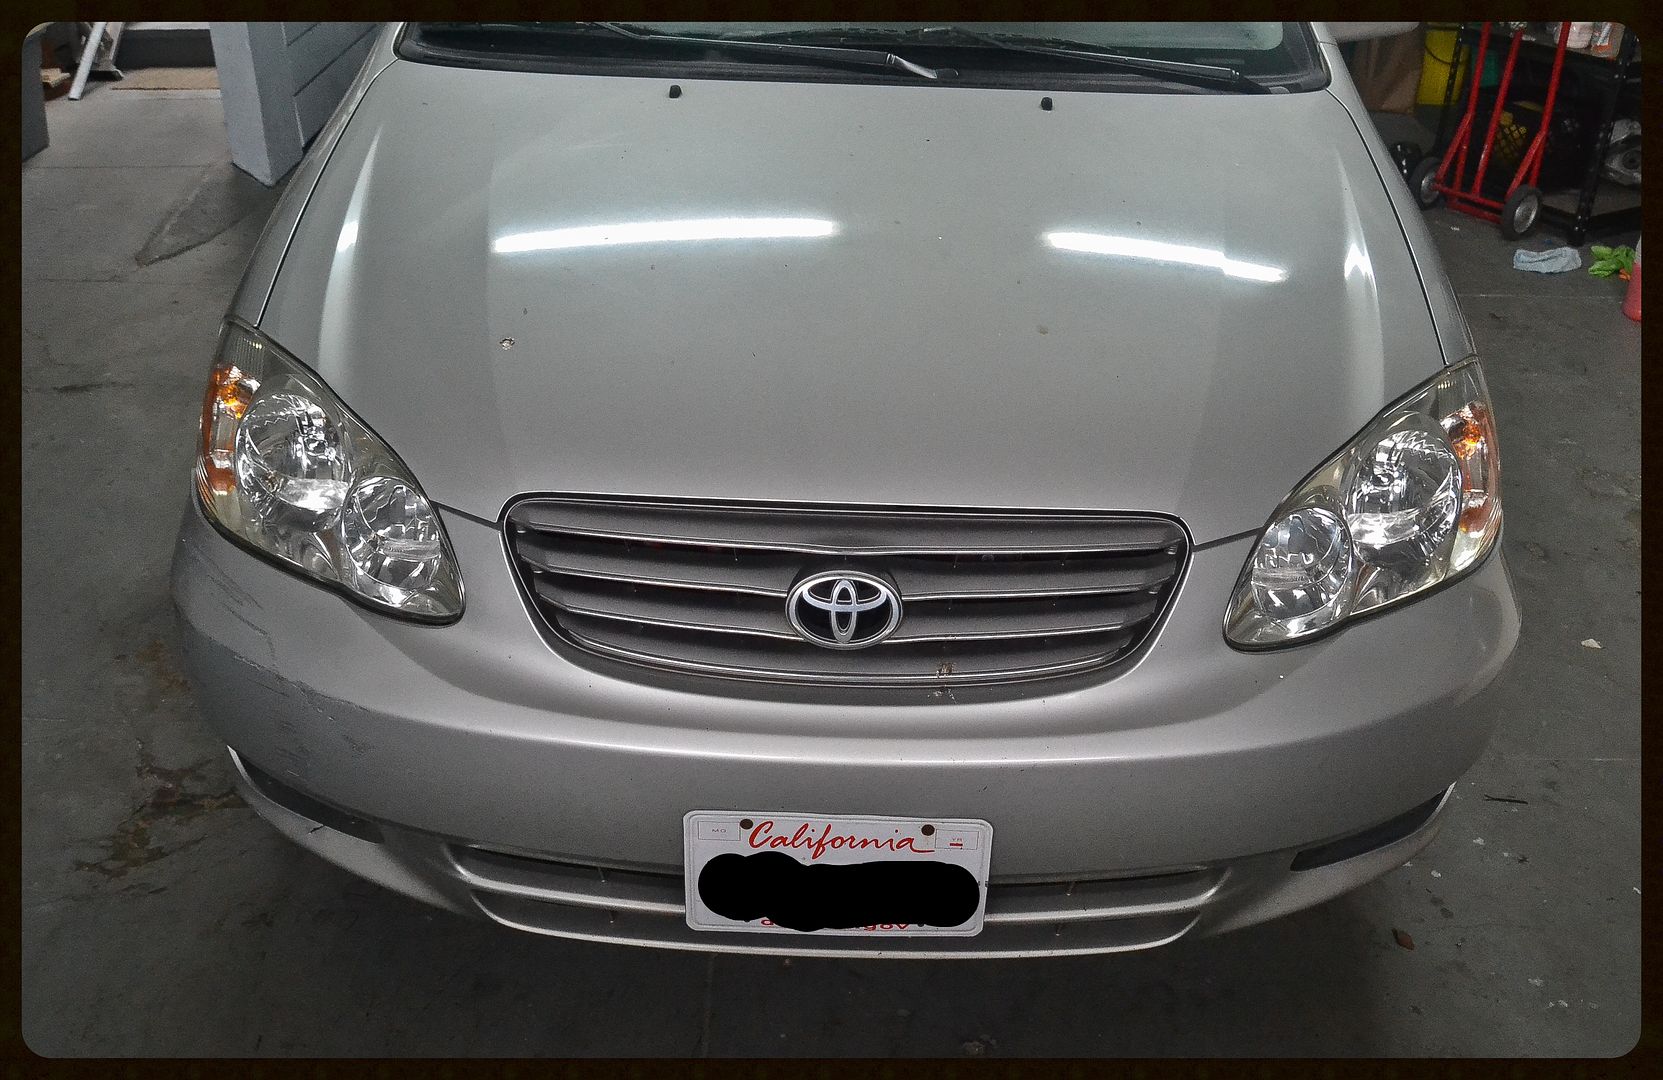
    Cleaned up the headlights as well.


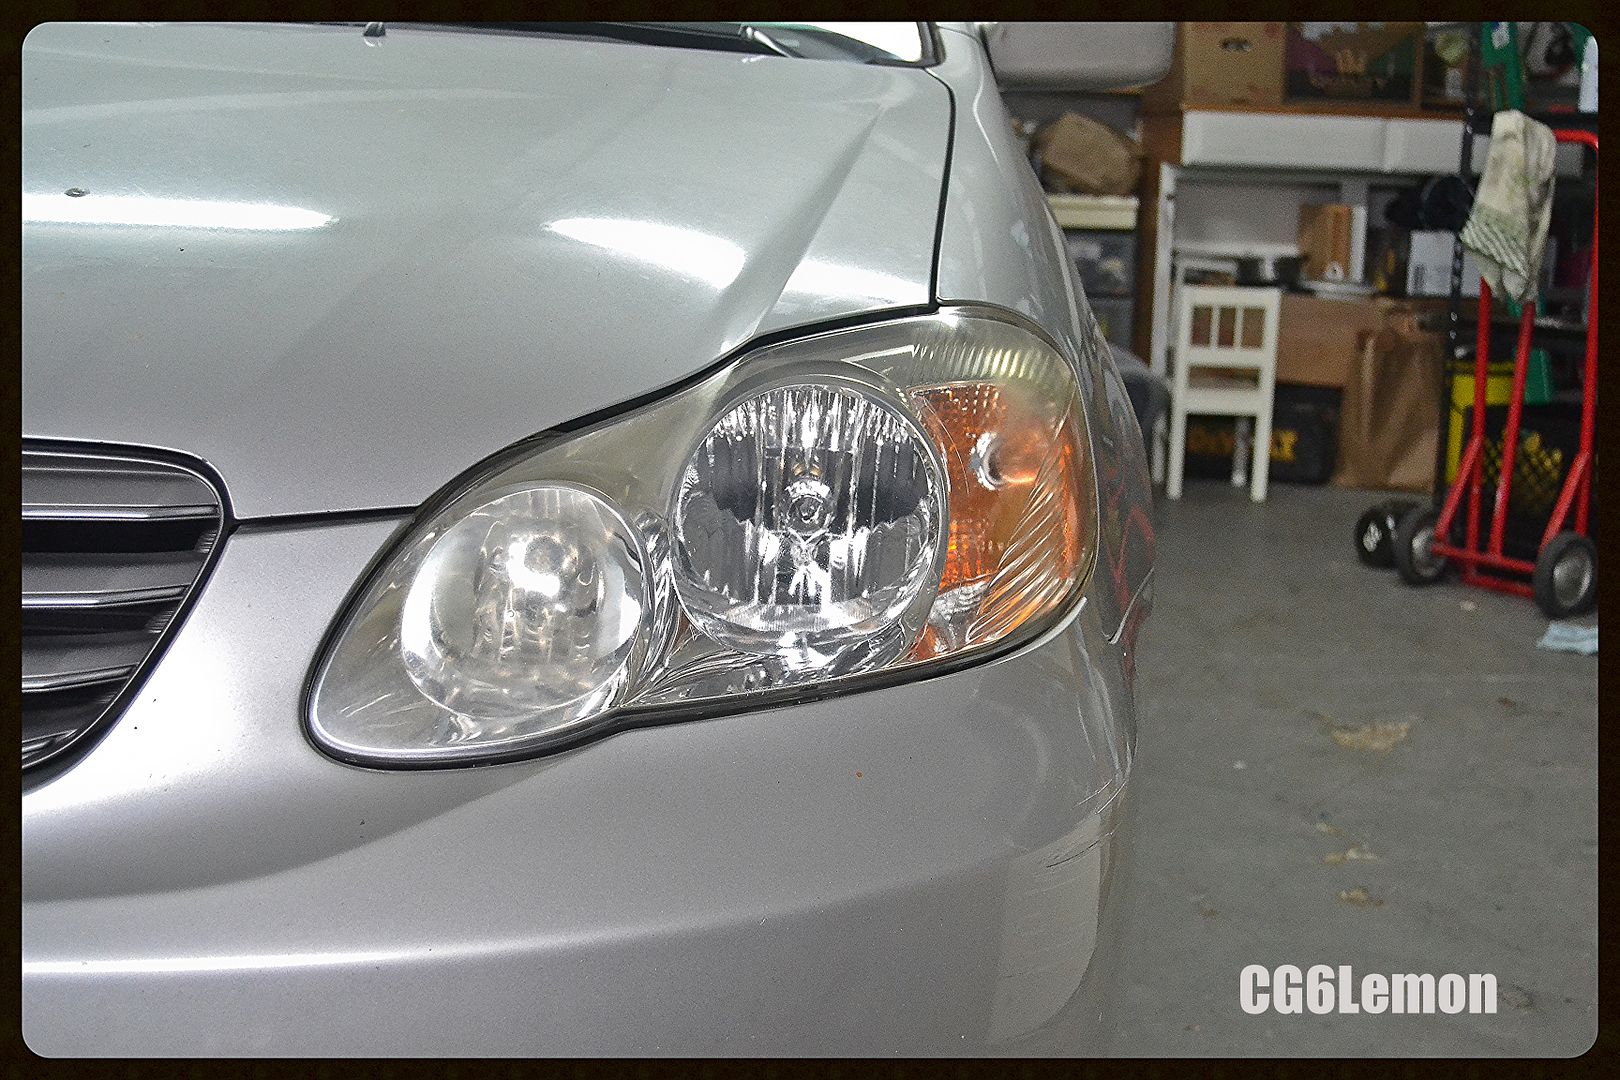
    Driver side


    Test spot turned out good in the center


    Completed


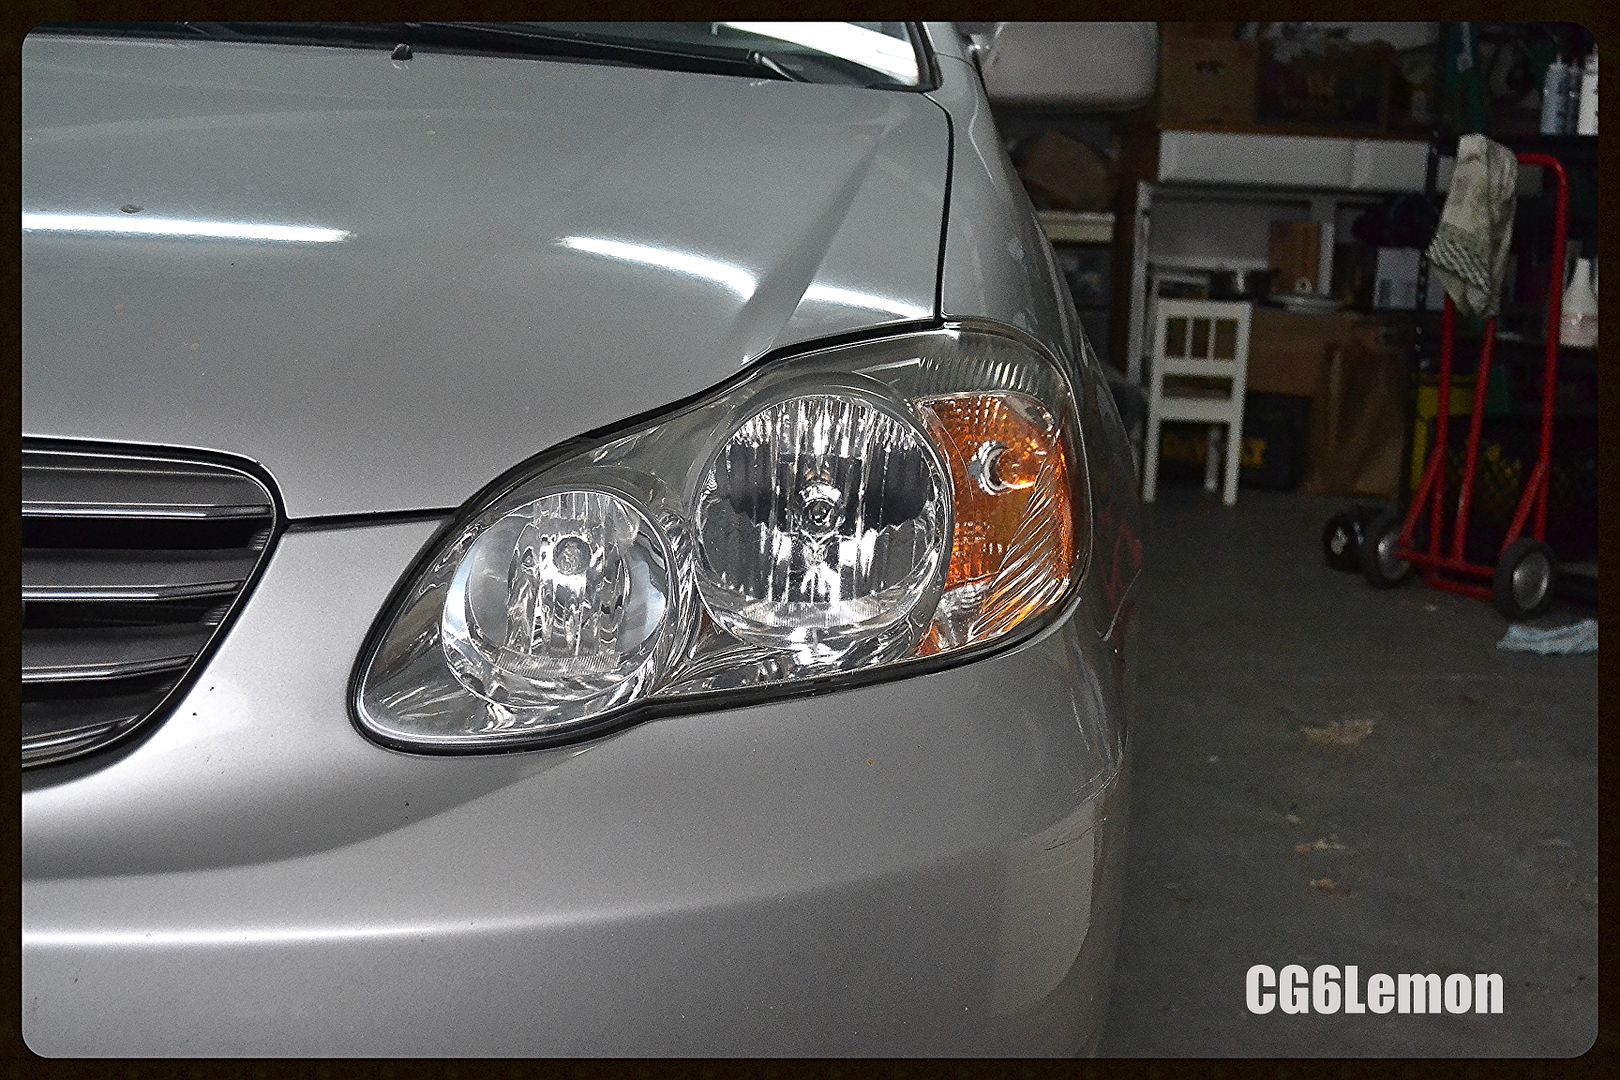
    Passenger side


    Completed


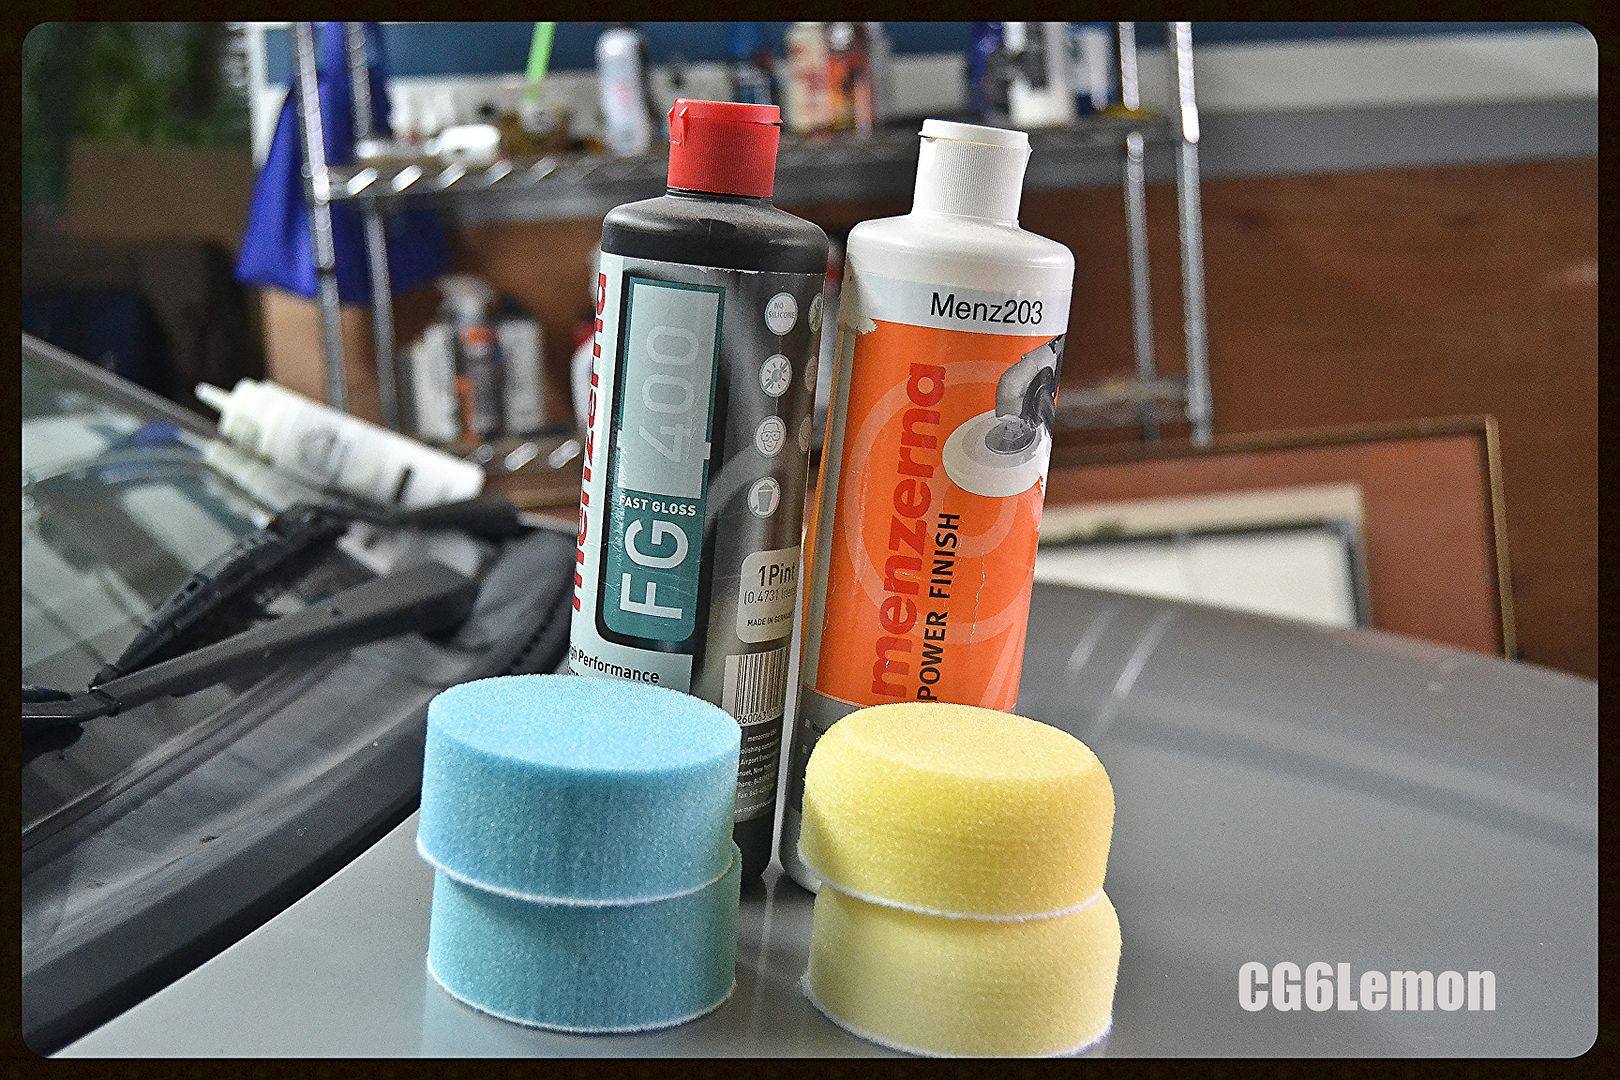
    Products used


    Both completed


    Process:

    Wiped down headlights
    Clayed with medium grade
    Menz FG400 with Cyan pad @ speed 5
    Menz 203 with white pad @ speed 4
    Sealed with Blackfire crystal seal paint sealant

    Click on image to view work

  2. #2
    Super Member haris300's Avatar
    Join Date
    Mar 2014
    Location
    Sugar Land, TX
    Posts
    999
    Post Thanks / Like

    Re: Not your usual paint correction nor interior show&shine:--S.F Bay Area

    Looking good. That bumper was really beat up. Nice job.

  3. #3
    Super Member Mantilgh's Avatar
    Join Date
    Dec 2014
    Location
    Boonsboro, Md
    Posts
    2,724
    Post Thanks / Like

    Re: Not your usual paint correction nor interior show&shine:--S.F Bay Area

    Nice. I thought the drivers side looked pretty rough until I got to the pic of the passenger side. Looked like someone tried to drive over her.

    Any plans to blend or level once it has set?
    ____________
    "The more answers I seek, the more questions I find."

  4. #4
    Super Member brettS4's Avatar
    Join Date
    Jan 2015
    Location
    Wisconsin
    Posts
    649
    Post Thanks / Like

    Re: Not your usual paint correction nor interior show&shine:--S.F Bay Area

    That's a case where you might consider getting a compressor and spray equipment. I could end up looking pretty good after a $300 investment and some time learning to paint.

    And then get her some curb feelers.

  5. #5
    Super Member Mantilgh's Avatar
    Join Date
    Dec 2014
    Location
    Boonsboro, Md
    Posts
    2,724
    Post Thanks / Like

    Re: Not your usual paint correction nor interior show&shine:--S.F Bay Area

    Quote Originally Posted by brettS4 View Post
    That's a case where you might consider getting a compressor and spray equipment. I could end up looking pretty good after a $300 investment and some time learning to paint.

    And then get her some curb feelers.
    Might want to put some feelers up on the bumpers too.
    ____________
    "The more answers I seek, the more questions I find."

  6. #6
    Super Member
    Join Date
    Dec 2006
    Posts
    356
    Post Thanks / Like

    Re: Not your usual paint correction nor interior show&shine:--S.F Bay Area

    Looks good considering how bad it was.

    In my shop we would of either done a repaint or faster yet would be to wrap it in a silver vinyl.

    Anthony

  7. #7
    Super Member Mantilgh's Avatar
    Join Date
    Dec 2014
    Location
    Boonsboro, Md
    Posts
    2,724
    Post Thanks / Like

    Re: Not your usual paint correction nor interior show&shine:--S.F Bay Area

    Interesting about the colored wrap, I never thought about that Anthony. Would it be hard to color match or are there many to chose from?
    ____________
    "The more answers I seek, the more questions I find."

  8. #8
    Super Member
    Join Date
    Dec 2006
    Posts
    356
    Post Thanks / Like

    Re: Not your usual paint correction nor interior show&shine:--S.F Bay Area

    Quote Originally Posted by Mantilgh View Post
    Interesting about the colored wrap, I never thought about that Anthony. Would it be hard to color match or are there many to chose from?
    3M, Avery and others have tons of various colors and patterns. This particular bumper would just need a sanding of the rough areas, remove what can be removed from the bumper itself, like emblems and such. Prep the surface and then start wrapping it. Cut off excess and trim where needed.

  9. #9
    Super Member
    Join Date
    Mar 2014
    Posts
    308
    Post Thanks / Like

    Re: Not your usual paint correction nor interior show&shine:--S.F Bay Area

    10x's better, good job!!

    Personally I would have sprayed the bumper.
    Quote:
    Originally Posted by mcate
    Black isn't a color, it's a part time job.

  10. #10
    Super Member
    Join Date
    Mar 2010
    Location
    Mauritius
    Posts
    352
    Post Thanks / Like

    Re: Not your usual paint correction nor interior show&shine:--S.F Bay Area

    good turnaround my friend but if you used a filler for levelling the paint before applying the touch up paint, wetsand and buff, the result would have been better

Page 1 of 2 12 LastLast

Similar Threads

  1. Show Car Shine vs. OEM Paint Texture
    By PorscheFan in forum Ask your detailing questions!
    Replies: 10
    Last Post: 04-05-2017, 06:57 AM
  2. Mini interior Show N' Shine - Audi A4
    By jarred767 in forum Show N' Shine
    Replies: 4
    Last Post: 10-15-2014, 10:39 AM
  3. Replies: 18
    Last Post: 09-24-2014, 01:15 PM
  4. new SF Bay Area guy... big fan of Show-n-Shine
    By TheBayAYK in forum Introduce Yourself
    Replies: 16
    Last Post: 02-11-2011, 04:14 AM
  5. Replies: 0
    Last Post: 05-29-2008, 06:25 PM

Members who have read this thread: 0

There are no members to list at the moment.

Posting Permissions

  • You may not post new threads
  • You may not post replies
  • You may not post attachments
  • You may not edit your posts
  •  

» April 2024

S M T W T F S
31 1 2 3 4 5 6
7 8 9 10 11 12 13
14 15 16 17 18 19 20
21 22 23 24 25 26 27
28 29 30 1234