 Thanks: 0
 Likes: 0
 Dislikes: 0
-
Super Member

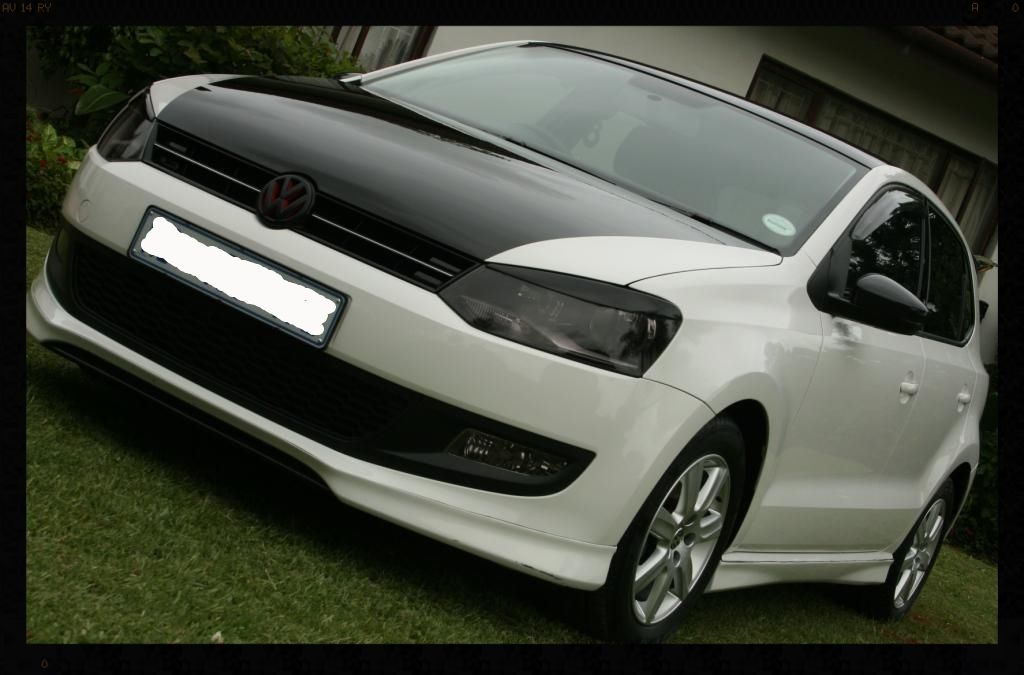
Candy White Polo 6R - Detailed by Lawrence
1 car (with 20k kms on the clock)
2 colors
3 different types of paint
4 days of 'fun'
:lol:
So the owner of this vehicle had heard about my detailing and came past a couple of months ago to show me the condition of his paint and see what could be done to rectify it. He had taken the car to a someone to have the bonnet, roof and some of the back end sprayed black, and was not happy with the appearance of the black, which in his words, 'did not seem to shine as much as he thought it would'.
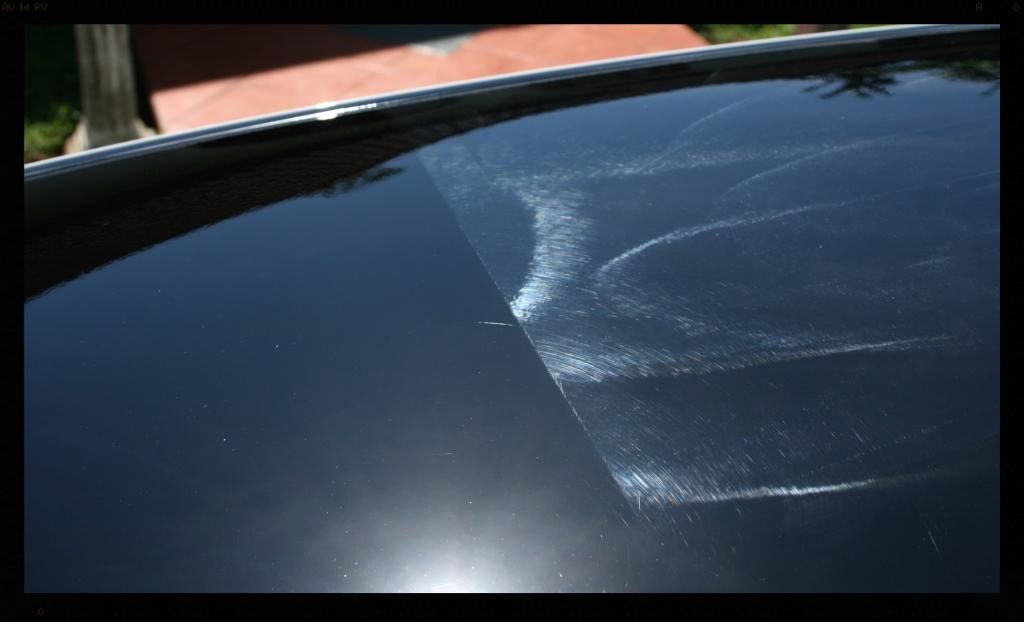
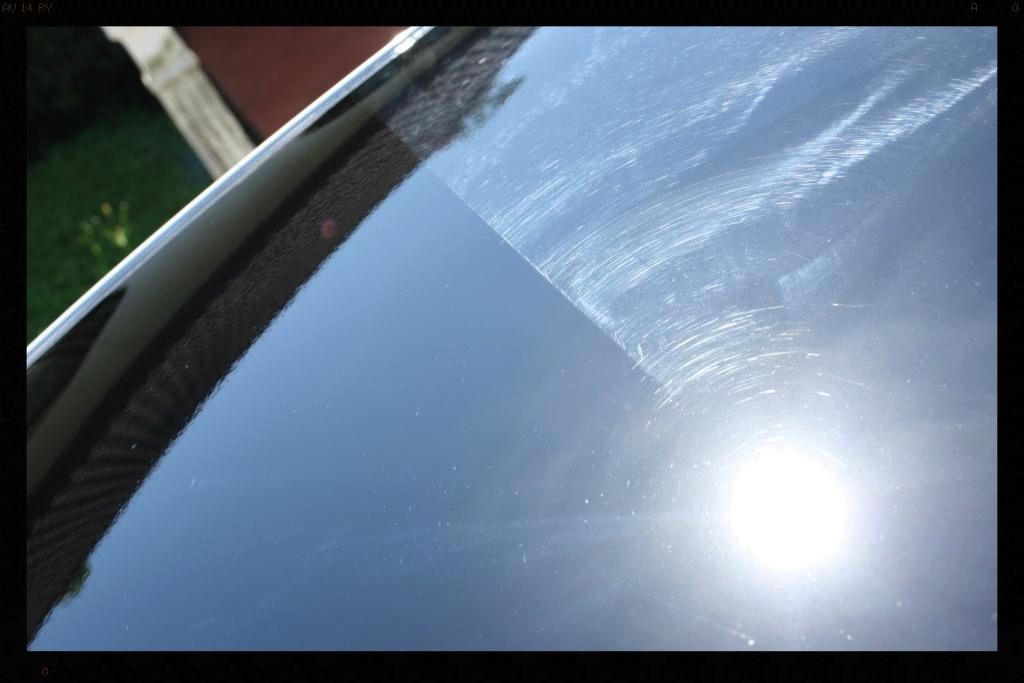
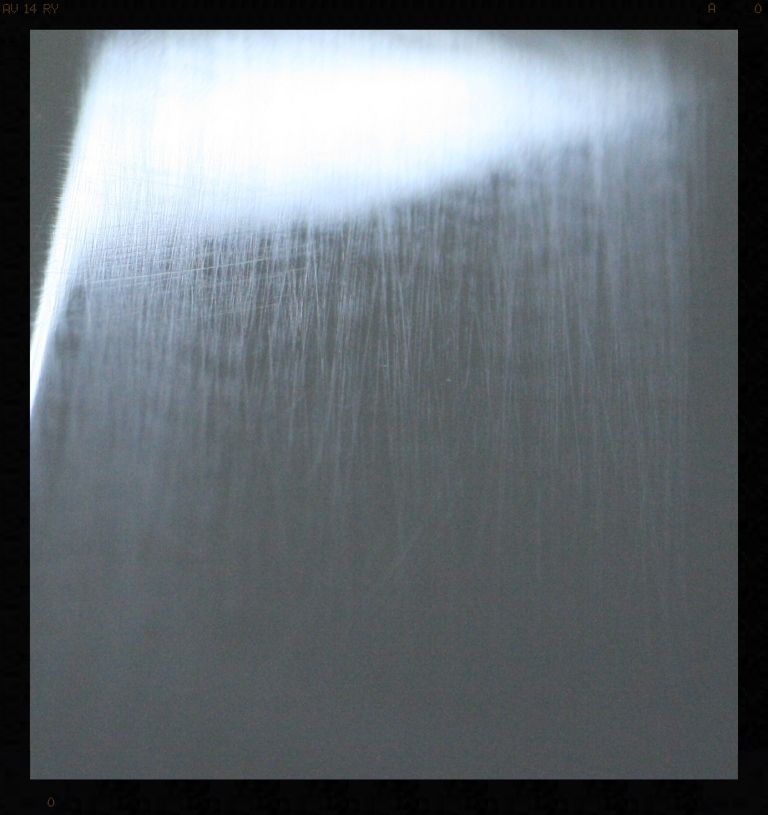
When I saw the paint for the first time, I was absolutely horrified that someone could return a car to the customer looking the way it did. It was riddled with buffer trails indicative of poor polishing techniques. Upon further discussions around this I established that the paint was not decontaminated prior to polishing (and this invariably resulted in contamination being ground back into the paint, further destroying the finish), that a rotary with a wool pad (the most aggressive combo) was used and that no cleaning of the pad occured during the polishing process.
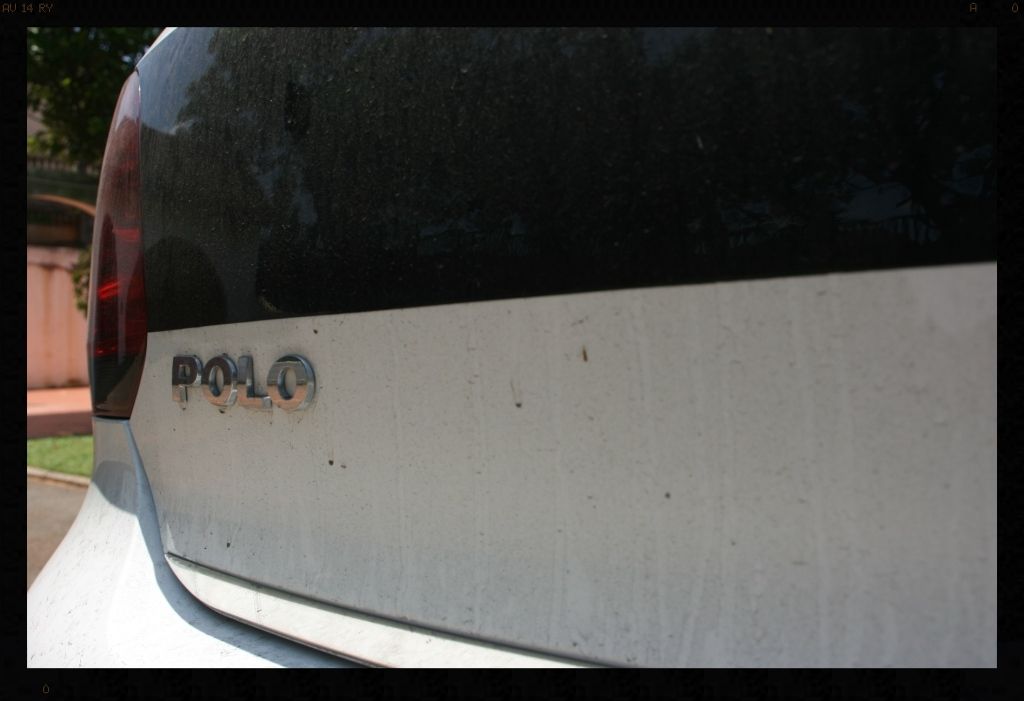
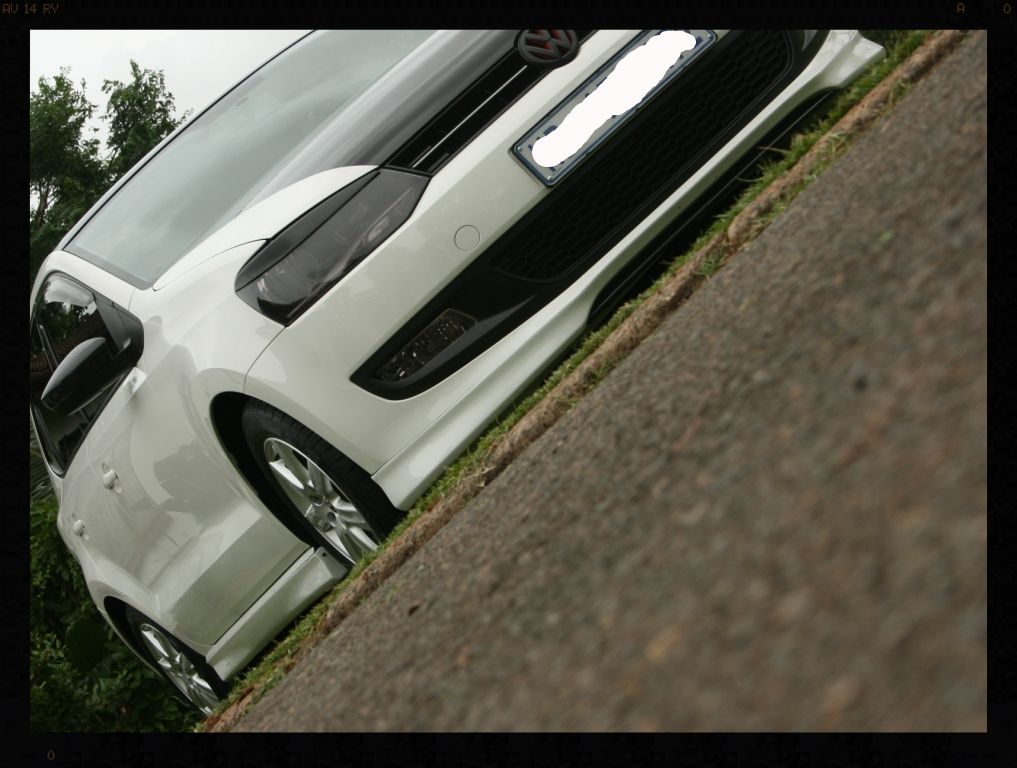
Of course, they then took things a step further and decided to do the owner 'a favor', by polishing the rest of the car (i.e the candy white paint) and in the process ruined that too. :bang: Added to the owners woes was there was a section on the roof where they had taped off during painting, and used really crappy tape resulting in a very uneven line - I was asked to rectify this too.
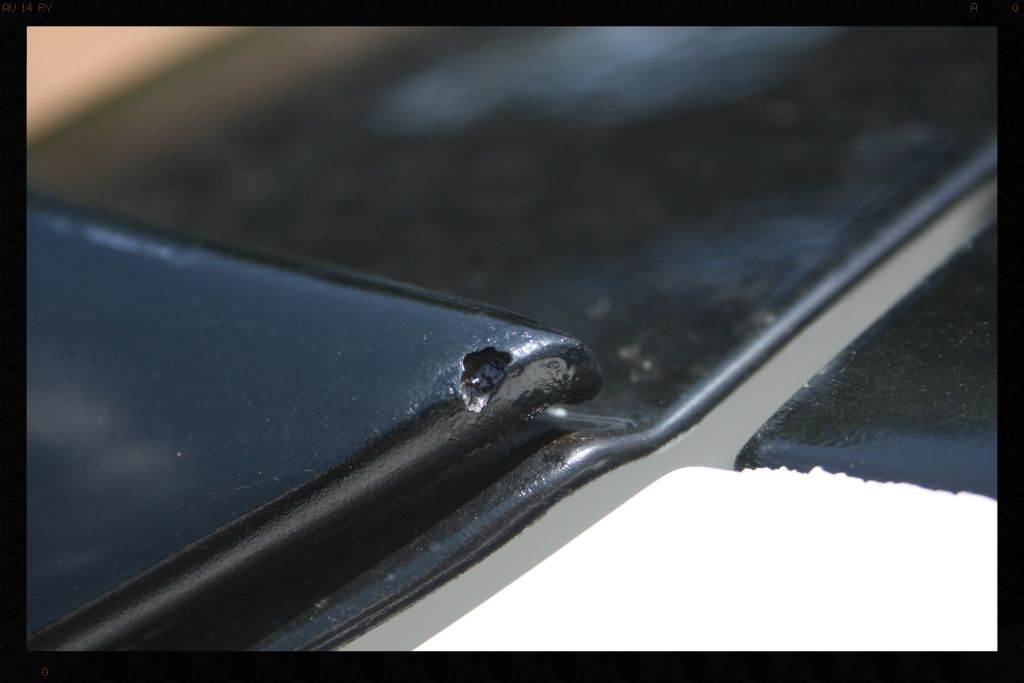
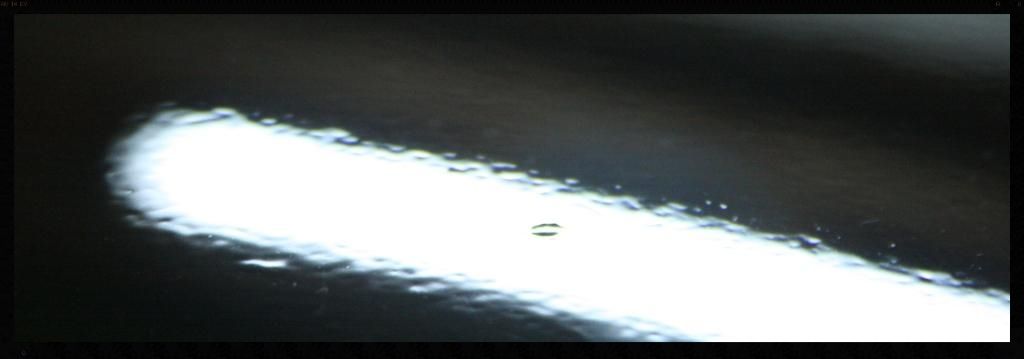
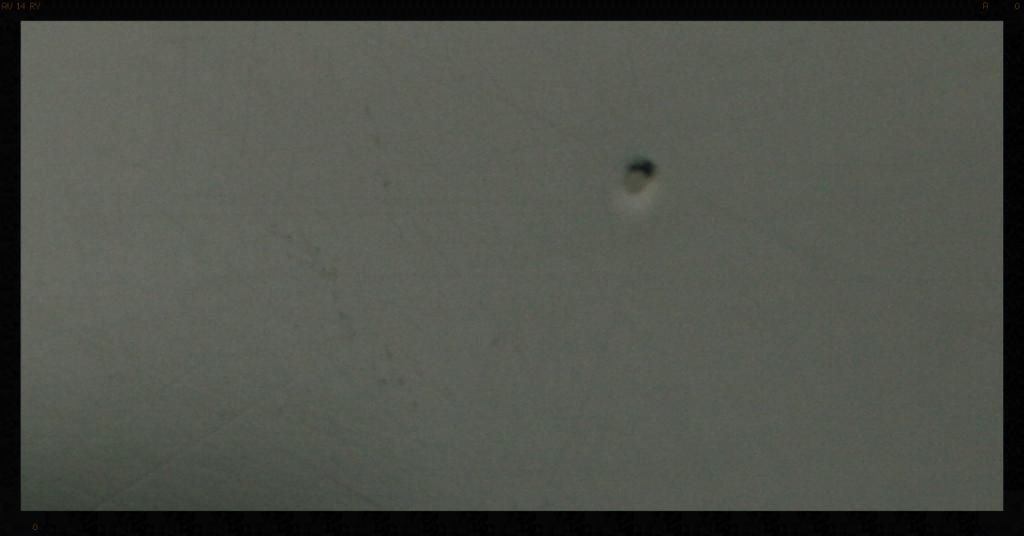
Also, on the bottom of the rear bumper there were very bad runs in the paint which the owner wanted removed and (not as a result of the panel beater) there was a chip out the one corner of his spoiler.
I performed a test spot on one section of the bonnet to show the owner what could be achieved with some proper polishing. He was happy with the outcome and so we booked the car in for a full detail. Knowing the additional work required I decided to allow myself a full 4 days to get the car right again, and so it was dropped off with me early on Boxing Day (26th December).
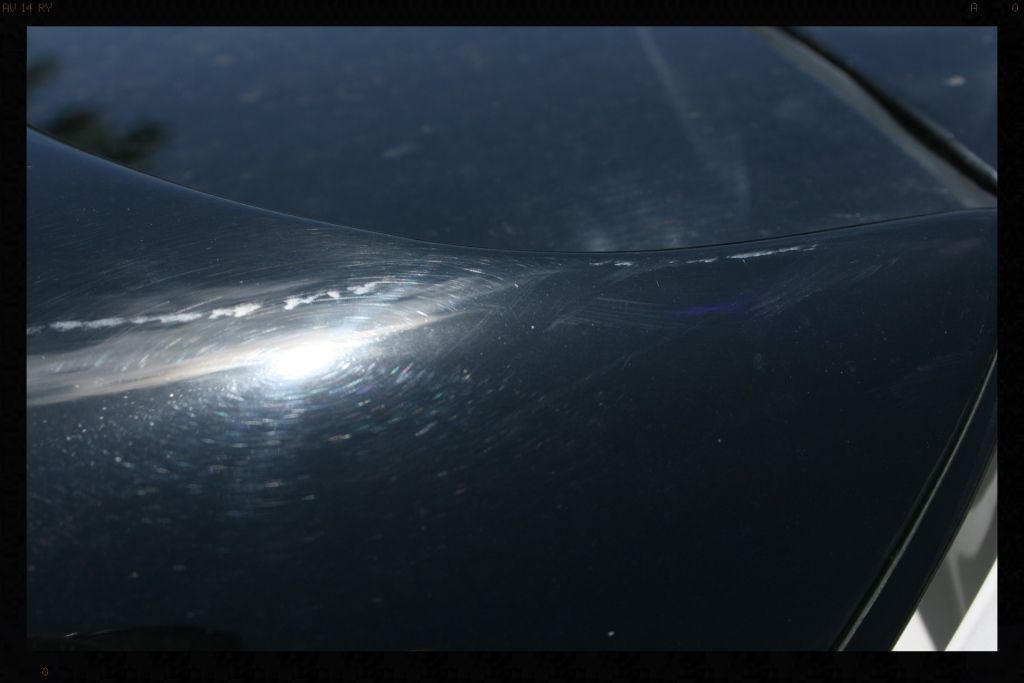
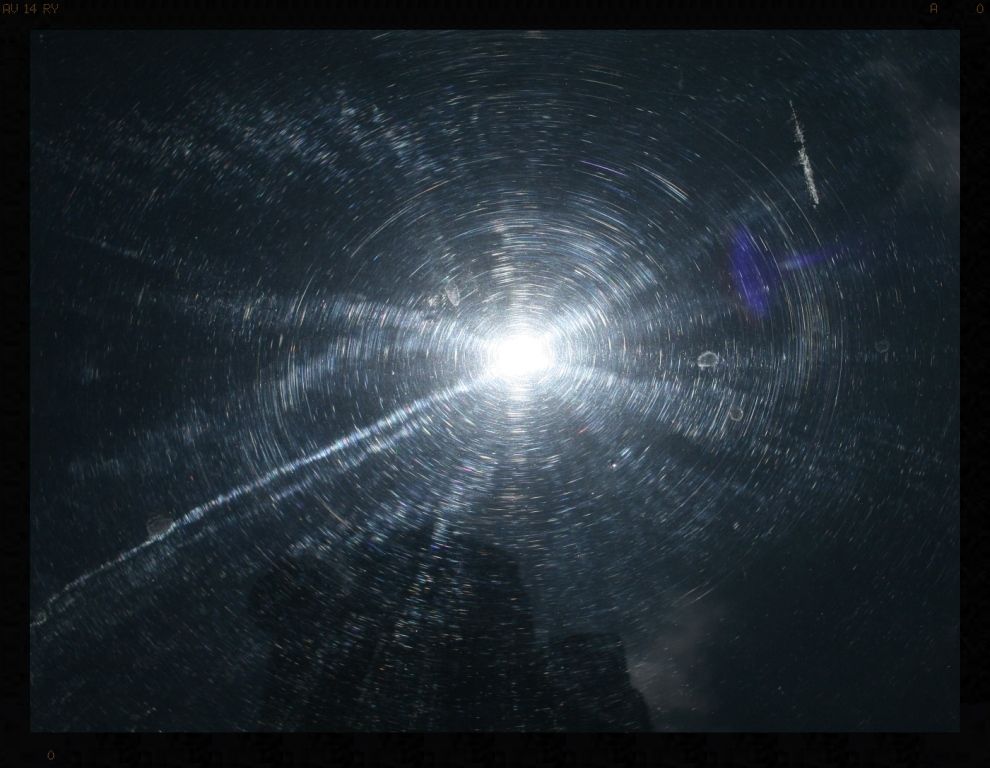
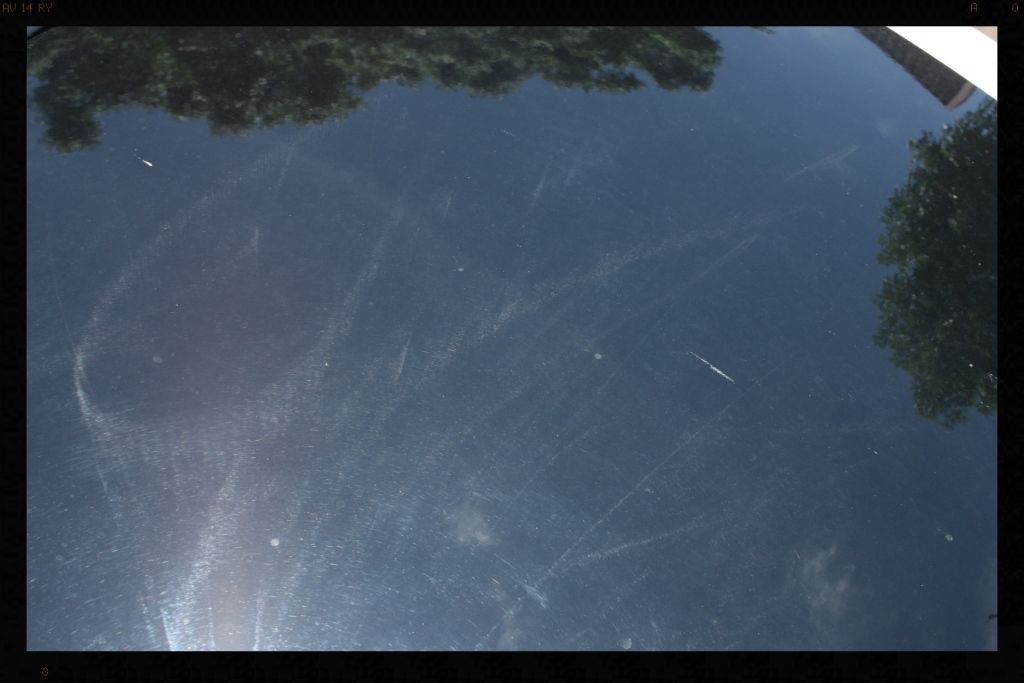
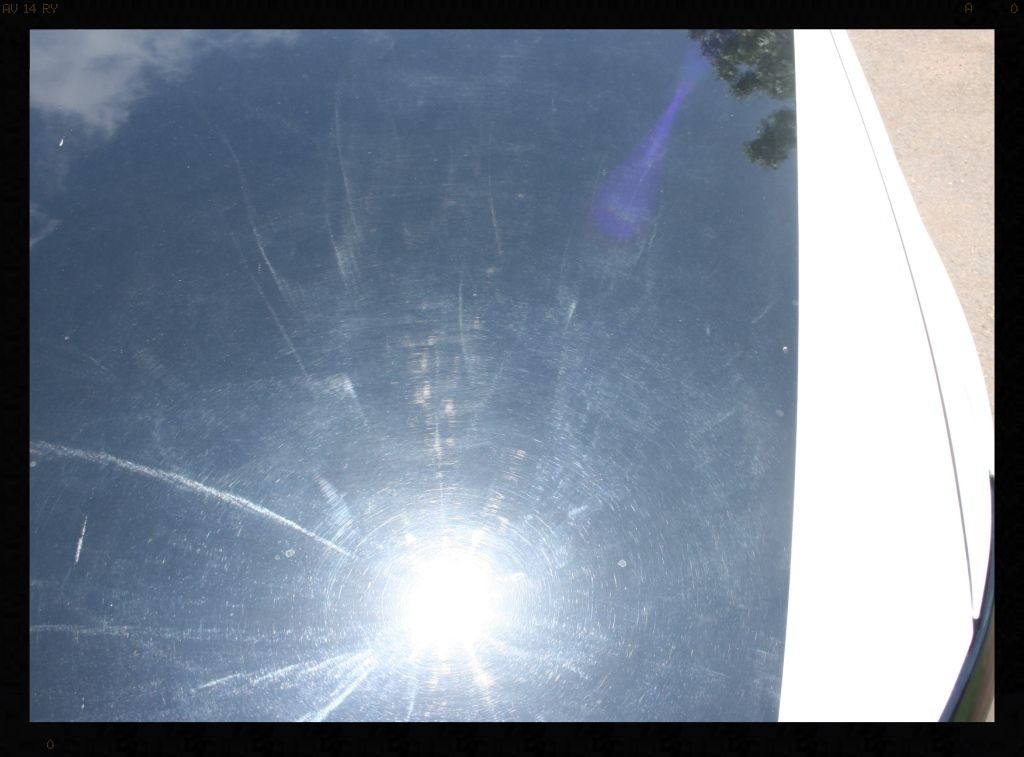
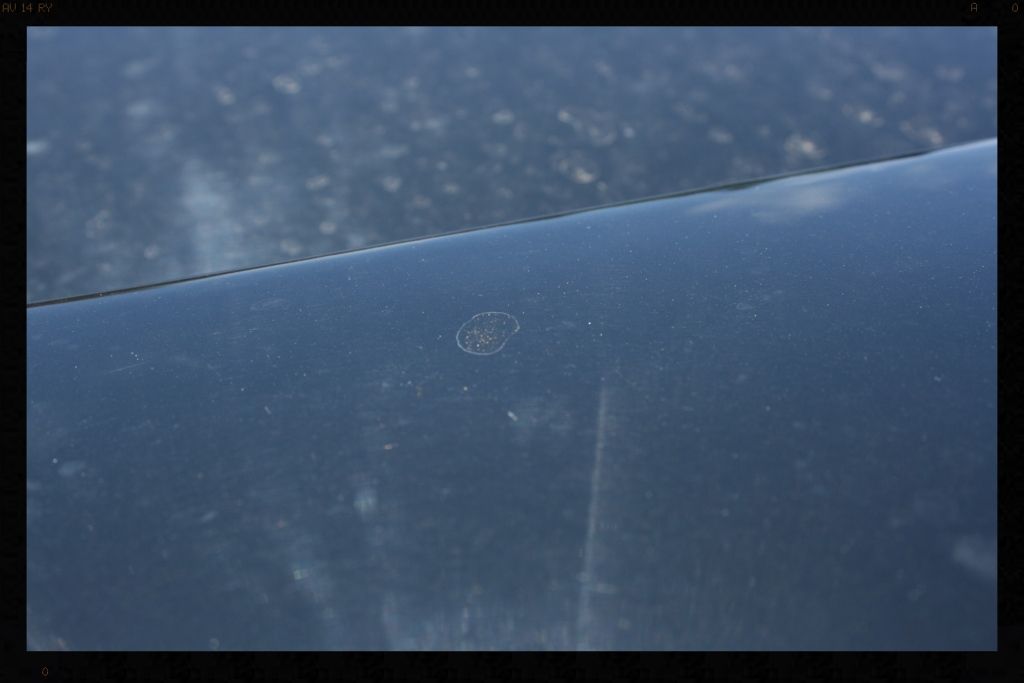
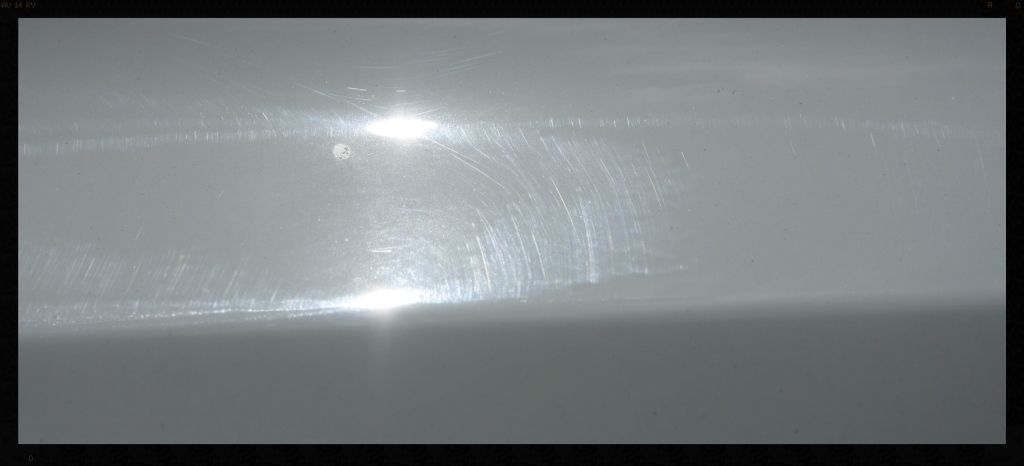
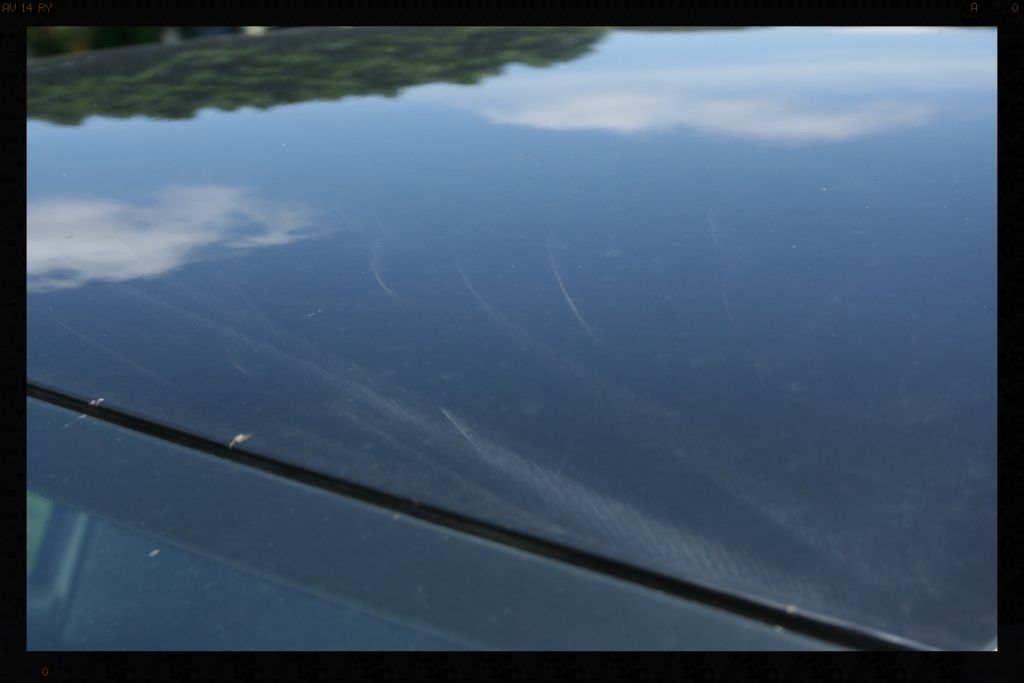
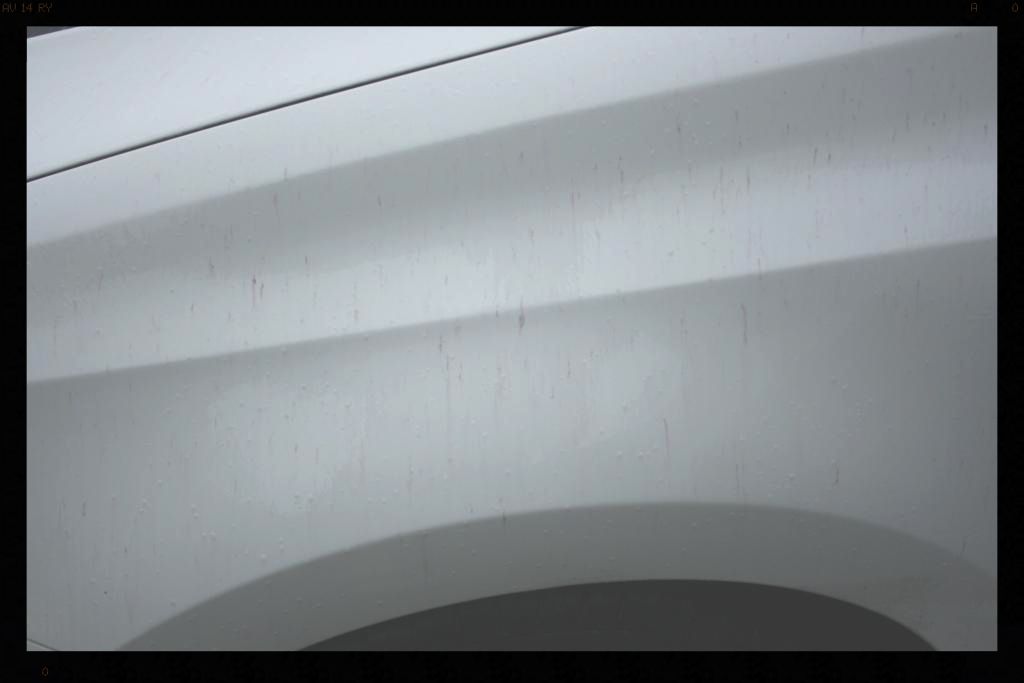
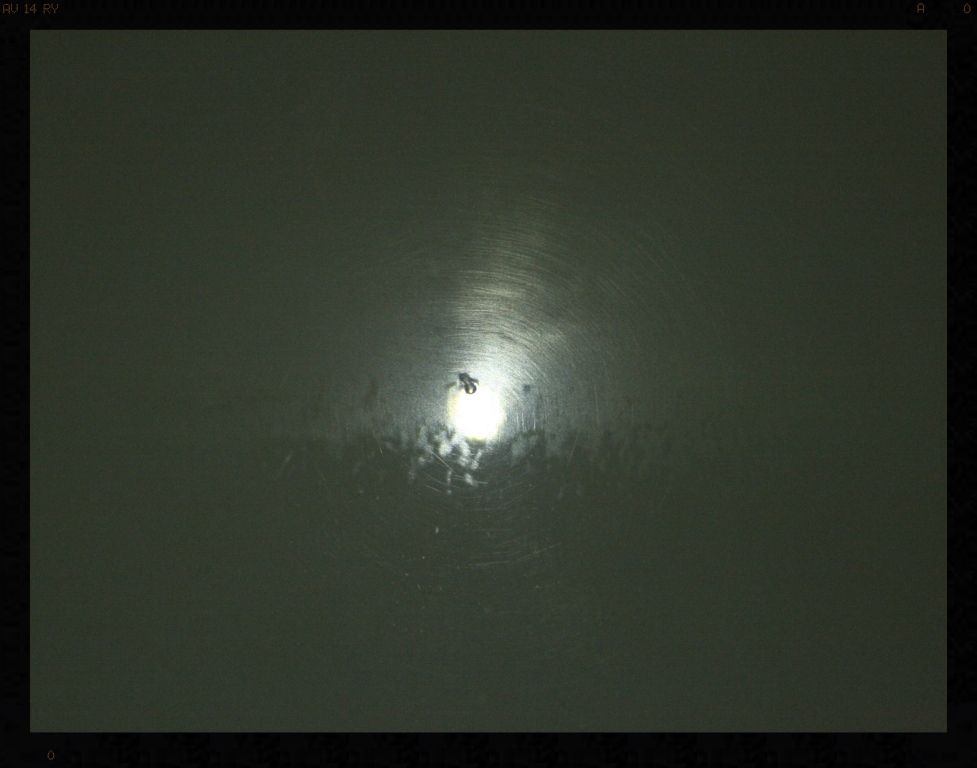
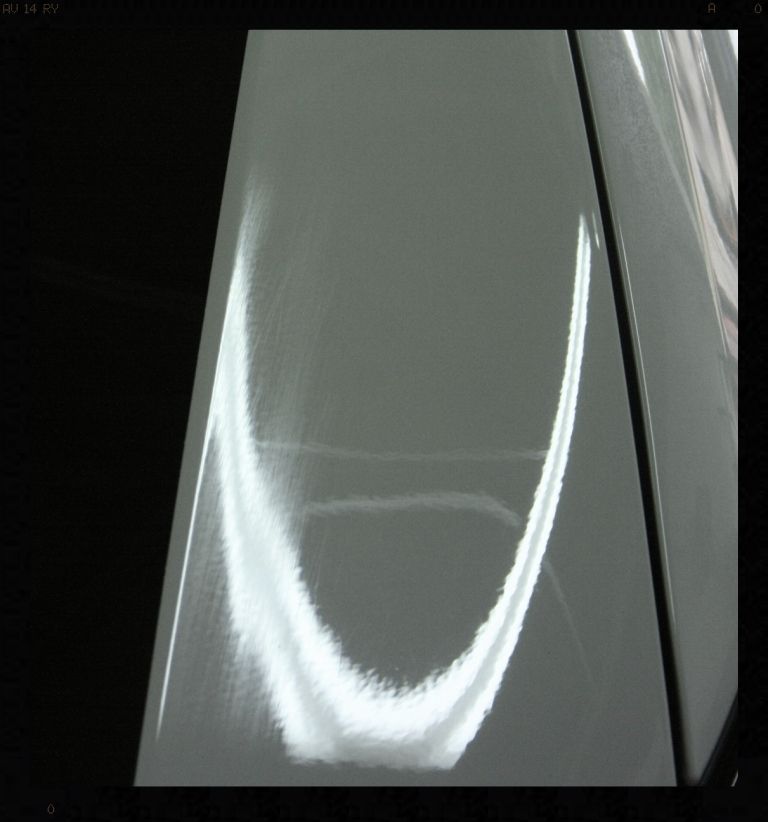
In this picture you can see the 'test spot' I originally polished out, in the bottom corner (which had since taken some abuse) as well as the overall shocking condition of the paint.
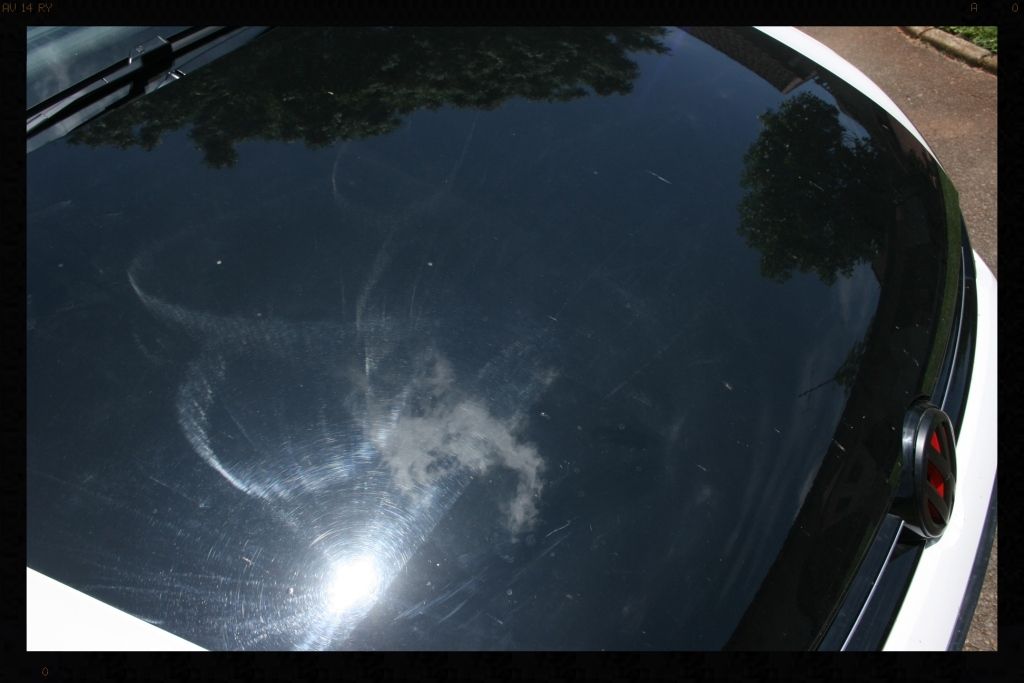
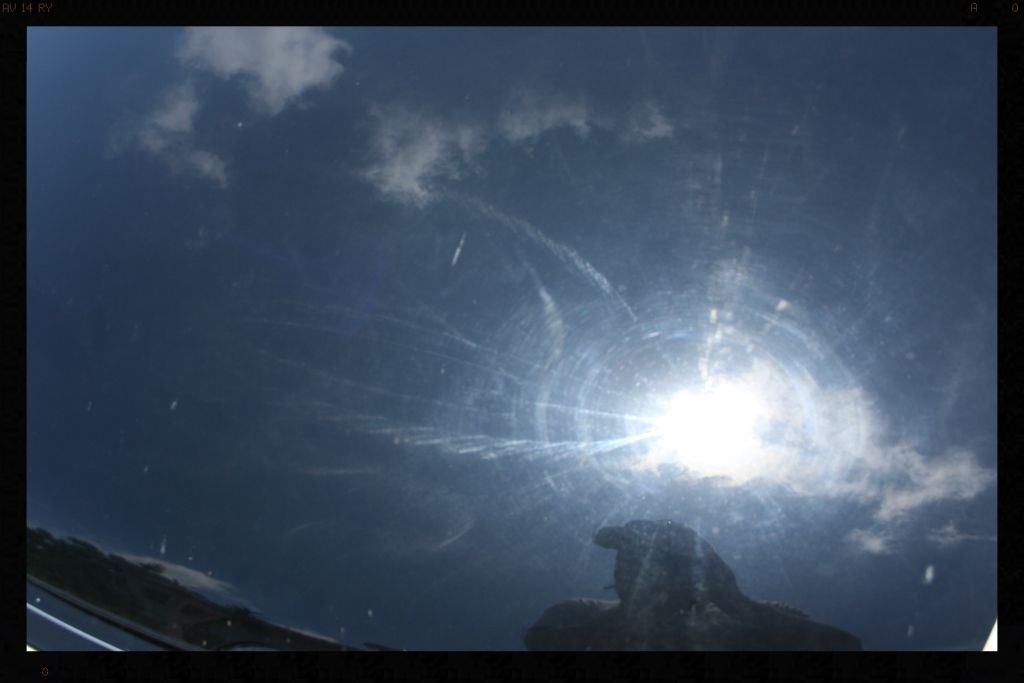
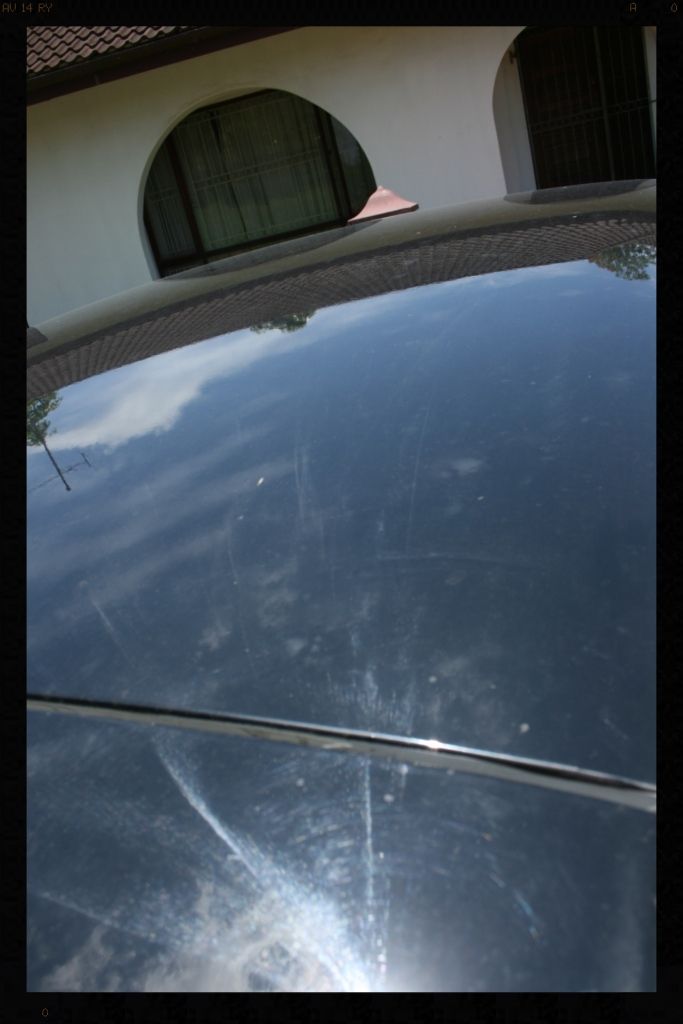
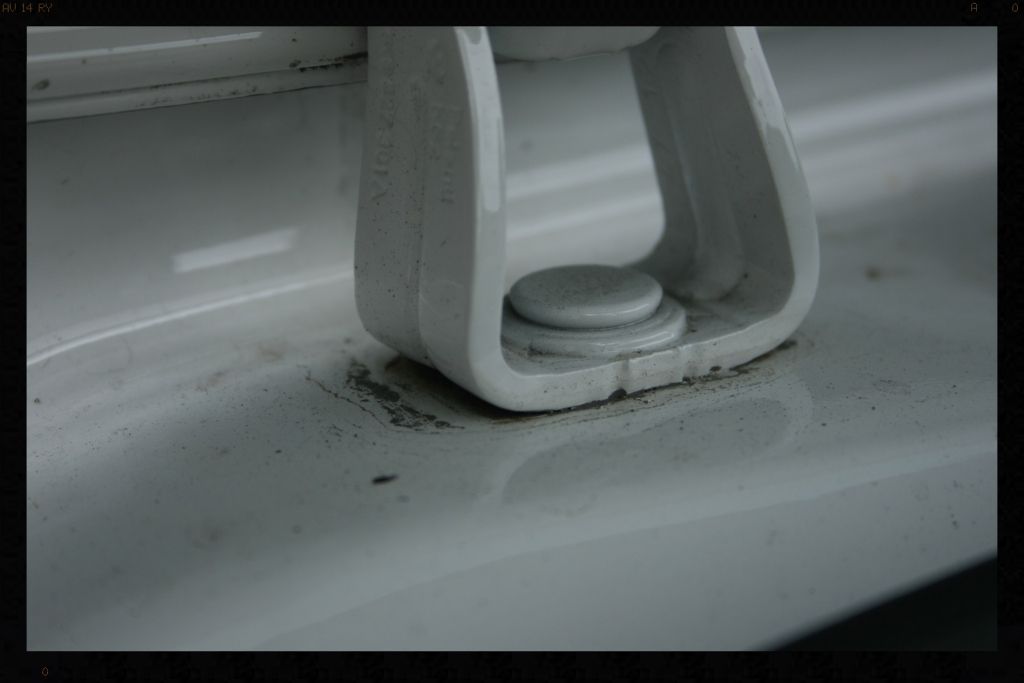
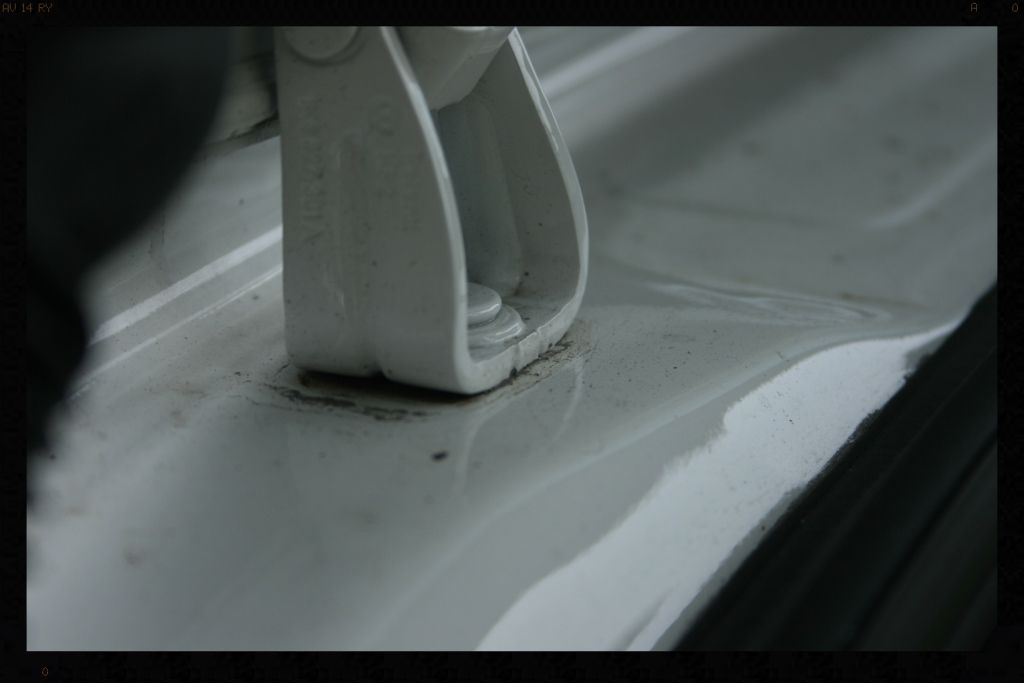
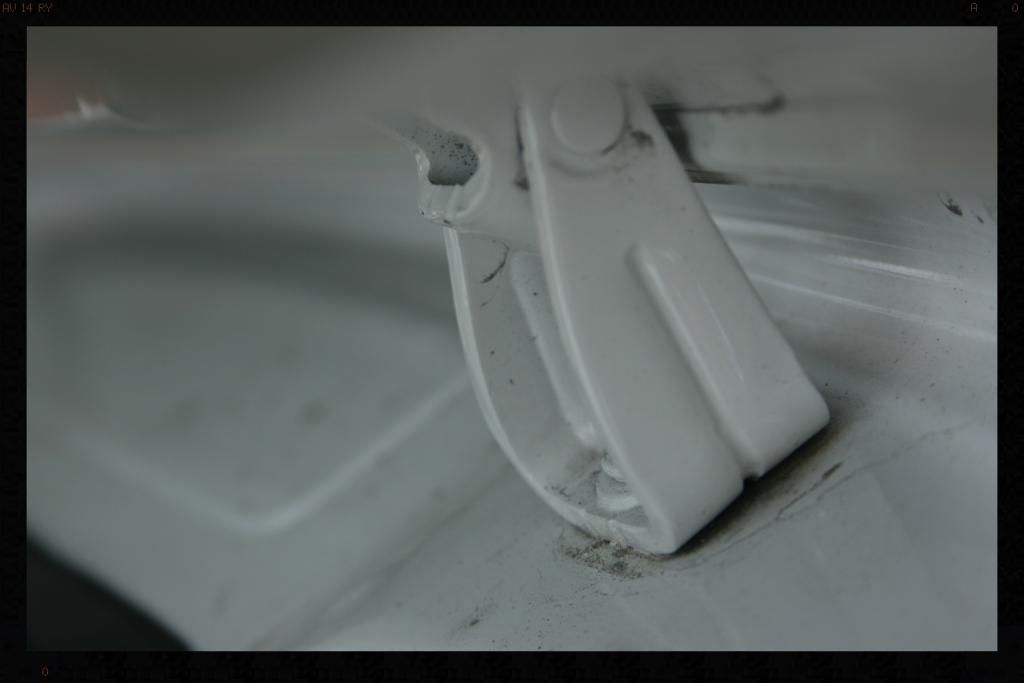
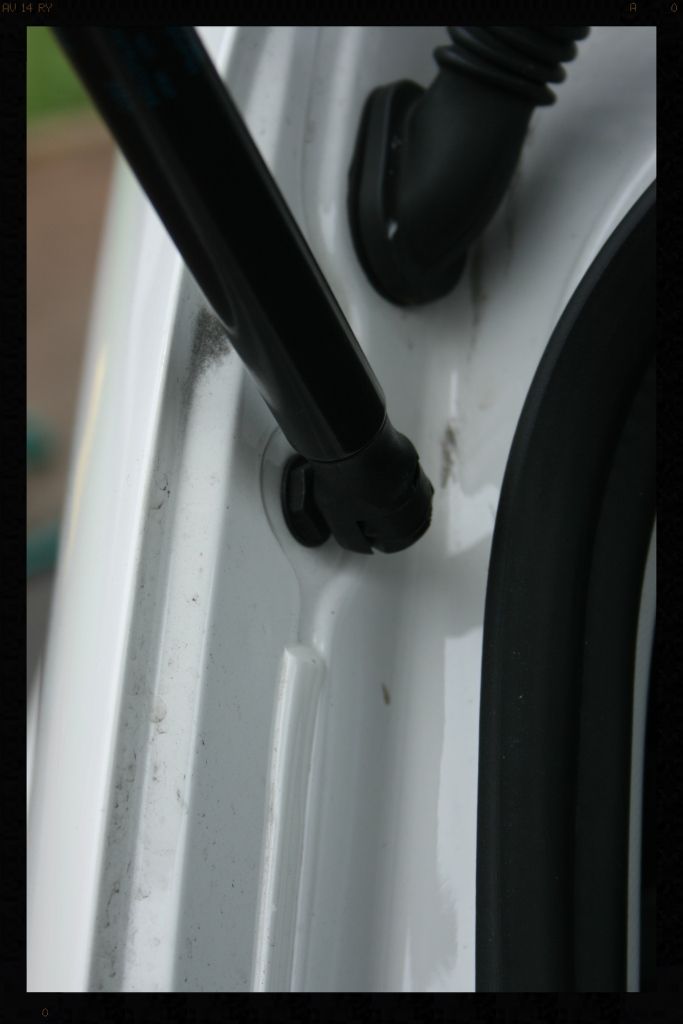
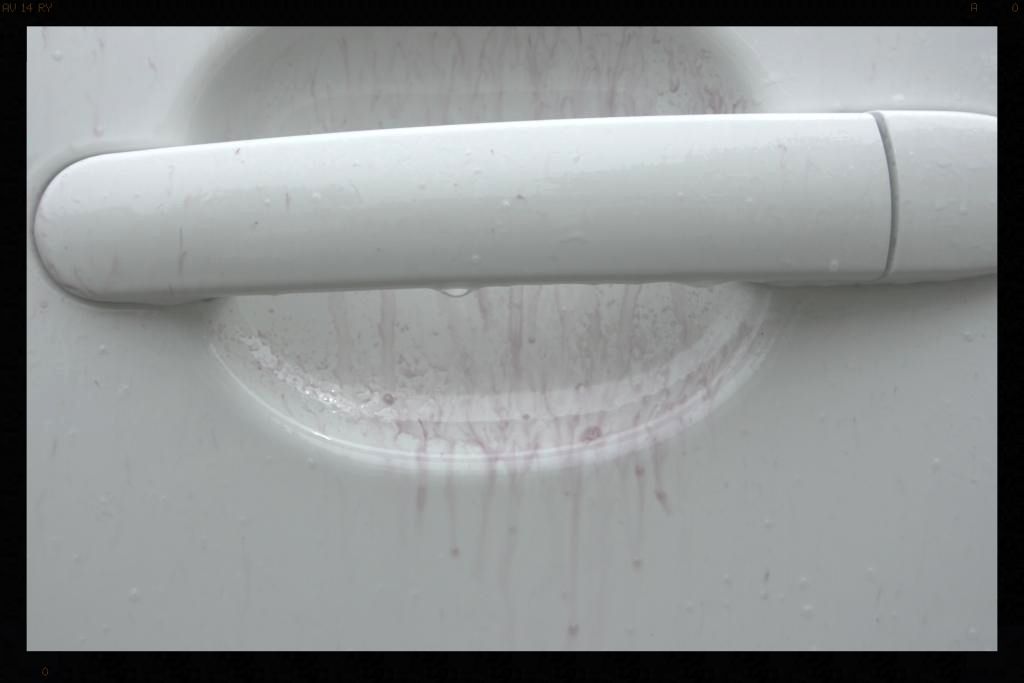
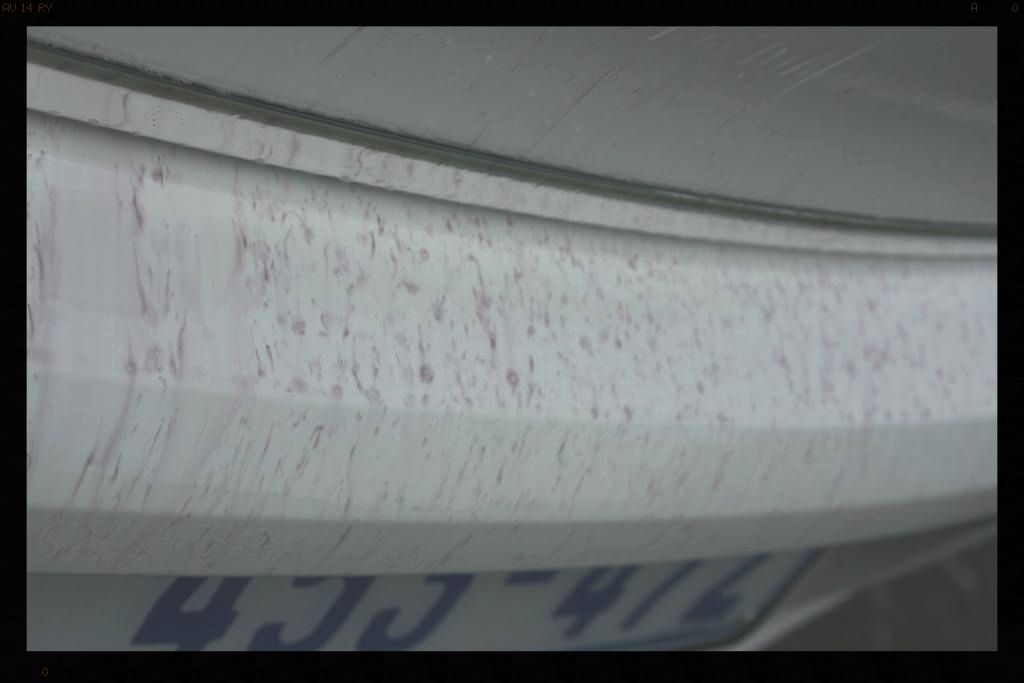
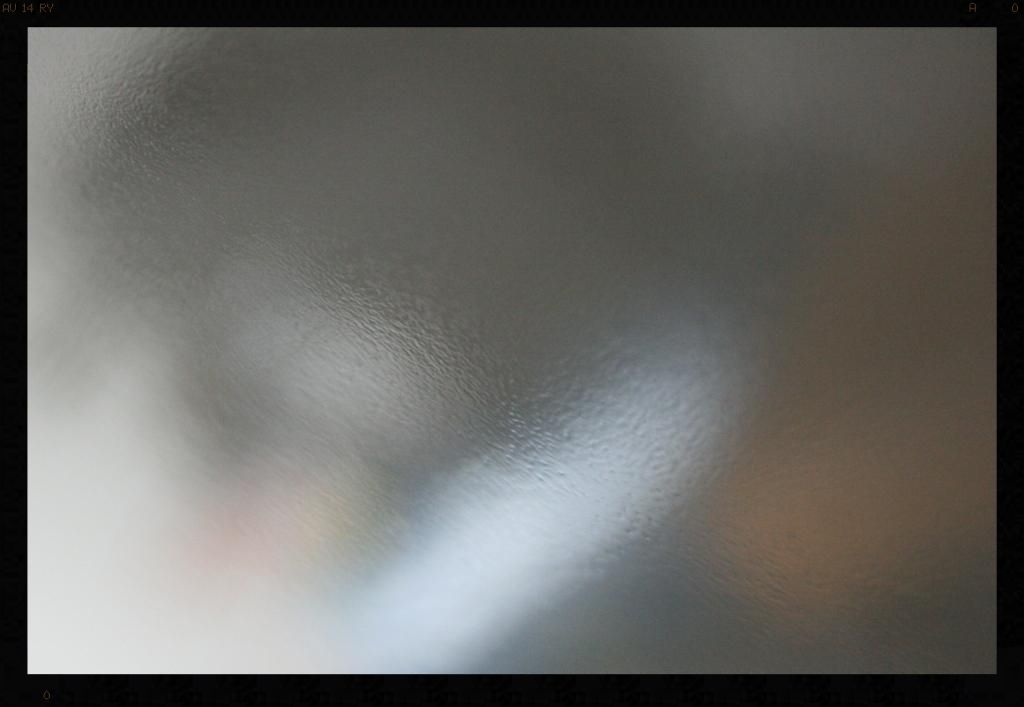
Here are some more pics of the car on arrival, with the paint full of buffer trails, swirls, RIDS, water spots and bird dropping etching

Thursday
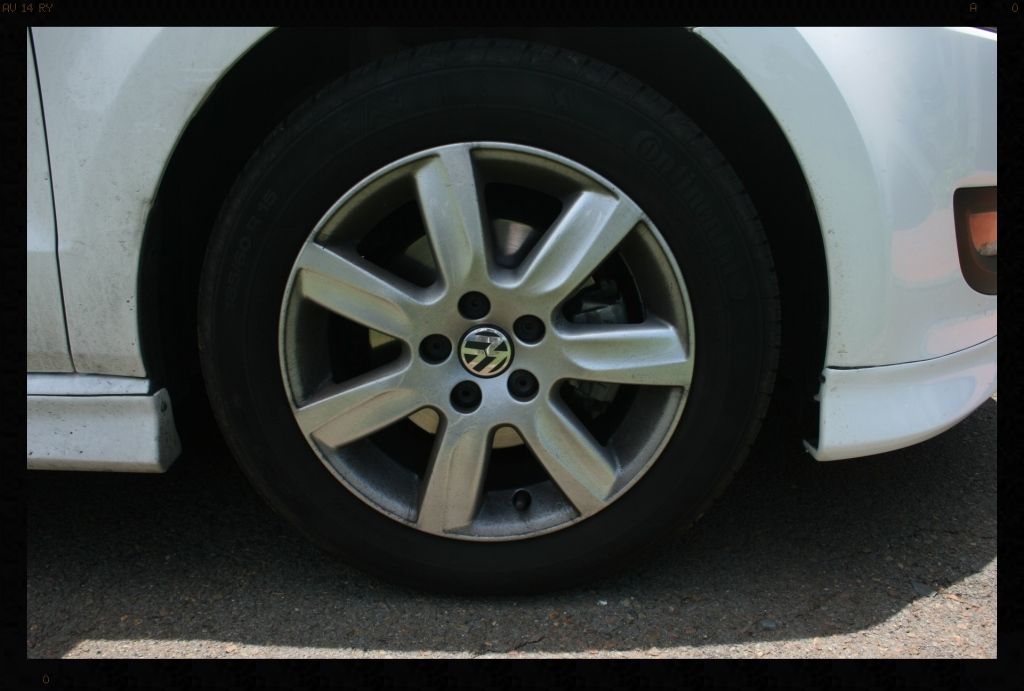
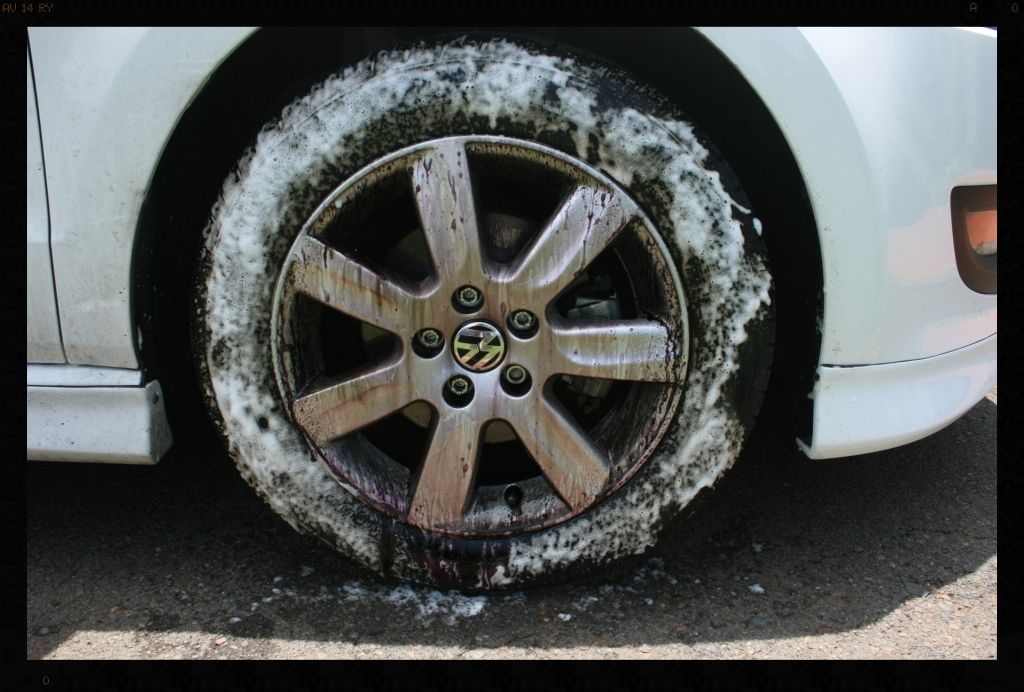
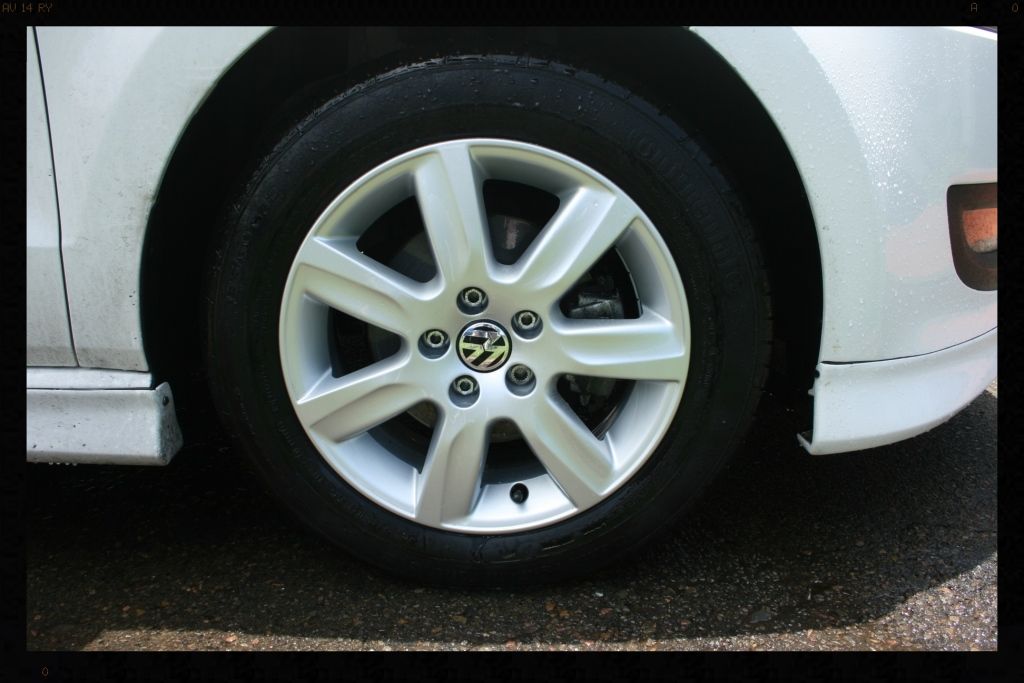
After waiting to ensure the wheels were completely cool I got started on cleaning them, along with the tires and arches. The wheels were then decontaminated before being sealed, the tires and arches dressed, and the plastic wheel nut covers cleaned and dressed.
Products used
Arches - Cyclo CM30 APC @ 1 / Mothers Fender Well Brush / Chemical Guys Bare Bones
Tires - Meguiars All Wheel and Tire Cleaner / Mothers Tire Brush
Wheels - Autofinesse Imperial Wheel Cleaner / Daytona Jnr
Tar Removal - Autofinesse Oblitarate
Iron Removal - Autofinesse Iron Out
Remaining Contaminants - Autoglym Fine Detailing clay / Carways Mist and Wipe
Final wash - Cyclo CM30 APC @ 3:1
Tire Dressing - Optimum Tire Gel
Wheel Protection - Menzerna Powerlock
Before
During
After (but before applying powerlock, tire dressing or dressing the arches)
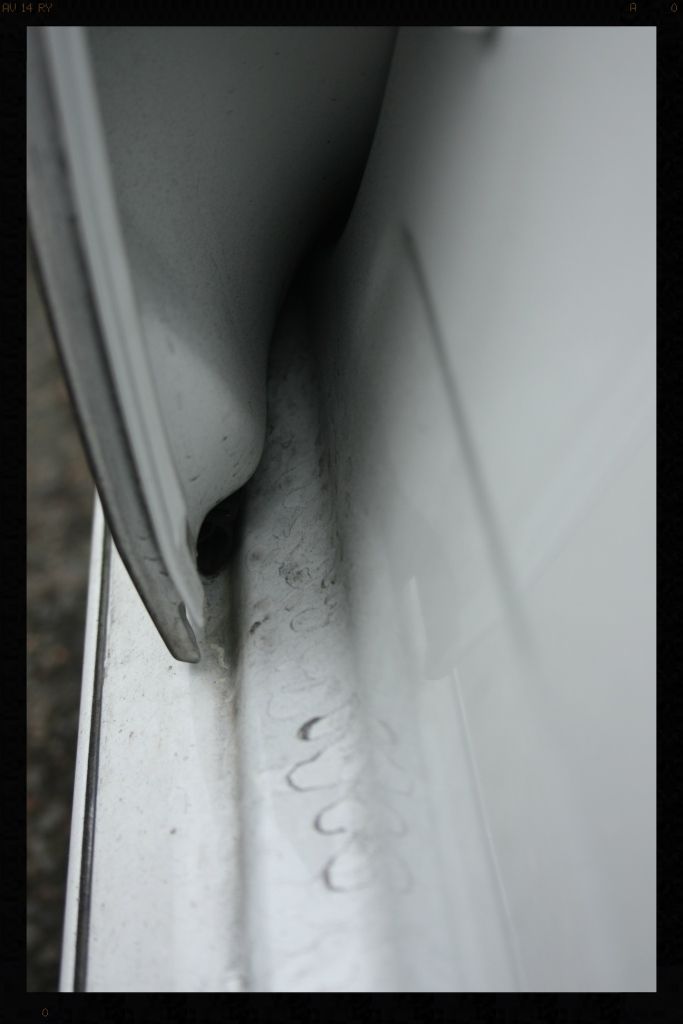
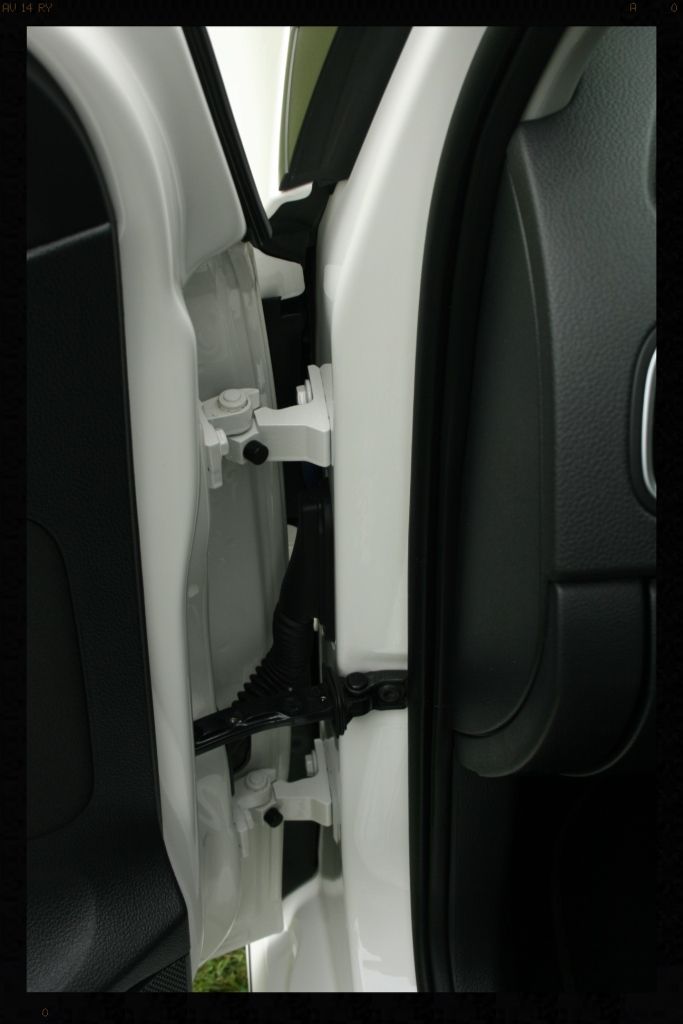
Next up was the cleaning of the door shuts, the boot shut, inside the petrol flap, in and around all the badges and in all the seam gaps etc, which was done using Cyclo CM30 APC at 10:1 and various brushes, followed by a HP rinse. These areas were eventually sealed using Chemical Guys V7
Before
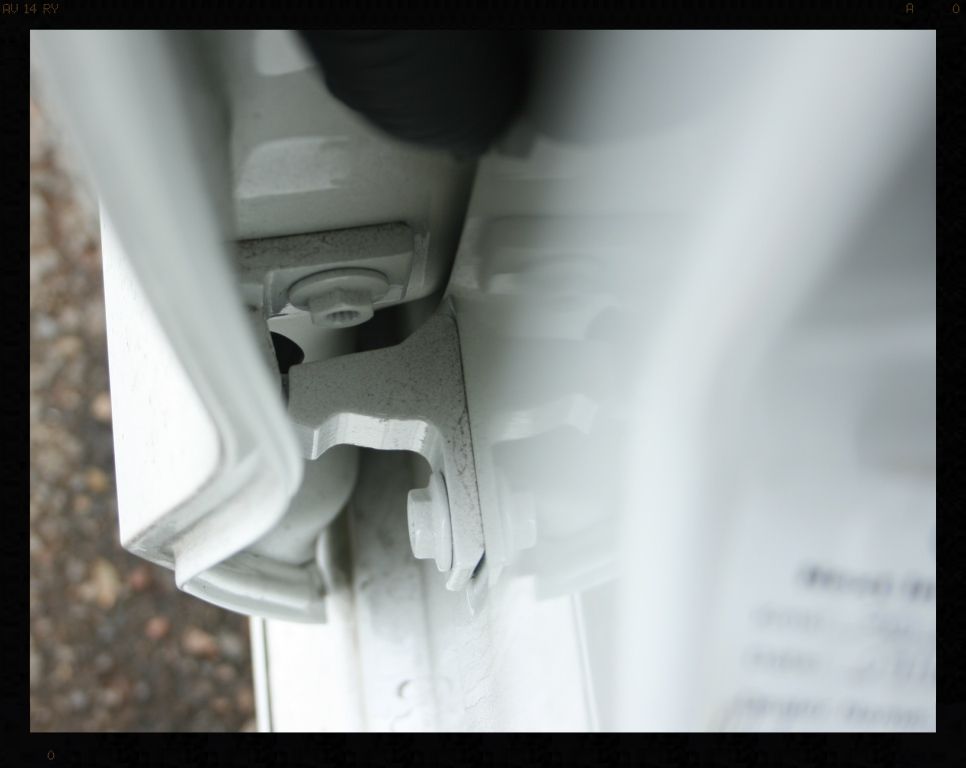
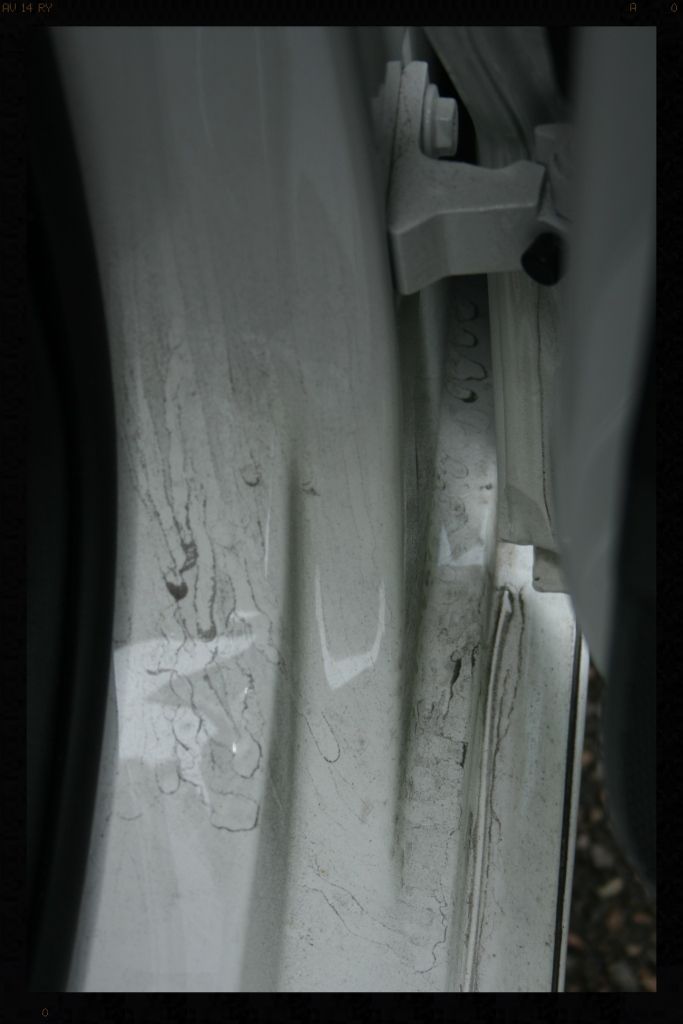
After
Before

After
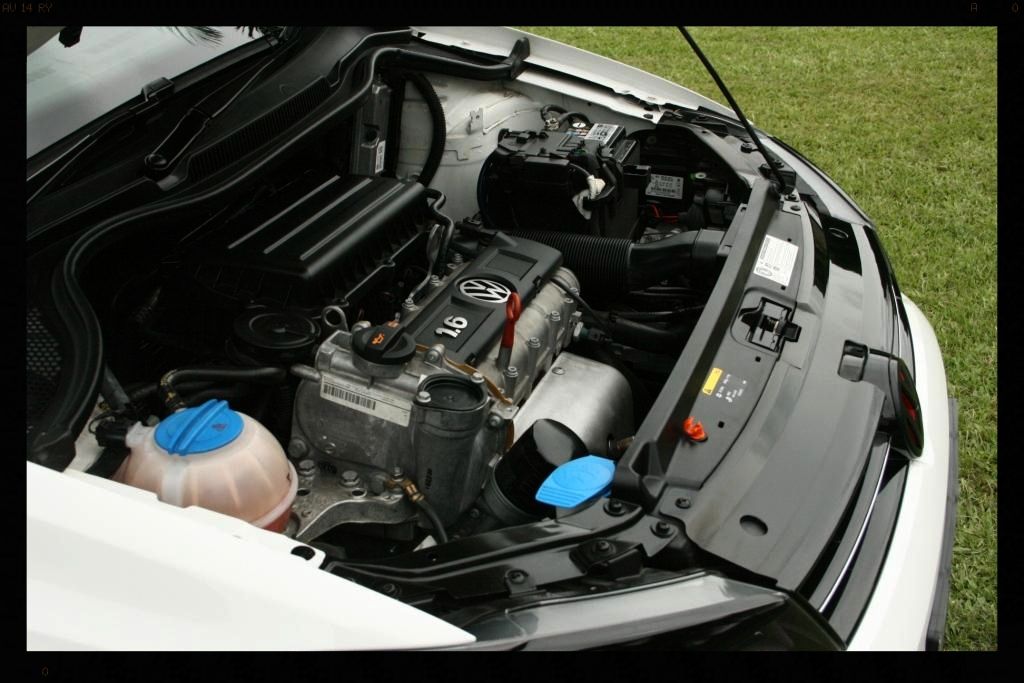
The last bit of 'dirty work' was the engine bay. The owner specifically requested that no water be sprayed into the engine bay, so this area was first blown out with compressed air, followed by a wipe down with damp MF Towels then dressed.
Products used
Cleaning: Cyclo CM30 APC at 3:1 with foaming trigger
Dressing: Chemical Guys Bare Bones
Forgot to take a before  ops: ops:
After
The car was then rinsed to remove loose dust and dirt, then flooded to cool the paint down (the black paint was getting hot very quickly given the glorious weather we were having (29 degrees Celsius). The car was then pre-foamed before being washed and dried
Products used:
Pre-Rinse - HP washer / Flooding / Hosepipe
Pre-foam - Chemical Guys Maxi Suds II / Cyclo CM3) APC at 3:1 / foam cannon
2BM - Chemical Guys Maxi Suds II
Rinse - HP followed by sheeting
Dry - WW drying towel / Carways Mist and Wipe
I then decontaminated the paint by dissolving off all the tar and iron residue before having to make contact with the paint (and potentially drag these hard contaminants across the paint), and then foam washed again to remove any residual tar and or iron remover. The car was then dried and pulled into the garage and I began claying to remove the remaining contaminants.
Products used
Tar Removal - Autofinesse Oblitarate
Iron Removal - Autofinesse Iron Out
Remaining Contaminants - Autoglym Fine Detailing clay / Carways Mist and Wipe
Foam wash - Chemical Guys Maxi Suds II
 ] ]
Friday
I finished claying before having a good look at the 'hole' in the spoiler along with the terrible edge that the painter had left on the roof.
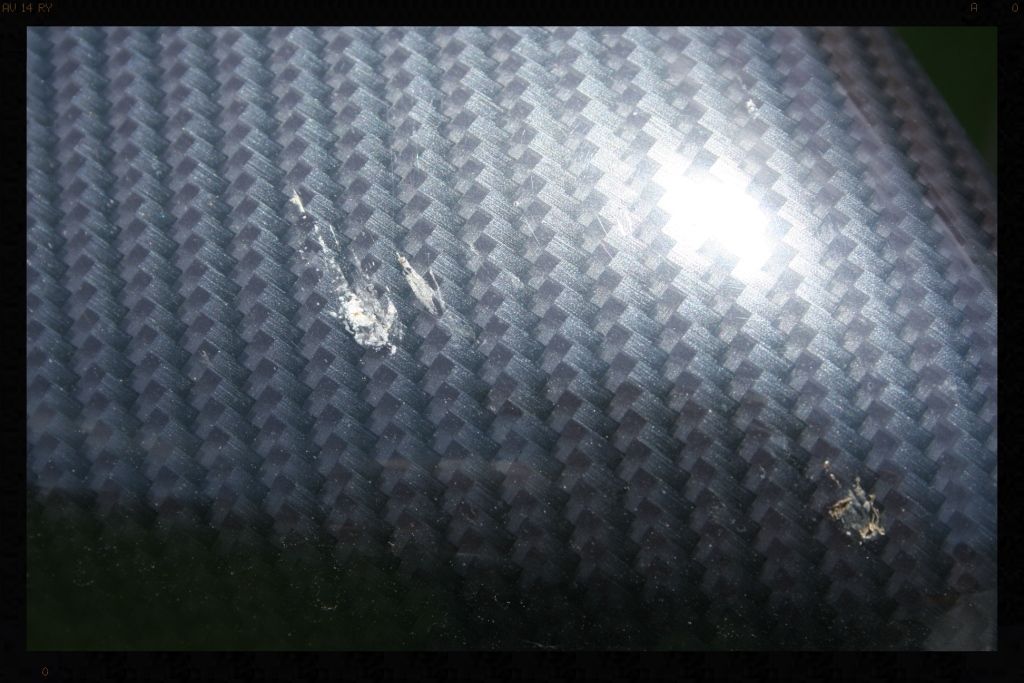
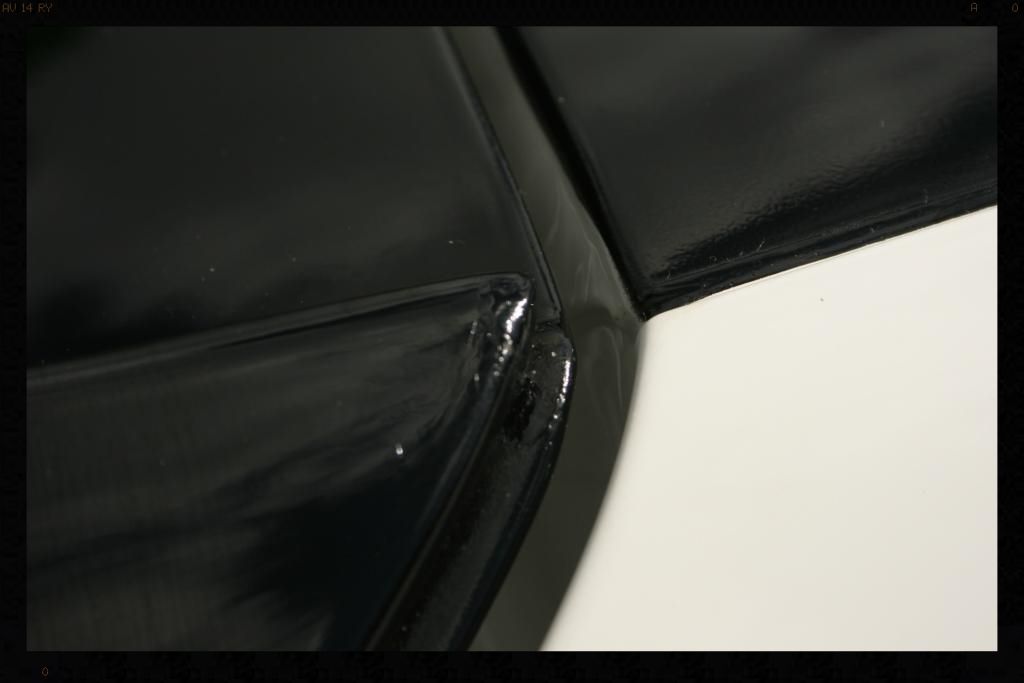
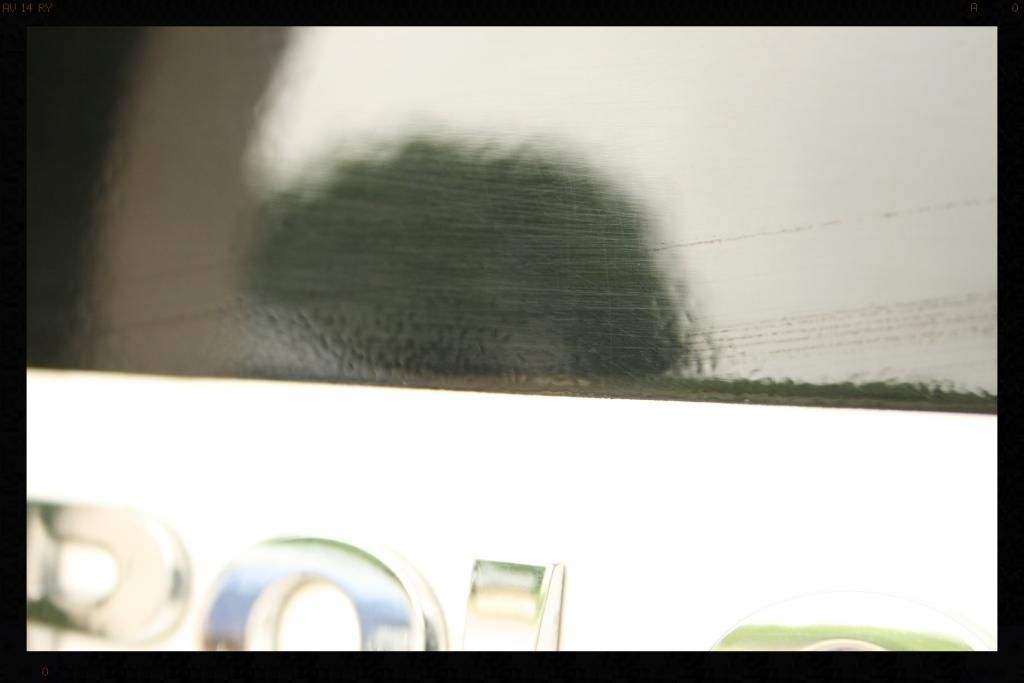
In the pic below you can see the hole in the spoiler, and to the right of that, how crooked the line of black paint is. You can also see just how wavy and poor the actual finish of the paintwork is
After some proper taping up and a bit of touching up with a paintbrush, this is where it is at so far. The hole has been filled with multiple layers of paint and the crooked line is now straight.
I am still waiting for the paint to properly dry, before wet-sanding it and then compounding/polishing it by hand, and with the owners agreement, we will finish this off slowly to allow each layer of paint to properly cure.
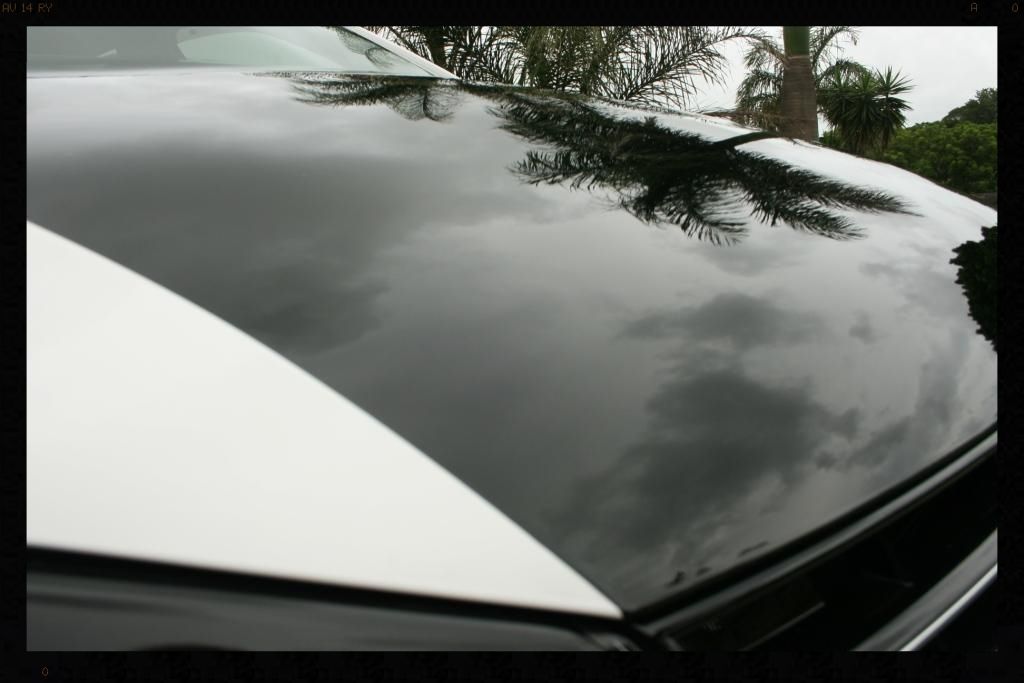
When tackling the runs on the back bumper it quickly became apparent that the black paint had been sprayed extremely thin - what seemed like one thick'ish coat, instead of multiple thin ones. This raised a massive red flag for I still had to sort out the bonnet, roof, lower bumper, a section of the boot and the spoiler, all of which had been painted in the same black 2K paint, with no clear on it.
An improvement was made in the runs but they are by no means completely removed. These are not the best pics - sorry. ops:
Before
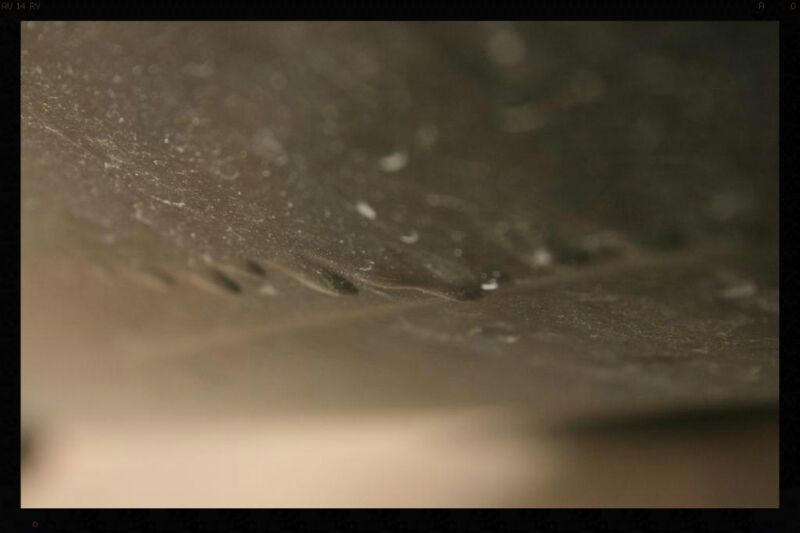
After
I then got to work performing some test spots to dial in a combo that would remove as little paint as possible while still getting the paint looking how the owner wanted it. We had spoken at length and he really wanted the black 'proper'
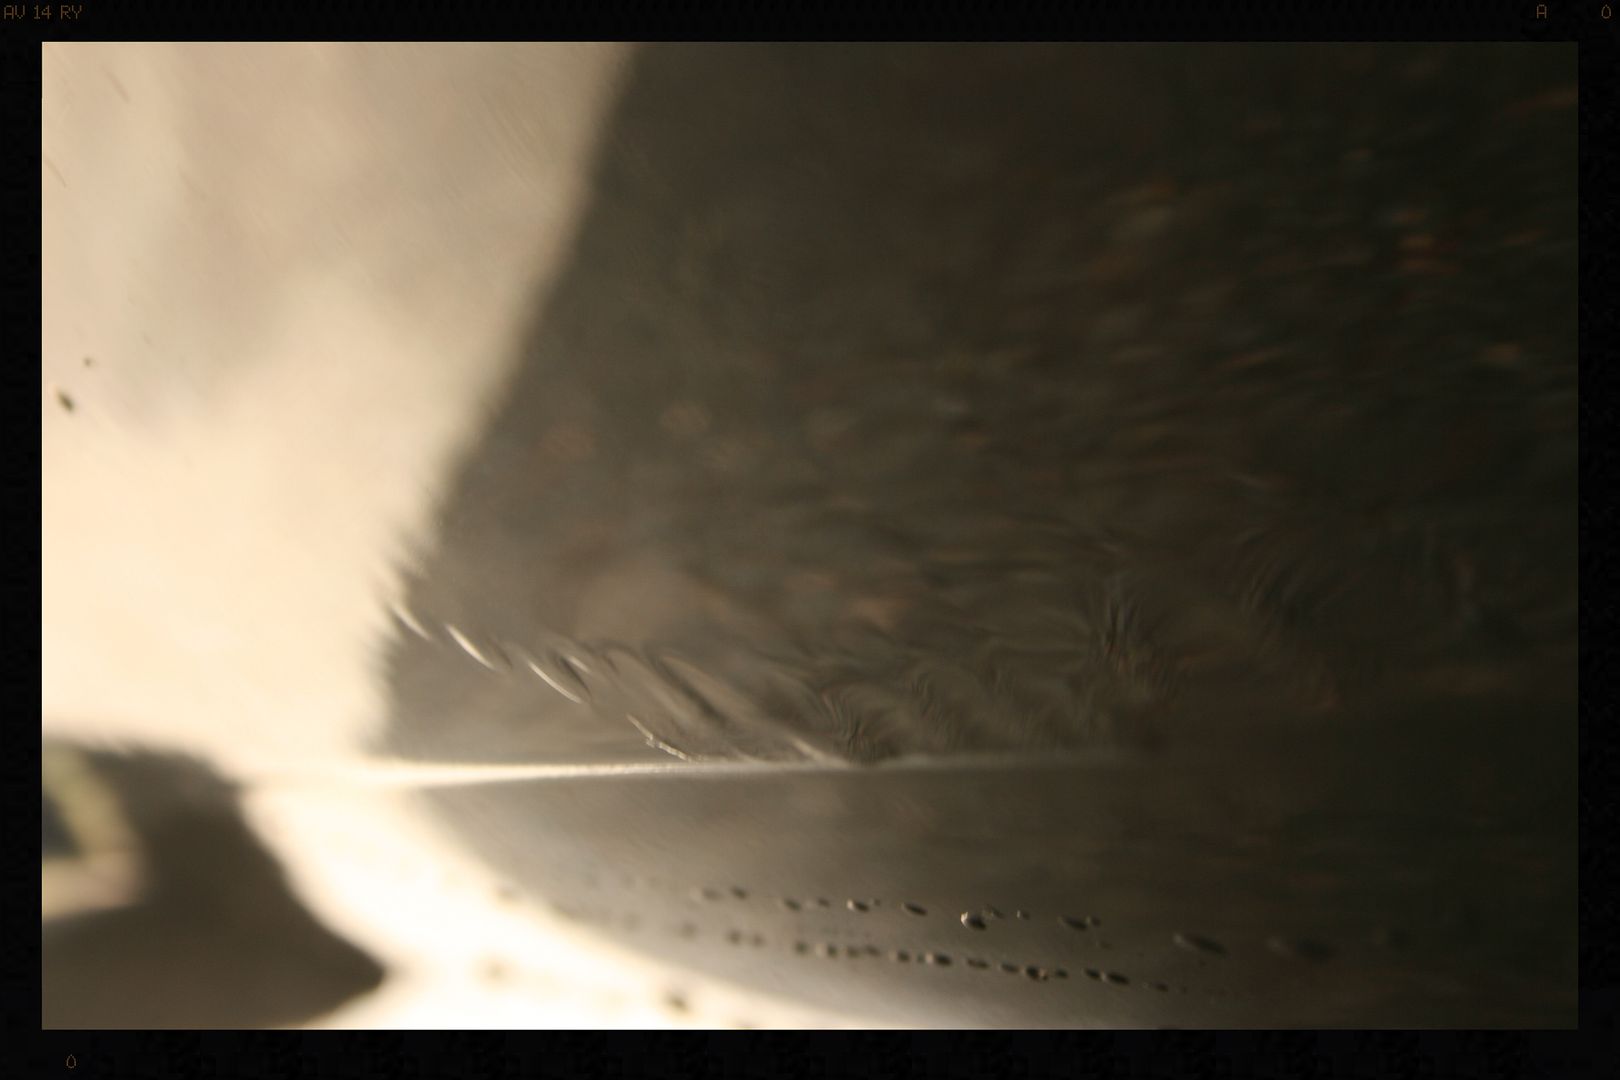
What you are seeing below on the pad is the black paint that has been (polished) abraded off the car, combined with some polish residue. This is happening because there is no clear coat on the car. The reality is though, when polishing a car with clear coat, the same thing happens - you just cannot see the abraded paint on the pad, because it is clear.
So, whenever someone is polishing paint, it is critical to remove this abraded paint from the working surface of the pad often, or you invariably land up 'grinding' this paint back into and over the paint you have just polished. No way to achieve a flawless finish! My preferred method is blowing it out with compressed air, and changing to clean pads often. I think I used 8 pads just on the black paint sections.
Products used
Compounding - Menzerna FG400/LC Orange pad/DA speed 3.5
Polishing - Menzerna SF4000/ LC Tangerine pad/ DA speed 5 followed by Chemical Guys Blacklight /LC Crimson pad / DA speed 4
These 2 pics are the result of the compounding step only.
Saturday
Once I had completed restoring the black paint I set about doing the same to the Candy White Paint.
Products used
Polishing - Scholls S3 Gold/ LC Tangerine pad/ DA speed 4.5
All was going well until I got around to the drivers side of the car. The rear door had been dinged and had been to the panel beater (I am not sure if it is the same place that did the spraying/polishing of the black) and the paint job on the rear door, and where it was blended into the front door really threw me a curve ball.
The Scholls S3 Gold simply stopped working and I then proceeded to test every pad/polish combo I have in my arsenal from a black finishing pad, up through foam polishing pads, foam cutting pads to MF pads, combined with Menzerna SF4500/SF4000/PF2500/FG400 and Megs UC. Nothing worked.
It was almost as though the damage was in the base coat or maybe it had something to do with the actual finish of the clear? I dunno?
The best I could do was to glaze this area and I used some Poor Boys White Diamond with some (little) improvement to the appearance of the paint.
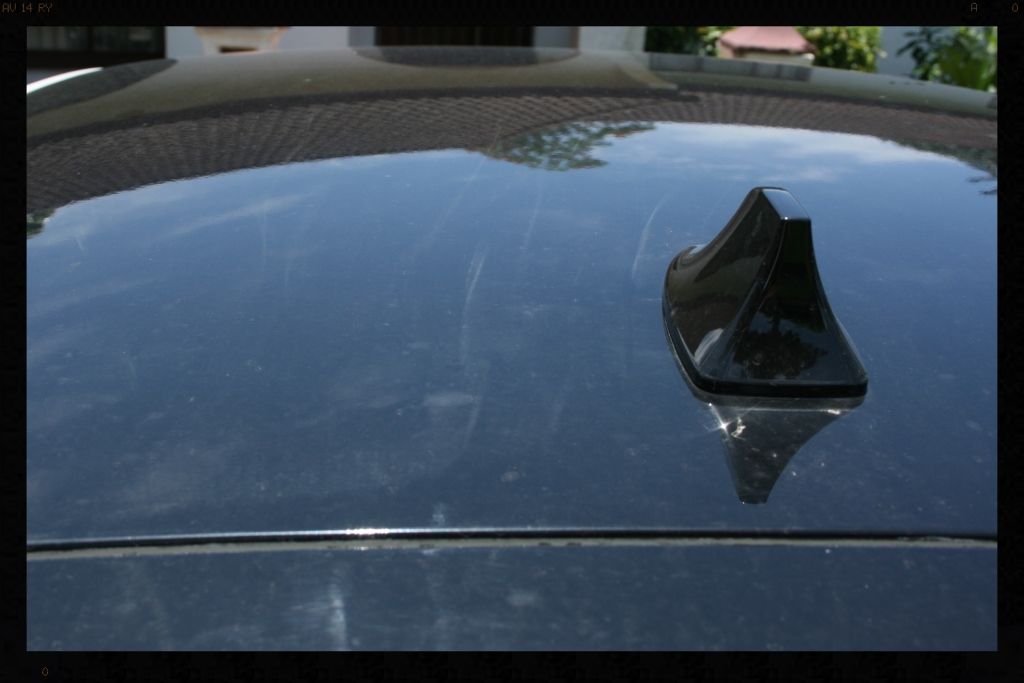
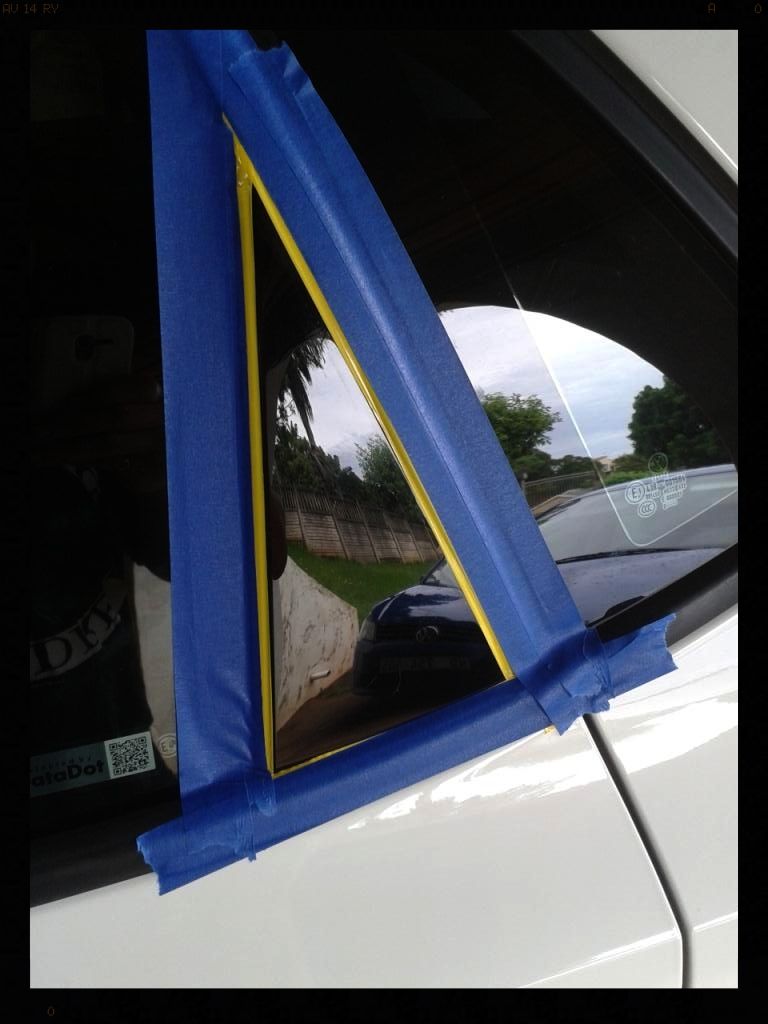
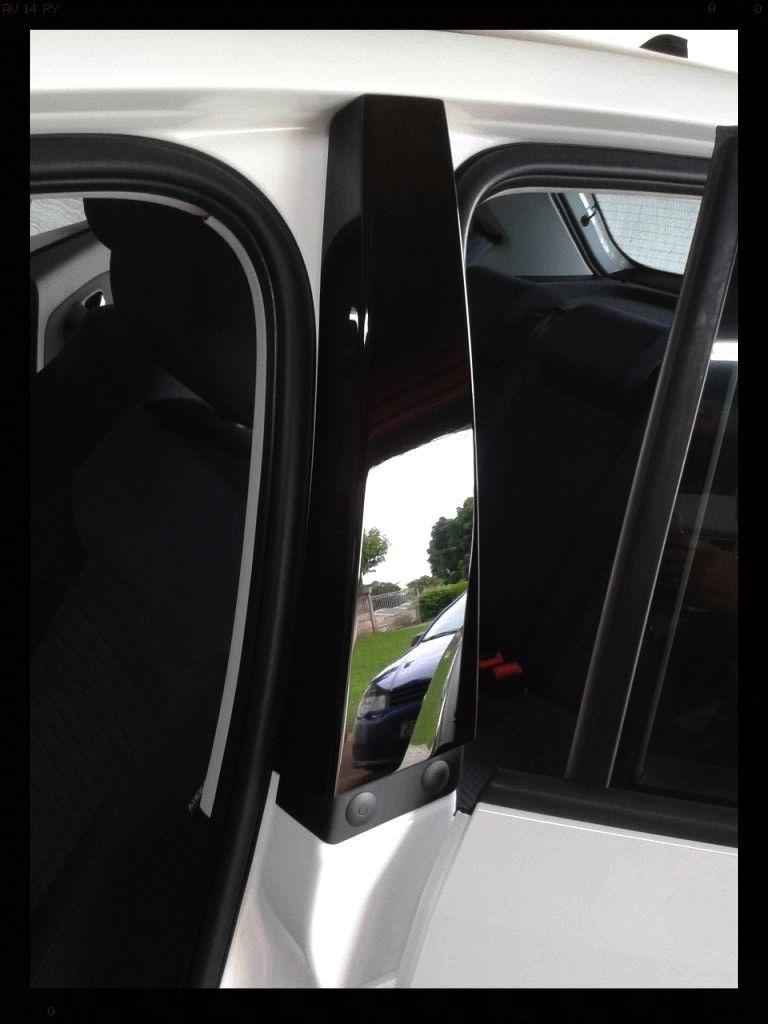
The B-Pillars, the small triangle bit on the rear window and the taillights were then polished
Products used:
Swirl Removal - Menzerna PF2500 / LC White CCS 4'' pad / DA speed 3.5
Final Polish - Menzerna SF4000 / LC Black CCS 4'' pad / DA speed 3.5
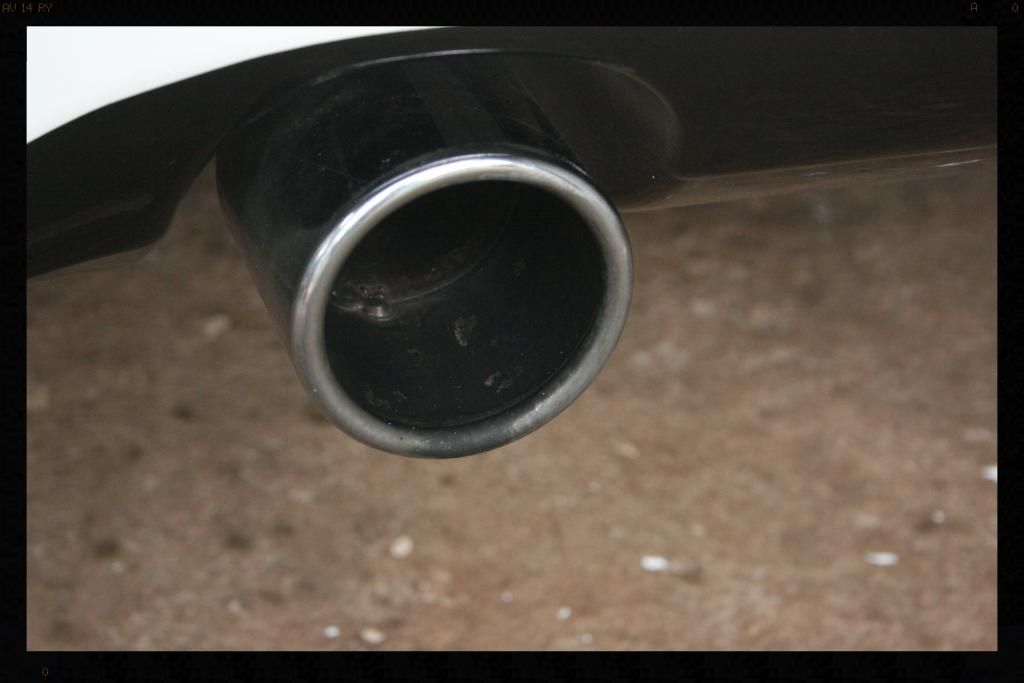
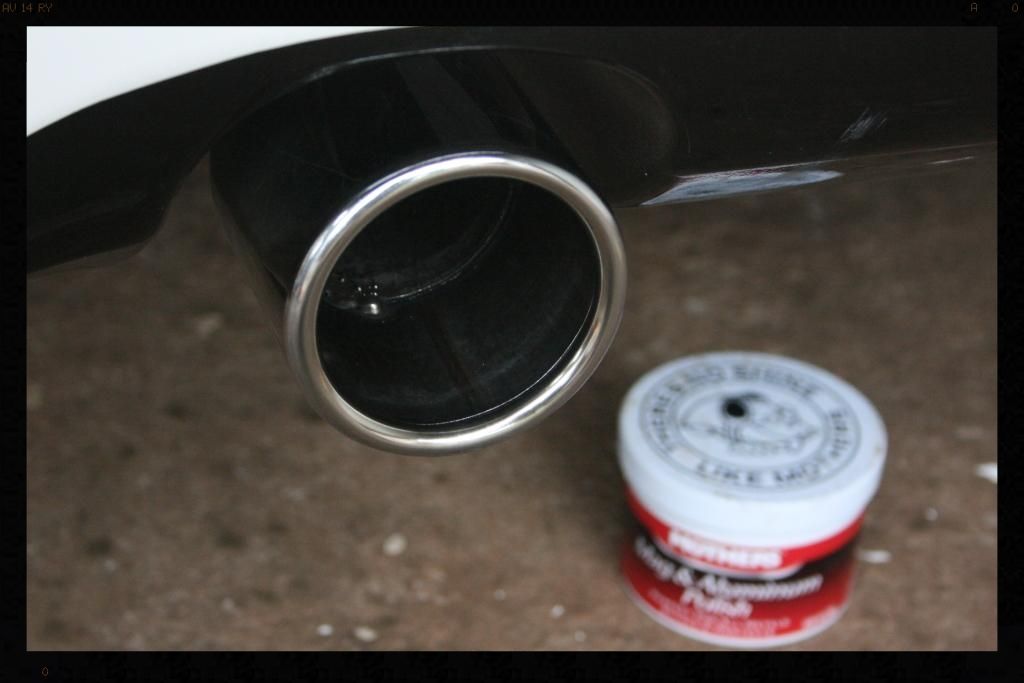
I then tackled the exhaust tips
Products Used:
Mothers Aluminium Polish / Mothers Power Ball mini / Drill / MF Towels
Before
After
At this point I switched to the interior
Process:
Blow out with compressed air
Carpets - Vacuum
Seats - Vacuum, Scotch Guard
Interior Trim - Smartwax Smart Dressing
A final foam wash to remove any polishing oils and dust generated during vacuuming the interior was done and the car dried. Once dry a coat of Menzerna Powerlock was applied, left to haze, buffed off and left to cure over night.
-
Super Member
-
Super Member
-
Re: Candy White Polo 6R - Detailed by Lawrence
Wow, I don't think I have ever seen a car with such terrible work done by a body shop! They did not execute one step properly! Shame on them!
Nice efforts on bringing the car back to life. Although not perfect it is surely better. Nicely done Lawrence.
BTW, these are paint run killers....
http://www.autogeekonline.net/forum/...-k-1000-a.html
Mike
-
Super Member

Re: Candy White Polo 6R - Detailed by Lawrence
Outstanding work, as usual, Lawrence!
-
Super Member

Re: Candy White Polo 6R - Detailed by Lawrence
Great save car looks great 
-
Super Member

Re: Candy White Polo 6R - Detailed by Lawrence
Uhhhh, yeah...NOW THAT CAR LOOKS LIKE IT ONLY HAS 20km on it! WOW great job.
-
Super Member
Re: Candy White Polo 6R - Detailed by Lawrence
Thanks for all the kind words guys.
Smack, I would love to have had access to the unigrit blocks, however there is no local supply, and shipping via AG to South Africa is ridiculously expensive.
Maybe at some point I will figure out a way to get all the nice stuff you guys have access to over here without breaking the bank.
-
Junior Member

Re: Candy White Polo 6R - Detailed by Lawrence
Looks GREAT!!!! I ♡ VW
VW POLOS ARE NOT SOLD HERE IN THE USA :-(
-
Super Member
Re: Candy White Polo 6R - Detailed by Lawrence
 Originally Posted by vwfreak

Looks GREAT!!!! I ♡ VW
VW POLOS ARE NOT SOLD HERE IN THE USA :-(
Thanks
Yeah I too am a VW nutter - am actually the chairman of the local section of our National VW Club (will PM you the link if you want to check out our forum etc).
Actually this is where most of my detailing work stems from, so I tend to do a lot of dubs, Audi's and Seats....
Similar Threads
-
By lawrenceSA in forum Show N' Shine
Replies: 24
Last Post: 09-29-2016, 02:44 AM
-
By lawrenceSA in forum Show N' Shine
Replies: 11
Last Post: 03-18-2015, 04:28 PM
-
By lawrenceSA in forum Show N' Shine
Replies: 8
Last Post: 05-10-2013, 09:12 AM
-
By lawrenceSA in forum Show N' Shine
Replies: 8
Last Post: 02-28-2013, 09:44 AM
-
By lawrenceSA in forum Show N' Shine
Replies: 8
Last Post: 10-23-2012, 02:23 AM
 Members who have read this thread: 0
There are no members to list at the moment.
Posting Permissions
- You may not post new threads
- You may not post replies
- You may not post attachments
- You may not edit your posts
-
Forum Rules
|
| S |
M |
T |
W |
T |
F |
S |
| 31 |
1
|
2
|
3
|
4
|
5
|
6
|
|
7
|
8
|
9
|
10
|
11
|
12
|
13
|
|
14
|
15
|
16
|
17
|
18
|
19
|
20
|
|
21
|
22
|
23
|
24
|
25
|
26
|
27
|
|
28
|
29
|
30
| 1 | 2 | 3 | 4 |
|


 Reply With Quote
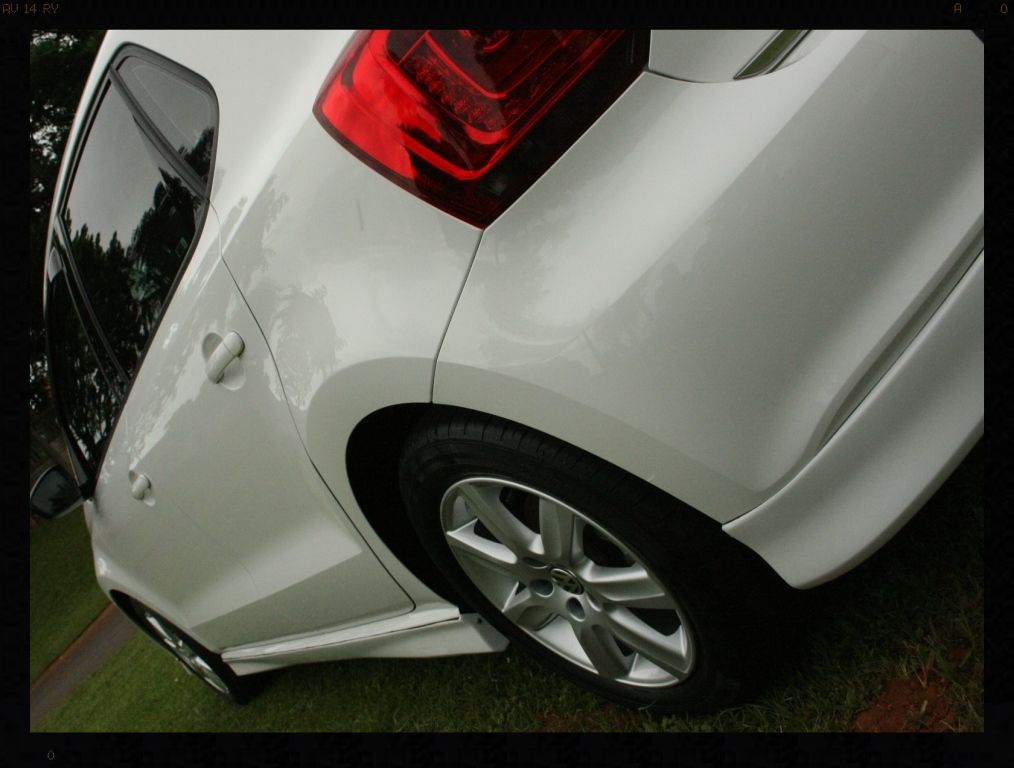


Bookmarks