


 Thanks:
  Likes:
  Dislikes:


Completion of my supervisors Ford truck. At first it didnt seem that bad and I went light but then after one pass I realized that I was going to have to get the strong stuff out. In reality though, if I would have wet sanded like one suggested that would have saved lots of time but then again I think I saved some CC on the truck by doing it this way. Time was not an issue so I took my time and tried different combinations.
Oh yea the owner did not want me to do the entire vehicle, just wanted the spot to be polished up as best as possible.
So here are the steps:
Washed
Washed using Megs Gold Class wash. Im quite satisfied with this stuff so I keep using it.
Clay
Used Pinnacle Ultra Poly Clay with Pinnacle Clay Lubricant. I cant say enough about this stuff and made such a difference after I clayed the area that the owner was quite impressed with it and asked where I got it from. I did the area that the owner wanted me to concentrate on and when I was done he took it and used it on some spots of the truck. At the end he ended up taking the clay home.
Polish with PC and Edge 2K pads (lower part of the panel)
I first started off with XMT # 3 with orange pad. The first pass was good but the second pass was even better. The owner was standing over my shoulder anxious to see how this would turn out and on the first pass he said not bad second pass he said are you kidding me, I cant see the scratches anymore!. So the lower part was a peace of cake.
Polish with PC and Edge 2K pads (upper part of the panel really bad area)
Now for the fun area, after I claying the area I realized that the scratches were quite deep but I didnt want to wet sand. I told the owner if he would prefer I could wet sand and he said no, that he would rather have the scratches then to remove to much CC. So the first pass was with XMT #3 with orange pad, first pass hardly noticed any difference so I went a little more abrasive. I went with XMT #3 with Green pad, this removed some scratches but still not strong enough and that was it for the PC moved on to phase two of the polishing.
Polishing with the rotary and Edge 2K pads (still upper part of the panel really bad area)
At this point I started to smile lots because I was given green light to use the rotary from the owner oh who was still watching over my shoulder. So came out the Metabo rotary with XMT #4 and green pad. Now Ive heard great things of XMT #4 and man it lives up to its reputation. One pass was all it needed. The owner who was eagerly looking over my shoulder was amazed at the difference and said wow, what a difference.. He wasnt the only one please with it, I was really happy that I was able remove the heavy scratches now dont go thinking that its a 100% because its not more like 90% better but the owner said he could live with that so thats where I stopped. You can still see two deep scratches but its only two big scratches and the owner didnt want me to remove any more CC and he was more then pleased with the results.
Finishing polish and Edge 2K pads
After all the harsh scrubbing I did I went over the area with XMT #2 with orange pad and then XMT #1 with blue pad. Results were satisfactory, well at least the owner was blown away with the products and applications.
Glaze applied and removed by hand
I used XMT Glaze, the owner didnt know very much about the Glaze and when he saw me putting it on and then removed it he was impressed. Owner picked up the bottle and started reading it. I put two coats of Glaze in the small area. Results were really good considering what I started with.
Wax applied and removed by hand
I used Liquid Souveran on the truck because of its color. I told the owner to pay close attention to this, so he got in closer to see how I applied it and removed. I put the first coat of Liquid Souveran and when I removed he was really impressed with the results so impressed that he requested another coat. So I applied two coats of Liquid Souveran.
So there you have it fellow Geeks, I used the entire XMT line up and Im very pleased with it. XMT #4 has a very nice bite and I started from lease abrasive to most abrasive and I ended up with 90% results. I was shooting for 95% but two scratches were really deep and I knew I wasnt going to remove them with out doing any wet sanding. The owner was happy and Im happy to report that if you own XMT line up you got a really fine line up. Im very satisfied with the XMT line up and XMT #4 really does complete the line up.
Oh yea I didnt get paid but it didnt really take me that long about 3hrs all together and that was because I was experiment lots with different combinations. The owner said that he may get me to do the entire truck when the weather heats up, it wasnt that worm today about +1. Thats good enough for me to detail.
Now to the pictures.
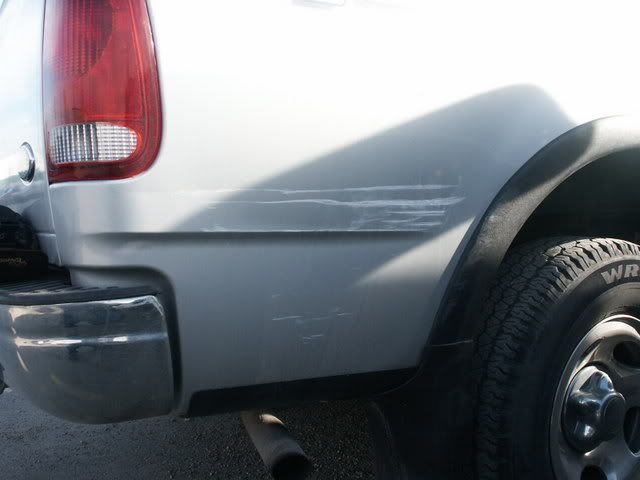
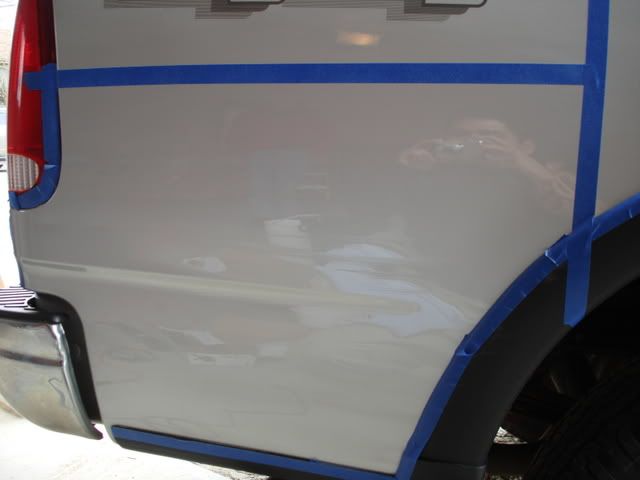
Before
After
This picture is after doing the lower panel only, not the top panel which happens to be the worse panel and you can see the long scratches. As you can see the lower panel is at 95% compared to the before pictures, I'm pleased with how the lower panel turned out. Oh and that is using the PC and the green pad just like you can see on the reflection.
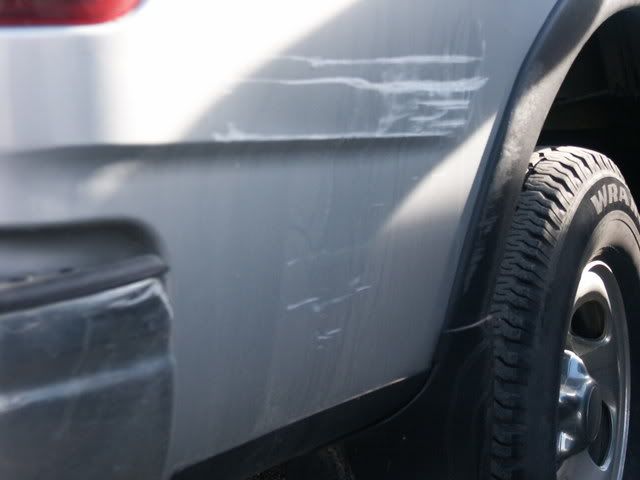
Still lower panel
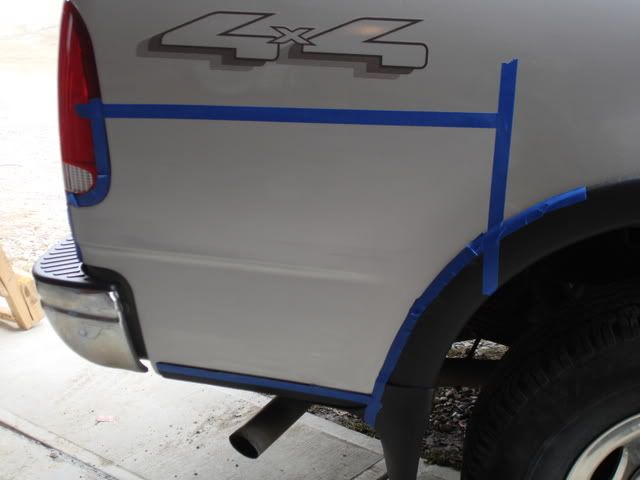
This is the results of Green Edge 2K pad with XMT #3 on the upper panel the PC didn't really do much to it. As you can see scratches still there.
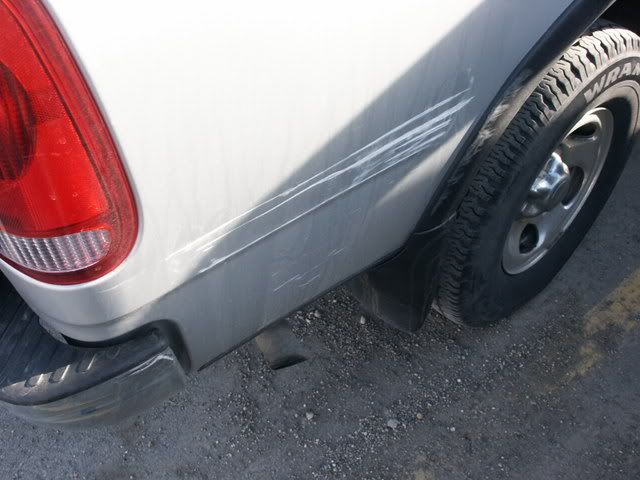
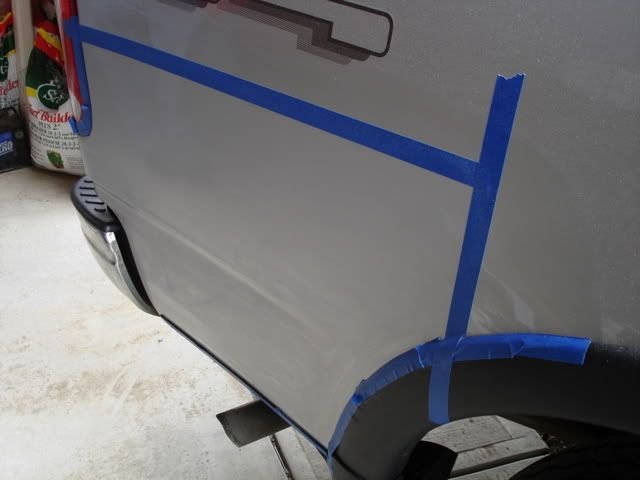
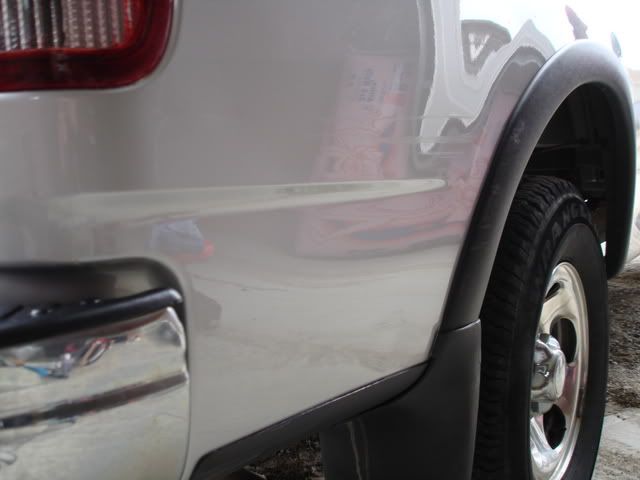
This is with the rotary and XMT #4, much betteroh yea see the red jacket well that's the owner/my supervisor at work. He was standing right behind me the entire time lol.
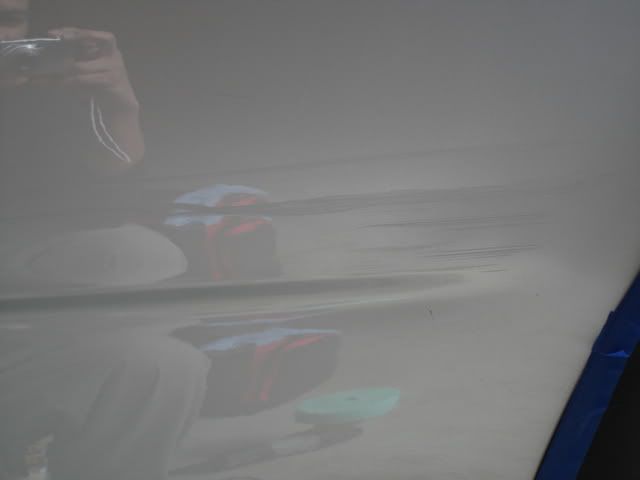
Finished results with 2 x Glaze and 2 x Liquid Souveran...I'm very pleased with the results.
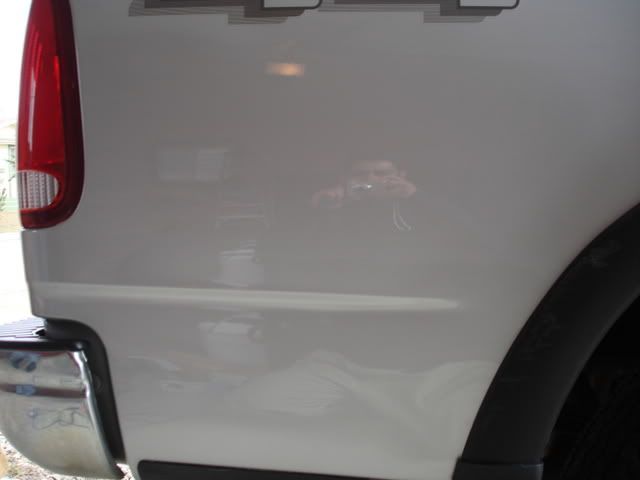
I wanted to show you this one becuse see the red jacket standing behind me, well that's the owner/my suppervisor at work and he was watching every thing I did. He's very impressed with the products.
This picture showes the deep scratches, I didn't get it 100% but I would say I got it about 90% or perhaps more but the owner and I were really impresed with the results and I was kissing my Metabo when I was done
Overal I'm very pleased with my XMT line up and I'm extremely happy with my metabo. Please don't think that I'm an expert or that I'm a pro becuase I'm new at this. The reason I say this becuase I remember when I first joined this place I knew nothing about detailing and well look at me now.
I welcome any feed back, anything you can think of I should try next time feel free to share please. I love feed back, just as much as I love pictures.
Oh sorry for the lengthy write up.


|


 Reply With Quote
 Loved the write-up/review. Not lengthy at all. You had lots of info in there! Great work with your Metabo!! I'm still not ready for that step! You da Man!!


Bookmarks