 Thanks: 0
 Likes: 0
 Dislikes: 0
-
 2001 Ford F250 Two Step Correction 2001 Ford F250 Two Step Correction
(I had this whole writeup writing 10 mins ago and accidently hit the back arrow. Guess I'll be writing in word first from now on... lol)
Okay, so where do I start? I got this detail through my dad. He knew of a guy who wanted to get his truck done before going down south to the Florida Keys. We talked for a few minutes on the phone and he finally was able to stop by. I knew that it had water spots, but definitely underestimated how hard they would be to remove. He uses city water and even with it being filtered, it leaves some horrible water etching if not taken care of quickly! I've never dealt with it, but I figured that a 1 step correction would be sufficient and quoted him $200 (Boy was I wrong on the 1 step part). Let's just say I did an entire step of M105 for free..

Products Used:
Pressure Washer
Foam Cannon
GG DA (Used 5" BP & 3" BP)
Cyan H/T Pads & M105
Orange H/T Pads & D151
ONR
DP Clay
#0000 Steel Wool & Mother's Metal Polish
Meg's Hyperdressing
Meg's APC+
3/4" Painters Tape
Stoners Glass Cleaner
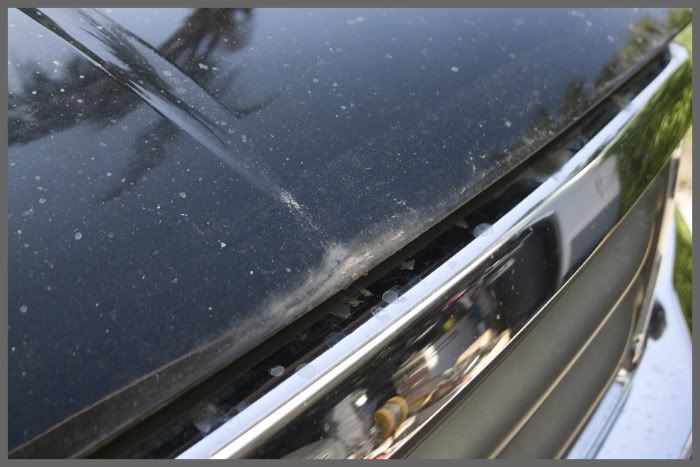
Let's get started. This was the damage found under the bug shield and overall condition of the paint upon arrival.
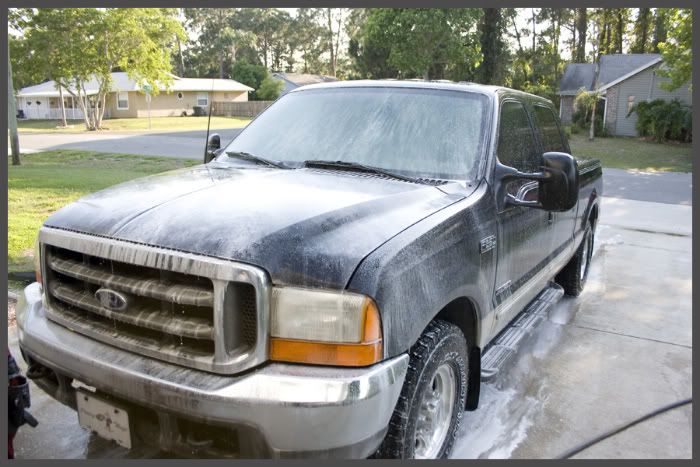
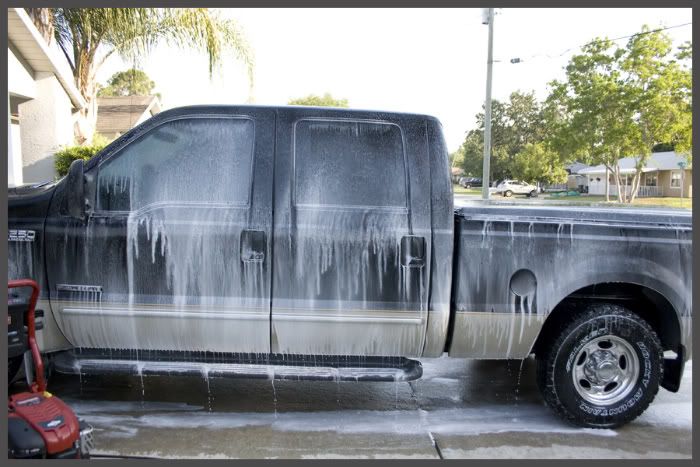
Foam Cannon Wash (3/4 Dawn & 1/4 DP Xtreme Foam)
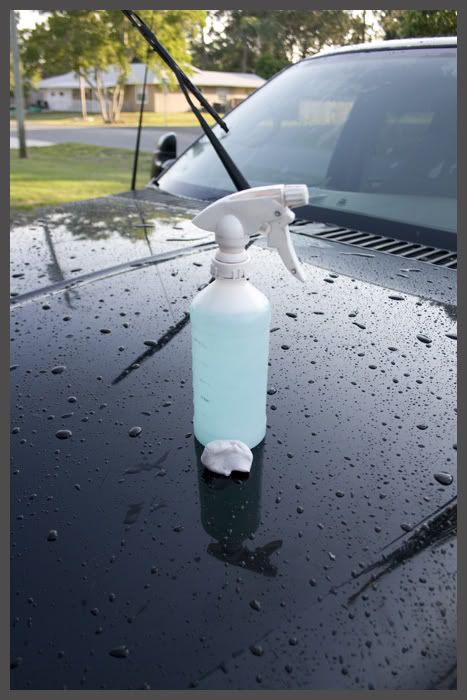
ONR Clay Lube Mix & DP Clay
After just half the hood, I could tell this was going to be a long day..
Here we have city water stains (after clay). You live and you learn. I learned that this is an easy 2 or 3 step correction.

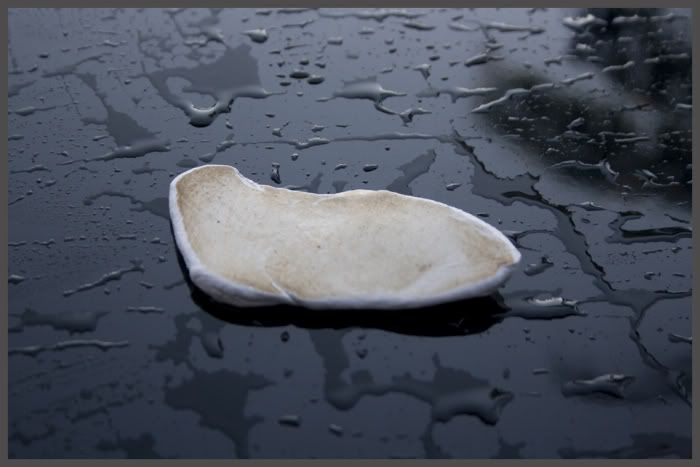
Look what I found from the previous detailer!! How do you miss this?
After working with D151 for about 10 minutes, I realized, I wasn't even touching the spots. I picked up M105 and my Cyan pads and got started.
Just the start of a promising finish. 50/50 Hood Shot:
This is as good as I could get the hood. It appears that the bug gaurd has sat against the paint for so long, it has ruined the clear in those contact spots.

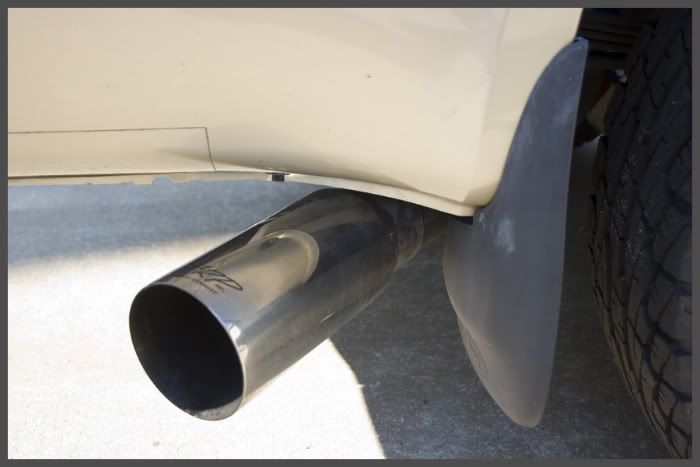
Exhaust & Trim (Before)
Now comes the fun part, the AFTERS!
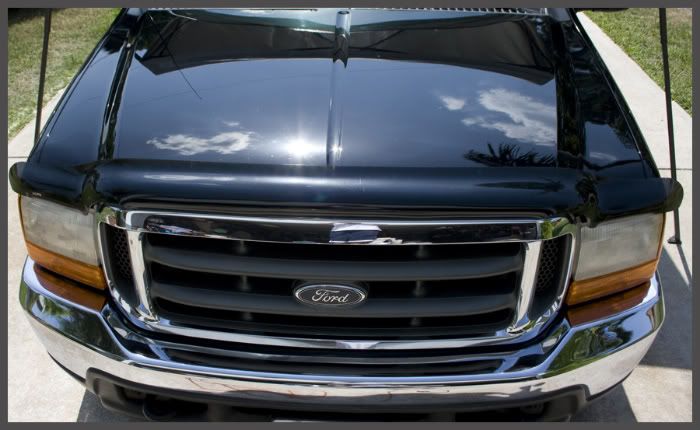
First up, is the front chrome grill and bumper

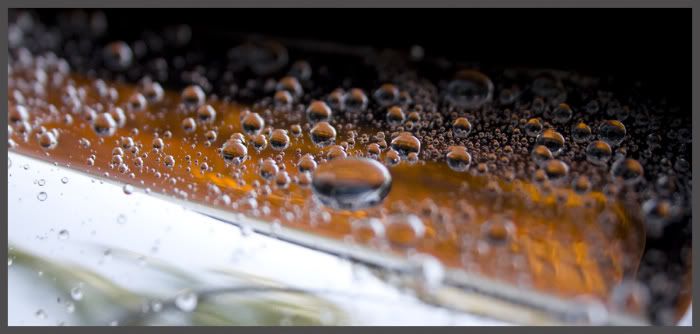
Look at that water bead!
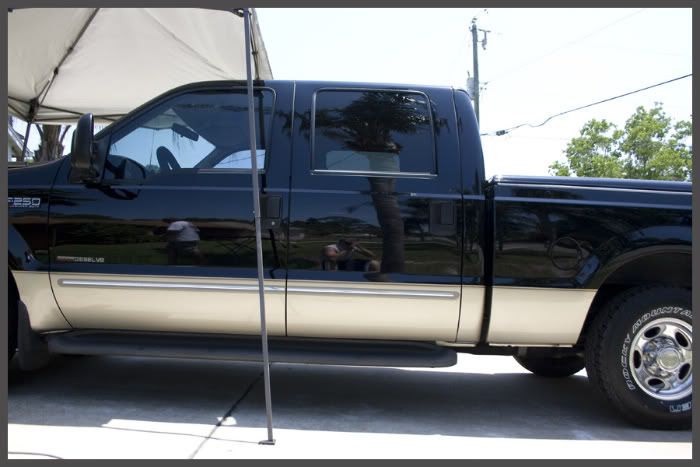
Passenger Side
Drivers Side
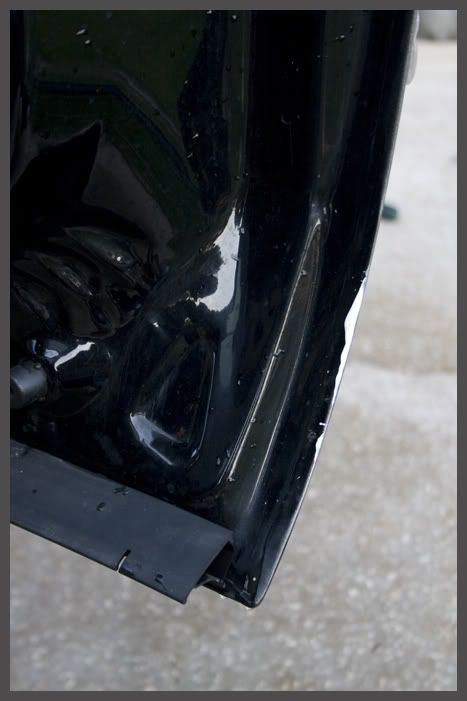
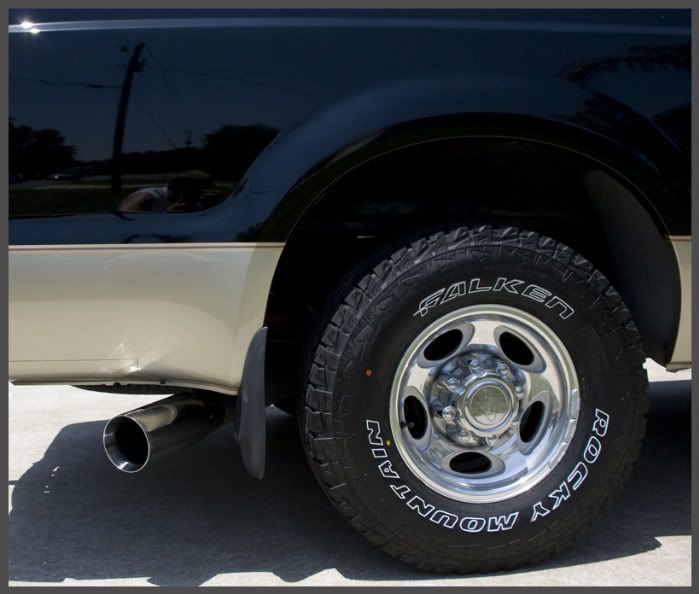
Exhaust & Bed Done (Trim was done later)
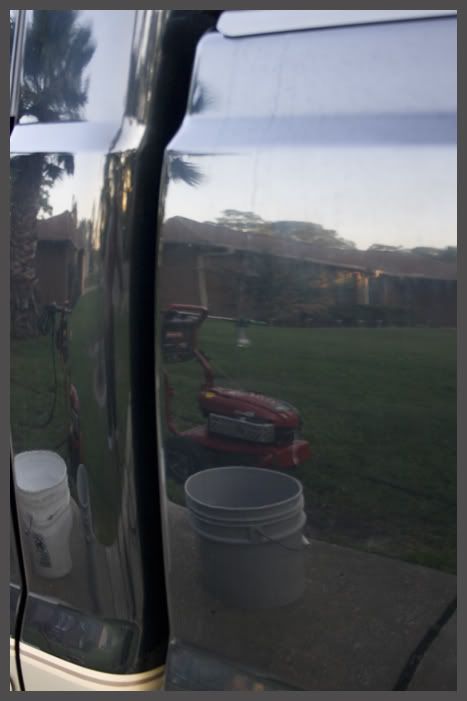
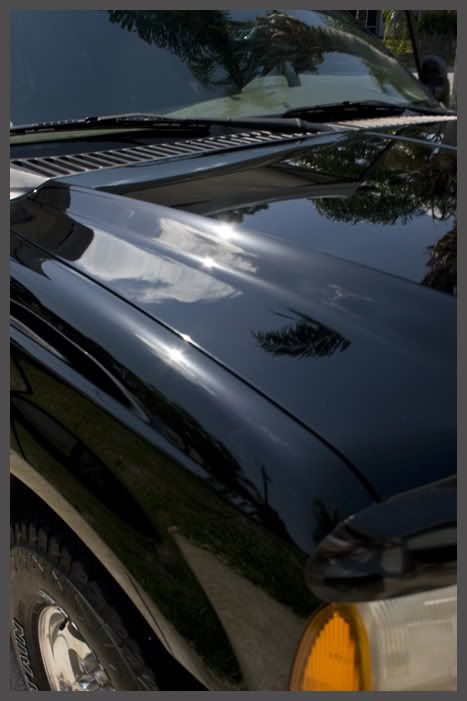
Hood Shots
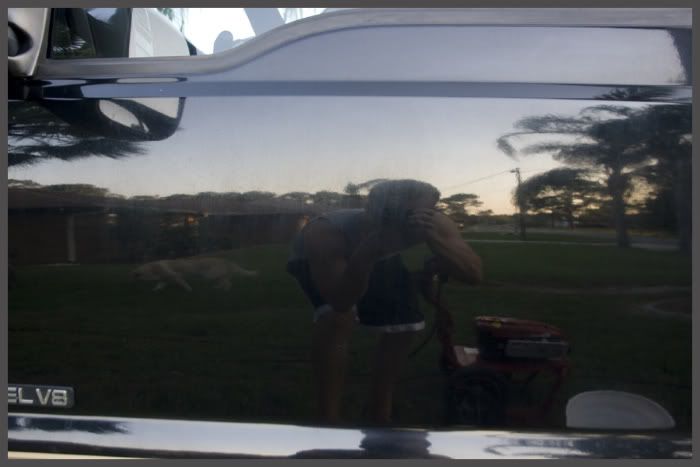
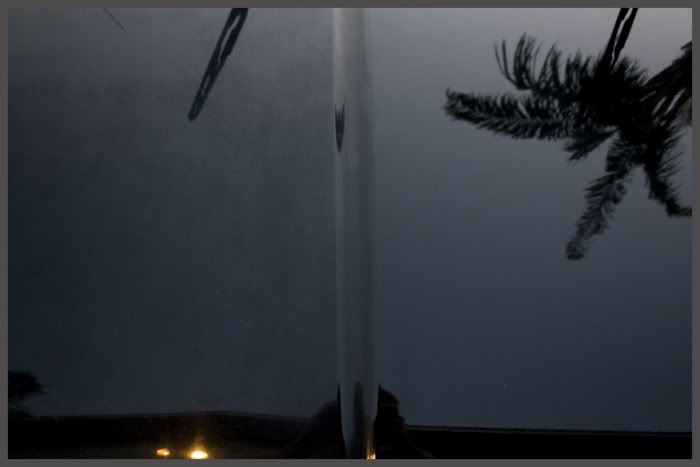
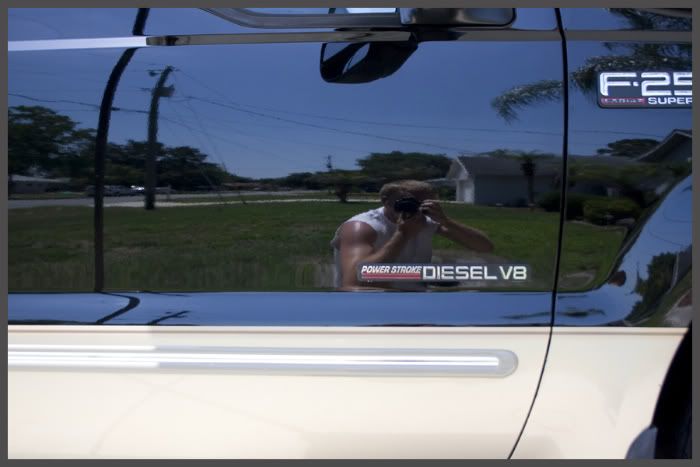
And my favorite reflection shot:
With this being only my 2nd correction besides my own car, I was very happy with the results. The owner seemed to be very happy as well. Any comments, questions or suggestions are welcomed. Thank You!
-
Super Member

Re: 2001 Ford F250 Two Step Correction
Great job, AWESOME PHOTOGRAGHY!!!
-
Super Member

Re: 2001 Ford F250 Two Step Correction
Nicely done!  That looked like it would have been a good job for the Meguiar's DA Microfiber system. At Detail Fest, the Meguiar's team had a black Corolla (maybe a couple years old) that had water spots on one side that were probably some of the worst I've ever seen. They said it had been sitting by a sprinkler for a week. But their new system made very short work of the defects - very impressive. Did you use the wax in D151 as the LSP or did you follow up with something else? That looked like it would have been a good job for the Meguiar's DA Microfiber system. At Detail Fest, the Meguiar's team had a black Corolla (maybe a couple years old) that had water spots on one side that were probably some of the worst I've ever seen. They said it had been sitting by a sprinkler for a week. But their new system made very short work of the defects - very impressive. Did you use the wax in D151 as the LSP or did you follow up with something else?
Shane
2021 Honda Civic Hatchback EX Lunar Silver
-
Re: 2001 Ford F250 Two Step Correction
 Originally Posted by Ted S.

Great job, AWESOME PHOTOGRAGHY!!!
Thank You Ted
Originally Posted by CieraSL
Nicely done! That looked like it would have been a good job for the Meguiar's DA Microfiber system. At Detail Fest, the Meguiar's team had a black Corolla (maybe a couple years old) that had water spots on one side that were probably some of the worst I've ever seen. They said it had been sitting by a sprinkler for a week. But their new system made very short work of the defects - very impressive. Did you use the wax in D151 as the LSP or did you follow up with something else?
The Meg. DA Microsfiber System is on my shopping list right now. I've spent what I can for now, so I'll have to pick it up in the near future. Meghan, DA System BOGO Mix-n-match?  As for the lsp, I was going to use Collinite 845, but the D151 finished no nicely, that I decided to leave it. The D151 took out any marring created by the Cyan and M105, and created very deep glossy looking paint. As for the lsp, I was going to use Collinite 845, but the D151 finished no nicely, that I decided to leave it. The D151 took out any marring created by the Cyan and M105, and created very deep glossy looking paint.
-
Super Member

Re: 2001 Ford F250 Two Step Correction
Did a GREAT job!! 
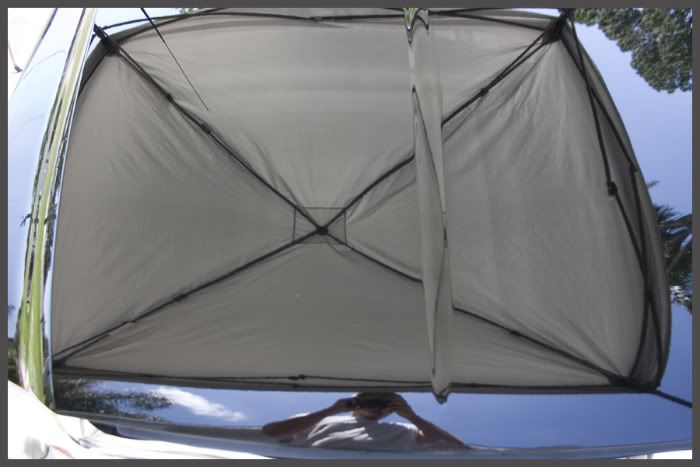
For 200 did it include detailing the interior? And how useful is the tent? I was thinking about picking one up.
Using Cyan with M105 created marring/holograms?
-
Looks great!!! Awesome job
-
Super Member

Re: 2001 Ford F250 Two Step Correction
What a great turn around very nice
-
Re: 2001 Ford F250 Two Step Correction
Originally Posted by slickooz
Did a GREAT job!!
For 200 did it include detailing the interior? And how useful is the tent? I was thinking about picking one up.
Using Cyan with M105 created marring/holograms?
$200 Didn't include any interior work or the engine bay. The truck is rarely driven and the interior was really clean (only used for boating trips). The tent is very useful. Just move it to the area that you wanna work on, give it 5-10 minutes to cool the paint completely, and then you're ready to go. The Cyan & M105 finished pretty good, but for some reason, I was getting some marring in the paint. I'm still learning so I don't know what I was doing to get it (pressure, pad, temperature, pad compound buildup, etc). I could see it in the sun reflections so I just moved on to D151. If it would've finished without it, I would've just done Collinite 845 at that point.
Thanks Everyone! Gives me confidence to keep learning and taking on more projects.. 
Similar Threads
-
By coles_paint_correction in forum Show N' Shine
Replies: 6
Last Post: 07-23-2020, 10:37 PM
-
By AlexB01 in forum Show N' Shine
Replies: 8
Last Post: 07-24-2018, 08:39 PM
-
By Chase.Detailing in forum Show N' Shine
Replies: 4
Last Post: 06-14-2014, 12:06 PM
-
By Pureshine in forum Show N' Shine
Replies: 30
Last Post: 01-07-2014, 11:14 AM
-
By luv a shine in forum Show N' Shine
Replies: 9
Last Post: 10-08-2012, 02:04 PM
 Members who have read this thread: 0
There are no members to list at the moment.
Posting Permissions
- You may not post new threads
- You may not post replies
- You may not post attachments
- You may not edit your posts
-
Forum Rules
|
| S |
M |
T |
W |
T |
F |
S |
| 31 |
1
|
2
|
3
|
4
|
5
|
6
|
|
7
|
8
|
9
|
10
|
11
|
12
|
13
|
|
14
|
15
|
16
|
17
|
18
|
19
|
20
|
|
21
|
22
|
23
|
24
|
25
|
26
|
27
|
|
28
|
29
|
30
| 1 | 2 | 3 | 4 |
|


 Reply With Quote
Bookmarks