 Thanks: 0
 Likes: 0
 Dislikes: 0
-
Review: Dr. Beasleys Matte Paint Coating by Mike Phillips
Review: Dr. Beasley’s Matte Paint Coating by Mike Phillips
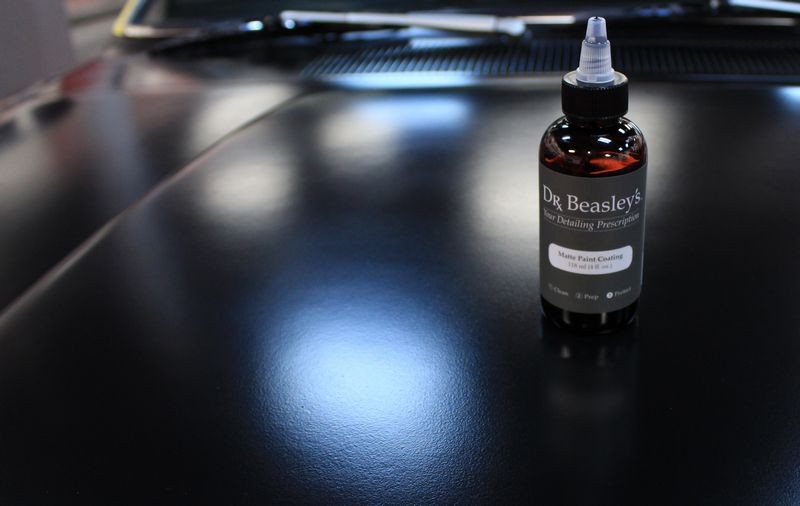
Dr. Beasley’s Matte Paint Coating
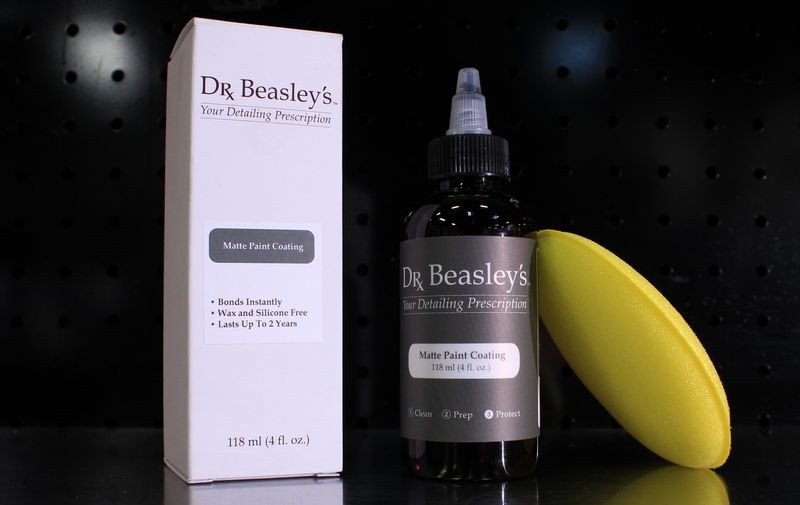
A while back ago Autogeek.com brought in a new product line from Jim Lafeber, the President of Dr. Beasley's Products. I had heard great things about their new matte paint coating and was both curious and excited to try it out. Now I don't get excited about things like upholstery cleaners, sure they're an important part of detailing cars but come on.... exciting?
When it comes to paint polishing though, or any part of the car that makes up the outside of the car and thus how the car looks, then yes, I get excited. And of course I've been telling people I'm a perpetual student for years now because the ONLY way to stay up with all the new technology being introduced at break-neck speed is to,
A: Have an open mind to new products or new technology.
B: Be connected online to a forum like AutogeekOnline.net
It takes both of the above plus... a natural curiosity about these kinds of things because heck, this is what we do... take diamonds in the rough and turn them into glistening gemstones. Except in this case, I don't want to turn the matte finish hood on this iconic muscle car to glisten. No - what I want is to find a product that will create what is called a
Deep dark sheen
And that's kind of tricky when working on matte finishes. So yeah... I'm curios to see if Jim's product works and if it does, how well it works.
Let's go back in time to May of 2017, just a few months ago. I had a new production tool to test out and review before the rest of the world would get their hands on it, the Makita PO5000C orbital polisher. I had tested the prototype about 2 years previously and like with Jim's product I was curious to see of the production version worked as good and even better than the prototype.
For these types of projects I always get something really cool to work on. Sure I could bet a silver metallic 4-door Honda Accord or a beige 2-door Camry simply by going out into the parking lot and borrowing a co-workers' car. But that's not how I roll. I like body lines that endure the test of time and outside a of a few new performance cars being made today, (Corvette, Mustang, Camaro), most new cars all look the same except for the badge on the grill and the deck lid.
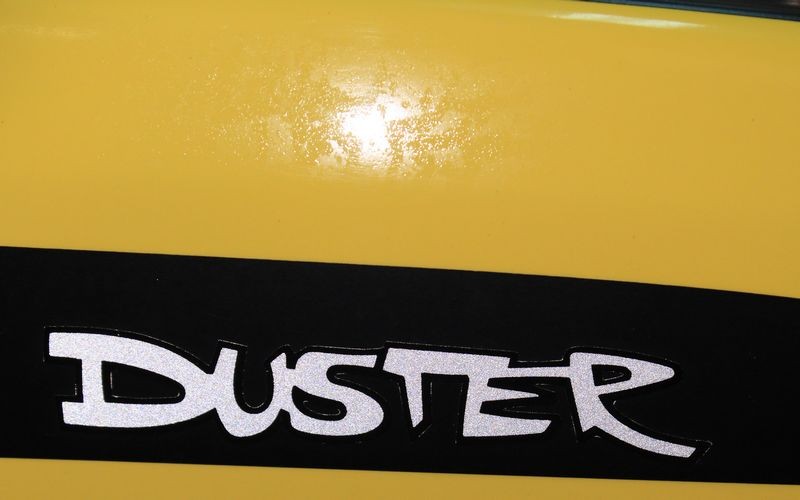
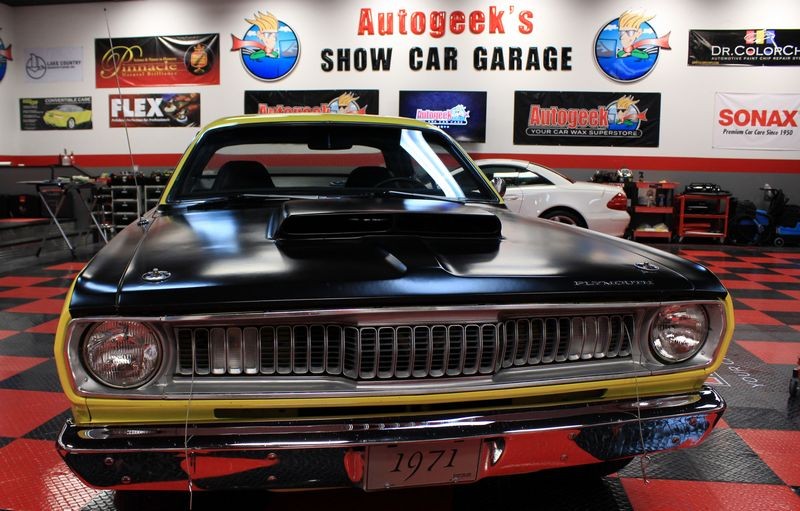
My very good friend Pall Grasso at Grasso Garage told me he had a 1971 Plymouth Duster in Lemon Drop Yellow with a 340 engine with a 4-speed and the very iconic Pistol Grip shifter. IF you know what I'm talking about then you know how cool these cars are. If you don't then watch Graveyard Carz with Mark Worman for a few seasons and he'll bring you up to speed.
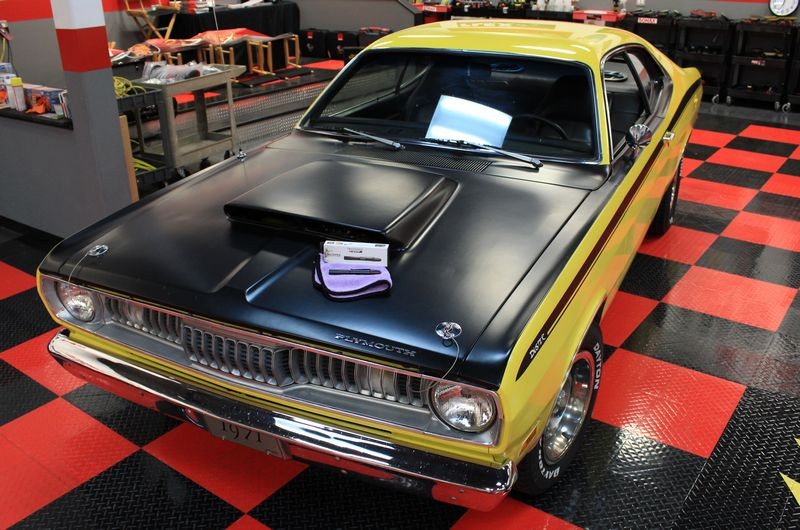
Here's the car after I detailed her....

But she didn't look like this when she arrived. Not only as the paint hammered but the incredibly cool matte black hood and aggressive alpha-male hood scoop looked horrible.
Here's the swirls in the paint....

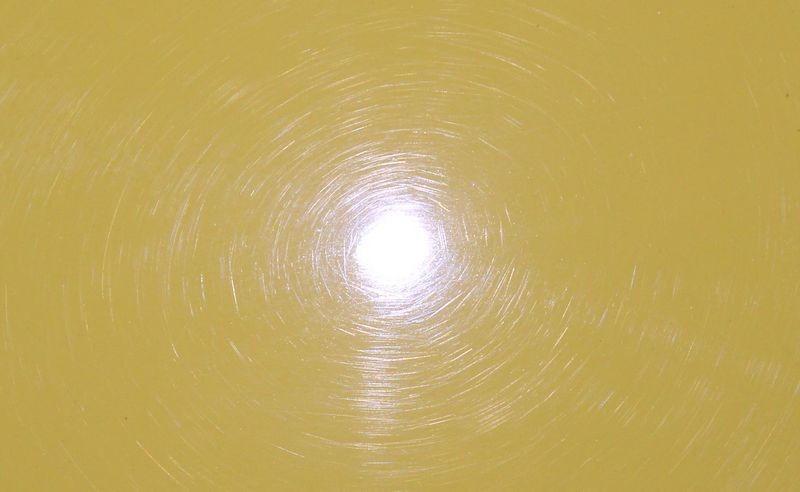
Which were everywhere....
And the paint had some type of mottling in it too....

So the paint on this car was a wreck!
Hard to say what the owner did for car care but whatever it was - it wasn't doing this car any justice. (or they bought it that way?)
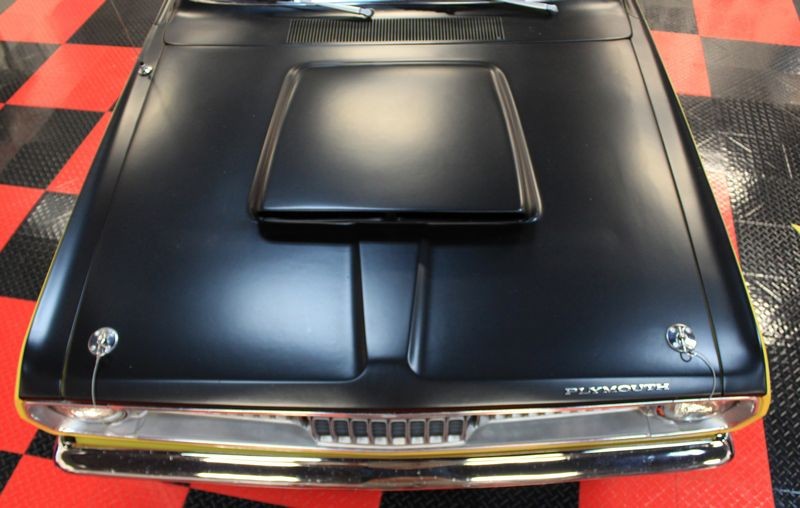
The hood
Now follow me.... just like the paint was a wreck on this car.... so was everything else and that includes the matte finish hood and hood scoop. I'm so glad I took these before pictures....
BEFORE
Here's how the hood looked when the car arrived....
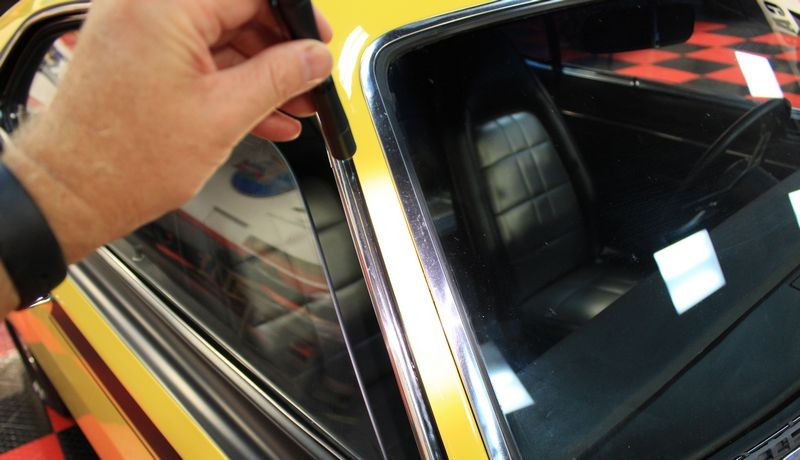
I used this car to showcase the SCANGRIP Matchpen light and below is a picture of the Matchpen light lighting up the matte finish and for those so inclined, I've included the link to my review for the SCANGRIP Matchpen light below the picture.

Review: SCANGRIP Matchpen Swirl Finder Light - Intense Swirl Exposer in a compact size by Mike Phillips
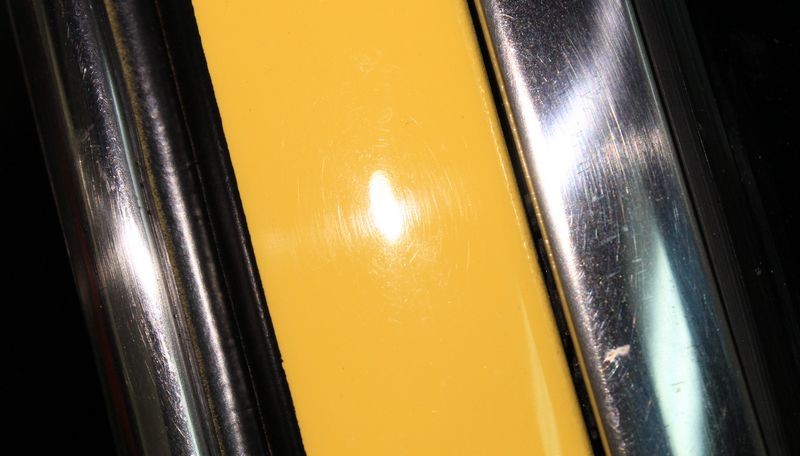
And again, from this angle shot, you can see the matt finish on this muscle car is dull and lifeless. While a cool feature, especially with the hood scoop and even better, the engine under the hood and hood scoop, fact is the matte finish was just plain UGLY.
Here's some before pictures showing what a dull, lifeless matte finish looks like... (pay no never mind to the swirl finder light)
Here's the hood scoop before....

In this shot I'm lighting up the matte finish using the SCANGRIP Matchpen to show how dull and faded looking it is.
So the above documents where I started from, an ugly looking matte finish on a really cool iconic muscle car. I know there are a lot of people in the same situation, that is they have a car that has matte surfaces on it but they simply don't know what to do when it comes to working on and maintaining these types of finishes.
Coming up next.... the amazing transformation!

-
Re: Review: Dr. Beasleys Matte Paint Coating by Mike Phillips
Continued.....
Prep Work
Before you can apply any coating to any surface you have to do the grunt work, that is the prep steps. The car isn't going "prep" itself.
Her's the link to a full write-up I did on washing the car using an iron contamination remover and a foam gun...
The Aggressive Wash Videos - 1971 Duster - FB Live Videos
And this video shows the washing portion...
Click this link to see the foam gun in action
Point being, before you can use Dr. Beasley's Matte Paint Coating you need to first prep the surface to prepare it for the coating.
Besides washing the coating, I also did something that I don't recommend, I machine polished it. Follow me - the matte finish on this car was dull and lifeless because it had some type of grungy dirt film build-up on it JUST LKE THE PAINT and the GLASS. I don't know what it was? But as I document in numerous articles on this forum - your car gets dirty. Not the kind of dirt that simply washes off but the kind of dirt staining that has IMPACTED onto the car or EMBEDDED onto the car. And not just the paint but everything on the outside of the car and in this case this included the matte finish on the hood and on the sides of the car.
What I did to thoroughly clean the matte surface was to machine polish it with RUPES BigFoot 21 Orbital Polisher and the RUPES Diamond White ULTRA Fine Cut Polish using the RUPES white foam polishing pad. Note I tested this first to a small area and immediately wiped off the polish residue with a microfiber towel and then sprayed on SONAX Glass Cleaner >twice< and wiped the test section clean and dry. Then I watched this section for 2 days to see what if anything would happen. Nothing happened. The matte surface did not turn white with polish residue. To me this showed me I would be safe to repeat this to the entire hood. DON'T DO THIS UNLESS YOU'RE REALLY SURE of YOUR SKILL LEVEL.
After I machine cleaned the matte finish I wiped it down CAREFULLY twice with SONAX Glass Cleaner. Most glass cleaner also works great to remove oil films. Think about it... glass cleaners will remove the oily smoker's film and vinyl fog that builds up on the inside glass of our car won't it? Sure it will. So it will also remove polish residue off other surfaces.
The above worked for me but I've been doing this for a few years and I know how to test and make sure I'm not going to get into a situation I can't get out of.
-
Re: Review: Dr. Beasleys Matte Paint Coating by Mike Phillips
Continued....
How to use the Dr. Beasley's Matte Paint Coating
Step 1: Using a clean, foam new wax applicator, I applied a few drops over one half of the face of the applicator pad. This was to dampen the foam so it would be wet with the coating. Dry foam doesn't wipe or spread out liquids very well as dry foam will tend to want to absorb liquids, not spread them out.

Timing is everything....

Step 2: Protect yourself - wear safety gloves.

I'm not a chemist and don't care to be one. I also don't know what or how coatings work but when the label on the products says,
- Bonds instantly
- Lasts up to 2 years
Yeah... I don't want this stuff on my skin. Remember, if it's on your skin it's in you. So....
WEAR GLOVES

Step 3: Appling to a small section at a time. Use a crosshatch pattern to apply the product.
So here's where I broke the rules, (sorry Jim), I applied using an overlapping circular motion and applied to the entire hood and scoop at one time. Personally, I know it's easier to spread a product out over a surface using overlapping circular motions than it is using any type of straight-line motions. But for the rest of you, follow the directions and apply to a about a quarter of a hood at a time.

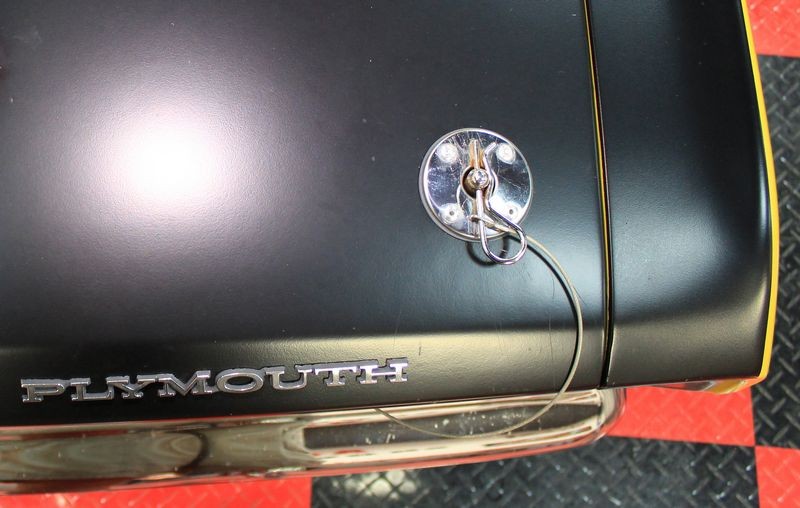
Here you can see how the coating is turning the matte finish a darker, richer black, which is an appearance characteristic you want whether or not you know it.


Step 4: After waiting for a about a minute, using clean soft and pre-inspected microfiber towels, gently wipe off any high spots or excess coating residue.
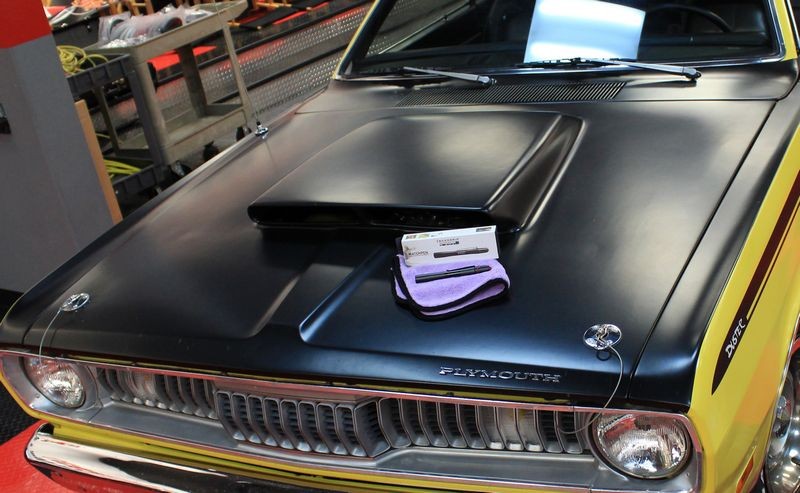
Results...
Now this is how you want the matte finish on your car to look. You want a rich looking sheen...


-
-
Re: Review: Dr. Beasleys Matte Paint Coating by Mike Phillips
-
Super Member

Re: Review: Dr. Beasleys Matte Paint Coating by Mike Phillips
Nicely done Mike. Dramatic difference. The end result looks great.
-
Super Member

Re: Review: Dr. Beasleys Matte Paint Coating by Mike Phillips
Wow! That is quite a difference.
For the "before" photos, were those taken after polishing and before the coating was applied, or were they taken before the polishing step? The difference in color is dramatic and I was wondering how much could be attributed to the polishing and how much is the coating.
-
Junior Member

Re: Review: Dr. Beasleys Matte Paint Coating by Mike Phillips
Hi Autogeeks!
Mike, thanks so much for the review. We're glad you got a chance to get hands-on with our Matte Paint Coating.
We've been learning about and testing matte paint care techniques for nearly a decade now and we wanted to share some additional info for any geeks who are interested.
This Plymouth's hood is a single stage matte paint, which is different from modern matte paint jobs. The single stage doesn't have a clear coat on it, which is why it appears flat.
Modern OEM matte paint jobs (think Audi S8 plus, RS7, Hyundai Veloster, etc.) DO have a clear coats, but the coat is matte instead of glossy.
If a buffer is used on modern matte paint, it will remove the matte clear coat, leaving the area shiny and uneven. The only way to restore that shine would be to have the area repainted. Thats why we use Dr. Beasley's Matte Paint Cleanser to decontaminate matte all varieties of paint.
It's a SUPER powerful stain remover and acts as clay does on glossy paint. This stuff removes nasty grime like dried on bird poop, tree sap, and even industrial overspray - all while keeping the matte clear coat flat and even.
So Matte Paint Cleanser is a great prep step before applying Matte Paint Coating because it totally decontaminates it.
Another thing we want to mention is that Matte Paint Coating should always be applied to a wet surface.
We like to clean the matte area with our cleanser and then fill a spray bottle with distilled water. We spray each panel as we go with the distilled water and then apply Matte Paint Coating. We use both small circular motions and overlapping lines in our shop, so you can go with whatever method feels most natural to you.
After you coat a panel, you should wipe the protectant off right away with a clean, dry, pre-inspected microfiber towel. Matte Paint Coating bonds instantly, so protecting matte paint is easy! Oh, and this product works great on matte vinyl wraps and decals too! It protects from staining, fading, and etching for 1-2 years, depending on how often the car (or motorcycle) is driven.
The most crucial point in matte paint care is to be proactive. As soon as you find yourself owning a matte/matte accented vehicle, clean it with Matte Paint Cleanser and then protect it with Matte Paint Coating.
Feel free to message us with any further questions about matte paint care or about any of our products. We're so glad to be working with Autogeek and we look forward to your feedback!
Thanks, Geeks
-
Super Member

Re: Review: Dr. Beasleys Matte Paint Coating by Mike Phillips
Great job Mike, another home run !!!
-
Super Moderator

Re: Review: Dr. Beasleys Matte Paint Coating by Mike Phillips
This line has been a huge surprise, we are amazed with each new product on how great they perform. Jim congrats on an amazing line, just sorry we didn't jump on it sooner we are having so much fun testing this stuff out!
Similar Threads
-
By Mike Phillips in forum Product Reviews by Mike Phillips
Replies: 44
Last Post: 10-18-2020, 02:26 AM
-
By Mike Phillips in forum Product Reviews by Mike Phillips
Replies: 4
Last Post: 02-06-2020, 12:51 PM
-
By Mike Phillips in forum Product Reviews by Mike Phillips
Replies: 12
Last Post: 12-15-2017, 06:50 AM
-
By Mike Phillips in forum Product Reviews by Mike Phillips
Replies: 5
Last Post: 11-30-2017, 03:18 AM
-
By The Guz in forum Product Reviews
Replies: 14
Last Post: 06-24-2017, 02:08 AM
 Members who have read this thread: 1
Posting Permissions
- You may not post new threads
- You may not post replies
- You may not post attachments
- You may not edit your posts
-
Forum Rules
|
| S |
M |
T |
W |
T |
F |
S |
| 31 |
1
|
2
|
3
|
4
|
5
|
6
|
|
7
|
8
|
9
|
10
|
11
|
12
|
13
|
|
14
|
15
|
16
|
17
|
18
|
19
|
20
|
|
21
|
22
|
23
|
24
|
25
|
26
|
27
|
|
28
|
29
|
30
| 1 | 2 | 3 | 4 |
|


 Reply With Quote


Bookmarks