 Thanks: 0
 Likes: 0
 Dislikes: 0
-
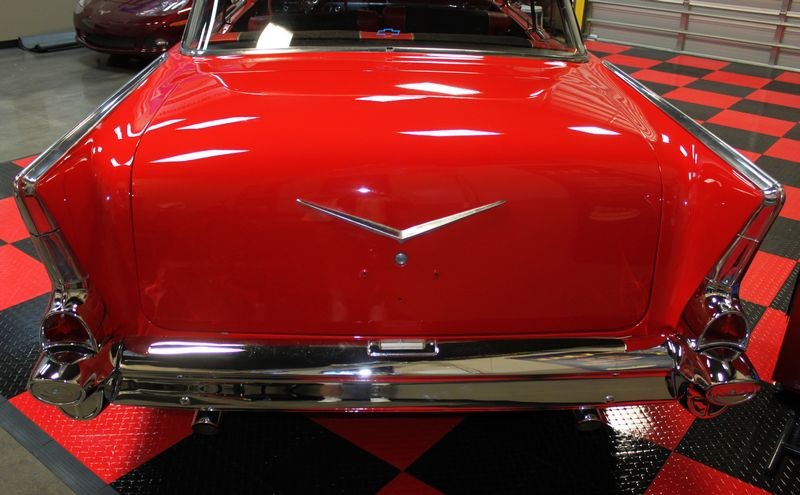
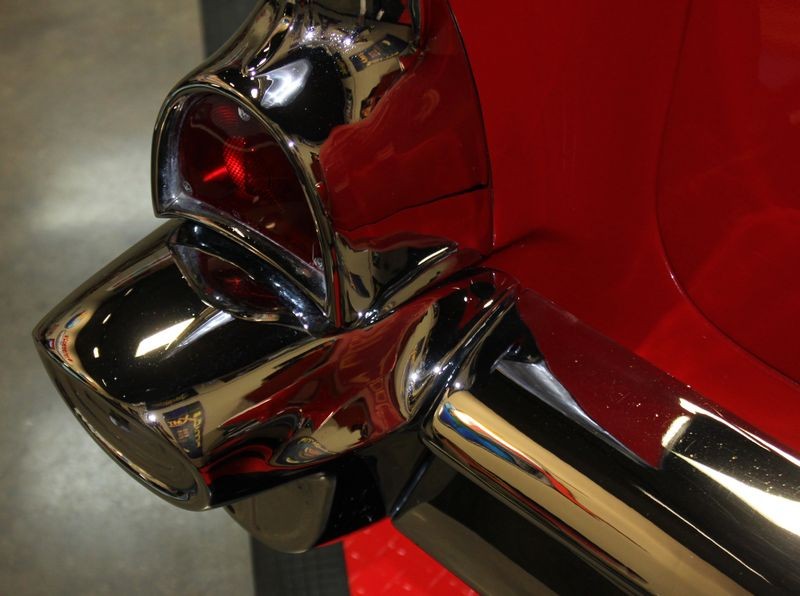
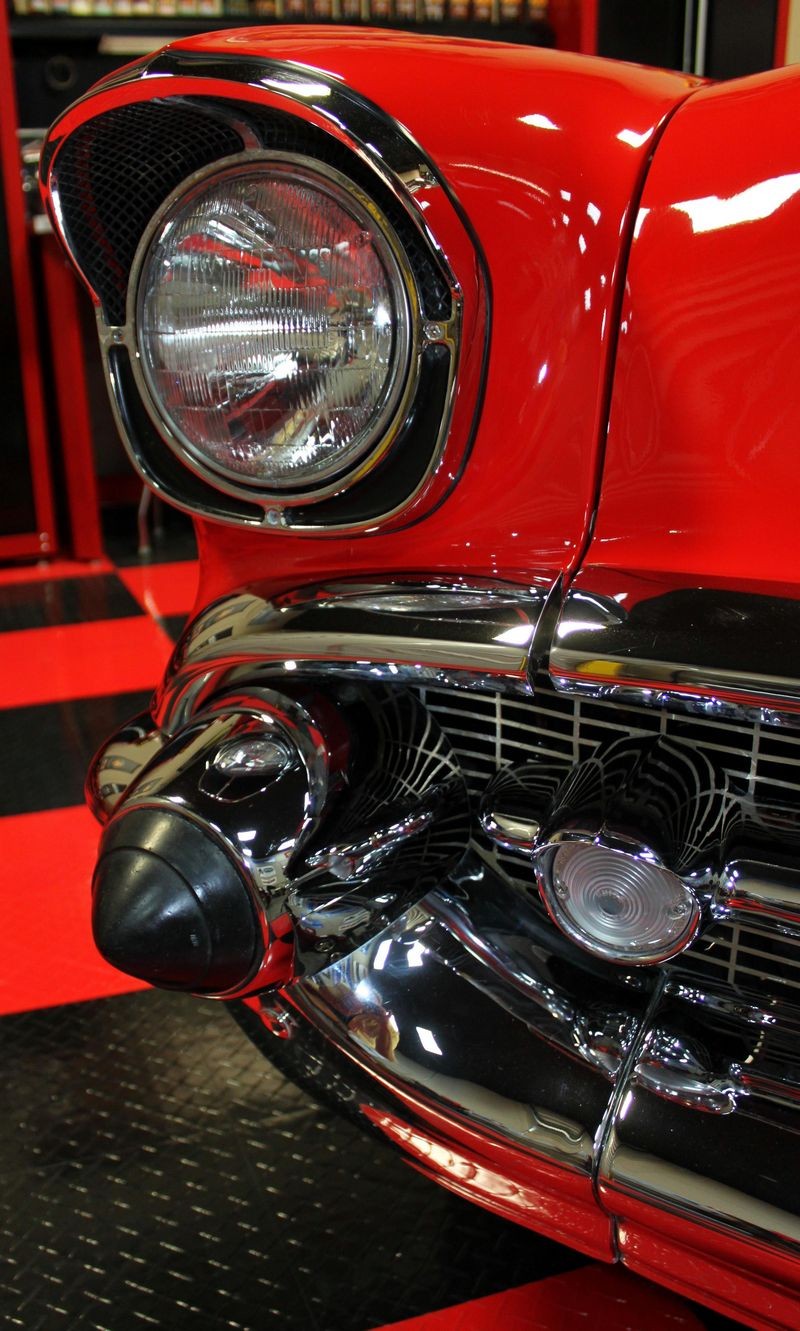
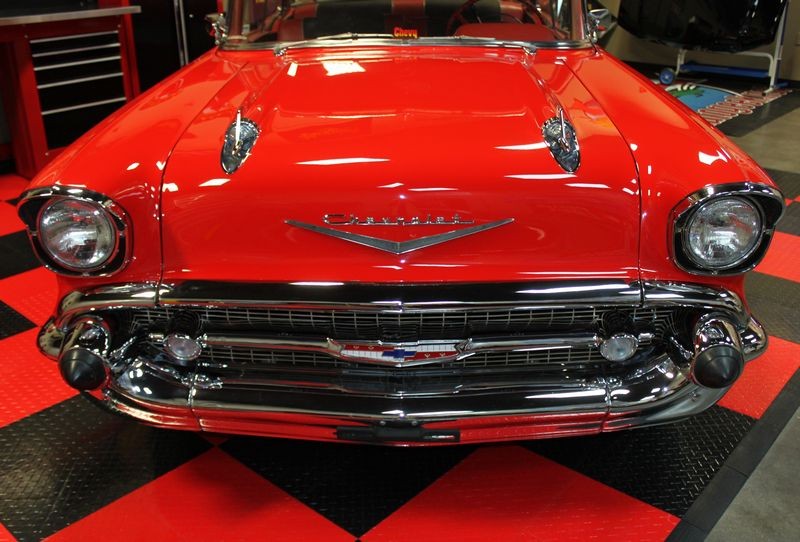
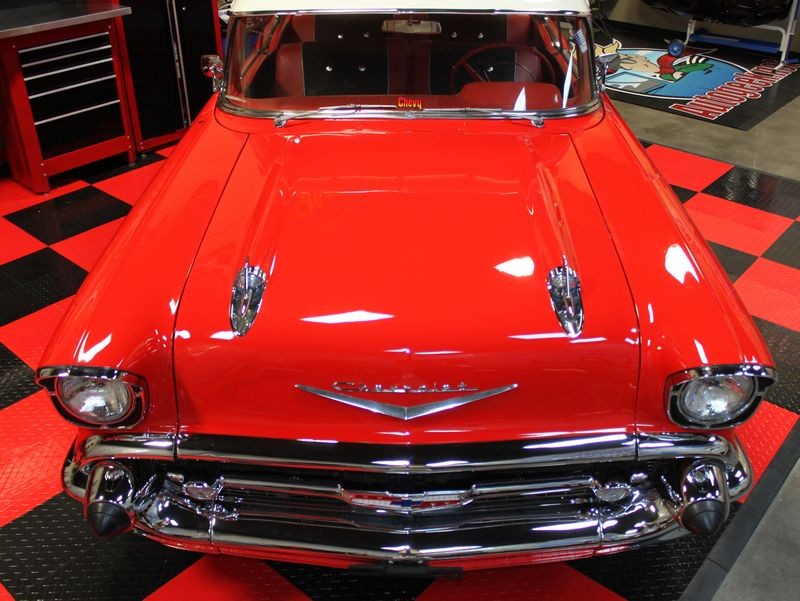
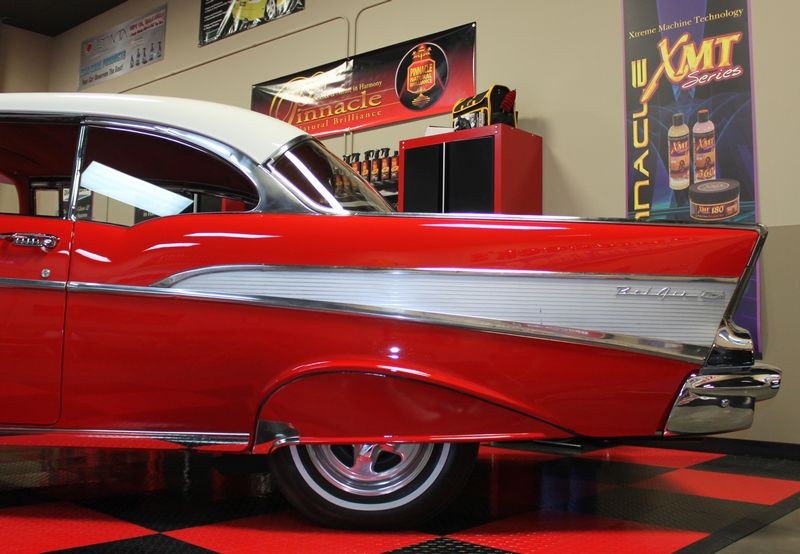
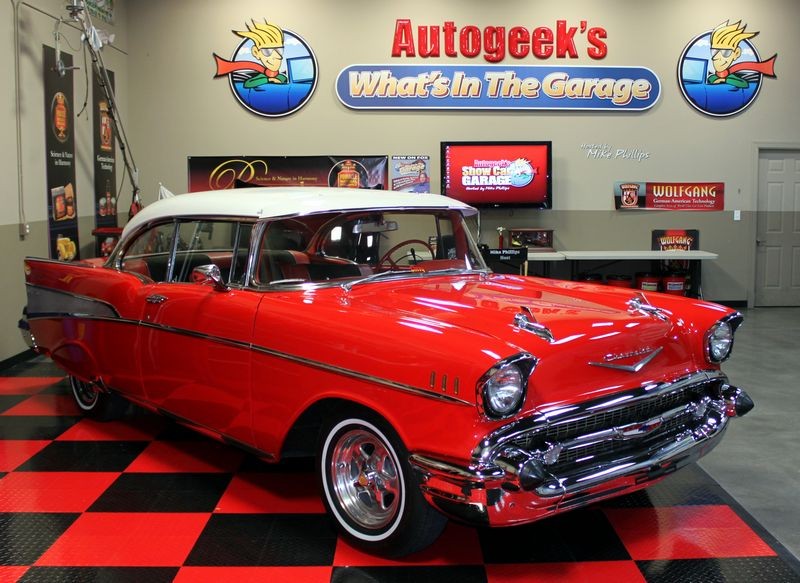
1957 Chevrolet Bel Air - Remove Swirls - Modeled by Kristin
-
Re: 1957 Chevrolet Bel Air - Remove Swirls - Modeled by Kristin
Getting Started...
First thing we did was to wipe the car clean using Detailer's Pro Series Waterless Auto Wash.


Note: Anytime you're working on an antique, classic or rare special interest car it's a good best practice to avoid washing the car using a normal car wash as you will introduce water to places you cannot reach and dry and this can promote rust. Instead use a Waterless Wash to carefully wipe the paint and exterior clean.
After we wiped the car clean next up we inspected the paint to see if it needed to be clayed. We did this with our sense of touch and also by using The Baggie Test


The paint felt as rough as 80 grit sandpaper so claying was in order... for this we used Pinnacle Ultra Poly Clay with Pinnacle Clay Lubricant.

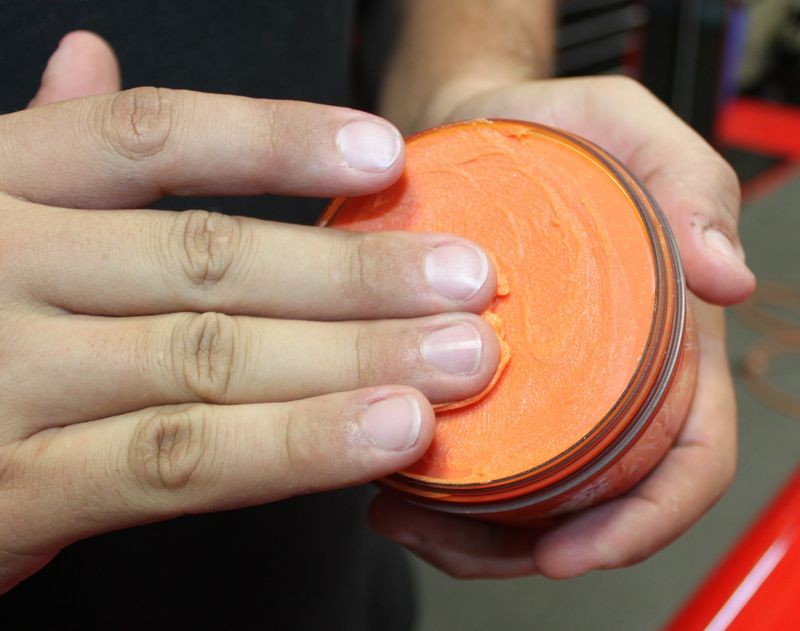
Here's a piece of clay formed into a wafer or patty about 4 to 5 inches in diameter to fit across the width of my 4 fingers...

Like this...

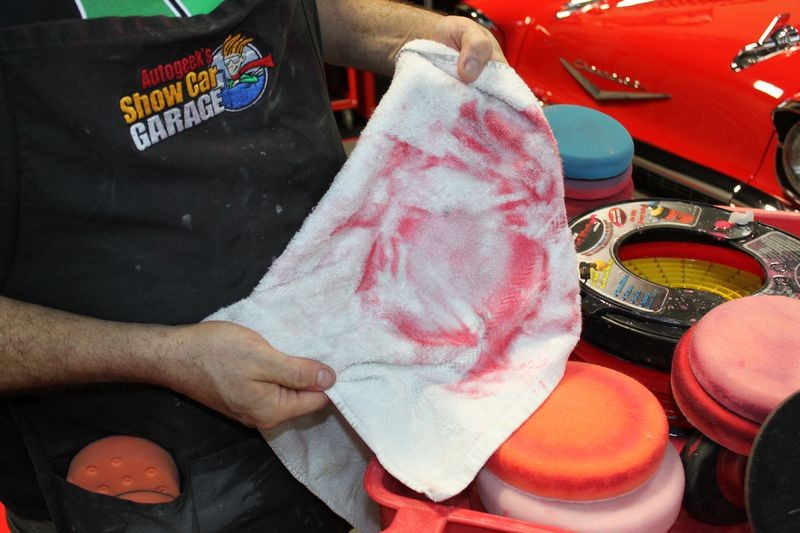
The contaminants you see on the clay came from just a small section of paint on the hood. If you look closely you can see a tint of red on the clay and this is overspray paint...

Test Spot
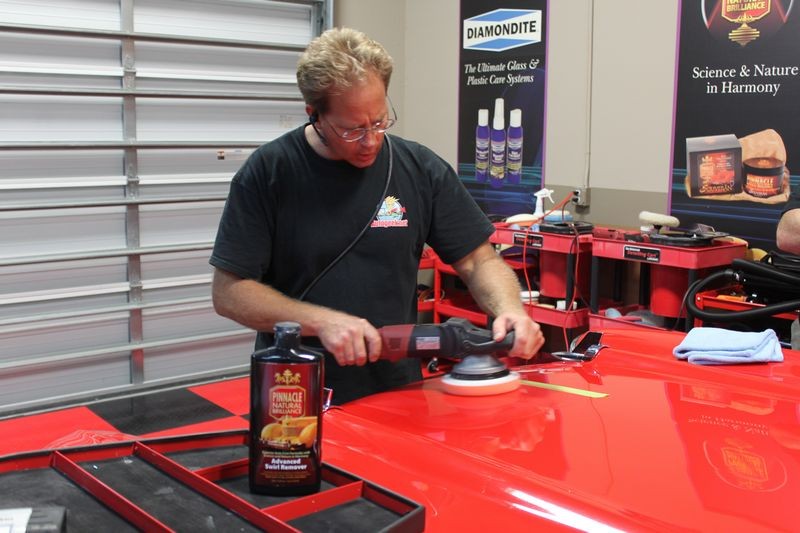
After claying next we wanted to test and see what ti would take to remove the majority of the swirls, scratches and water spots. For this we used the Pinnacle Advanced Swirl Remover with a Lake Country 6.5" CCS Orange Cutting Pad on a Flex 3401. The tape-line is to make it easy to judge the results between before and after.

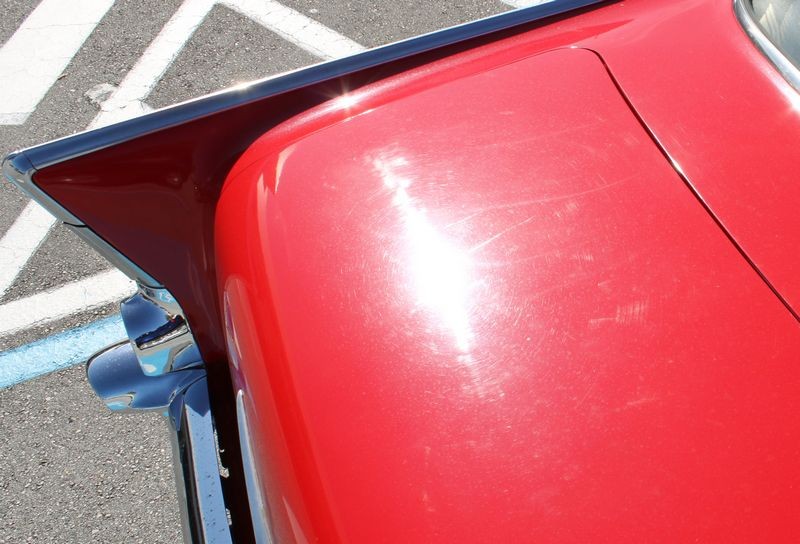
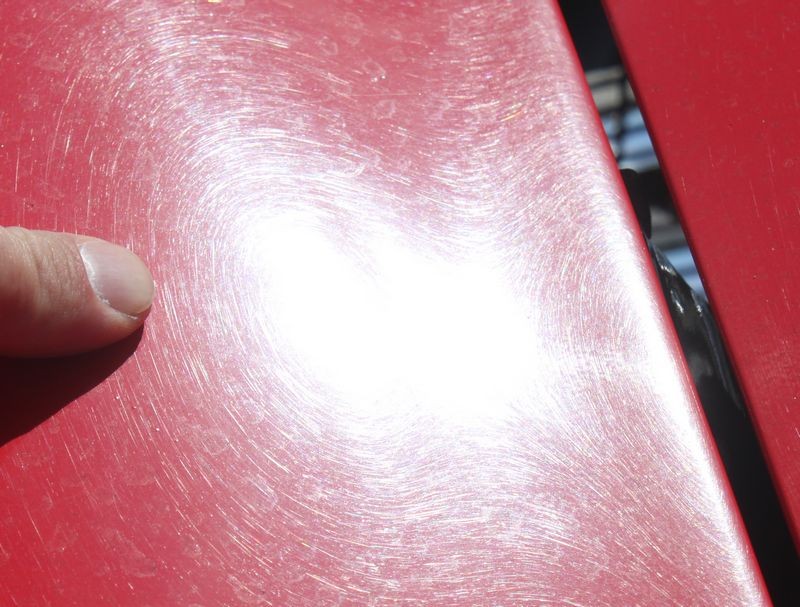
Before I start, here's the swirls as captured by the flash of my camera...


Here's the swirls as captured by the Brinkmann Swirl Finder Light...

At the time I started the test spot we didn't know the paint was single stage, it can be hard to tell between single stage and basecoat/clearcoat just by looking at the car, the best way it to do a test like I outline on page 10 and 11 of my how-to book, either the print version or the e-book version.
Another way to test for a single stage or basecoat/clearcoat is to do a test spot... start buffing on the paint and then turn your buffing pad over and inspect...

Yep... we're working on red single stage paint as you can see by the red pigment transferring to the face of the buffing pad.

After working the Test Spot for about 6-8 Section Passes here's the results... about 95% correction... there were some deeper RIDS everywhere in the paint throughout the car but we don't focus on removing each and every single scratch because we don't know the history of the paint job. Too much risk.

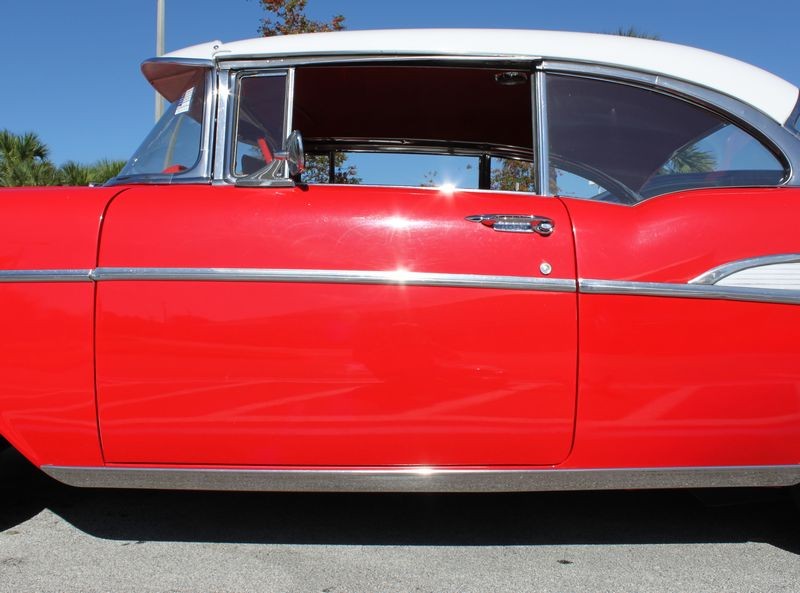
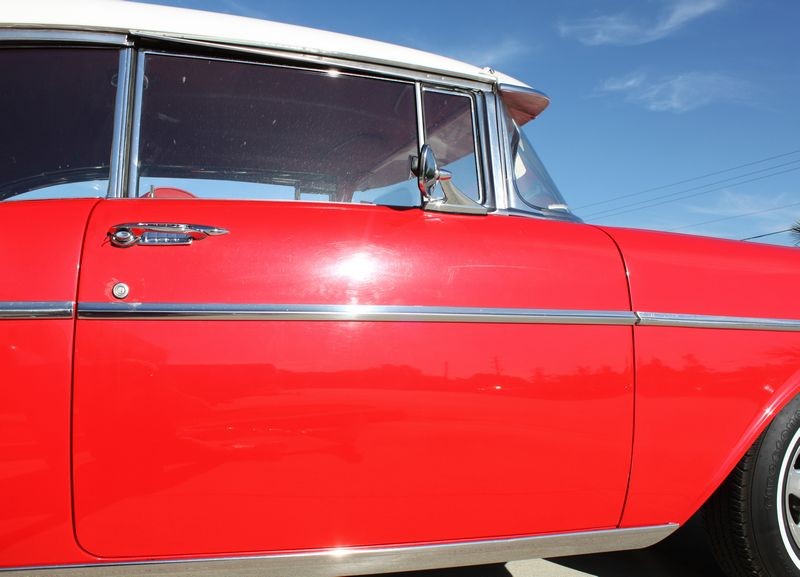
I removed the painter's tape and used the flash of my camera to light up the paint...


The hundreds of thousands of scratches in the paint dulls the appearance by giving the finish a hazy appearance. By removing the swirls, scratches and oxidation will restore the full richness of color with a high gloss shine...

When I did the Test Spot, I was making the mistake of assuming the paint was a basecoat/clearcoat finish so I started with a foam cutting pad. Once we discovered we were working on a single stage paint I asked PJ to re-test using a the same product but using a less aggressive pad like a 6.5 foam polishing pad. This was just to check and see if we could remove the defects using a less aggressive approach.


Here you can see red pigment coming off onto a white polishing pad....

What we found out was that the white polishing pad just didn't offer enough cutting ability to match the speed of defect removal we were getting with the orange cutting pad. Se we all put orange cutting pads on our polishers and went to work.
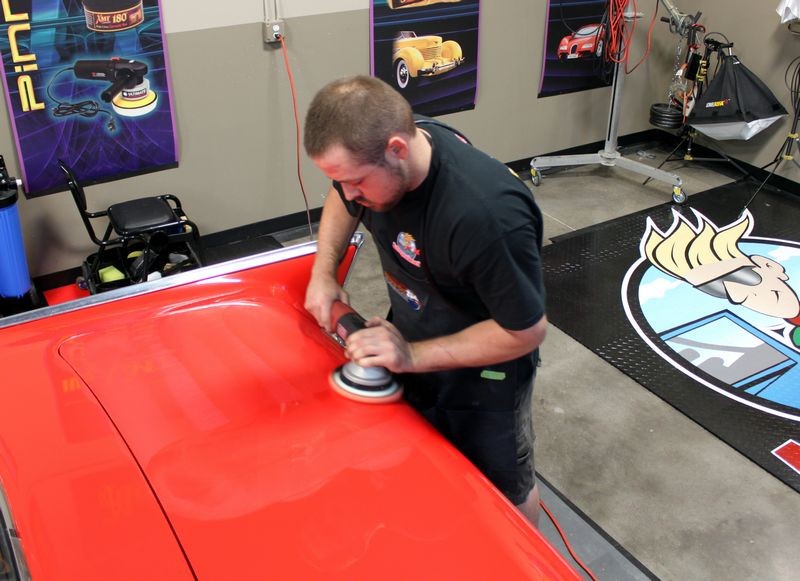
When you get 5 polishers all buzzing on the car it doesn't take long to get the correction step finished.

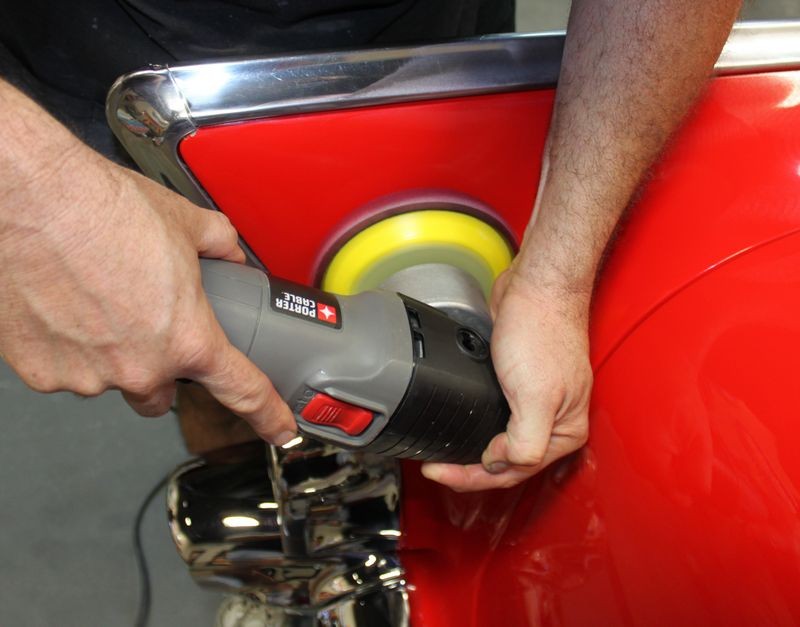
Here's Adam using the Flex 3401 with a 4" backing plate and a 4" Orange CCS Spot Repair pad.

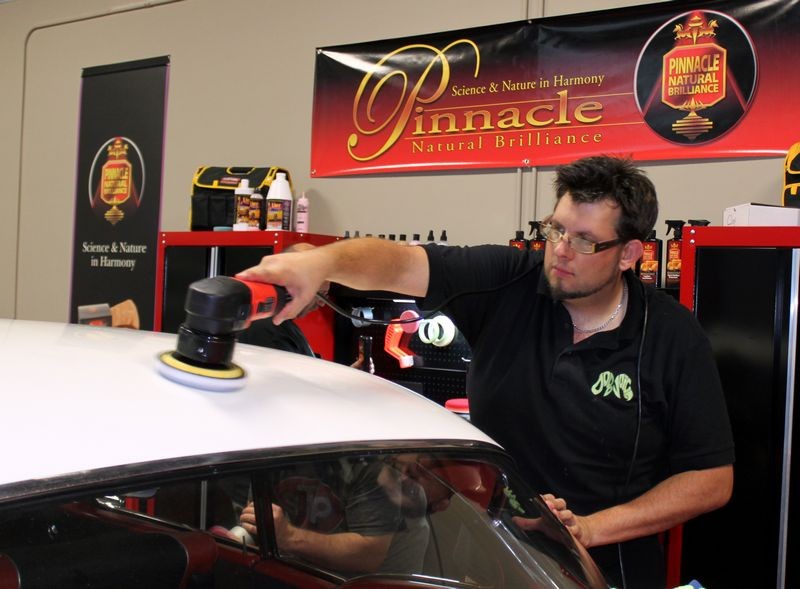
Here's Kyle tackling the roof and back clip of car...
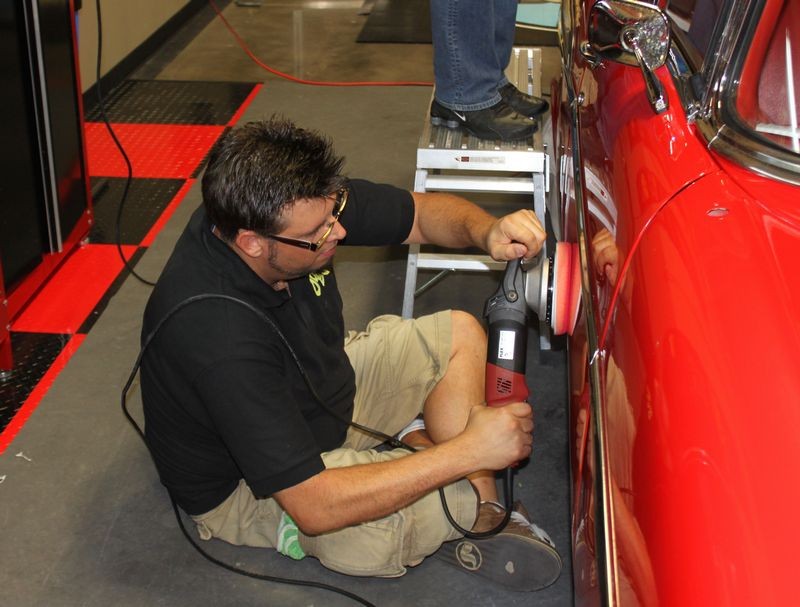
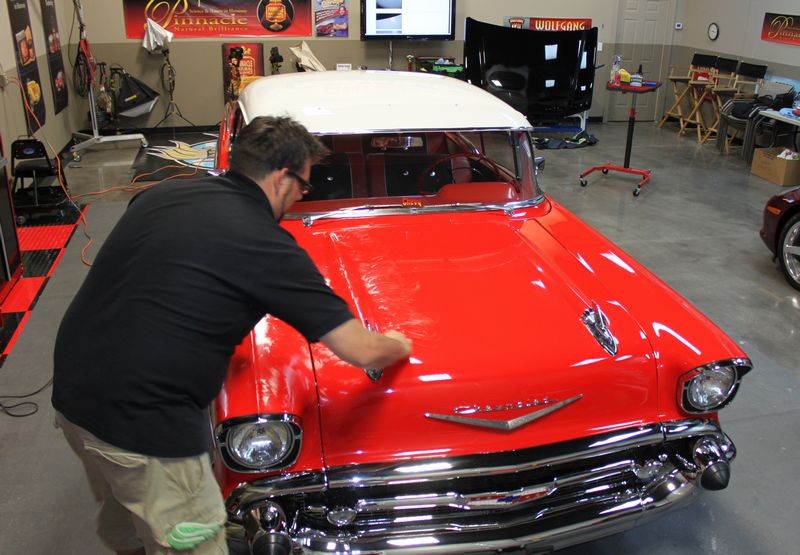
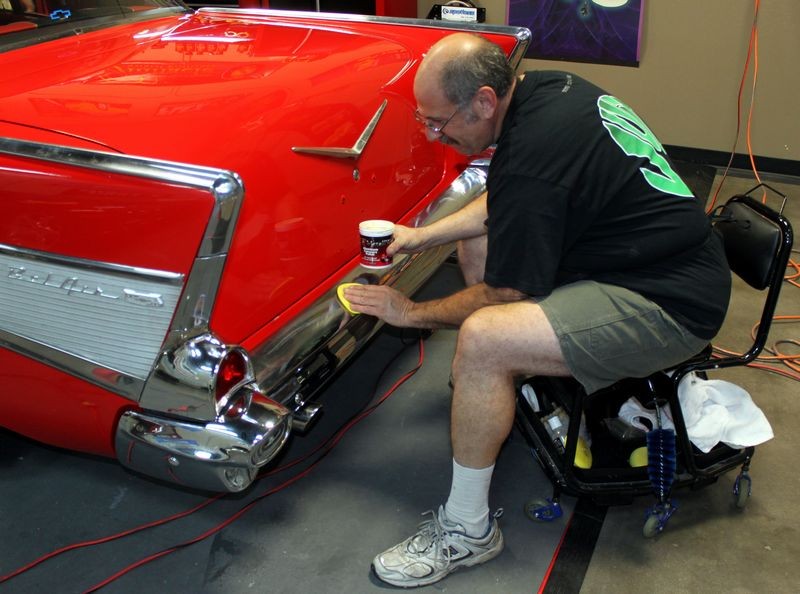
We don't have a lift at this time so if you can't bring the car up to you.... you have to lower yourself to the car... (Thanks PJ)
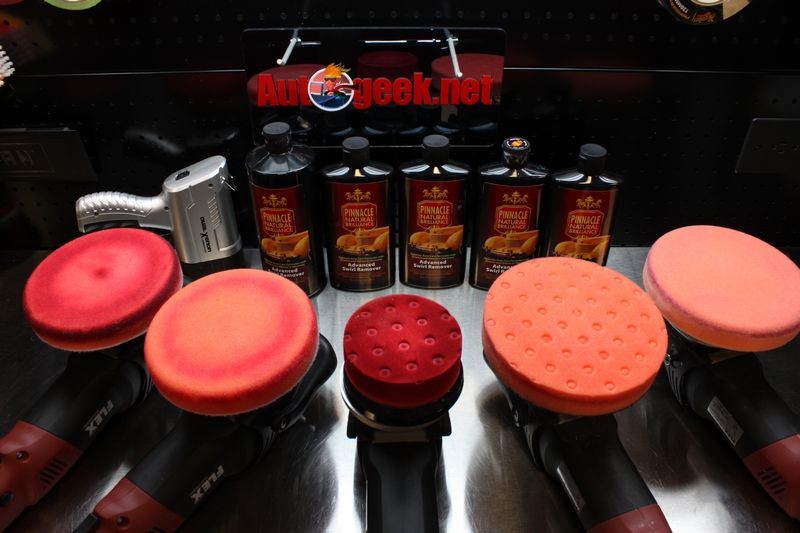
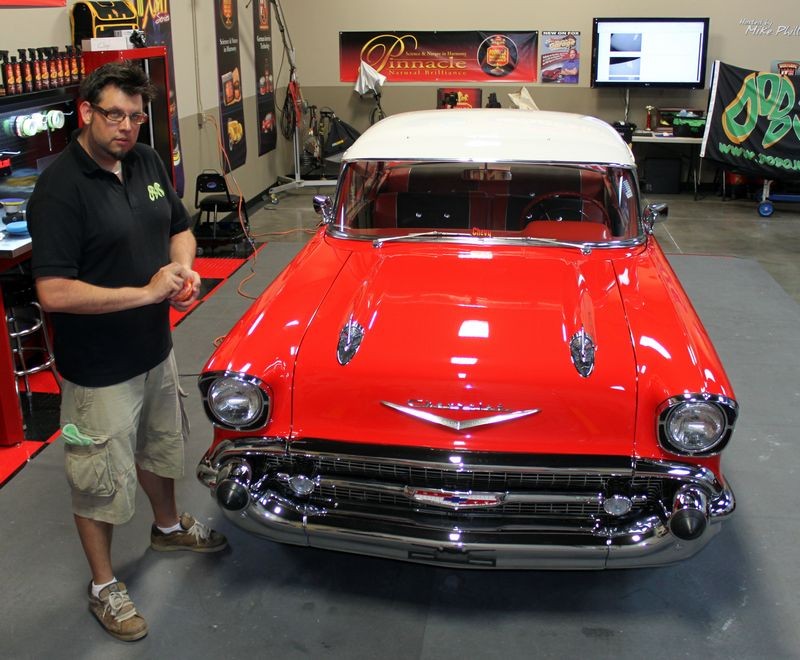
Pinnacle Advanced Swirl Remover, Lake Country Orange Foam Cutting Pads and Flex 3401 Forced Rotation Dual Action Polishers make quick work of removing the defects and creating a clear, smooth surface perfect for final polishing.

-
-
-
-
-
Autogeek Swirl Girl

Re: 1957 Chevrolet Bel Air - Remove Swirls - Modeled by Kristin
Im excited to work with the Transformation Team on tonights project!
Proud Member of the Swirl Girl Team
-
Super Member

Re: 1957 Chevrolet Bel Air - Remove Swirls - Modeled by Kristin
Welcome to AG Kristin!
Looking forward to the great job I know all of you will do.
:dancebanana:
Sky's the Limit Car Care
-
Super Member

Re: 1957 Chevrolet Bel Air - Remove Swirls - Modeled by Kristin
Wow... nice car! I'm jealous. All I've got to work on tonight is a black Harley.
-
Re: 1957 Chevrolet Bel Air - Remove Swirls - Modeled by Kristin
Hey can all my forum friends help me to give Kristin an Autogeek warm welcome?
(Yes, that's an encouragement to reply to this thread)

I've created a temporary Avatar for her and after tonight's project I'll update it with a picture from this 1957 Chevy Extreme Makeover project.
Similar Threads
-
By Mike Phillips in forum PICTURES: Wednesday Night Detailing Classes
Replies: 56
Last Post: 08-29-2019, 05:20 PM
-
By Mike Phillips in forum Show N' Shine
Replies: 67
Last Post: 04-25-2019, 07:06 AM
-
By Mike Moore in forum Show N' Shine
Replies: 6
Last Post: 01-18-2015, 05:48 PM
-
By Mike Phillips in forum PICTURES: Wednesday Night Detailing Classes
Replies: 65
Last Post: 12-05-2013, 01:50 PM
-
By Matt S. in forum Show N' Shine
Replies: 12
Last Post: 04-13-2012, 11:30 AM
 Members who have read this thread: 0
There are no members to list at the moment.
Posting Permissions
- You may not post new threads
- You may not post replies
- You may not post attachments
- You may not edit your posts
-
Forum Rules
|
| S |
M |
T |
W |
T |
F |
S |
| 31 |
1
|
2
|
3
|
4
|
5
|
6
|
|
7
|
8
|
9
|
10
|
11
|
12
|
13
|
|
14
|
15
|
16
|
17
|
18
|
19
|
20
|
|
21
|
22
|
23
|
24
|
25
|
26
|
27
|
|
28
|
29
|
30
| 1 | 2 | 3 | 4 |
|


 Reply With Quote


Bookmarks