 Thanks: 0
 Likes: 0
 Dislikes: 0
-
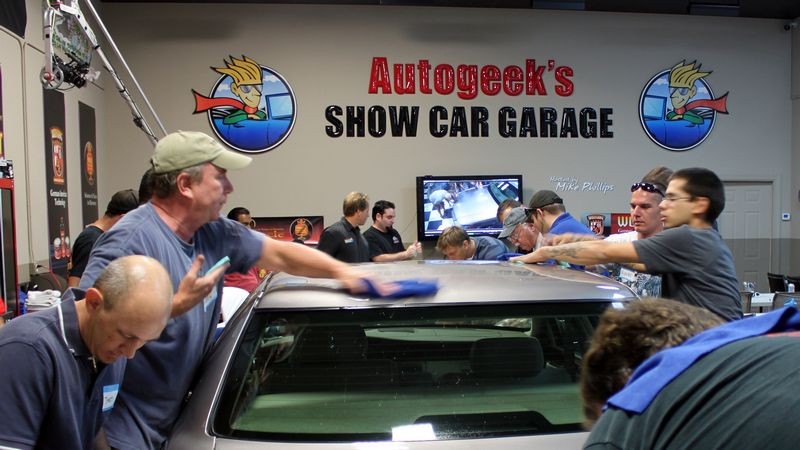
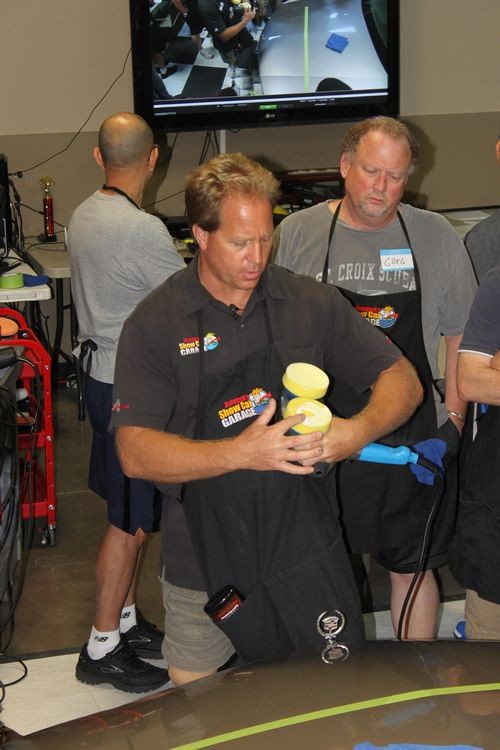
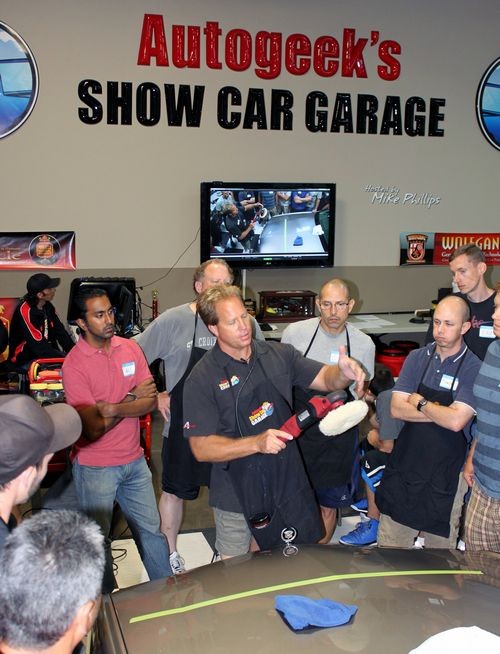
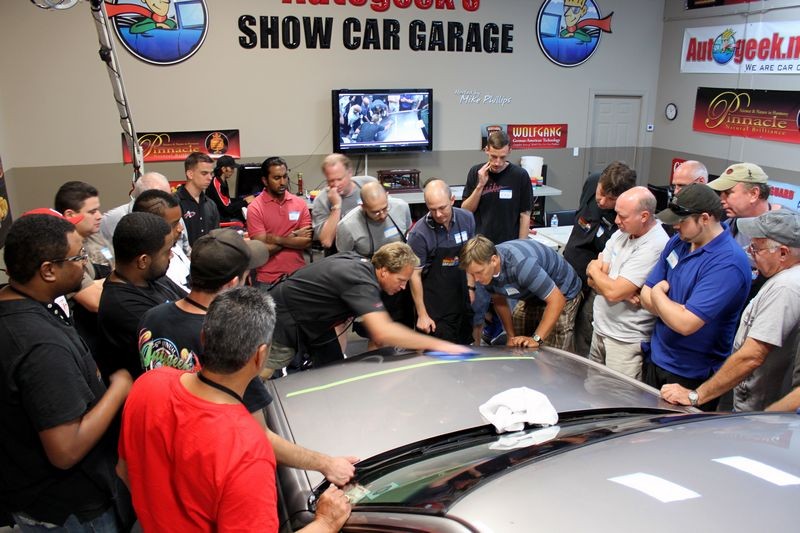
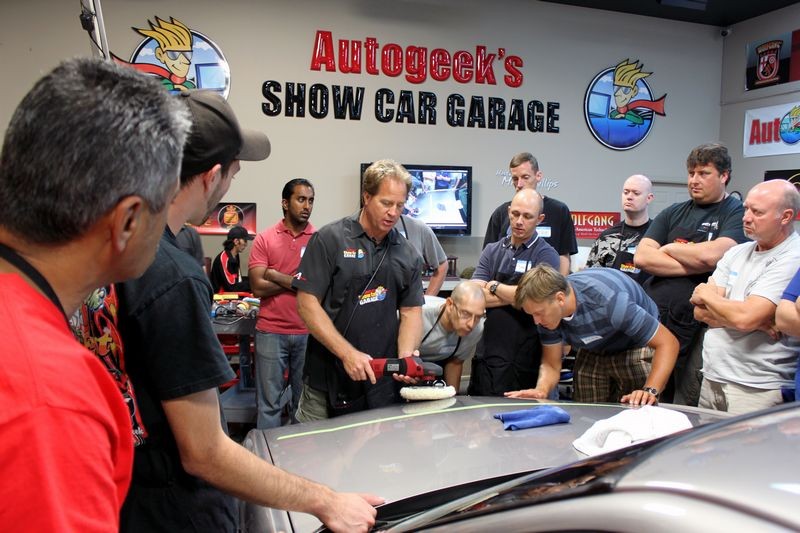
Re: Pictures & Comments from May 14th, 2011 Saturday Detailing 101
Thanks a million for the invitation to join you via the internet.
I had a ball and learned how much I don't know about taking care of my cars. Can't wait to tackle my ten year old F150 and attempt to make it look like new again.
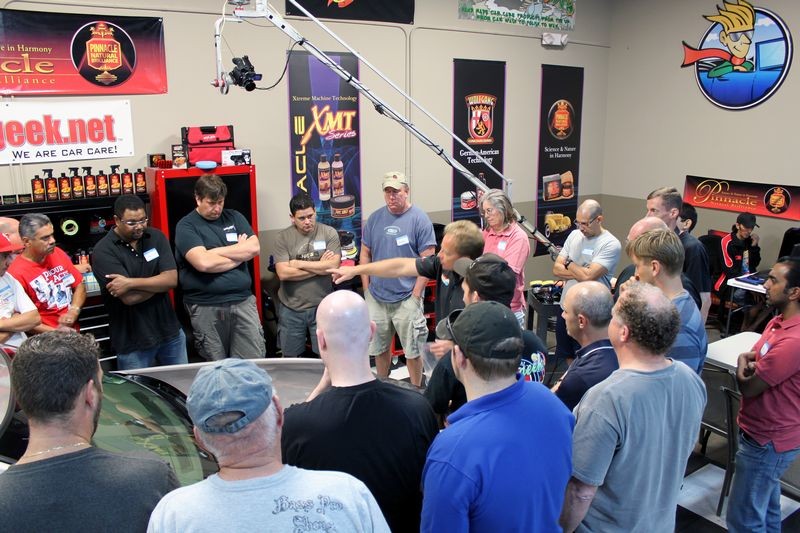
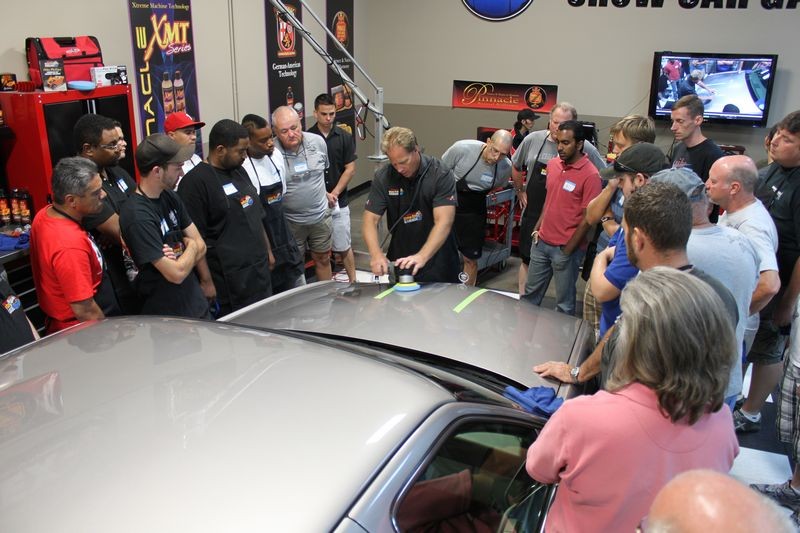
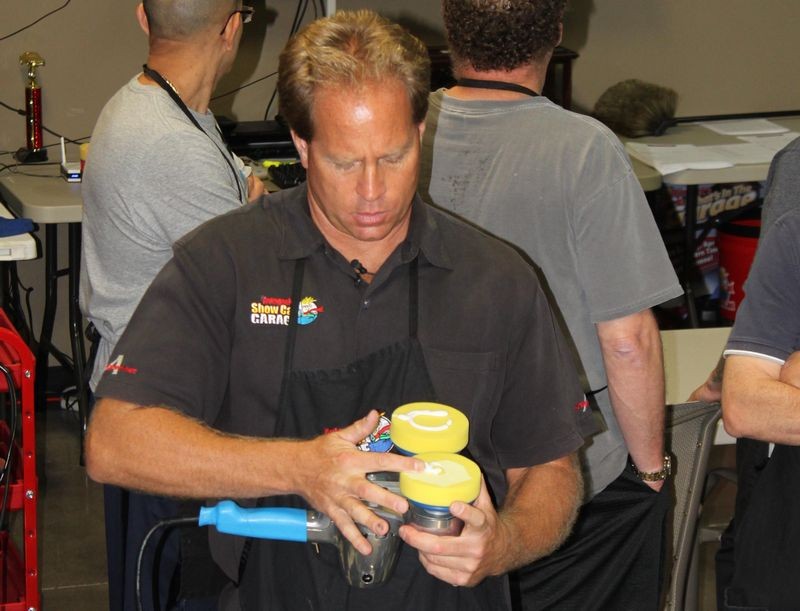
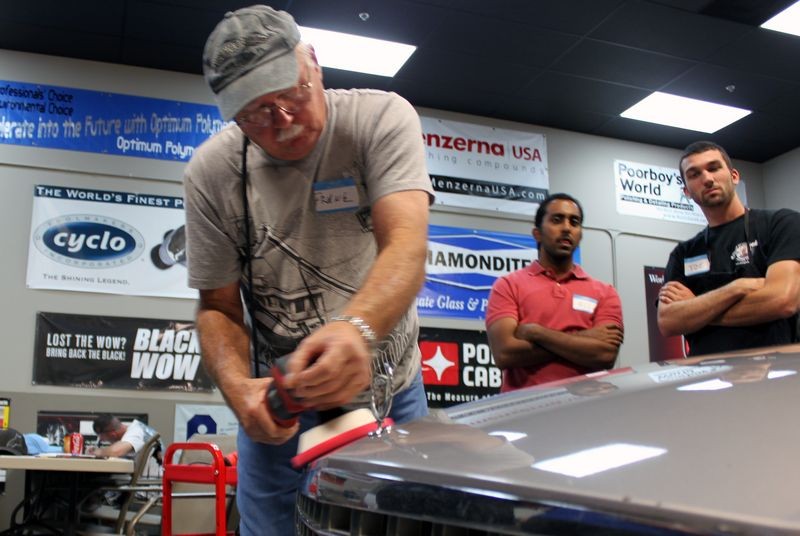
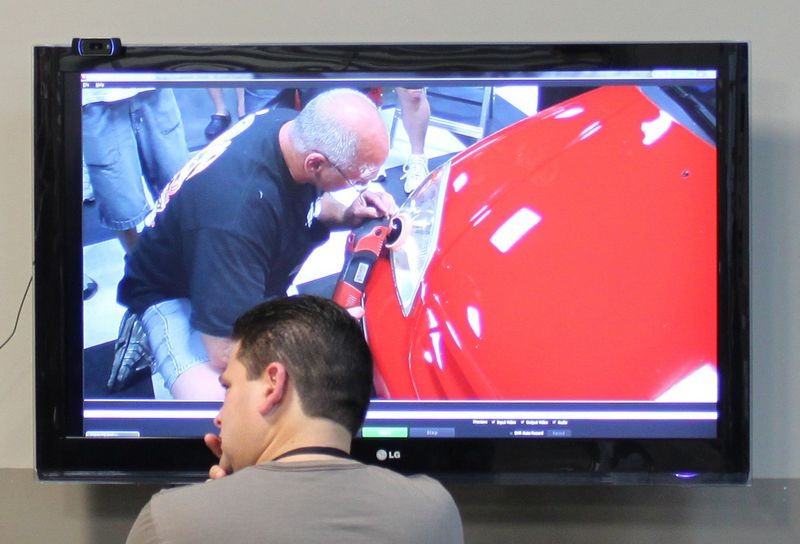
The Sunday class that had them using the rotary buffer was great. Took a lot of the mystery out of operating that feared piece of equipment. Can't wait to make a few passes with that machine. I suspect it separates the men from the boys...
Just call me BOY.
Thanks again for a great weekend.
Kindest regards,
al schafer
-
Re: Pictures & Comments from May 14th, 2011 Saturday Detailing 101
Looking for a list of available videos relating to prepping a car for cleaning.
Would like to know how to tape a car prior to buffing. How and when to buff the angular pieces of metal on the car. When to do it by hand or machine. Differences in paints and clear coats. etc. I guess just about everything that has anything to do with cleaning a car.
Thanks again..
al s.
-
-
-
-
-
-
-
-
Re: Pictures & Comments from May 14th, 2011 Saturday Detailing 101
Similar Threads
-
By Mike Phillips in forum PICTURES: 3-Day CAR Detailing Bootcamp Classes
Replies: 20
Last Post: 02-25-2019, 10:48 AM
-
By Meghan in forum PICTURES: 3-Day CAR Detailing Bootcamp Classes
Replies: 24
Last Post: 05-15-2012, 07:11 AM
-
By Meghan in forum PICTURES: 3-Day CAR Detailing Bootcamp Classes
Replies: 30
Last Post: 11-10-2011, 10:58 AM
-
By Mike Phillips in forum PICTURES: 3-Day CAR Detailing Bootcamp Classes
Replies: 15
Last Post: 06-05-2011, 06:31 AM
-
By Mike Phillips in forum PICTURES: 3-Day CAR Detailing Bootcamp Classes
Replies: 20
Last Post: 09-20-2010, 06:09 PM
 Members who have read this thread: 0
There are no members to list at the moment.
Posting Permissions
- You may not post new threads
- You may not post replies
- You may not post attachments
- You may not edit your posts
-
Forum Rules
|
| S |
M |
T |
W |
T |
F |
S |
| 31 |
1
|
2
|
3
|
4
|
5
|
6
|
|
7
|
8
|
9
|
10
|
11
|
12
|
13
|
|
14
|
15
|
16
|
17
|
18
|
19
|
20
|
|
21
|
22
|
23
|
24
|
25
|
26
|
27
|
|
28
|
29
|
30
| 1 | 2 | 3 | 4 |
|


 Reply With Quote


Bookmarks