 Dislikes: 0
-
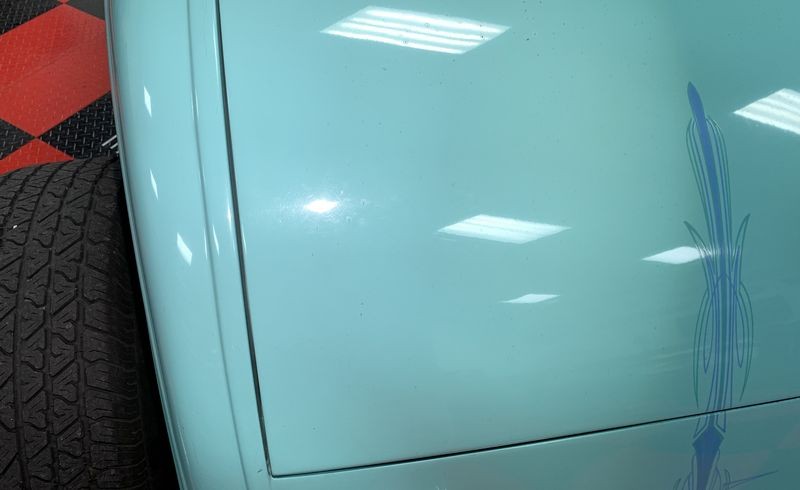
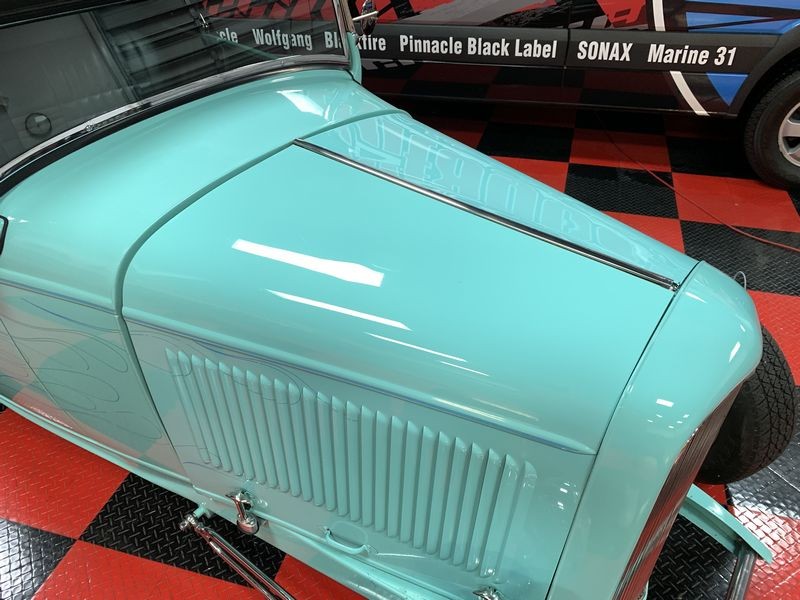
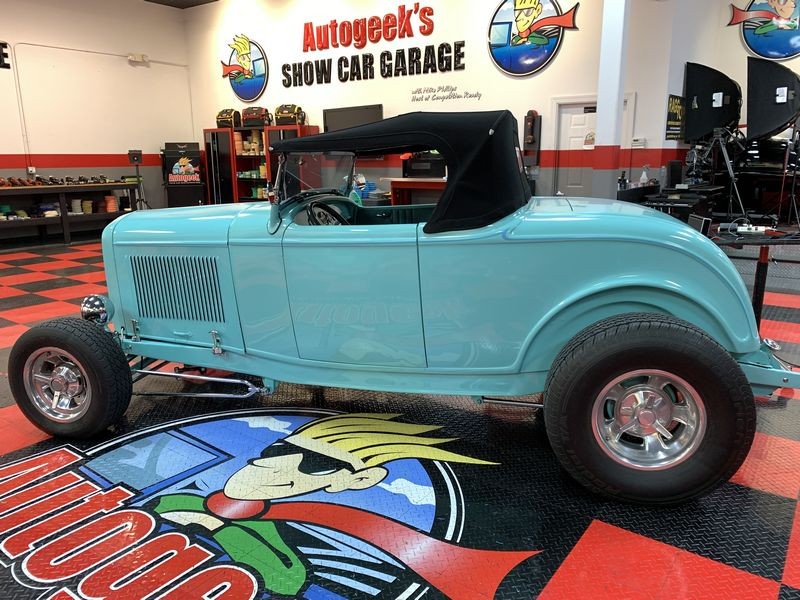
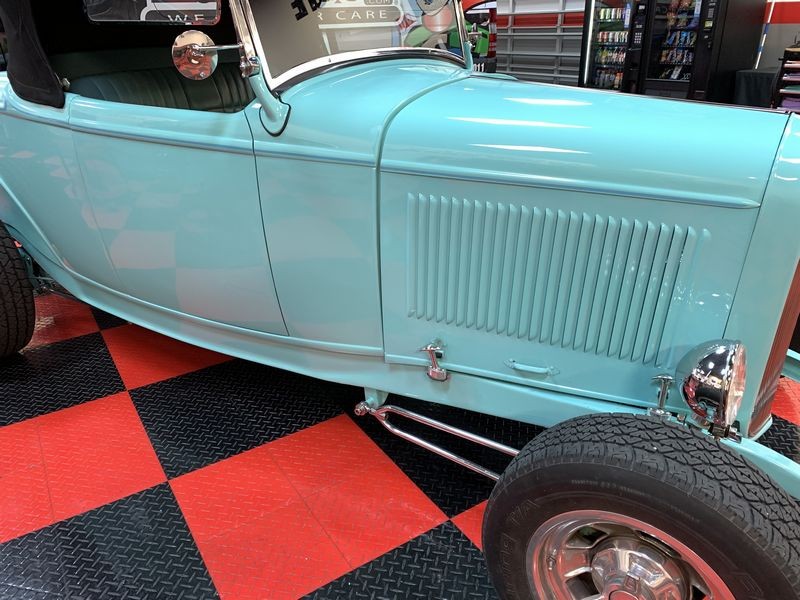
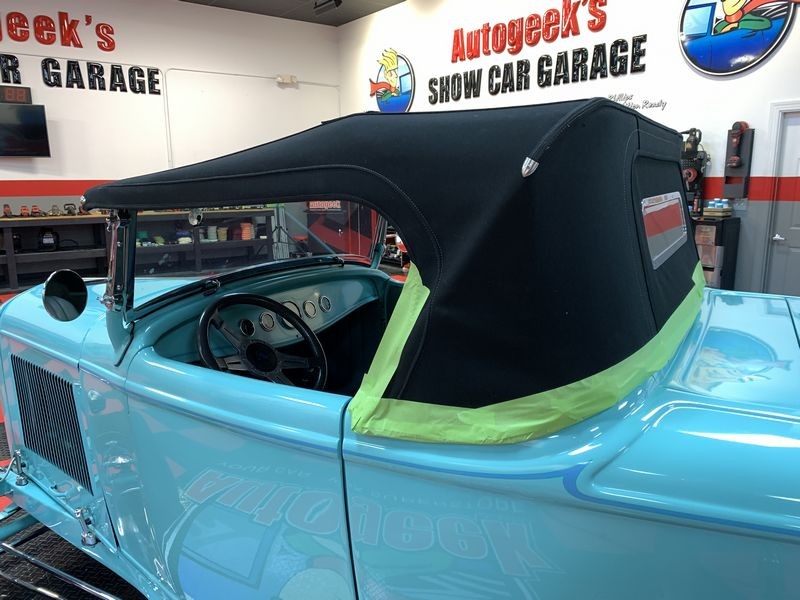
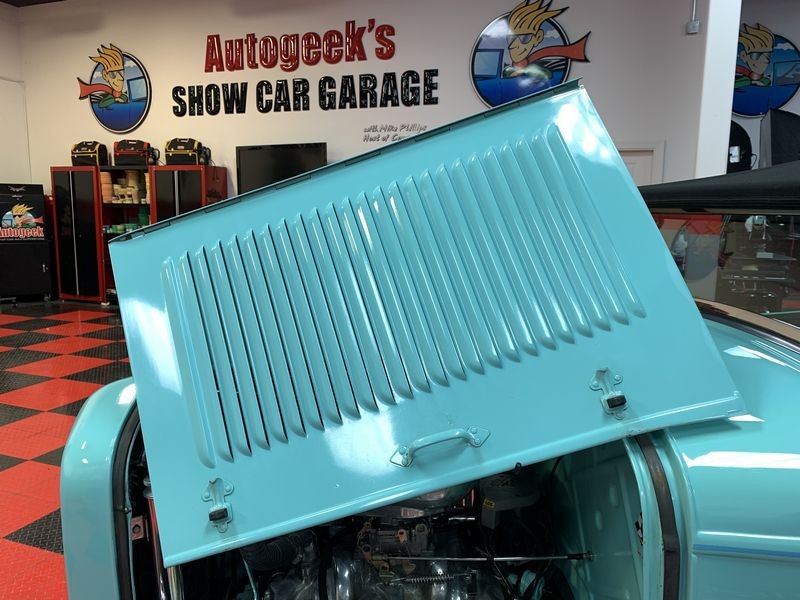
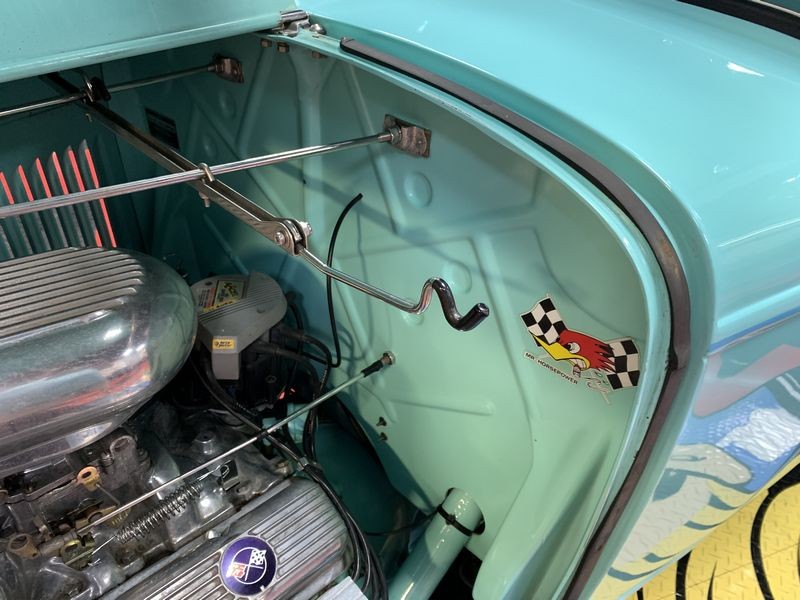
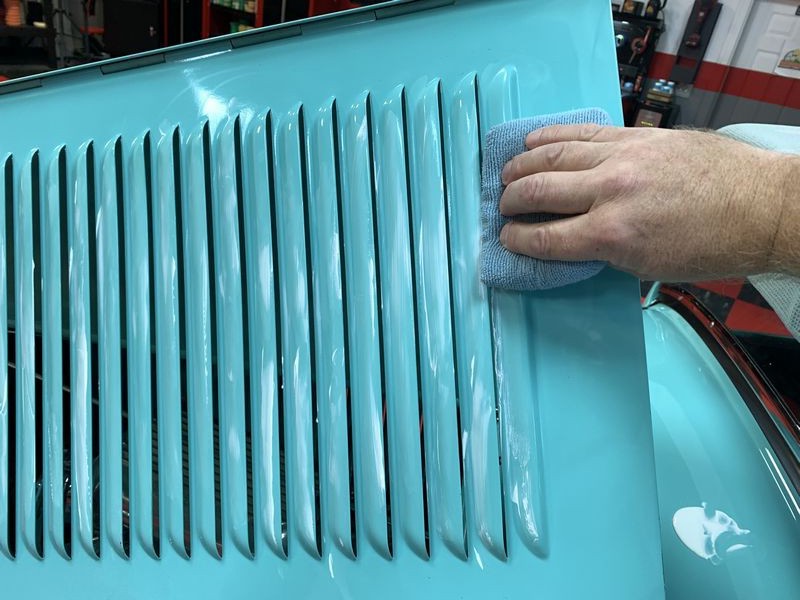
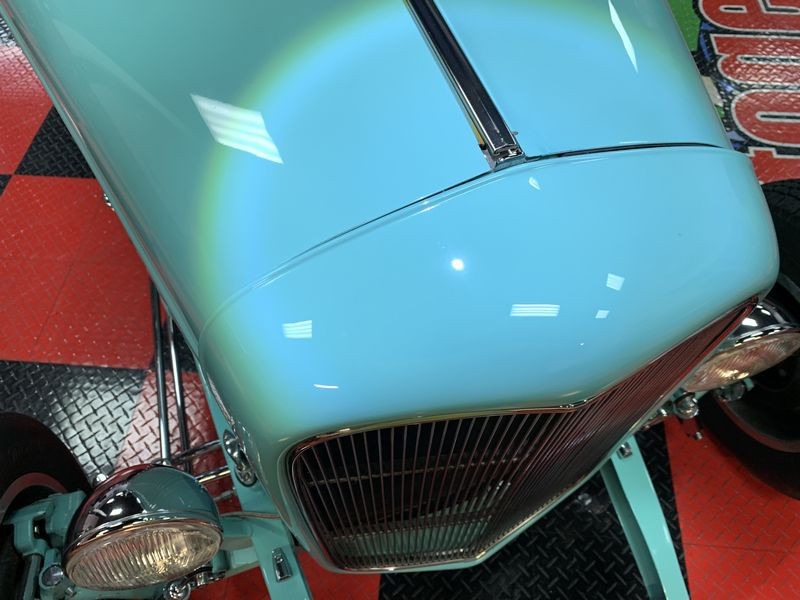
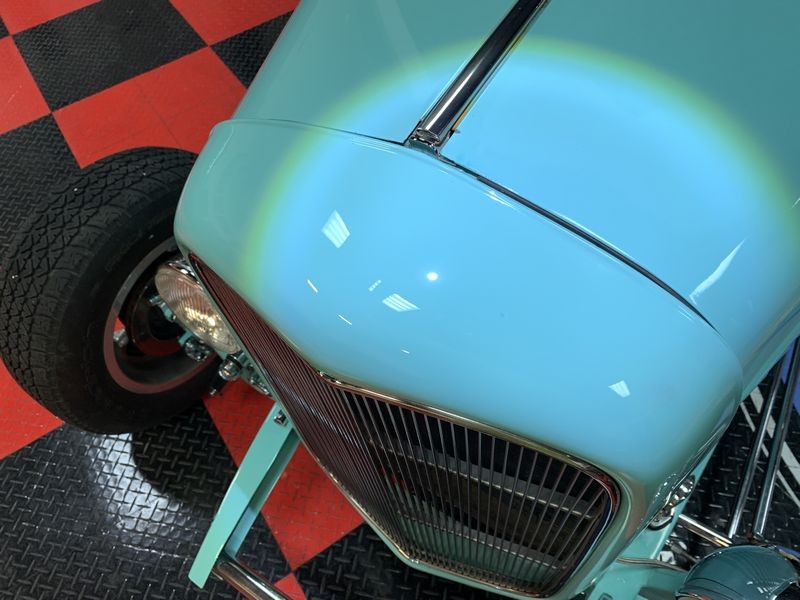
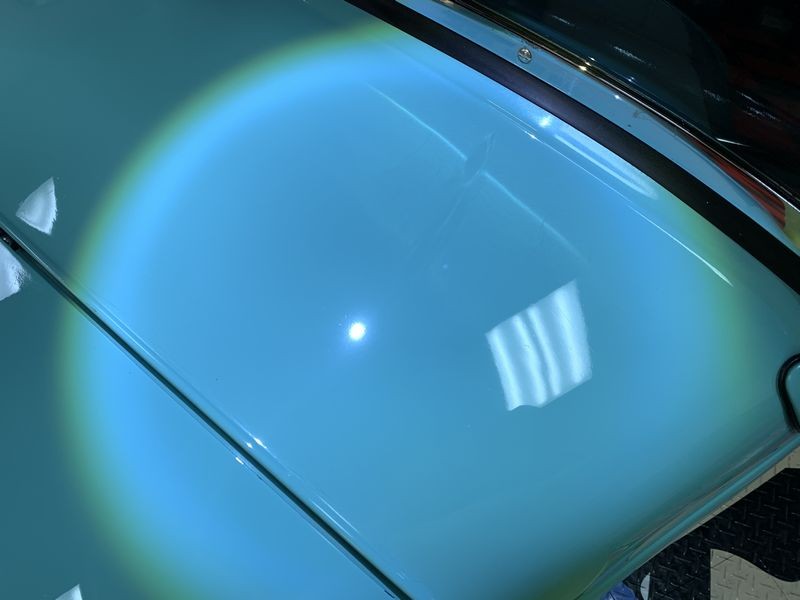
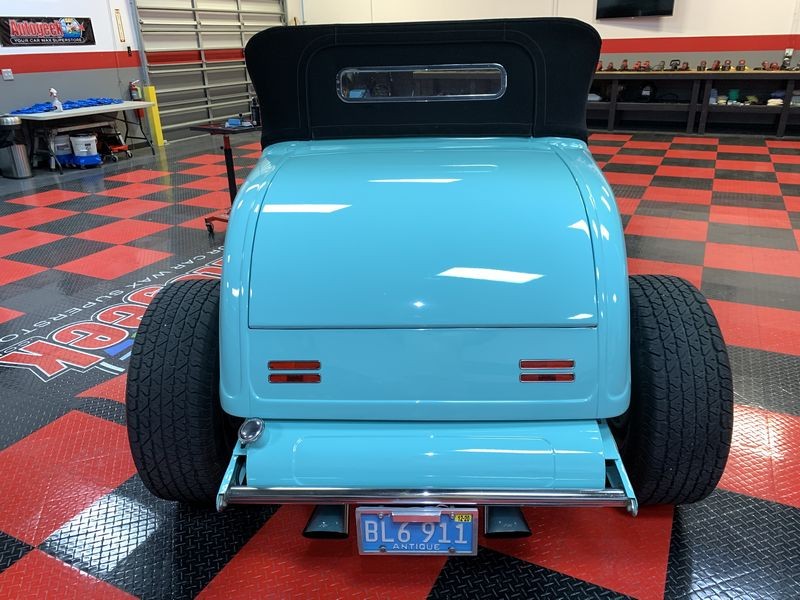
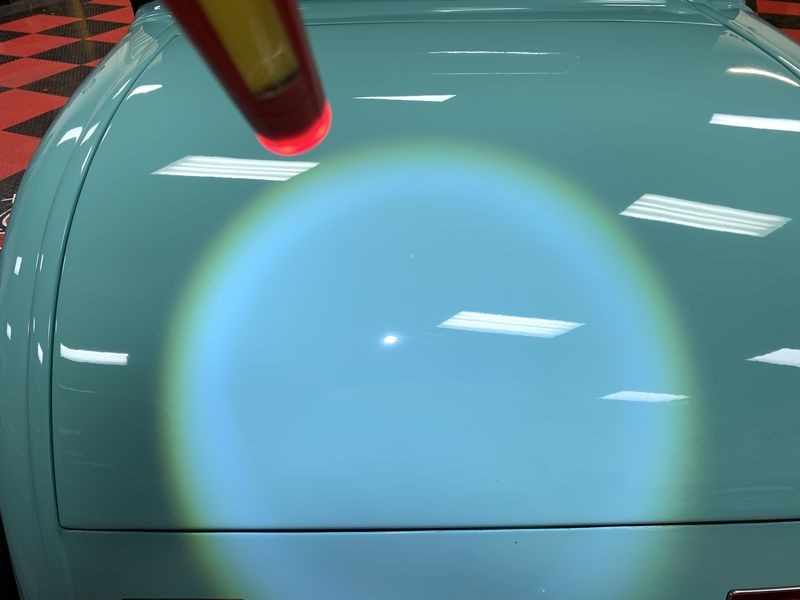
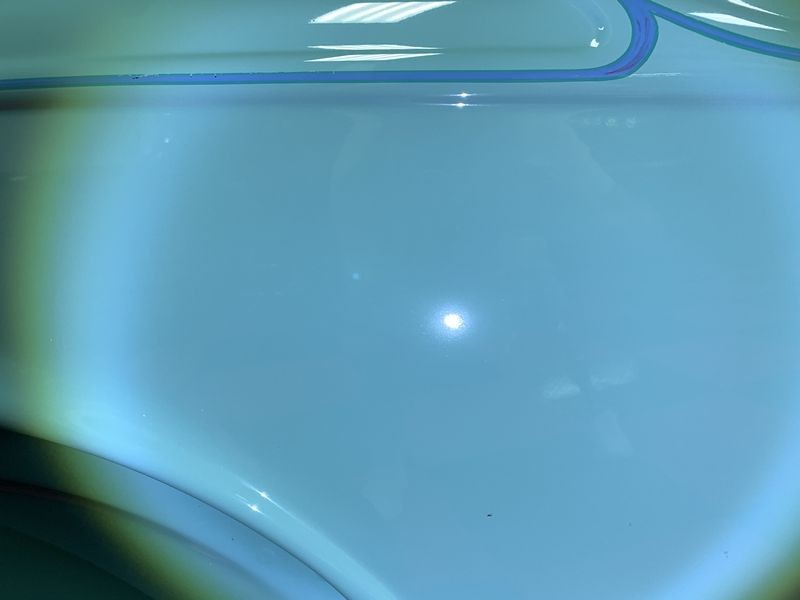
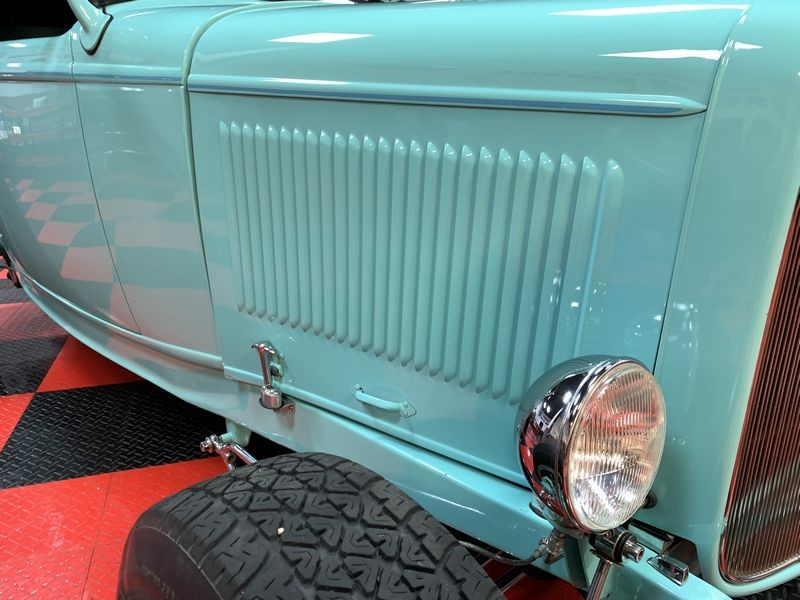
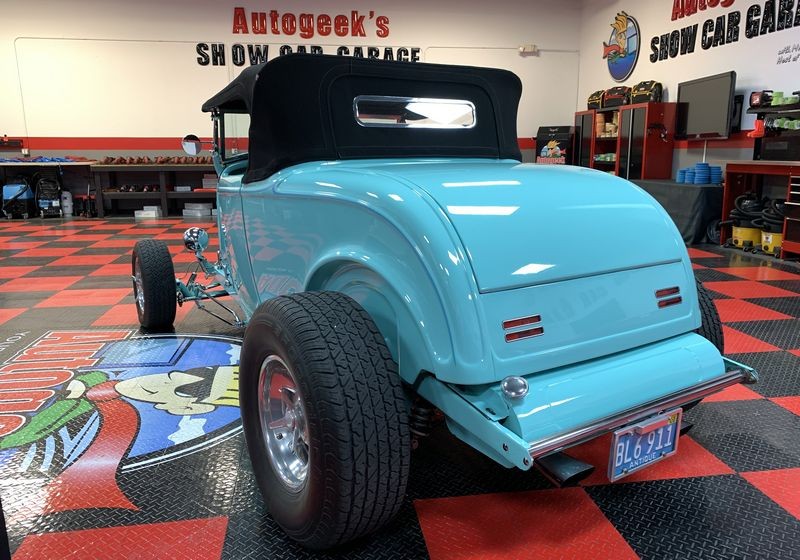
Ceramic Coating & Paint Correction 1932 Ford Roadster
-
-
Post Thanks / Like - 0 Thanks, 2 Likes, 0 Dislikes
-
-
Post Thanks / Like - 1 Thanks, 0 Likes, 0 Dislikes
-
Re: Ceramic Coating & Paint Correction 1932 Ford Roadster
-
Re: Ceramic Coating & Paint Correction 1932 Ford Roadster
Continued....
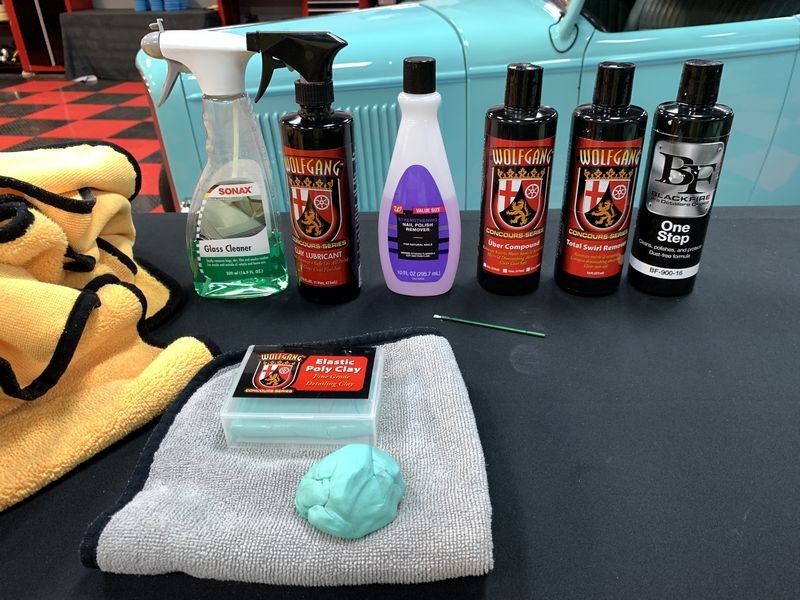
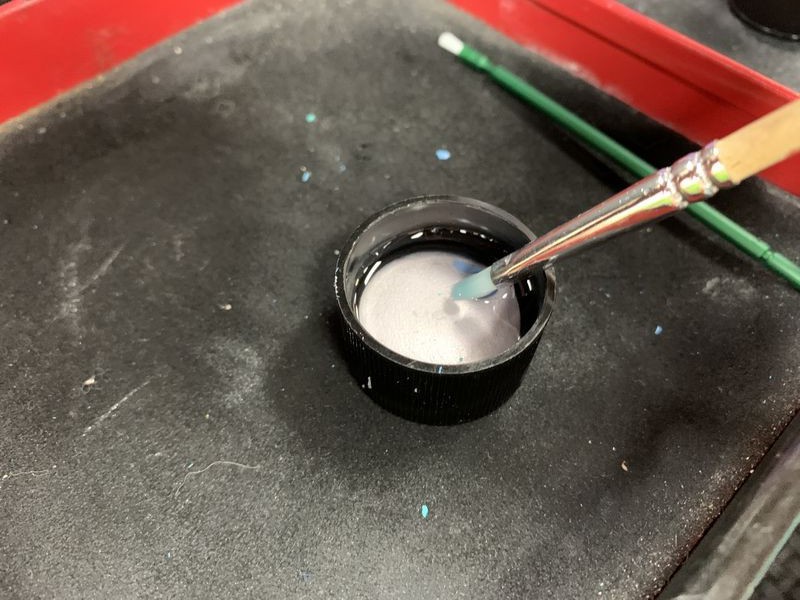
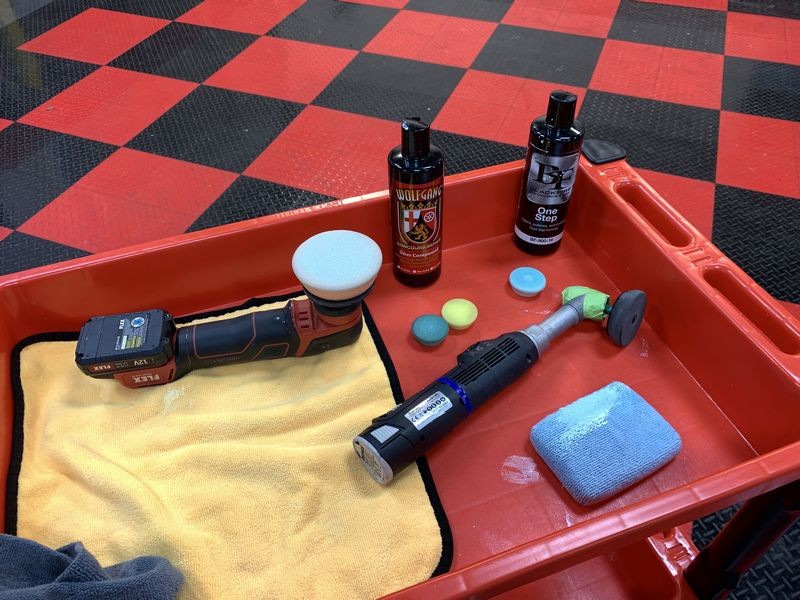
Tools, pads and products
Here's everything I used except the Cobra 530 Grey microfiber towels, which I used for the waterless wash and wiping off the clay lube residue.

Gold Plus Jr. 16x16 towels for wiping off compound and polish.
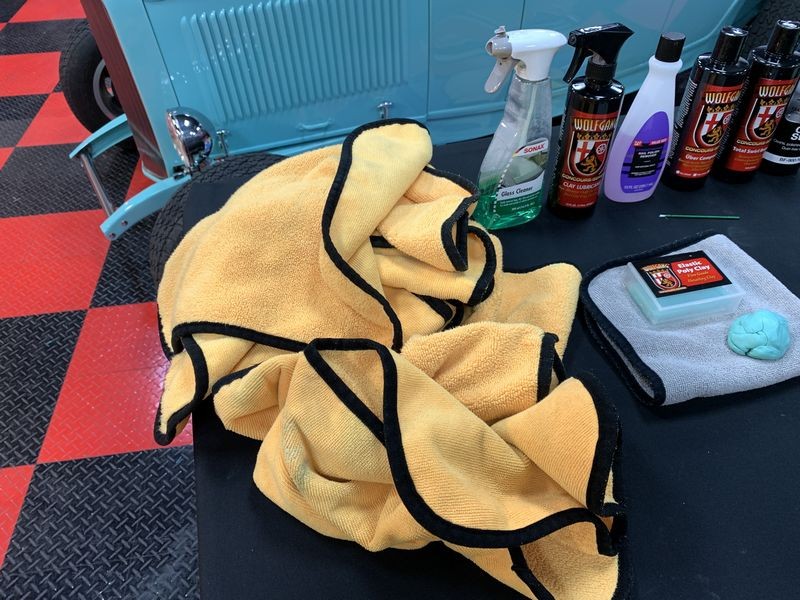
Glass Cleaner used for waterless wash, clay lube, Nail Polish Remover, Uber Compound, Total Swirl Remover and BLACKFIRE One Step plus the Wolfgang clay.
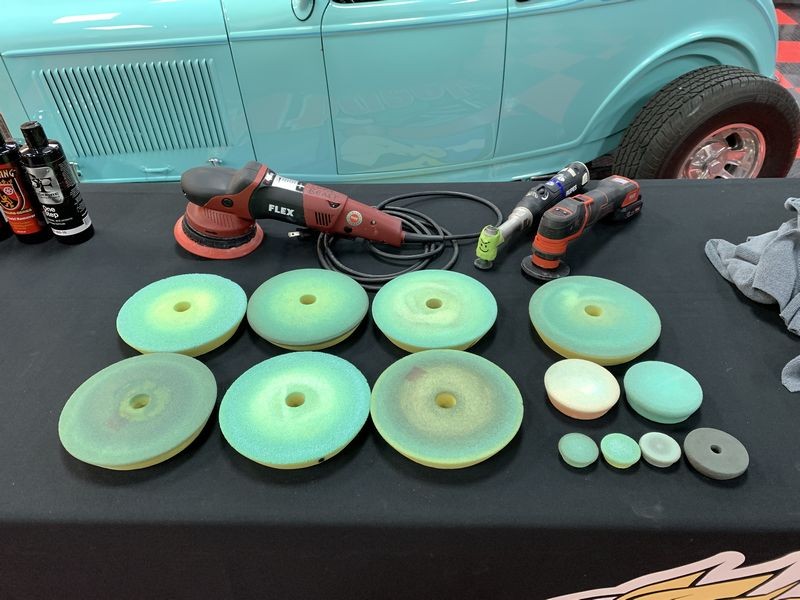
LOTS 'O PADS
You need more than 1 pad to buff out a car -Mike Phillips
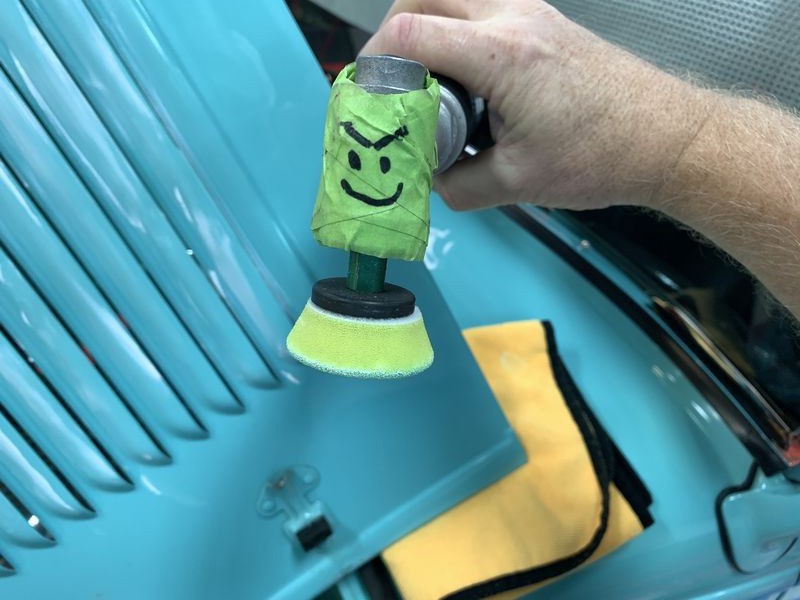
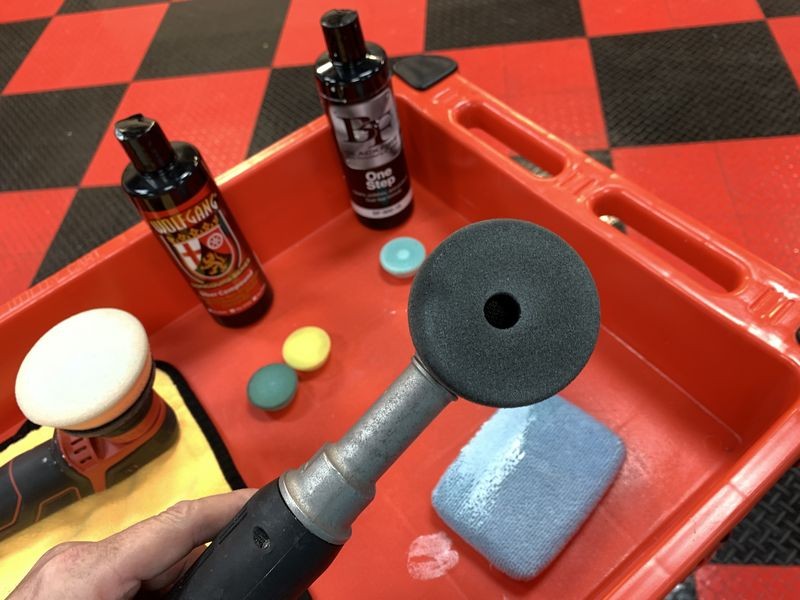
I say the above so often I might as well make it a quote and it's true. Looks like I used 7 RUPES 7" yellow foam polishing pads, a couple of FLEX 3.5" foam polishing pads, 2 RUPES 1" yellow pads, 1 RUPES 1" white foam pad and 1 Griot's BOSS 2" black foam finishing pad.
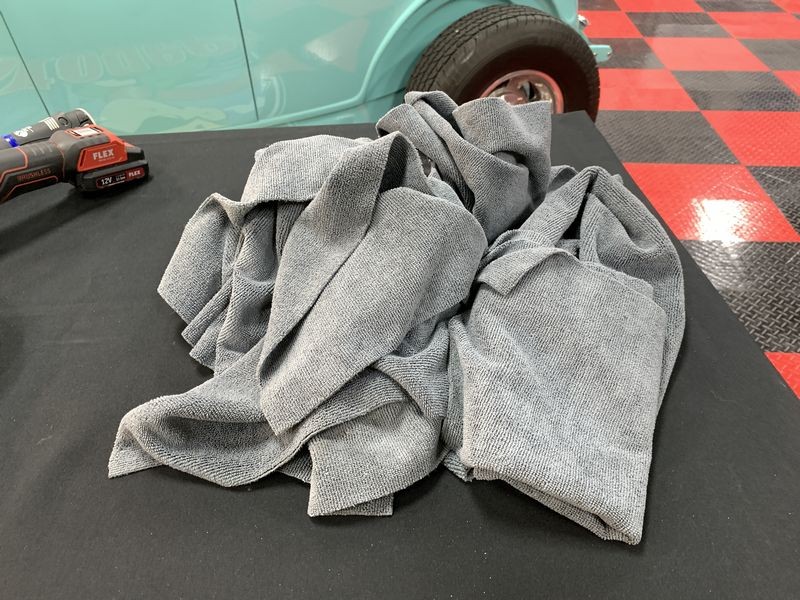
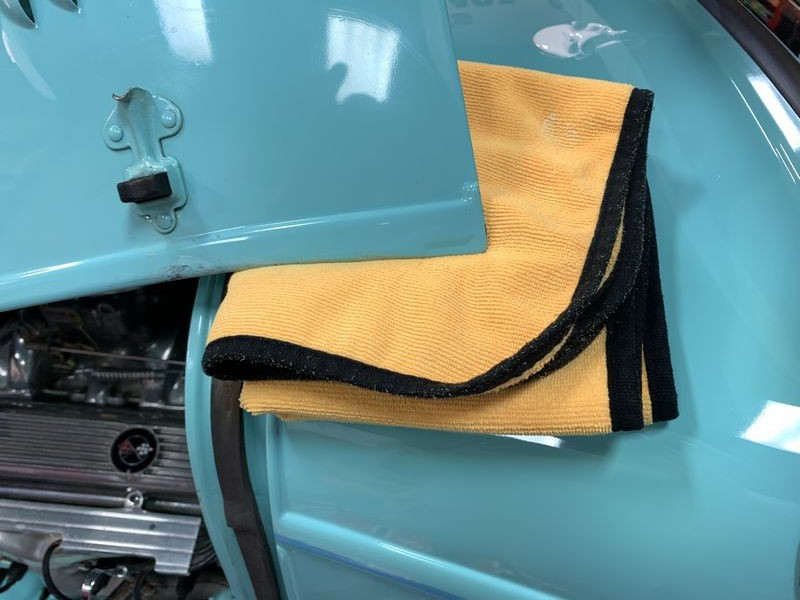
LOTS 'O TOWELS
You need lots of high quality towels to detail a car and especially when dong show car work or installing ceramic coatings.
These are the Grey Legless Microfiber towels. These are like the Forrest Green edgeless towels I often show just grey. The have a flat weave, which in my experience helps to prevent contamination form sharp pokey particulates and I like this in a "paint care" towel.

-
-
-
Re:Ceramic Coating & Paint Correction 1932 Ford Roadster
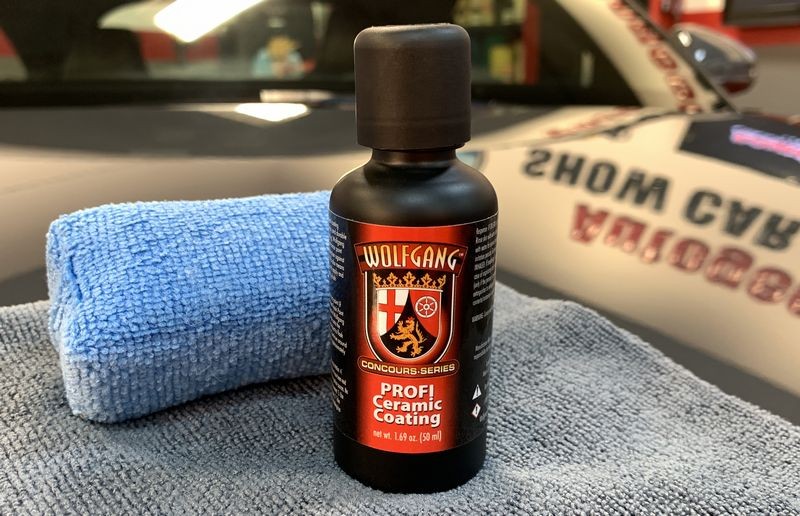
Here's the link to my review for the new PROFI Ceramic Coating - it walks you through the steps to use this product.
Review: Wolfgang PROFI Ceramic Coating
Wolfgang PROFI Ceramic Coating
-
-
Re: Ceramic Coating & Paint Correction 1932 Ford Roadster
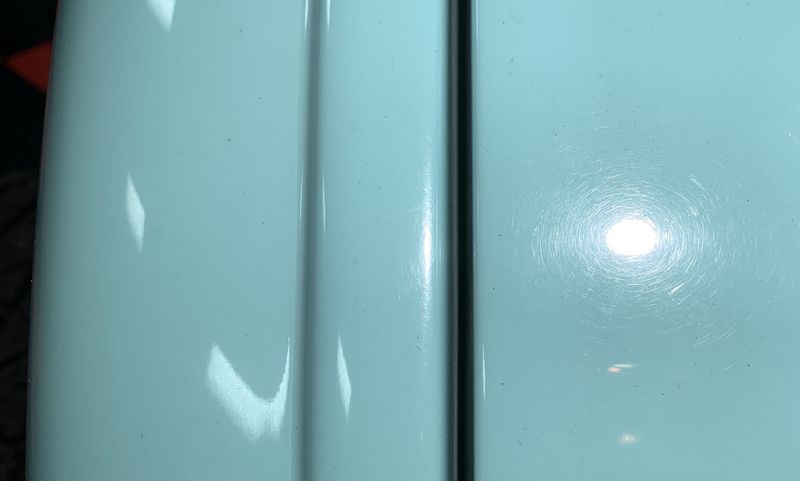
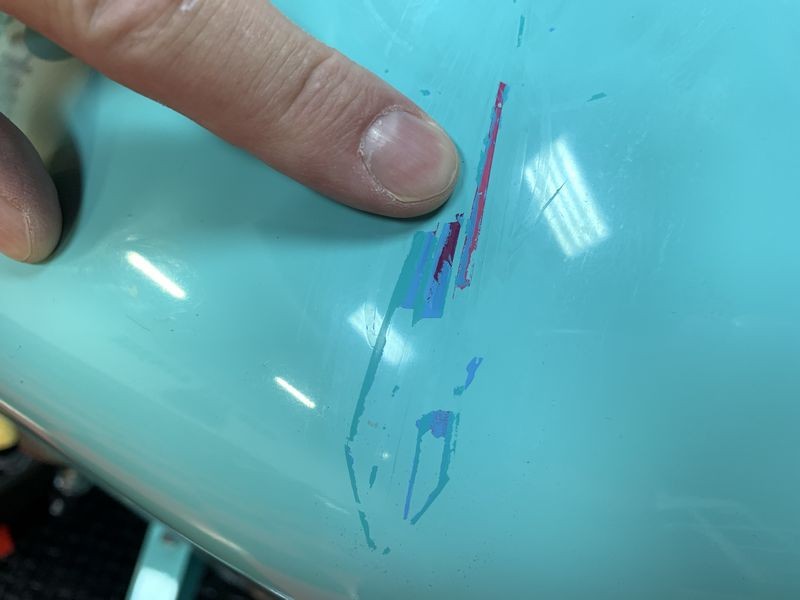
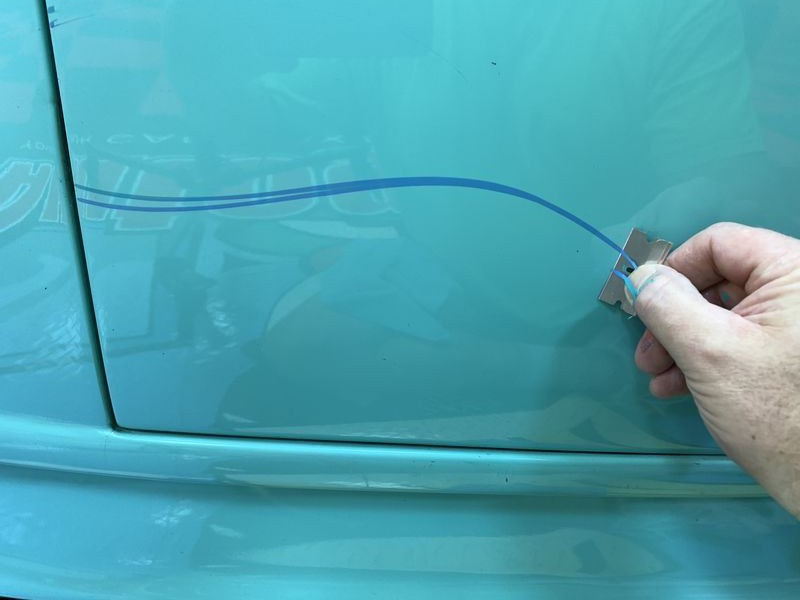
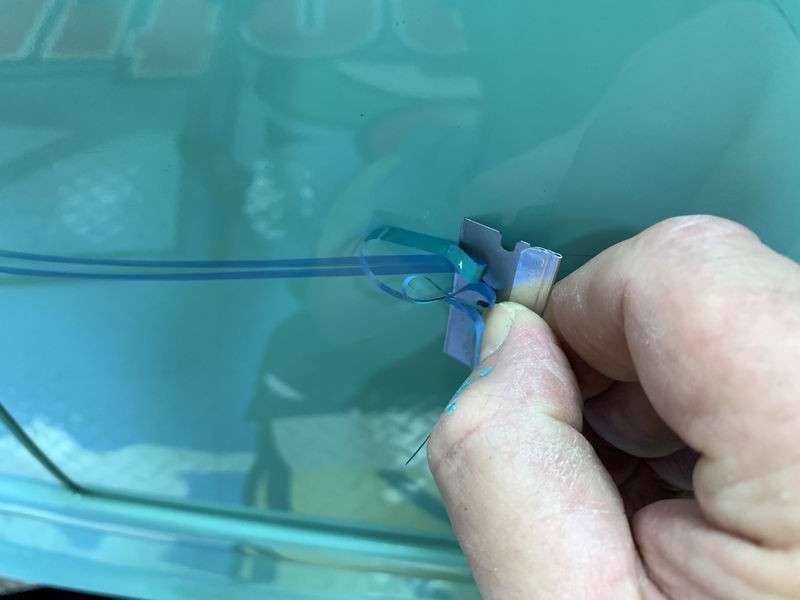
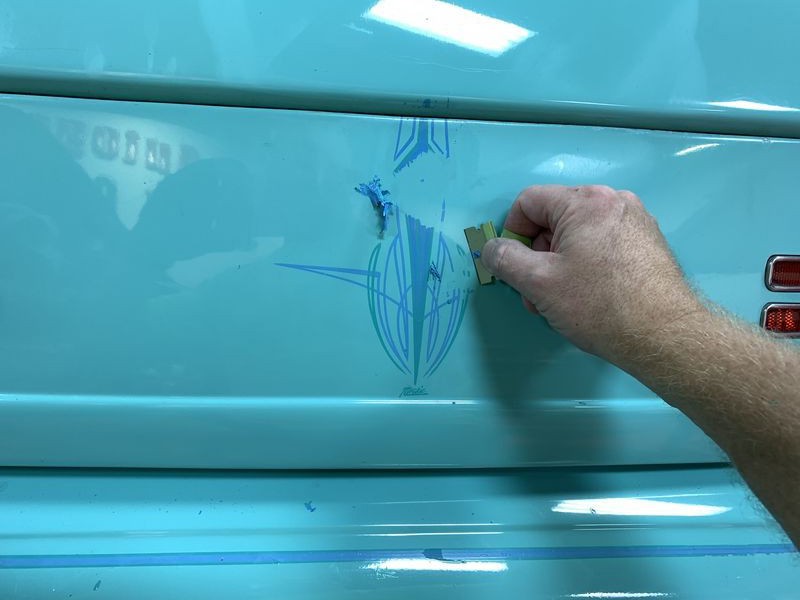
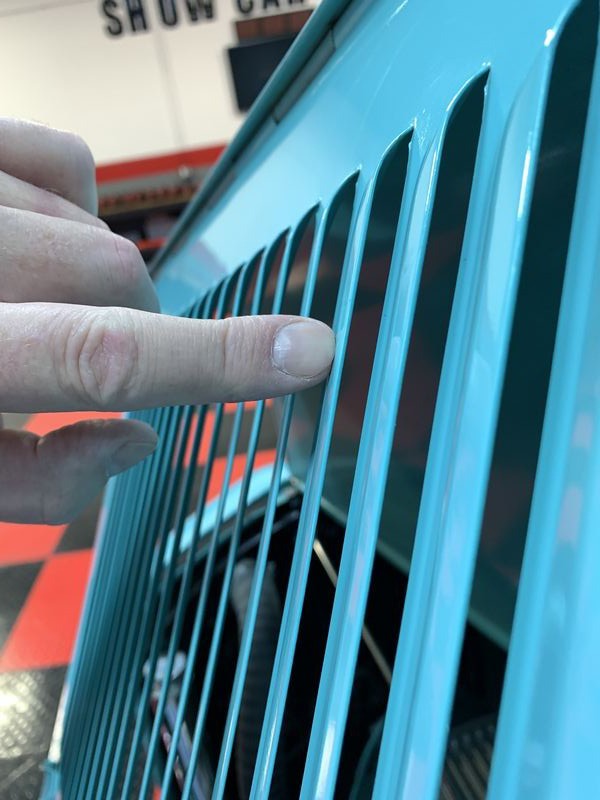
Wow this is superb work Mike, you and Yvan Lacoix are the only two that I would trust to take a razor blade to my paint (only two that I have seen doing that technique anyway).
Looking just ready to sale the car, the buyer should be happy with the results.
Similar Threads
-
By Mike Phillips in forum Product Reviews by Mike Phillips
Replies: 35
Last Post: 04-28-2020, 09:03 AM
-
By DetailedByPrecision in forum Show N' Shine
Replies: 12
Last Post: 12-23-2018, 10:12 AM
-
By Mike Phillips in forum Competition Ready on Velocity Channel
Replies: 2
Last Post: 08-29-2016, 04:43 PM
-
By Mike Phillips in forum Competition Ready on Velocity Channel
Replies: 6
Last Post: 05-15-2016, 10:22 PM
-
By SpeedFreak81 in forum Show N' Shine
Replies: 7
Last Post: 11-12-2013, 10:57 AM
 Members who have read this thread: 0
There are no members to list at the moment.
Posting Permissions
- You may not post new threads
- You may not post replies
- You may not post attachments
- You may not edit your posts
-
Forum Rules
|
| S |
M |
T |
W |
T |
F |
S |
| 31 |
1
|
2
|
3
|
4
|
5
|
6
|
|
7
|
8
|
9
|
10
|
11
|
12
|
13
|
|
14
|
15
|
16
|
17
|
18
|
19
|
20
|
|
21
|
22
|
23
|
24
|
25
|
26
|
27
|
|
28
|
29
|
30
| 1 | 2 | 3 | 4 |
|


 Thanks:
  Likes:


 Reply With Quote
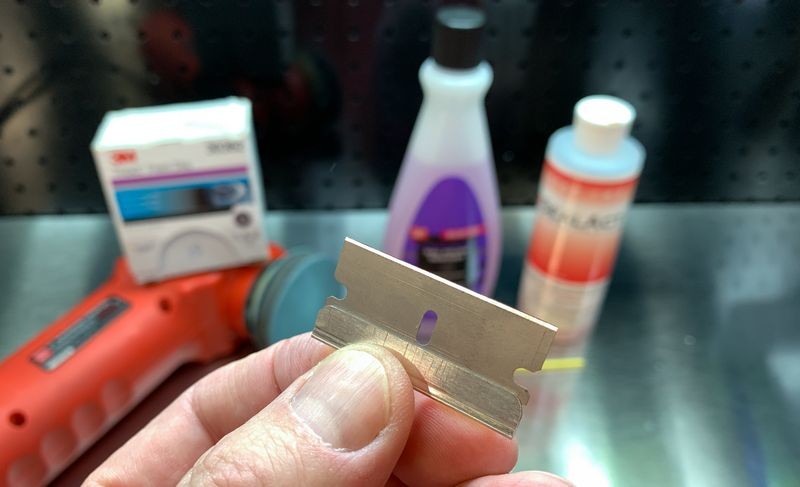


Bookmarks